
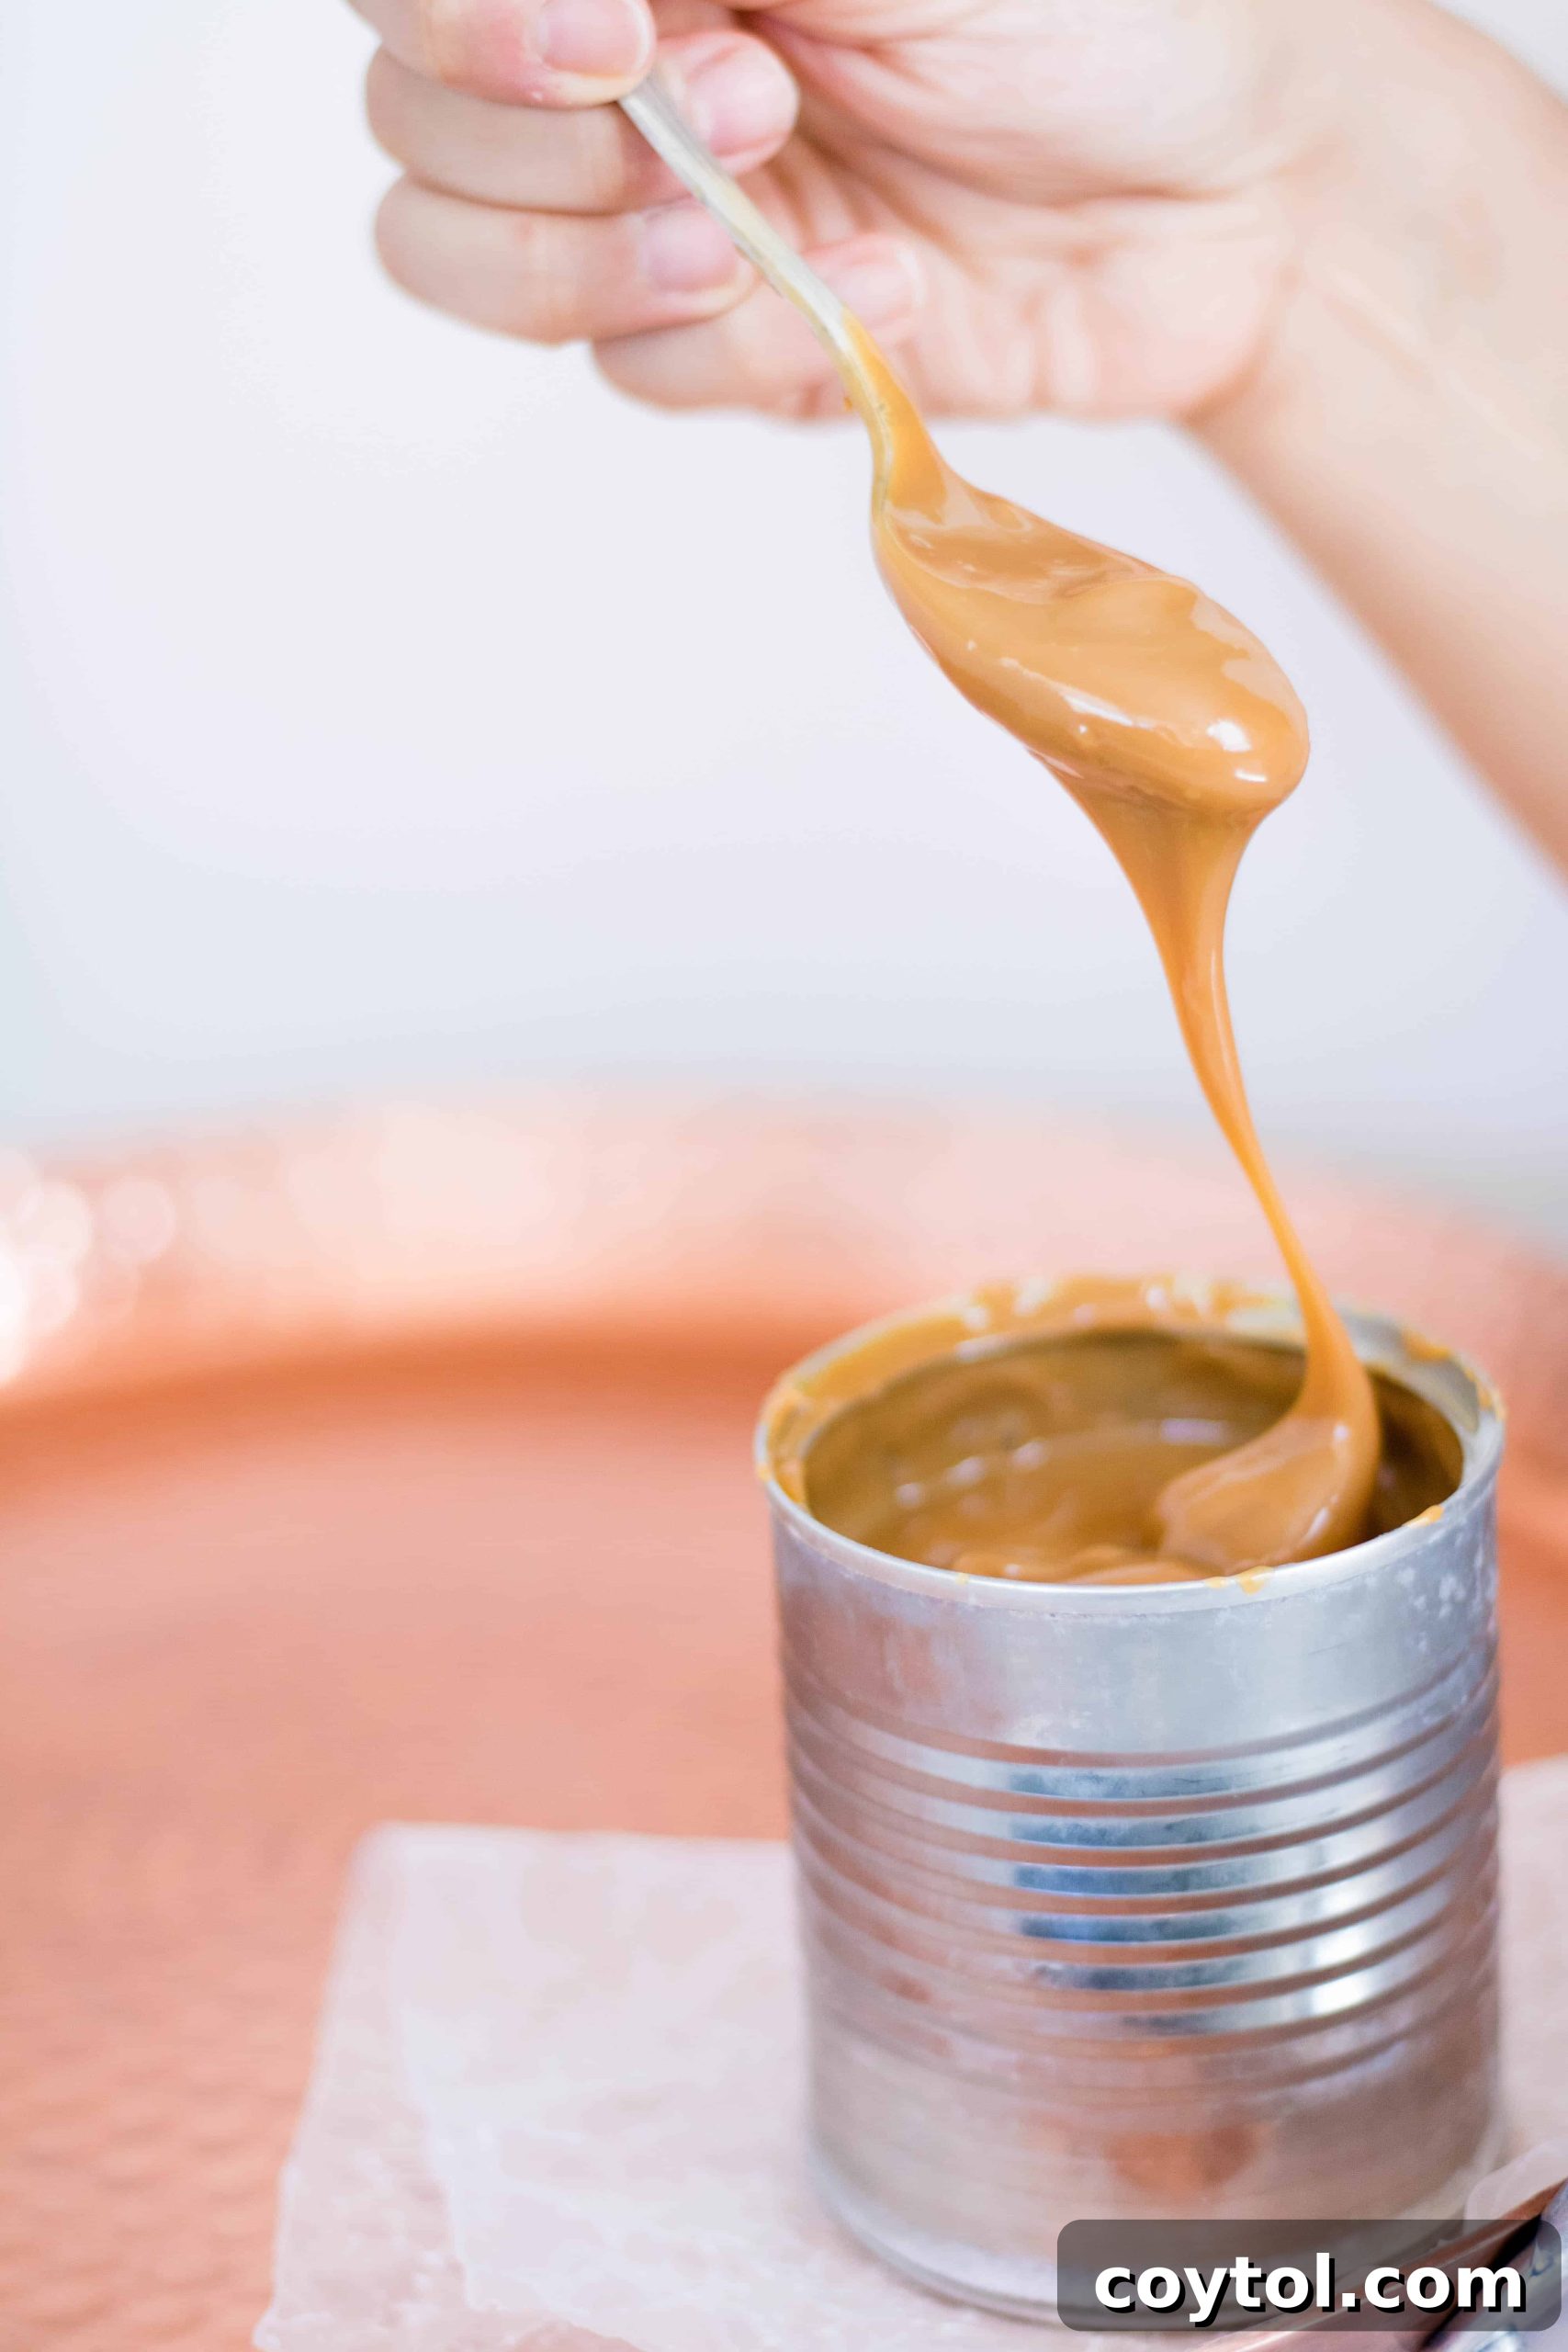
Dulce de leche, a name that evokes pure culinary joy, is a luscious caramel spread cherished by dessert lovers worldwide. Its irresistible sweet, creamy, and caramelly flavor makes it a magical addition to countless treats. This **Easy Pressure Cooker Dulce de Leche recipe** offers a remarkably simple, almost hands-off approach to creating this decadent delight. Forget tedious stirring over a hot stove; with minimal preparation, you can let your pressure cooker work its magic, yielding a perfectly rich dulce de leche ready to elevate your cakes, coffees, ice creams, or even my famously delicious dulce de leche stuffed snickerdoodles cookies!
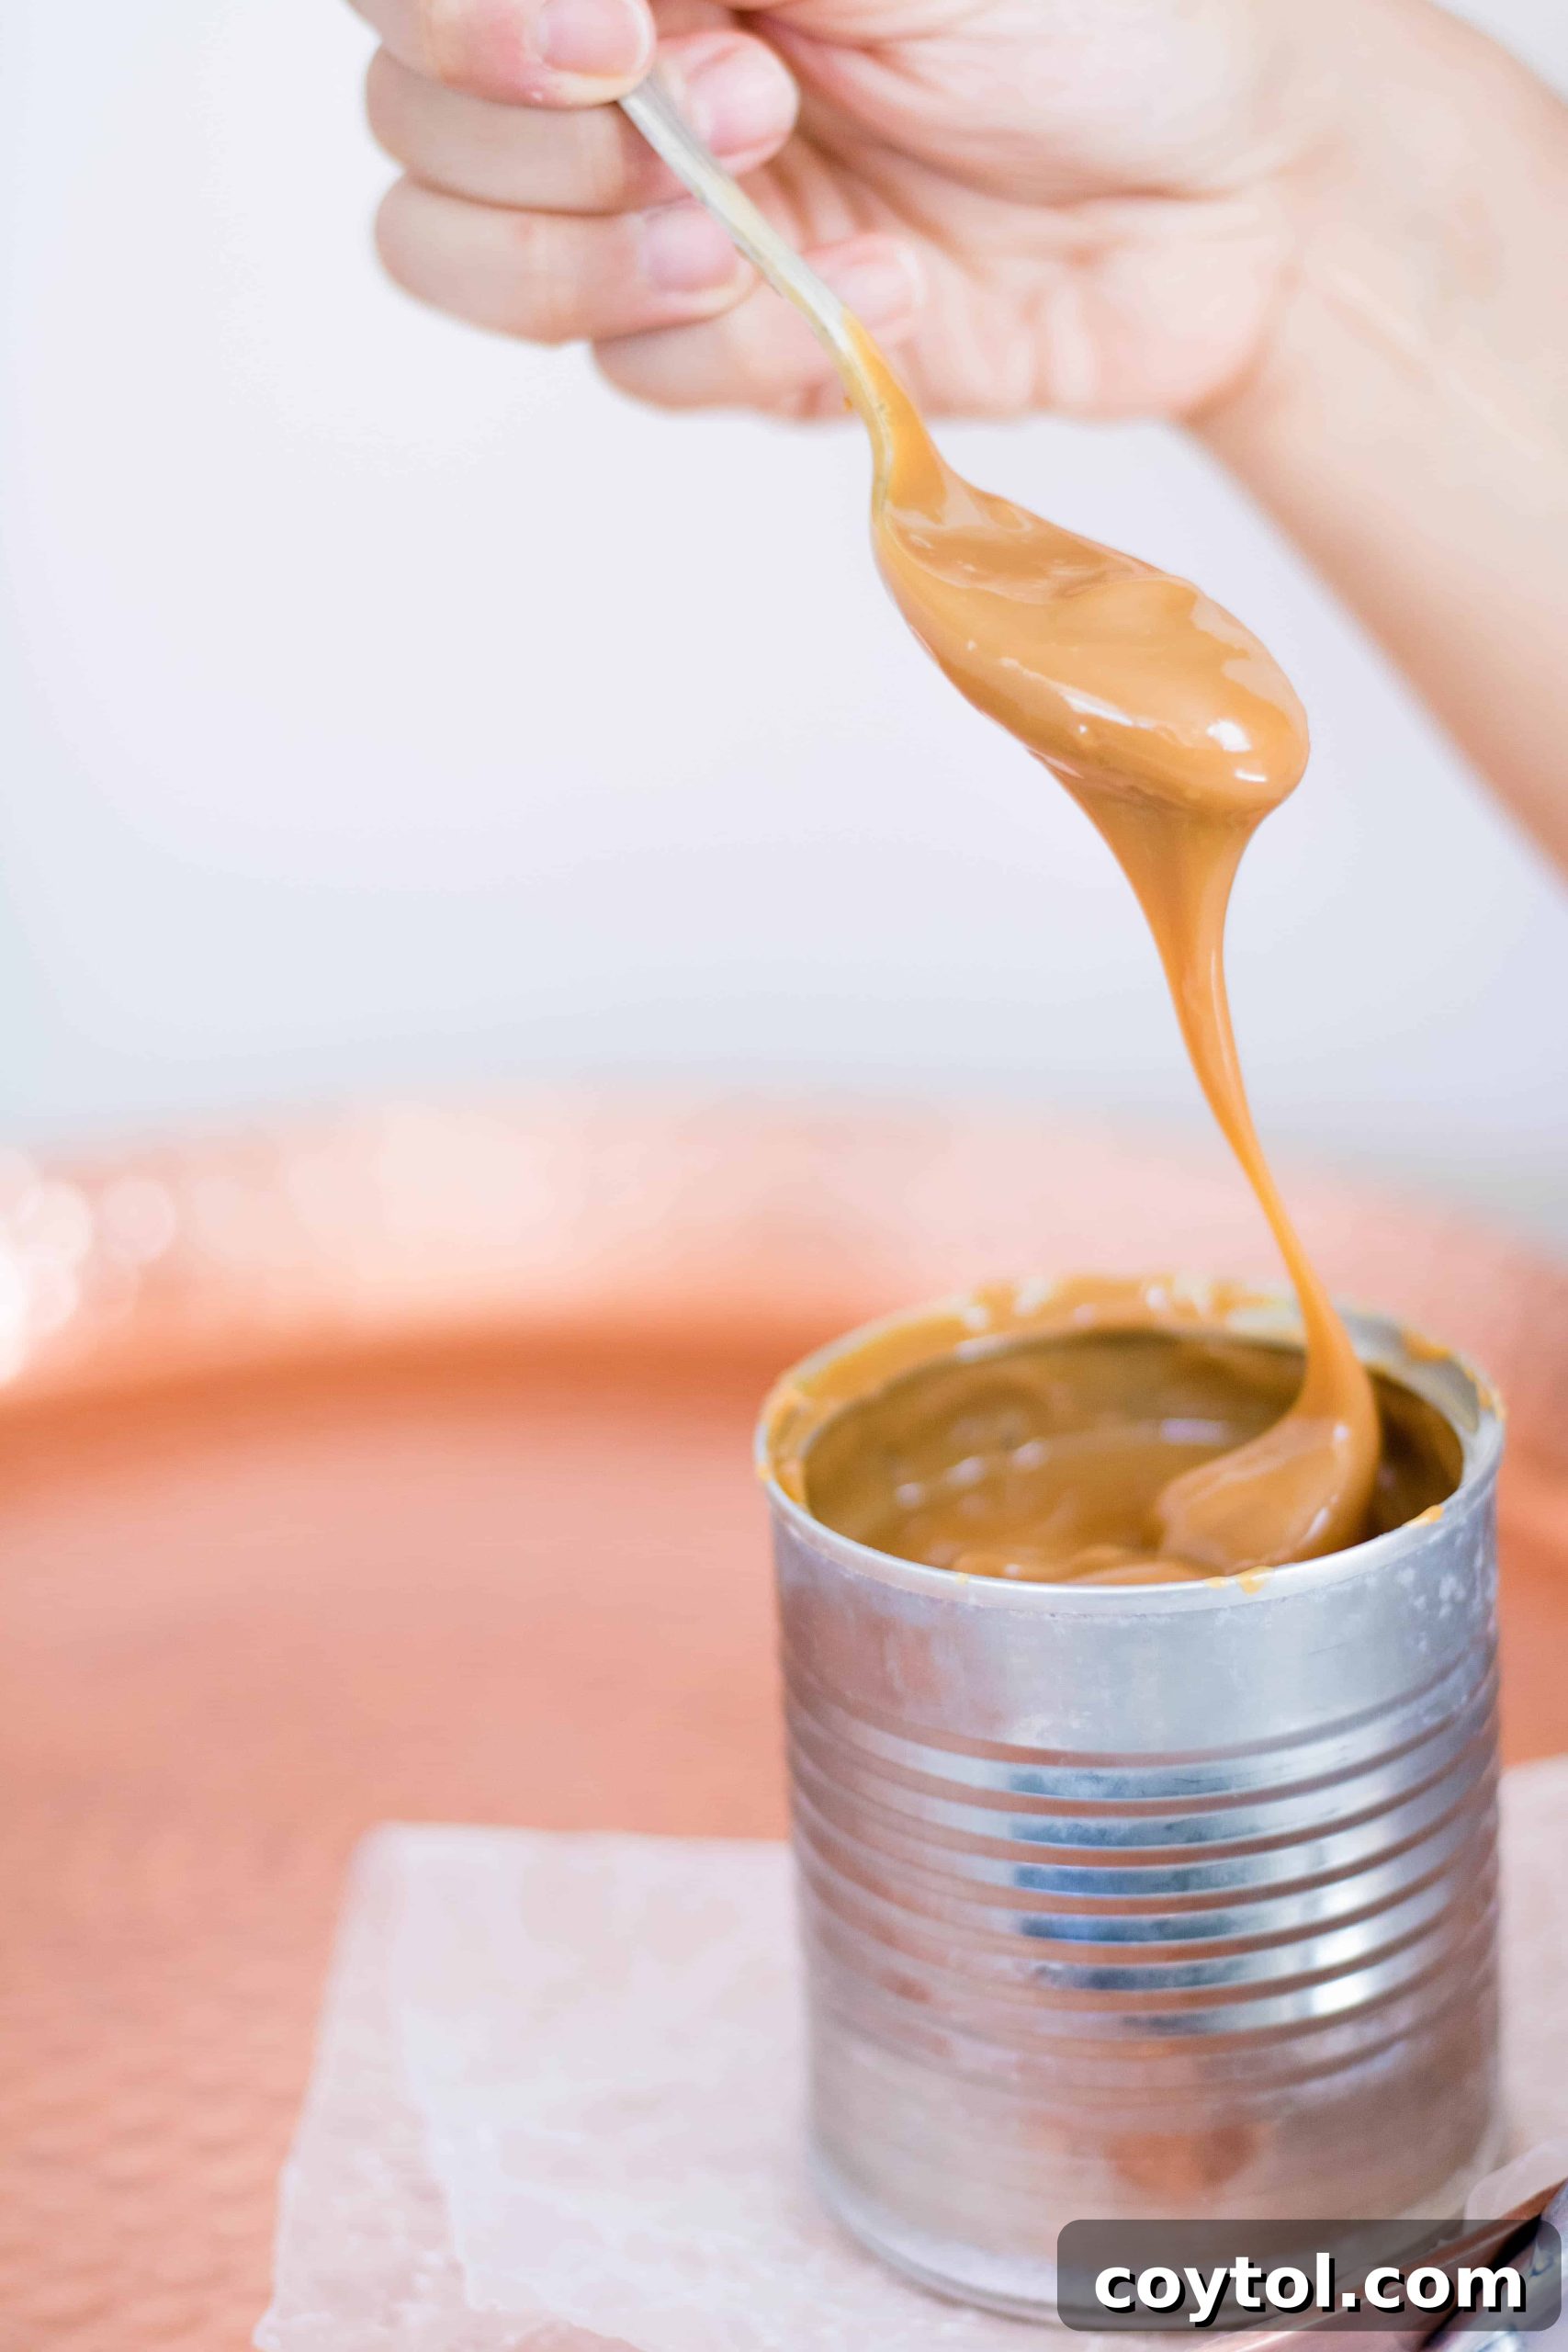
After a brief hiatus, I’m thrilled to be back and share a recipe that’s not only incredibly simple but also universally loved: homemade dulce de leche! While many associate me with intricate baking projects, sometimes the simplest creations yield the most profound satisfaction. And trust me, this pressure cooker method for dulce de leche is as simple as it gets, proving that extraordinary flavor doesn’t always require extraordinary effort.
Lately, I’ve noticed everyone online falling head over heels for snickerdoodle cookies. So, I wanted to share something that ties into that beloved snickerdoodle theme but with a delightful twist. After much thought, I realized the perfect combination: uniting two of my absolute favorite flavor profiles!
Cinnamon sugar and rich, creamy dulce de leche create an unparalleled symphony of taste. Historically, there are numerous food combinations that are out-of-this-world delicious and share similar complementary flavor profiles. A classic example that immediately comes to mind is warm, cinnamon sugar-coated churros paired with a silky-smooth dollop of dulce de leche. Oh, my goodness… that combination is truly a dream!
To bring my very own special **Dulce de Leche Stuffed Snickerdoodle Cookie recipe** to life – which I’ll be sharing very soon, so stay tuned! – I first needed to perfect the star ingredient: my **Easy Pressure Cooker Dulce de Leche Recipe**. This method, often associated with Brazilian culinary traditions (where it’s known as doce de leite), is lauded for its time efficiency and safety, making it a popular choice for home cooks seeking convenience.
To be completely honest, I didn’t realize this pressure cooker method had such specific geographical roots until I researched it! I’ve been preparing dulce de leche this way with my mother and grandmother for as long as I can remember. So, in our family, I suppose it might also be affectionately called “Algerian Dulce de Leche” – a testament to how traditional methods often transcend borders and become cherished family secrets.
When it comes to preparing dulce de leche, especially if you plan to use it as a filling or spread, I highly recommend making it the night before. This allows ample time for it to cool down and chill thoroughly, ensuring it reaches the perfect consistency and is easy to handle for any application.
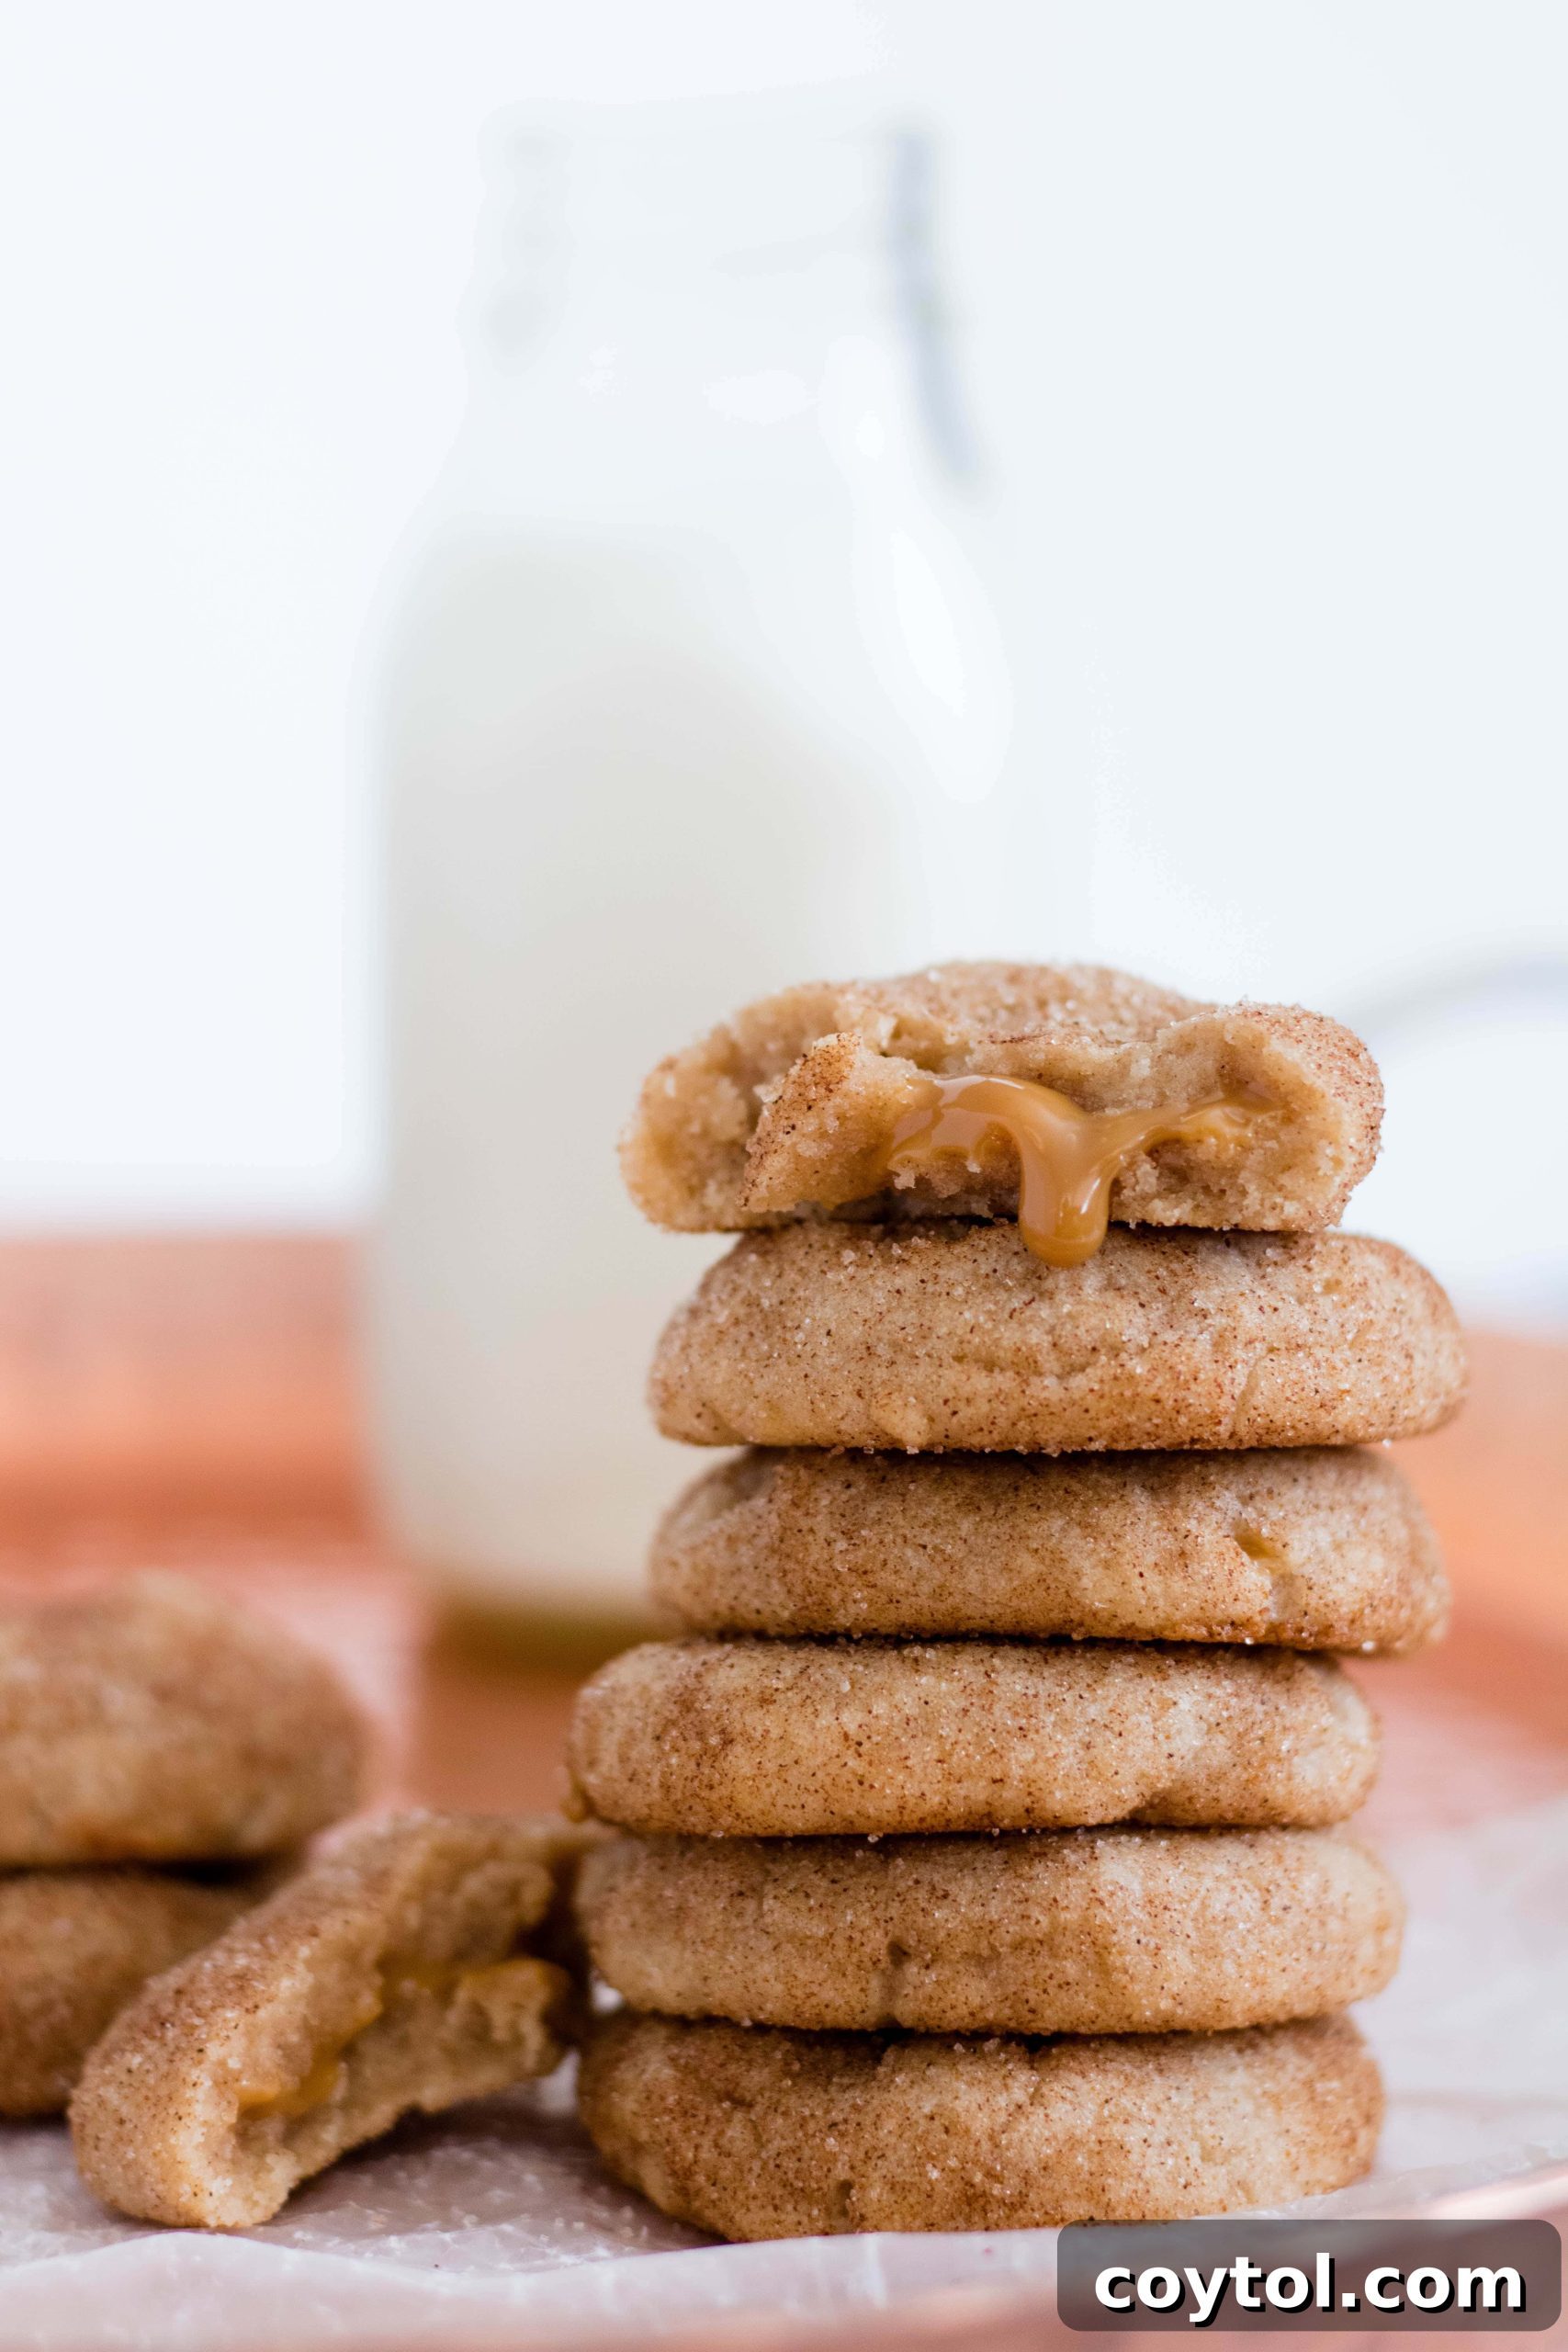
Since I can’t stop talking about these amazing Snickerdoodle cookies, I wanted to share a quick photo with you all! I’ve been diligently practicing my food photography skills lately, and I truly feel like the effort is starting to pay off. Let me know what you think of this tempting cookie stack photo in the comments below! It perfectly showcases the end result that this incredible dulce de leche helps create.
Crafting Your Easy Pressure Cooker Dulce de Leche: A Step-by-Step Guide!
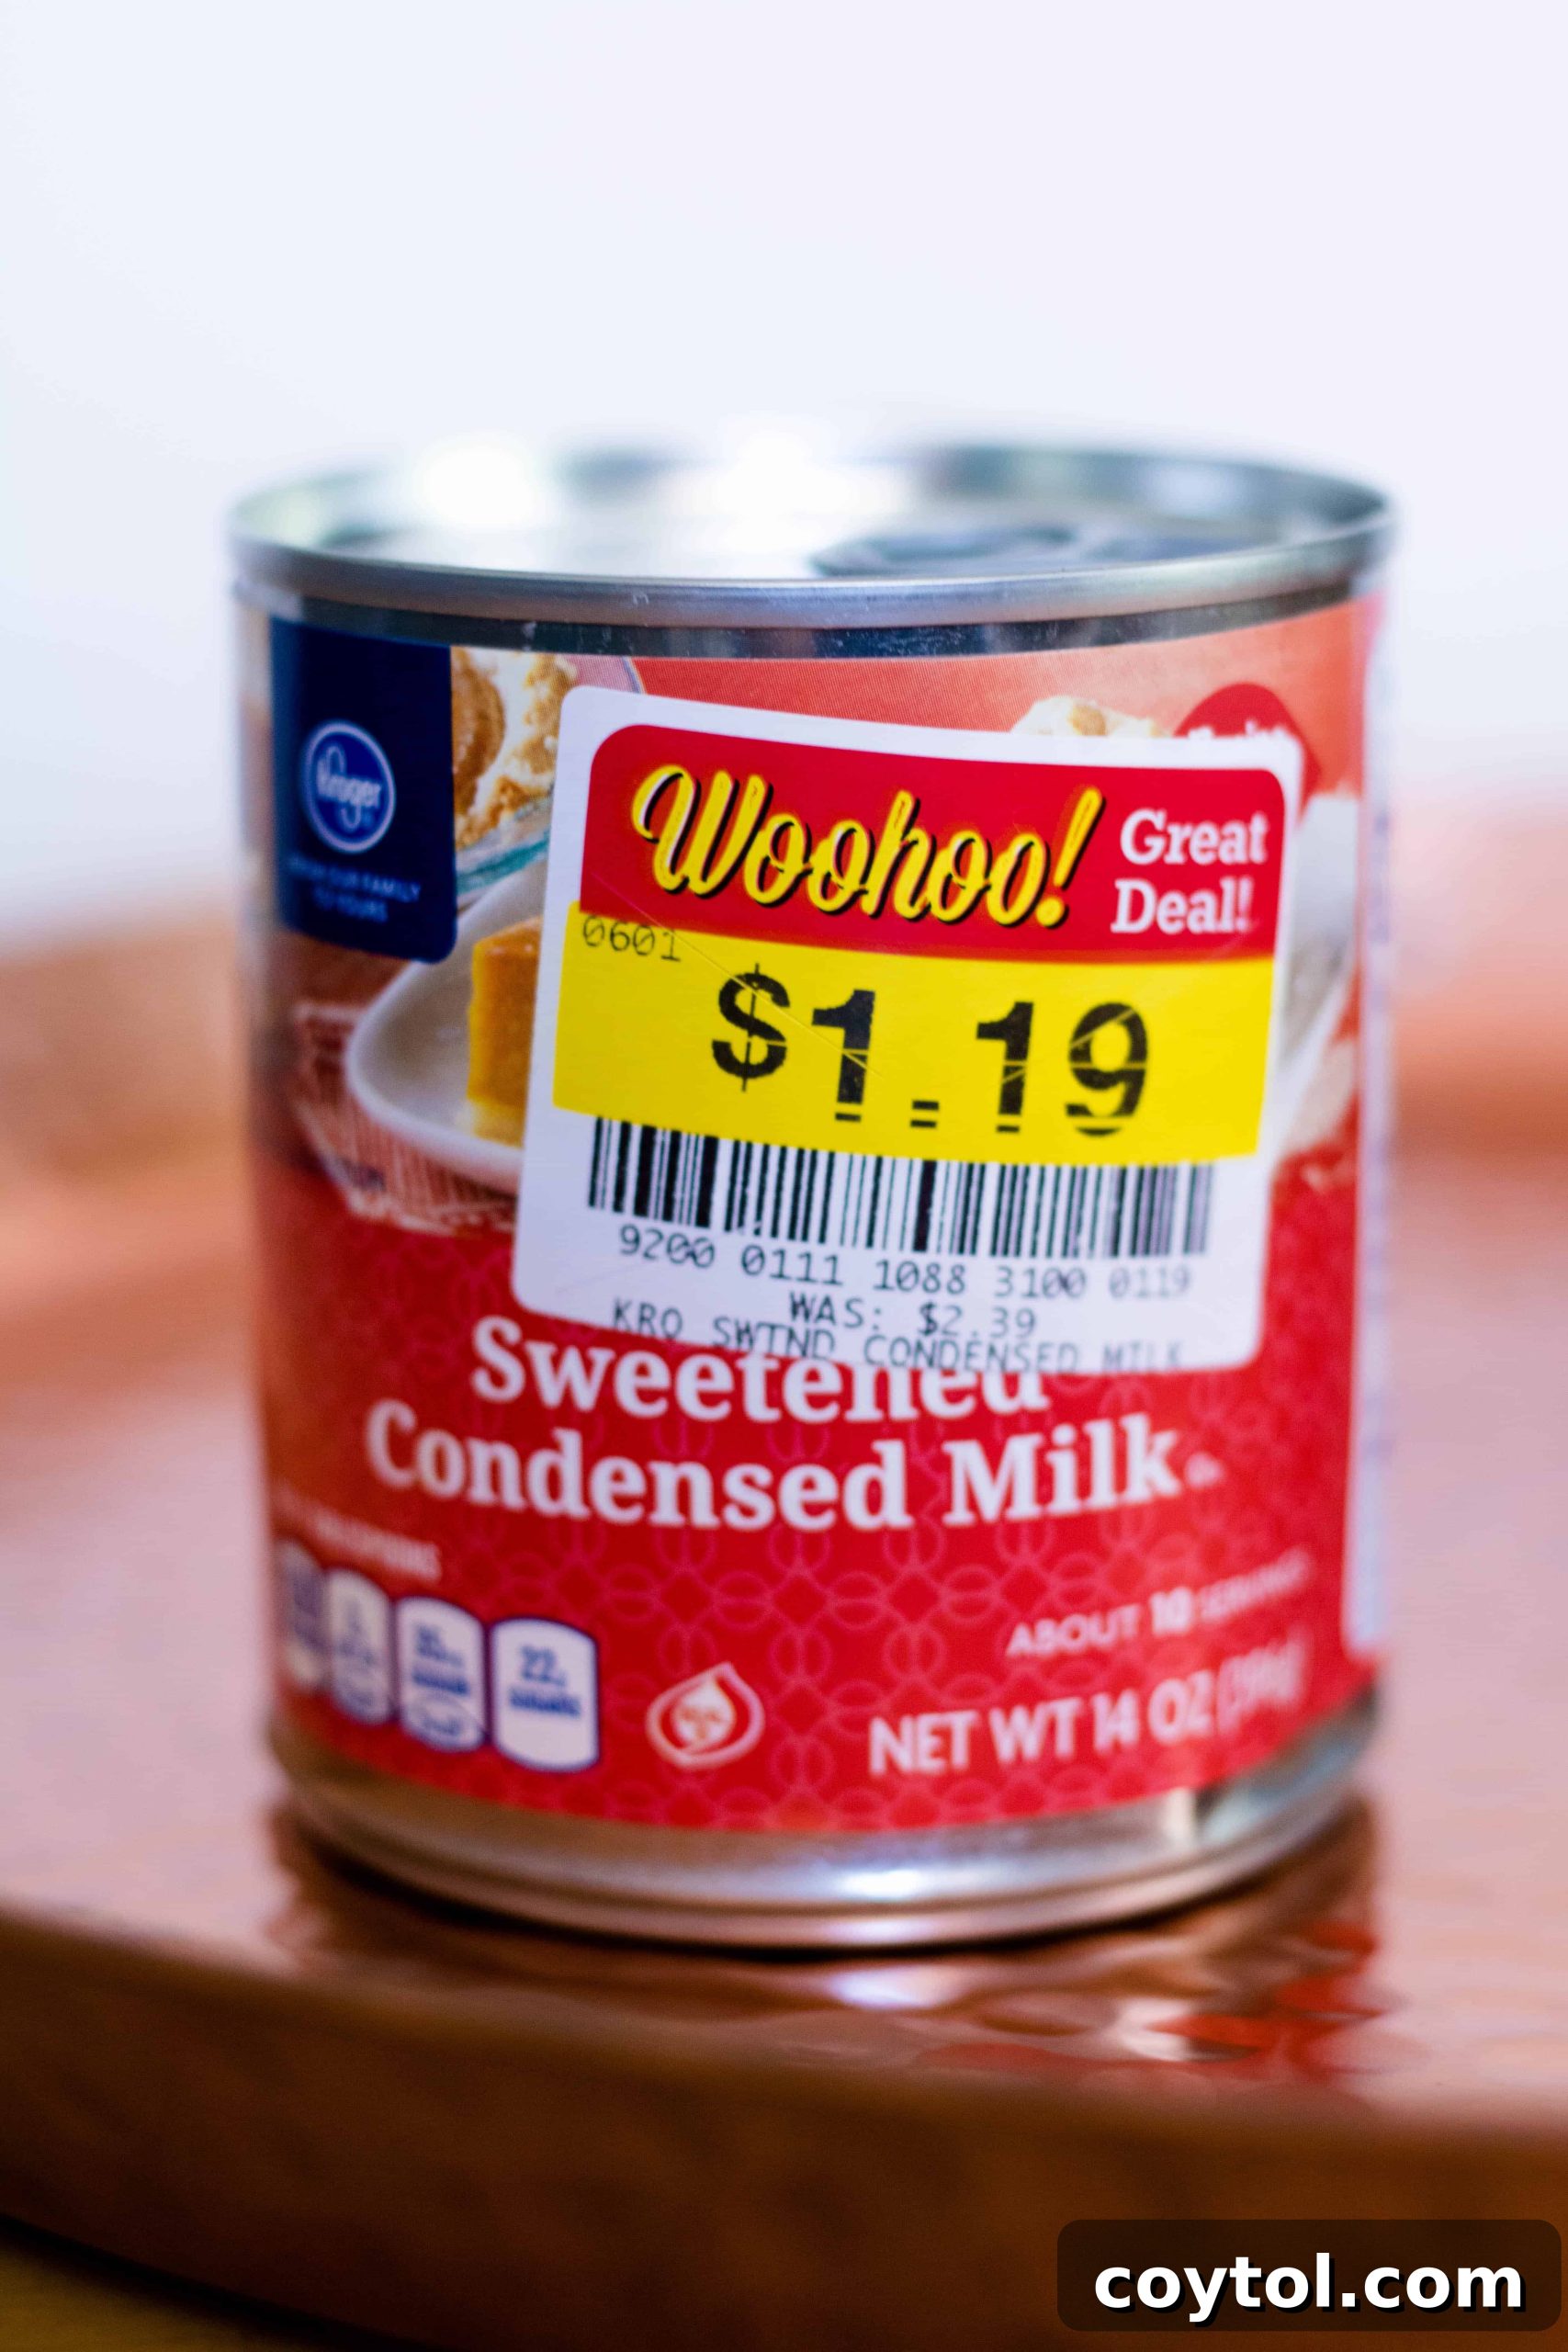
The beauty of this **Easy Pressure Cooker Dulce de Leche Recipe** lies in its astonishing simplicity. It requires just one ingredient! Yes, you heard that right – only a single ingredient stands between you and a jar of homemade caramel perfection. That star ingredient is, of course, sweetened condensed milk. I recently managed to grab my can of sweetened condensed milk on sale, making this recipe an absolute steal for me. It was priced at $1.19, a fantastic 50% off its usual $2.39! While I often gravitate towards brands like Eagle Brand Milk sweetened condensed milk for their consistent quality, any readily available brand will work beautifully for this recipe. The key is to ensure it is sweetened condensed milk, not evaporated milk, as the sugar content is essential for caramelization.
While you certainly can make dulce de leche from scratch using regular milk and sugar, be aware that it’s a more involved process. It often takes several attempts to achieve the perfect consistency and color, with plenty of room for error due to the delicate balance of heat and sugar crystallization. If embarking on that culinary adventure is what you’re after, then by all means, more power to you! However, for most home cooks looking for a quick, reliable, and foolproof method, utilizing canned sweetened condensed milk is an absolute game-changer. It’s significantly faster, easier, and consistently delivers a rich, smooth, and delicious result every single time.
When it comes to selecting a brand of sweetened condensed milk, don’t overthink it. Virtually any brand will yield fantastic results for this **Pressure Cooker Dulce de Leche recipe**. The transformation happens due to the heat and pressure, regardless of subtle brand differences. So, simply pick up whatever brand is most accessible or on sale at your local grocery store – it will work perfectly for your homemade dulce de leche!
Before placing your can of sweetened condensed milk into the pressure cooker, there’s one crucial preparatory step: you must remove the label from the can. This isn’t just for aesthetics; it’s an important safety measure. Paper labels and their adhesives can detach during the high-heat, high-pressure cooking process. Should these bits of paper or sticky residue come loose, they could potentially gum up or block the release valve of your pressure cooker, which could lead to safety hazards. Therefore, in this situation, it is always better to err on the side of caution and ensure a smooth, clean can is used.
After carefully peeling off the paper label, don’t stop there. Take the rough, abrasive side of your kitchen sponge and, under running hot water, scrub away as much of the label adhesive as possible. This extra step ensures that no sticky residue remains that could interfere with the pressure cooker’s function or leave any unwanted residue on your pristine can. A clean can ensures a clean cooking process.
Now that your can is prepped and perfectly clean, gently place it into your pressure cooker. The next critical step is to completely cover the can with water. It is absolutely essential that your dulce de leche can remains fully submerged in water throughout the entire cooking process. To ensure this, pour enough water so that there’s at least two fingers’ worth (approximately 1-2 inches) of water covering the top of the can. This prevents the can from overheating directly and ensures even cooking, contributing to that consistently creamy caramel.
Once the can is submerged, securely seal your pressure cooker according to its manufacturer’s instructions, and set it on your stovetop burner. Turn the heat to medium. You’ll need to wait patiently for the distinctive “hissing” sound to begin. This sound is your signal that the internal pressure has successfully built up within the cooker, indicating it’s now operating at its intended pressure.
As soon as you hear the consistent hissing sound, set a timer. For a lighter, slightly thinner dulce de leche, cook for 20 minutes. If you prefer a thicker, richer, and darker caramel, extend the cooking time to 25-30 minutes. The longer it cooks under pressure, the deeper its color and flavor will become. Once the timer goes off, immediately turn off the heat, carefully remove the pressure cooker from the burner, and slowly turn the release valve to allow all the built-up pressure to escape. Do not force it open until all the pressure has been released.
After all the pressure has been safely released from the cooker, you can carefully open the lid. Using sturdy tongs or a dedicated canning jar lifter, gently remove the hot can of dulce de leche from the water bath. Exercise extreme caution, as the can will be incredibly hot.
IMPORTANT SAFETY DISCLAIMER: Never attempt to open the can of dulce de leche before it has completely cooled! I confess, in my early days of making this, my impatience got the better of me, and I made this exact mistake. The result was a sticky, explosive mess! While fortunately, I did not burn myself badly, the potential for severe burns is very real. The intense pressure built up inside the can, combined with the extreme heat, can lead to a dangerous burst of hot caramel if opened prematurely. So, please, heed my advice and under no circumstances open your dulce de leche can while it is still hot!
If you find yourself battling impatience, like I often do, here’s a fantastic trick to speed up the cooling process safely: prepare a cold water bath. Fill a large bowl with cold water and plenty of ice cubes, then carefully place your hot dulce de leche can into this icy bath. Allow it to cool there for at least an hour, or until the can is completely cool to the touch. This method rapidly cools the can, neutralizing the internal pressure and making it safe to handle and open.
Once the can is completely cool to the touch and safe to open, grab your can opener. Carefully open the can, and behold! Inside, you’ll find your reward: a can filled with rich, creamy, and utterly delicious homemade dulce de leche. Transfer it to an airtight container if you’re not using it immediately. It can be stored in the refrigerator for up to 2-3 weeks, though I doubt it will last that long once you start enjoying it!
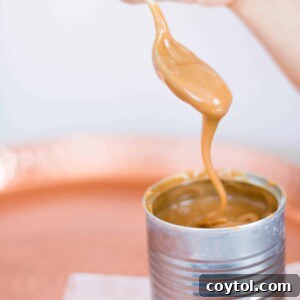
Easy Pressure Cooker Dulce de Leche Recipe
This easy pressure cooker dulce de leche recipe is a quick and foolproof way to make perfect caramel from sweetened condensed milk without ever opening the can.
Cook Time: 20-30 mins
Servings: 1 can
Print Recipe
Equipment
- Pressure cooker
Ingredients
- 1 can (14-16 oz) sweetened condensed milk (ensure it’s not evaporated milk)
Instructions
- First, carefully remove the paper label from the can of sweetened condensed milk. Use the rough side of a sponge under hot running water to clean off any remaining adhesive thoroughly.
- Place the cleaned can upright in your pressure cooker.
- Cover the can completely with water, ensuring there is at least two fingers’ worth (1-2 inches) of water over the top of the can. This ensures full submersion throughout cooking.
- Securely seal the pressure cooker according to your model’s instructions and set it to pressure mode.
- Place the pressure cooker on a stovetop burner over medium heat and cook until you hear a consistent hissing sound, indicating pressure has built.
- Once the hissing begins, set a timer for 20-30 minutes. Cook for 20 minutes for a lighter, thinner dulce de leche, or 25-30 minutes for a thicker, darker, and richer caramel.
- When the cooking time is complete, turn off the burner. Carefully release the pressure from the cooker using the release valve. Wait until all pressure has escaped and the safety indicator drops before proceeding.
- Once the pressure has been safely released, open the pressure cooker lid. Using sturdy tongs or a canning jar lifter, carefully remove the very hot can of condensed milk.
- IMPORTANT SAFETY WARNING: Do NOT open the can when it is hot. The contents are under pressure and extremely hot, which can cause a dangerous explosion and severe burns. Allow the can to cool completely before opening. To speed up cooling, you can place the can in a cold water bath filled with ice cubes for about an hour.
- Once the can is completely cool to the touch, open it with a can opener. Spoon out your delicious, homemade dulce de leche!
- Use it immediately, or transfer it to an airtight container and store in the refrigerator for up to 2-3 weeks.
Nutrition Information (Approximate per can)
Please note that nutrition information is automatically calculated and should be used as an approximation, as exact values may vary based on ingredients and preparation.
- Calories: 1271 kcal
- Carbohydrates: 215g
- Protein: 31g
- Fat: 34g
- Saturated Fat: 22g
- Cholesterol: 135mg
- Sodium: 503mg
- Potassium: 1469mg
- Sugar: 215g
- Vitamin A: 1057 IU
- Vitamin C: 10mg
- Calcium: 1125mg
- Iron: 1mg
Like this **Easy Pressure Cooker Dulce de Leche recipe**? Leave a comment below and let me know your thoughts or how you used it!
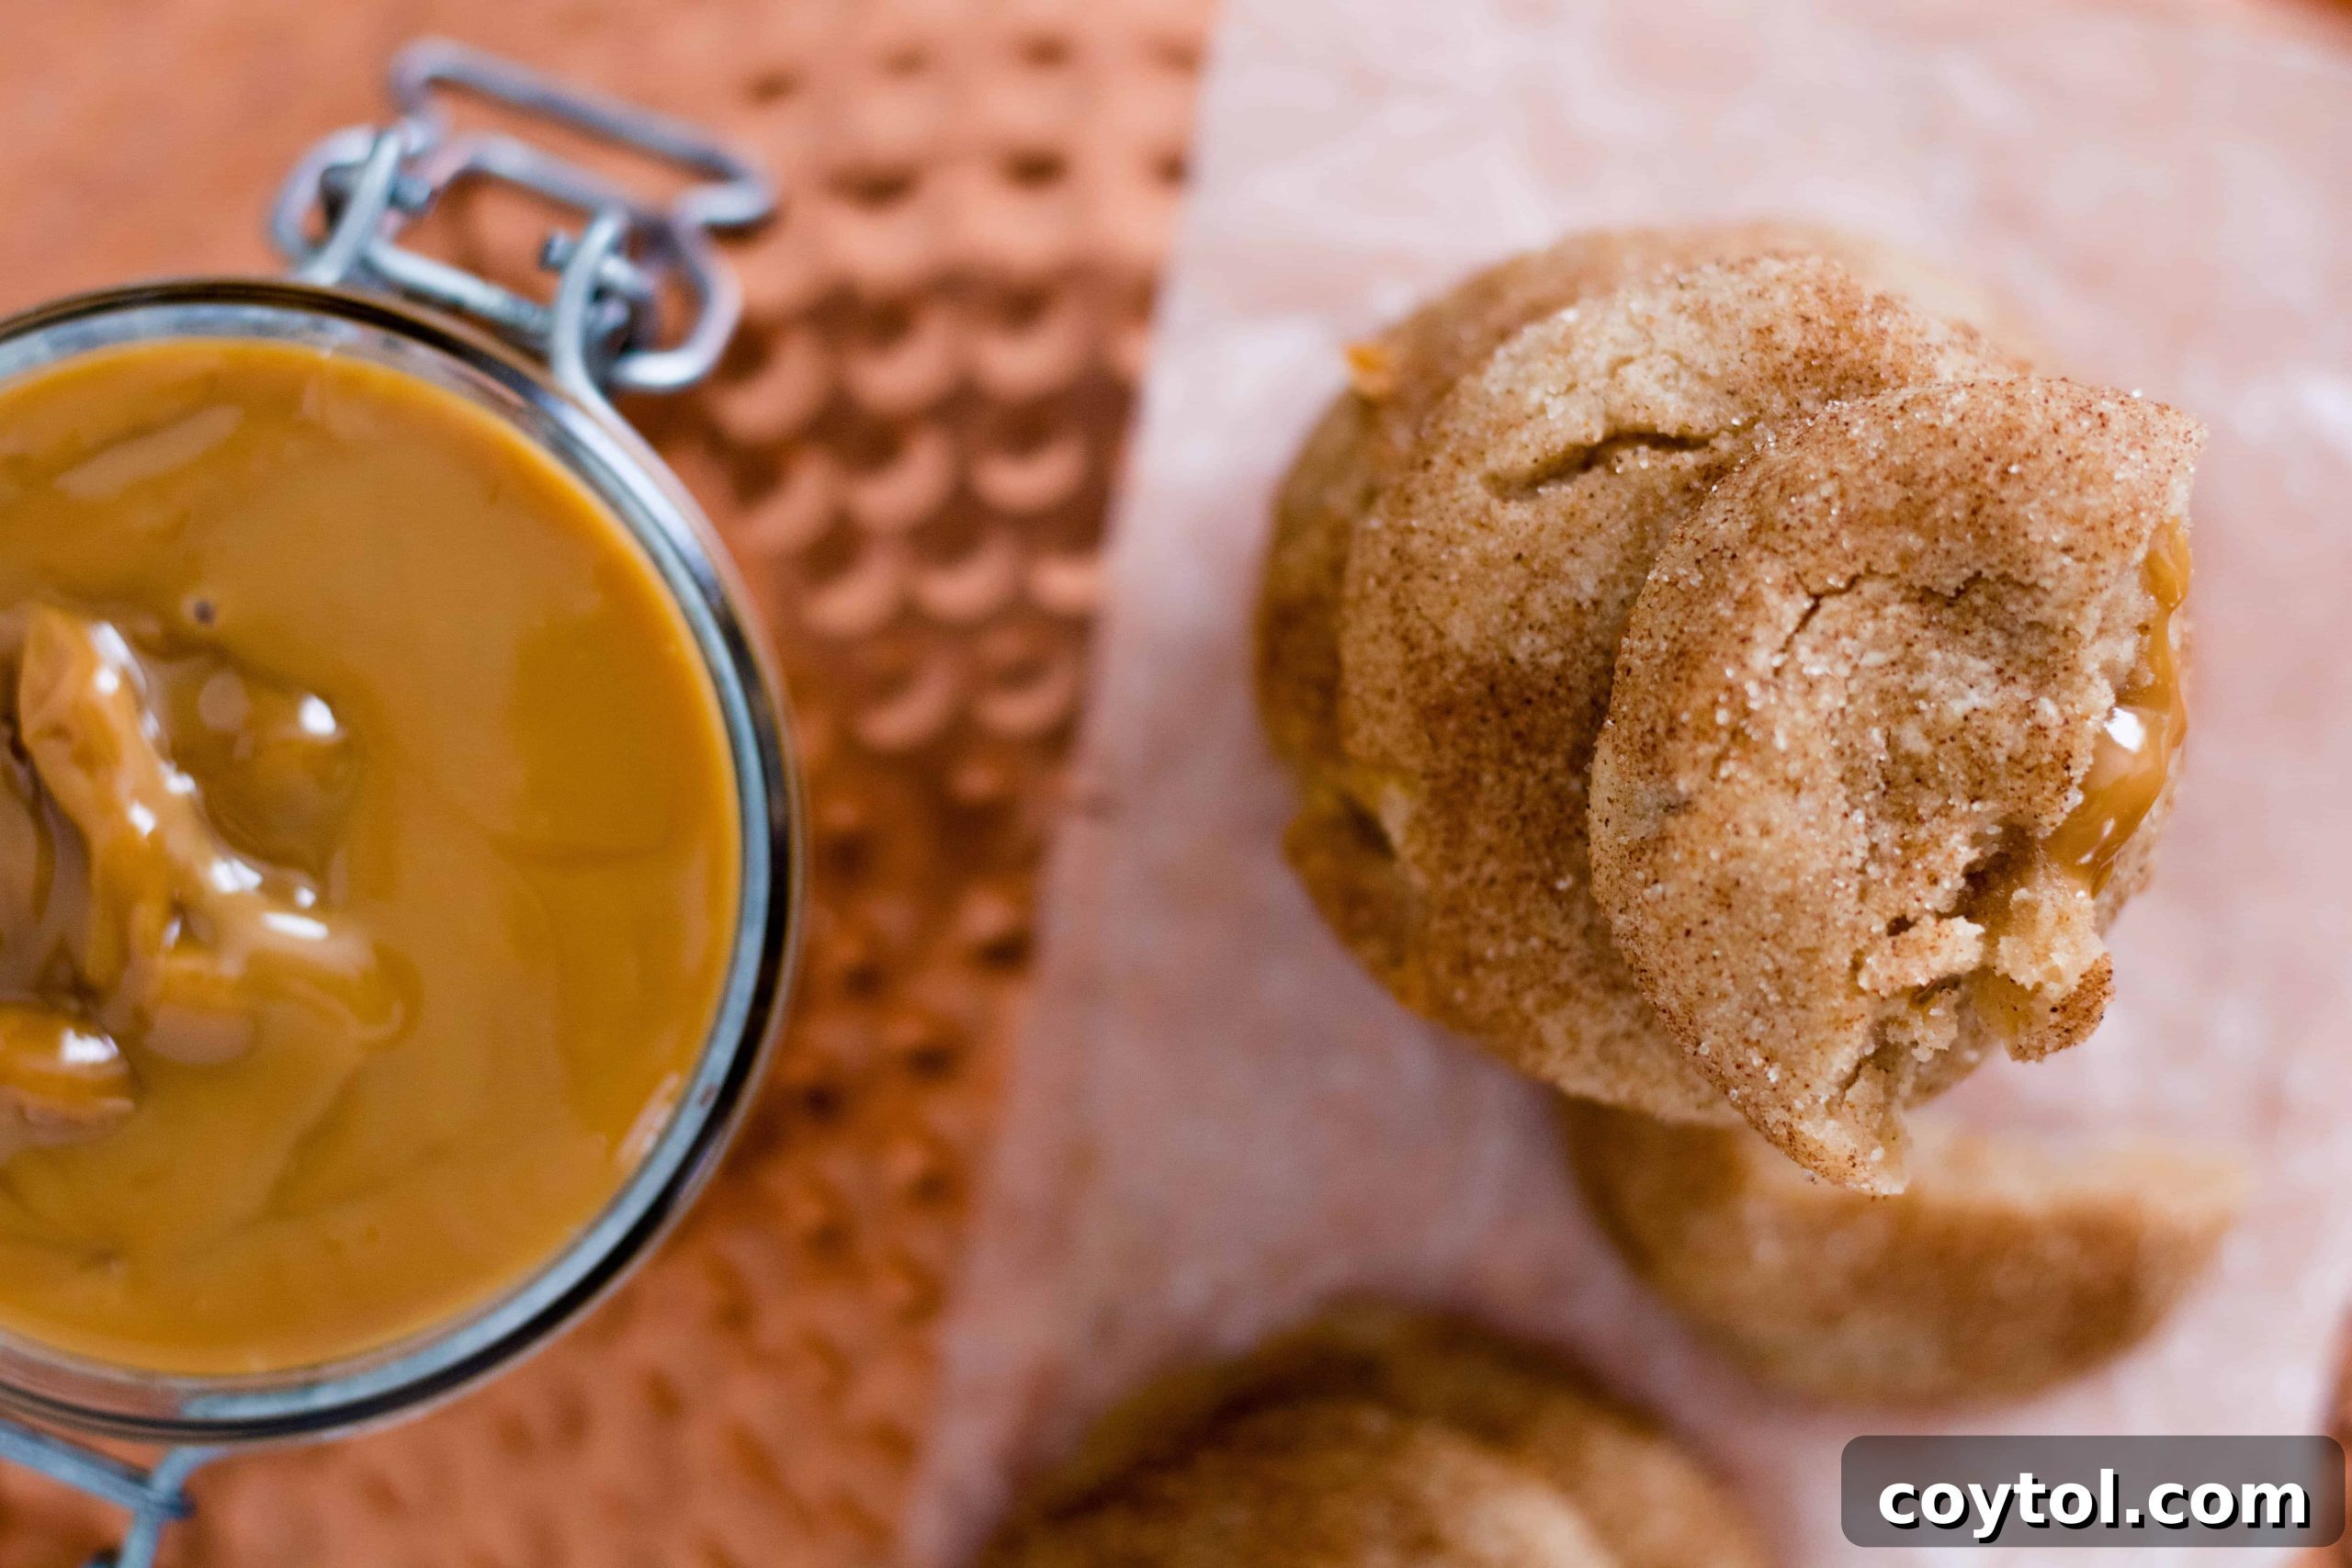
I initially made this **Easy Pressure Cooker Dulce de Leche Recipe** specifically to use as a luscious filling for my soon-to-be-posted Snickerdoodle cookies! The combination was absolutely divine; they tasted just like a gourmet version of Cinnamon Toast Crunch cereal. The addition of the creamy dulce de leche not only added a wonderful burst of moisture but also a delightful, sweet surprise with every bite. The versatility of this caramel is truly endless!
Beyond cookies, dulce de leche can be drizzled over ice cream, spread on toast, swirled into coffee, used as a filling for tarts and cakes, or even enjoyed straight from the spoon. Its rich, comforting flavor makes any dessert extra special. If you’re looking for more delicious baking inspiration, check out some of these related recipes:
- No Brown Sugar M&M’s Cookies: A delightful twist on a classic!
- Momofuku Compost Cookies: An adventurous blend of sweet and salty!
- The Best Gluten-Free Vegan Tahini Sesame Seed Cookie: Healthy and unbelievably tasty!
- Healthy Cookie Dough Chocolate Balls: Indulgent treats, guilt-free!
- Vegan Quick Chocolate Mousse: Light, airy, and intensely chocolatey.
- Healthy Vegan Double Chocolate Brownies: Rich, fudgy, and plant-based perfection.
- No Chill Brown Butter White Chocolate Macadamia Nut Cookies: A quick path to gourmet cookies!
Love this Easy Pressure Cooker Dulce de Leche Recipe? Don’t Forget to Pin It for Later!
If you enjoyed this simple yet incredibly rewarding recipe, make sure to save it for future reference! Pinning this recipe helps others discover it too, spreading the joy of homemade dulce de leche far and wide. You’ll thank yourself later when you’re craving that perfect caramel touch.