
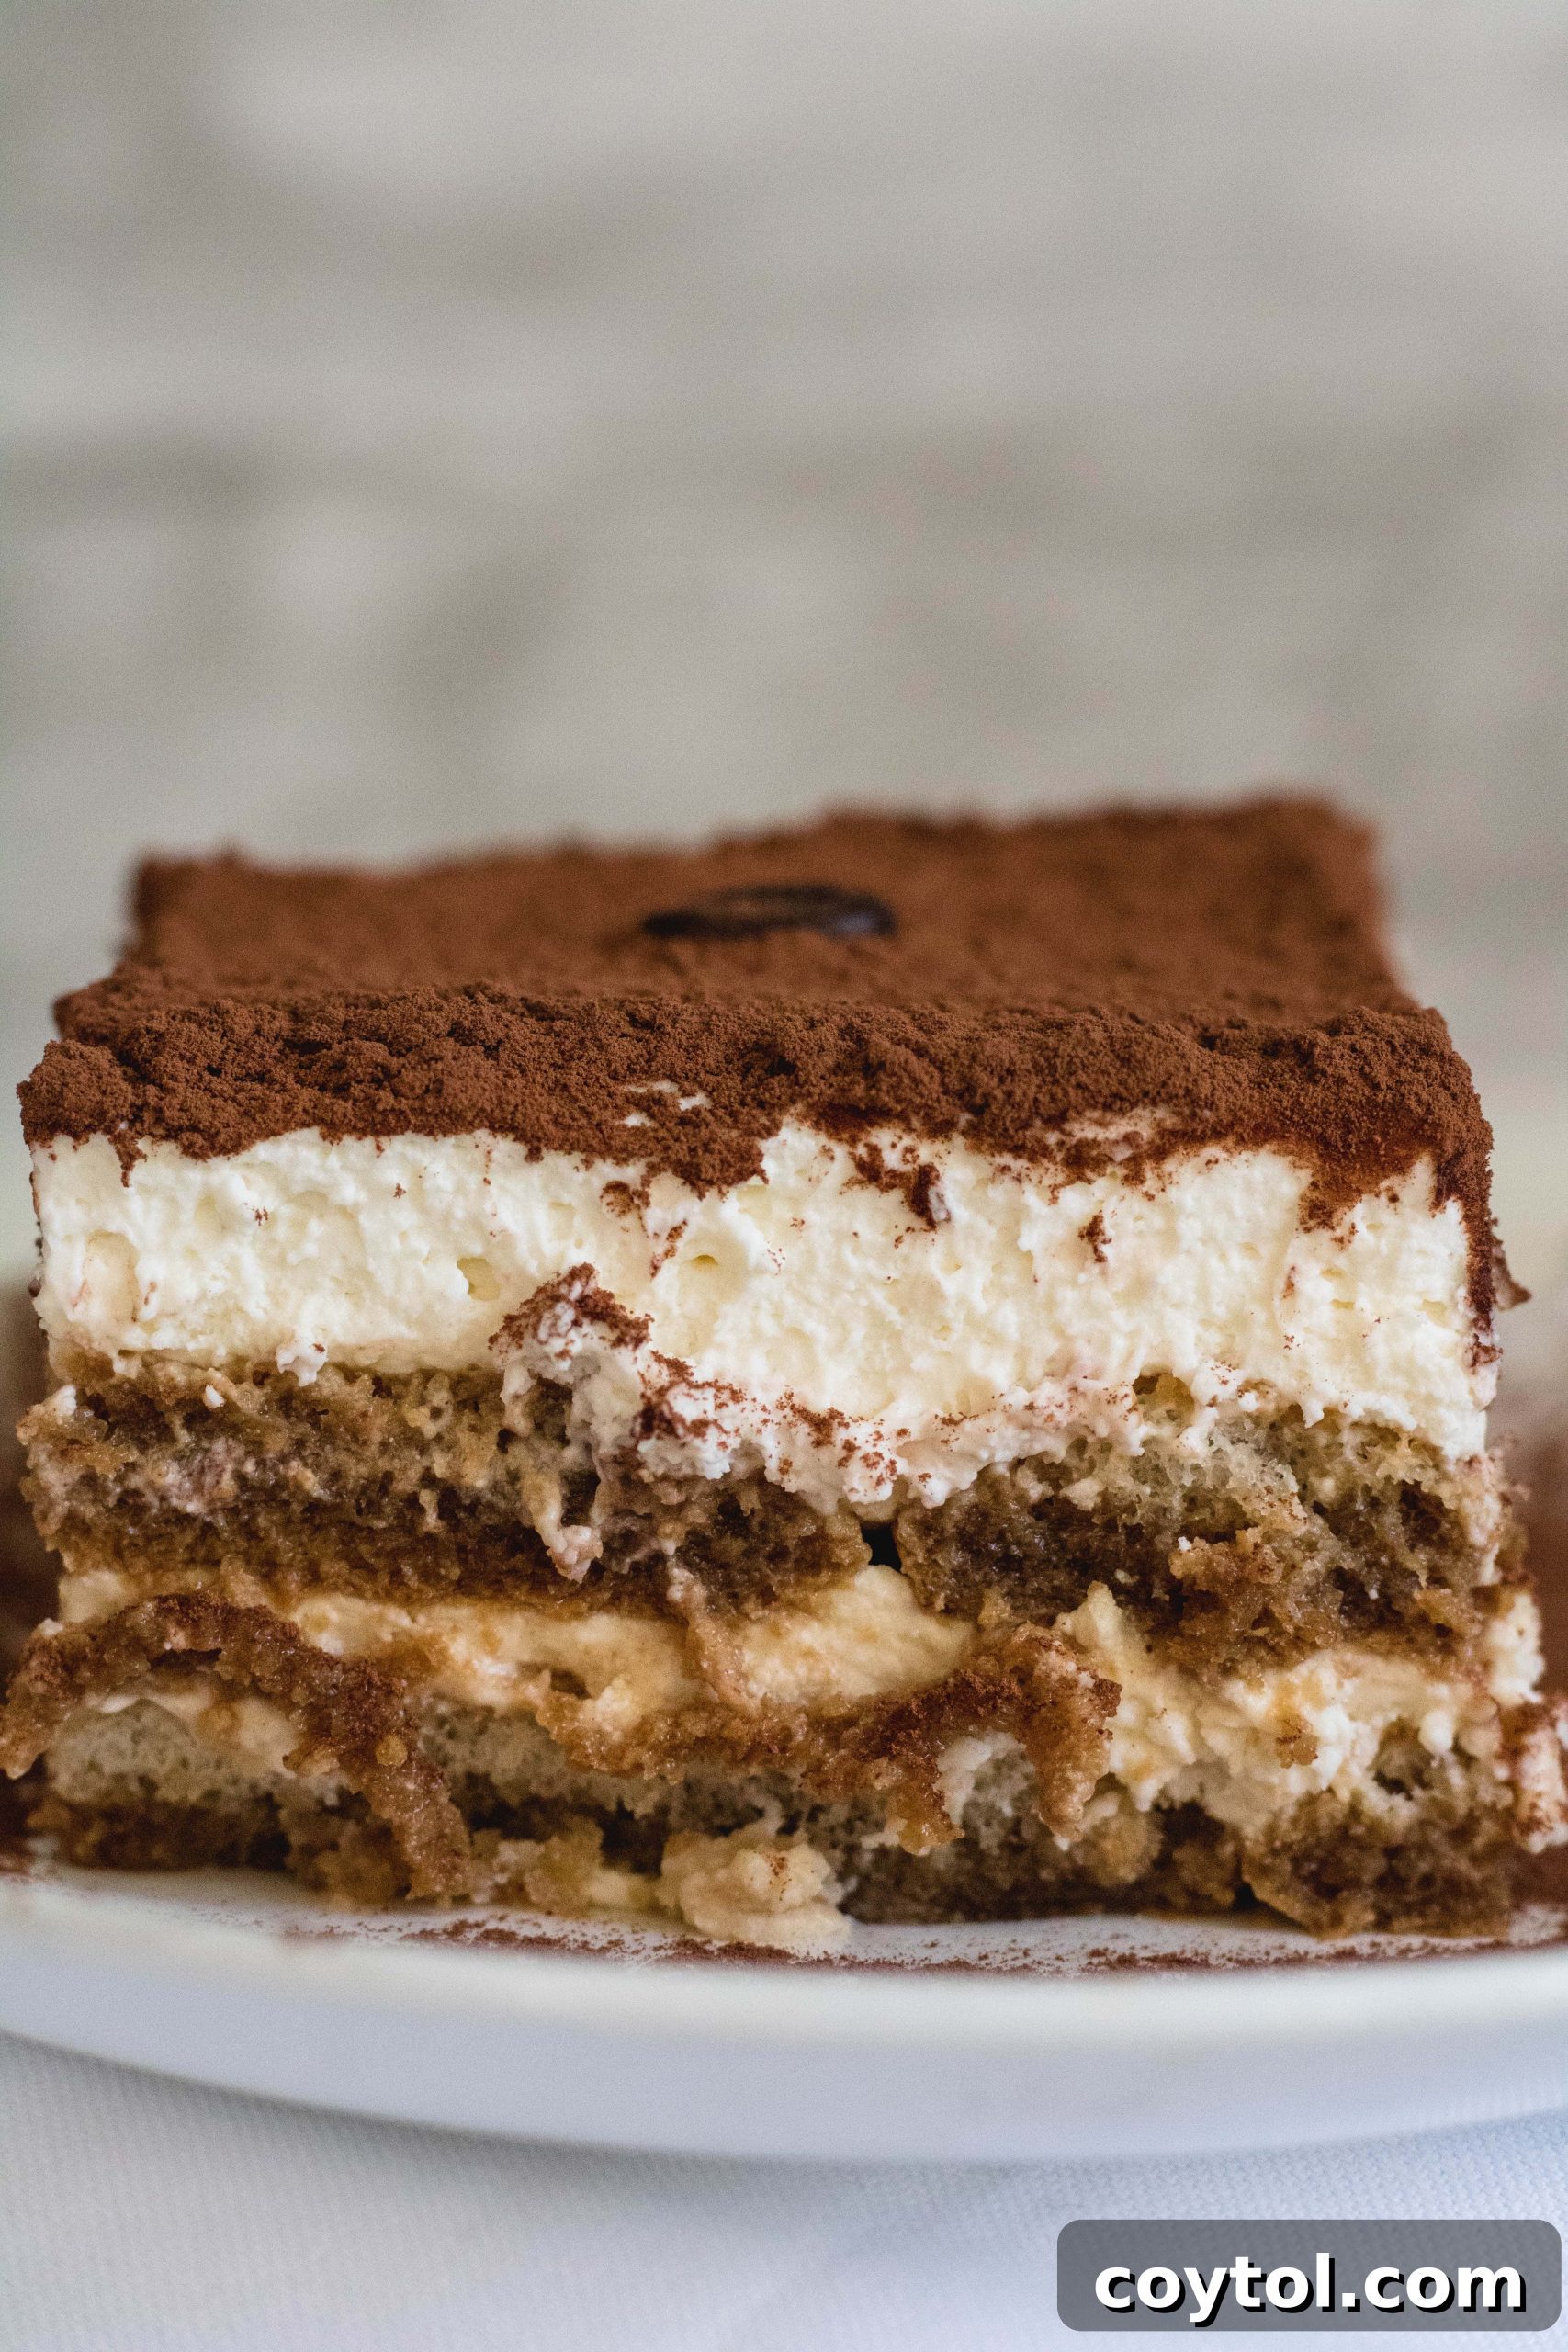
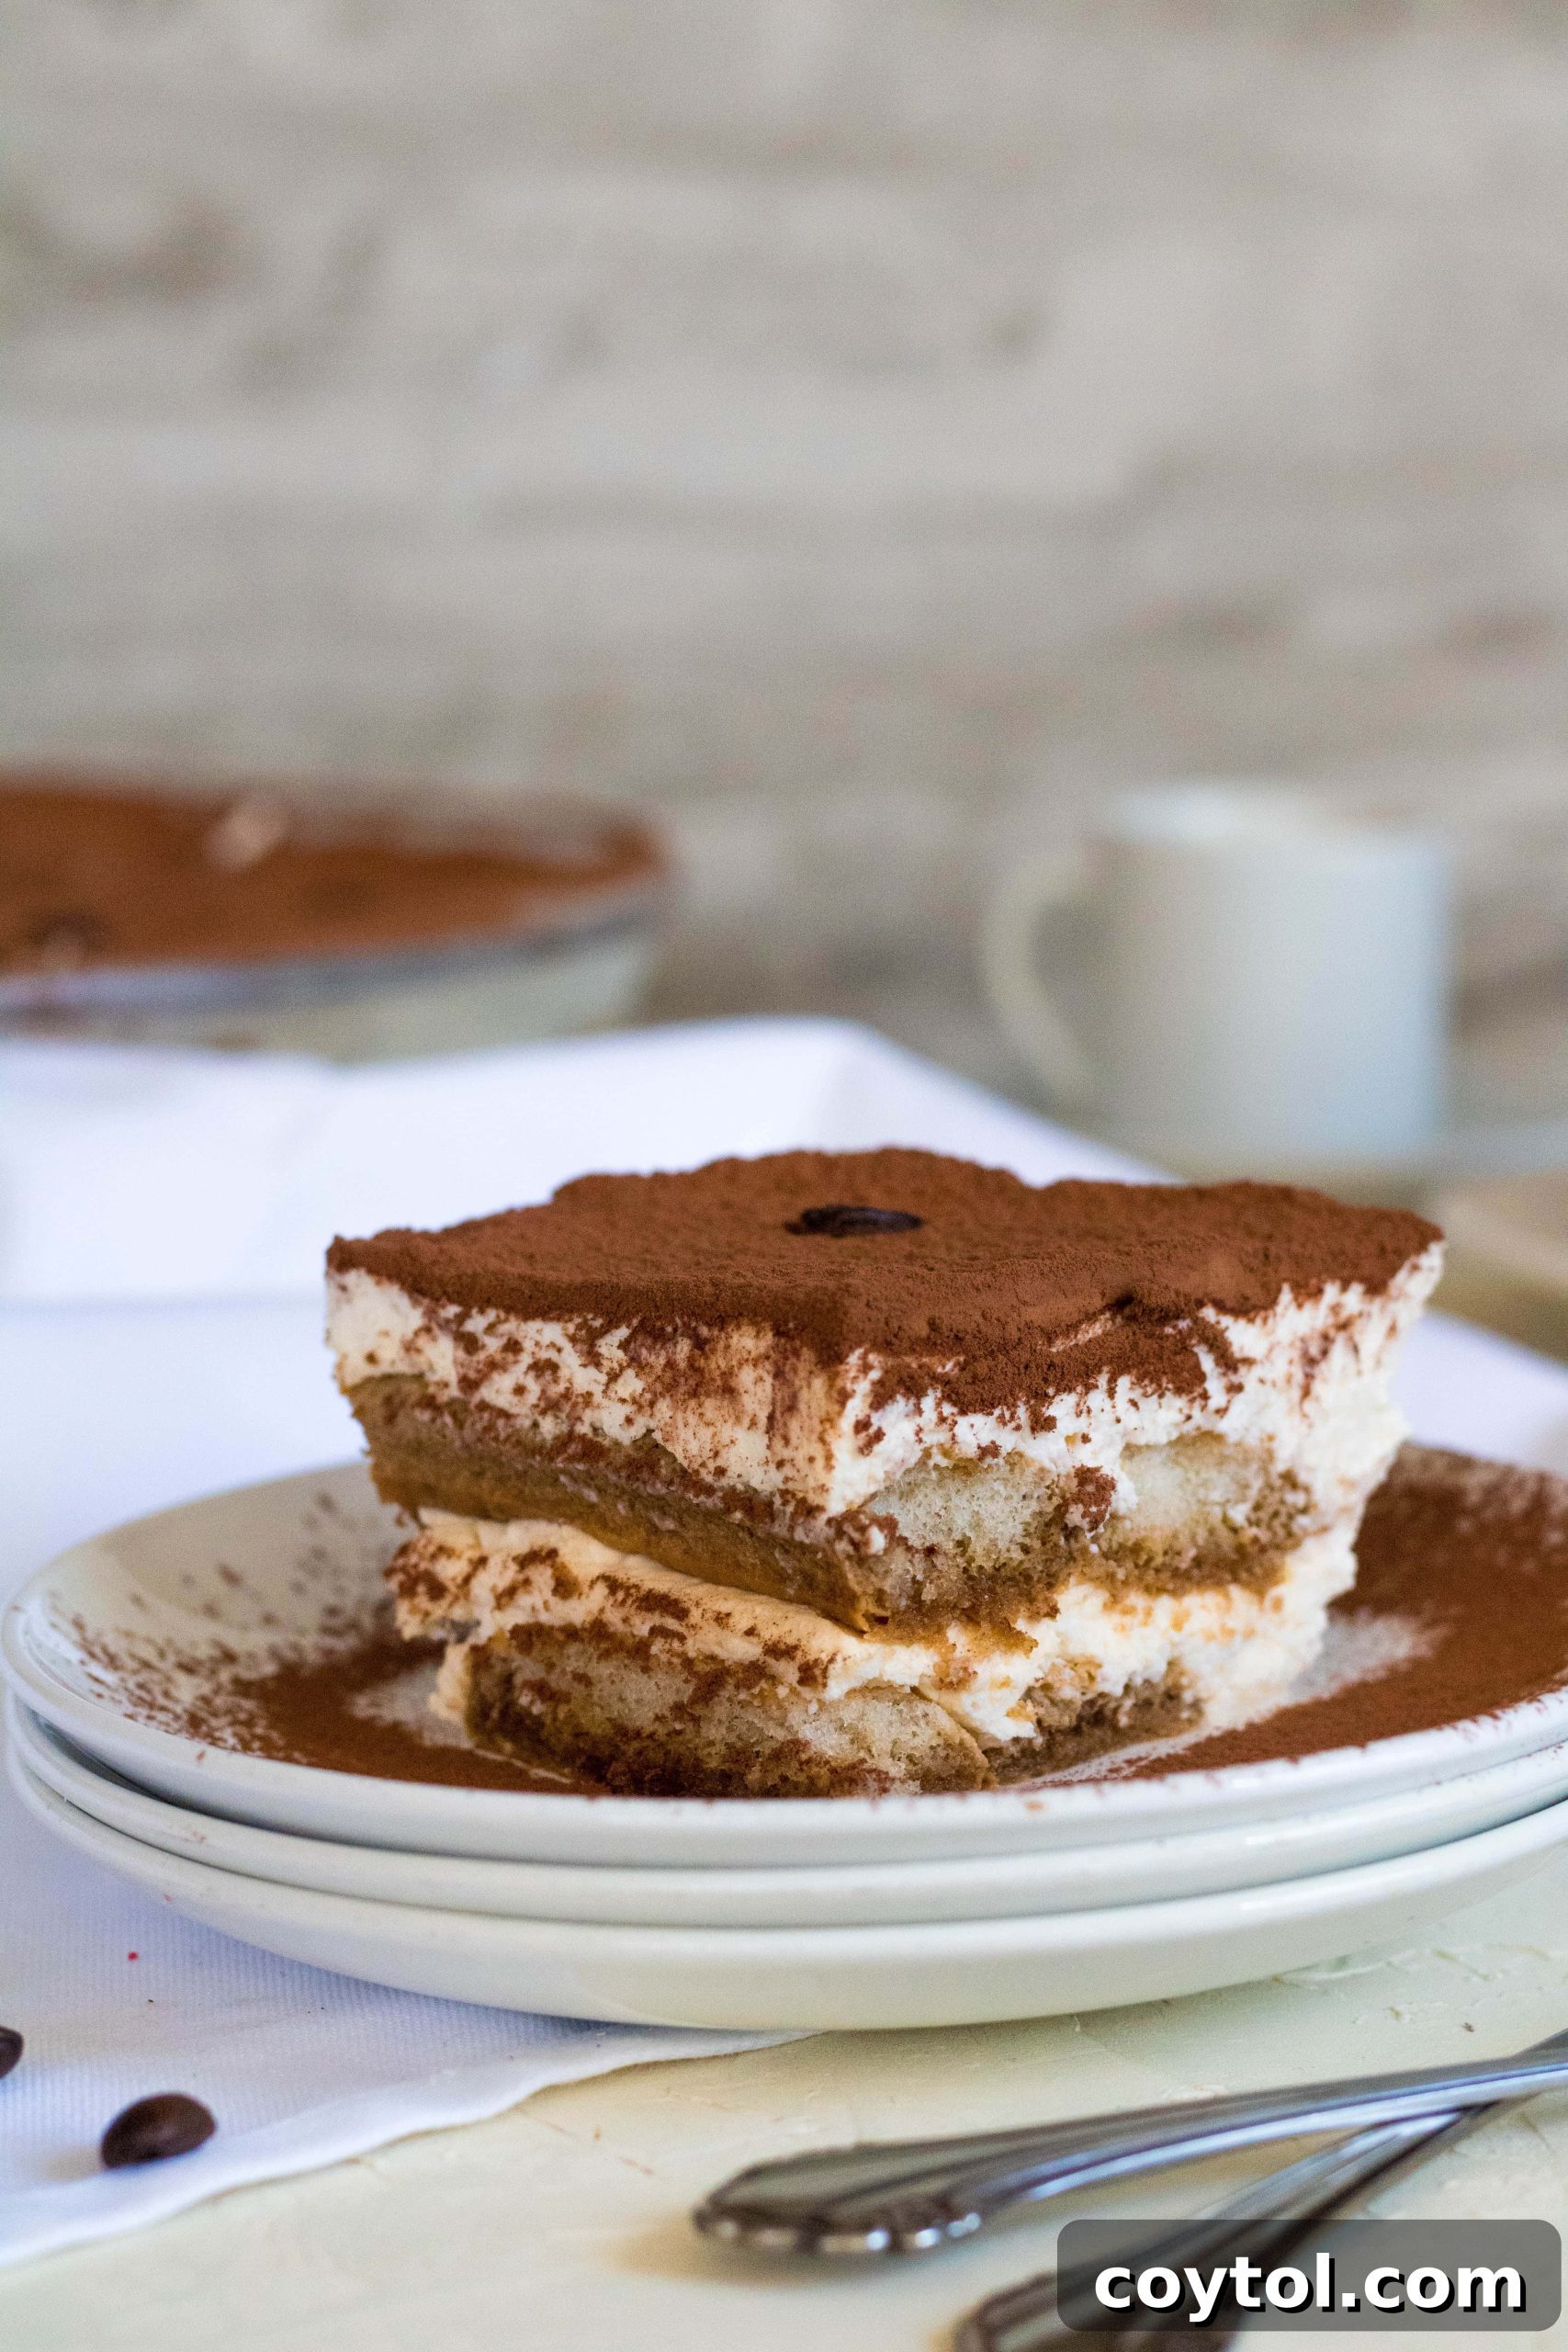
Welcome to the ultimate guide for creating an absolutely irresistible, easy, no-bake tiramisu that promises all the luxurious flavor of the classic Italian dessert with none of the fuss. This recipe features layers of creamy mascarpone, perfectly whipped cream, delicate coffee-soaked ladyfingers, and a generous dusting of rich cocoa powder. It’s designed to come together in under 20 minutes of active prep time, completely eliminating the need for raw eggs and complex cooking steps. Whether you’re a seasoned baker or a complete beginner, this streamlined tiramisu recipe is foolproof, delivering an indulgent treat that’s perfect for any occasion. Prepare to impress your guests, or simply treat yourself, with a dessert that’s not only simple to make but also tastes even better when prepared ahead of time.
If you adore the flavors of tiramisu, you’ll also love exploring other creative variations. Be sure to check out our tiramisu latte, decadent caramel macchiato tiramisu cups, and the unique tiramisu blondie recipe for more delightful treats.
“I made this and it turned out perfect. Shared with friends and a week later was asked to make it again. Thanks!”
– Valda
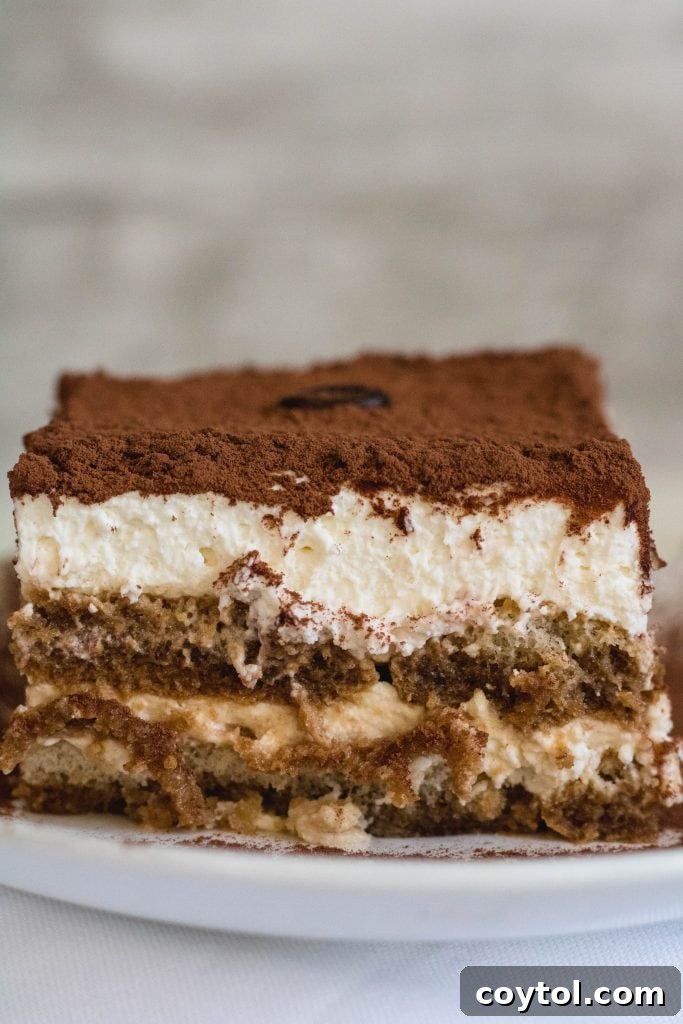
Quick & Easy Tiramisu Recipe FAQs
Yes, absolutely! This recipe is a completely no-bake tiramisu, perfect for those who want a delicious dessert without turning on the oven. The only preparation required involves whipping the cream and assembling the layers, making it incredibly simple and quick.
No, it does not. This recipe intentionally skips eggs entirely, making it a safer and more beginner-friendly option for everyone. You get the same rich, custardy texture without any concerns about raw ingredients.
Definitely! Tiramisu is one of those desserts that genuinely benefits from being made in advance. It tastes significantly better after chilling for several hours or even overnight, as this allows all the flavors to meld beautifully and the ladyfingers to fully absorb the coffee.
This particular version is designed to be alcohol-free, making it suitable for all ages and preferences. However, we’ve included optional alcohol variations further down in the recipe if you wish to add a traditional boozy kick to your dessert.
For the most authentic and robust flavor, strong espresso is highly recommended. If you don’t have an espresso machine, very strong brewed coffee (like French press or cold brew concentrate) or even instant espresso powder dissolved in hot water can be excellent substitutes. Ensure it’s cooled to room temperature before dipping the ladyfingers.
Let’s Chit Chat!
Hi everyone! I’m absolutely thrilled to share today’s recipe with you. As a food blogger, I’m always eager to hear what culinary creations you’d like to see next on the blog. When I receive recipe requests, it truly ignites my passion, and I genuinely get excited to test and perfect them for you.
This incredibly easy tiramisu recipe was a special request from my wonderful friend Nagam. We had such a fantastic time filming this recipe together, and she even shared it on her YouTube channel! You can catch all the fun and see the recipe come to life by clicking here. It’s a testament to how simple and enjoyable this process can be.
Now, let’s dive into everything you need to know to create this spectacular, yet surprisingly effortless, tiramisu in your own kitchen.
What is Tiramisu? A Journey into Italy’s Beloved Dessert
Tiramisu, meaning “pick me up” or “cheer me up” in Italian, is a world-renowned classic dessert celebrated for its delicate balance of rich, creamy textures and bold flavors. Hailing from Italy, this iconic treat traditionally features layers of coffee-soaked ladyfingers (savoiardi), a rich custard made from mascarpone cheese, eggs, sugar, and sometimes a hint of liqueur, all generously dusted with cocoa powder.
The exact origin of tiramisu is a subject of delightful debate among Italian regions, with Veneto and Friuli Venezia Giulia often cited as its birthplace. Legend has it that tiramisu was created in the 17th century in Siena to honor Cosimo III de’ Medici, or perhaps it emerged later in the 1960s in a restaurant in Treviso as a comforting, energizing dessert. Regardless of its precise beginnings, tiramisu quickly captured hearts with its invigorating combination of coffee and sugar, living up to its uplifting name.
While traditional tiramisu often involves preparing a zabaglione (a custard made with egg yolks, sugar, and Marsala wine), which can be time-consuming and intimidating for some home cooks, this easy version delivers the same indulgent, sophisticated flavor profile with significantly less effort and a streamlined, no-egg approach. Our recipe focuses on simplicity without compromising on the authentic taste experience that makes tiramisu so beloved worldwide.
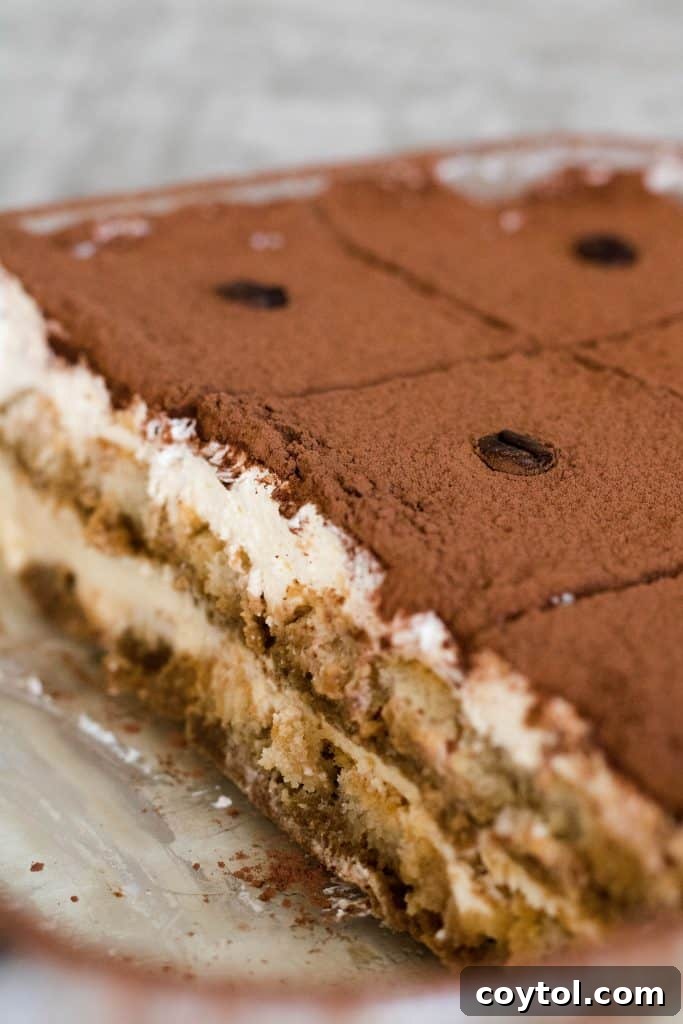
Why You’ll Adore This Effortless Tiramisu Recipe
This isn’t just another tiramisu recipe; it’s a game-changer for anyone who loves gourmet desserts but prefers a simple, stress-free process. Here’s why this easy tiramisu will become your go-to:
- Unbelievably Quick: With only about 10-20 minutes of active preparation, this recipe fits perfectly into even the busiest schedules.
- Completely No-Bake: Forget turning on the oven! This chilled dessert is perfect for warm weather or when you just want to keep things simple.
- No Raw Eggs Involved: Enjoy peace of mind knowing this recipe is entirely egg-free, making it safer and more accessible for everyone.
- Beginner-Friendly: Designed with simplicity in mind, it’s forgiving and easy to master, even if you’ve never made tiramisu before.
- Perfect for Any Occasion: Whether you’re hosting a dinner party, a casual get-together, or simply craving a sweet treat, this tiramisu always impresses.
- Ideal Make-Ahead Dessert: The flavors deepen and meld beautifully with time, making it a fantastic option to prepare a day or two in advance.
Don’t let the fancy name or the reputation of traditional tiramisu intimidate you. This recipe is approachable, incredibly forgiving, and consistently emerges as a crowd-pleaser, delivering all the rich, coffee-infused delight you expect from a classic Italian dessert.
Essential Tools for Your Tiramisu Creation
One of the beauties of this easy tiramisu recipe is that you don’t need a lot of specialized equipment. Here are the basic tools that will make your preparation smooth and efficient:
- A hand mixer or stand mixer: While a whisk and some elbow grease can work, a mixer is highly recommended for achieving perfectly whipped cream and a smooth mascarpone mixture with minimal effort.
- An 8×8 or 9×9 inch baking pan: A standard square baking dish is ideal for assembling and chilling your tiramisu. A glass dish also allows you to admire the beautiful layers.
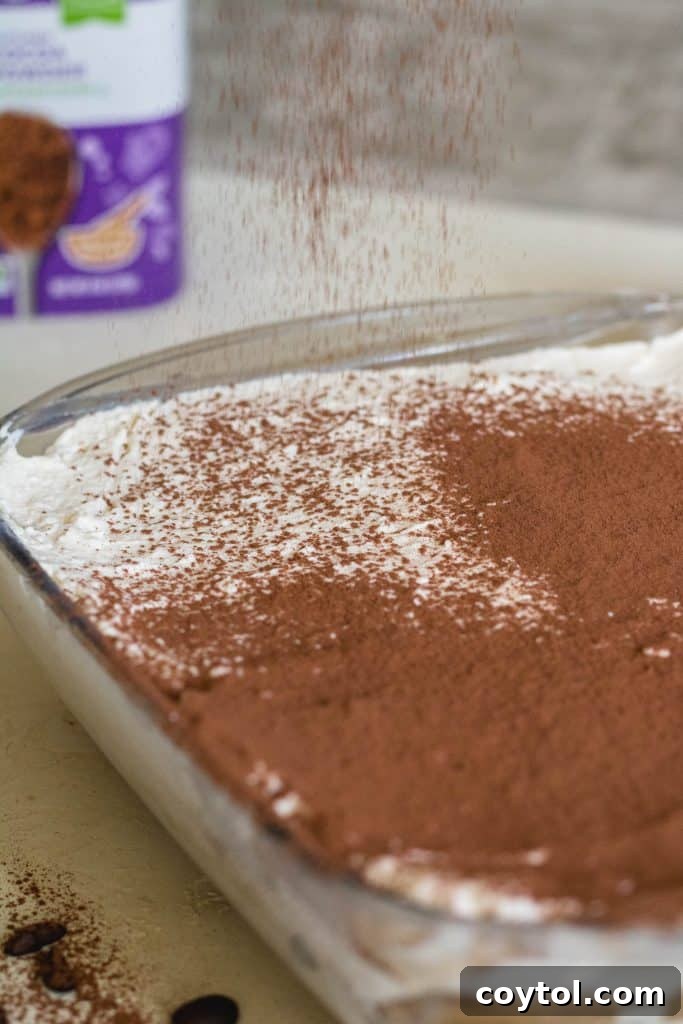
- A fine mesh sieve: Essential for dusting that flawless, even layer of cocoa powder over your finished tiramisu. It helps prevent clumps and ensures a professional finish.
- Mixing bowls: A couple of medium to large mixing bowls will be necessary for preparing your cream mixture and holding the coffee.
- Spatula or offset spatula: For spreading the mascarpone cream smoothly and evenly.
Key Ingredients for Your Delicious Tiramisu
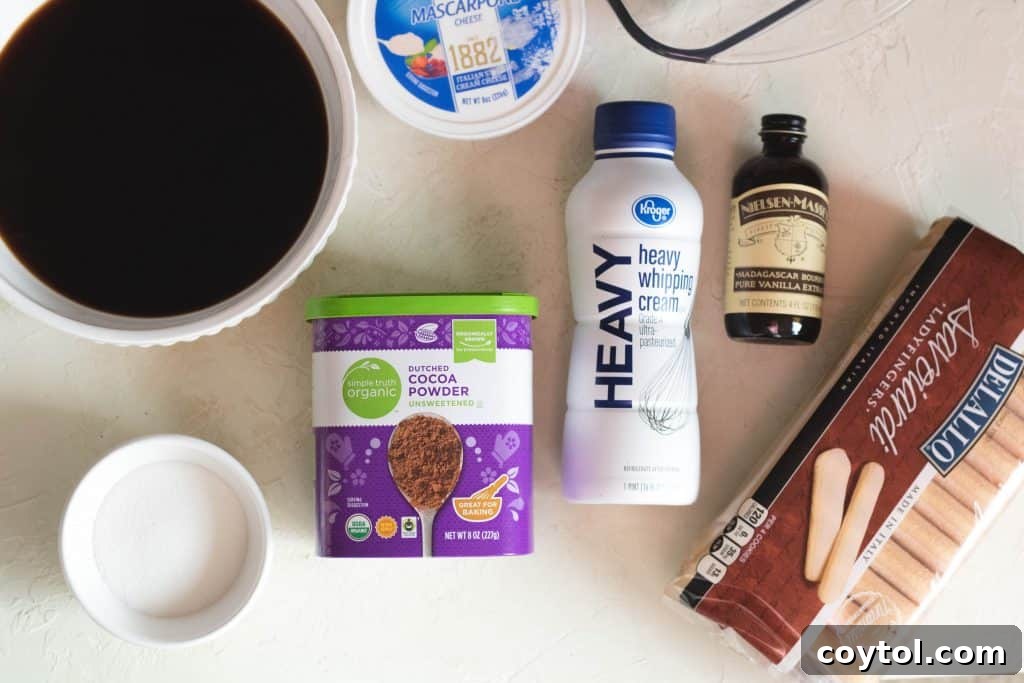
Crafting the perfect tiramisu, even an easy one, starts with quality ingredients. Here’s what you’ll need and why each component is crucial:
- Heavy Cream: This is the backbone of our creamy filling. Use very cold heavy cream (with at least 36% milk fat) for the best whipping results. Cold cream whips faster and achieves a more stable, voluminous texture.
- Mascarpone Cheese: The star of tiramisu! This Italian cream cheese provides the characteristic rich, slightly sweet, and tangy flavor. It’s essential to bring your mascarpone to room temperature before mixing to ensure a smooth, lump-free cream.
- Granulated Sugar: Used to lightly sweeten the mascarpone cream, balancing the bitterness of the coffee and cocoa. Adjust to your sweetness preference.
- Vanilla Extract: A touch of good-quality vanilla extract enhances all the other flavors, adding warmth and depth to the cream mixture. Pure vanilla extract is always preferred for superior taste.
- Strong Espresso or Coffee: This is what gives tiramisu its signature “pick-me-up” flavor. Espresso offers the most authentic depth, but strong brewed coffee (like dark roast or French press) works beautifully too. Ensure it’s completely cooled to room temperature before dipping the ladyfingers to prevent sogginess.
- Ladyfingers (Savoiardi): These dry, lightly sweet sponge biscuits are designed to absorb liquid without falling apart, making them ideal for tiramisu. You can use store-bought or, for a truly homemade touch, make your own.
- Cocoa Powder: The final flourish! A dusting of unsweetened, good-quality cocoa powder adds a lovely bitter contrast to the sweet cream and a beautiful visual appeal. Dutch-processed cocoa typically offers a darker color and mellower flavor.
Decoding Ladyfingers: What They Are & Where to Find Them
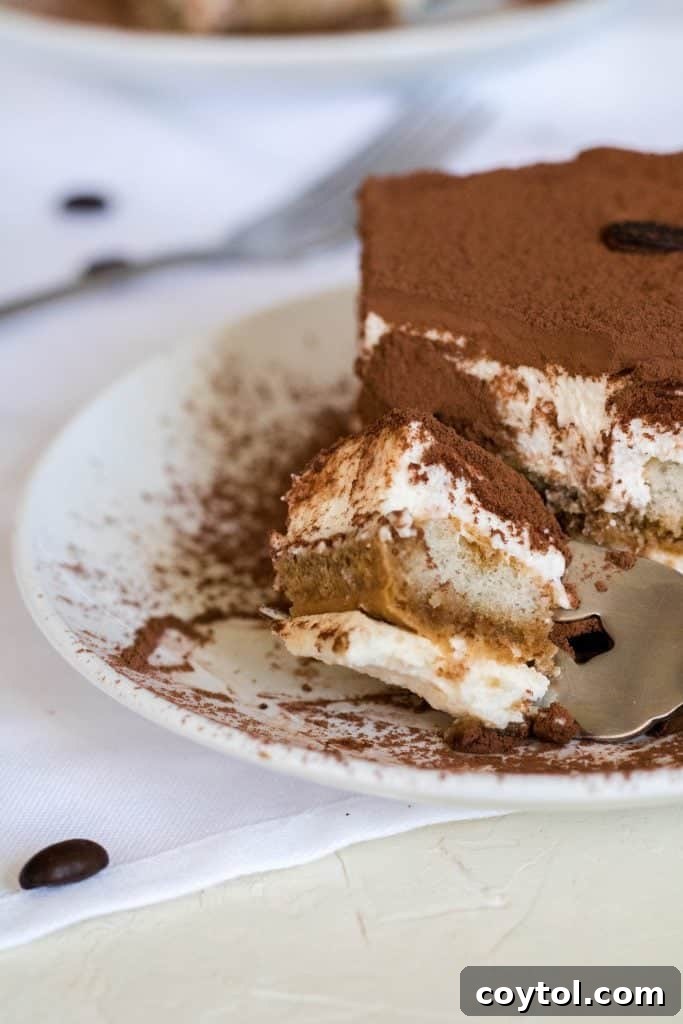
Ladyfingers, known as “savoiardi” in Italy, are a quintessential component of authentic tiramisu. These are distinctive, finger-shaped sponge cakes that are dry, lightly sweet, and have a wonderfully airy, porous texture. Their unique structure allows them to quickly absorb liquids like coffee without becoming overly soggy, making them perfect for creating the layered base of tiramisu.
Traditionally, ladyfingers are made from a delicate sponge cake batter piped into long, thin shapes and then baked until crisp. Their slightly rough, sugary exterior also helps them hold their form after soaking. When dipped in coffee, they become tender and moist, providing a delightful contrast to the creamy mascarpone layers.
Where to Find Ladyfingers:
You can typically locate ladyfingers in the cookie or international foods aisle of most well-stocked grocery stores. Look for packages labeled “ladyfingers” or “savoiardi.” If your local store doesn’t carry them, don’t despair! They are widely available online through various retailers. As a last resort, or if you’re feeling adventurous, you can even make them at home using a reliable recipe like this one from Serious Eats. Alternatively, in a pinch, you can sometimes substitute with thin slices of plain sponge cake or even some types of dry biscuit, though the texture will be slightly different.
Expert Tips for Your Best-Ever Tiramisu
Achieving tiramisu perfection is easier than you think, especially with these simple tips:
- Always Use Very Cold Heavy Cream: This is critical for whipping the cream successfully. Cold cream holds more air, resulting in a stable, voluminous, and airy whipped cream that won’t collapse.
- Dip Ladyfingers Quickly: The key to perfectly moist (not soggy) ladyfingers is a quick dip. About 5-8 seconds per side is usually ideal, depending on the dryness of your ladyfingers and the strength of your coffee. Any longer, and they’ll absorb too much liquid and your tiramisu will be soupy.
- Ensure Mascarpone is Room Temperature: Cold mascarpone is stiff and difficult to blend smoothly, often resulting in a lumpy cream mixture. Allow it to sit on the counter for 30-60 minutes before you start mixing.
- Don’t Overmix the Mascarpone Cream: Once the mascarpone is incorporated into the whipped cream, mix just until combined and smooth. Overmixing can cause the mascarpone cream to separate or become grainy.
- Chill Thoroughly: Tiramisu needs adequate time to chill. A minimum of 3 hours, or preferably overnight, allows the ladyfingers to soften completely, the flavors to meld, and the cream layers to set firmly, making for cleaner slices.
- Sift Your Cocoa Powder: For a beautiful, even, and clump-free dusting on top, always sift your cocoa powder.
Crafting Your Easy Tiramisu: A Step-by-Step Guide
The beauty of this recipe lies in its simplicity. Unlike traditional tiramisu, which often demands intricate steps like separating eggs, whisking a custard (zabaglione) over a double boiler, and carefully folding multiple components, our version streamlines the process for maximum ease and equally delightful results. You’ll achieve that rich, authentic taste without any of the culinary gymnastics.
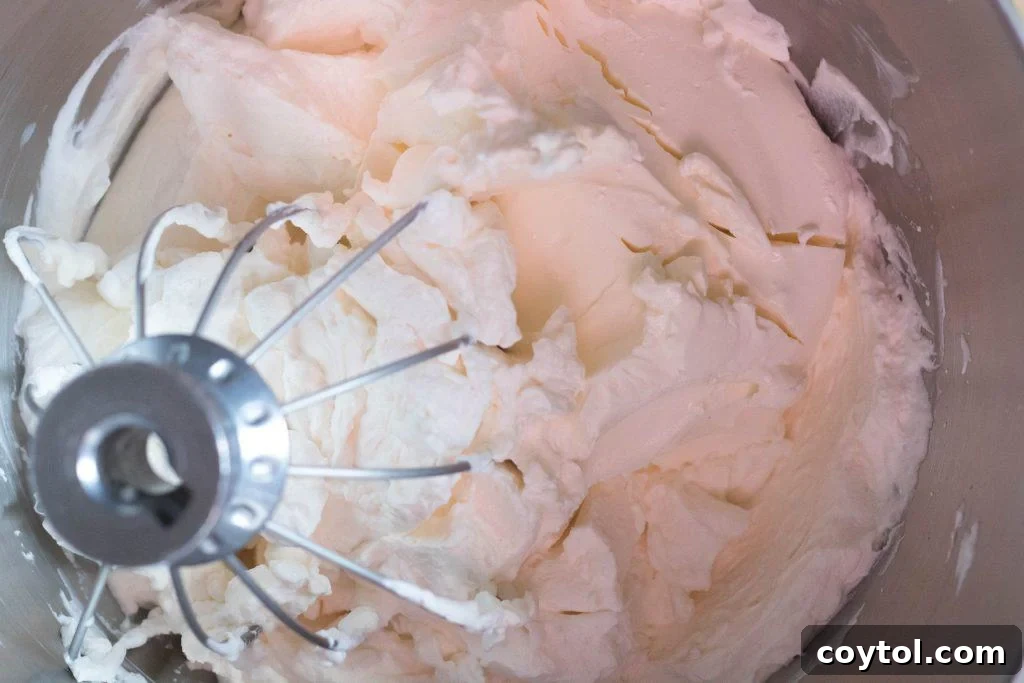
- Prepare the Mascarpone Cream: In the bowl of a stand mixer fitted with the whisk attachment (or using a hand mixer and a large bowl), combine the very cold heavy cream, granulated sugar, and vanilla extract. Whip on medium-high speed until stiff peaks form. The cream should be thick and hold its shape when you lift the whisk. Gently fold in the room-temperature mascarpone cheese until just combined and smooth. Be careful not to overmix.
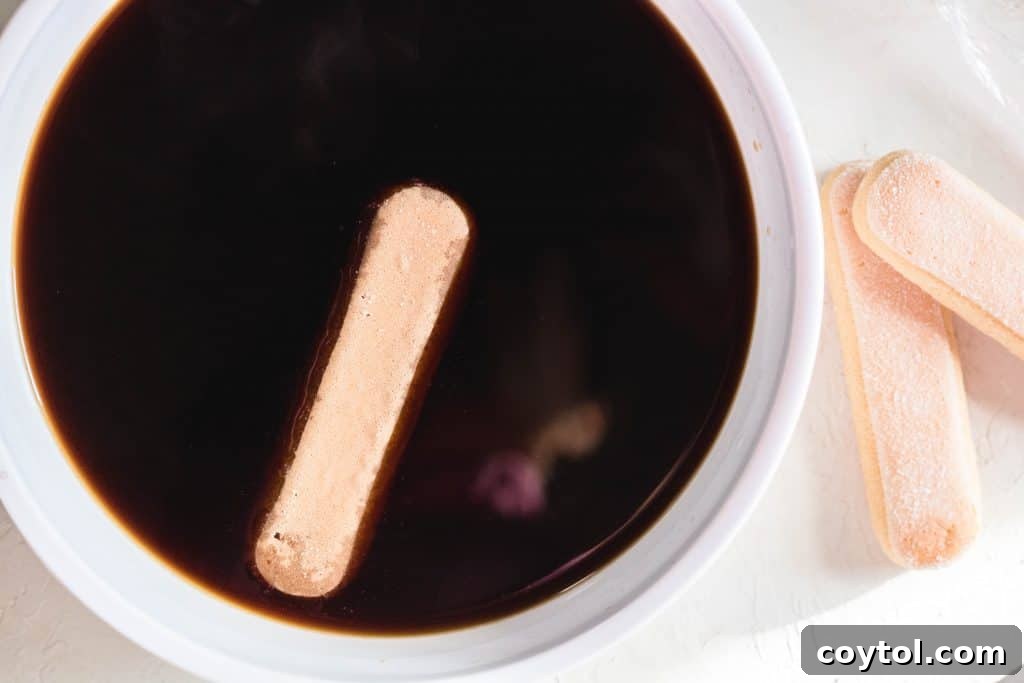
- Prepare the Ladyfingers: Pour the cooled espresso or strong coffee into a shallow bowl. Quickly dip each ladyfinger into the coffee for about 5-8 seconds per side. The goal is to moisten them without making them soggy. Arrange a single layer of the coffee-soaked ladyfingers at the bottom of an 8×8 or 9×9-inch baking dish, breaking them as needed to fit.
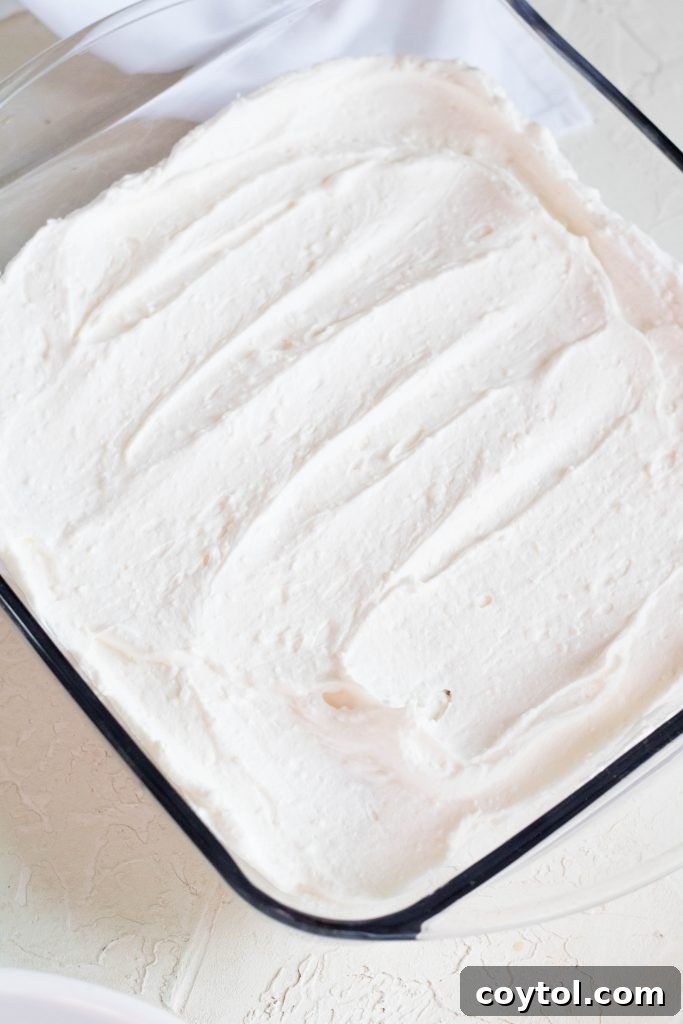
- First Cream Layer: Evenly spread half of the prepared mascarpone cream mixture over the layer of coffee-soaked ladyfingers. Use an offset spatula or the back of a spoon to create a smooth, consistent layer.
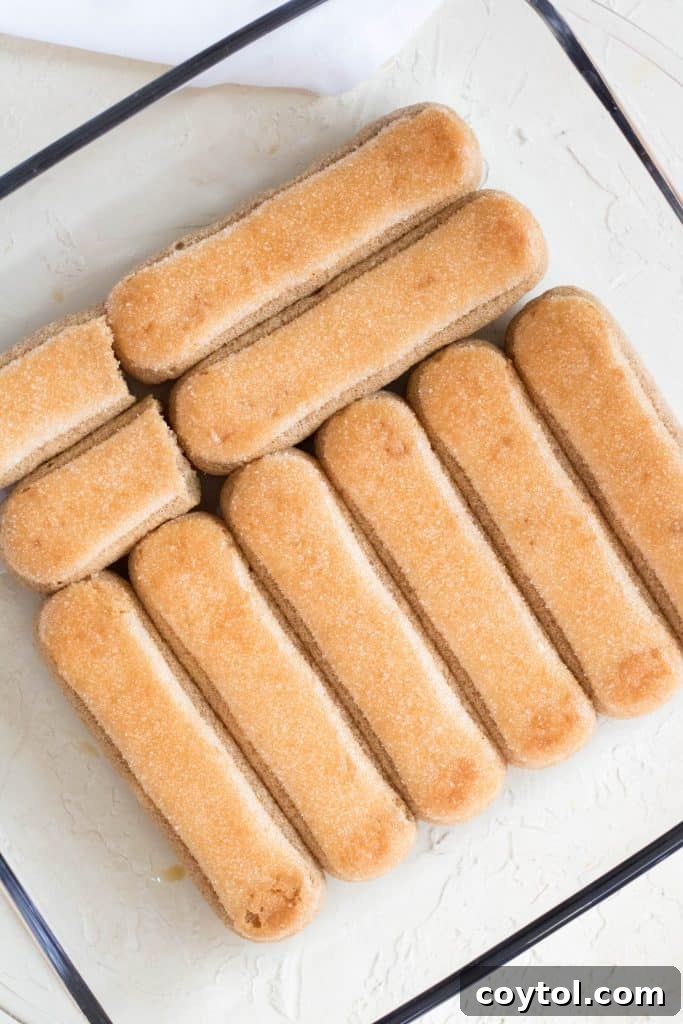
- Second Ladyfinger Layer: Repeat the dipping process and add another layer of coffee-dipped ladyfingers directly over the first mascarpone cream layer.
- Final Cream Layer & Dusting: Gently spread the remaining mascarpone cream mixture over the second layer of ladyfingers, ensuring it’s smooth and covers the entire surface. For the finishing touch, generously dust the top with unsweetened cocoa powder using a fine mesh sieve.
- Chill to Perfection: Cover the baking dish tightly with plastic wrap and refrigerate for at least 3 hours. For the best flavor and firmest set, chilling overnight is highly recommended. This allows the ladyfingers to fully soften and all the exquisite flavors to deepen and meld together beautifully.
Embracing Tradition: Alcohol or Alcohol-Free Tiramisu?
While this particular recipe is designed to be alcohol-free, offering a delicious dessert suitable for all ages and preferences, traditional tiramisu often includes a touch of liqueur to enhance its depth of flavor. If you prefer a more classic, boozy version, it’s incredibly easy to incorporate alcohol into this recipe without altering the main steps.
Optional Alcohol Additions:
Many types of liqueurs pair wonderfully with the coffee and chocolate flavors of tiramisu. Here are some popular choices:
- Kahlúa: A coffee-flavored liqueur that amplifies the espresso notes, adding a sweet and robust kick.
- Dark Rum: Provides a rich, caramel-like warmth and complexity that complements the coffee beautifully.
- Brandy or Cognac: Offers sophisticated fruity and woody undertones, lending an elegant depth to the dessert.
- Marsala Wine: A fortified wine, often used in traditional tiramisu’s zabaglione, which adds a nutty, sweet, and slightly oxidized flavor.
- Amaretto: An almond-flavored liqueur that introduces a delightful marzipan-like aroma and taste.
How to Add Alcohol:
To infuse your tiramisu with a hint of alcohol, simply stir about 2 to 4 tablespoons (adjust to your taste) of your chosen coffee-flavored or complementary liqueur directly into the cooled espresso or strong coffee before you begin dipping the ladyfingers. This method ensures the alcohol is evenly distributed throughout the dessert, soaking into the sponge biscuits alongside the coffee and contributing to a rich, multi-layered flavor experience.
Smart Substitutions for Your Tiramisu
Life happens, and sometimes you don’t have every ingredient on hand. Or perhaps you’re catering to dietary needs. Here are some clever substitutions that can help you still achieve a delicious tiramisu:
- Mascarpone Alternative: If mascarpone is unavailable or too expensive, you can create a surprisingly similar creamy texture. Combine 6 ounces of softened full-fat cream cheese with 2 tablespoons of sour cream and 3 tablespoons of heavy cream. Beat until smooth and fluffy. The sour cream adds a touch of the tanginess found in mascarpone, while the heavy cream helps to lighten the texture of the cream cheese.
- Espresso Substitute: No espresso machine? No problem! Substitute strong brewed coffee (such as a dark roast prepared with a French press or drip coffee maker, using less water than usual for a concentrated brew). You can also use instant espresso powder or instant coffee granules dissolved in a small amount of hot water to create a concentrated coffee liquid, then let it cool.
- Ladyfinger Alternatives: If ladyfingers are hard to find, plain sponge cake, pound cake, or even dense butter cookies (like shortbread) can be cut into appropriate shapes and briefly dipped in coffee. The texture will vary, but the flavor profile will remain intact. Ensure whatever you choose is somewhat sturdy to hold its shape after dipping.
- Vanilla Extract: If you’re out of vanilla, a tiny pinch of almond extract can offer a different, yet complementary, flavor profile.
- Cocoa Powder: While unsweetened cocoa powder is best, if you only have sweetened cocoa, use less sugar in the mascarpone cream to compensate.
Storing Your Homemade Tiramisu for Freshness
Proper storage is key to maintaining the delicious taste and texture of your tiramisu. As a dairy-based dessert, it requires refrigeration to stay fresh and safe to eat.
- Refrigeration: Tiramisu must always be refrigerated. Store it covered tightly with plastic wrap or in an airtight container in the fridge for up to 3 days. While it’s generally safe beyond that, the texture of the ladyfingers might become too soft, and the cream might lose some of its freshness.
- Chilling Before Serving: It’s crucial to chill the tiramisu for at least 3 hours or, ideally, overnight before serving. This allows the ladyfingers to fully absorb the coffee, the cream layers to set firmly, and all the flavors to deepen and meld together beautifully. Serving it too soon can result in a slightly runny or less flavorful dessert.
- Serving Temperature: Tiramisu is best served cold, straight from the refrigerator.
Freezing Instructions for Long-Term Enjoyment
Tiramisu freezes surprisingly well, making it a fantastic make-ahead dessert for future occasions. Here’s how to properly freeze and thaw your tiramisu:
- Preparation for Freezing: Assemble the tiramisu completely according to the recipe instructions, but do not dust with cocoa powder yet. The cocoa powder is best added just before serving.
- Wrapping: Once assembled, cover the entire baking dish tightly with several layers of plastic wrap. Ensure there are no air gaps to prevent freezer burn. Then, wrap it again with a layer of aluminum foil for added protection.
- Freezing Time: Freeze the tiramisu for up to 3 months. Label it with the date of freezing for easy tracking.
- Thawing: When you’re ready to enjoy your frozen tiramisu, transfer it from the freezer to the refrigerator to thaw overnight (at least 12-24 hours). Do not attempt to thaw it at room temperature, as this can affect the texture and safety.
- Final Touches: Once thawed and thoroughly chilled, remove the plastic wrap and foil. Dust generously with cocoa powder a few hours before you plan to serve it, then return it to the fridge until ready.
The Lazy Girl Tiramisu
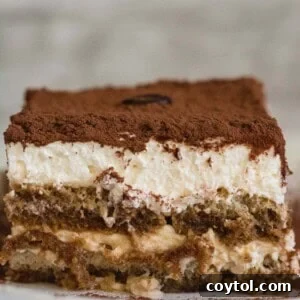
Tiramisu is the perfect dessert for all coffee lovers! This tiramisu is the ideal recipe for when you want an indulgent treat but don’t feel like spending hours in the kitchen. Inspired by authentic Italian tiramisu recipes but with a clever twist, this is truly the perfect lazy girl recipe!
10 mins
3 hrs 10 mins
9 servings
Print Recipe
Equipment
Ingredients
- 1 1/2 cup heavy cream
- 8 ounce mascarpone cheese at room temperature
- 1/3 cup granulated sugar
- 2 tsp vanilla extract
- 1 1/2 cup strong espresso at room temperature
- 1 package lady fingers
- cocoa powder for dusting
Instructions
- First, begin by adding the heavy cream, granulated sugar, and vanilla extract to the bowl of a stand mixer. Whip until stiff peaks form.
- Add in the room-temperature mascarpone cheese and gently mix it into the cream. Be careful not to over-mix; we want to combine it just until it is well incorporated and smooth. Set this mixture aside.
- Pour the cooled espresso or strong coffee into a shallow bowl. Quickly dip each ladyfinger into the coffee, ensuring they are moistened but not soggy. Place these coffee-soaked ladyfingers in a single layer at the bottom of your 8×8 inch baking pan.
- Smooth out half of the mascarpone mixture evenly over the first layer of ladyfingers. Then, repeat the process by dipping another batch of ladyfingers in the espresso and arranging them in a single layer over the mascarpone mixture.
- Top the second layer of ladyfingers with the remaining mascarpone mixture, smoothing it out over the top. Generously dust the entire surface of the tiramisu with cocoa powder using a fine mesh sieve.
- Place the assembled tiramisu in the refrigerator to chill for at least 3 hours, or preferably overnight, to allow the flavors to meld and the dessert to set firmly.
- Once chilled, serve and enjoy your delightful “lazy girl” tiramisu recipe!
Notes
Mascarpone cheese should always be at room temperature before mixing. If it’s too cold, it can cause the cream filling to turn lumpy instead of achieving a smooth, luxurious texture.
For an extra rich coffee flavor, consider brewing your espresso double strength.
If you prefer a slightly less sweet tiramisu, you can slightly reduce the amount of granulated sugar in the mascarpone cream.
Nutrition
Calories: 367 Calories
|
Carbohydrates: 24g
|
Protein: 5g
|
Fat: 28g
|
Saturated Fat: 17g
|
Cholesterol: 128mg
|
Sodium: 61mg
|
Potassium: 55mg
|
Fiber: 1g
|
Sugar: 9g
|
Vitamin A: 1058IU
|
Vitamin C: 1mg
|
Calcium: 71mg
|
Iron: 1mg
Nutrition information is automatically calculated and should only be used as an approximation. It may vary based on specific ingredients and preparation methods.
Enjoyed this recipe? Leave a comment below!
Your feedback helps us create more delicious content.