The Ultimate Guide to Making Homemade Marshmallows from Scratch
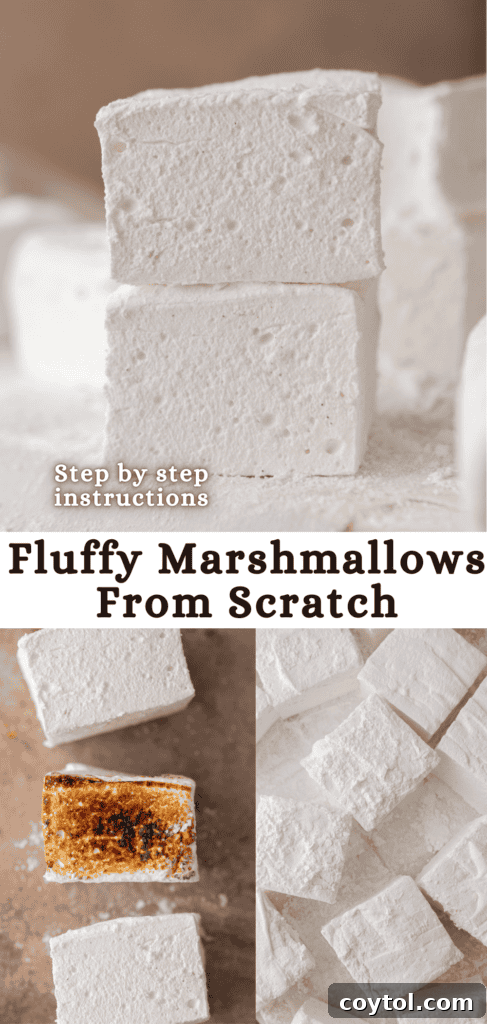
Transform your dessert experience with this incredible homemade marshmallow recipe! Forget those bland, rubbery store-bought versions; these melt-in-your-mouth, cloud-like treats are a revelation. Crafted with just a few simple pantry staples, you’ll discover a world of flavor and texture that will make you wonder why you ever settled for less. Perfect for elevating your hot cocoa, creating gourmet s’mores, or simply enjoying as a delightful, fluffy snack, these marshmallows are a game-changer.
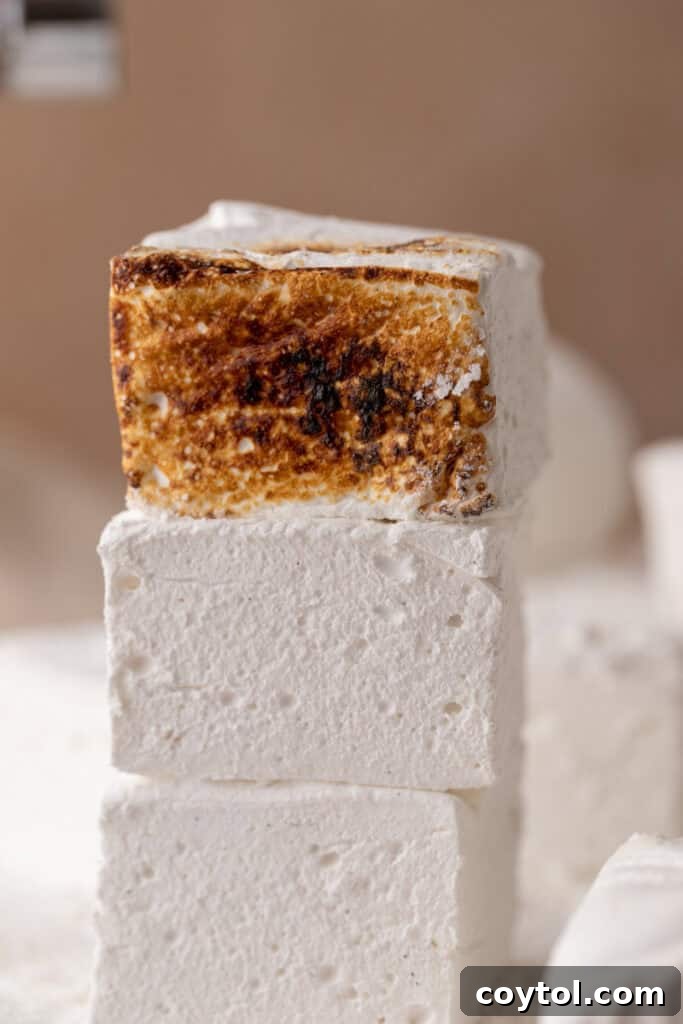
Imagine cozy evenings by a crackling fire, a warm mug of rich hot chocolate topped with a glistening, homemade marshmallow. Or perhaps a summer night gathered around a bonfire, toasting a perfectly golden, gooey marshmallow for the ultimate s’more. These aren’t just dreams; they’re the reality this recipe brings to your kitchen. Whether you’re aiming to impress guests with your culinary prowess or indulging in a fun, rewarding kitchen project, these homemade vanilla marshmallows offer the perfect blend of sweet nostalgia and irresistible DIY charm.
For too long, the idea of making marshmallows from scratch has intimidated many home bakers. I used to be one of them! However, through experimentation and a desire to create truly superior confections, I discovered that the process is far simpler and more accessible than it seems. My goal with this comprehensive guide is to demystify marshmallow making, empowering you to whip up these delightful treats with confidence and ease. Prepare to amaze your friends and family (and yourself!) with a batch of the most delicious, fluffy marshmallows they’ve ever tasted, just in time for the holiday season or any special occasion.
If you enjoy exploring delightful marshmallow recipes, don’t miss our Chocolate-Dipped Marshmallows Recipe for an extra touch of decadence, and pair these fluffy delights with our comforting Single Serve Hot Cocoa Recipe for the ultimate treat.
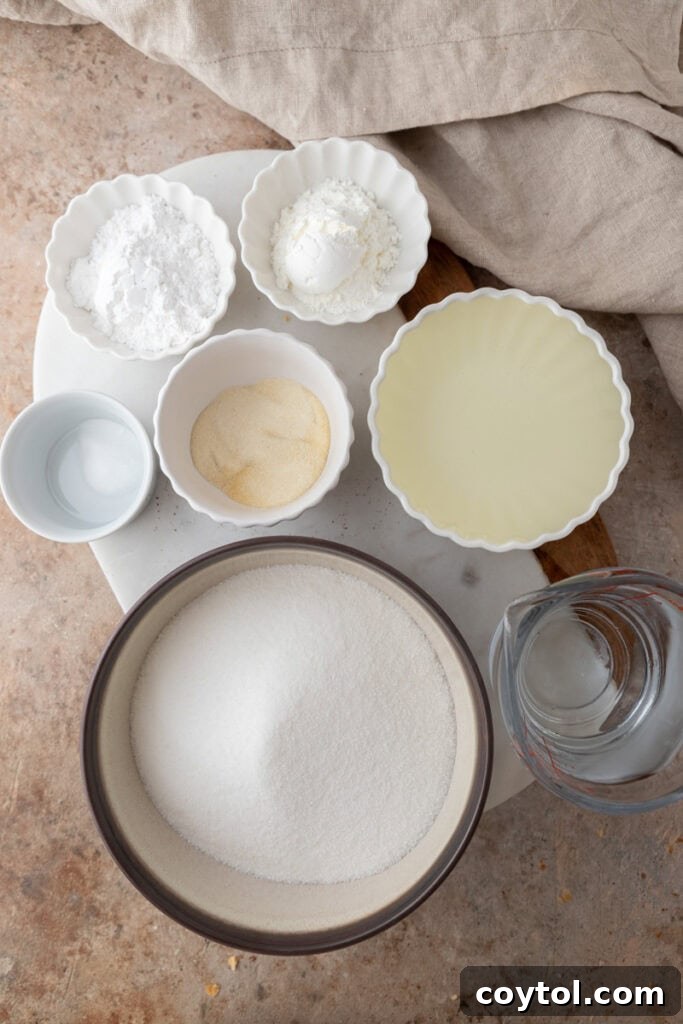
Essential Ingredients for Pillowy Homemade Marshmallows
Crafting these luxurious, airy marshmallows requires just a handful of common pantry items. Each ingredient plays a vital role in achieving that signature bouncy texture and sweet, delicate flavor. Here’s a closer look at what you’ll need and why each component is essential for your marshmallow-making success:
- Cold Water: This crucial ingredient serves two primary purposes. First, a divided portion is used to properly hydrate, or “bloom,” the gelatin, preparing it to dissolve smoothly. Second, the remaining water is combined with the sugar to create the foundational syrup for the marshmallows. Using cold water for blooming the gelatin is key to preventing clumps and ensuring even dissolution.
- Unflavored Gelatin (3 envelopes, approx. 7.5g each): Gelatin is the magical ingredient responsible for giving marshmallows their iconic structure, elasticity, and delightful chewiness. Without it, your marshmallows wouldn’t hold their shape or achieve that satisfying bouncy texture. Ensure you use unflavored gelatin to allow the vanilla and other flavors to shine through.
- Granulated Sugar: Beyond simply sweetening the marshmallows, granulated sugar contributes to the syrup’s consistency and stability. When heated to the proper temperature, it forms a crystalline structure that helps create a robust framework for the airy confection.
- Light Corn Syrup: This ingredient is a secret weapon against sugar crystallization, a common pitfall in candy making. Corn syrup, an invert sugar, helps keep the sugar syrup smooth and prevents it from turning grainy. It also adds a subtle sheen and contributes to the marshmallow’s soft, pliable texture, making them delightfully chewy without being sticky.
- Salt: A small pinch of salt is a flavor enhancer that works wonders in sweet recipes. It balances the intense sweetness of the sugar and vanilla, bringing out a more complex and well-rounded flavor profile in your marshmallows. Don’t skip it!
- Vanilla Extract or Vanilla Bean Paste: The essence of classic marshmallows lies in their vanilla flavor. High-quality vanilla extract or, for an even richer and more visually appealing result, vanilla bean paste, infuses the marshmallows with a warm, aromatic, and deeply satisfying taste. This is where you can truly make them your own by choosing a premium vanilla.
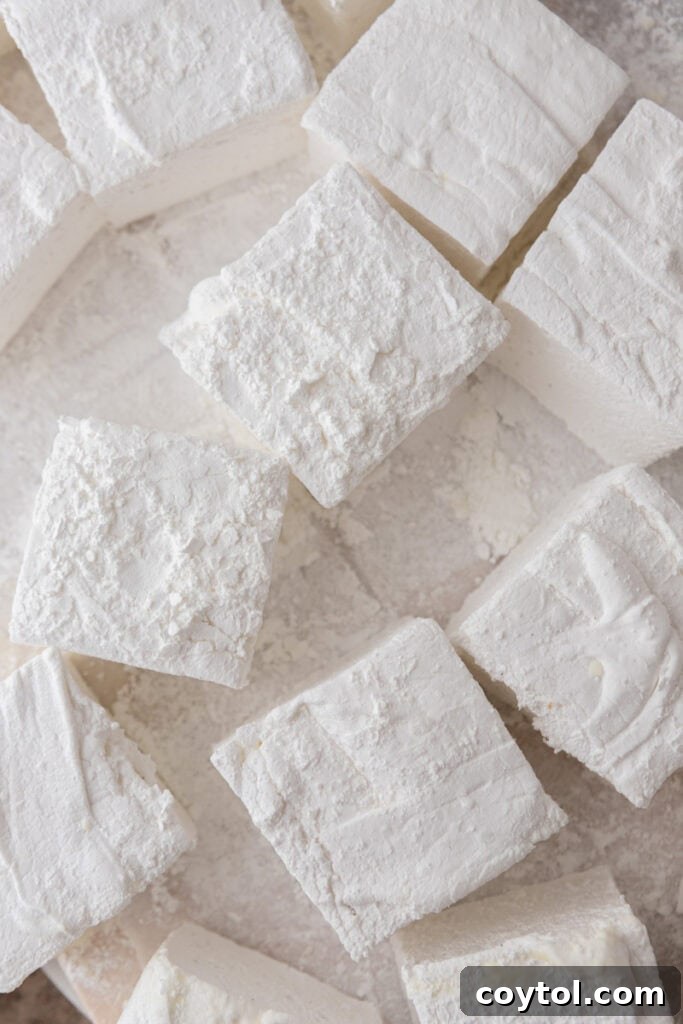
- Powdered Sugar (for dusting): Powdered sugar is essential for preventing your finished marshmallows from sticking to everything – the pan, your knife, your hands, and each other. It creates a dry, smooth coating that makes them easy to handle and store. It also adds an extra touch of sweetness.
- Cornstarch (for dusting): Working in harmony with powdered sugar, cornstarch further enhances the anti-stick properties of the coating. It helps absorb any residual moisture, ensuring a truly non-sticky marshmallow. The combination also helps to temper the sweetness slightly, creating a more balanced outer layer.
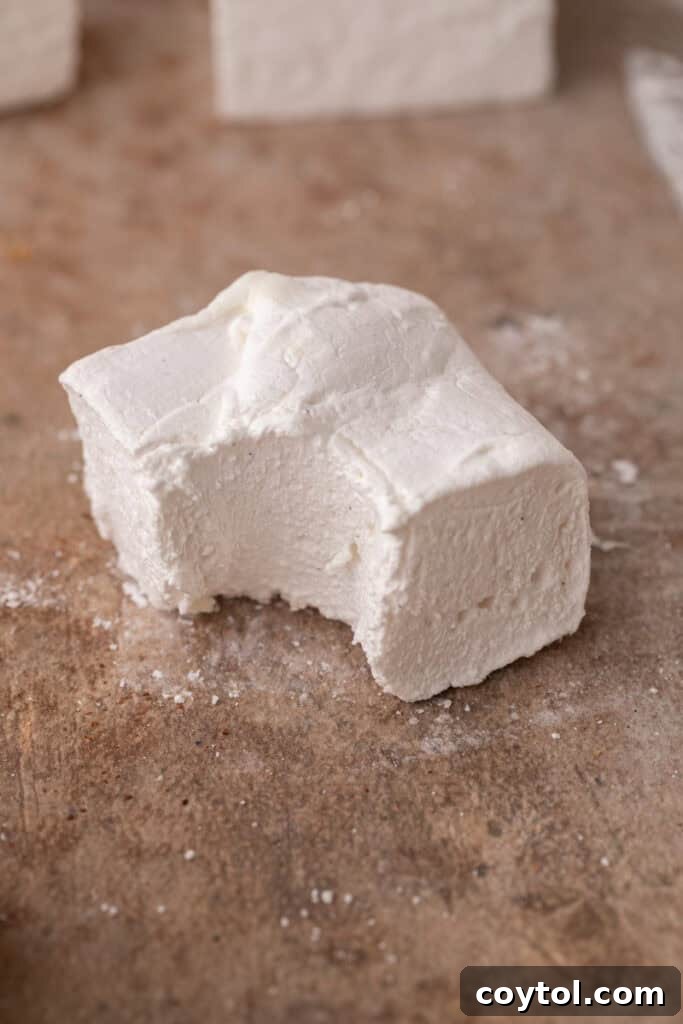
Step-by-Step Guide: How to Make Perfect Homemade Marshmallows
Making homemade marshmallows is a rewarding process that, with a little attention to detail, yields spectacular results. Follow these instructions carefully to create your very own batch of fluffy, delightful vanilla marshmallows. Ensure you have all your ingredients measured and equipment ready before you begin.
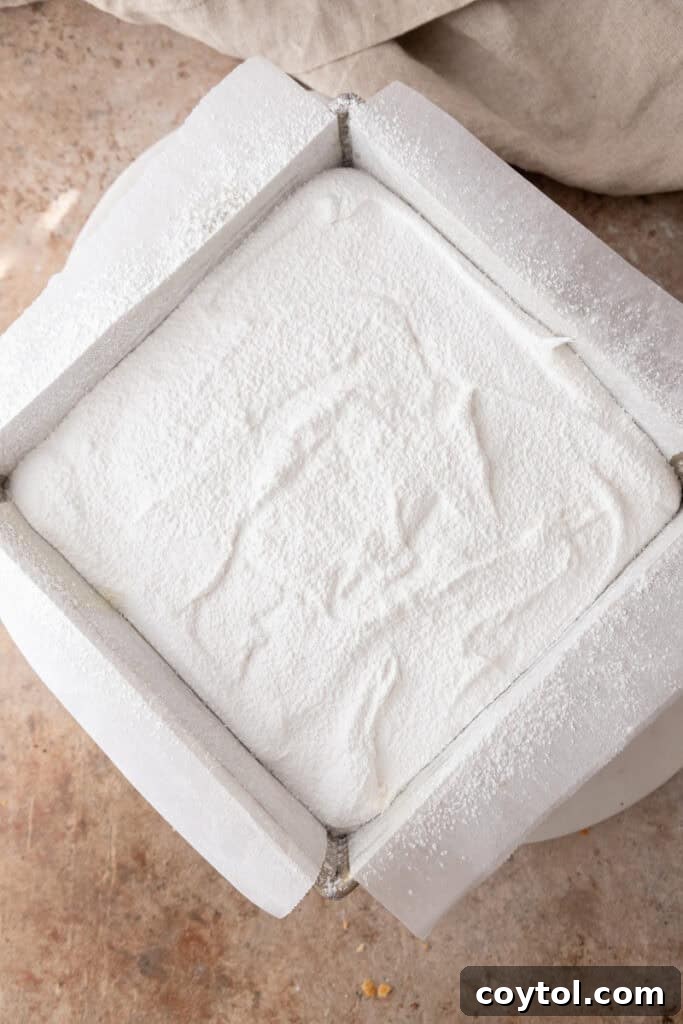
- Prepare Your Pan: Begin by lightly greasing an 8×8-inch baking dish with nonstick cooking spray. Line the bottom of the pan with parchment paper, allowing some overhang on the sides to create “handles” for easy removal later. Lightly grease the parchment paper as well. In a small bowl, combine 3 tablespoons of powdered sugar and 3 tablespoons of cornstarch to create your dusting mixture. Generously dust the inside of the prepared pan with this mixture, ensuring all greased surfaces are thoroughly coated. This step is critical to prevent sticking. (Tip: For slightly thinner marshmallows, you can opt for a 9×9-inch pan instead.)
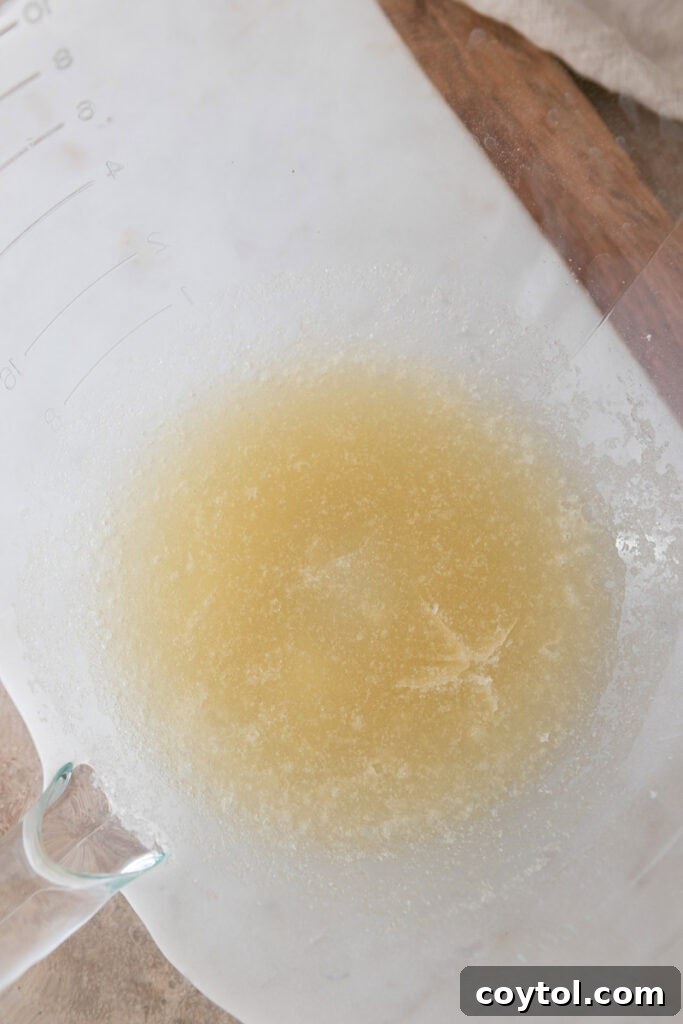
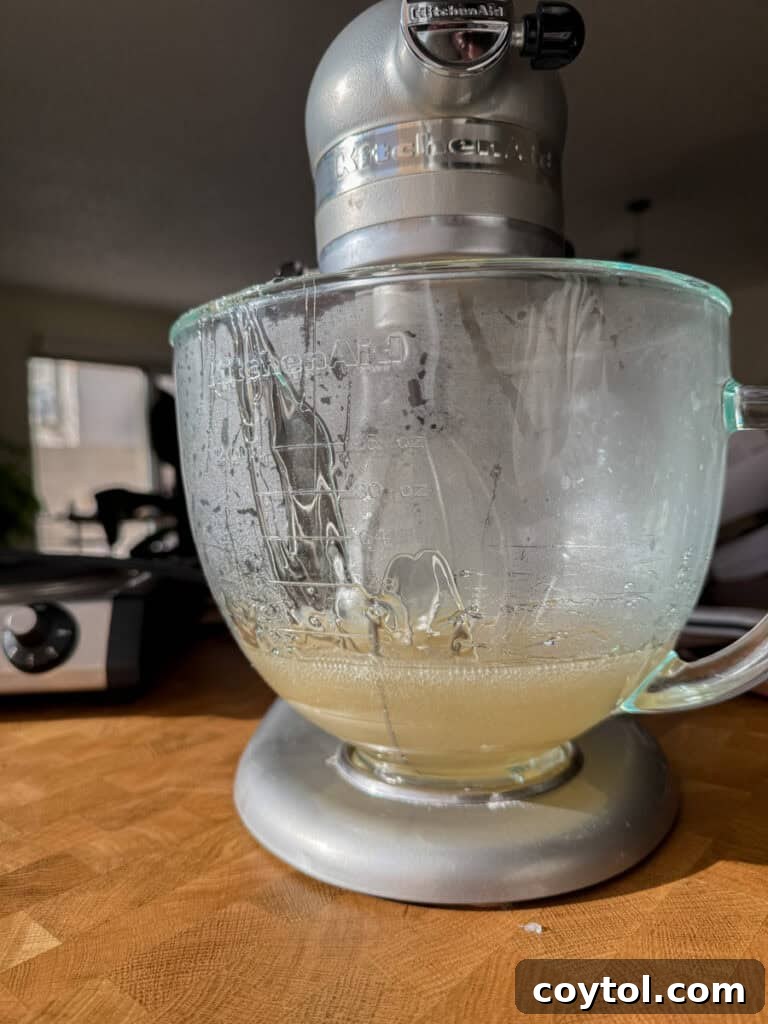
- Bloom the Gelatin: Pour 1/2 cup of cold water into the bowl of a stand mixer. Evenly sprinkle the three envelopes of unflavored gelatin powder over the surface of the water. Allow it to sit undisturbed for at least 5-10 minutes (ideally 10 minutes). This process, known as “blooming,” allows the gelatin granules to absorb water and swell, ensuring it dissolves smoothly later without forming unpleasant clumps in your final product.
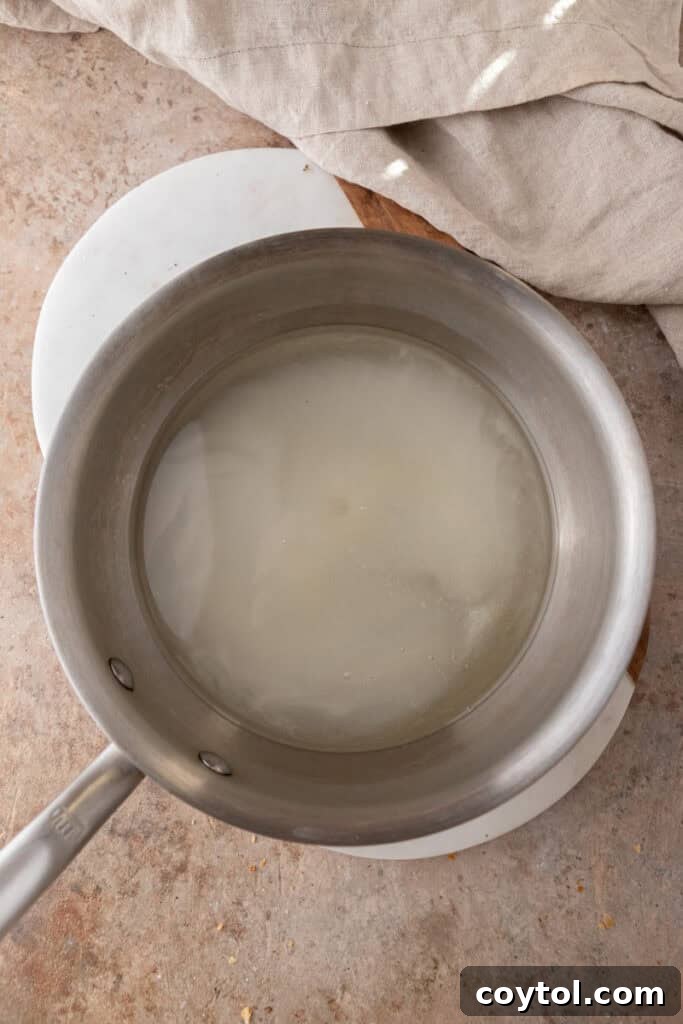
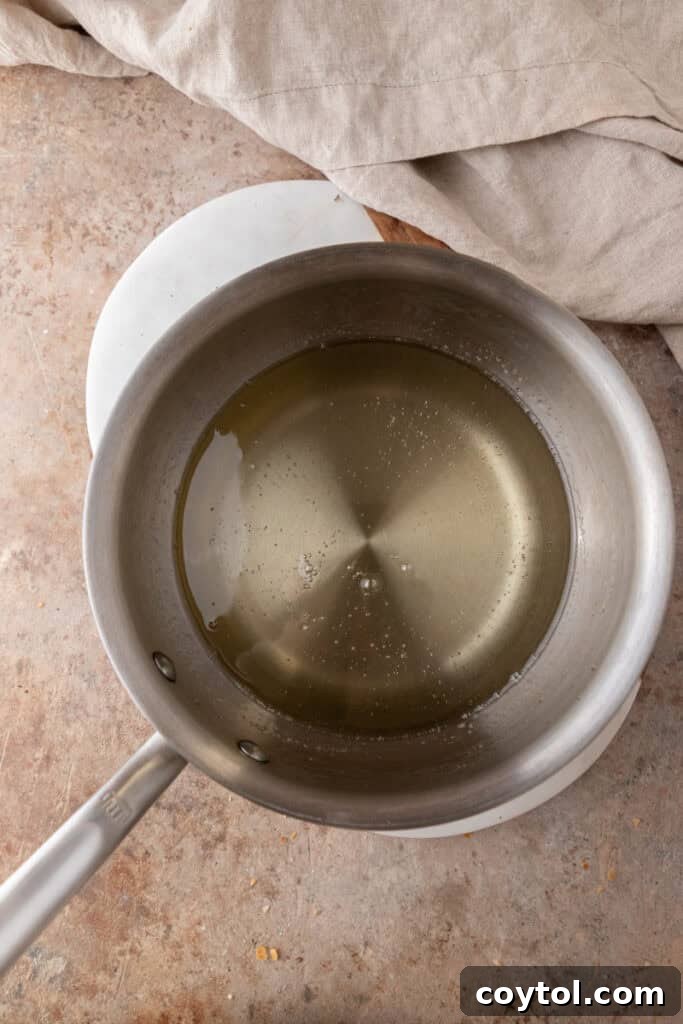
- Prepare the Sugar Syrup: In a medium or small heavy-bottomed saucepan, combine the remaining 1/2 cup of cold water, 1 2/3 cups of granulated sugar, 1 cup of light corn syrup, and 1/4 teaspoon of salt. Place the saucepan over medium-high heat. Stir the mixture continuously until the sugar has completely dissolved. Once the syrup begins to boil vigorously, stop stirring. Immediately place a lid on your pot for the first few minutes (about 3-5 minutes) of boiling. This creates condensation that washes down any sugar crystals clinging to the sides of the pan, preventing crystallization. Remove the lid and continue cooking without stirring until the syrup reaches precisely 245°F (118°C), which is the “soft ball stage,” as indicated by a reliable candy thermometer. This usually takes about 10-13 minutes, but start checking the temperature around the 8-minute mark.
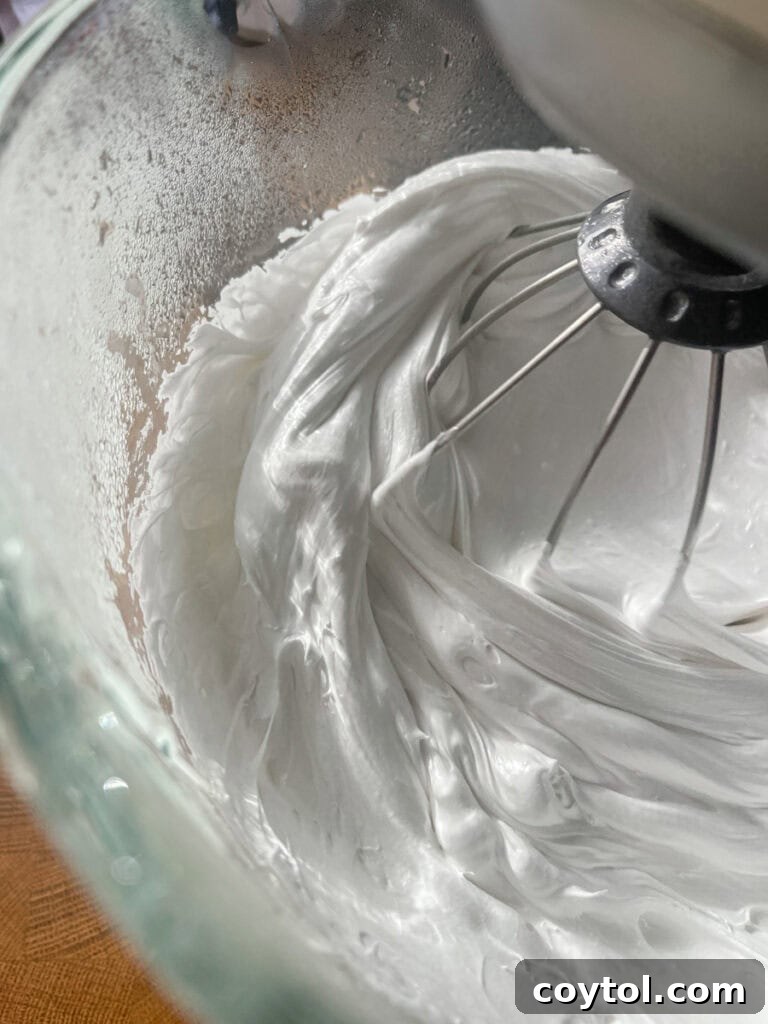
- Whip the Marshmallow Mixture: Once the sugar syrup reaches 245°F, immediately remove it from the heat. Turn your stand mixer on its lowest speed. Carefully and slowly pour the hot sugar syrup in a steady stream into the bowl with the bloomed gelatin mixture. Be careful to avoid the whisk attachment to prevent splattering. Once all the syrup is incorporated, increase the mixer speed to high. Beat the hot sugar syrup using the whisk attachment for a full 10-12 minutes, or until the mixture transforms into a thick, opaque white, incredibly fluffy, and almost stiff consistency. During the last minute of mixing, add the 1 tablespoon of vanilla extract or vanilla bean paste. The mixture should be very warm but manageable.
- Set the Marshmallows: Working quickly (as the mixture will begin to set), transfer the marshmallow batter to your prepared pan. Use a greased rubber spatula or an offset spatula to spread it evenly into all corners of the pan. Promptly dust the top surface of the marshmallow mixture generously with more of your powdered sugar and cornstarch dusting blend. Cover the pan tightly with plastic wrap (the plastic wrap should lightly touch the dusted surface to prevent a skin from forming) and let it sit at room temperature for several hours, ideally 4-6 hours, or even overnight, to allow it to fully set. Avoid refrigerating, as this can lead to a sticky texture.
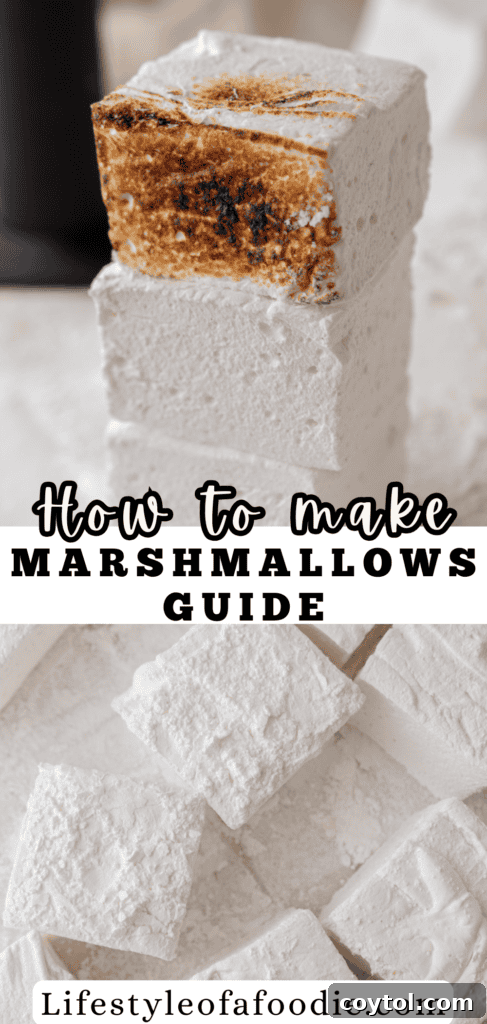
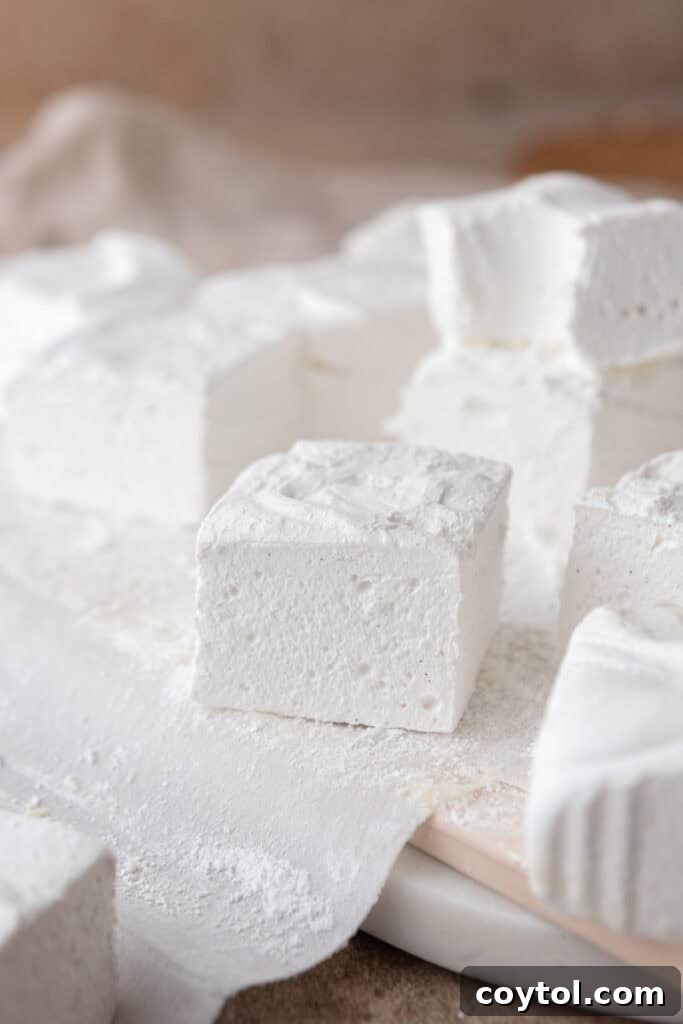
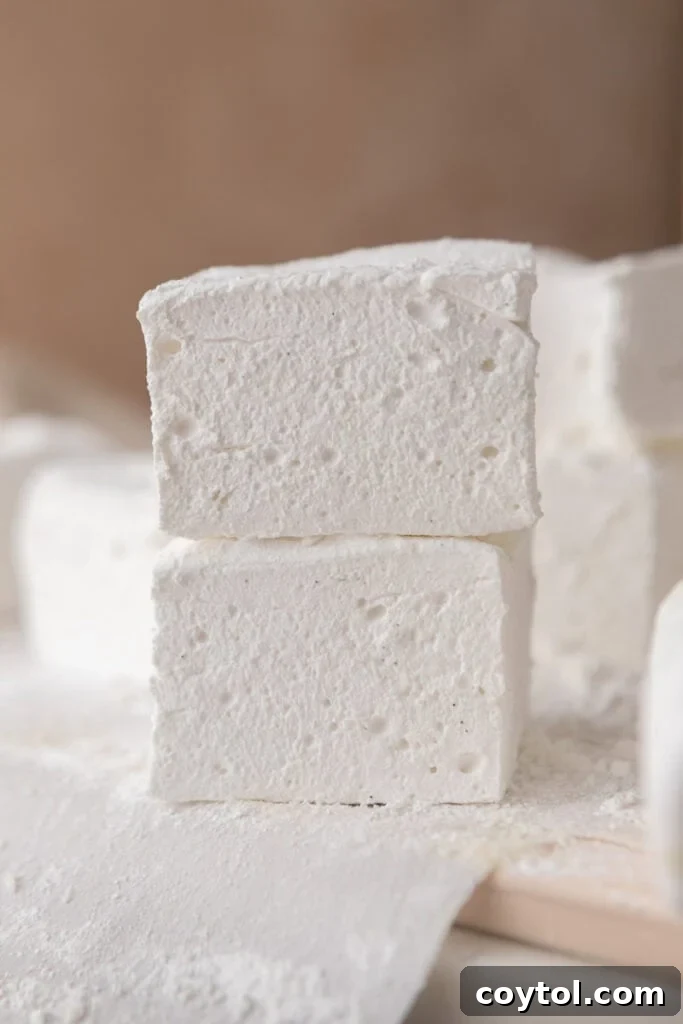
- Cut and Coat: Once the marshmallow has completely set and is firm to the touch, carefully lift it out of the pan using the parchment paper overhang and transfer it to a clean cutting board. Lightly oil a sharp knife or a pizza cutter with a neutral vegetable oil. Cut the marshmallow slab into squares (or your desired shapes). After cutting, toss each individual marshmallow piece in the remaining powdered sugar and cornstarch mixture, ensuring all sides are thoroughly coated. This final dusting prevents them from sticking together during storage.
- Enjoy! Your perfectly fluffy, homemade marshmallows are now ready to be enjoyed!
Recipe Note: For the smoothest and most even dusting, always pass your powdered sugar and cornstarch mixture through a fine-mesh sieve directly over the marshmallows. This ensures there are no unsightly clumps and provides a uniform, silky coating.
Why You’ll Love Making These Homemade Marshmallows
Ditching the store-bought bags for homemade marshmallows isn’t just a fun kitchen experiment; it’s a decision you’ll never regret. Here are compelling reasons why this recipe will become a staple in your dessert repertoire:
- Simple Ingredients, Incredible Flavor: This easy recipe relies on everyday pantry staples that are readily available at any grocery store. No obscure or expensive ingredients are needed, yet the resulting flavor and texture are far superior to anything you’ll find pre-packaged.
- A Delightful Seasonal Treat: Whether it’s for holiday gatherings, cozy winter nights, or summer bonfires, homemade marshmallows add a special, festive touch to any occasion. They’re a joyful treat to make and share during the happiest times of the year, bringing smiles to faces young and old.
- Effortless Customization: While the classic vanilla flavor is undeniably delicious, this recipe serves as a perfect base for endless culinary creativity. It’s incredibly easy to customize with different extracts, colors, or even inclusions, allowing you to tailor your marshmallows to any preference or theme.
- Unmatched Freshness and Texture: There’s simply no comparison to the freshness and ethereal, pillowy softness of homemade marshmallows. They boast an airy lightness and a delicate chew that factory-made versions can’t replicate.
- Impressive & Thoughtful Gifting: A batch of homemade marshmallows, beautifully packaged, makes for an incredibly thoughtful and impressive edible gift. They show care and effort, making them perfect for hostess gifts, holiday baskets, or just a sweet surprise for a loved one.
Frequently Asked Questions – FAQ
Embarking on your marshmallow-making journey might spark a few questions. Here, we address the most common queries to ensure your experience is smooth and successful.
What different flavors can I try with my homemade marshmallows?
The versatility of homemade marshmallows is one of their greatest charms! Beyond classic vanilla, you can easily experiment with a variety of flavors. For a decadent chocolate version, consider sifting in a few tablespoons of unsweetened cocoa powder along with the dusting mixture, or gently folding it into the marshmallow batter (you might need to adjust liquid slightly, so consult a specific chocolate marshmallow recipe). Alternatively, swap out or supplement the vanilla extract with other delightful extracts like peppermint for a holiday twist, almond for a nutty depth, citrus zest (lemon, orange, lime) for a bright zing, or coconut extract for a tropical note.
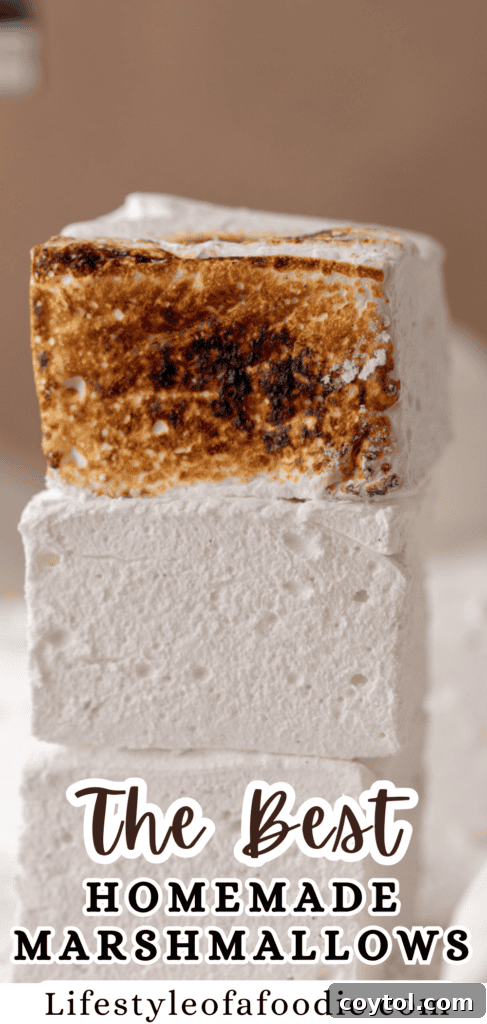
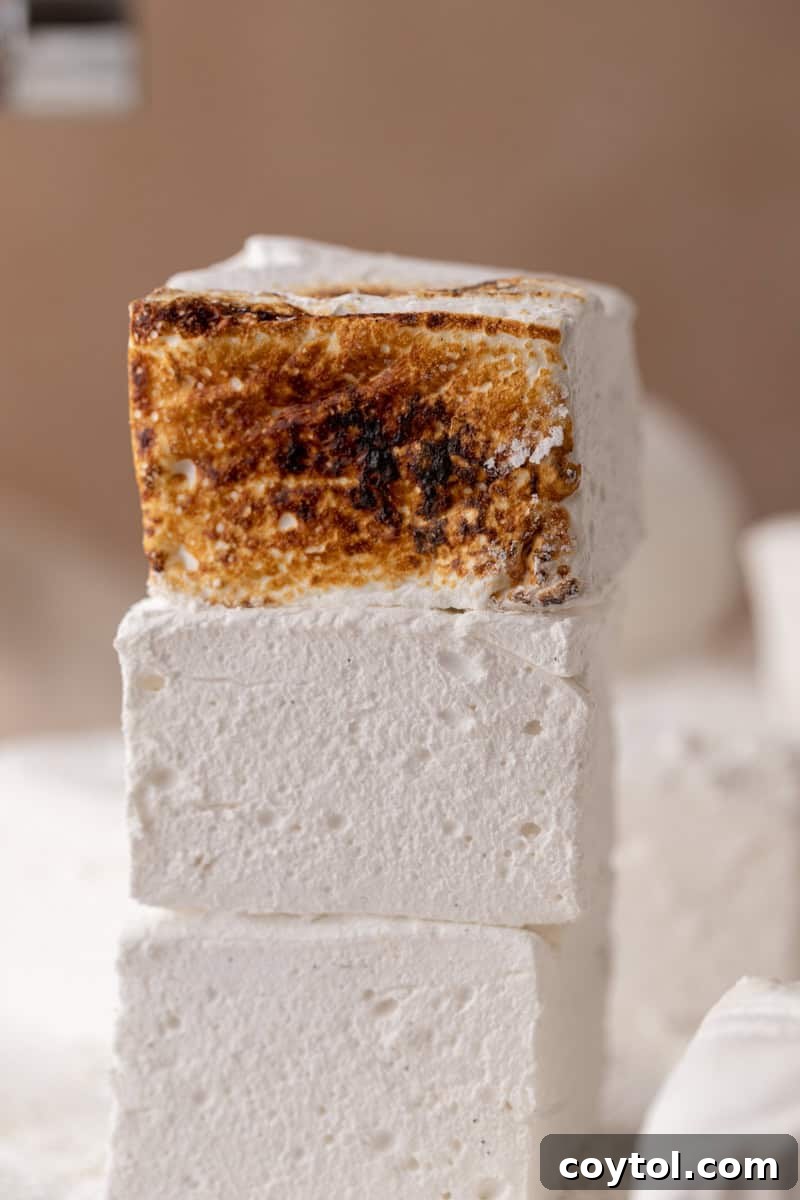
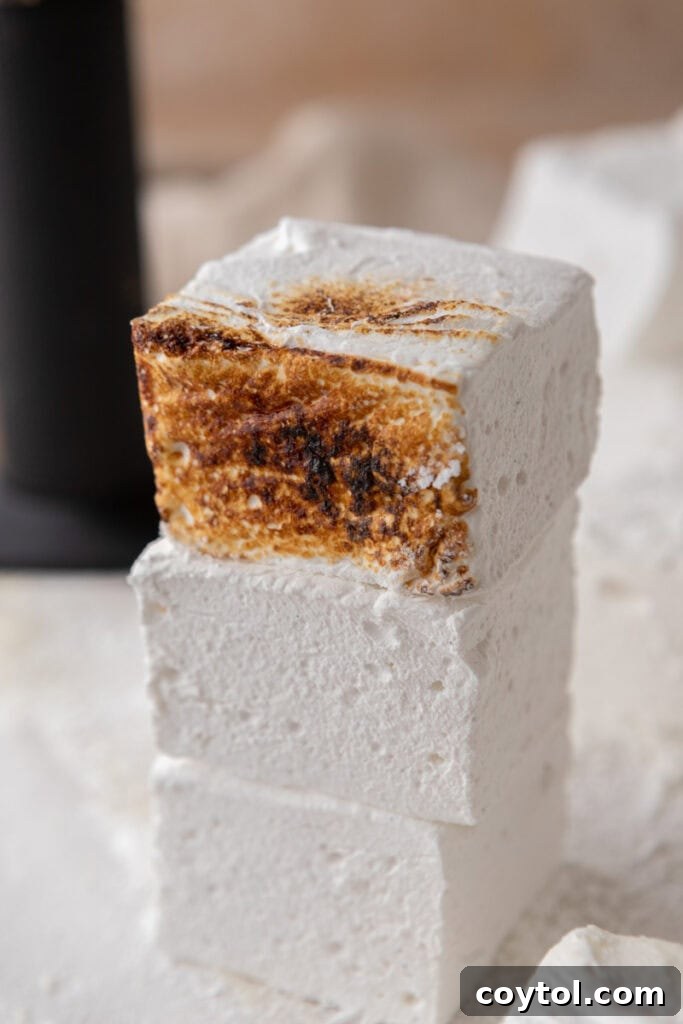
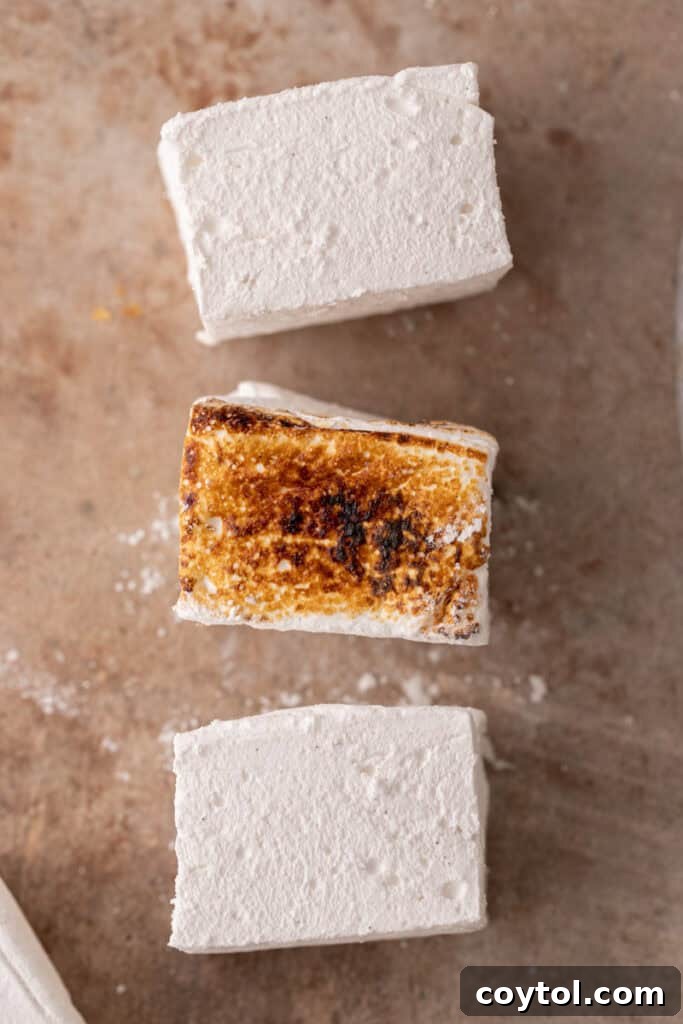
For an added visual pop, a few drops of food coloring can transform your plain white marshmallows into vibrant, colorful confections perfect for themed parties or gifting. And if you’re eager for s’mores but lack a fire pit, a small kitchen torch can toast the tops to golden perfection right on your countertop.
How do I store my leftover homemade marshmallows?
Proper storage is key to maintaining the exquisite texture of your homemade marshmallows. Once cut and dusted, place your leftover marshmallows in an airtight container. Store them at room temperature, away from direct sunlight or excessive heat. They will remain wonderfully fresh, fluffy, and delicious for at least one week, sometimes up to two weeks, depending on humidity levels. It’s important to avoid refrigerating or freezing them, as the cold temperatures can introduce moisture, causing them to become sticky and lose their beloved airy, bouncy texture.
What are the best uses for homemade marshmallows?
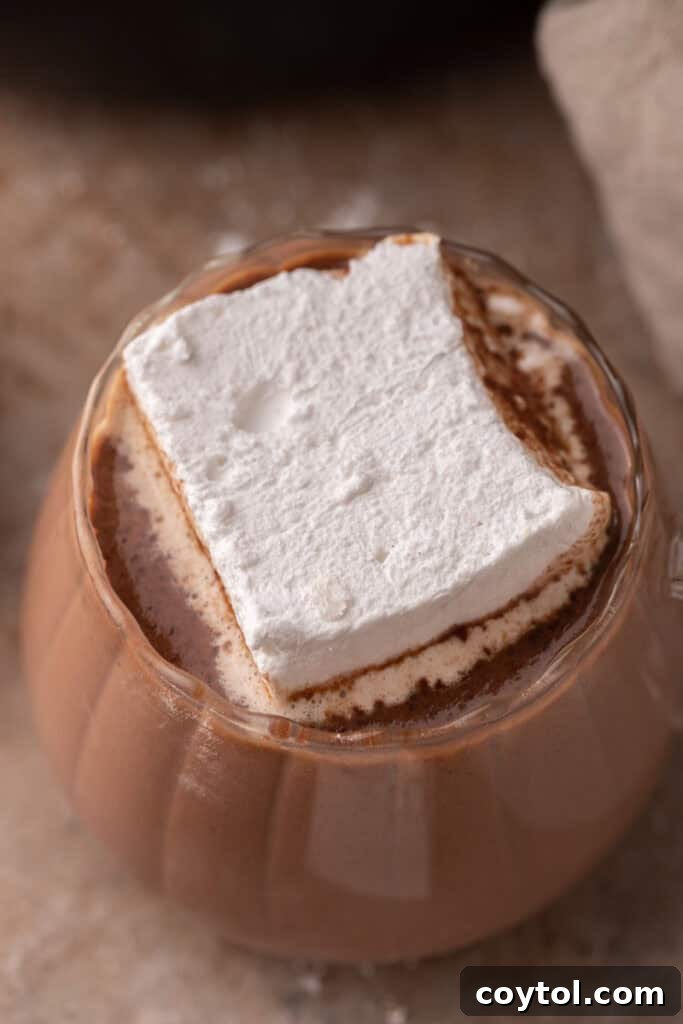
While irresistible straight from the plate, homemade marshmallows are incredibly versatile! They are, of course, the ultimate topping for a steaming cup of hot cocoa, creating a luxurious and comforting beverage. For an elevated dessert experience, use them to make gourmet s’mores with artisanal crackers and quality chocolate. They can also be dipped in melted chocolate for an elegant treat, used in baking (think marshmallow-topped brownies or rice crispy treats), or even added to festive dessert platters. Don’t forget, they make fantastic, personalized edible gifts for any occasion!
Do I need a candy thermometer for this recipe?
Yes, a candy thermometer is highly recommended, and almost essential, for consistent success with this homemade marshmallow recipe. Achieving the correct sugar syrup temperature of 245°F (soft ball stage) is critical for the marshmallows’ texture. Without a thermometer, it’s very challenging to gauge this precise temperature accurately, especially if you’re not experienced in sugar work. An incorrect temperature can lead to marshmallows that are too soft and runny, or too hard and brittle. Investing in a good candy thermometer ensures reliable results every time.
Can I make different shapes with these marshmallows?
Absolutely! The fun doesn’t have to stop at squares. Once your marshmallow slab is fully set, you can use various cookie cutters to create whimsical shapes – stars, hearts, animals, or whatever suits your fancy. Just remember to lightly oil your cookie cutters with vegetable oil before each cut to prevent sticking. Another creative option is to pour the marshmallow mixture into greased and powdered sugar-dusted silicone molds. This can be a bit trickier due to the stickiness of the mixture, so work quickly and ensure your molds are thoroughly prepared. A sharp, oiled knife, however, is the easiest and most common tool for perfectly uniform squares.
What is “blooming” gelatin, and why is it important?
“Blooming” gelatin is a vital preparatory step where you hydrate the granular gelatin in cold water before adding it to hot liquid. This process allows the tiny gelatin particles to absorb moisture and swell, preventing them from clumping together when they encounter heat. When gelatin is properly bloomed, it dissolves evenly and smoothly into your sugar syrup, resulting in a consistent, silky, and delightfully fluffy marshmallow texture. If you skip this step or don’t allow enough time, you risk having undissolved gelatin clumps in your finished marshmallows – an unpleasant surprise for anyone biting into one!
Can I make homemade marshmallows without a stand mixer?
While technically possible, a stand mixer is strongly recommended for this recipe. The marshmallow mixture requires vigorous whipping at high speed for an extended period (10-12 minutes) to incorporate enough air and develop its signature fluffy, thick consistency. A powerful stand mixer with a whisk attachment handles this task effortlessly. A handheld electric mixer can work, but it will take significantly longer, requires constant attention, and can lead to considerable arm fatigue. If you only have a hand mixer, ensure it’s powerful and be prepared for a workout!
What is the purpose of the powdered sugar and cornstarch mixture when making homemade marshmallows?
The combination of powdered sugar and cornstarch serves as a magical anti-stick coating for your homemade marshmallows. Once the marshmallows are set and cut, their exposed surfaces are quite sticky. This dusting mixture prevents them from adhering to the pan, your cutting tools, your hands, and most importantly, to each other during storage. Powdered sugar provides sweetness and a smooth finish, while cornstarch offers additional moisture absorption and helps keep the coating dry. Using both together is often preferred over just powdered sugar, as it creates a less overwhelmingly sweet exterior and a more effective barrier against stickiness.
Do marshmallows contain eggs?
The question of whether marshmallows contain eggs can vary. Commercially produced marshmallows may or may not include egg whites, depending on the brand and their specific formulation. Traditionally, some classic marshmallow recipes, particularly older ones, did incorporate egg whites to help achieve a light and airy texture. However, for this particular recipe, we have opted for an egg-free approach. This choice simplifies the process and, crucially, enhances the shelf stability of the marshmallows. By omitting egg whites, these homemade treats are designed to last longer at room temperature, making them perfect for enjoying throughout the holiday season or as gifts, without concerns about a shortened shelf life.
What do egg whites do to marshmallows?
In recipes where they are used, egg whites play a significant role in creating a lighter, fluffier marshmallow texture. When whipped, egg whites incorporate a large amount of air, which contributes to increased volume and an incredibly delicate mouthfeel in the final product. However, as demonstrated by this recipe, it is entirely possible to achieve equally impressive, light, and airy marshmallows without the use of egg whites. Our method relies on vigorous whipping of the sugar-gelatin mixture to incorporate sufficient air, ensuring that you don’t need to worry about the complexities of handling egg whites while still enjoying a perfectly fluffy result.
What is sugar crystallization and why should I worry about it?
Sugar crystallization is a common enemy in candy making, and it occurs when the sugar molecules in your syrup solidify into undesirable granules, making the texture grainy and hard instead of smooth and clear. If you’ve ever had grainy fudge or rock-hard syrup, you’ve encountered sugar crystallization. For marshmallows, a smooth syrup is paramount to achieving that coveted light, fluffy, and perfectly chewy consistency. A crystallized syrup will result in gritty, dense, and unappetizing marshmallows.
To avoid crystallization:
- Brush the Pan Edges: During the initial stages of cooking, use a pastry brush dipped in a little water to gently wash down any sugar crystals that might cling to the sides of the saucepan. These stray crystals can act as “seed crystals,” triggering a chain reaction that causes the entire syrup to crystallize.
- Use a Lid: My preferred, and highly effective, method is to cover the pan with a lid for the first few minutes (about 3-5 minutes) once the syrup starts boiling. The steam trapped inside the pot will naturally condense and wash down any sugar granules from the sides of the pan, dissolving them back into the syrup. This hands-off technique is incredibly reliable, as proven in this very recipe, yielding a perfectly smooth and clear syrup every time.
The Best Homemade Marshmallows Recipe
Recipe Summary
This Homemade Marshmallows recipe is so good that you’ll never think about buying store-bought marshmallows ever again!
- Prep Time: 20 minutes
- Cook Time: 10 minutes
- Set Time: 4 hours
- Total Time: 4 hours 30 minutes
- Yields: 16 servings
Ingredients
- 1 cup cold water, divided
- 3 envelopes unflavored gelatin (about 7.5 grams each)
- 1 2/3 cups granulated sugar
- 1 cup light corn syrup
- ¼ tsp salt
- 1 tbsp vanilla extract or vanilla bean paste (purchase vanilla extract here)
- 3 tbsp powdered sugar for dusting (purchase powdered sugar here)
- 3 tbsp cornstarch for dusting
Instructions
- Grease an 8×8-inch pan and line it with parchment paper, allowing an overhang. Grease the parchment paper again with nonstick cooking spray. In a small bowl, combine the 3 tablespoons of powdered sugar and 3 tablespoons of cornstarch to create your dusting mixture. Generously dust the inside of the prepared pan with this mixture to prevent sticking.
- In the bowl of a stand mixer, add ½ cup of the cold water. Evenly sprinkle the gelatin over the water and let it sit undisturbed to bloom for about 10 minutes.
- In a medium saucepan, combine the remaining ½ cup of water, granulated sugar, corn syrup, and salt. Place over medium-high heat, stirring until the sugar dissolves. Once the mixture begins to boil, stop stirring. Cover the pot with a lid for the first few minutes of boiling to prevent crystallization. Continue cooking, uncovered, until the syrup reaches 245°F (118°C) on a candy thermometer (soft ball stage), approximately 10-13 minutes.
- With the stand mixer on low speed, carefully and slowly pour the hot syrup into the bowl with the bloomed gelatin mixture. Once combined, increase the speed to high and beat for 10-12 minutes, or until the mixture is thick, opaque white, and fluffy. Add the vanilla extract or vanilla bean paste during the last minute of mixing.
- Using a greased rubber spatula, quickly transfer the marshmallow mixture to the prepared pan and spread it evenly. Dust the top generously with the powdered sugar and cornstarch mixture. Cover the pan tightly with plastic wrap and let it set at room temperature for 4-6 hours (or overnight).
- Once set, transfer the marshmallow slab to a cutting board. Lightly oil a sharp knife with vegetable oil and cut the marshmallows into desired squares or shapes. Toss each piece thoroughly in the remaining powdered sugar and cornstarch mixture to prevent sticking.
- Enjoy your homemade marshmallows! They will stay fresh in an airtight container at room temperature for about 1 week.
Nutrition Information (per serving, approximate)
- Calories: 154 kcal
- Carbohydrates: 40g
- Protein: 0.004g
- Fat: 0.1g
- Polyunsaturated Fat: 0.001g
- Sodium: 50mg
- Potassium: 2mg
- Fiber: 0.01g
- Sugar: 39g
- Calcium: 3mg
- Iron: 0.02mg
Nutrition information is automatically calculated and should only be used as an approximation.
Like this recipe? We’d love to hear from you! Leave a comment below!
If you enjoyed this Homemade Marshmallows recipe, make sure to pin it for later!