
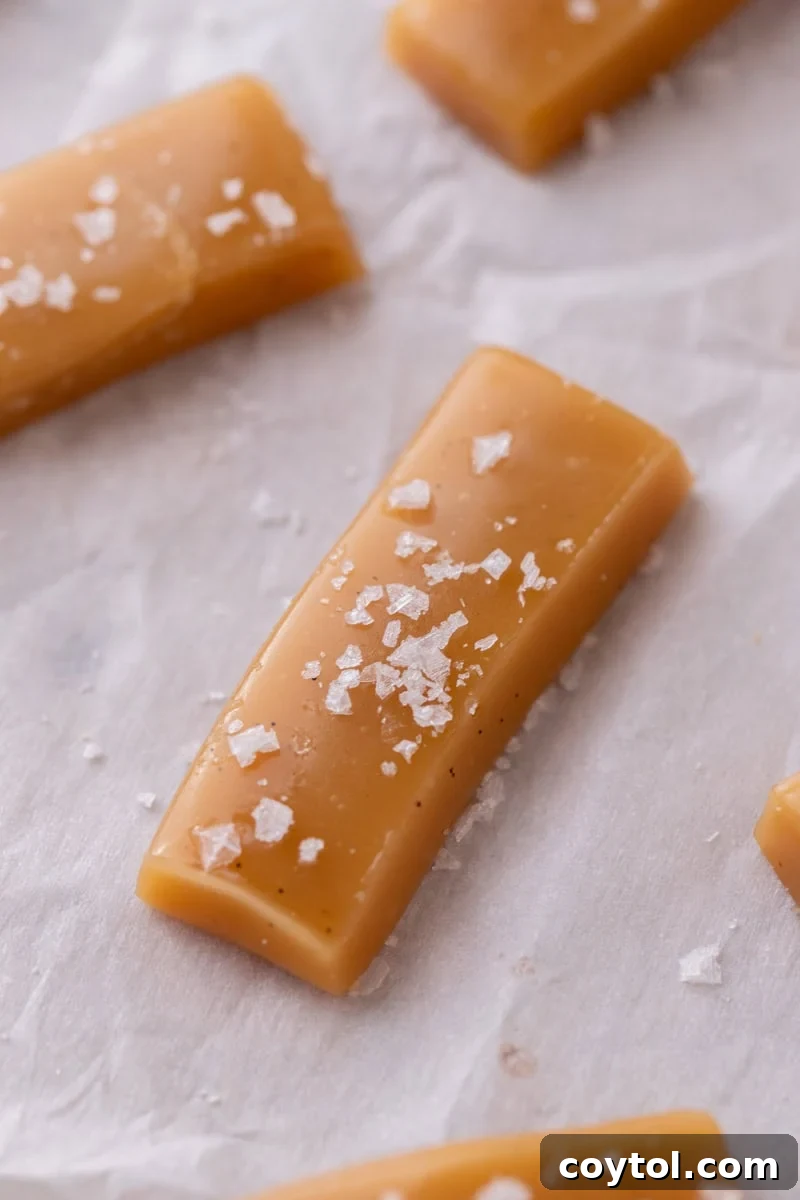
Welcome to the world of effortless candy making! Forget the stress and specialized equipment of traditional confectionery; our recipe for **Microwave Caramels** brings the delightful experience of crafting homemade, melt-in-your-mouth candy right into your kitchen in mere minutes. Imagine rich, buttery, and perfectly chewy caramels, made with absolute ease and requiring no fussy candy thermometer or constant stovetop stirring. This isn’t just a recipe; it’s a revelation for anyone craving that classic, old-fashioned caramel taste without the usual hassle.
Crafted from everyday pantry staples like butter, various sugars, light corn syrup, and sweetened condensed milk, these ingredients magically transform in your microwave into a smooth, glossy caramel mixture that rivals any gourmet sweet. Once poured into a parchment-lined 8-inch pan and kissed with a sprinkle of flaky sea salt, these caramels cool into the ideal texture. They’re a versatile treat, perfect for thoughtful gifting, satisfying your own sweet cravings, or elegantly gracing your holiday dessert trays. This foolproof method ensures consistently delicious results every time, making it a staple for busy bakers and novice confectioners alike.
Life, especially during December, can be incredibly hectic. That’s precisely why I cherish reliable, foolproof recipes that deliver exceptional results with minimal fuss. This microwave caramel recipe is a prime example. All the magic happens in a single large, microwave-safe bowl, requiring only periodic stirring between quick heating intervals. The process is astonishingly straightforward, leading to a perfectly set, ready-to-cut batch of irresistible caramels once cooled. It’s the ultimate solution for anyone yearning for **homemade candy without the stress**. Honestly, once you experience the sheer simplicity and incredible flavor of these caramels, you’ll find yourself eagerly planning double batches for holiday gifts, freezer stashes, and impromptu treats. This recipe isn’t just easy; it’s genuinely addictive, both to make and to eat!
If you’re looking for more simple yet delicious candy creations to complement these caramels, you’ll love exploring other easy ideas. Consider whipping up a batch of Chocolate Caramel Pretzel Bark, where salty pretzels meet sweet chocolate and caramel for an irresistible crunch. Or try the highly addictive Saltine Christmas Crack Toffee, a holiday favorite that lives up to its name. And for a whimsical, quick treat, our Rolo Pretzel Turtles are always a hit. Each of these recipes is designed for maximum flavor with minimal effort, making them fantastic additions to any dessert spread or thoughtful homemade gift package. They embody the same spirit of simplicity and deliciousness as our microwave caramels!
Let’s Chit Chat!
Okay, so I have to be completely honest here: I did not expect this recipe to work so incredibly well. My first attempt at making these microwave caramels happened on a particularly hectic weekday. I was utterly swamped, with zero spare time, but I had an intense craving for rich, buttery caramels that wouldn’t quit. On a whim, I decided to toss all the ingredients into a single bowl and let the microwave do its thing. It felt like a gamble, but I was desperate for a quick sweet fix.
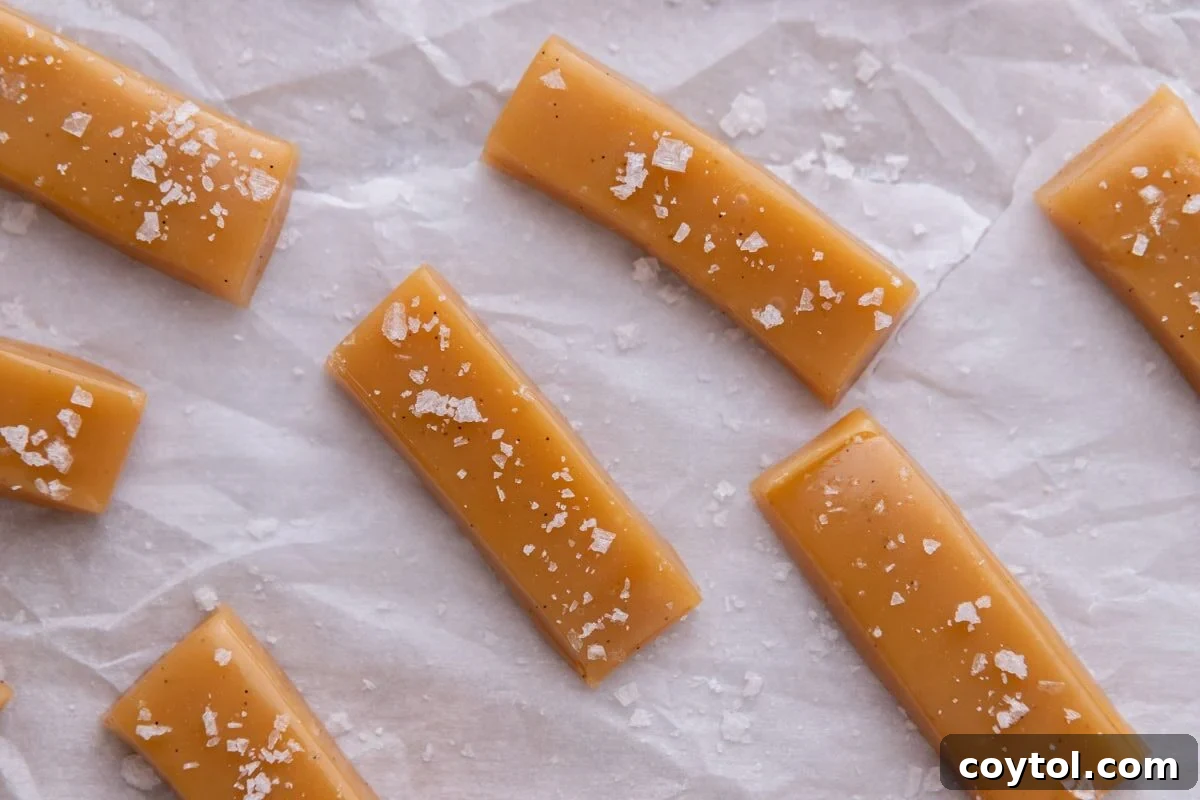
To my absolute astonishment, just six minutes later, I poured the most gorgeous, glossy, and perfectly golden caramel mixture into my prepared pan. A quick sprinkle of sea salt, and it rested on my counter, slowly cooling. When I finally had a moment to slice into it with a sharp knife, I had a revelation: I had just stumbled upon my new go-to, foolproof Christmas gift recipe. These caramels truly embody the spirit of the holiday season – minimal effort in the kitchen but an absolutely maximum payoff in terms of taste and quality. They feel incredibly special, despite their simple preparation.
And, if I’m being entirely honest… sometimes, I take these already perfect caramels a step further. I might dip them in luxurious melted chocolate, or fold in a handful of crunchy chopped nuts for added texture and flavor. Why not? The possibilities for customization are truly endless, making these quick microwave caramels an even more exciting blank canvas for your culinary creativity!
Why You’ll Adore These Microwave Caramels
Prepare to fall in love with these simple yet sensational microwave caramels. Here’s why this recipe will become your new favorite:
- **Remarkable Shelf Life:** These delectable caramels maintain their soft, chewy texture and incredible flavor for weeks when stored properly in an airtight container at room temperature. This makes them ideal for make-ahead gifting or simply having a sweet treat on hand whenever the craving strikes.
- **No Candy Thermometer Required:** This is a game-changer for many home bakers! You can confidently achieve perfect caramel consistency without the need for a specialized candy thermometer, making the process much less intimidating and far more accessible for beginners. The simple “soft-ball stage test” is your secret weapon.
- **Lightning-Fast Preparation:** From combining ingredients to pouring into the pan, these caramels are ready in a matter of minutes. Using simple pantry ingredients means you can whip up a batch on a whim, perfect for last-minute cravings or unexpected guests.
- **Unmatched Soft, Chewy, Buttery Texture:** Experience the quintessential caramel chewiness combined with a rich, buttery flavor that melts delightfully in your mouth. This recipe consistently produces caramels with that ideal, classic texture everyone loves.
- **Minimal Cleanup, Maximum Convenience:** With just one large microwave-safe bowl for mixing and cooking, and one baking dish for setting, cleanup is an absolute breeze. Spend less time washing dishes and more time enjoying your homemade treats.
- **Perfect for Every Occasion:** Whether you’re assembling elegant holiday gift boxes, creating an impressive party dessert tray, or filling festive cookie containers, these caramels are a versatile and much-appreciated addition. Their homemade charm makes them feel extra special.
- **Foolproof for Beginners:** If you’ve ever been intimidated by candy making, this recipe is your entry point. Its straightforward steps and forgiving nature make it an ideal project for novice cooks looking to create impressive homemade sweets with confidence.
The Science Behind Our Microwave Caramel Success
Understanding why this microwave caramel recipe works so beautifully adds to the enjoyment and demystifies the candy-making process. Each ingredient and technique plays a crucial role:
- **Corn Syrup: The Anti-Crystallization Hero:** Light corn syrup is essential in this recipe. Its unique molecular structure prevents sugar crystals from forming and growing, which is a common pitfall in caramel making. By inhibiting crystallization, corn syrup ensures your caramels remain incredibly smooth, glossy, and never grainy. It’s the key to that perfectly consistent texture.
- **Sweetened Condensed Milk: Creaminess and Chewiness Defined:** This ingredient is a powerhouse, contributing significantly to both the texture and flavor of the caramels. The high sugar and fat content of sweetened condensed milk creates a rich, creamy base, while its natural thickening properties are crucial for developing that wonderfully chewy, melt-in-your-mouth consistency that is characteristic of classic caramels.
- **Microwaving in Intervals: The Secret to Even Heating:** Unlike stovetop methods where direct heat can cause scorching, microwaving in short intervals allows for more controlled and even heating. Stirring between each interval ensures that all parts of the mixture are exposed to heat, preventing hot spots and promoting uniform cooking. This method minimizes the risk of burning and ensures a smooth, consistent caramelization throughout.
- **The Soft-Ball Test: Precision Without a Thermometer:** This traditional candy-making technique is a reliable way to gauge the doneness of your caramel without the need for a digital thermometer. By dropping a small amount of hot caramel into cold water, you can observe its behavior:
- If it forms a soft, pliable ball that can be easily flattened between your fingers, your caramel has reached the ideal soft-ball stage (approximately 235-240°F or 118-120°C) and is ready. This method empowers you to achieve perfect results using a simple, accessible technique.
Essential Ingredients for Irresistible Microwave Caramels
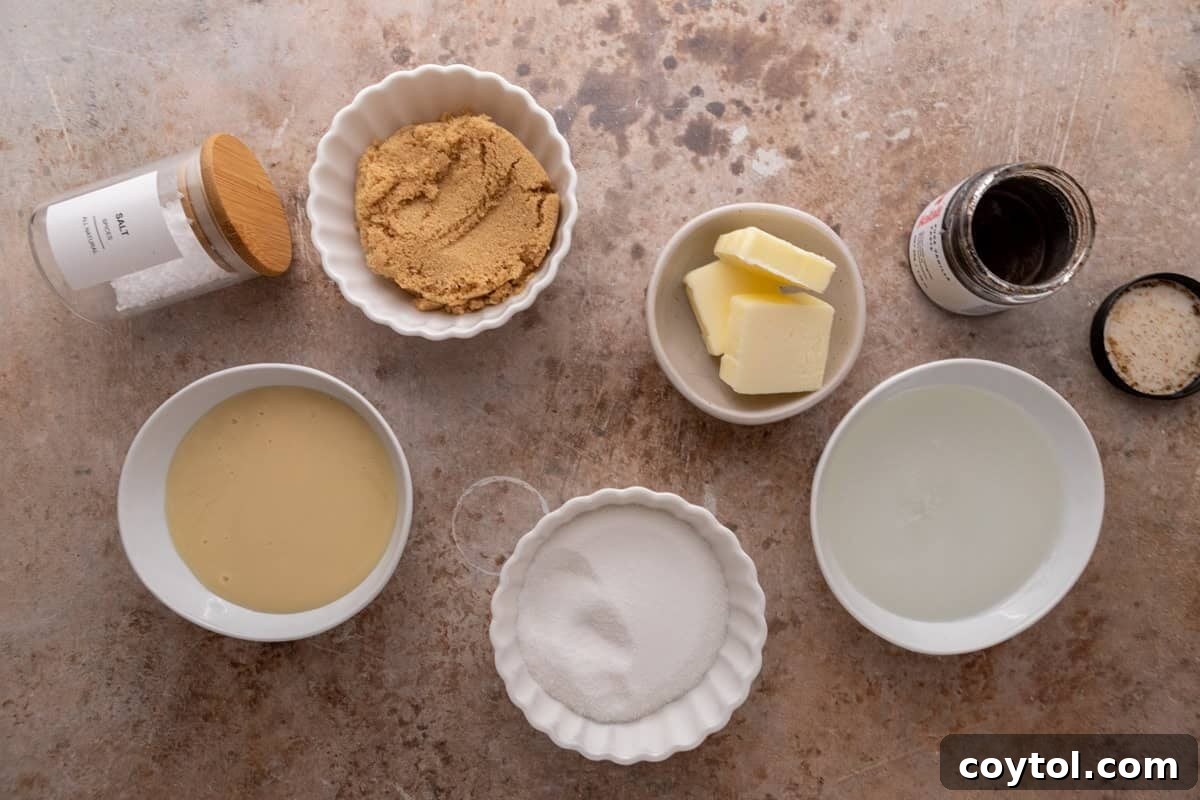
The beauty of this quick and easy caramel recipe lies in its simplicity, requiring just a handful of common pantry ingredients. Each plays a vital role in achieving that rich, smooth, and chewy texture. For precise measurements, please refer to the detailed recipe card below.
- Unsalted Butter (Melted): Butter is fundamental for the classic rich, creamy, and irresistible flavor of caramels. Using unsalted butter gives you control over the overall saltiness, allowing you to add salt precisely to your taste. Melting it ensures it combines seamlessly with the other ingredients from the start.
- Light Corn Syrup: As discussed, this is your secret weapon against crystallization, ensuring your caramels remain wonderfully smooth, pliable, and never grainy. It also contributes to the glossy finish.
- White Granulated Sugar: Provides the primary sweetness and forms the foundation of the caramel base. Its fine crystals dissolve readily, contributing to a smooth texture.
- Light-Brown Sugar: Adds a deeper, more complex flavor profile with subtle molasses notes, which enhances the classic caramel taste. It also contributes to the soft chewiness and rich golden color.
- Sweetened Condensed Milk: A key ingredient that delivers intense creaminess, richness, and that signature chewy texture. It’s already cooked down, reducing the cooking time significantly compared to recipes using heavy cream.
- Vanilla Bean Paste (or Vanilla Extract): This is where much of the aromatic flavor comes in. Vanilla bean paste offers a more intense, visually appealing vanilla flavor with tiny specks of vanilla bean. However, high-quality vanilla extract works beautifully as a substitute, imparting a warm, comforting essence.
- Salt: A touch of fine salt is crucial to balance the sweetness of the caramel, enhancing all the other flavors.
- Optional Flaky Sea Salt for Topping: A sprinkle of flaky sea salt on top elevates these caramels from delicious to absolutely sublime. The textural contrast and burst of briny flavor perfectly complement the sweet, buttery caramel, creating an irresistible treat.
These carefully selected **simple ingredients** work in harmony to create a divinely smooth caramel texture and complex flavor profile, all without requiring any special tools beyond your microwave and a bowl.
Crafting Perfect Microwave Caramels: A Step-by-Step Guide
Get ready to create the easiest and most delicious homemade caramels you’ve ever made. Follow these simple steps for perfect, stress-free results:
- Prepare Your Pan with Precision: Start by lining an 8-inch square baking pan with parchment paper or wax paper. Ensure the paper extends up and over the sides of the pan; this creates convenient “handles” that will allow you to easily lift the cooled caramel slab out of the pan. Alternatively, if you don’t have parchment, lightly grease the pan with butter or cooking spray. The goal is to ensure the caramel does not stick, making for clean removal and cutting.
- Combine All Ingredients in a Single Bowl: In a large microwave-safe bowl (one that can comfortably hold the mixture as it bubbles up), add your melted unsalted butter, light corn syrup, white granulated sugar, light-brown sugar, and sweetened condensed milk. These are the core ingredients that will transform into your luscious caramels. Stir all the ingredients thoroughly with a heat-resistant spatula or wooden spoon until they are well combined and no streaks of individual ingredients remain. This initial mixing is important for even cooking.
- Microwave the Caramel Mixture in Intervals: Place the bowl in your microwave and cook on high power for a total of 6–7 minutes. The crucial part here is stirring: pause and stir the mixture well every 2 minutes.
- **Understanding Your Microwave:** Keep in mind that microwave wattages vary significantly, which means cooking times can differ. A higher wattage microwave might cook faster, while a lower wattage one might need slightly longer. Always err on the side of caution and check frequently.
- **Safety First:** The bowl and its contents will become EXTREMELY hot during microwaving. Always use thick oven mitts or hot pads when removing the bowl from the microwave to prevent burns.
- Perform the Essential Soft-Ball Stage Test: After the initial 6 minutes of cooking and stirring, it’s time to check if your caramel has reached the perfect consistency. This is where the “soft-ball stage test” comes in handy, eliminating the need for a candy thermometer. To do this, carefully drop a very small amount of the hot caramel mixture (about ¼ teaspoon) into a glass of ice-cold water.
- Allow it to cool for a few seconds in the water, then remove the caramel with your fingers. Gently try to form it into a ball. If it forms a soft, pliable ball that holds its shape but can be easily flattened or squished between your fingers, it’s done! This indicates the caramel is at the ideal temperature and consistency for chewy caramels. If it’s too sticky or doesn’t form a ball, microwave for another 30 seconds to 1 minute, then repeat the test.
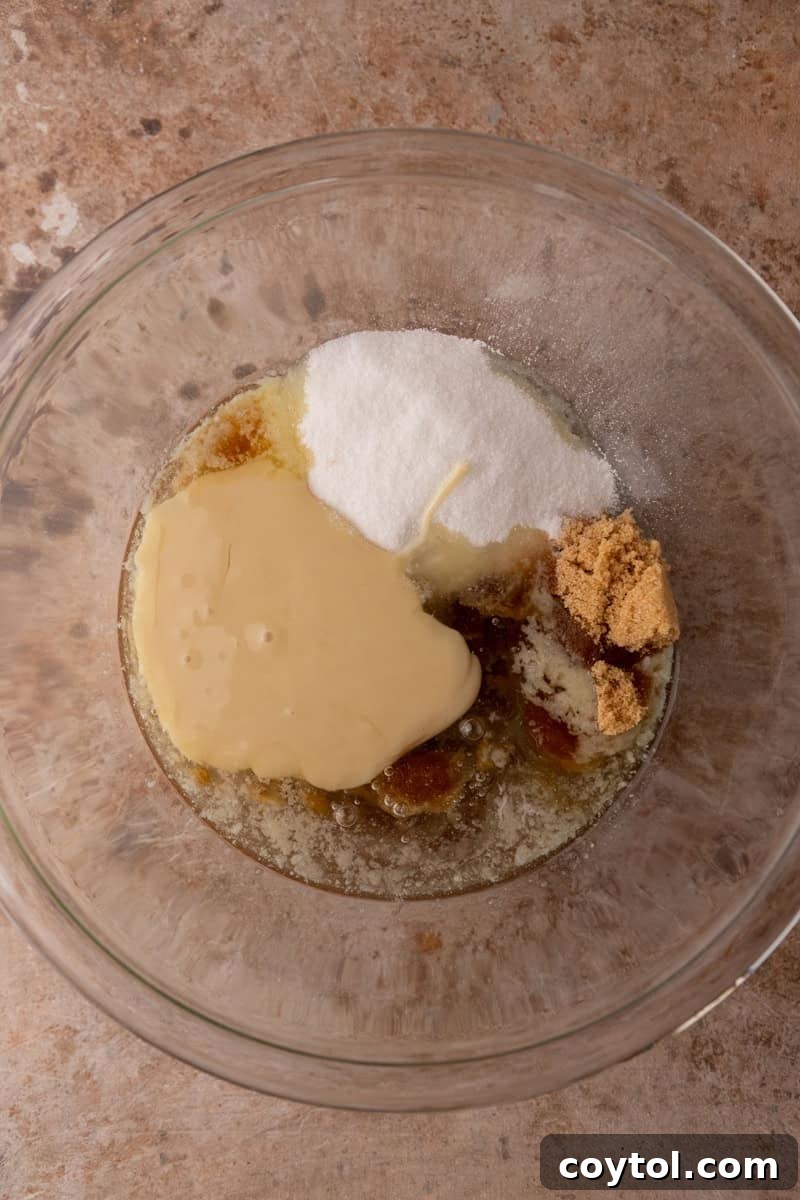
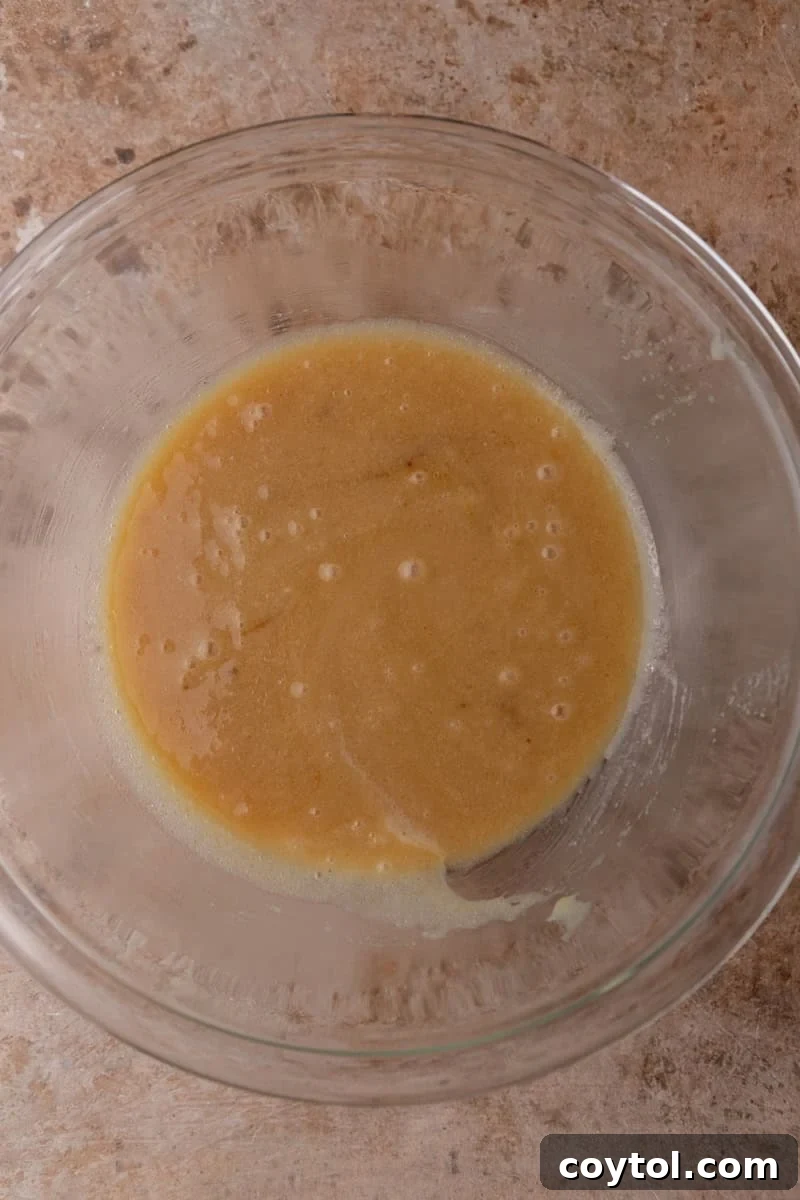
- Infuse with Flavor: Once your caramel has passed the soft-ball test and is perfectly cooked, remove it from the microwave. Stir in the vanilla bean paste or vanilla extract vigorously. The heat of the caramel will help disperse the flavor beautifully. The vanilla adds that essential warm, aromatic depth that makes caramels so irresistible.
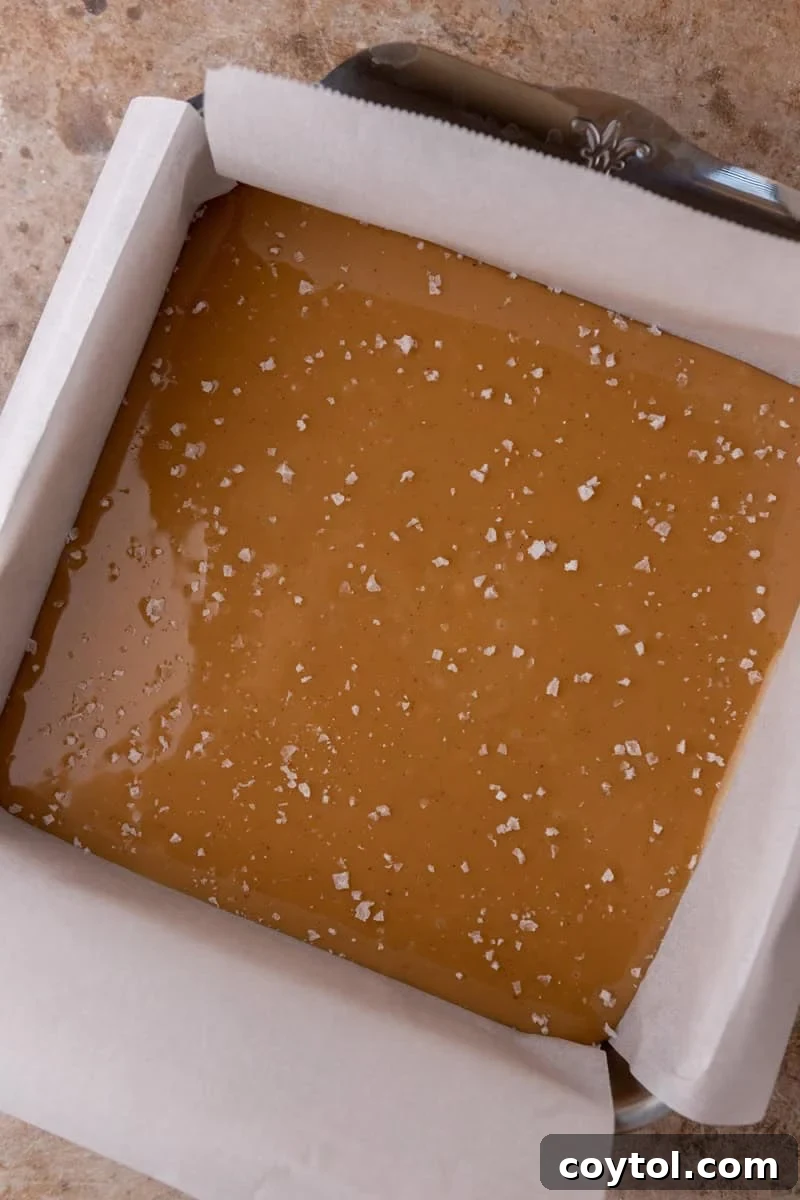
- Pour, Sprinkle & Allow to Cool: Immediately and carefully pour the hot caramel mixture into your prepared 8-inch pan. Use your spatula to scrape out all the deliciousness. While the caramel is still warm and glistening, generously sprinkle the optional flaky sea salt over the top. The salt will adhere as the caramel cools. Now comes the hard part: patience! Allow the caramel to cool completely and set at room temperature for approximately 2 hours. Do not rush this process by placing it in the refrigerator, as rapid cooling can affect the texture.
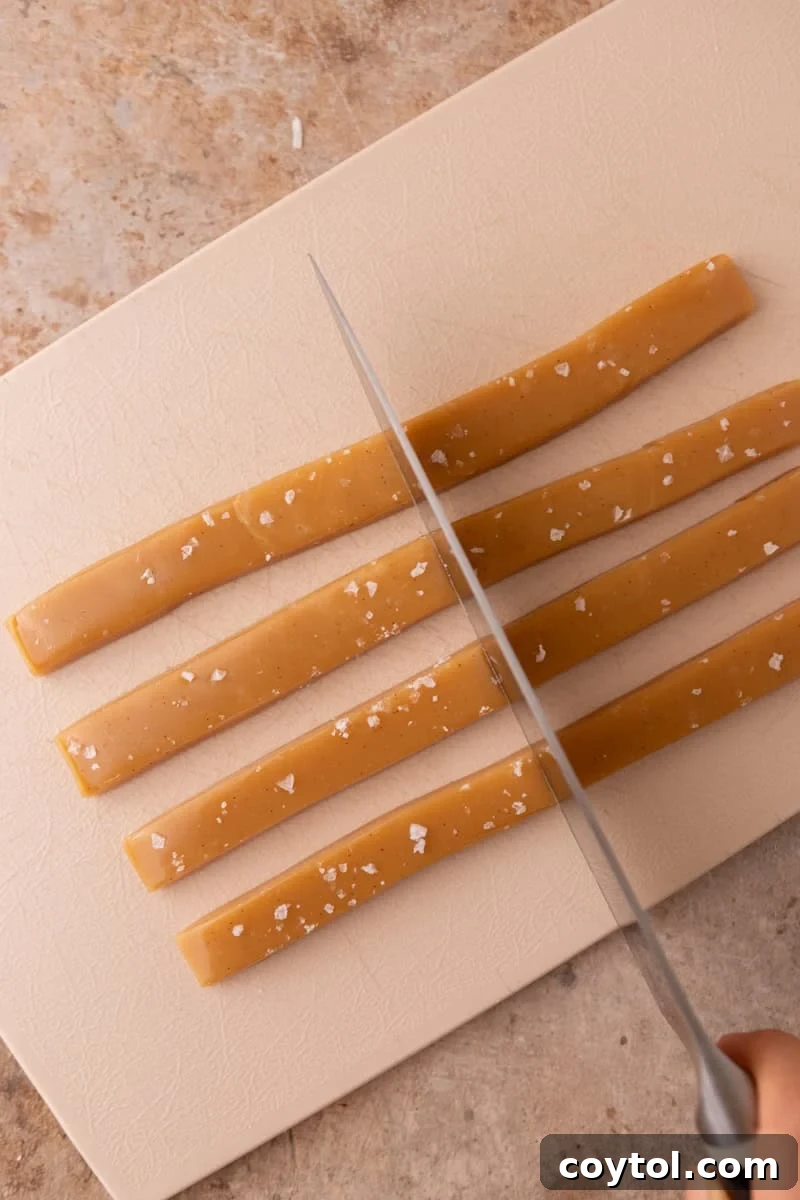
- Cut and Wrap for Enjoyment or Gifting: Once the caramel is completely cool and firm to the touch, use the parchment paper overhangs to lift the entire slab out of the pan and place it on a cutting board. For clean, neat squares, use a very sharp knife. To prevent the knife from sticking to the sticky caramel, lightly coat the blade with a thin layer of butter or a quick spray of cooking oil before each cut. Cut the slab into your desired square or rectangular sizes. For gifting or longer storage, wrap each individual caramel piece snugly in wax paper, parchment paper, or small cellophane wrappers.
Troubleshooting Common Microwave Caramel Challenges
Even with an easy recipe, sometimes little issues can arise. Here’s how to troubleshoot common problems to ensure your microwave caramels turn out perfectly every time:
- Caramel Mixture Separating? If you notice your caramel mixture starting to separate (appearing oily or clumpy), it’s a common sign that it wasn’t stirred enough between microwave intervals. Thorough and consistent stirring is essential to emulsify the butter and sugars, ensuring a homogenous and smooth mixture. If separation occurs, try stirring vigorously for an extended period after removing it from the microwave. In some cases, a very quick 10-second blast in the microwave followed by immediate, forceful stirring can help bring it back together.
- Sticky Top of the Caramel? A sticky surface on your cooled caramels can be attributed to high humidity in your kitchen or the caramel being slightly undercooked (meaning it didn’t quite reach the full soft-ball stage). To remedy this, after the caramels have cooled but before cutting, allow the pan to sit uncovered at room temperature for an additional 1–2 hours. This exposure to air can help dry the surface slightly. For future batches, consider microwaving for an extra 30 seconds to a minute if you live in a particularly humid environment, and ensure the soft-ball test is definitively met.
- Knife Sticking When Cutting? Cutting sticky caramels can be frustrating! To achieve clean, smooth cuts without the caramel clinging to your knife, always use a very sharp knife. Before each cut, lightly coat the blade with a thin layer of butter or a quick spray of neutral cooking oil. You can also wipe the knife clean and re-grease it periodically. For very precise cuts, some find it helpful to chill the slab in the refrigerator for about 10-15 minutes just before cutting, as this can firm it up slightly, but avoid chilling for too long which can make it brittle.
Pro Tips & Clever Tricks for Perfect Caramels
Elevate your microwave caramel game with these insightful tips and tricks:
- Choose Wax Paper Over Foil: When lining your baking pan, always opt for wax paper or parchment paper instead of aluminum foil. Foil has a tendency to stick tenaciously to cooled caramels, making removal difficult and messy. Wax or parchment paper ensures a clean release every time.
- Adjust for Ideal Softness (If Too Soft): If your caramels turn out too soft and don’t hold their shape well, it indicates they were slightly undercooked. The next time you make a batch, increase the microwave cooking time by an additional 30–60 seconds, ensuring you re-test for the soft-ball stage.
- Adjust for Ideal Softness (If Too Firm): Conversely, if your caramels are too firm or hard, they were overcooked. For your next attempt, reduce the microwave cooking time by about 30 seconds. Remember, slight variations in microwave wattage and even atmospheric pressure can affect cooking times.
- Creative Flavor Enhancements: Don’t hesitate to customize your caramels! After stirring in the vanilla, consider folding in chopped nuts (pecans, walnuts, or almonds are fantastic) for added crunch. You could also drizzle melted chocolate over the cooled and cut caramels for a delightful chocolate-caramel fusion, or lightly dust them with a hint of cinnamon for a spiced variation.
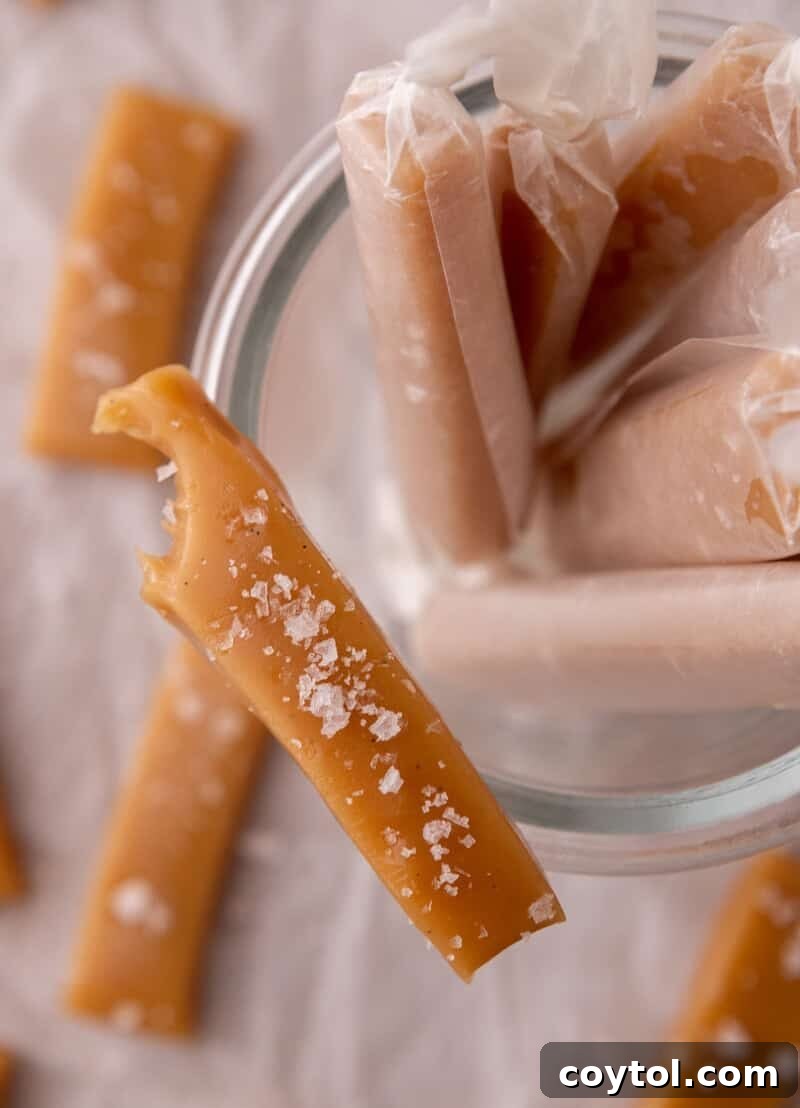
- Thoughtful Gifting Presentation: If you’re planning to share these delicious homemade treats as gifts, individual wrapping is key. Wrap each piece snugly in squares of parchment paper, wax paper, or clear cellophane wrappers. This prevents them from sticking together and gives them a professional, artisanal look that recipients will adore.
Frequently Asked Questions – FAQs About Microwave Caramels
Absolutely not! This is one of the biggest advantages of this recipe. It truly is a no-thermometer caramel recipe. The microwave heats the mixture efficiently, and the simple soft-ball stage test, explained in the instructions, reliably indicates when your caramel has reached the perfect consistency, making candy-making accessible to everyone.
Yes, you can easily double this recipe! Just be sure to use a much larger microwave-safe bowl to accommodate the increased volume, as the mixture will bubble up significantly. You’ll also need a larger pan, such as a 9×13 inch baking dish, for cooling. Keep in mind that doubling the ingredients will likely increase the microwave cooking time, so allow for extra time and perform the soft-ball test frequently.
In theory, you can attempt to make microwave caramels without corn syrup, but it’s important to understand that the texture will likely be significantly different. Corn syrup is a crucial ingredient because it prevents sugar crystallization, which is what keeps caramels smooth and chewy. Without it, your caramels may turn out grainy, overly soft, or prone to hardening too much. If you swap it for alternatives like honey or maple syrup, the flavor profile will distinctly shift, and the caramels might have a softer or slightly grainy texture. For the most authentic, classic buttery caramel texture, light corn syrup is highly recommended.
To maintain their freshness and delightful chewiness, store the individually wrapped caramels in an airtight container at room temperature. They will remain fresh for several weeks this way. If you prefer a firmer texture, especially in warmer climates, you can store them in the refrigerator, but allow them to come to room temperature for a few minutes before eating for optimal softness.
Absolutely! Dipping these caramels in chocolate is a fantastic idea and adds an extra layer of gourmet indulgence. Simply melt your favorite chocolate (milk, dark, or white) using a double boiler or in the microwave. Dip each cooled caramel square into the melted chocolate, allowing any excess to drip off, then place on parchment paper to set. A sprinkle of sea salt on the chocolate before it sets is highly recommended!
Caramel burning is usually due to uneven heating or overcooking. Every microwave has a different wattage and heats differently, so cooking times are approximate. If your caramel burned, it might mean your microwave is more powerful. The key is to start with the minimum recommended cooking time (6 minutes) and stir diligently every 2 minutes. Always perform the soft-ball test after 6 minutes. If it’s not ready, microwave in very short bursts (30 seconds to 1 minute), stirring and re-testing after each burst, to prevent scorching.
Yes, absolutely! While vanilla bean paste offers a more intense vanilla flavor and visually appealing speckles, high-quality vanilla extract is a perfectly acceptable and delicious substitute. Use the same quantity as specified for the paste. The caramels will still taste wonderfully rich and aromatic.
Yes, these caramels freeze beautifully! Once they are fully cooled and cut into individual squares, wrap each caramel tightly in wax paper or parchment paper to prevent them from sticking together. Then, place the wrapped caramels in an airtight freezer-safe container or a heavy-duty freezer bag. They can be frozen for up to 3 months. To enjoy, simply remove them from the freezer and let them thaw at room temperature for a few minutes until they soften slightly to their ideal chewy consistency.
A grainy texture in caramels is almost always a sign of sugar crystallization. This can occur if the sugar crystals didn’t fully dissolve at the beginning of the process, if the mixture wasn’t stirred adequately between microwave intervals, or if you scraped crystallized sugar from the sides of the bowl back into the hot caramel. To prevent this, use a generously sized microwave-safe bowl, stir the mixture very thoroughly until all sugars are dissolved before the main cooking, and be gentle when stirring during intervals to avoid splattering sugar crystals onto the sides of the bowl. Ensure your initial stir is very effective.
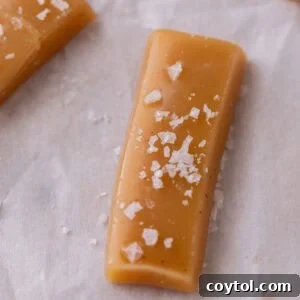
Easy Microwave Caramels
10 minutes
10 minutes
32
servings
Print Recipe
Ingredients
- 5 tablespoons unsalted butter melted
- ½ cup light corn syrup
- ½ cup granulated sugar
- ½ cup brown sugar
- ½ cup sweetened condensed milk
- 2 tsp vanilla bean paste
- ¼ teaspoon salt
- sea salt optional (for sprinkling)
Instructions
-
Grease an 8×8 inch pan or line it with parchment paper, allowing an overhang to create “handles”.
-
In a large microwave-safe bowl, combine melted butter, corn syrup, salt, granulated sugar, brown sugar, and sweetened condensed milk. Stir all ingredients thoroughly until well combined.
-
Microwave on high for 6–7 minutes, pausing to stir well every 2 minutes. The mixture should be bubbling vigorously and begin to thicken. After 6 minutes, perform the soft-ball test.
-
To perform the soft-ball test: Drop a small amount (about ¼ tsp) of the hot caramel into ice-cold water. After a few seconds, retrieve it. If it forms a soft, pliable ball that can be easily flattened between your fingers, it’s ready. If not, microwave for another 30 seconds to 1 minute, then re-test.
-
Once the caramel is done, carefully remove the bowl from the microwave using oven mitts. Stir in the vanilla bean paste (or vanilla extract). Pour the hot caramel mixture into your prepared pan, sprinkle with sea salt (if desired), and allow it to cool completely at room temperature for at least 2 hours, or until fully set.
-
Once cool and set, lift the caramel slab out of the pan using the parchment paper handles. Place on a cutting board. For best results and to prevent sticking, lightly grease a sharp knife with butter or cooking spray, then cut the slab into individual squares. Enjoy immediately or wrap for storage/gifting!
Nutrition
Nutrition information is automatically calculated, so should only be used as an approximation.
Like this? Leave a comment below!