
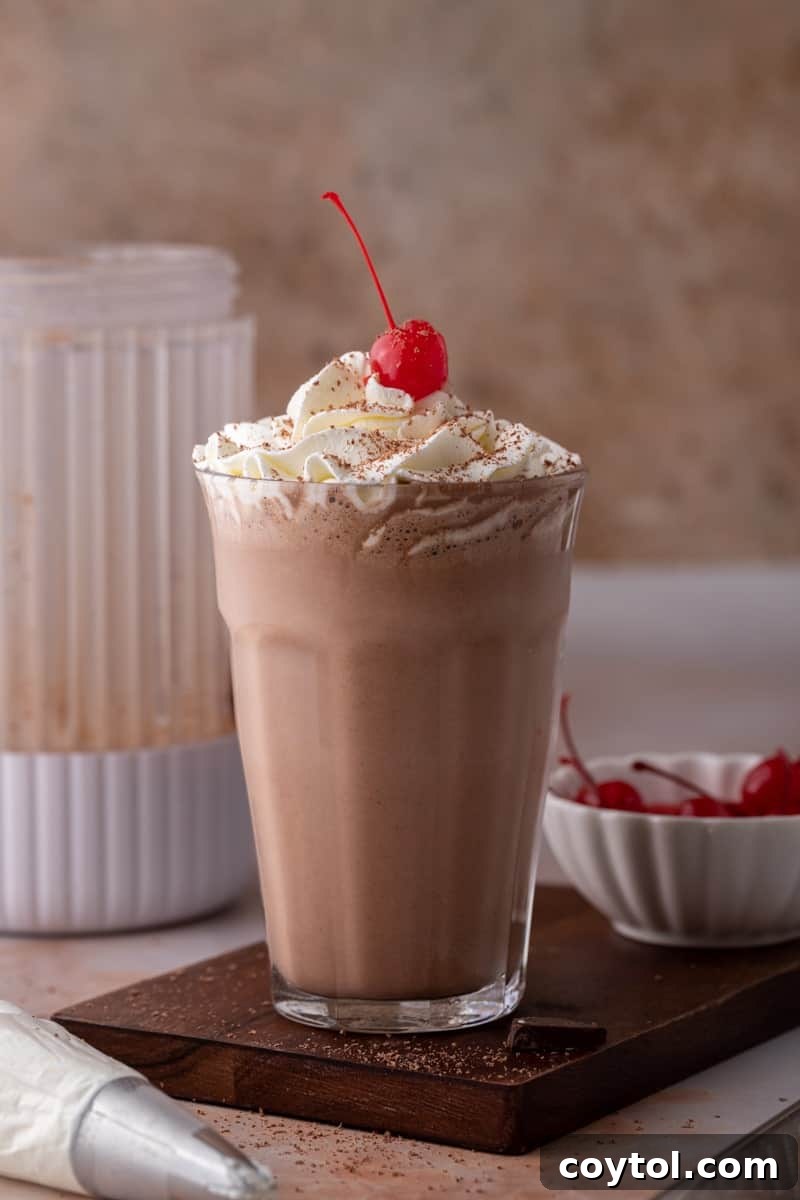
Welcome to your new favorite dessert! This isn’t just any chocolate milkshake; it’s a thick, luxuriously creamy, and deeply satisfying indulgence that far surpasses anything you’ll find at a typical diner or fast-food joint. Crafted with a handful of simple, readily available ingredients – classic vanilla ice cream, fresh milk, rich chocolate syrup, and a secret touch of cocoa powder – it delivers an unparalleled depth of chocolate flavor. In mere minutes, you can whip up this cold, decadent, restaurant-quality treat, crowned with a generous swirl of whipped cream and a bright red cherry. Prepare yourself for pure chocolate heaven!
My roommate just had dental implants in so made her chocolate shake per this recipe and it was great!
– Susan
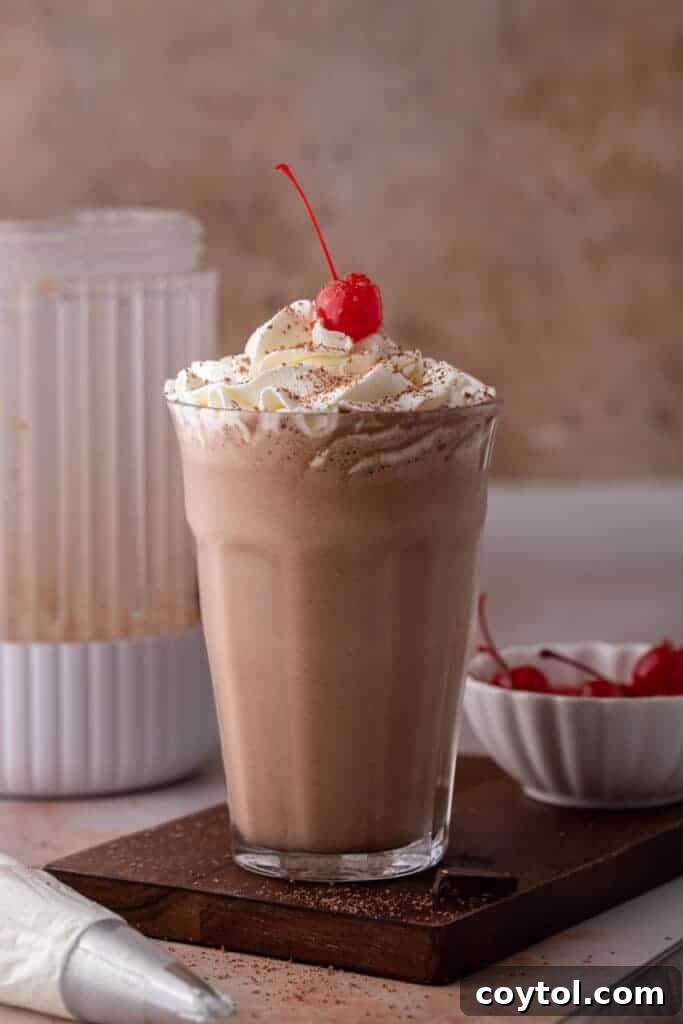
While you’re here, make sure to explore other delightful beverage recipes like this Starbucks Vanilla Bean Frappuccino Recipe, our take on McDonald’s Caramel Frappuccino, and this invigorating Homemade Iced Mocha Coffee Recipe.
Indulge in Perfection: The Ultimate Thick & Creamy Chocolate Milkshake Recipe
There’s something undeniably nostalgic and utterly satisfying about a classic chocolate milkshake. It evokes memories of lazy summer afternoons, bustling diners, and simple, sweet pleasures. But what if we told you that creating an even better version, a milkshake that’s rich, impossibly thick, and bursting with deep chocolate flavor, is not only possible but incredibly easy to achieve right in your own kitchen? This recipe is designed to deliver that quintessential diner-style experience, but elevated, ensuring every sip is a pure delight. Forget watery, bland imitations; this is the real deal.
Why This Homemade Chocolate Milkshake Recipe is a Must-Try
This isn’t just another milkshake recipe; it’s the culmination of perfecting what makes a chocolate milkshake truly exceptional. We’ve meticulously crafted it to check every box for a thick, rich, and authentic diner-style shake that you’ll want to make again and again.
- Unparalleled Flavor Depth: Unlike many recipes that rely solely on chocolate syrup, ours combines both high-quality chocolate syrup and unsweetened cocoa powder. This dynamic duo creates a multi-layered chocolate profile that is both intensely rich and wonderfully complex, satisfying even the most discerning chocolate lovers.
- Perfectly Thick, Never Watery: The secret to its incredible thickness lies in using ample ice cream and precisely the right amount of milk – with absolutely no ice. Ice, while seemingly helpful for chilling, only dilutes the flavor and creates an undesirable watery texture. Our method ensures a luscious, spoon-friendly consistency every single time.
- Effortlessly Customizable: While perfect as is, this milkshake serves as a fantastic base for endless creative toppings and mix-ins. From classic whipped cream and a cherry to more adventurous additions like cookie crumbles or a shot of espresso, you can easily tailor it to your mood and cravings.
- Rich Yet Balanced Sweetness: We’ve carefully balanced the sweetness to ensure it’s decadent without being cloyingly sweet. The cocoa powder helps to temper the sweetness of the syrup and ice cream, resulting in a perfectly harmonious flavor.
- Simple, Accessible Ingredients: You won’t need any obscure ingredients here. Everything required is likely already in your pantry or easily found at any grocery store, making this a spontaneous treat that’s always within reach.
- Quick & Easy Preparation: In just a few minutes, you can transform these basic ingredients into a gourmet dessert. It’s the perfect solution for a last-minute craving or a quick sweet fix.
Let’s Chit Chat!
Okay, listen… I am not exaggerating when I say this chocolate milkshake is one of the reasons I fell in love with American desserts. When I moved to the U.S., my first real milkshake moment was so iconic, the thick straw, the towering whipped cream, the glistening cherry on top… everything felt like I had stepped right into one of those high school movies I grew up watching. It was a culinary revelation that captured a piece of Americana right in a glass.
So of course, I had to recreate it at home. After many (many) attempts, experimenting with different ratios and chocolate combinations, this is the one that tastes exactly like the diner-style shakes we dream about – thick, incredibly creamy, intensely chocolatey, and ridiculously easy to make. This recipe is now my absolute new go-to whenever those deep chocolate cravings hit, and I’m confident it will become yours too!
Essential Ingredients for Your Dreamy Chocolate Milkshake
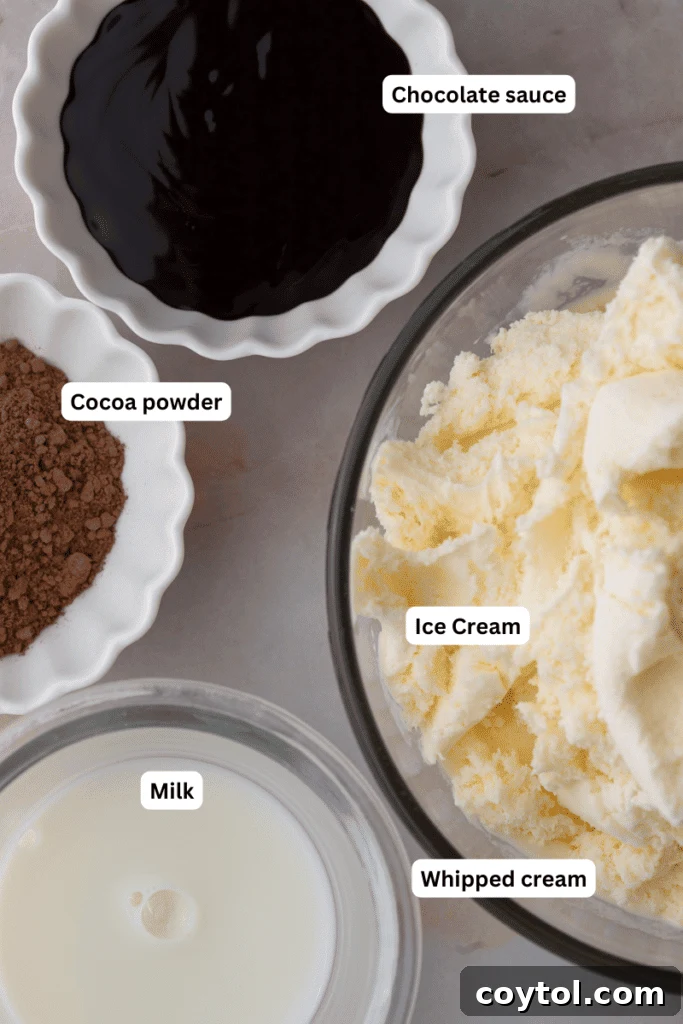
Creating the perfect chocolate milkshake begins with selecting the right components. Each ingredient plays a crucial role in achieving that rich flavor and luxurious texture. Below are the key items you’ll need; for exact measurements, please refer to the detailed recipe card at the bottom of this page.
- Vanilla Ice Cream: This is the foundation of your milkshake, providing both creaminess and a subtle sweetness that complements the chocolate. While any vanilla ice cream you enjoy will work, a higher-quality, full-fat vanilla ice cream will yield the richest and thickest shake. You can certainly use chocolate ice cream for an even more intense chocolate flavor, or experiment with coffee or even mint chip ice cream for a unique twist. Ensure it’s slightly softened, not rock-hard, for easier blending.
- Milk: The choice of milk significantly impacts the final consistency. For the ultimate thick and creamy milkshake, whole milk is highly recommended due to its higher fat content. Make sure your milk is well chilled before blending to help maintain the ice cream’s consistency. While whole milk is preferred, you can also use 2% milk for a slightly lighter version, or even a blend of half nonfat milk and half heavy cream for an extra decadent touch.
- Chocolate Syrup: Don’t skimp on quality here! A good chocolate syrup provides the primary chocolate flavor and adds sweetness. Look for a brand with a rich, authentic chocolate taste. You can choose classic milk chocolate syrup or a darker, more intense version if you prefer. This is where a lot of the immediate chocolate flavor comes from.
- Cocoa Powder: This is the secret weapon for an extra-deep, complex chocolate flavor that syrup alone cannot achieve. Unsweetened cocoa powder (either natural or Dutch-processed) enhances the richness and adds a slight bitterness that balances the sweetness. It’s what elevates this milkshake from good to extraordinary.
- Whipped Cream: An optional but highly recommended topping that adds a cloud-like texture and extra indulgence. You can use convenient store-bought whipped cream or easily make your own fresh whipped cream for a more gourmet touch.
- Garnishes (Chocolate shavings, sprinkles, or even mini chocolate chips): These are purely for visual appeal and an extra textural crunch. Feel free to get creative with your garnishes! Aside from chocolate shavings or sprinkles, you could use a maraschino cherry, crushed cookies, a drizzle of caramel, or even a sprinkle of sea salt.
Crafting Your Perfect Thick Chocolate Milkshake: Step-by-Step Guide
Making this incredibly thick and creamy chocolate milkshake is surprisingly simple and quick. Follow these easy steps to achieve milkshake perfection. For detailed ingredient measurements, refer to the recipe card below.
- Prepare Your Blender: Ensure your blender is clean and ready. Having all your ingredients pre-measured and within reach will make the process even smoother. For optimal results, use ingredients that are as cold as possible (except for slightly softened ice cream).
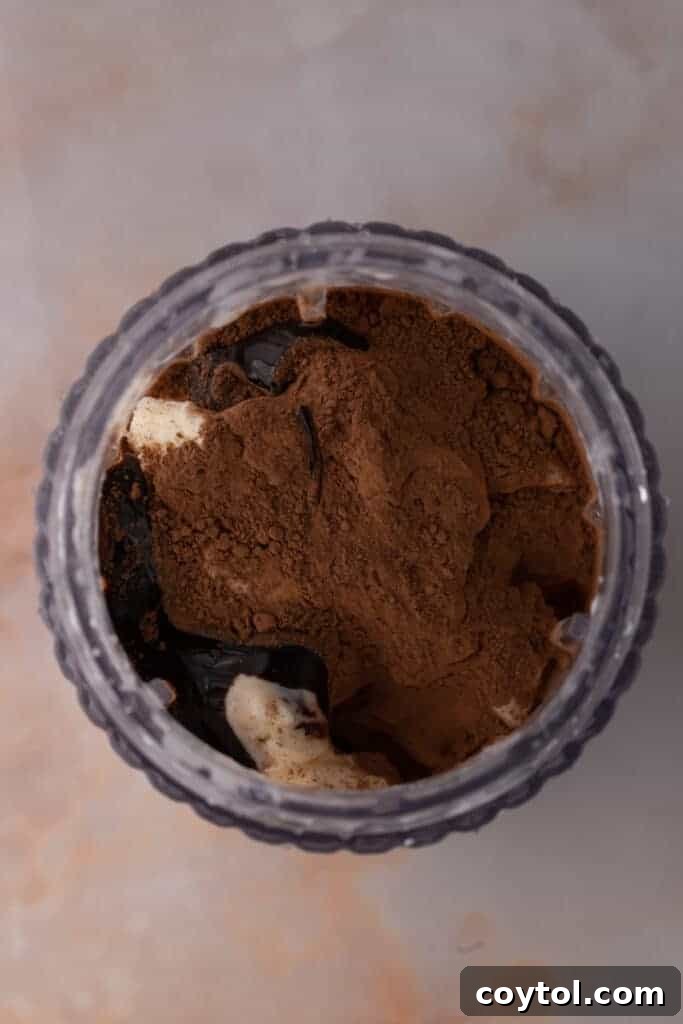
- Load the Blender: Add the vanilla ice cream, chilled milk, chocolate syrup, and cocoa powder into your blender. For easier blending and to prevent the blades from getting stuck, it’s often helpful to add the liquid (milk) first, then the solid ingredients (ice cream), followed by the syrups and powders.
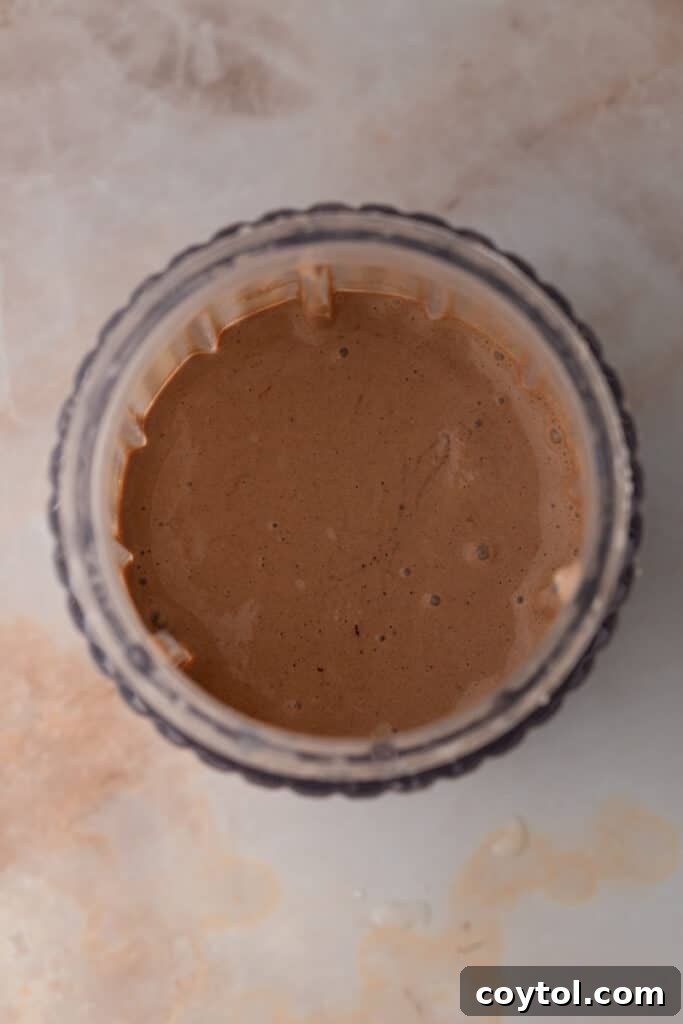
- Blend to Perfection: Secure the lid and start blending on a low speed, gradually increasing to medium or high. Blend until all ingredients are thoroughly combined and the mixture is smooth and thick. You may need to stop the blender occasionally to scrape down the sides with a rubber spatula, ensuring there are no hidden ice cream chunks or pockets of unmixed cocoa powder. Avoid over-blending, as this can melt the ice cream and lead to a thinner consistency.
- Taste and Adjust: Once blended, take a small taste. This is your chance to customize! If you prefer an even deeper chocolate flavor, add another splash of chocolate syrup or a teaspoon of cocoa powder and blend briefly. For a sweeter shake, add more syrup. If it’s too thick, add a tablespoon of milk at a time until desired consistency is reached. If it’s too thin, add another scoop of ice cream and blend again.
- Serve with Style: Pour the perfectly blended chocolate milkshake into your chosen glasses. For that authentic diner feel, use tall milkshake glasses that have been chilled in the freezer for 10-15 minutes prior to serving. This helps keep the milkshake colder and thicker for longer.
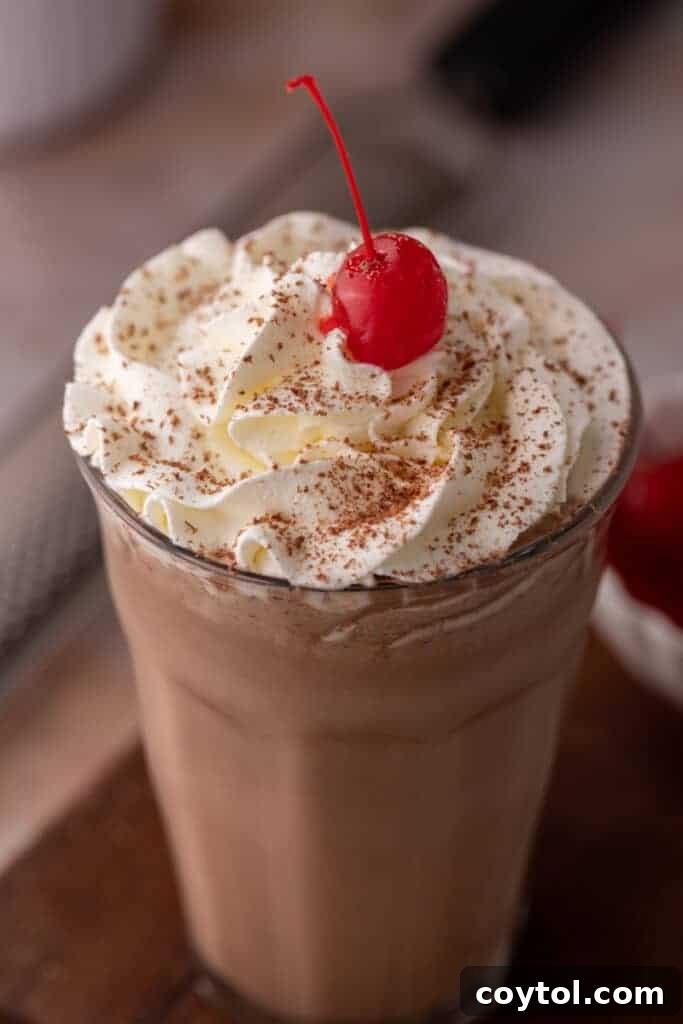
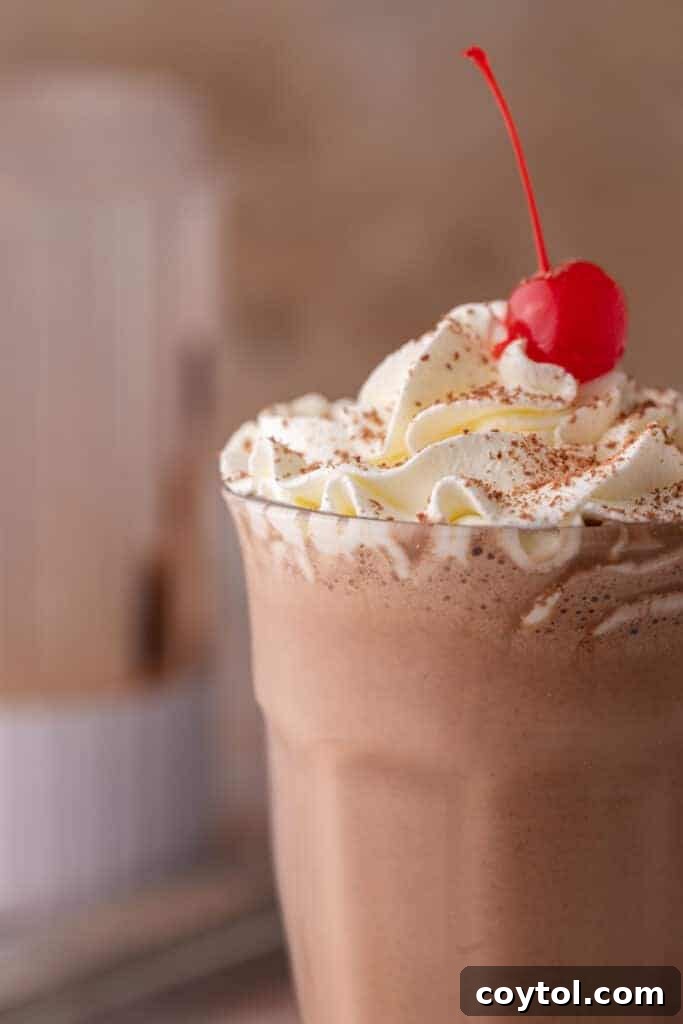
- Garnish and Enjoy: Top your masterpiece generously with a swirl of whipped cream, a maraschino cherry, and a sprinkle of chocolate shavings or mini chocolate chips. Serve immediately with a wide straw or a long spoon to savor every rich, creamy bite of your super tasty treat!
Healthier & Dietary Adaptations for Your Homemade Shake
Craving a delicious chocolate milkshake but looking for options that fit your dietary needs or preferences? This recipe is incredibly versatile and can be adapted to be lighter, dairy-free, or sugar-reduced without sacrificing flavor.
- Dairy-Free Delights: To make this milkshake completely vegan and dairy-free, simply substitute regular dairy milk with your favorite plant-based milk such as almond milk, oat milk, or soy milk. For the ice cream, opt for a high-quality dairy-free vanilla ice cream. Many brands offer excellent coconut, almond, or cashew-based ice creams that yield a wonderfully creamy texture. For an extra rich, decadent touch, you can even use full-fat canned coconut milk (the thick cream part) instead of some of the plant-based milk.
- Reduced Sugar Options: If you’re mindful of sugar intake, swap out regular chocolate syrup for a sugar-free alternative. Many brands offer sugar-free chocolate syrups that provide excellent flavor. Additionally, you can reduce the amount of ice cream or opt for a lower-sugar vanilla ice cream. The cocoa powder contributes deep chocolate flavor without adding extra sweetness, making it a great component for reduced-sugar versions.
- Lighter Version with Fruit: For a healthier twist, consider using frozen bananas instead of some (or all) of the ice cream. Frozen bananas add natural sweetness and contribute significantly to a thick, creamy texture, making for a delicious dairy-free shake without compromising on body. You can also use a lower-fat milk (like skim or 1%) to further reduce the calorie and fat content.
Expert Tips for Achieving the Ideal Milkshake Consistency Every Time
The perfect milkshake is all about consistency – not too thin, not too thick, but just right. Here are our top tips to ensure your homemade chocolate milkshake always hits the mark:
- The Golden Ratio: The key is the balance between ice cream and milk. Our recipe provides a fantastic starting point. Don’t be afraid to experiment slightly with the milk quantity to find your personal preference. A little less milk for ultra-thick, a touch more for easier sipping.
- Temperature Matters: Ensure all your ingredients, especially the milk, are as cold as possible before blending. Using very cold milk helps keep the ice cream from melting too quickly during the blending process, resulting in a thicker shake. For an even better experience, chill your serving glasses in the freezer for at least 10-15 minutes before pouring.
- Don’t Use Ice: As mentioned, never add ice to your milkshake. While it might seem like a good idea for chilling, ice dilutes the flavor and creates a watery, unpleasant texture. Stick to more ice cream for thickness instead.
- Blend in Stages: Start your blender on a low speed to break down the ice cream, then gradually increase to a higher speed to ensure everything is thoroughly combined and smooth. If the mixture is too thick to blend, add milk one tablespoon at a time.
- Avoid Over-blending: Blending for too long generates heat and can cause the ice cream to melt, leading to a runny milkshake. Blend just until smooth and uniform, then stop.
- Thinner Milkshake: If your milkshake is too thick for your liking, simply add 1-2 tablespoons of cold milk at a time and blend briefly until you reach your desired, thinner consistency.
- Thicker Milkshake: If you prefer an even thicker shake, add an extra scoop or two of vanilla ice cream and blend until smooth. For thickness without extra sweetness, blend in a few frozen heavy cream cubes. These add richness and body without diluting the flavor.
Frequently Asked Questions About Chocolate Milkshakes
Absolutely! To make a delicious vegan chocolate milkshake, simply swap out the dairy milk for your preferred plant-based milk (such as almond, oat, or soy milk) and use a high-quality dairy-free vanilla ice cream. Many excellent vegan ice cream options are available today that will yield a wonderfully creamy result.
Yes, it’s possible, though a bit more effort. If you don’t have a blender, you can use a handheld electric mixer. Mash the ice cream with a fork until it’s soft and somewhat pliable, then add the milk, chocolate syrup, and cocoa powder. Use the electric mixer to whisk everything together until smooth and frothy. Alternatively, vigorous whisking by hand in a large bowl can also work, but it requires more arm strength!
Never! Adding ice to your milkshake will dilute the rich flavor and ruin the desired thick, creamy texture. The goal is a cold, dense shake, not an icy one. For thickness, rely on extra ice cream instead of ice cubes.
For the ultimate experience, a tall, chilled milkshake glass is ideal. Placing your glass in the freezer for about 10-15 minutes before serving will help keep your milkshake thick and cold for longer, preventing it from melting too quickly. Mason jars also make a charming and practical serving option.
Whole milk is recommended because its higher fat content contributes significantly to the milkshake’s overall creaminess and luxurious mouthfeel. It provides a richer body and helps create that signature thick, smooth texture. While other milks can be used, whole milk delivers the best results for a truly decadent shake.
If you happen to have any leftover milkshake (a rare occurrence!), you can store it in an airtight container in the freezer. When you’re ready to enjoy it again, let it soften at room temperature for 5-10 minutes, or re-blend it briefly with a splash of milk to restore its creamy consistency.
A high-speed blender is generally the most efficient and effective tool for achieving a perfectly smooth and thick milkshake. Immersion blenders can also work well, especially for single servings in a deep glass. As a last resort, a hand mixer or even vigorous whisking can be used, but these methods may require more effort and time.
To achieve a thicker milkshake without increasing its sweetness, you have a couple of options. The simplest is to add more ice cream. Alternatively, you can prepare frozen heavy cream cubes in advance. Blend in a few of these cubes, and they will add richness and body without contributing extra sugar.
If your milkshake turns out too runny, don’t worry! This is usually an easy fix. Just add another scoop or two of vanilla ice cream to the blender and blend again until you reach your desired thick consistency. Ensure your ice cream is very cold to begin with.
Absolutely! A “mocha” milkshake is a fantastic variation. Simply add 1-2 tablespoons of instant espresso powder or a shot of cooled espresso to the blender along with the other ingredients. This creates a delightful coffee-chocolate flavor profile.
While this recipe uses regular chocolate syrup and cocoa powder, feel free to experiment. You can use dark chocolate syrup for a bolder flavor, or even melt a square or two of good quality dark chocolate and add it to the blender (make sure it’s cooled slightly). Using chocolate ice cream as the base will also intensify the chocolate experience.
The Best Chocolate Milkshake EVER!
Print Recipe
Ingredients
- 3 cups vanilla ice cream
- 1/4 cup milk adjust for desired thickness
- 3 tablespoons chocolate syrup
- 1 tablespoon cocoa powder
- Whipped cream for topping, optional
- Chocolate shavings or sprinkles for garnish, optional
Instructions
-
Add the vanilla ice cream, milk, chocolate syrup, and cocoa powder to a blender. Blend everything until smooth and combined. If you prefer a thicker milkshake, you can add more ice cream. If you want a thinner consistency, add a little more milk.3 cups vanilla ice cream, 1/4 cup milk, 3 tablespoons chocolate syrup, 1 tablespoon cocoa powder
-
Taste the milkshake and adjust the sweetness and chocolate flavor by adding more chocolate syrup or cocoa powder, if desired.
-
Pour the chocolate milkshake into glasses, top the milkshake with whipped cream, chocolate shavings, or sprinkles for extra indulgence.Whipped cream, Chocolate shavings or sprinkles
-
Serve the chocolate milkshake immediately while it’s still cold and creamy. Use a straw or a long spoon to enjoy every sip.
Notes
Nutrition
Carbohydrates: 69g |
Protein: 9g |
Fat: 22g |
Saturated Fat: 14g |
Polyunsaturated Fat: 1g |
Monounsaturated Fat: 6g |
Cholesterol: 88mg |
Sodium: 193mg |
Potassium: 550mg |
Fiber: 3g |
Sugar: 58g |
Vitamin A: 896IU |
Vitamin C: 1mg |
Calcium: 301mg |
Iron: 1mg
Nutrition information is automatically calculated, so should only be used as an approximation.