
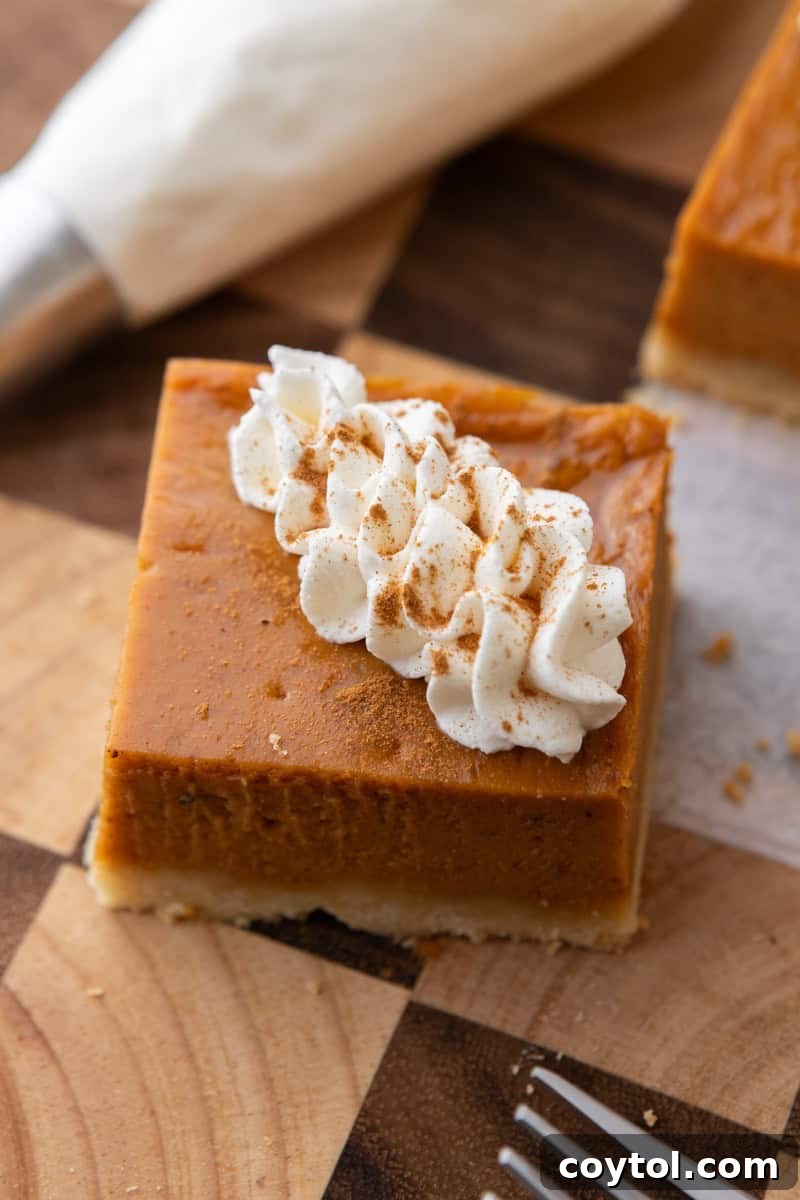
As autumn leaves begin to fall and a crisp chill fills the air, there’s nothing quite like the comforting aroma of warm spices wafting from the kitchen. Sweet potato pie is a quintessential fall dessert, beloved for its creamy texture and rich, spiced flavor. However, baking a traditional pie can sometimes feel like a labor of love, requiring precise crust handling and often leading to messy slices, especially when serving a crowd.
Enter the **Sweet Potato Pie Bars with Shortbread Crust** – a delightful twist on a classic that promises all the cozy, homemade charm with unmatched convenience. These bars deliver the same incredible taste you adore, but in an easy-to-make, easy-to-serve format that’s perfect for any occasion, from intimate family dinners to festive holiday gatherings. Forget the struggle of slicing a whole pie; these individual portions are effortlessly elegant, perfectly portioned, and incredibly satisfying.
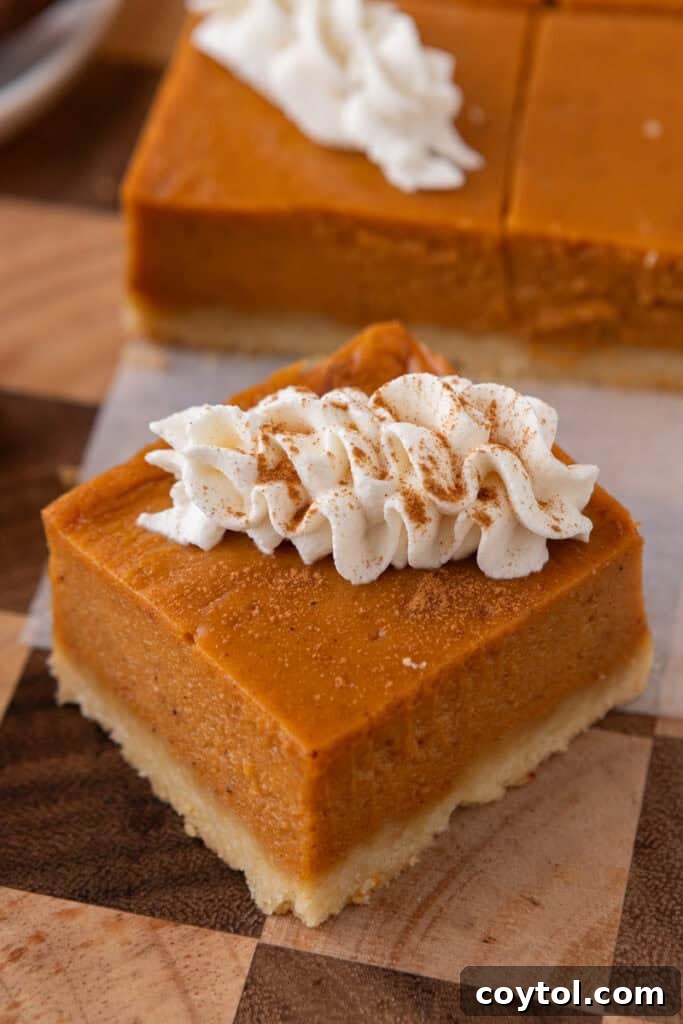
Why These Sweet Potato Pie Bars Deserve a Spot on Your Fall Menu
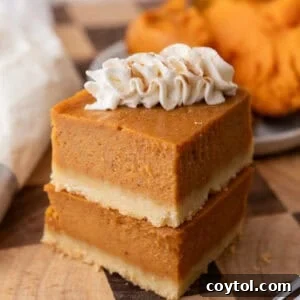
These sweet potato bars truly stand out from traditional pies. They begin with a rich, buttery shortbread crust, specifically designed to be a bit thicker and more resilient than a standard pie crust. This ingenious foundation is pre-baked, ensuring that the bottom remains deliciously crisp and never soggy, providing a perfect textural counterpoint to the velvety smooth, spiced sweet potato filling. Each bite offers a harmonious blend of textures and tastes, where the crumbly, tender shortbread meets the tender, aromatic sweet potato.
The filling itself is a celebration of autumn’s finest flavors, bursting with warming spices like cinnamon, ginger, nutmeg, and cloves. It’s perfectly sweet, wonderfully creamy, and infused with that unmistakable cozy essence that defines fall baking. Beyond their irresistible taste, these bars are also surprisingly simple to prepare. Whether you’re a seasoned baker looking for a holiday shortcut or just starting your culinary journey, you’ll find this recipe straightforward and rewarding. They’re an ideal make-ahead dessert, allowing you to prepare them in advance and enjoy them throughout the week, with flavors that deepen and improve over time, making them even more delicious the next day.
Let’s Chit Chat!
This particular recipe for Sweet Potato Pie Bars came about after an overwhelming number of requests on Instagram, following the viral success of my Pumpkin Pie Bars. Many curious bakers reached out, wondering if a simple substitution of sweet potatoes for pumpkin would yield equally delicious results. Inspired by your enthusiasm and curiosity, I embarked on a mission to perfect the ratios and proportions specifically for a sweet potato version. After several tests and tweaks, I am absolutely thrilled to share this meticulously crafted recipe, saving you all the trials and tribulations. I can confidently say these bars are a triumph of flavor and texture, destined to become a staple in your holiday baking repertoire and beyond!
If you’re already captivated by comforting pie flavors and delicious sweet potato creations, you might also enjoy exploring some of these other delightful recipes that celebrate the versatility of sweet potatoes:
- Pecan Pie Twice Baked Sweet Potatoes: A savory-sweet side dish that tastes like dessert!
- Fall Stuffed Sweet Potatoes Recipe: Perfect for a cozy weeknight meal or a festive side.
- How to Bake Sweet Potatoes in the Oven: A comprehensive guide to preparing your sweet potatoes perfectly for any recipe.
- Sweet Potato Fudge Brownies: A surprisingly decadent and moist dessert.
- Sweet Potato Smoothie Recipe: A healthy and delicious way to start your day.
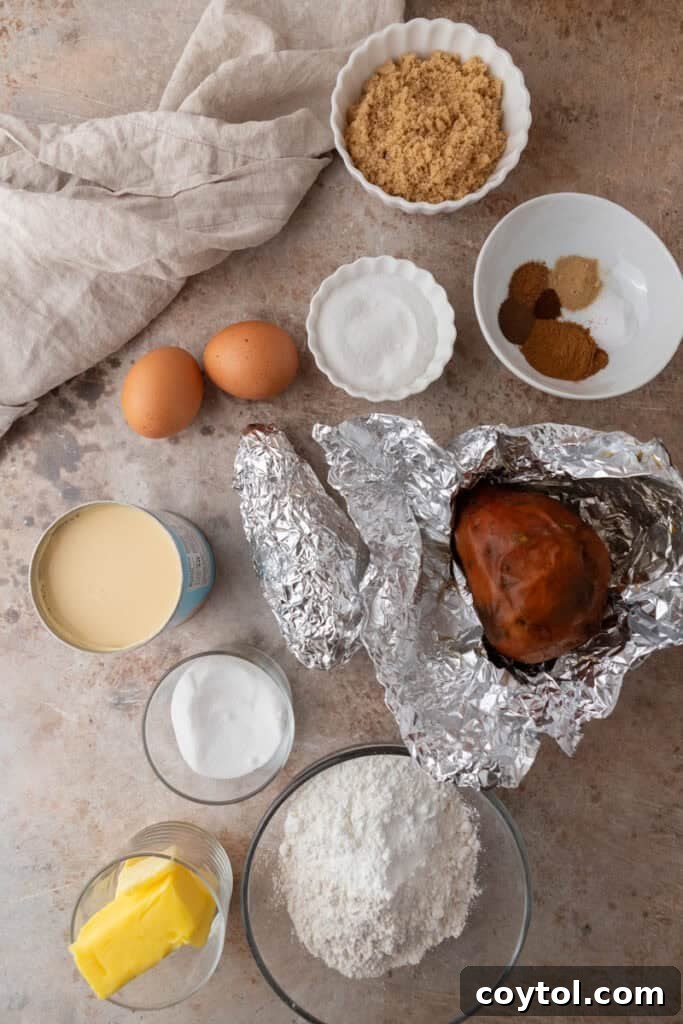
Essential Ingredients for Perfect Sweet Potato Pie Bars
Crafting these irresistible sweet potato pie bars requires a selection of fresh, high-quality ingredients for both the buttery shortbread crust and the luscious sweet potato filling. Each component plays a vital role in achieving the perfect balance of flavor and texture. Here’s a detailed look at what you’ll need and the function each ingredient serves in this beloved fall dessert. For precise measurements, please refer to the full recipe card at the bottom of the page.
For the Buttery Shortbread Crust:
- All-purpose Flour: This is the fundamental structural base of our shortbread crust, providing the tender yet firm foundation for our bars.
- Cornstarch: A crucial ingredient that tenderizes the dough, helping to create that coveted melt-in-your-mouth texture characteristic of classic shortbread. It ensures a delicate, not tough, crust.
- Granulated Sugar: Adds a subtle sweetness to the crust, balancing the rich butteriness and assisting in its beautiful golden-brown caramelization during baking.
- Unsalted Butter (softened): The star and soul of the shortbread! Using softened unsalted butter is paramount as it effortlessly binds all the ingredients, infuses the crust with its signature rich flavor, and ensures a wonderfully crumbly, tender texture. Ensure it’s at room temperature for optimal mixing.
- Salt: A pinch of salt is vital. It not only adds a touch of seasoning but also balances the sweetness and brilliantly enhances the deep, savory, buttery notes of the shortbread, making every bite more satisfying.
- Vanilla Extract: A teaspoon of vanilla extract adds a warm, aromatic dimension that perfectly complements both the buttery crust and the spiced sweet potato filling, providing a cohesive flavor profile.
For the Silky Sweet Potato Filling:
- Cooked Fresh Sweet Potatoes: The undisputed star of the show! Freshly cooked sweet potatoes deliver the best flavor and a wonderfully smooth texture. About one large sweet potato or 375g, ideally roasted, will provide the ideal sweetness and creaminess.
- Evaporated Milk: This concentrated milk provides unparalleled richness and creaminess to the filling without diluting the intense sweet potato flavor. It contributes to a luxurious, dense texture.
- Brown Sugar and Granulated Sugar: A harmonious combination of both sugars creates a balanced sweetness and adds depth of flavor. Brown sugar offers a molasses-like richness and moisture, while granulated sugar ensures overall sweetness. You can use dark brown sugar for an even deeper, more complex caramel note.
- Eggs (2 whole and 1 extra yolk): Eggs are essential for structure, helping the filling to set beautifully into a firm, yet tender, consistency. The extra egg yolk adds crucial richness and helps achieve that luxuriously smooth, almost custard-like texture, preventing a dry or crumbly filling.
- Vanilla Extract: Reinforces the sweet potato’s natural sweetness and adds another layer of warmth, depth, and comforting aroma to the overall flavor of the filling.
- Cornstarch: A small amount of cornstarch acts as a thickening agent, ensuring the filling sets up perfectly without being too runny. It contributes significantly to the desired silky smooth texture.
- Ground Cinnamon: The dominant and most beloved spice, cinnamon adds a warm, sweet, and comforting note that is synonymous with classic sweet potato pie, providing the primary aromatic profile.
- Ground Ginger, Nutmeg, Allspice, and Cloves: This aromatic quartet adds layers of complex, sharp, and intensely warming spices. They perfectly balance the sweetness of the potatoes and sugars, giving the filling that classic, irresistible fall flavor profile and a subtle heat.
- Salt: Just like in the crust, salt is crucial in the filling. It heightens the natural sweetness of the sweet potatoes and enhances every individual spice note, bringing all the intricate flavors into perfect harmony and preventing the dessert from tasting flat.
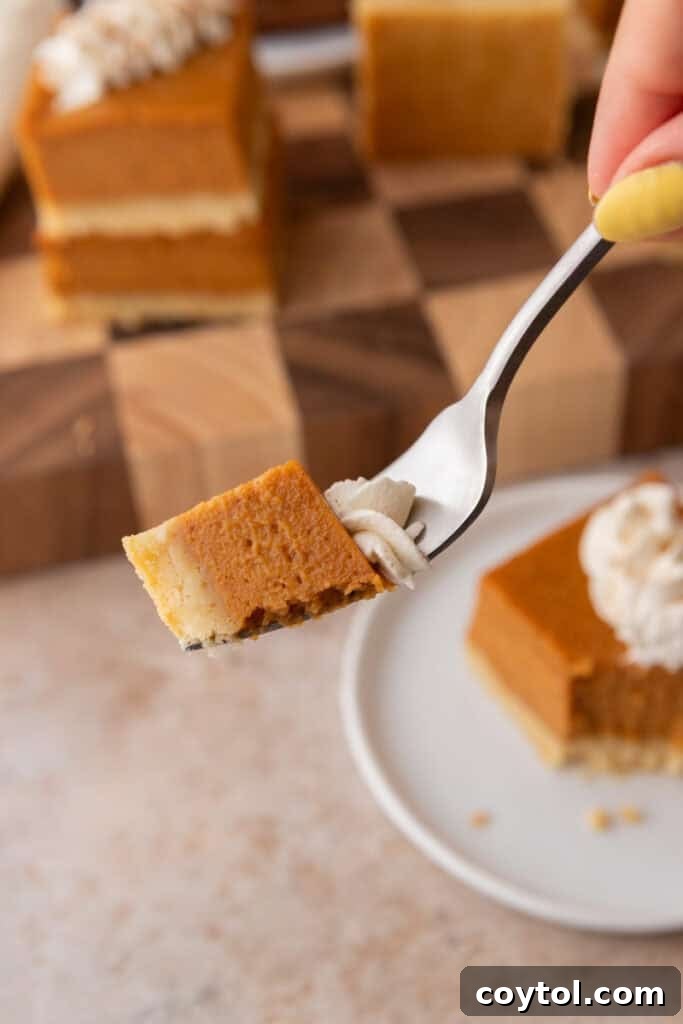
How to Master These Sweet Potato Pie Bars: A Step-by-Step Guide
Creating these delightful sweet potato pie bars is a straightforward and rewarding process. By breaking it down into manageable steps for both the flaky shortbread crust and the creamy sweet potato filling, you’ll be enjoying a perfectly spiced, beautifully textured dessert in no time. Follow these instructions carefully, paying attention to the details, and you’ll achieve culinary perfection. Detailed oven temperatures, precise bake times, and comprehensive instructions are provided in the complete recipe card at the very end of this post.
Step 1: Prepare the Buttery Shortbread Crust
- Preheat Oven and Prepare Pan: Begin by preheating your oven to 350°F (175°C). This ensures the oven is at the correct temperature when you’re ready to bake. Line an 8×8-inch baking dish with parchment paper, allowing a generous overhang on all sides. This thoughtful step will make lifting the fully baked and cooled bars out of the pan incredibly easy later on, preventing any sticking.
- Combine Dry Ingredients: In a medium-sized mixing bowl, combine the all-purpose flour, cornstarch, granulated sugar, and salt. Use a whisk to thoroughly combine them, ensuring an even distribution of ingredients, which is key for a consistent crust texture.
- Add Wet Ingredients and Mix: Add the softened unsalted butter and vanilla extract to the dry ingredients. Using a pastry blender, your fingertips, or a stand mixer with a paddle attachment on low speed, mix until the dough begins to come together. It should form a soft, cohesive dough that is pliable but not overly sticky. Be careful not to overwork the dough, as this can develop the gluten and result in a tough rather than tender crust.
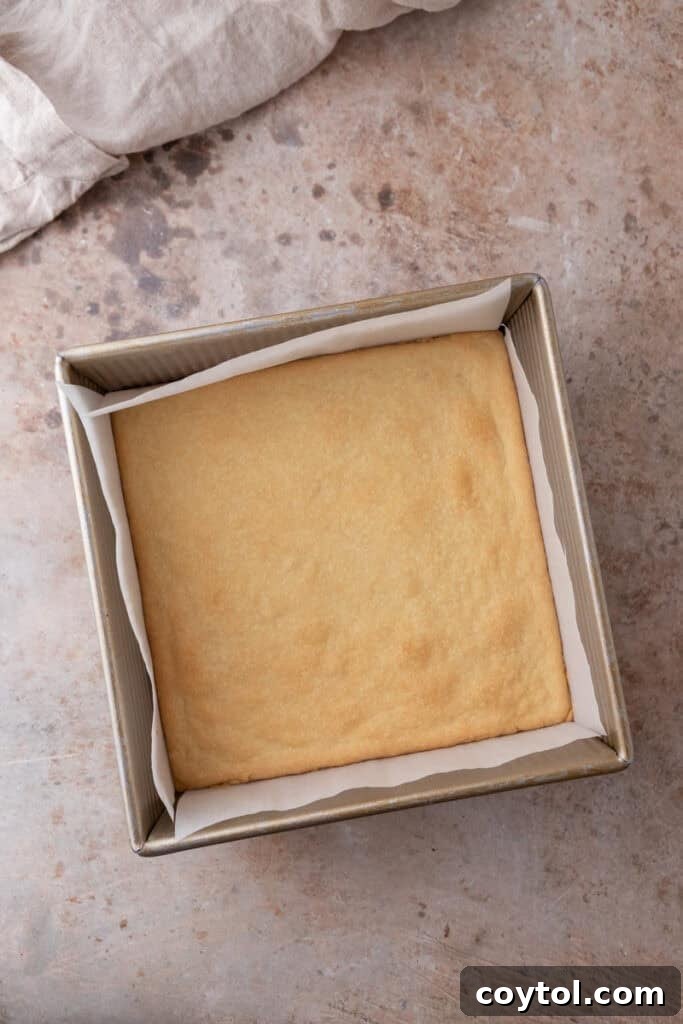
- Press and Bake: Evenly press the shortbread dough into the bottom of the prepared pan. Use the back of a spoon or your clean hands to ensure it’s a uniform, flat layer from edge to edge to promote even baking. Bake the crust for 15-18 minutes, or until the edges are lightly golden brown and the crust smells deliciously fragrant. This crucial pre-baking step creates a barrier that prevents the crust from becoming soggy once the moist sweet potato filling is added.
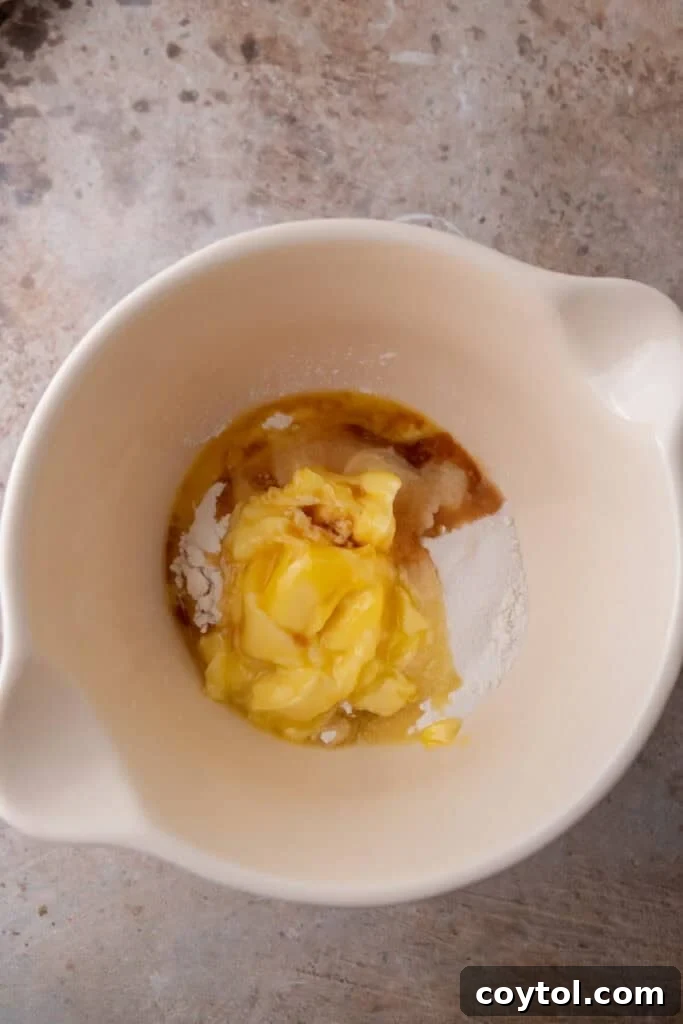
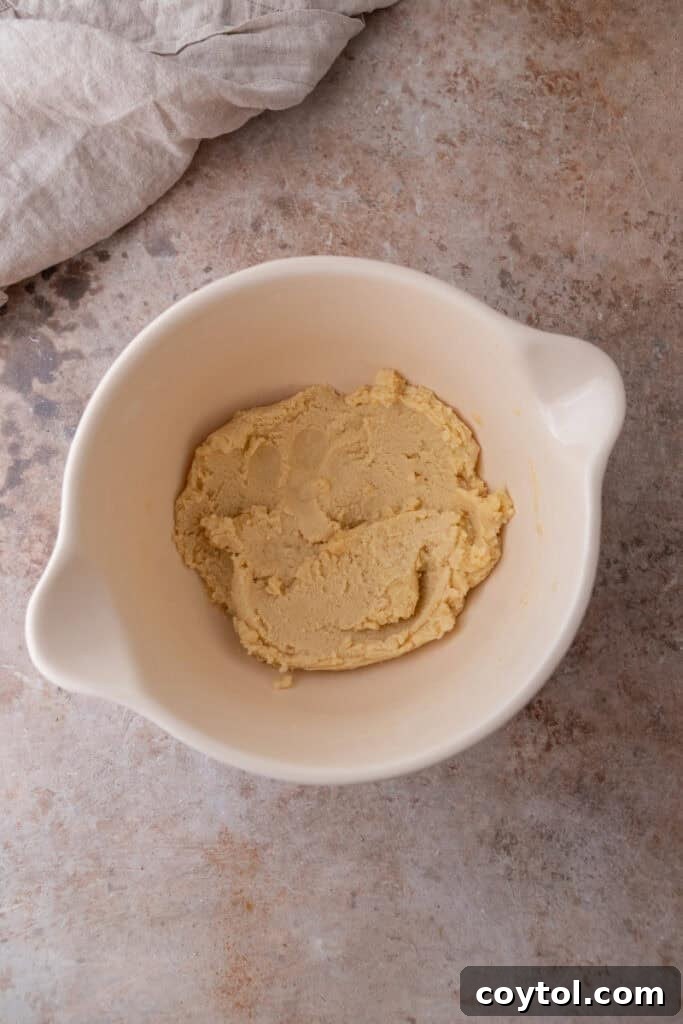
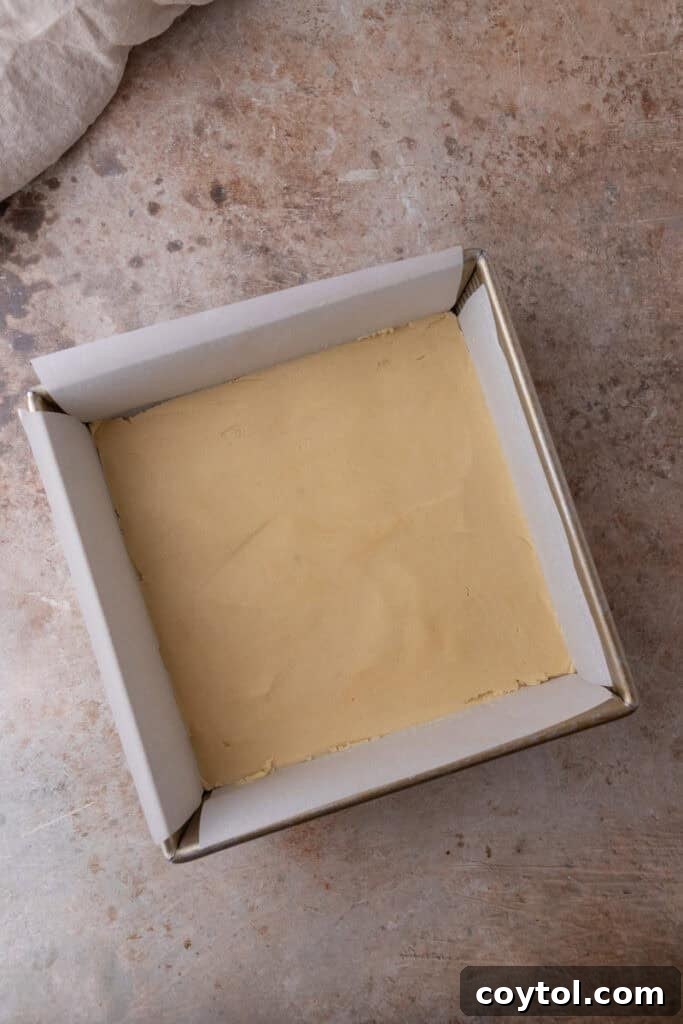
Step 2: Craft the Silky Sweet Potato Pie Filling
- Cook and Prepare Sweet Potatoes: The first crucial step for an exceptional filling is to ensure your sweet potatoes are cooked until very tender. While steaming or boiling are options, I highly recommend roasting them whole at 400°F (200°C) for about 50-55 minutes, or until they are soft and slightly oozing syrup. Roasting brings out their natural sugars, intensifying their sweetness and yielding a rich, deeply flavored puree that results in the smoothest, most flavorful filling. Once cooked, let them cool slightly, then peel and cut them into chunks.
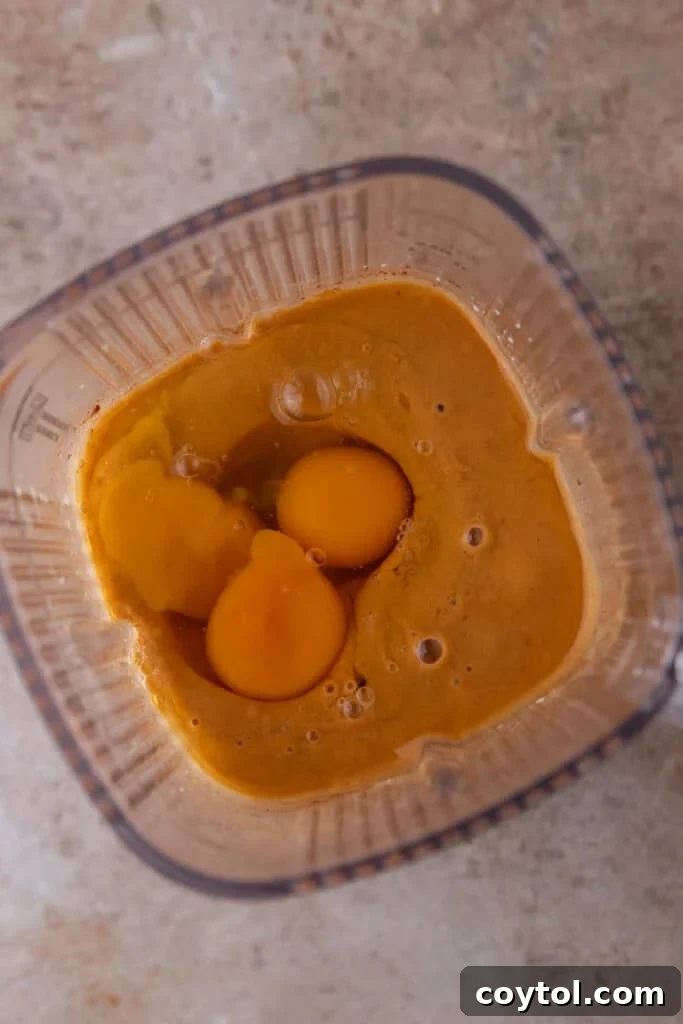
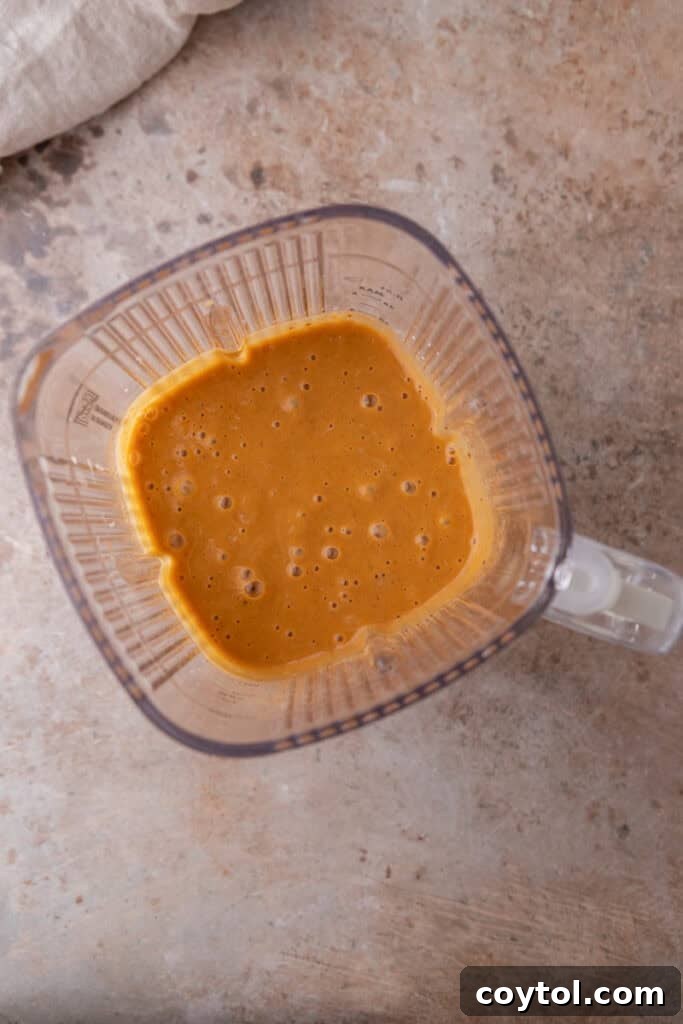
- Blend Most Filling Ingredients: In a high-speed blender or food processor, combine the cooked sweet potato chunks, both brown and granulated sugars, all the warm spices (cinnamon, ginger, nutmeg, allspice, cloves), cornstarch, vanilla extract, and evaporated milk. Blend on high speed until the mixture is exceptionally silky smooth, with absolutely no lumps remaining. You may need to stop and scrape down the sides of the blender a few times to ensure everything is thoroughly incorporated.
- Incorporate Eggs Gently: Lastly, add the two whole eggs and the extra egg yolk to the blender. Pulse just a few times (3-5 short pulses) until they are barely combined into the mixture. It’s critical not to overmix at this stage, as excessive blending can incorporate too much air, which may cause the filling to puff up excessively in the oven and then crack as it cools, affecting the final appearance.
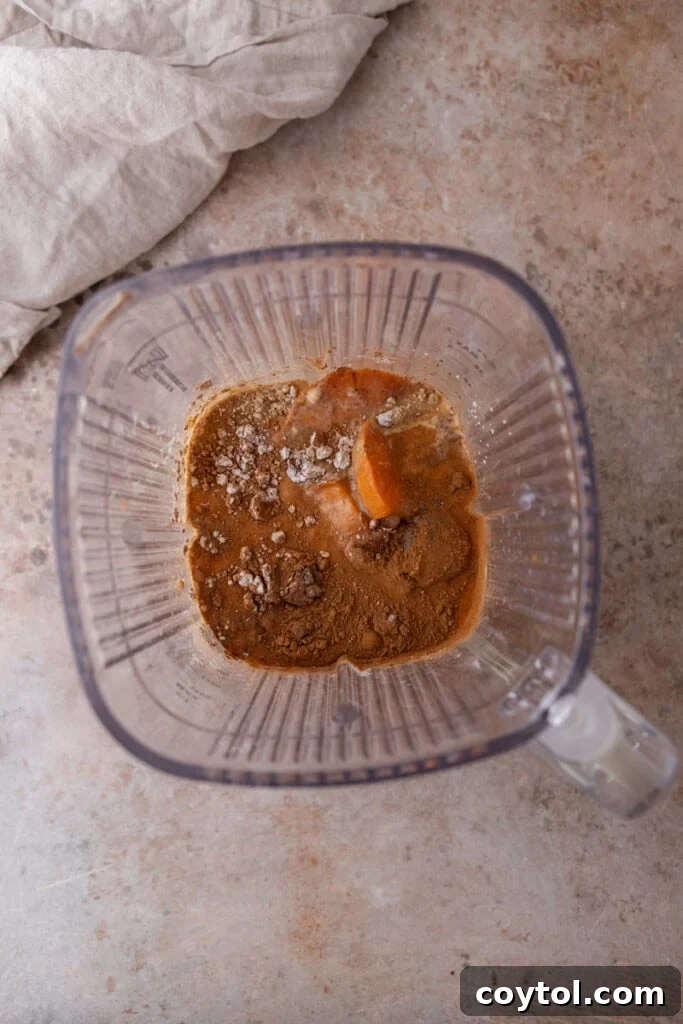
Step 3: Assemble and Bake to Perfection
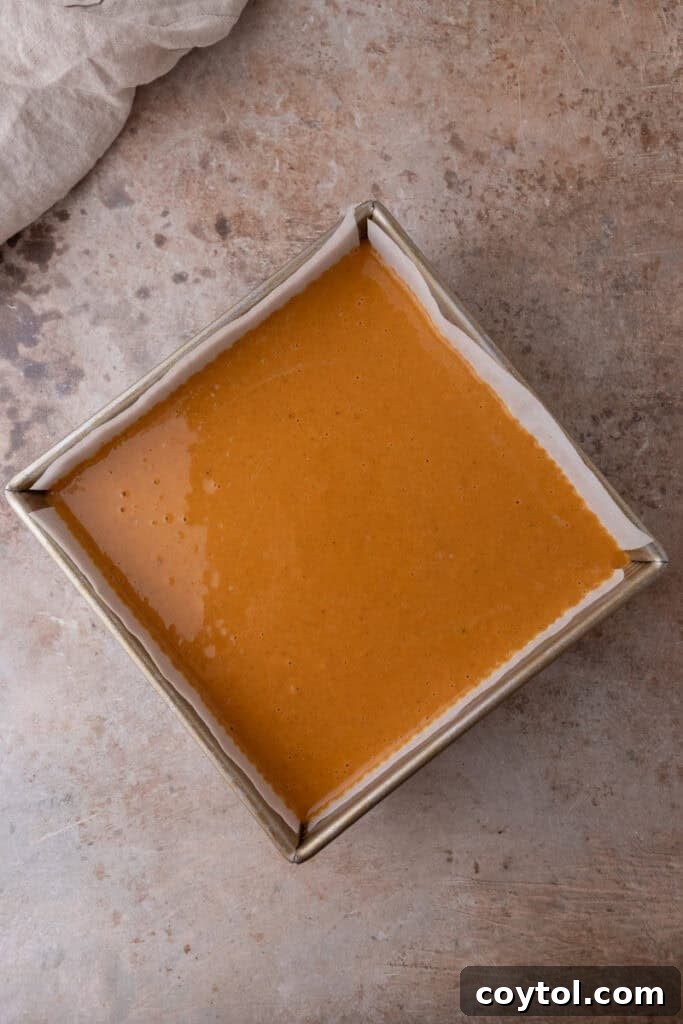
- Combine Crust and Filling: Carefully pour the beautifully smooth sweet potato filling mixture directly over the warm, pre-baked shortbread crust in your prepared square pan. Gently spread the filling with a spatula to ensure an even layer across the entire surface of the crust.
- Bake the Bars: Return the pan to the preheated oven. Bake for approximately 30-37 minutes. The bars are ready when the edges appear set and firm, but the very center still retains a slight, gentle jiggle when the pan is gently shaken. This “jiggle test” is crucial because the filling will continue to set and firm up significantly as it cools. A toothpick inserted into the center should come out mostly clean with maybe a few moist crumbs, but not wet batter. Begin checking for doneness around the 30-minute mark, and continue baking in short 2-minute intervals if needed, being extremely careful not to overbake, as this can lead to a dry or cracked filling.
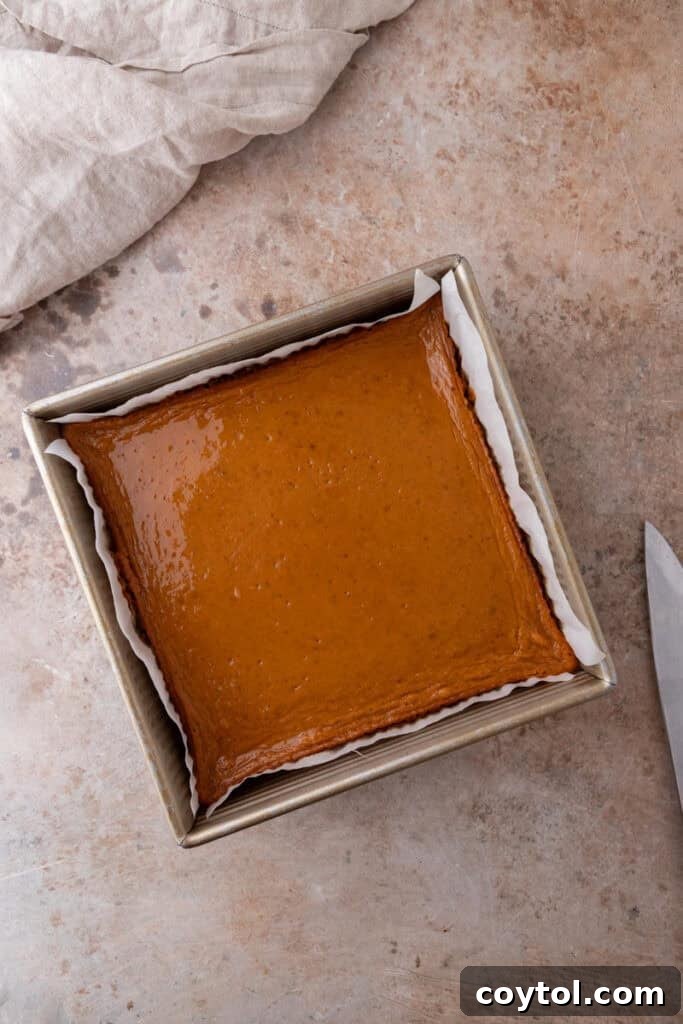
Step 4: Cool, Chill, and Indulge
- Cool Completely at Room Temperature: This step is absolutely critical for proper setting and to prevent the bars from breaking when cut. Allow the baked sweet potato pie bars to cool completely at room temperature, ideally on a wire rack to allow air circulation. This process can take a couple of hours, so patience is key.
- Chill for Firmness: Once cooled to room temperature, transfer the pan to the refrigerator and chill for at least 2 hours. For the best possible results and the cleanest slices, I recommend chilling them overnight if time allows. This extended chilling period allows the filling to fully set and firm up, ensuring clean, perfect squares when you slice them.
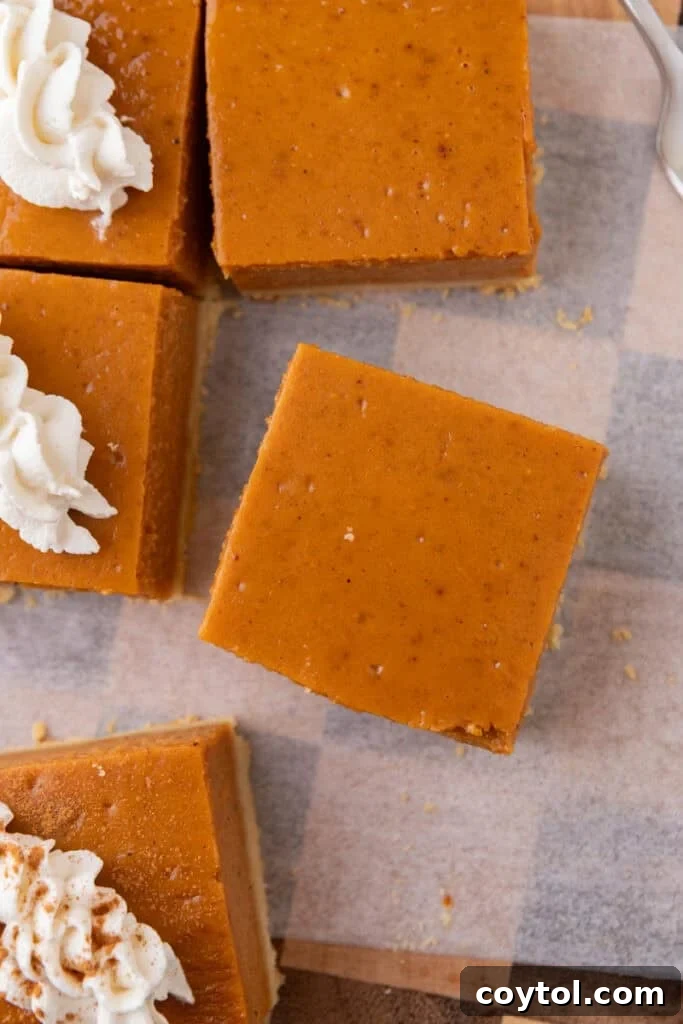
- Slice and Serve: Once thoroughly chilled and firm, use the parchment paper overhang to carefully lift the entire slab of bars out of the baking pan and transfer it to a clean cutting board. Using a sharp knife, slice the bars into neat squares of your desired size. Serve these delightful sweet potato bars with a generous dollop of freshly whipped cream, a sprinkle of extra cinnamon or nutmeg, or a dusting of powdered sugar for that irresistible classic pie touch. Enjoy!
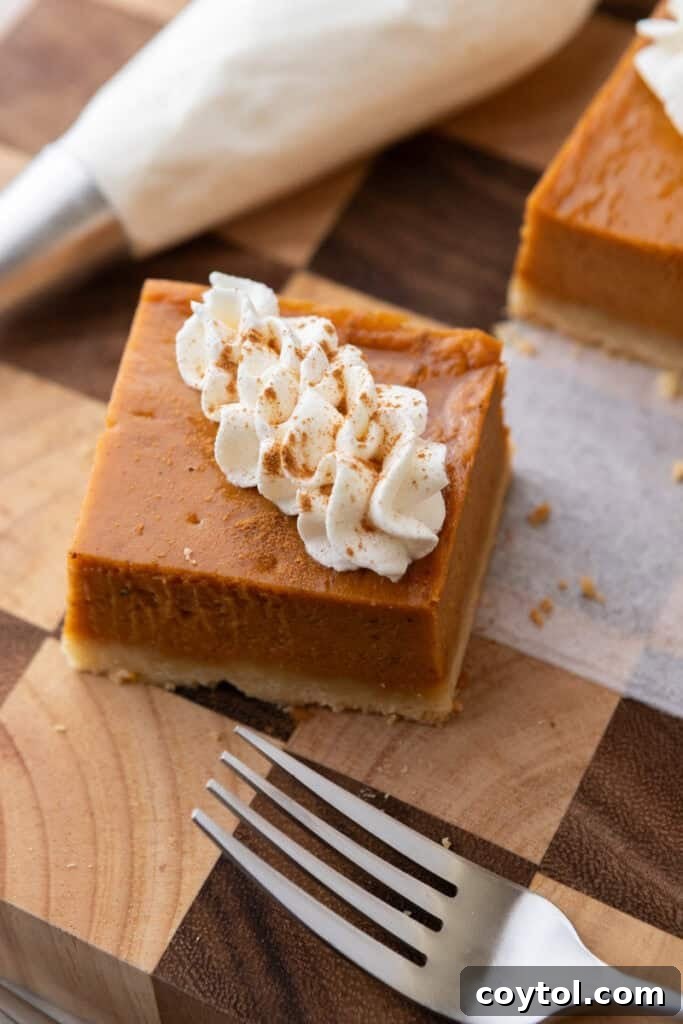
Expert Tips and Tricks for Flawless Sweet Potato Pie Bars
- Avoid Overmixing the Filling After Adding Eggs: Once you incorporate the eggs into the sweet potato mixture, blend only until they are just combined, usually just a few quick pulses. Over-blending at this stage can introduce too much air, which can cause the filling to puff up excessively in the oven and then crack or deflate as it cools. A smooth, dense filling is what you’re aiming for.
- Do Not Overbake the Filling: This is a crucial tip for achieving a silky-smooth texture. The filling should still have a slight, gentle jiggle in the very center when you pull the pan from the oven. This “jiggle test” is your best indicator because the bars will continue to set and firm up significantly as they cool down. Overbaking leads to a dry, crumbly, or cracked filling.
- Chill Thoroughly Before Cutting: Patience is a virtue when making these bars! Allowing them to cool completely at room temperature, then chilling them in the refrigerator for at least two hours (or ideally overnight), is absolutely essential. This ensures the filling is perfectly set, resulting in clean, sharp, and perfectly formed squares when you slice them.
- Amplify the Spices to Your Liking: If you adore a more robustly spiced dessert, don’t hesitate to adjust the amounts. Consider increasing the ground cinnamon, ginger, or adding an extra pinch of cloves for a deeper, warmer, and more intense flavor profile. A tiny dash of cardamom can also introduce an unexpected and delightful complexity.
- Weigh Your Flour for Precision: For the most consistent and accurate results when preparing the shortbread crust, it is highly recommended to use a kitchen scale to weigh your all-purpose flour (e.g., 120 grams per cup) instead of relying on volumetric measuring cups. Flour can compact significantly, leading to variations in volume when scooped, while weighing ensures exact precision every time.
- Parchment Paper is Your Best Friend: Always line your baking pan with parchment paper, ensuring that you leave a generous overhang on all sides. This simple yet incredibly effective trick makes removing the entire slab of cooled bars from the pan incredibly easy, preventing any sticking and making the slicing process a complete breeze without damaging your beautiful bars.
The Irresistible Reasons to Make These Sweet Potato Bars Today
- A Holiday Table Hero: Elevate your Thanksgiving, Christmas, or any holiday dessert spread with a fun, elegant, and perfectly portioned version of classic sweet potato pie. These bars are visually appealing and offer a sophisticated, modern twist on a traditional favorite.
- Effortless Serving and Sharing: Say goodbye to the struggles of serving a messy, crumbling pie! These bars are incredibly easy to slice into uniform squares, making them ideal for potlucks, parties, bake sales, or any gathering where simple, clean serving is a huge plus.
- A Make-Ahead Marvel: These sweet potato bars are incredibly make-ahead friendly. They taste even better after a day or two in the refrigerator as the spiced flavors meld and deepen, becoming more harmonious. They are also remarkably freezer-safe, offering a convenient dessert option whenever a craving strikes, or for future entertaining.
- Perfect Texture Contrast: The crisp, buttery, and slightly crumbly shortbread crust forms a magnificent base, providing a delightful textural contrast to the incredibly smooth, creamy, and spiced sweet potato filling. Each bite is a symphony of textures and a joy to the palate.
- Bound to Become a New Family Favorite: With their comforting, familiar flavors and universally appealing bar format, these sweet potato pie bars are bound to become a new favorite recipe for your family and friends, eagerly anticipated season after season. Prepare for rave reviews!
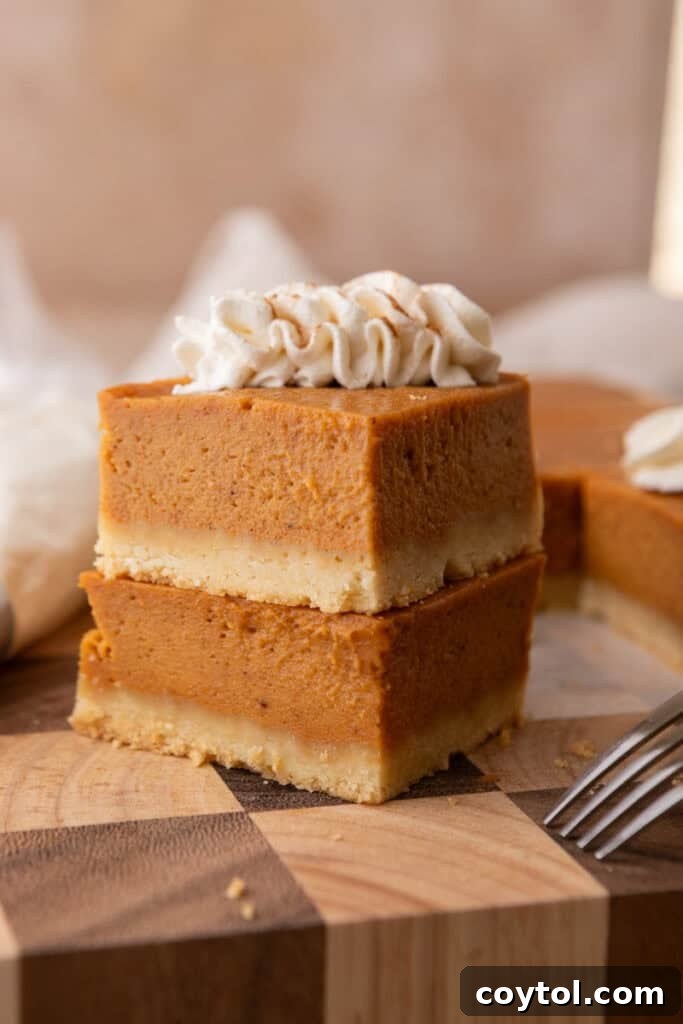
Frequently Asked Questions (FAQ) About Sweet Potato Pie Bars
What’s the best way to cook a sweet potato to prepare it for this recipe?
The method you choose to cook your sweet potatoes significantly impacts the final flavor and texture of these bars! For the absolute best results, I highly recommend **roasting them in the oven**. Roasting whole sweet potatoes caramelizes their natural sugars, intensifying their sweetness and yielding a rich, deeply flavored puree that results in the smoothest, most flavorful filling. Simply bake whole sweet potatoes (pierced a few times with a fork) at 400°F (200°C) for 50-55 minutes, or until they are very tender to the touch and syrup begins to visibly ooze from their skins. Once cooled slightly, they are easy to peel.
While roasting is undoubtedly superior for flavor depth, if you’re short on time, you can also steam or boil them until very tender. For a super quick option, pricking them multiple times and microwaving until soft works in a pinch, though be aware that the flavor won’t be as concentrated or rich as with oven roasting.
Can I use canned sweet potato instead of fresh?
You can certainly use canned sweet potato puree as a convenient shortcut, but it’s important to be aware that it might subtly alter the texture and flavor of your bars. Canned sweet potatoes often have a higher moisture content and can sometimes lack the deep, nuanced sweetness and earthiness of freshly roasted sweet potatoes. If you opt for canned puree, make sure to drain it thoroughly in a fine-mesh sieve to remove any excess syrup or liquid. You might even want to gently blot it with paper towels if it still seems overly wet, as too much moisture can affect the filling’s consistency and increase its baking time.
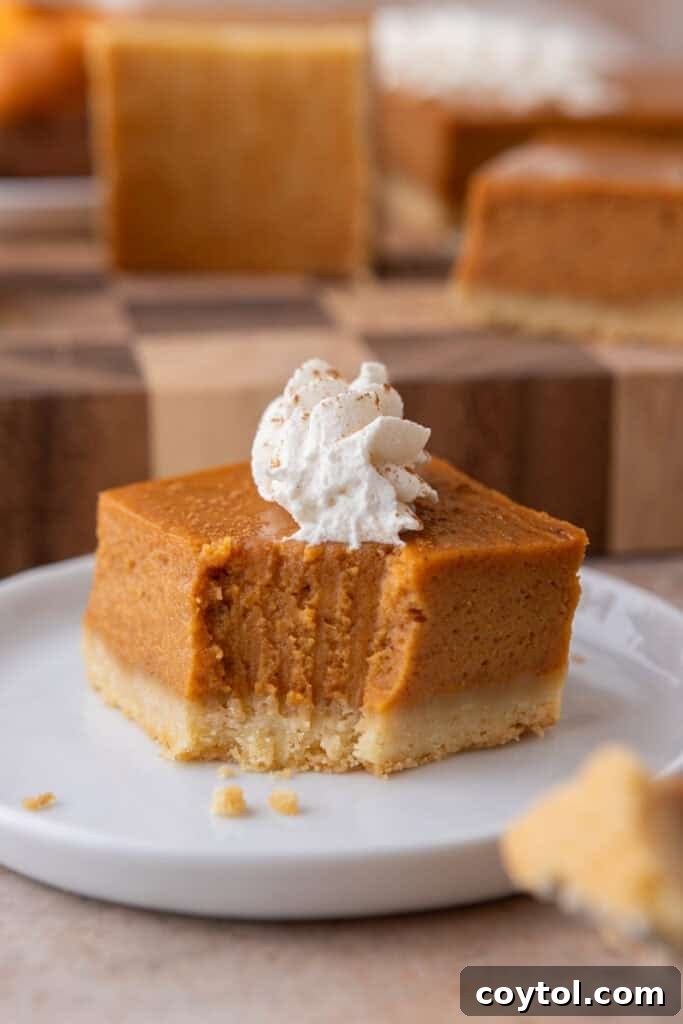
What delightful flavor variations can I try with these bars?
- Maple Sweetness: For an even more profound taste of fall, consider substituting half of the granulated sugar with pure maple syrup in the sweet potato filling. The maple will add a rich, earthy sweetness and a beautiful depth of flavor that pairs exquisitely with the sweet potato and warm spices.
- Pecan Crunch Topping: Before baking, sprinkle a generous layer of finely chopped pecans over the sweet potato filling. These will toast beautifully in the oven, adding a wonderful nutty flavor and a satisfying crunchy texture that contrasts with the smooth filling.
- Tropical Coconut Twist: For a subtle tropical aroma and pleasant chewiness, incorporate about 1/4 cup of shredded coconut into your shortbread crust dough. Alternatively, sprinkle toasted shredded coconut flakes over the finished bars just before serving for an extra layer of flavor and visual appeal.
- Browned Butter Bliss: Take your shortbread crust to an entirely new level of indulgence by using browned butter instead of softened butter. The nutty, caramel notes from the browned butter will add incredible depth and complexity to the crust. Be sure to allow the browned butter to cool and solidify slightly before incorporating it into the dough.
- Graham Cracker Crust Alternative: For a different kind of base that offers a slightly quicker preparation, consider using a traditional graham cracker crust instead of the shortbread. This offers a classic, slightly spicy crunch that complements the sweet potato filling wonderfully.
- A Hint of Bourbon or Rum: For an adult-friendly treat, a teaspoon or two of good quality bourbon or dark rum added to the sweet potato filling can introduce a sophisticated, warming note that elevates the entire dessert and deepens its complexity.
- Streusel Topping for Extra Texture: For an added layer of indulgence and texture, prepare a simple streusel topping (made with butter, flour, brown sugar, and cinnamon) and generously sprinkle it over the sweet potato filling before baking.
Can I make these sweet potato bars ahead of time?
Absolutely! These sweet potato pie bars are a fantastic make-ahead dessert, which makes them perfect for busy holidays, entertaining, or simply for enjoying throughout the week. In fact, they often taste even better after being allowed to chill for several hours or, ideally, overnight in the refrigerator. This resting period allows the filling to fully set, and critically, it gives the warm spices ample time to meld and deepen, resulting in a richer, more harmonious, and more complex flavor profile. Simply bake them a day or two in advance, let them cool completely at room temperature, then cover them tightly and store them in the refrigerator until you’re ready to serve.
How do I store my leftover sweet potato pie bars?
Storing leftover sweet potato pie bars is simple, ensuring they remain fresh and delicious for several days. Once the bars are completely cooled to room temperature, transfer them to an airtight container. Place the container in the refrigerator, where the bars will stay fresh and maintain their optimal texture for up to 3-4 days. Always ensure the lid is sealed tightly to prevent them from drying out or absorbing any unwanted odors from other foods in the fridge.
Can I freeze these bars for later?
Yes, these sweet potato pie bars freeze exceptionally well, making them an excellent option for meal prepping desserts, preparing for future events, or simply enjoying a taste of fall long after the season ends. To freeze, ensure the bars are completely cooled and thoroughly chilled. You can wrap individual slices or the entire slab (if uncut) tightly in a double layer of plastic wrap, followed by an additional layer of heavy-duty aluminum foil. This double wrapping helps to prevent freezer burn and maintains their quality. Store them in the freezer for up to 3 months. When you’re ready to enjoy them, simply thaw the bars in the refrigerator overnight before serving.
Can I make a gluten-free version of these bars?
Yes, you certainly can adapt this delicious recipe for a gluten-free diet! The primary substitution required will be in the shortbread crust. Simply replace the all-purpose flour with a high-quality 1:1 gluten-free all-purpose flour blend. It’s often beneficial to choose a blend that already contains xanthan gum, or add a small amount (about 1/4 teaspoon per cup of flour) if your blend does not. Xanthan gum helps to provide structure and elasticity, preventing the gluten-free crust from being too crumbly or falling apart. The sweet potato filling itself is naturally gluten-free, so no modifications are needed for that component.
Sweet Potato Pie Bars with Shortbread Crust Recipe
Sweet Potato Pie Bars with Shortbread Crust
Buttery shortbread crust topped with silky, spiced sweet potato filling. These bars are easy to make, perfect for fall gatherings, and can be made ahead for a stress-free dessert option.
Prep Time: 25 mins
Cook Time: 35 mins
Total Time: 3 hrs (includes cooling and chilling)
Servings: 9 bars
Ingredients
Shortbread Crust
- 1 cup all-purpose flour
- 2 tablespoons cornstarch
- 1/4 cup granulated sugar
- 1/2 cup unsalted butter, softened
- 1/4 teaspoon salt
- 1 teaspoon vanilla extract
Sweet Potato Filling
- 1 & 3/4 cup cooked sweet potato (about 1 large sweet potato, or 375g)
- 12 oz evaporated milk
- 1/2 cup packed brown sugar
- 1/4 cup granulated sugar
- 2 large eggs
- 1 egg yolk
- 1 teaspoon vanilla extract
- 2 teaspoons cornstarch
- 1& 1/2 teaspoons ground cinnamon
- 1/2 teaspoon ground ginger
- 1/4 teaspoon ground nutmeg
- 1/4 teaspoon ground allspice
- 1/8 teaspoon ground cloves
- 1/2 teaspoon salt
Instructions
Prepare the Shortbread Crust
- Preheat oven to 350°F (175°C) and line an 8×8 inch pan with parchment paper, leaving overhang for easy removal.
- In a medium bowl, combine flour, cornstarch, sugar, salt, vanilla, and softened butter. Mix until a soft dough forms.
- Press dough evenly into the bottom of the pan and bake for 15–18 minutes, or until lightly golden.
Make the Sweet Potato Filling
- Cook and peel your sweet potato. I recommend baking in the oven at 400°F (200°C) for 55 minutes until very tender. Cut them into chunks.
- Add all filling ingredients (sweet potato, both sugars, spices, cornstarch, vanilla, and evaporated milk) to a blender or food processor. Blend until silky smooth.
- Add in the eggs and the egg yolk last and pulse just a few more times to get everything incorporated. Do not overmix.
Assemble and Bake
- Pour the smooth sweet potato filling mixture directly over the warm pre-baked shortbread crust.
- Bake for 30-37 minutes, or until the edges are set and the center is still slightly jiggly. A toothpick inserted into the center should come out mostly clean. Start checking at around 30 minutes, then every 2 minutes after that.
Cool and Serve
- Allow bars to cool completely at room temperature, then chill in the fridge for at least 2 hours to set up nicely (preferably overnight).
- Lift the bars out using the parchment paper, cut into squares, and serve with whipped cream or a sprinkle of cinnamon if desired.
Nutrition Information (Approximate Per Serving)
- Calories: 315
- Carbohydrates: 46g
- Protein: 6g
- Fat: 12g
- Saturated Fat: 7g
- Polyunsaturated Fat: 1g
- Monounsaturated Fat: 3g
- Trans Fat: 0.4g
- Cholesterol: 87mg
- Sodium: 272mg
- Potassium: 268mg
- Fiber: 1g
- Sugar: 29g
- Vitamin A: 4216IU
- Vitamin C: 1mg
- Calcium: 145mg
- Iron: 1mg
Nutrition information is automatically calculated and should only be used as an approximation. Actual values may vary based on ingredients and preparation methods.