
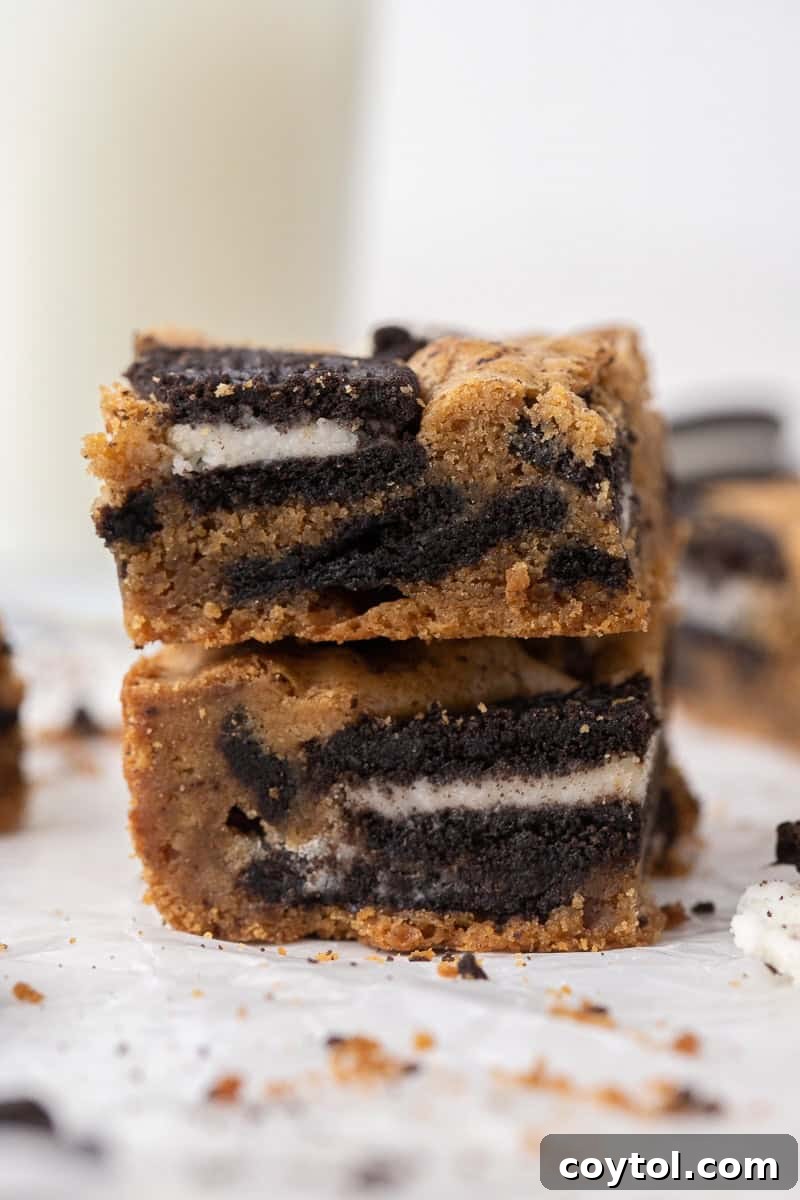
Prepare to discover the ultimate treat that will redefine your dessert experience: our incredible Oreo Blondies! These aren’t just any blondies; they are a masterpiece crafted with rich, nutty brown butter and loaded generously with chunks of classic Double Stuf Oreos, baked to achieve that coveted fudgy perfection. Simple to make yet profoundly satisfying, this recipe promises a dessert that’s effortlessly delicious and bound to become your new favorite.
If you’re as obsessed with the delightful combination of cookies and cream as we are, you’ll also adore our other irresistible creations like the Easy Cookies and Cream Skillet Cookie – Oreo Pizookie, our Irresistible Oreo Chocolate Chip Cookies, and for a quick personal indulgence, our Single Serve Oreo McFlurry McDonald’s Recipe!
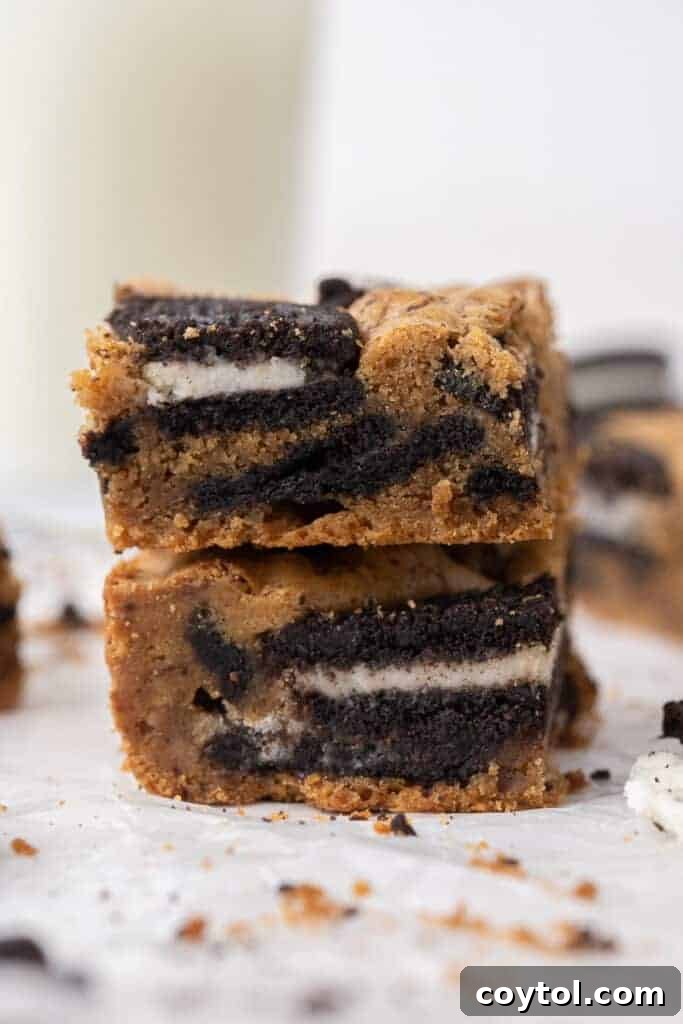
There’s a certain magic that happens when you combine two beloved desserts into one, and these Oreo Blondies are living proof. Imagine the rich, caramelized notes of brown butter infused into a perfectly fudgy blondie base, then elevated by the generous inclusion of crunchy, creamy Double Stuf Oreos. This isn’t just a dessert; it’s an experience, a symphony of textures and flavors that will tantalize your taste buds and leave you craving more. This recipe elevates the classic blondie to new heights, making it an absolute must-try for any cookie and cream enthusiast.
Our signature blondie batter, a recipe perfected over time, is the secret weapon here. It creates a bar that’s incredibly soft, wonderfully chewy, and packed with a profound depth of flavor you might not expect. The nutty undertones from the browned butter perfectly complement the iconic chocolate and creaminess of the Oreos, creating a harmonious blend that’s simply addictive. You’ll find yourself falling head over heels with the first bite, experiencing a comforting richness that’s both familiar and exciting. While some might be tempted to add chocolate chips, we intentionally kept them out of this specific recipe. Our goal was to let the pure, unadulterated Oreo flavor truly shine, ensuring every bite is dominated by that classic cookies-and-cream goodness. However, if you’re a true chocoholic and believe more chocolate is always better, feel free to toss in a handful of your favorite semi-sweet or milk chocolate chips for an extra layer of indulgence!
Discover Why These Are Truly The Best Oreo Blondies Ever!
As a passionate baker, it’s my mission to share the secrets to achieving bakery-quality desserts right in your own kitchen. For these blondies, one of my top-secret tips for that perfect finish and delightful texture lies in the baking pan. To achieve those beautifully sharp, clean edges that make your blondies look professionally made, investing in the right pan makes all the difference. It’s a small detail that yields a huge aesthetic and textural impact, transforming a simple homemade treat into an elegant dessert.
Believe me, those crisp, defined edges aren’t just for aesthetics; they enhance the entire eating experience, making each square feel like a luxurious indulgence from a gourmet bakery. The right pan ensures even heat distribution, leading to a consistent bake and preventing overly crunchy edges or undercooked centers. If you’re on the hunt for a new baking essential, I wholeheartedly recommend the UsaPan 8×8 baking pan! Its superior quality, non-stick surface, and even heat distribution are game-changers for achieving consistently perfect blondies with those irresistible edges we all adore. You’ll thank yourself for this investment when you pull out a tray of perfectly uniform, golden-brown blondie squares.
Unbeatable Reasons to Bake These Delicious Oreo Blondies Today!
- Effortlessly Simple: This recipe is incredibly straightforward, designed for bakers of all skill levels. With minimal steps – simply mix your ingredients, spread the batter into the pan, and bake – you’ll have a stunning, gourmet-level dessert ready in no time. It’s perfect for busy weekdays or when you need a quick, impressive treat.
- Minimal Ingredients, Maximum Flavor: You won’t need an extensive pantry list for these showstoppers. Just a handful of common, readily available ingredients, combined with those iconic Double Stuf Oreos, are all it takes to create a profoundly flavorful and satisfying treat. Each ingredient plays a crucial role in developing the complex taste profile.
- One-Bowl Wonder: Say goodbye to mountains of dirty dishes! This recipe is ingeniously designed to be made primarily in a single mixing bowl, simplifying cleanup and making your baking experience even more enjoyable and stress-free. Less time scrubbing means more time savoring!
- Versatile & Crowd-Pleasing: Whether you need a last-minute dessert for a birthday celebration, a festive potluck, a holiday spread, or just a large family gathering, these blondies are a guaranteed hit. They scale beautifully to accommodate different portion sizes and their universally loved flavor ensures they satisfy every sweet tooth, young and old.
- Customizable Delight: While perfect as is, this recipe is wonderfully versatile, serving as an excellent base for your creative culinary experiments. Feel free to tweak it to your liking – consider adding different cookie varieties, a sprinkle of toasted nuts, mini chocolate candies, or even a swirl of caramel or cream cheese frosting if you’re feeling adventurous and want to elevate them further!
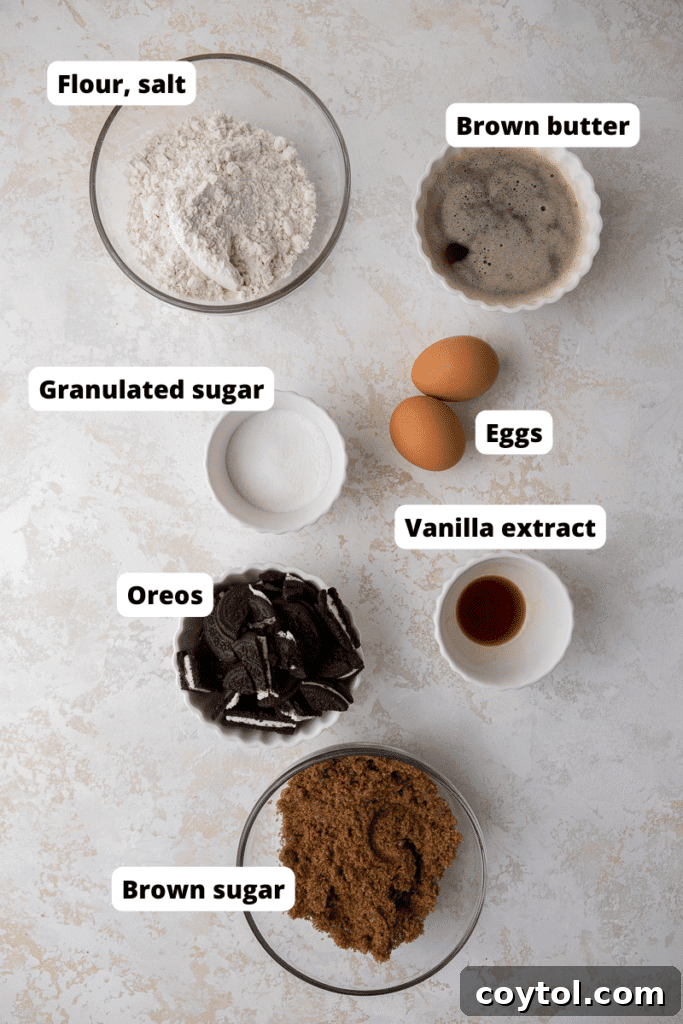
Essential Ingredients for Crafting These Perfect Oreo Blondies
Gathering your ingredients is the first exciting step towards creating these magnificent blondies. Each component plays a vital role in achieving their incredible flavor and signature fudgy texture. For your convenience, be sure to scroll down to the full recipe card below for precise, detailed ingredient measurements and any additional notes.
- Butter: We recommend using high-quality unsalted butter, allowing you to control the overall salt content precisely. The magic truly begins when we brown the butter, a crucial initial step that infuses a nutty, complex, and caramelized depth of flavor into every single bite, elevating these blondies far beyond ordinary.
- Brown & Granulated Sugar: A thoughtful combination of both packed light brown sugar and granulated sugar is key to the blondies’ irresistible texture and perfectly balanced sweetness. The brown sugar contributes essential moisture and a delightful chewiness, while the granulated sugar ensures a perfectly balanced sweetness and helps achieve that characteristic, coveted crinkly top.
- Eggs: Always use large eggs at room temperature. Room temperature eggs emulsify much better with the butter and sugar mixture, creating a smoother, more homogenous batter. This results in a more uniform, tender crumb and an overall superior texture in your finished blondies, preventing a dense or rubbery outcome.
- Vanilla Extract: A generous splash of pure vanilla extract is absolutely essential. It doesn’t just add its own wonderful aroma; it enhances and rounds out all the other flavors, adding a warm, aromatic note that beautifully complements both the nutty brown butter and the rich chocolate-creaminess of the Oreos. Don’t skimp on quality here – pure vanilla makes a difference!
- All-Purpose Flour: Standard all-purpose flour is ideal for this recipe. It provides the necessary structure to hold the blondies together without making them tough or overly dense. Ensure you measure it correctly, preferably by weight using a kitchen scale, for the most consistent and best baking results.
- Salt: A pinch of fine sea salt is not just for seasoning; it’s a critical flavor enhancer in almost all baked goods. In this recipe, it expertly balances the sweetness, making the other flavors pop and preventing the blondies from being cloyingly sweet, adding a subtle counterpoint that makes them even more addictive.
- Double Stuf Oreos: The undisputed star of the show! Double Stuf Oreos provide that extra creamy filling and robust chocolate cookie flavor that truly sets these blondies apart. Roughly chop them into various sizes for delightful pockets of crunchy cookie and creamy filling goodness throughout the bars. An extra handful for topping creates an enticing visual appeal.
Step-by-Step Guide: Crafting the Best Oreo Blondies
Follow these detailed instructions to create perfectly fudgy and flavorful Oreo blondies that will impress everyone. For comprehensive, step-by-step guidance, please refer to the full recipe card at the bottom of this page!
- Brown the Butter to Perfection: Begin by browning your butter in a light-colored, heavy-bottomed saucepan. This process is essential for developing that deep, nutty, caramelized flavor that distinguishes these blondies. Melt the butter over medium heat, stirring continuously with a heatproof spatula or whisk. The butter will first melt, then foam, and eventually, the milk solids at the bottom will turn a beautiful golden-brown and smell distinctly nutty, like toasted hazelnuts. This process typically takes about 5-7 minutes after the butter has fully melted. Keep a very close eye on it, as butter can go from perfectly browned to burnt in a matter of seconds! Once browned, immediately remove it from the heat and transfer it to a separate heatproof bowl to stop the cooking process. Allow it to cool down to room temperature (it should be warm but not hot to the touch, and it doesn’t need to re-solidify).
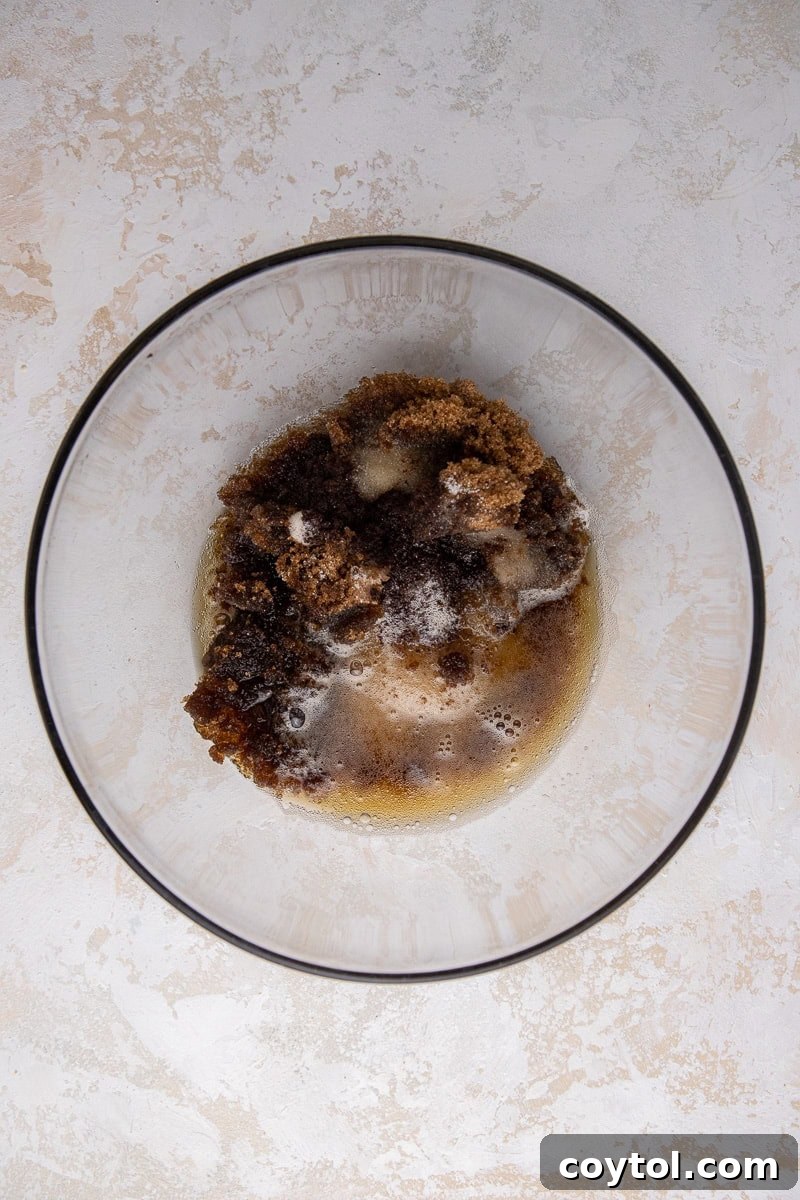
- Combine Butter and Sugars: In a large mixing bowl, combine the cooled brown butter with both the packed light brown sugar and granulated sugar. Whisk or beat them together on medium speed, using either a hand mixer or stand mixer, until they are thoroughly well combined, creating a smooth, glossy, and slightly lighter-colored mixture. This step ensures an even distribution of sweetness and contributes significantly to the blondies’ characteristic chewy texture.
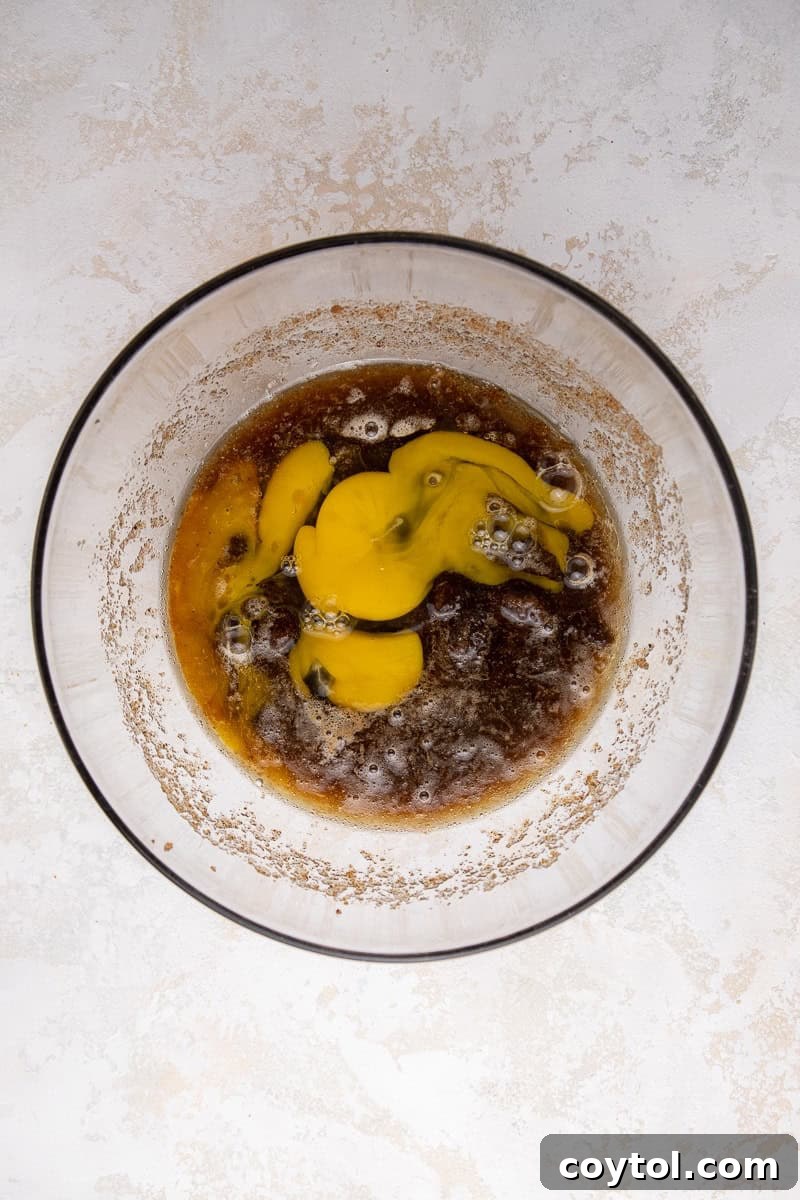
- Incorporate Wet Ingredients: Add the room temperature eggs one at a time, mixing well after each addition to ensure full incorporation. Then, stir in the pure vanilla extract. Continue to whip the mixture for an additional 1-2 minutes until it becomes noticeably lighter in color and visibly fluffy. This aeration is a crucial step that helps create that desirable, crackly, and shiny top on your baked blondies.
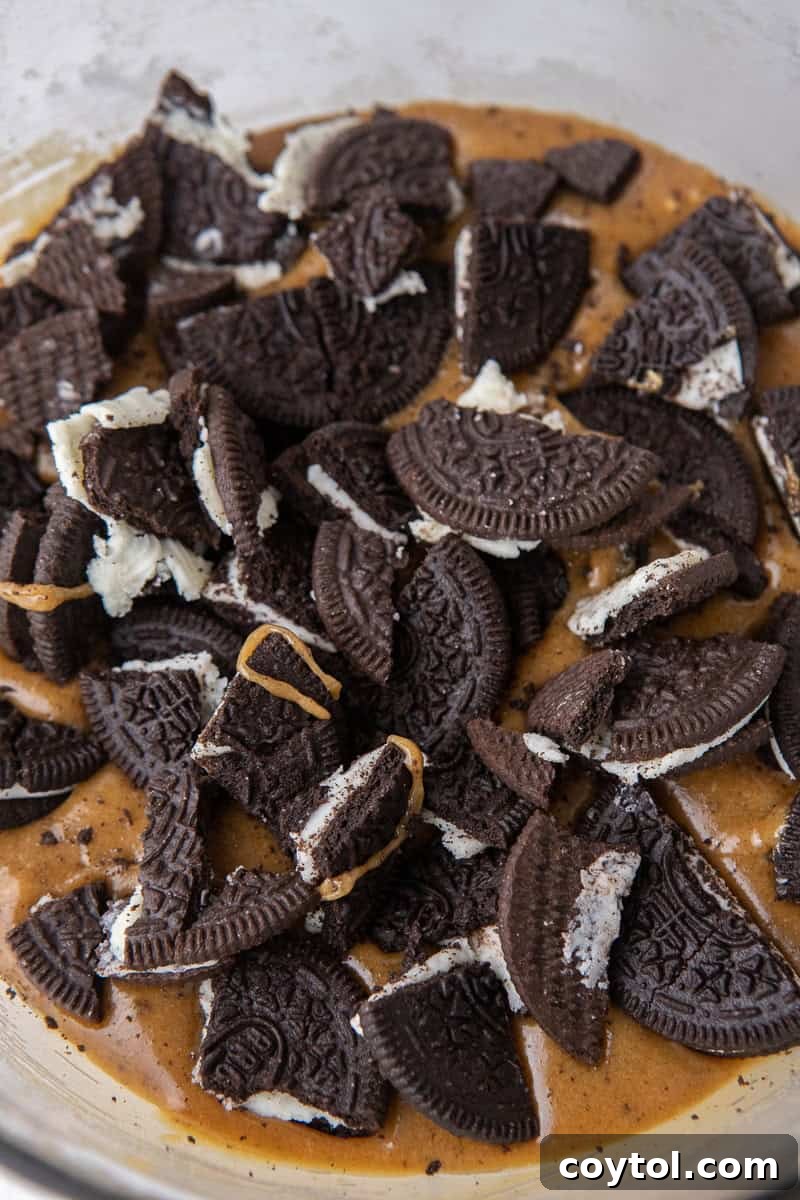
- Fold in Dry Ingredients: Gently fold in the all-purpose flour and fine sea salt using a rubber spatula. Mix only until the flour streaks have just disappeared and no dry spots remain in the batter. Be very careful not to over-mix, as overdeveloping the gluten in the flour can result in tough, rather than tender, blondies. Once the dry ingredients are just incorporated, gently fold in the roughly chopped Double Stuf Oreos until they are evenly distributed throughout the blondie batter without overworking it.
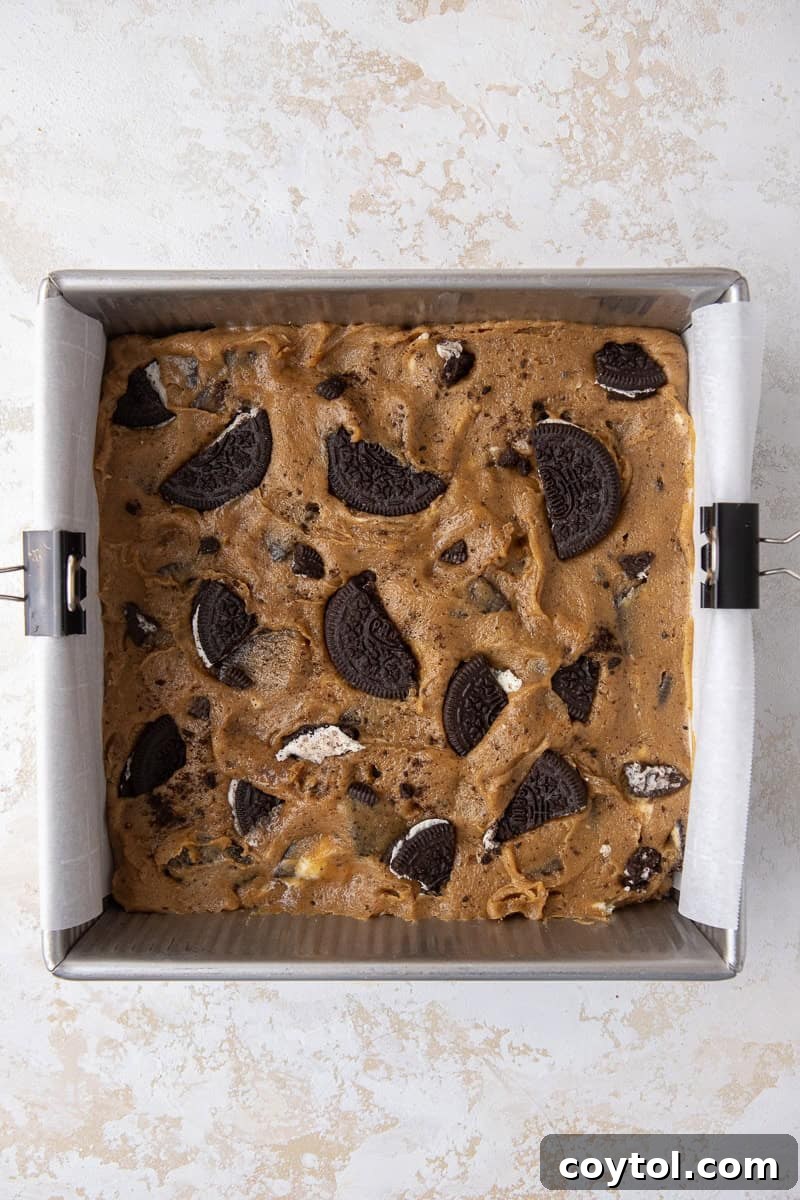
- Prepare for Baking: Evenly spread the thick, delicious blondie mixture into your prepared 8×8 inch square baking pan. Ensure the pan is lined with parchment paper, leaving an overhang on two sides to easily lift the cooled blondies out later. For an extra visual appeal and a delightful burst of Oreo flavor in every square, generously sprinkle some additional roughly chopped Oreos (using about 2-3 extra cookies) over the top of the batter before placing it in the oven.
- Bake to Fudgy Perfection: Transfer the pan to your preheated oven. Bake for approximately 24-28 minutes. The exact baking time may vary slightly depending on your specific oven, so start checking for doneness around the 24-minute mark. The edges of the blondies should appear set and lightly golden brown, while the center should still look slightly soft and gooey when gently pressed (this is the key to that ultimate fudgy texture!). It’s better to slightly underbake blondies than to overbake them.
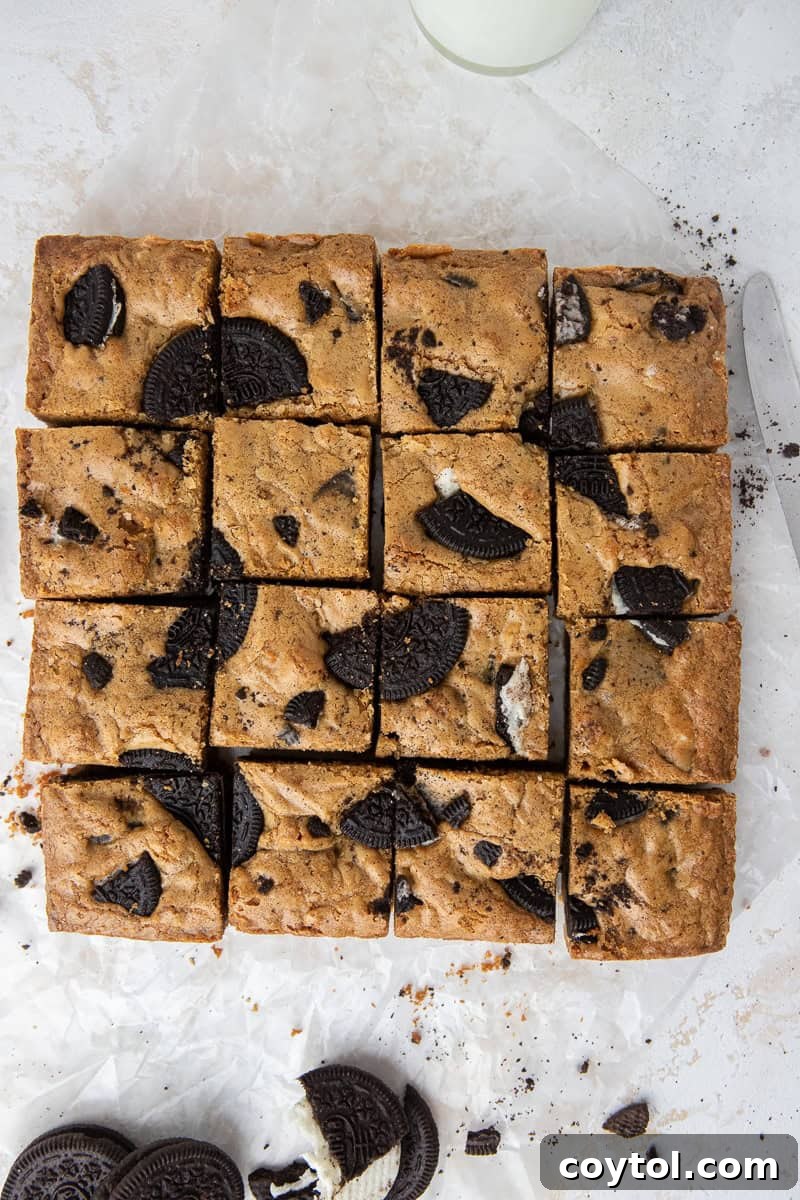
- Cool Completely: This step is absolutely critical for achieving that perfect fudgy texture and ensuring clean, neat slices. Once baked, carefully remove the blondies from the oven. Resist the urge to cut into them immediately! Allow the blondies to cool completely in the pan for at least 1-2 hours, or until they reach room temperature. This cooling period allows the bars to fully set, firm up, and become wonderfully dense. Patience is a virtue when it comes to perfect blondies! Once fully cooled, lift them out of the pan using the parchment paper overhang, slice into 16 equal squares, and savor every indulgent, rich bite!
Frequently Asked Questions (FAQ) About Oreo Blondies
How to Properly Store These Delicious Oreo Blondies?
To keep your brown butter Oreo blondies fresh, fudgy, and absolutely delicious, proper storage is paramount. Here are the best ways to store them:
- Room Temperature: For immediate enjoyment and a wonderfully soft texture, store your cooled blondies in an airtight container at room temperature. They will remain beautifully fresh and fudgy for up to 4 days. Keep them away from direct sunlight or heat sources to maintain their quality.
- Refrigerator: If you prefer a chewier texture or need to extend their freshness, transfer the blondies to an airtight container and store them in the refrigerator for up to 7 days. Chilling often enhances their dense, chewy consistency. When you’re ready to indulge, simply pop a square into the microwave for about 10-15 seconds to warm it up slightly, bringing back that ‘freshly baked’ warmth and gooeyness!
Expert Tips for Browning Butter Flawlessly
Browning butter is a game-changing technique for adding incredible depth and nutty flavor to your baked goods. While simple, it requires a bit of attention to detail to get it just right. Here are my top tips to ensure you achieve perfectly browned, fragrant butter every single time:
- Choose the Right Pan: Always use a light-colored, heavy-bottomed saucepan. The light color is crucial because it allows you to easily monitor the butter’s color changes from yellow to golden to amber, preventing accidental burning. A heavy bottom ensures even heat distribution, which is key to preventing hot spots and scorching the milk solids.
- Stir Continuously: Don’t just let the butter sit! Stirring constantly with a spatula or whisk helps the butter melt evenly and ensures that the milk solids (which are responsible for the browning) don’t stick to the bottom of the pan and burn unevenly. Consistent stirring guarantees uniform browning.
- Patience, Then Speed: For the first few minutes, the butter will melt, then foam extensively, seemingly doing nothing. This is normal. However, once the foam starts to subside and the water evaporates, the browning process accelerates dramatically. Pay very close attention during this stage, as butter can go from perfectly browned to burnt in a matter of seconds. Stay by the stove!
- Watch for the Color and Aroma: You’re looking for a beautiful, rich golden-brown color, with tiny dark brown specks (the toasted milk solids) at the bottom of the pan. More importantly, trust your nose – you’ll smell a distinct, intensely nutty, caramelized aroma, similar to toasted hazelnuts or pecans. As soon as you see the desired color and smell that wonderful nutty fragrance, immediately remove the pan from the heat.
- Cool Before Using: Once browned, immediately transfer the hot butter to a separate heatproof bowl (a glass or ceramic bowl works well) to stop the cooking process. Leaving it in the hot pan will cause it to continue cooking and potentially burn. Allow the browned butter to cool down to room temperature before incorporating it into your blondie batter. It doesn’t need to re-solidify, just cool enough so it won’t scramble the eggs in your recipe.
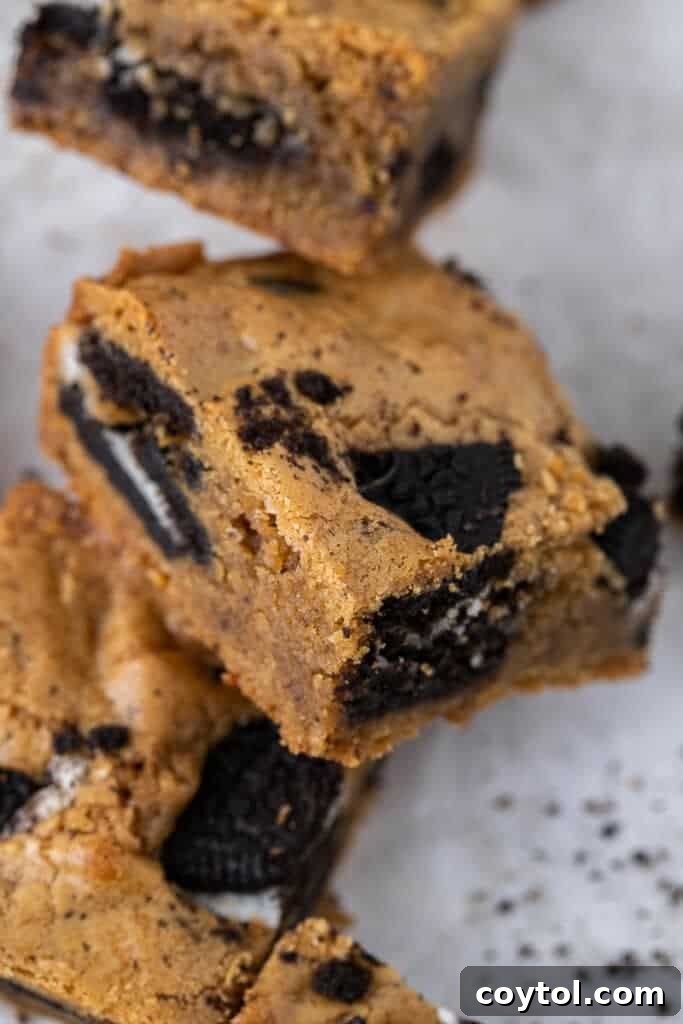
Can I Freeze These Decadent Brown Butter Blondies?
Absolutely! Freezing is an excellent and convenient way to extend the shelf life of these delicious treats, allowing you to have them ready for any unexpected craving, last-minute guests, or simply to meal prep your desserts for later enjoyment.
You can freeze them in a couple of ways: either as a whole slab (after they have cooled completely and before slicing) or pre-sliced into individual bars. For best results, first, wrap the blondies tightly in plastic wrap, ensuring no air can get in. Then, place the plastic-wrapped blondies in an airtight freezer-safe container or a heavy-duty freezer bag. They will keep beautifully in the freezer for up to one month without significant loss of quality or flavor.
When you’re ready to enjoy them, you have several convenient thawing options: simply transfer them to the refrigerator overnight to thaw gently, let them come to room temperature on the counter for a few hours, or for a quick warm treat, pop an individual bar into the microwave for 15-30 seconds until just warmed through and gooey. Enjoy them immediately for a delightful, fudgy experience as good as freshly baked!
Is It Possible to Double This Oreo Blondie Recipe?
Yes, you certainly can! This recipe scales up wonderfully, making it perfect for larger gatherings, parties, or when you just want to have plenty of these irresistible blondies on hand. To easily double the ingredients, simply adjust the serving size in the recipe card (if available, often by clicking the x2 button). This will automatically update all ingredient measurements for you.
When baking a double batch, I highly recommend using a larger 9×13 inch baking pan instead of trying to fit it into an 8×8. Be aware that the baking time will need to be adjusted slightly. You’ll likely need to bake them for an additional few minutes, so start checking for doneness around the original bake time plus 5-10 minutes. Look for golden-brown edges and a set, but still slightly soft and gooey, center. An inserted toothpick should come out with moist crumbs, not wet batter. Once cooled and sliced, you’ll have a generous supply of these amazing blondies to share with your large crowd, ensuring everyone gets a taste of this deliciousness!
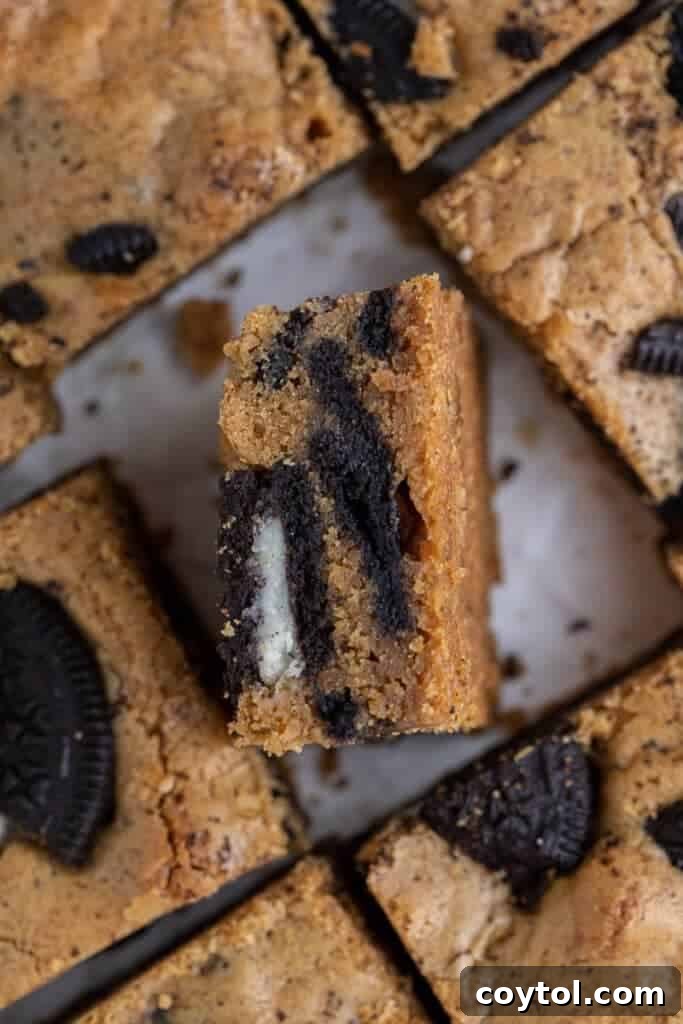
The Ultimate Fudgy Brown Butter Oreo Blondies Recipe
The Ultimate Fudgy Brown Butter Oreo Blondies
Equipment
Ingredients
- 3/4 cup unsalted butter (for browning)
- 3/4 cup packed light brown sugar
- 1/4 cup granulated sugar
- 2 large eggs (room temperature)
- 1 tsp pure vanilla extract
- 1 1/4 cup all-purpose flour
- 1 tsp fine sea salt
- 10 Double Stuf Oreos (roughly chopped, with extra for topping)
Instructions
Part 1: Master the Brown Butter
-
In a small, light-colored, heavy-bottomed saucepan, melt the butter over medium heat. Stir continuously with a spatula or whisk. The butter will first melt, then foam, and eventually, the milk solids at the bottom will turn golden brown and smell distinctly nutty, like toasted hazelnuts. This process typically takes 3-5 minutes after the butter has fully melted. Keep a very close eye on it, as it can go from perfectly browned to burnt quickly!
-
Once the butter reaches a rich amber color with fragrant, toasted specks, immediately remove it from the heat. Transfer the browned butter to a medium, heatproof bowl to stop the cooking process. Allow it to cool down to room temperature. It doesn’t need to harden, just cool enough so it’s warm to the touch, not hot (this prevents scrambling the eggs).
Part 2: Prepare and Bake the Blondies
-
Preheat your oven to 350°F (175°C). Line an 8×8 inch square baking pan with parchment paper, ensuring you leave an overhang on two sides. This will create “handles” to easily lift the blondies out of the pan once they’re cooled.
-
In a large mixing bowl, combine the cooled melted brown butter with the granulated sugar and packed light brown sugar. Mix on medium speed with a whisk or electric mixer until the sugars are fully incorporated and the mixture is smooth, glossy, and slightly lighter in color. This ensures a uniform sweetness and contributes to the blondie’s texture.
-
Add the room temperature eggs one at a time, mixing thoroughly after each addition until fully incorporated. Then, stir in the pure vanilla extract. Continue to whip the mixture for an additional 1-2 minutes until it becomes noticeably lighter in color and fluffy. This aeration is a crucial step for achieving that beautiful, crackly, and shiny top on your baked blondies.
-
Gently fold in the all-purpose flour and fine sea salt using a rubber spatula. Mix just until the flour streaks have disappeared and no dry spots remain in the batter. Be very careful not to over-mix the batter, as this can lead to tough, rather than tender and fudgy, blondies. Next, gently fold in the roughly chopped Double Stuf Oreos until they are evenly distributed throughout the batter.
-
Evenly spread the thick blondie mixture into your prepared 8×8 inch baking pan. Use an offset spatula or the back of a spoon to smooth the top. For an extra enticing visual appeal and a delightful burst of Oreo flavor, sprinkle a few more roughly chopped Oreos (about 2-3 additional cookies) over the top of the batter before placing it in the oven.
-
Bake for 24-28 minutes. The exact baking time may vary slightly depending on your specific oven, so begin checking for doneness around the 24-minute mark. The edges of the blondies should appear set and lightly golden brown, while the center should still look slightly soft and gooey when gently pressed (this is the key to that ultimate fudgy texture!). A toothpick inserted into the center should come out with moist crumbs, not wet batter. Do not overbake.
-
Once baked, carefully remove the blondies from the oven. This next step is absolutely crucial for achieving that perfect fudgy texture and ensuring clean, neat slices: allow them to cool completely in the pan for at least 1-2 hours, or until they reach room temperature. Resist the urge to cut into them while warm, as they need this time to fully set up and become firm and dense. Once fully cooled, lift them out of the pan using the parchment paper overhang, slice into 16 equal squares, and savor every indulgent, rich bite!
Notes for Perfect Blondies Storage
- 4 days when kept in an airtight container at room temperature. For best quality, ensure they are stored away from direct sunlight or any heat sources, which can alter their texture.
- 7 days if stored in an airtight container in the refrigerator. Chilling often enhances their chewy, dense texture, and many people prefer them cold! You can warm them briefly in the microwave for a softer, ‘freshly baked’ feel before serving.
- 1 month when stored in an airtight, freezer-safe container in the freezer! To prevent freezer burn, ensure they are well-wrapped in plastic wrap or foil before placing them in the container. Thaw overnight in the fridge or at room temperature, or reheat gently in the microwave from frozen for a quick and satisfying treat.
Nutrition Information
Please note: Nutritional information provided is an estimate only and may vary based on specific ingredients used, precise measurements, and preparation methods.
Thank you so much for joining us on this delicious baking adventure! We truly appreciate you taking the time to explore our recipe for the ultimate Oreo Blondies. We hope you found the process enjoyable, straightforward, and the results utterly satisfying.
If you baked these fudgy blondies and loved them as much as we do, please don’t hesitate to share your experience, tips, and any modifications in the comments section below! Your feedback and photos are always a joy to see and inspire other home bakers. And in the meantime, make sure to follow us on Instagram for a daily dose of dessert inspiration, behind-the-scenes glimpses, and all our latest sweet creations!

Shop Smart: Essential Tools & Ingredients for This Recipe
This post may contain affiliate links, meaning that at no additional cost to you, I will receive a small commission for every qualifying purchase you make through these links. We only recommend products we genuinely love and use in our own kitchen, ensuring quality and value for our readers!
Baking Essentials:
- USA Pan 8×8 Inch Square Baking Pan: Highly recommended for achieving those perfect, sharp edges and even baking.
- Heavy-Bottomed Saucepan: Crucial for evenly browning butter without scorching, ensuring that nutty flavor.
- Pre-cut Parchment Paper Sheets: For incredibly easy lifting of the blondies and quick cleanup.
- Set of Durable Mixing Bowls: Essential for effortless ingredient preparation and mixing.
- Heat-Resistant Rubber Spatula: Ideal for gentle folding, scraping bowls, and stirring browned butter.
- Digital Kitchen Scale: For precise ingredient measurement, especially flour, ensuring consistent results.
Key Ingredients (for quality results):
- Double Stuf Oreos: The non-negotiable star ingredient for maximum cookies-and-cream flavor and a delightful crunch.
- High-Quality Pure Vanilla Extract: Invest in a good quality one for superior, rich aromatic taste that truly elevates your baked goods.
- Premium Unsalted Butter: The foundation for our delicious brown butter; choose a brand you trust for rich flavor.
- Fresh Light Brown Sugar & Granulated Sugar: Ensure your brown sugar is soft and moist for the best chewy texture in your blondies.
- All-Purpose Flour: A good quality, unbleached all-purpose flour for consistent baking performance.