
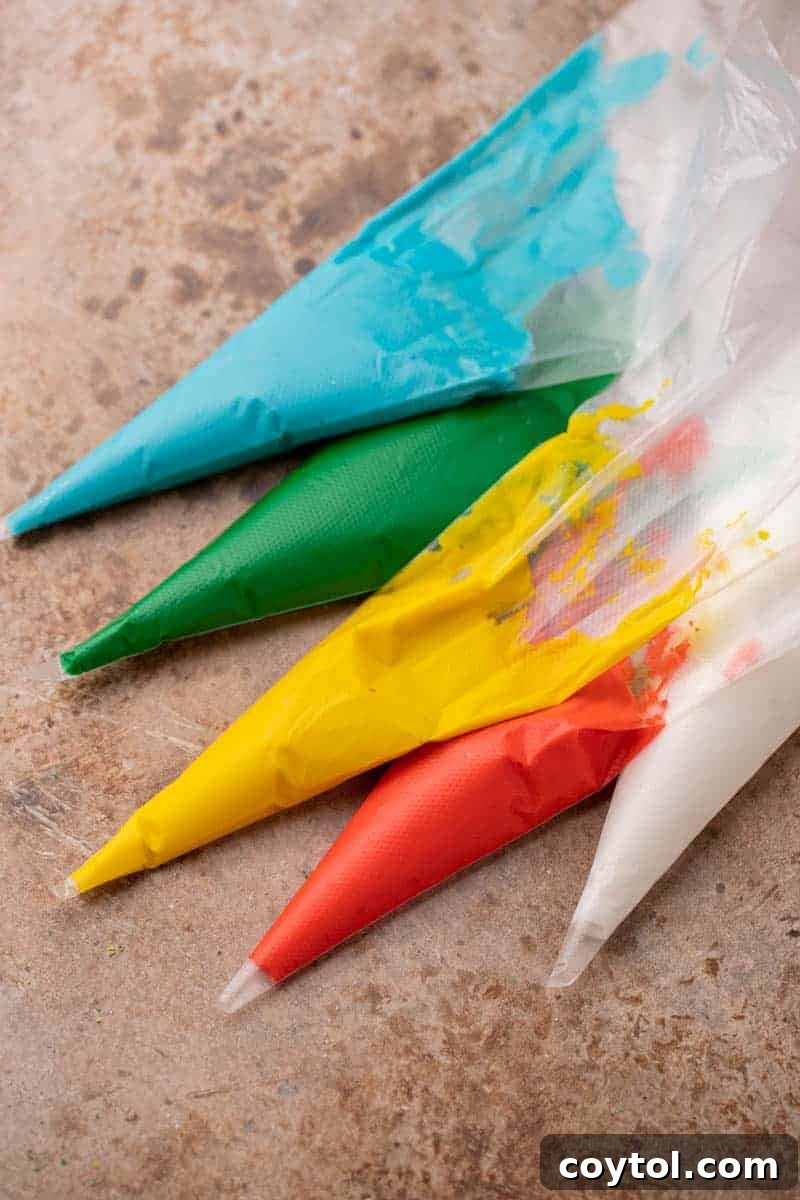
Welcome to your ultimate guide for creating flawless, hard-setting Christmas cookie icing! This incredible recipe is your secret weapon for beautifully decorated holiday cookies that boast a glossy, firm, and wonderfully smooth finish. Whether you’re outlining intricate designs, flooding shapes with vibrant color, adding delicate details, crafting enchanting gingerbread houses, or simply decorating festive cutouts, this icing delivers professional-quality results every time. And the best part? It achieves this stunning finish without the need for raw egg whites, relying instead on simple pantry staples for foolproof perfection.
If you’re searching for an icing that truly sets and holds its shape, you’ll also adore our complementary recipes. Pair this perfect icing with our Cutout Sugar Cookies That Don’t Spread, ensuring your cookie bases are as impeccable as your decorations. Explore the artistic possibilities with our Christmas Marbled Sugar Cookies, get into the festive spirit with Gingerbread Men Cookies, and don’t forget this ultra-popular Christmas Fudge for another holiday treat.
I made our traditional sugar cookies tonight and with this frosting recipe they turned out so much better! I love this recipe and the sheen of the hardened frosting on my sugar cookies. This had to be the easiest frosting recipe I’ve used and had a great taste too! Thank you for sharing. I will save it and use it again!
– Becky Smith

Let’s Chit Chat!
My journey to perfecting this style of cookie icing began years ago during a hotel stay. I was handed a welcome cookie, and the first thing I noticed was that the icing was remarkably smudge-proof. I stacked it in a napkin, tossed it into my bag, and later, after enjoying the delicious cookie, was amazed that the icing still retained its glossy, picture-perfect finish. There were no unsightly smears or cracks, just a pristine surface that looked like it had come straight from a professional bakery.
From that moment, I knew I had to recreate that magic at home. My goal wasn’t just for my own baking endeavors, but to empower anyone to make sugar cookies that look bakery-quality without the common anxieties of runny icing, sticky fingers, or the concerns of raw egg whites often found in traditional royal icing. I wanted a recipe that was accessible, reliable, and produced consistently beautiful results.
After countless batches of cookies and extensive testing, I finally cracked the code. This recipe perfectly captures that elusive, magical finish: smooth, impressively shiny, and completely smudge-proof once it hardens. It transforms simple sugar cookies into edible works of art, ready for gifting, sharing, or simply admiring before that first delightful bite. Say goodbye to sticky cookie stacks and hello to beautifully crisp, durable decorations!
Why This Is the Best Cookie Icing Recipe That Hardens
There are many reasons why this easy cookie icing recipe stands out as the ultimate choice for your holiday baking and beyond. Its exceptional qualities make it a favorite among beginners and experienced decorators alike, ensuring stunning results without the fuss.
- Uses Simple Pantry Ingredients: Forget specialty store runs or hard-to-find items. This recipe relies on basic ingredients you likely already have in your kitchen, making it incredibly convenient and budget-friendly. Powdered sugar, corn syrup, vanilla, and milk or water are all you need to create a truly spectacular icing.
- Dries with a Gorgeous Glossy Finish: The inclusion of corn syrup is the secret to this icing’s stunning, professional-looking sheen. It not only adds a beautiful gloss that makes your cookies sparkle, but also contributes to the icing’s smooth texture and helps it set firmly, preventing any stickiness or dullness.
- Perfect Consistency for All Decorating Needs: This versatile icing can be easily adjusted to achieve the ideal consistency for any decorating task. Whether you need a thick consistency for precise outlining and intricate details, or a slightly runnier texture for smooth and even flooding, this recipe allows for perfect customization. It flows beautifully from piping bags or squeeze bottles, giving you complete control over your designs.
- Beginner-Friendly and Foolproof: Say goodbye to intimidating techniques and complicated ingredient lists. This recipe is designed for ease of use, making it ideal for novice decorators. There’s no need for meringue powder, raw egg whites, or specialized equipment, eliminating common stressors and ensuring a delightful, frustration-free decorating experience.
- Ideal for All Holiday Decorating Projects: While perfect for Christmas cookies, this hard-setting icing is incredibly versatile. Use it for decorating gingerbread houses, creating elaborate designs on various holiday cutouts, embellishing party favors, or even adding a special touch to everyday treats. Its durability and beautiful finish make it suitable for any project where you want your decorations to shine and last.
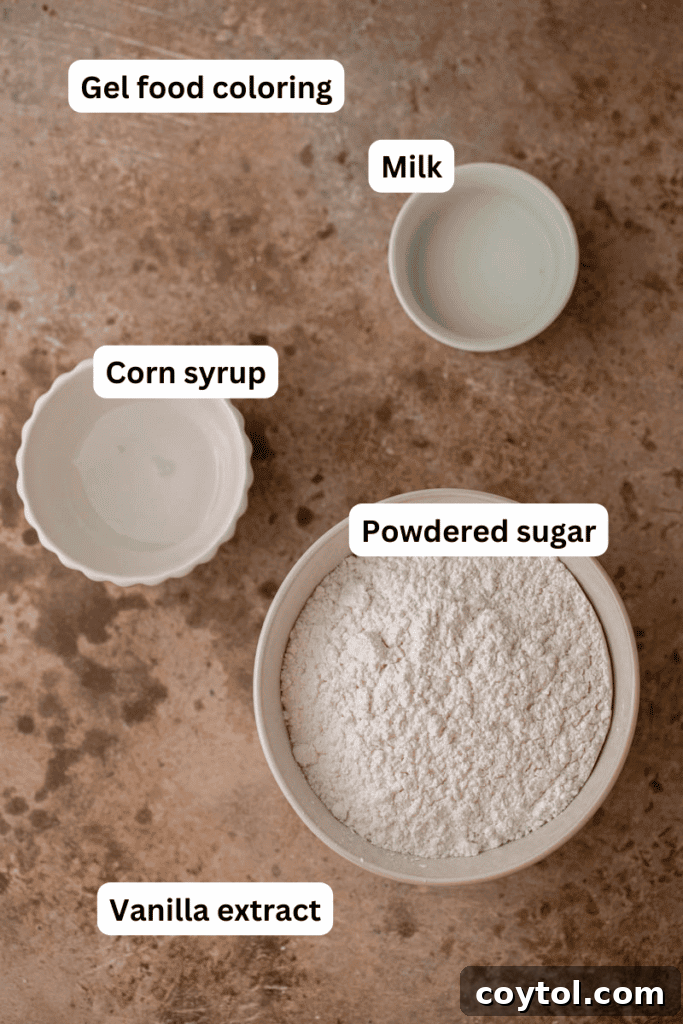
Essential Ingredients for Hard-Setting Cookie Icing
Crafting this incredible cookie icing requires just a handful of staple ingredients. Each component plays a crucial role in achieving the desired texture, shine, and flavor that makes this recipe so exceptional. (Scroll to the full recipe card below for exact measurements.)
- Powdered Sugar (Confectioners’ Sugar): This is the backbone of our icing, providing sweetness and body. Sifting it is crucial to prevent lumps and achieve that silky-smooth consistency we’re after. Look for brands that use tapioca starch if possible, as it can sometimes result in an even smoother blend and less chalky aftertaste compared to cornstarch-based powdered sugar.
- Corn Syrup: Don’t skip this magical ingredient! Corn syrup is what gives the icing its beautiful glossy sheen and helps it harden firmly without becoming brittle. It also prevents the icing from crystalizing, ensuring a smooth, pleasant texture on your cookies. Light corn syrup is preferred for its neutral flavor and clear color.
- Clear Vanilla Extract: For that bright, pristine white icing, clear vanilla extract is key. Regular vanilla extract can impart a slight yellowish tint, which might affect the vibrancy of your colors, especially if you’re aiming for true whites or pastels. However, if you’re coloring your entire batch, regular vanilla works just fine for flavor.
- Milk or Water: This liquid component is used to adjust the icing’s consistency. Milk will provide a slightly richer flavor, while water keeps the flavor profile perfectly neutral. It’s essential to add this in tiny increments, as a little goes a long long way in changing the thickness of your icing.
- Gel Food Coloring: For vibrant and rich colors without altering the icing’s consistency, gel food coloring is the superior choice. Unlike liquid food coloring, which can thin out your icing, gel colors are highly concentrated and only require a small amount to achieve intense hues, making them ideal for precise decorating.

Step-by-Step Guide: How to Make Sugar Cookie Icing That Hardens Perfectly
Making this hard-setting cookie icing is incredibly straightforward. Follow these simple steps to achieve a beautifully smooth and versatile icing that will elevate your cookie decorating game.
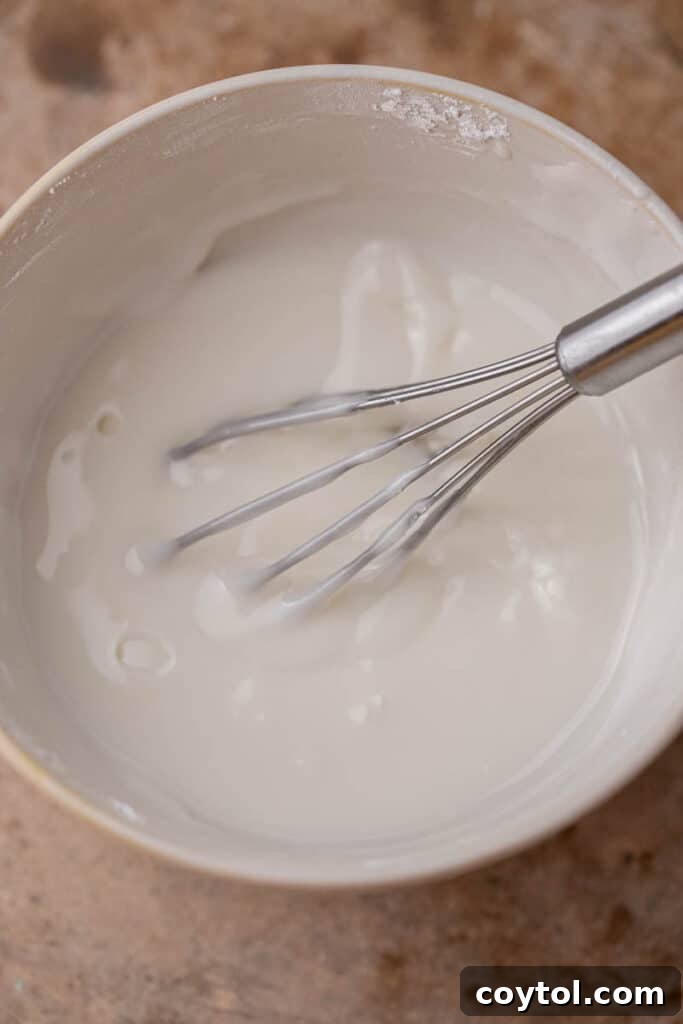
- Prepare Your Base: Begin by sifting the powdered sugar into a large mixing bowl. Sifting is an important step to ensure there are no lumps, which can clog your piping tips and create an uneven finish. Add the clear vanilla extract, corn syrup, and 1 to 1.5 tablespoons of cold milk or water to the sifted powdered sugar. Using a whisk or spatula, stir these ingredients vigorously until they are thoroughly combined and the mixture becomes smooth and free of any lumps. Initially, it might seem quite thick, but continue mixing until it transforms into a cohesive, creamy consistency.
- Adjust Consistency to Your Needs: This is a crucial step for successful cookie decorating. You’ll want to achieve different consistencies for outlining and flooding. For outlining and creating fine details, the icing should be relatively thick, similar to toothpaste, holding its shape when piped. For flooding (filling in outlined areas), you’ll need a slightly thinner consistency, where the icing smoothly settles and fills the space. To thin the icing, add tiny drops (a quarter teaspoon at a time) of milk or water, stirring well after each addition until you reach the desired flow. To thicken, add a tablespoon or two of extra powdered sugar. A good test for flooding consistency is to drizzle a spoonful of icing back into the bowl; it should disappear and become smooth again within 10-15 seconds.
- Color Your Icing: Once you’ve achieved your desired consistency, divide the white icing into separate smaller bowls if you plan to use multiple colors. Add a tiny amount of gel food coloring to each bowl. Start with a very small dab on a toothpick, as gel colors are highly concentrated. Stir thoroughly until the color is evenly distributed and vibrant. You can always add more coloring to deepen the shade, but it’s much harder to lighten it, so proceed gradually. Remember to cover any unused colored icing with a damp cloth or plastic wrap to prevent it from crusting over while you work.
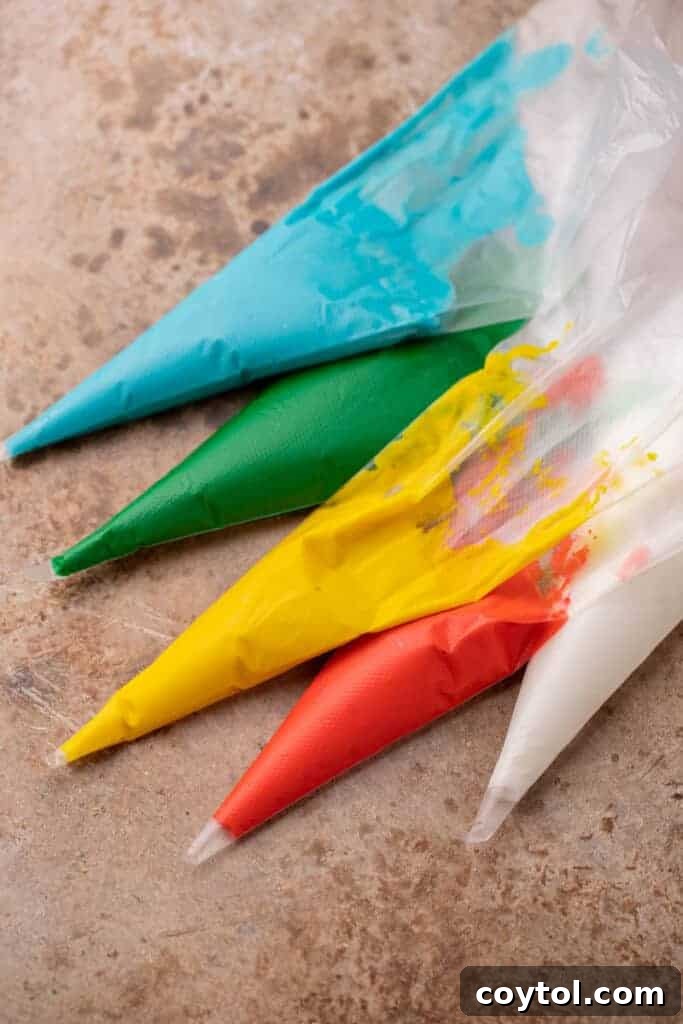
- Decorate Your Cookies: Transfer your colored icing into squeeze bottles with fine tips or piping bags fitted with small round tips (such as PME #1 or Wilton #2). If you’re outlining and then flooding, make sure your outline is completely dry (about 15-30 minutes) before filling it in. Once your cookies are decorated, allow them to dry completely at room temperature. This can take anywhere from 6 to 24 hours, depending on the thickness of the icing and the humidity in your environment. For the best results and to prevent smudging, ensure the icing is rock-hard before stacking, storing, or packaging your beautiful creations.
Pro Tips for Perfect Hard-Setting Cookie Icing
Achieving impeccably decorated cookies is an art, and these expert tips will help ensure your hard-setting icing performs flawlessly every time.
- Choose the Right Powdered Sugar: For the smoothest possible icing with absolutely no gritty or chalky aftertaste, look for powdered sugar that uses tapioca starch as its anti-caking agent, rather than cornstarch. While both work, tapioca starch can yield a superior, silkier texture. Always sift your powdered sugar, regardless of the brand, to eliminate any potential lumps.
- Add Liquid Incrementally: When adjusting the consistency of your icing, remember that a few drops of liquid can dramatically change its thickness. Always add milk or water very slowly, just a quarter teaspoon or even a few drops at a time, mixing thoroughly after each addition. This careful approach prevents you from accidentally thinning the icing too much, which can be challenging to correct without adding excessive powdered sugar.
- Exclusively Use Gel Food Coloring: To maintain the perfect consistency of your icing and achieve vibrant, saturated colors, always opt for gel food coloring. Liquid food colorings, while readily available, contain water that will thin out your icing, potentially compromising its ability to harden properly and hold detailed designs. Gel colors are highly concentrated, meaning you need only a tiny amount to achieve brilliant hues.
- Prevent Crusting While Working: Icing exposed to air will quickly form a crust, leading to lumps and clogging in your piping tools. To prevent this, always cover your bowls of icing with a damp paper towel or plastic wrap pressed directly onto the surface of the icing when you’re not actively using them. This keeps the icing moist and workable.
- Allow Ample Drying Time: Patience is key to smudge-proof, perfectly hardened cookie icing. Depending on the thickness of your icing layers and the humidity in your environment, decorated cookies need anywhere from 6 to 24 hours to dry completely at room temperature. For very thick designs or humid conditions, it might even take longer. Ensure the icing is firm to the touch and fully hardened before stacking, storing, or packaging your cookies to preserve their pristine designs.
- Choose the Right Tools: For fine details and outlining, small round piping tips (like PME #1 or #1.5, or Wilton #1 or #2) are ideal. For flooding larger areas, a slightly larger round tip (like Wilton #3 or #4) works well. Squeeze bottles are also excellent for flooding, offering good control and less hand fatigue.
Decorating Ideas with Your Hard-Setting Icing
Once you’ve mastered the perfect consistency and colors, the real fun begins! This versatile hard-setting icing opens up a world of creative decorating possibilities:
- Classic Outline and Flood: The foundational technique. Outline your cookie shape with a slightly thicker icing, let it dry for 10-15 minutes, then “flood” the interior with a thinner consistency icing. This creates a smooth, uniform base for further decoration.
- Wet-on-Wet Designs: While the flooded base is still wet, pipe dots or lines of a different colored icing onto it. Then, use a toothpick to drag through the wet icing to create marbled effects, hearts, swirls, or feathering. This technique creates stunning, seamless patterns.
- Dimensional Details: Once your base layer of icing is completely dry, you can pipe additional layers of thicker icing on top to add three-dimensional details like intricate snowflakes, holly leaves, reindeer antlers, or lettering.
- Sprinkles and Edible Glitter: Add sprinkles, nonpareils, or edible glitter onto the wet flooded icing for them to adhere securely. For precision, apply sprinkles to specific areas with tweezers.
- Gingerbread House Adornments: This hard-setting icing is perfect for “gluing” gingerbread house pieces together and then decorating them with snow, icicles, windows, and doors that will hold up beautifully.
- Color Blocking and Layering: Create sections of different colors on a single cookie. Allow each section to dry before adding an adjacent one to prevent colors from bleeding.
Frequently Asked Questions – Hard-Setting Cookie Icing
Here are some common questions about making and using this delicious and durable cookie icing.
Store any leftover icing in an airtight container or a squeeze bottle in the refrigerator for up to 3 days. Before using it again, allow it to come to room temperature and give it a good stir or shake, as separation may occur.
Yes, absolutely! Regular vanilla extract will work perfectly fine and provide a lovely flavor. However, please note that it may impart a slightly off-white or yellowish tint to your icing. This is usually only an issue if you’re aiming for a pure, bright white base or very light pastel colors. If you plan to add vibrant food coloring anyway, the slight tint from regular vanilla won’t be noticeable.
While it’s generally recommended to use gel food coloring to avoid thinning the icing, you can use liquid food coloring if it’s all you have. If you do, be sure to reduce the amount of milk or water you add initially, as the liquid coloring will contribute to the overall fluid content of your icing. Add liquid coloring gradually and adjust the consistency as needed with more powdered sugar.
If your icing becomes too thin, simply add more powdered sugar, a tablespoon at a time, and stir until it thickens to your desired consistency. Be careful not to add too much at once to avoid over-thickening.
Absolutely! This icing is a fantastic base for various flavor extracts. To maintain a white or vibrant colored icing, opt for clear extracts such as clear almond extract, coconut extract, lemon extract, or even peppermint extract for a festive touch. Add extracts sparingly, tasting as you go, to ensure the flavor isn’t overpowering.
The drying time can vary significantly, typically ranging from 6 to 24 hours. Factors that influence drying time include the thickness of the icing layers, the amount of humidity in the air, and the temperature of your room. For best results, allow cookies to dry undisturbed at room temperature until the icing is completely hard to the touch.
Once fully dried and hardened, decorated cookies can be stored in an airtight container at room temperature for up to 2 weeks. To protect your beautiful designs, separate layers of cookies with parchment paper or wax paper. This will prevent them from sticking together or chipping.

Hard-Setting Sugar Cookie Icing (No Egg!)
Having a reliable, from-scratch icing recipe that hardens beautifully is an absolute must, especially during the festive holiday season. This particular recipe is designed to be the only one you’ll ever need! It sets perfectly, creating a durable and glossy finish that makes decorating sugar cookies an incredibly fun and rewarding experience.
5 minutes
5 minutes
Print Recipe
Ingredients
- 2 cups powdered sugar
- 1 & 1/2 tbsp corn syrup
- 1/2 tsp clear vanilla extract
- 1 & 1/2 tbsp cold milk or water
- gel food coloring (as needed)
Instructions
-
Sift the powdered sugar into a medium to large bowl. Add in the corn syrup, clear vanilla extract, and the initial 1 & 1/2 tablespoons of cold milk or water. Stir vigorously with a whisk or spatula until the mixture is completely smooth and free of any lumps. Ensure all ingredients are well incorporated to form a thick, creamy base icing.
-
Adjust the icing’s consistency to suit your decorating needs. For outlining or intricate details, you’ll want a thicker icing that holds its shape. For flooding (filling in designs), add tiny drops of additional milk or water, stirring well after each addition, until the icing slowly falls off the spoon and smoothly re-absorbs into itself within 10-15 seconds. This “count” is ideal for a smooth flood that levels beautifully.
-
If you’re making multiple colors, divide the icing into several smaller bowls. Add gel food coloring to each bowl, starting with a small amount on a toothpick, and mix thoroughly until you achieve your desired vibrant shades. Transfer the colored icing into squeeze bottles or piping bags with small tips for decorating. Decorate your cookies as desired, then allow the icing to set completely at room temperature for 6-24 hours before stacking or storing the cookies in an airtight container to prevent smudging and preserve your beautiful designs.
Nutrition information is automatically calculated, so should only be used as an approximation.
Like this? Leave a comment below!