
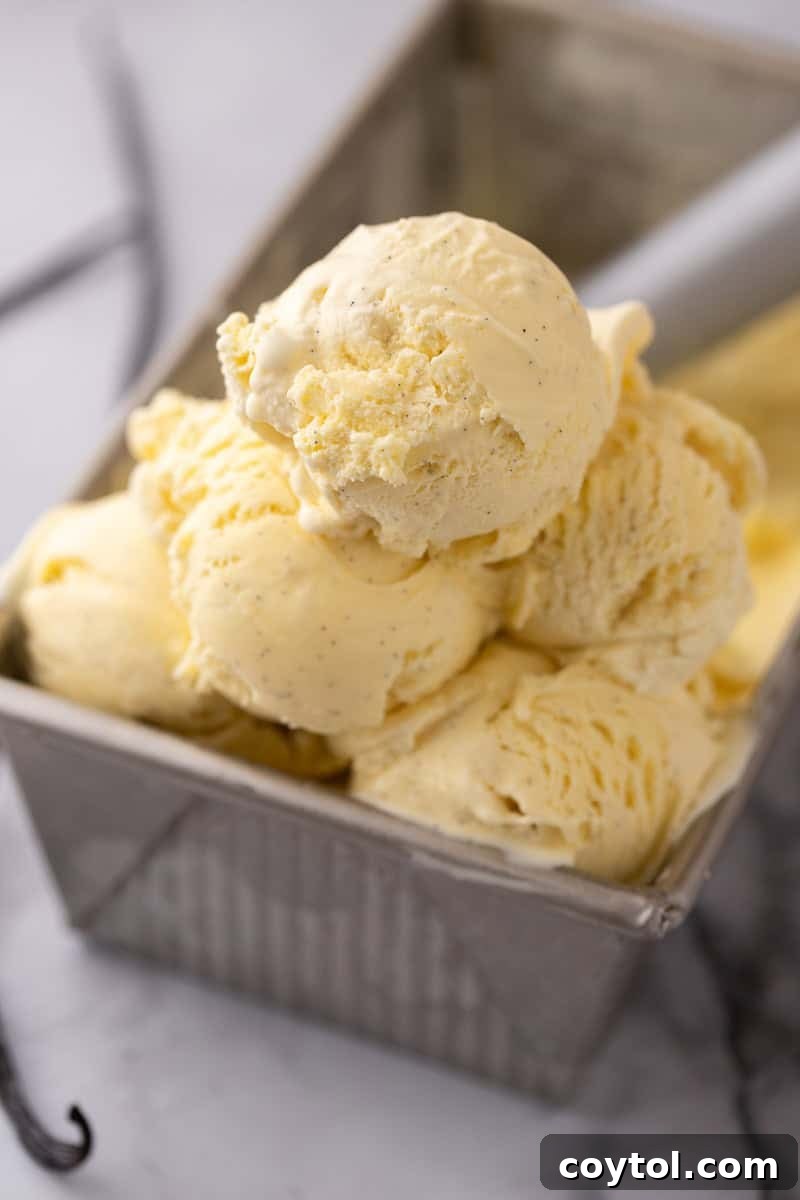
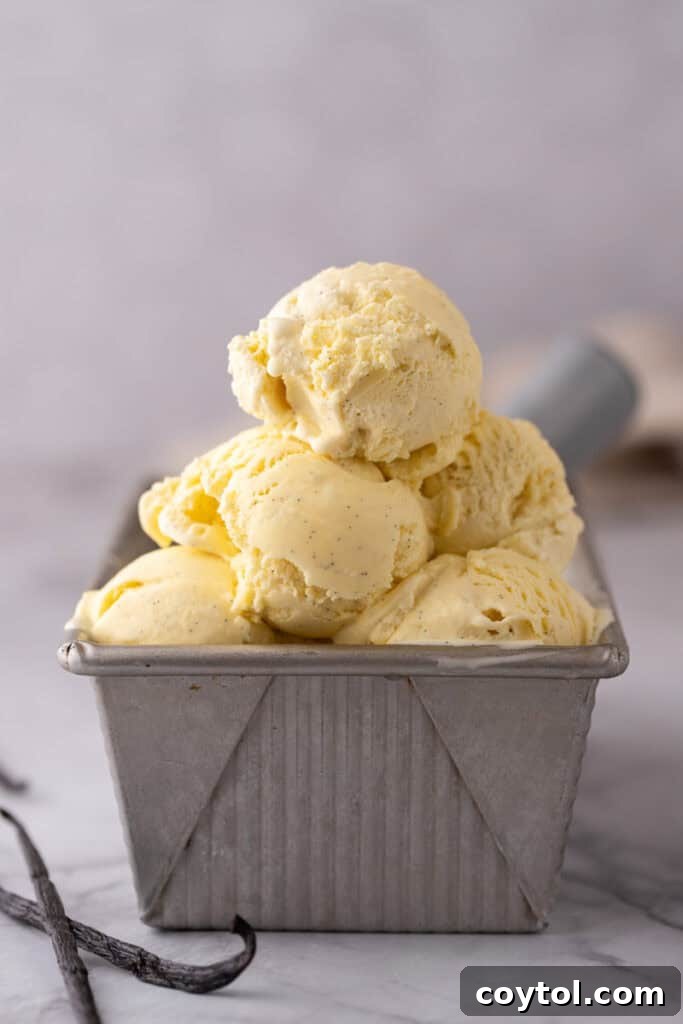
Unlock the secret to the most exquisite dessert experience with our **Easy Homemade Vanilla Ice Cream Recipe**. This isn’t just any vanilla ice cream; it’s a rich, creamy, French-style custard base infused with the deep, aromatic flavor of real vanilla beans. Prepare to transform your dessert game and delight your taste buds with a treat that’s far superior to anything you can buy in stores.
Is there truly anything more universally loved than a scoop of perfectly crafted vanilla ice cream? Its unparalleled versatility makes it the cornerstone of countless desserts. Whether it’s the star of the show, a velvety filling, or a delightful topping, vanilla ice cream elevates every dish it touches. And while store-bought options are convenient, nothing compares to the profound satisfaction and exquisite flavor of a batch made from scratch right in your own kitchen.
Many home cooks shy away from making ice cream, believing it to be a complex culinary endeavor. But let me assure you, creating this divine frozen dessert is far simpler than you might imagine. Forget the intimidation! All you truly need are a handful of readily available, basic ingredients, an ice cream machine (perhaps that Cuisinart churner machine that’s been patiently waiting in your garage?), and this comprehensive recipe. Follow these steps, and you’ll be rewarded with the best custard ice cream you’ve ever tasted, bursting with authentic vanilla flavor and a luxuriously smooth texture.
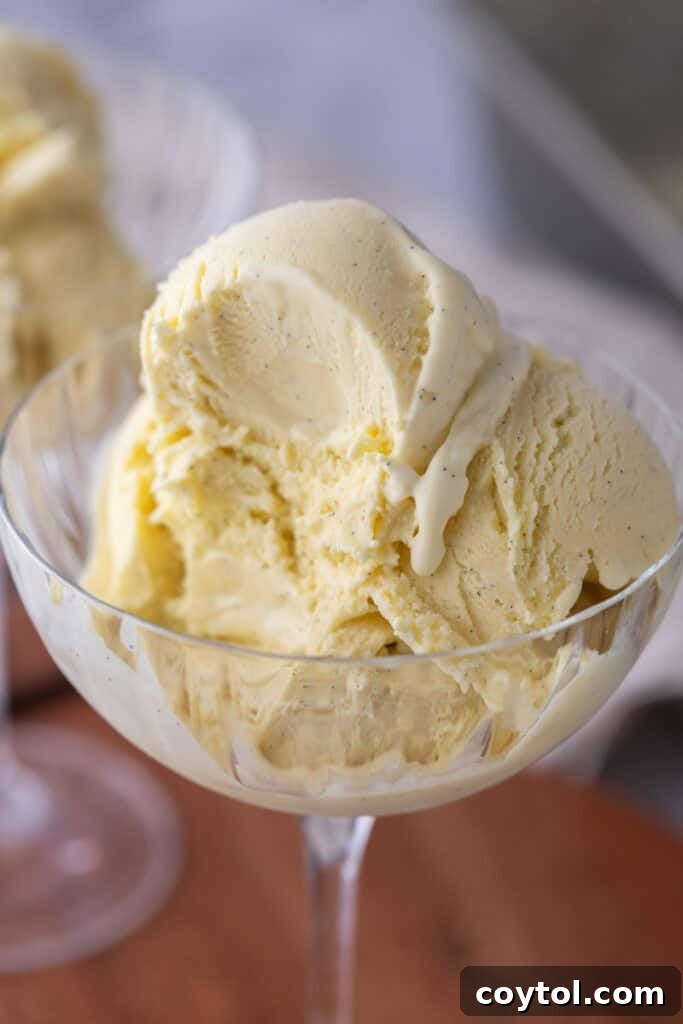
While this homemade vanilla ice cream is utterly delightful on its own, it also serves as the perfect complement to a myriad of desserts. Take a cue from my experience: I served it alongside this decadent chocolate brownie pie for my husband’s family, and they were absolutely captivated! They couldn’t stop raving, noting that it evoked the luxurious sensation of a steakhouse dessert, a truly high compliment. Imagine the possibilities for your next gathering!
If your passion for creamy, frozen delights extends beyond vanilla, you’re in the right place. Be sure to explore some of our other fantastic ice cream and dessert recipes. Don’t miss this incredibly easy Chocolate No-Churn Ice Cream with Brownies for when you’re short on time, or the rich and exotic No-Churn Vanilla Bean Dulce de Leche Ice Cream. For something truly unique, check out the viral Tiktok Custard Toast, or these delightful No-Bake Cheesecake Bars, and even a recipe for Crumbl Cookie Dough Cookies. Each recipe promises a journey into deliciousness!
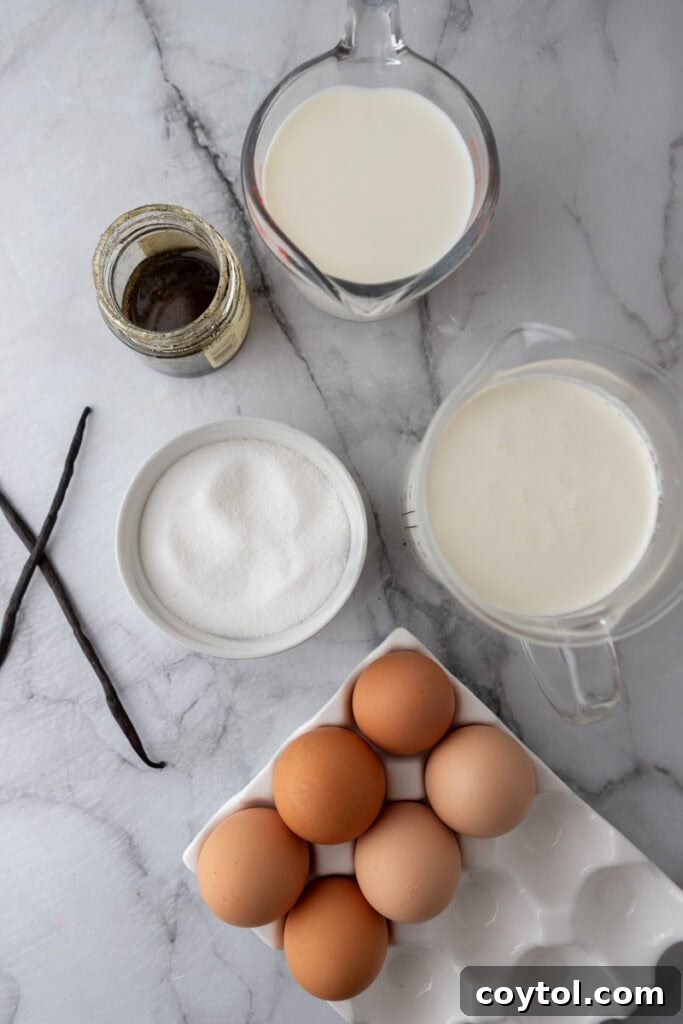
Essential Ingredients for the Best Homemade Vanilla Ice Cream
Crafting the perfect, super creamy French-style vanilla ice cream begins with high-quality ingredients. Each component plays a crucial role in achieving that rich flavor and incredibly smooth texture. Below is a list of what you’ll need. For precise measurements and quantities, please refer to the detailed recipe card at the bottom of this page.
- Heavy Cream: This is the cornerstone of creamy ice cream. Its high-fat content is essential for a luxurious, smooth texture and rich mouthfeel, preventing the formation of large ice crystals.
- Whole Milk: Used in conjunction with heavy cream, whole milk helps to achieve the ideal balance, providing a lighter body without sacrificing richness, and ensuring the custard base isn’t overly heavy.
- Egg Yolks: The defining characteristic of French-style ice cream. Egg yolks act as natural emulsifiers and thickeners, creating the signature silky, dense custard base that makes this ice cream exceptionally smooth and rich.
- Granulated White Sugar: Beyond just sweetening, sugar performs several vital functions. It sweetens the ice cream, enhances other flavors, and significantly lowers the freezing point of the mixture, contributing to a softer, scoopable texture.
- Vanilla Bean Pod: For an intensely authentic and complex vanilla flavor, nothing beats a real vanilla bean pod. Its scraped seeds infuse the custard with deep, floral notes and provide those beautiful, coveted vanilla speckles.
- Vanilla Bean Paste: To further amplify the rich vanilla profile and ensure those delightful visible specks are abundant throughout your ice cream, vanilla bean paste is an excellent addition. It offers a more concentrated flavor than extract and a stunning visual appeal.
- Pinch of Sea Salt: A small amount of sea salt is crucial for balancing the sweetness and enhancing all the other flavors. It brightens the vanilla and cream, preventing the ice cream from tasting one-dimensional.
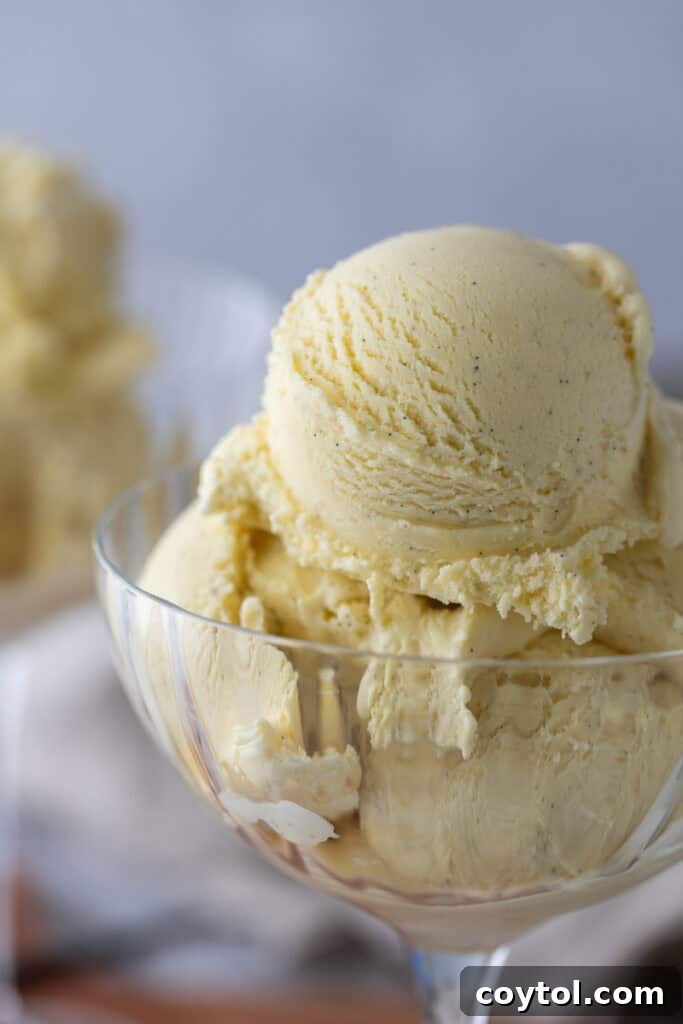
Crafting the Best Vanilla Ice Cream: A Step-by-Step Guide
Embark on the journey to create the creamiest, most flavorful vanilla ice cream right in the comfort of your own home. This detailed guide will walk you through each step, ensuring a perfect result. Remember to consult the full recipe card below for all the precise measurements and further tips!
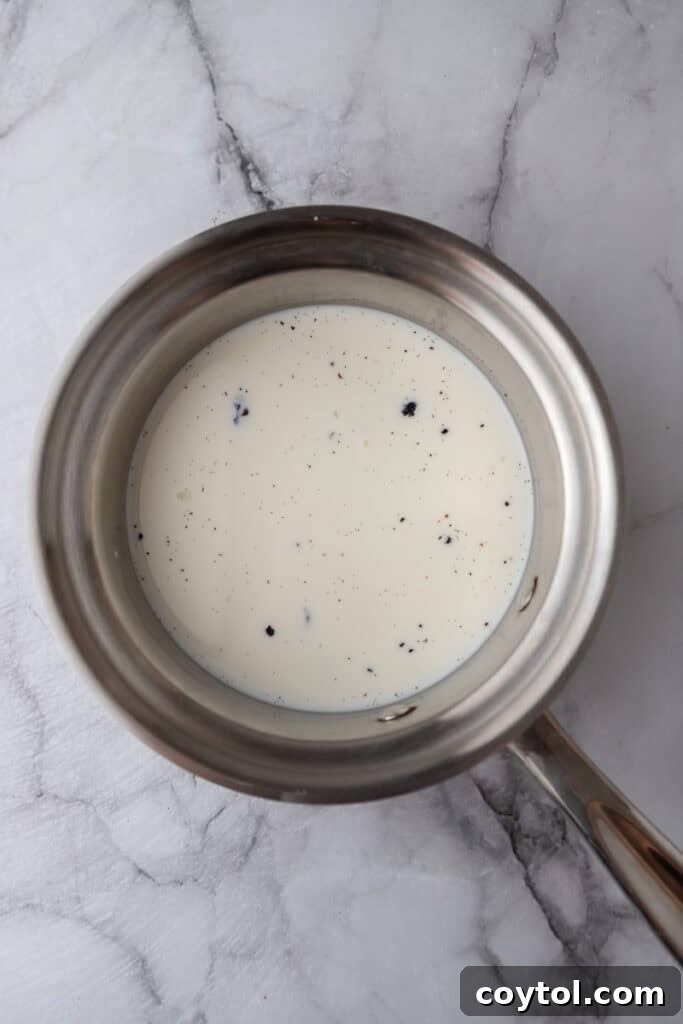
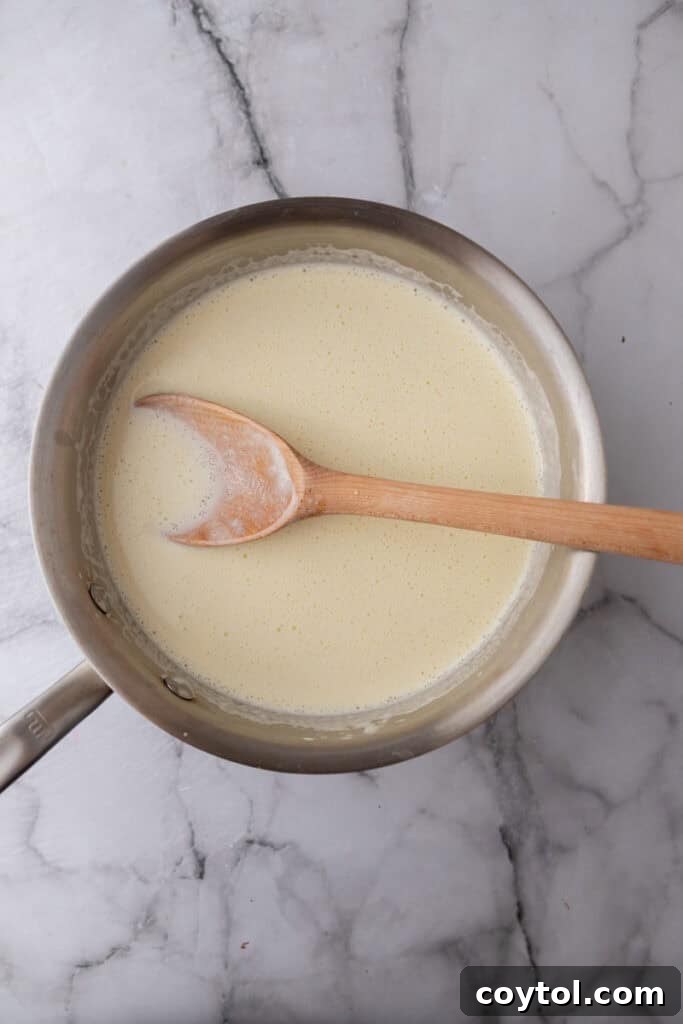
- Prepare the Dairy and Vanilla Infusion: In a medium saucepan, combine the heavy cream, whole milk, the split vanilla bean pod, and all of the freshly scraped vanilla seeds. Gently warm this mixture over medium heat. The goal is to bring it to a steamy state, where small bubbles begin to form around the edges, but it’s crucial not to let it come to a full boil. This gentle heating allows the vanilla to thoroughly infuse the dairy, creating a fragrant base. Once steamy, remove from heat and let it sit for a few minutes to deepen the vanilla flavor.
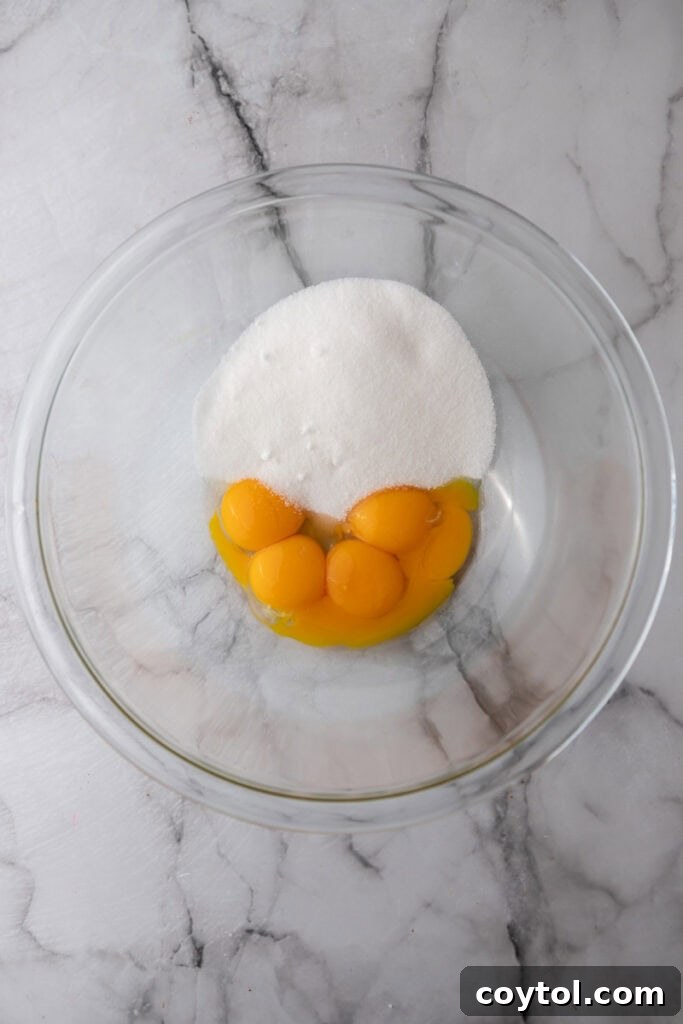
- Whisk Egg Yolks and Sugar: While your vanilla-infused dairy is steeping, prepare your egg mixture. In a separate large bowl, vigorously whisk together the egg yolks, granulated sugar, and the pinch of sea salt. Continue whisking until the mixture transforms into a pale yellow color and achieves a slightly thickened, ribbon-like consistency. This process incorporates air and begins to dissolve the sugar, preparing the yolks for tempering.
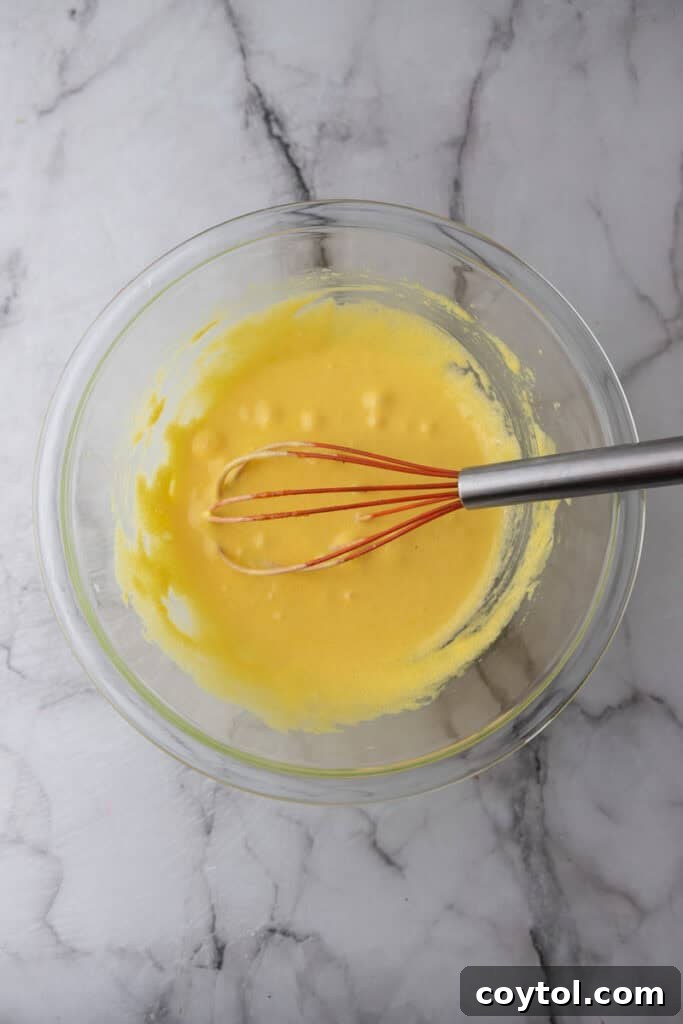
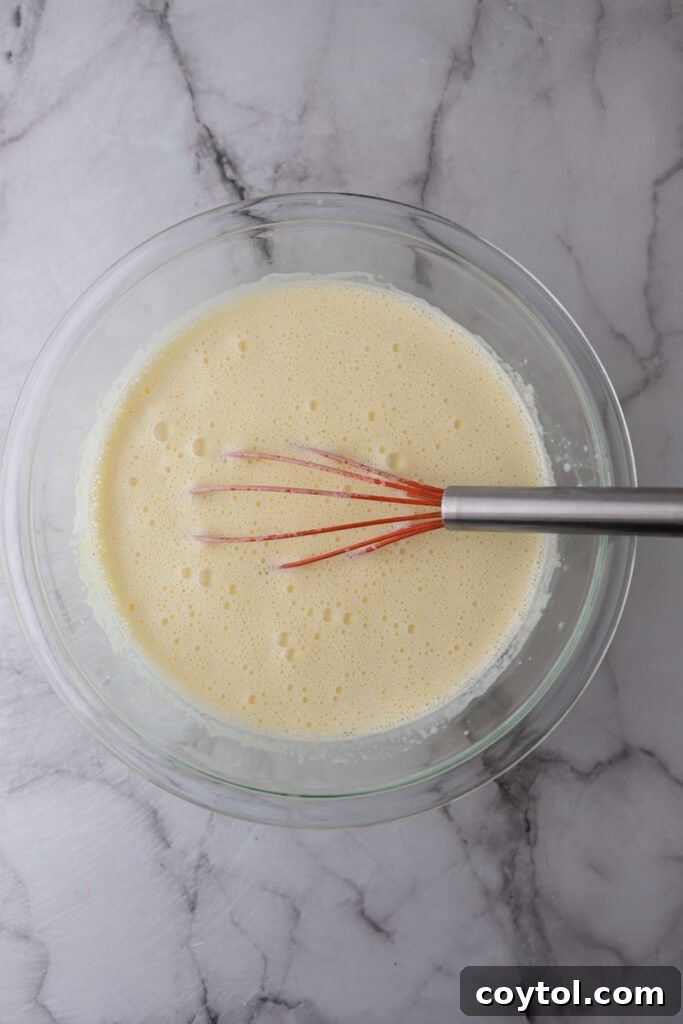
- Temper the Egg Yolks: This is a critical step to prevent the eggs from scrambling. Slowly and continuously drizzle a small amount of the warm, vanilla-infused milk mixture into the whisked egg yolks. While pouring, you must whisk constantly and vigorously. This gradual introduction of warm liquid slowly raises the temperature of the egg yolks without cooking them. Once a small amount is incorporated, you can gradually pour in the remaining milk mixture, continuing to whisk all the while.
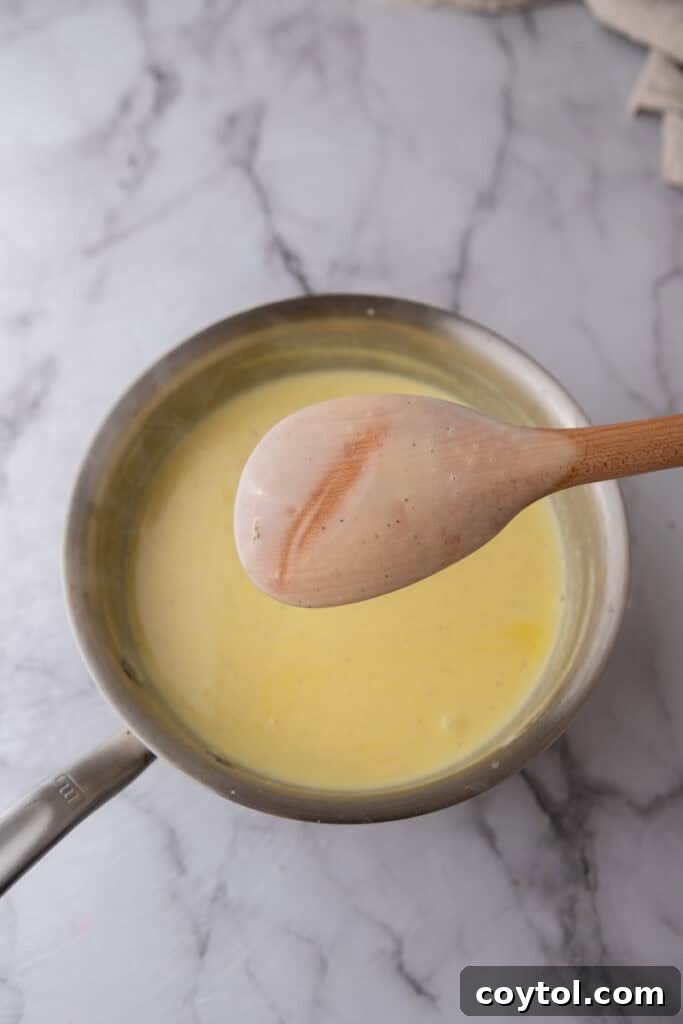
- Cook the Custard Base: Pour the entire egg-and-milk mixture back into the medium-sized saucepan. Cook this mixture over low heat, stirring steadily and constantly with a heat-resistant spatula or wooden spoon. Continue cooking until the custard subtly thickens to a consistency that lightly coats the back of your spoon. To check, run your finger across the spoon; if a clear trail remains, it’s ready. Ideally, the temperature should reach between 170–175°F (77–80°C) – a thermometer is highly recommended for accuracy. (Refer to the last picture below for a visual example of the spoon-coating test.)
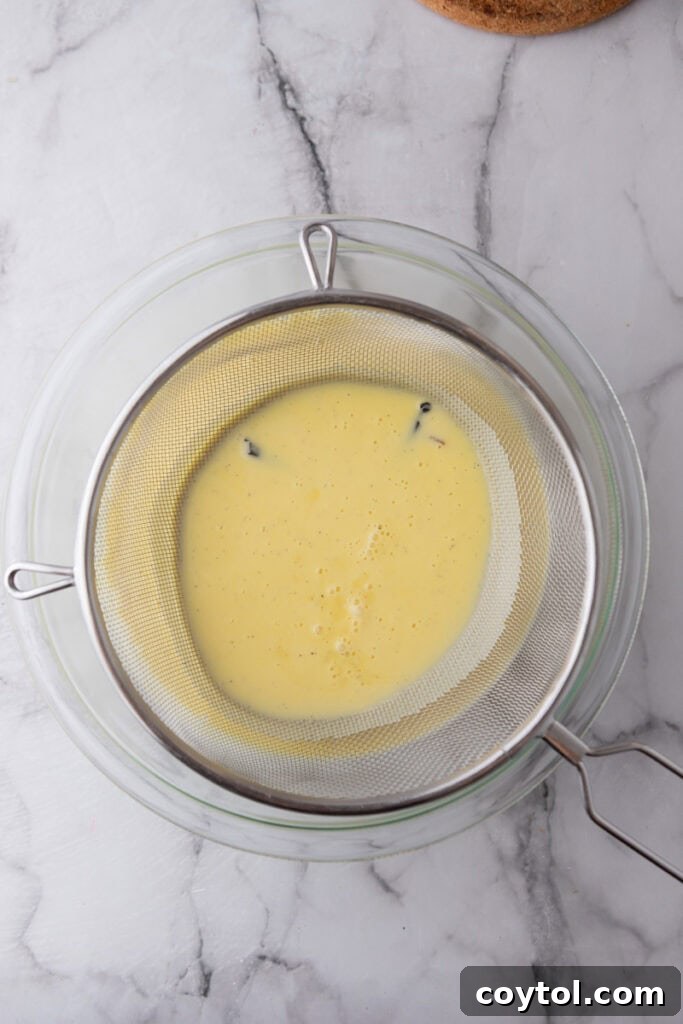
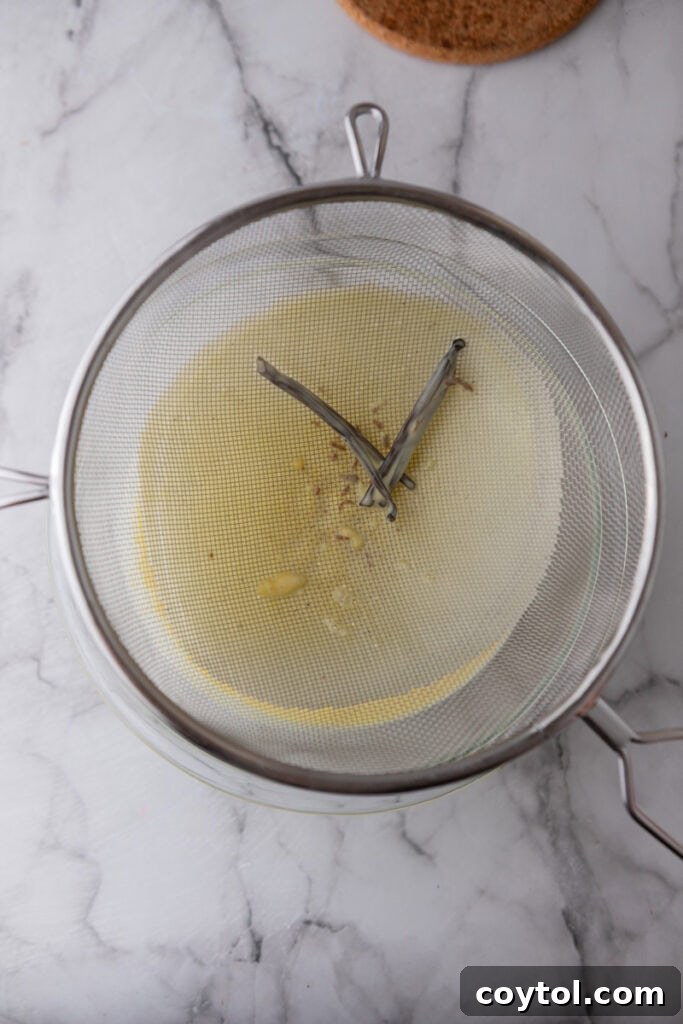
- Strain and Chill the Custard: Immediately after cooking, strain the hot custard through a fine-mesh sieve into a clean bowl. This crucial step ensures a perfectly smooth custard by catching any tiny bits of cooked egg (should any have formed despite careful tempering) and, of course, removing the spent vanilla bean pod. Stir in the vanilla bean paste at this stage for an extra boost of flavor and visual appeal. Cover the bowl directly with plastic wrap, pressing it onto the surface of the custard to prevent a skin from forming. Chill the custard in the refrigerator for a minimum of 6 hours, or ideally, overnight. This chilling period is vital for both intensifying flavors and ensuring the mixture is cold enough for proper churning.
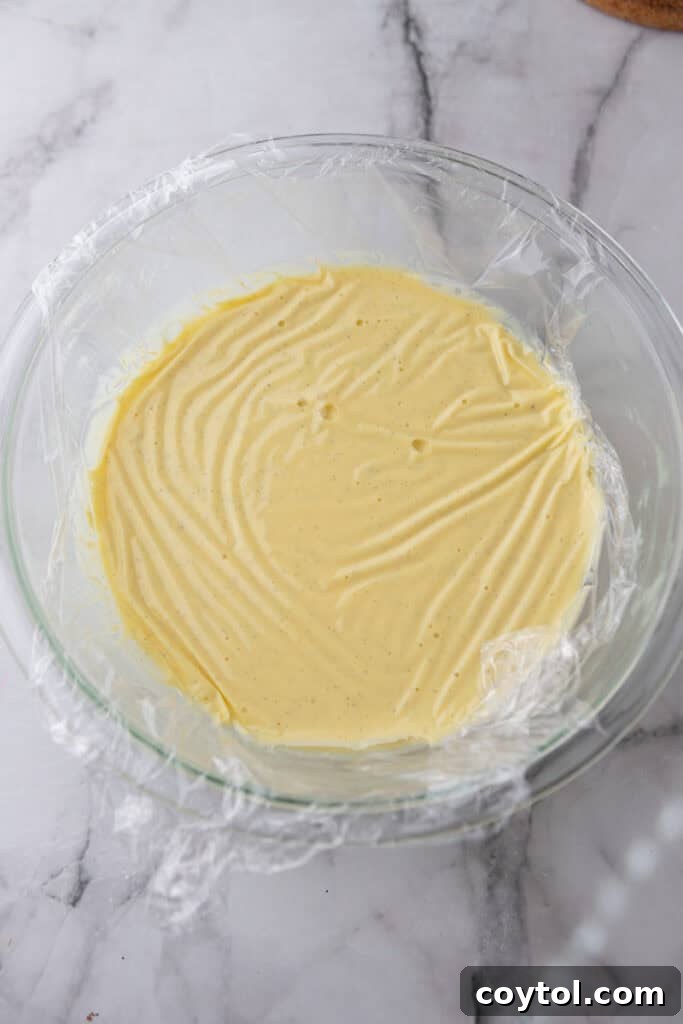
- Churn the Ice Cream: Once your custard is thoroughly chilled (it should be very cold), it’s time to churn! Assemble your 1.5-quart ice cream maker according to the manufacturer’s instructions. Pour the cold custard into the frozen bowl of your ice cream machine and churn until it reaches the consistency of soft-serve ice cream. This typically takes about 20-30 minutes, depending on your machine. Be careful not to over-churn, as this can negatively impact the texture.
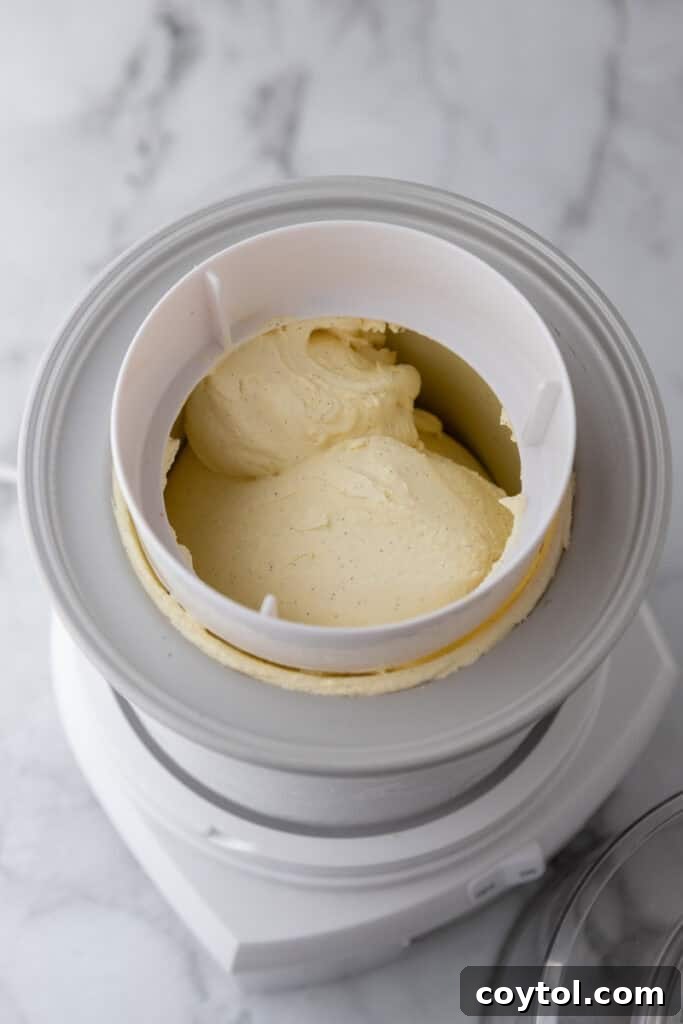
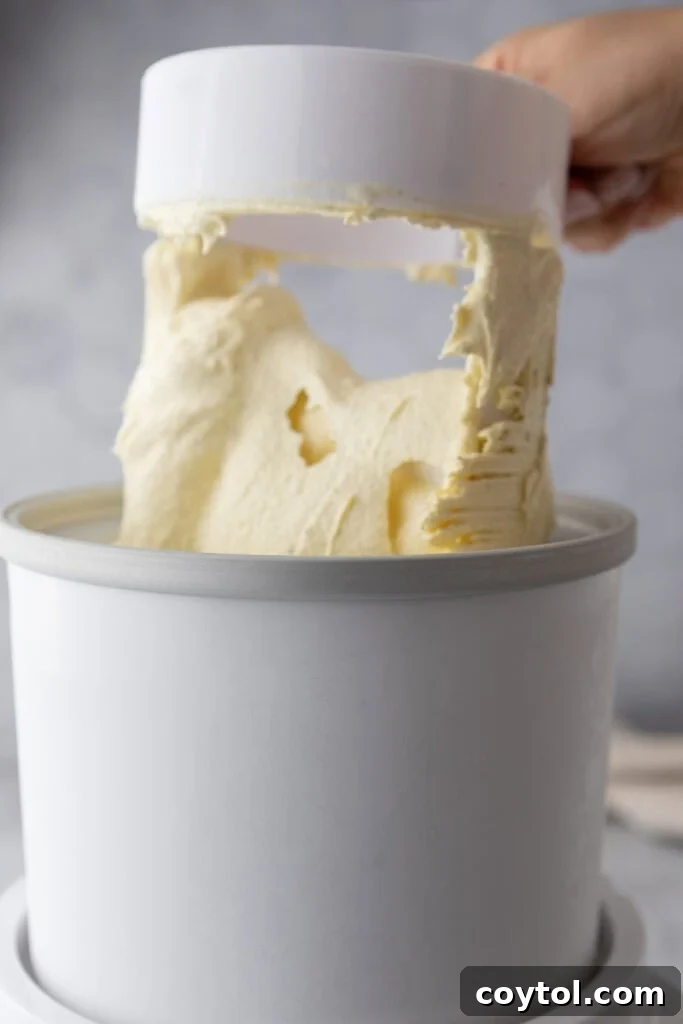
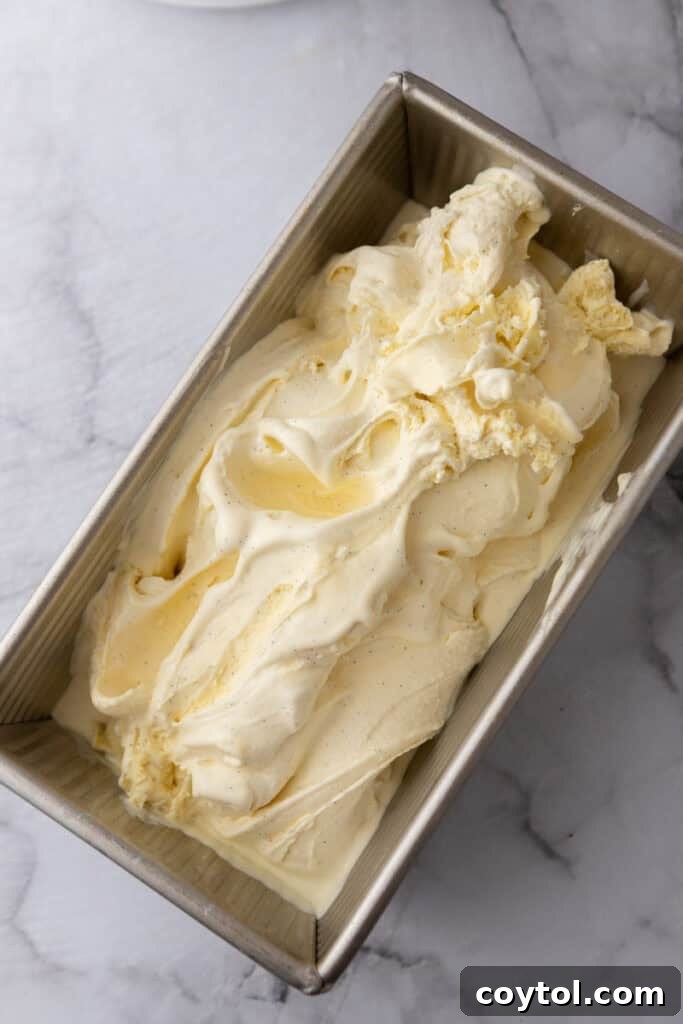
- Freeze for Firmness and Serve: Scoop the freshly churned, soft-serve-like ice cream into a freezer-safe, airtight container. To prevent ice crystals from forming on the surface, press a sheet of parchment paper or plastic wrap directly onto the surface of the ice cream. Cover the container tightly and freeze for at least 4 hours, or until it reaches a firm, scoopable consistency. For the creamiest and most enjoyable results, allow the ice cream to soften slightly at room temperature for 5-10 minutes before scooping and serving. This allows it to reach its optimal velvety texture.
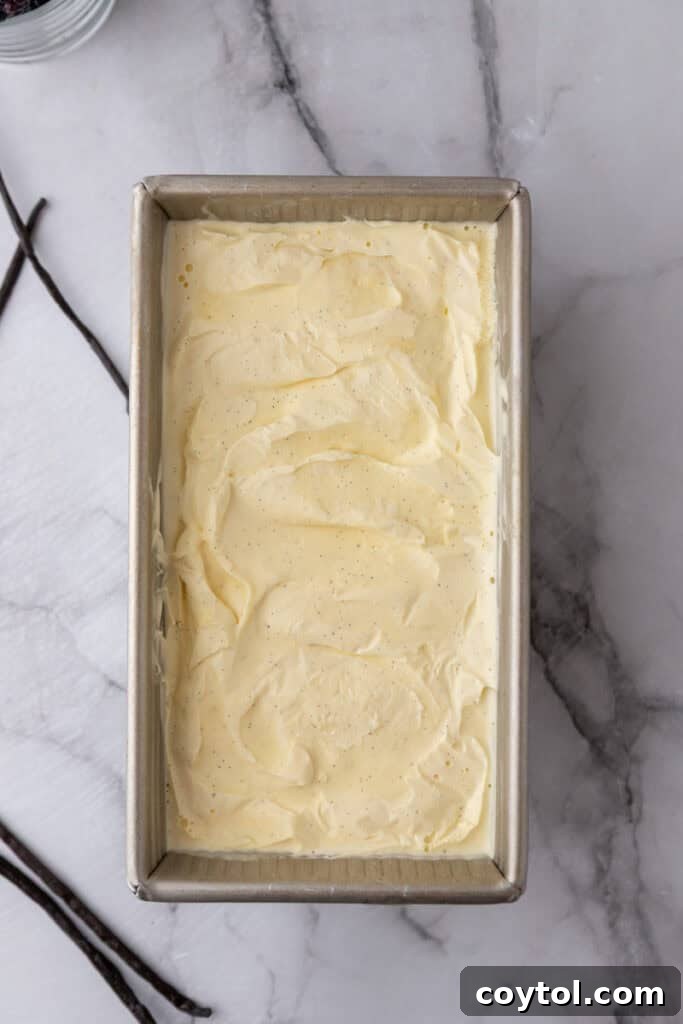
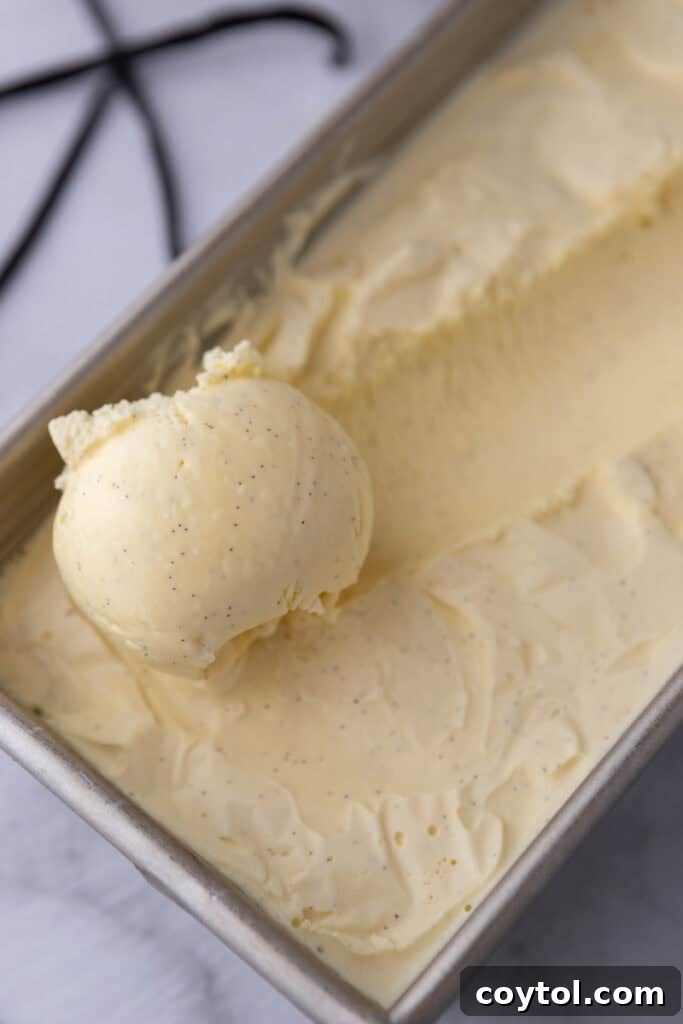
What is the Secret to Making Ice Cream Incredibly Creamy?
Achieving that coveted, incredibly creamy ice cream texture is a result of several key factors working in harmony. Firstly, it’s all about the ingredients: utilizing high-fat dairy, particularly heavy cream, is paramount. The fat molecules contribute immense richness and a smooth mouthfeel, significantly reducing the formation of large, icy crystals. Secondly, the creation of a cooked custard base (French style) with egg yolks is essential. The egg yolks act as emulsifiers, binding water and fat together to create a more stable, velvety texture. They also add a luxurious thickness that distinguishes custard-based ice creams. Finally, the churning process itself, followed by quick freezing, is crucial. Churning incorporates air and breaks down ice crystals into smaller, imperceptible particles, resulting in a soft-serve-like consistency. Freezing it quickly afterwards locks in this texture and prevents those larger, unwanted ice crystals from developing, ensuring every spoonful is perfectly smooth and delightful.
Expert Tips and Tricks for the Best Homemade Vanilla Ice Cream Results
- Prioritize Vanilla Quality: For a truly exceptional flavor, invest in the highest quality vanilla beans and vanilla bean paste you can find. The difference in aroma and taste between premium and lower-grade vanilla is significant and will elevate your ice cream from good to unforgettable.
- Master the Art of Tempering: The most crucial step is slowly drizzling the warm milk into the egg yolks while whisking constantly. This gradual process, known as tempering, gently brings the egg yolks up to temperature, preventing them from scrambling and ensuring your custard remains perfectly silky and smooth. Patience and continuous whisking are key here.
- Use a Thermometer for Precision: When cooking the custard on the stovetop, a candy or instant-read thermometer is your best friend. Aim for a temperature of 170–175°F (77–80°C) for optimal thickening. Cooking “low and slow” prevents scorching and ensures the eggs are safely cooked without curdling.
- Consider a Touch of Alcohol: For an even softer, more easily scoopable ice cream, consider adding a tablespoon of clear alcohol like vodka to your custard base before chilling. Alcohol doesn’t freeze solid, so it helps to slightly lower the freezing point of the mixture, resulting in a less rock-hard frozen dessert. This is entirely optional but makes a noticeable difference in texture.
- Avoid Over-Churning: Stop churning as soon as the ice cream reaches the consistency of soft-serve. Churning for too long can introduce too much air, which can lead to a grainy or icy texture once frozen solid. It’s better to slightly under-churn and let the freezer do the rest.
- The Overnight Chill is Non-Negotiable: Don’t rush the chilling process for your custard base. Allowing it to chill in the refrigerator for at least 6 hours, or ideally overnight, is vital. This time allows the flavors to fully meld and deepen, and ensures the mixture is perfectly cold, which is essential for efficient churning and the formation of small, uniform ice crystals.
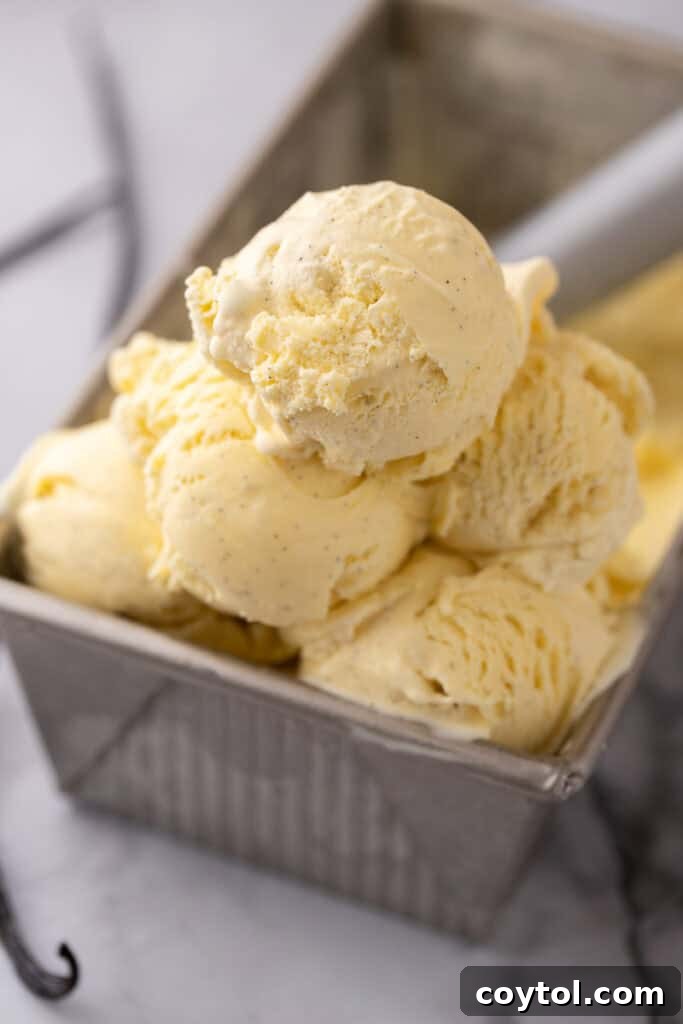
Why This Creamy Homemade Vanilla Ice Cream Recipe is a Must-Try
If you’re still contemplating whether to embark on this delightful culinary adventure, let us convince you why this specific recipe for creamy vanilla ice cream is absolutely worth your time and effort:
- Simple, Accessible Ingredients: This fantastic recipe relies on basic, wholesome ingredients that are readily available at any local grocery store. No exotic or hard-to-find items are required, making it an achievable treat for anyone.
- Unmatched Quality: Frankly, homemade ice cream, especially a rich custard-based version like this, is unequivocally superior to any store-bought alternative. The freshness, depth of flavor, and luxurious texture are simply incomparable.
- Endless Customization Possibilities: The beauty of this classic vanilla base is its versatility. It serves as a perfect canvas for your creativity. Experiment with different ice cream flavors and a wide array of mix-ins to create your signature treat every time.
- The Easiest Path to Homemade Excellence: This recipe is specifically designed to guide you through the easiest and most foolproof way to master the art of making delicious, creamy ice cream at home, even if you’re a beginner.
- An Irresistible Indulgence: Be warned: the moment you experience your first taste of this homemade vanilla ice cream, you’ll be hooked! Its rich, velvety texture and authentic vanilla flavor are so captivating, you’ll find yourself making it again and again.
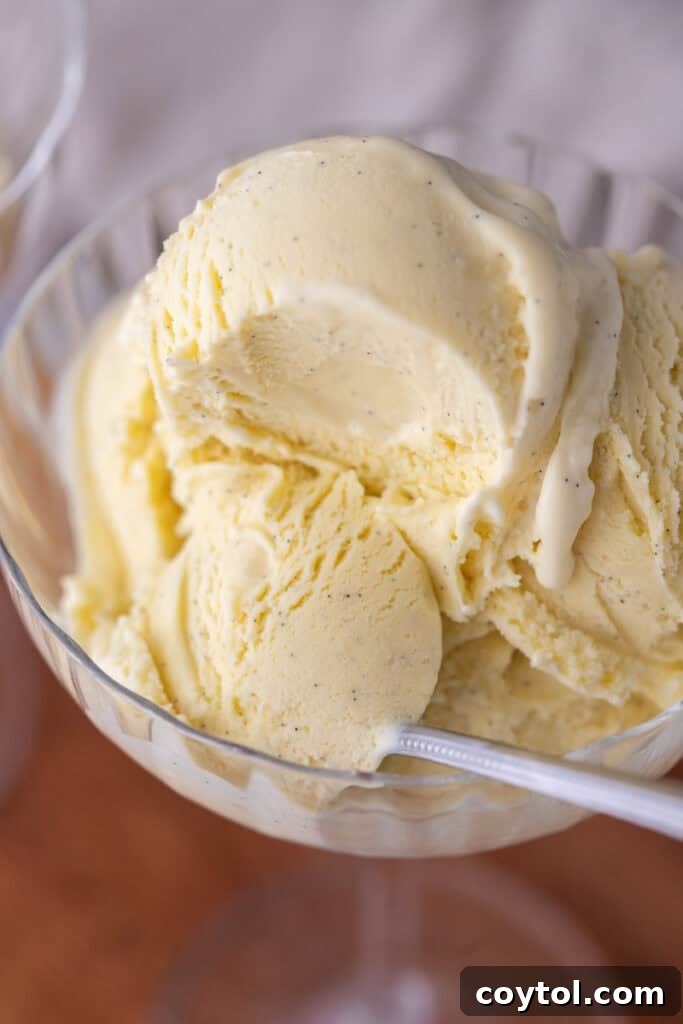
Frequently Asked Questions (FAQ) About Homemade Vanilla Ice Cream
Here are some common questions and helpful answers to ensure your homemade vanilla ice cream experience is a complete success:
Do I have to use both vanilla beans and vanilla paste? Can I use vanilla extract instead of one?
While the recipe suggests using both a vanilla bean pod and vanilla bean paste for the ultimate deep vanilla flavor and those characteristic beautiful specks, you do have some flexibility. The combination delivers a complex aroma and stunning visual appeal that makes homemade ice cream extra special. You can certainly use high-quality vanilla extract in place of the vanilla paste if that’s what you have on hand or prefer; simply add it after you’ve finished cooking your custard. However, I personally recommend vanilla paste because it generally offers a stronger, richer flavor profile compared to extract, and it often includes those desirable visible flecks of vanilla bean, enhancing the gourmet feel of your ice cream.
Why does my vanilla ice cream recipe have ice crystals?
Ice crystals can form for a few reasons, detracting from that smooth, creamy texture. Common culprits include: the custard not being fully chilled before churning (it needs to be very cold to churn effectively); the ice cream base being overcooked or curdled, which can disrupt the emulsion; or, conversely, if too much air was incorporated during churning, or if it was over-churned. Additionally, a slow freezing process after churning can also lead to larger ice crystal formation. Ensuring your custard is perfectly chilled, cooked correctly, and churned just to the soft-serve stage before rapid freezing will help prevent this issue.
What different flavors or serving styles can I try with this vanilla ice cream?
The beauty of a classic vanilla ice cream lies in its incredible versatility. Here are some fantastic ideas to elevate your serving style or infuse new flavors:
- Chocolate Swirl: After churning, gently fold in melted dark or milk chocolate, or add cocoa powder and mini chocolate chips during the last few minutes of churning for a delightful chocolate-vanilla combo.
- Cookie Creations: Crush up your favorite chocolate chip cookies, Oreos, or other biscuits and mix them in after churning. You can even use the vanilla ice cream to make gourmet ice cream sandwiches!
- Luxurious Syrups: Swirl in thick, rich syrups like homemade caramel sauce, luscious honey, or pure maple syrup after the ice cream has finished churning for beautiful ribbons of flavor.
- Candy Mix-ins: Get creative with your favorite candies! Crushed peanut butter cups, chopped chocolate bars, or small pieces of toffee make excellent additions.
- Fresh Fruit Medley: Incorporate seasonal fresh fruits like pureed peaches, sliced strawberries, or a vibrant raspberry compote. Add these during the last stages of churning or swirl them in afterwards.
- Classic Cone Experience: Sometimes, simplicity is best. Serve a generous scoop in crispy ice cream cones, topped with classic hot fudge, a sprinkle of nuts, or whipped cream for an ultimate nostalgic treat.
How do I store leftovers of this vanilla ice cream recipe?
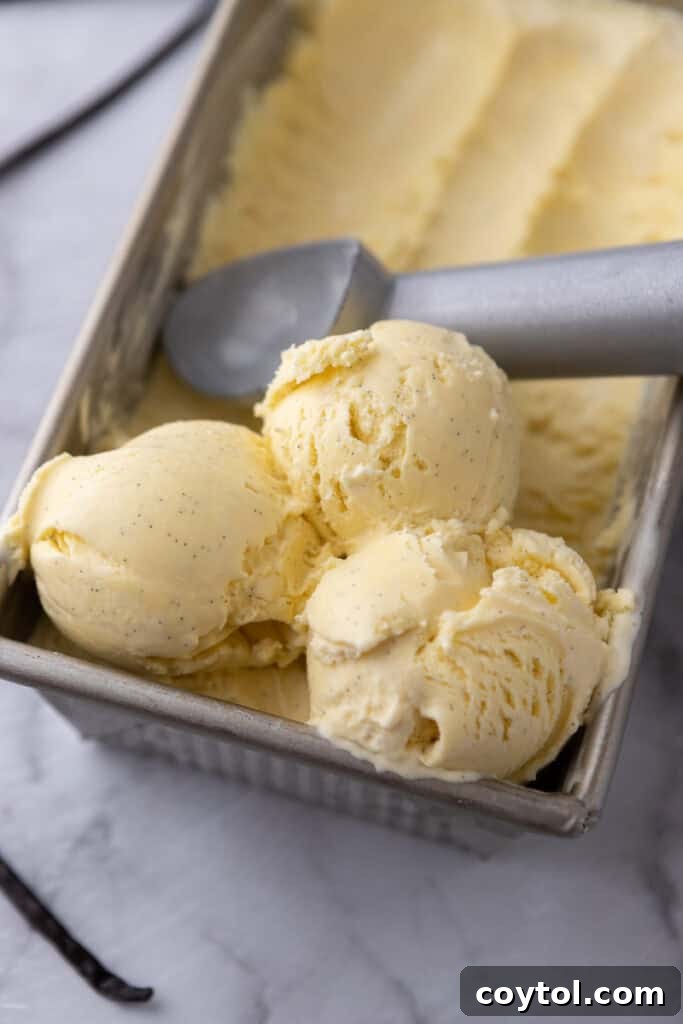
To preserve the exquisite texture and flavor of your homemade vanilla ice cream, proper storage is key. The best method is to keep the ice cream in the same airtight freezer-safe container that you used during the final freezing process. Ensure the lid forms a tight seal to prevent freezer burn and the absorption of unwanted odors. When stored correctly, your delicious homemade ice cream should maintain its quality for at least a month or two in the freezer. Remember, pressing parchment paper directly onto the surface before sealing helps immensely in preventing ice crystals from forming.
What can I do if my vanilla custard curdled?
Don’t despair if your custard shows signs of curdling! If it’s only slightly curdled, you might be able to salvage it. Transfer the mixture to a blender or use an immersion blender and blend until it appears smooth. Afterwards, pass it through a fine-mesh strainer to catch any remaining small bits. This can often rescue a mildly curdled custard. However, if the eggs have severely scrambled and the mixture is chunky, unfortunately, it’s best to start over to ensure the best possible texture for your ice cream.
What are the best ice cream makers for this recipe?
For this recipe, any good quality home ice cream maker will work wonderfully, provided it has a capacity of around 1.5 quarts, which is standard for most residential machines. Personally, I’ve had great success with the Cuisinart 1.5 qt Ice Cream Machine, which consistently produces excellent results. The key is to ensure your machine’s freezing bowl is thoroughly chilled (usually 12-24 hours in advance) before you begin churning.
French Style Custard Vanilla Ice Cream
Print Recipe
Equipment
Ingredients
- 2 cups heavy cream cold
- 1 cup whole milk
- 5 large egg yolks
- 3/4 cup granulated sugar
- 1 whole vanilla bean split and scraped
- 1 tbsp vanilla bean paste
- Pinch of sea salt
Instructions
-
In a medium saucepan, combine the heavy cream, whole milk, the split vanilla bean, and scraped seeds. Warm over medium heat just until it begins to steam around the edges (do not boil). Remove from the heat and allow to steep for a few minutes.2 cups heavy cream, 1 cup whole milk, 1 whole vanilla bean, Pinch of sea salt
-
In a medium mixing bowl, vigorously whisk together the egg yolks and granulated sugar until the mixture becomes pale and slightly thickened.3/4 cup granulated sugar, 5 large egg yolks
-
Slowly pour a small amount of the warm, vanilla-infused milk into the egg yolk mixture, whisking constantly and vigorously to temper the eggs and prevent curdling. Gradually add the rest of the milk, continuing to whisk without interruption.
-
Return the entire mixture to the saucepan. Cook over low heat, stirring constantly with a spatula or wooden spoon, until the custard thickens slightly and coats the back of the spoon. The ideal temperature is about 170–175°F (77–80°C).
-
Strain the cooked custard through a fine mesh sieve into a clean bowl to ensure a perfectly smooth base and remove the vanilla pod. Stir in the vanilla bean paste. Cover with plastic wrap pressed directly on the surface and refrigerate for at least 6 hours, or preferably overnight, until thoroughly chilled.1 tbsp vanilla bean paste
-
Once the custard is completely chilled, churn it in your ice cream maker according to the manufacturer’s instructions until it reaches a soft-serve consistency.
-
Transfer the churned ice cream to an airtight freezer-safe container, pressing a piece of parchment paper directly on the surface to prevent ice crystals. Freeze for at least 4 hours, or until firm. For the creamiest texture, let it soften slightly at room temperature for a few minutes before scooping.
Notes
Don’t skip the overnight chill: This crucial step helps the flavors meld beautifully and ensures the custard is sufficiently cold for a smoother, more efficient churning process, minimizing ice crystal formation.
Craving Add-ins? After churning, for a gourmet twist, gently swirl in your favorite additions like homemade raspberry compote, rich caramel ribbons, chocolate chunks, or even crushed macarons.
Storage for Best Texture: Store your homemade ice cream in an airtight container in the freezer for up to 2 weeks for optimal texture and flavor. If you added a touch of vodka (as suggested in tips), it will help keep it scoopable for longer!
Nutrition
Nutrition information is automatically calculated, so should only be used as an approximation.