
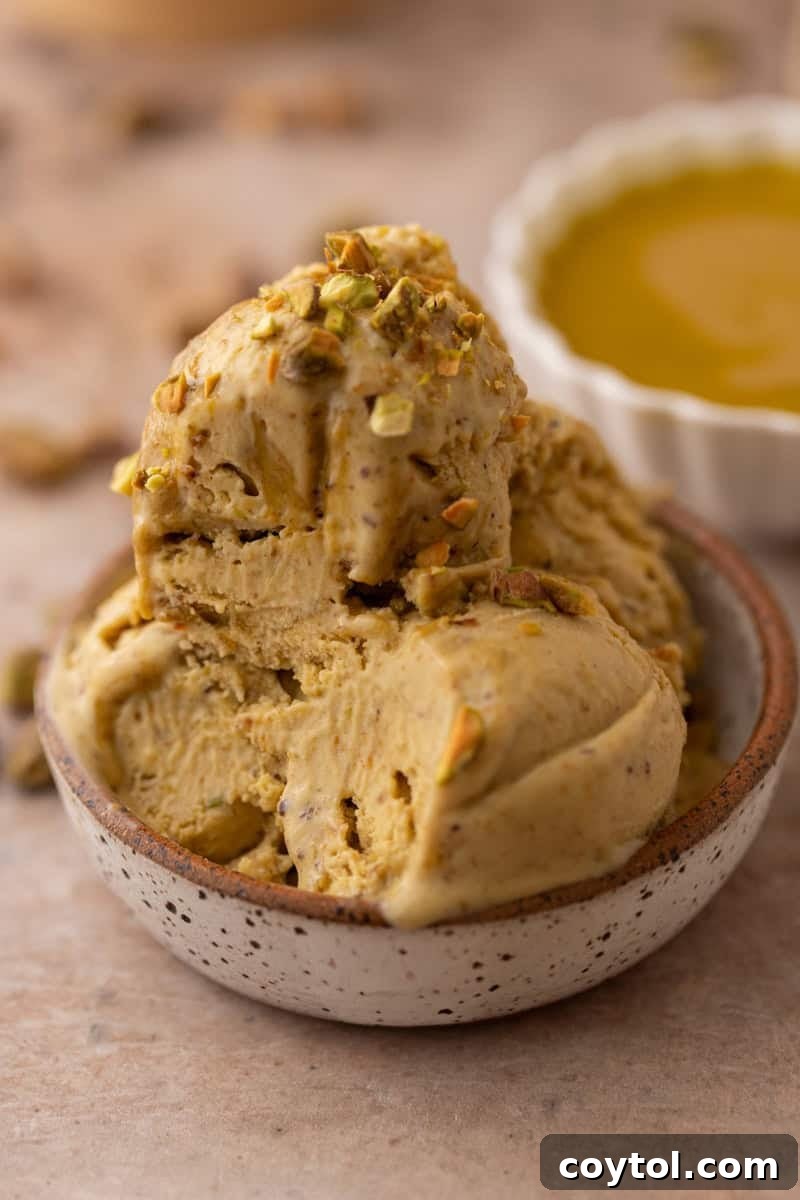
Embark on a culinary journey to create the **best pistachio ice cream** you’ll ever taste! This exceptional recipe is meticulously crafted with a rich, homemade pistachio paste and further enhanced with a high-quality, pre-made pistachio butter, ensuring every spoonful bursts with unparalleled, authentic flavor. Say goodbye to artificial ingredients and vibrant green dyes; our recipe champions only real, wholesome components for a genuinely gourmet frozen treat. Prepare to elevate your dessert experience and impress your taste buds with this creamy, nutty delight.
When the craving for a luscious, creamy dessert strikes, few flavors can rival the deep, inviting essence of pistachios. If you’ve enjoyed pistachio ice cream in the past, prepare to be amazed, as this homemade version transcends any store-bought or ice cream parlor scoop. With just a handful of premium ingredients and a touch of patience, you can master a frozen confection that stands proudly among the finest gourmet desserts. Whether you’re seeking a refreshing escape on a sweltering day or simply yearning for a decadent sweet indulgence, this recipe is an absolute triumph. It’s a must-try for devoted pistachio enthusiasts, passionate ice cream makers, or anyone eager to craft a small-batch, artisanal treat from scratch. Once you experience its exquisite taste, you’ll wonder why you ever settled for anything less. Let’s dive into the delicious details!
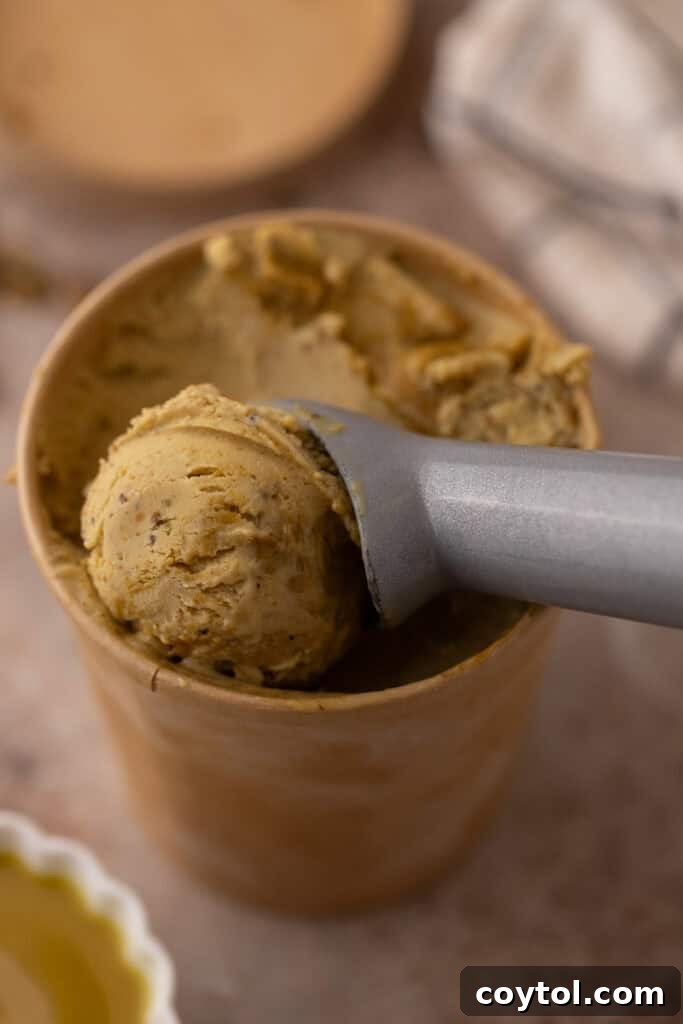
For those who appreciate the art of homemade frozen desserts and crave unique flavor profiles, we invite you to explore more of our delightful creations. Enhance your coffee with our Starbucks Pistachio Syrup Copycat Recipe, bake a batch of our soft and chewy Pistachio Pudding Cookies, or recreate the iconic Starbucks Pistachio Frappuccino at home. If you’re looking for a classic, our Custard-based Vanilla Ice Cream Recipe is a timeless treat, and our Easy One-Bowl Chocolate Buttercream Recipe is perfect for any baking project.
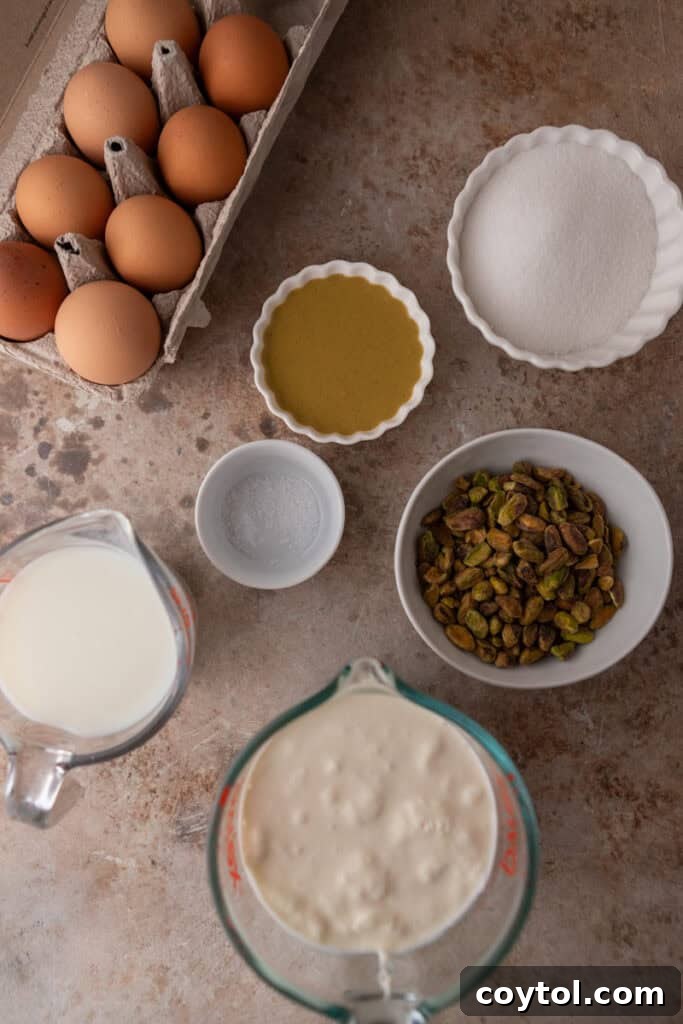
Essential Ingredients for the Best Homemade Pistachio Ice Cream
Crafting superior pistachio ice cream begins with selecting the finest ingredients. Each component plays a vital role in achieving the luxurious texture and rich, nutty flavor that defines this recipe. Below, you’ll find a detailed breakdown of what you’ll need. For precise measurements, please refer to the comprehensive recipe card located at the conclusion of this article.
- Whole Milk: This ingredient is crucial for balancing the richness, preventing the ice cream from becoming overly dense, and contributing to its smooth consistency.
- Heavy Cream: The cornerstone of any truly creamy ice cream, heavy cream provides the essential fat content needed for that signature velvety mouthfeel and indulgent richness.
- Granulated Sugar: Beyond merely sweetening, sugar acts as a natural antifreeze, ensuring your homemade pistachio ice cream remains scoopable and doesn’t freeze into an unyielding block.
- Egg Yolks: The secret to a truly luxurious, custard-based ice cream. Egg yolks are responsible for thickening the base, lending it an incredibly smooth, rich, and velvety texture that melts beautifully on the tongue.
- Pistachios: The star of our show! High-quality pistachios are vital for infusing the ice cream base with an authentic, deep nutty flavor and contributing to its natural, appealing green hue without artificial coloring.
- Vanilla Extract: A classic enhancer, vanilla extract rounds out and brightens the overall flavor profile. For an even more profound aroma and taste, consider using vanilla bean paste.
- Pinch of Salt: A small but mighty ingredient, salt is essential for brightening and balancing the sweetness, while significantly boosting the complex flavors of the pistachios and other dairy components.
- Pistachio Cream (optional, but highly recommended): This pre-made, sweetened pistachio butter or paste adds incredible swirls and ribbons of intensely concentrated pistachio flavor and a beautiful visual appeal. While optional, it elevates the ice cream to an extraordinary level of indulgence.
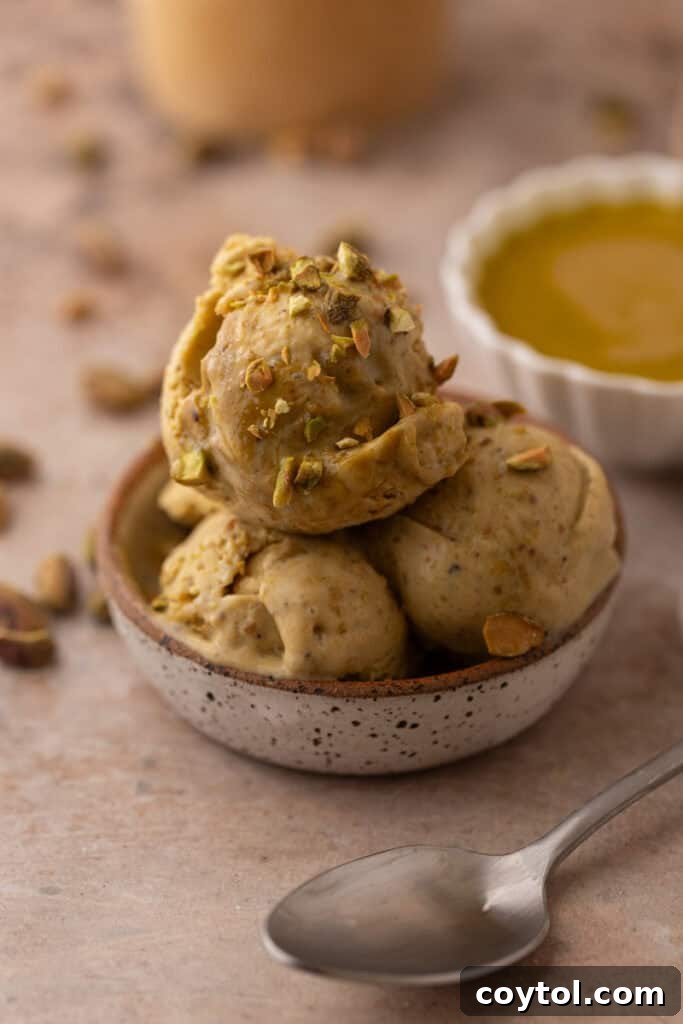
Mastering the Art of Homemade Pistachio Ice Cream: A Step-by-Step Guide
Creating this creamy pistachio delight is a rewarding process that yields truly exceptional results. Follow these detailed instructions to achieve a rich, smooth, and intensely flavored ice cream. Remember to consult the full recipe card at the end of this post for precise measurements and a comprehensive breakdown of each step.
Step 1: Preparing the Authentic Pistachio Paste
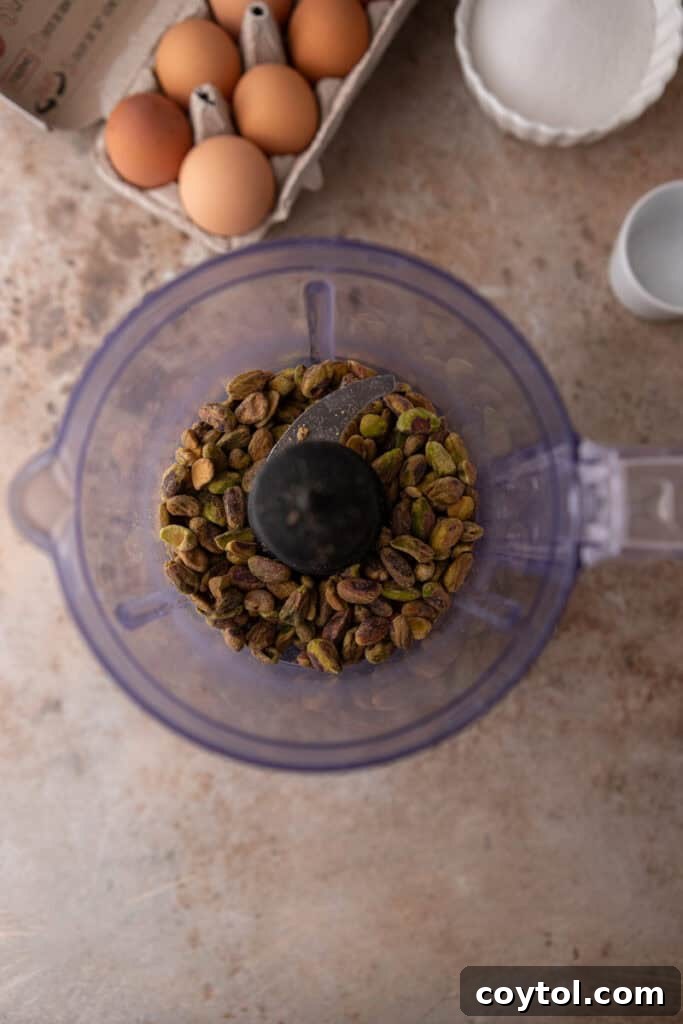
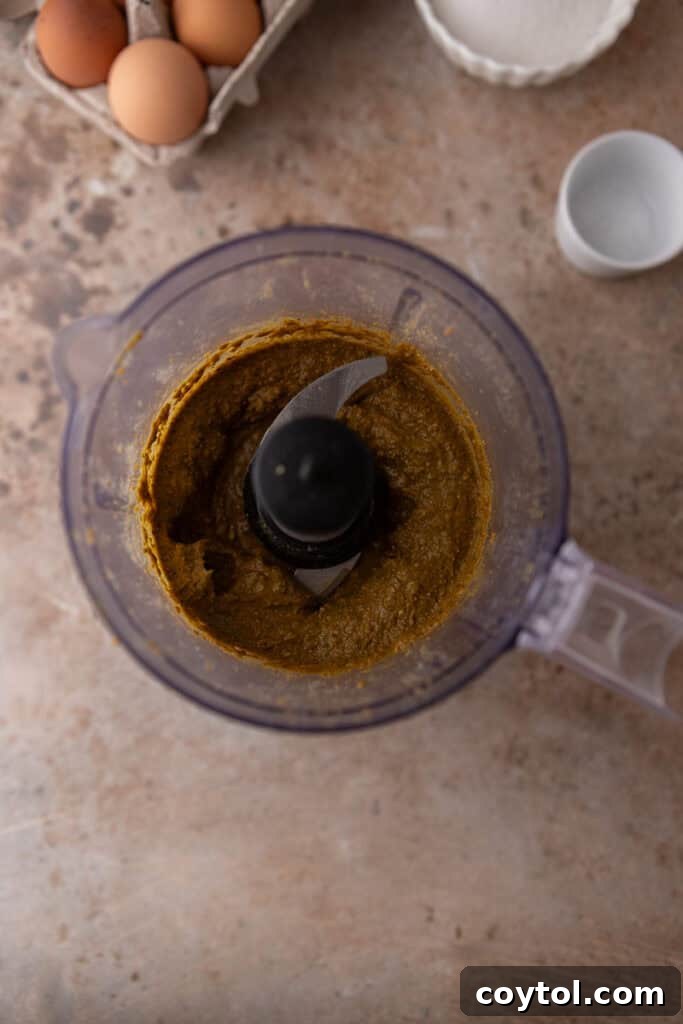
- Begin by placing your shelled, unsalted, and preferably roasted pistachios into the bowl of a high-quality food processor. Blend the pistachios continuously until they transform into a thick, smooth, and vibrant paste. This process can take anywhere from 2 to 4 minutes.
- During blending, you will notice the pistachios evolving from finely chopped nuts to a crumbly mixture, then to a slightly oily, thick paste, and finally to a smooth, almost liquid nut butter-like consistency. It’s crucial to pause occasionally and use a spatula to scrape down any pistachio pieces clinging to the sides of the bowl. This ensures that all the nuts are processed evenly, resulting in a consistent texture and maximum flavor extraction. Do not rush this step; the quality of your pistachio paste directly impacts the depth of flavor in your finished ice cream.
Step 2: Crafting the Rich Pistachio Custard Base
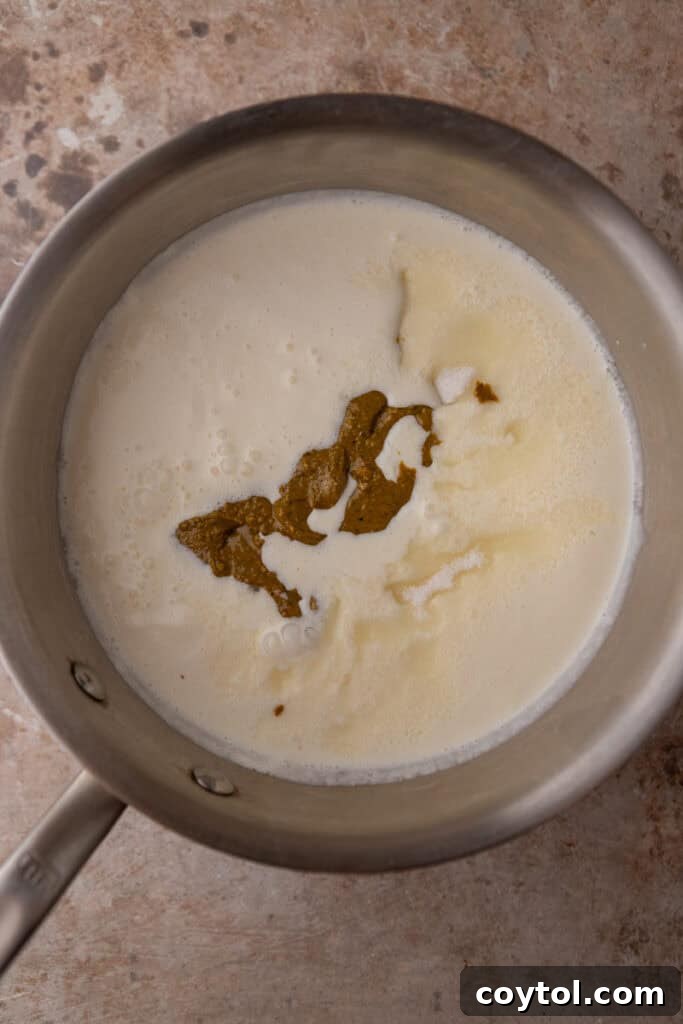
- In a medium-sized, heavy-bottomed saucepan, combine the freshly made pistachio paste, whole milk, heavy whipping cream, and half of the granulated sugar.
- Gently warm this pistachio-infused dairy mixture over medium heat. Whisk continuously to ensure the pistachio paste is fully incorporated into the liquids and the mixture begins to steam. It’s important to heat it thoroughly but avoid bringing it to a rolling boil, as this can scorch the dairy or diminish the pistachio flavor. If you notice any stubborn lumps of pistachio paste, an immersion blender can be very effective in creating a perfectly smooth, homogenous mixture.
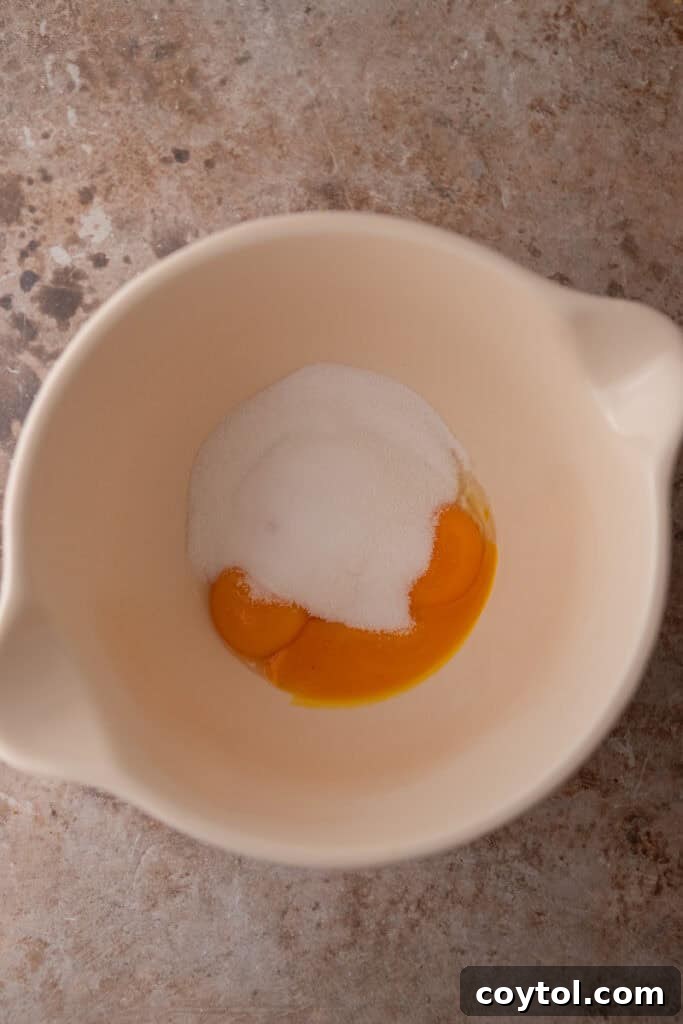
- In a separate, large heatproof bowl, whisk together the egg yolks, the remaining granulated sugar, and a delicate pinch of salt. Continue whisking vigorously until the egg yolk mixture lightens in color, becoming pale yellow, and slightly thickens in consistency. This process incorporates air and prepares the yolks for tempering.
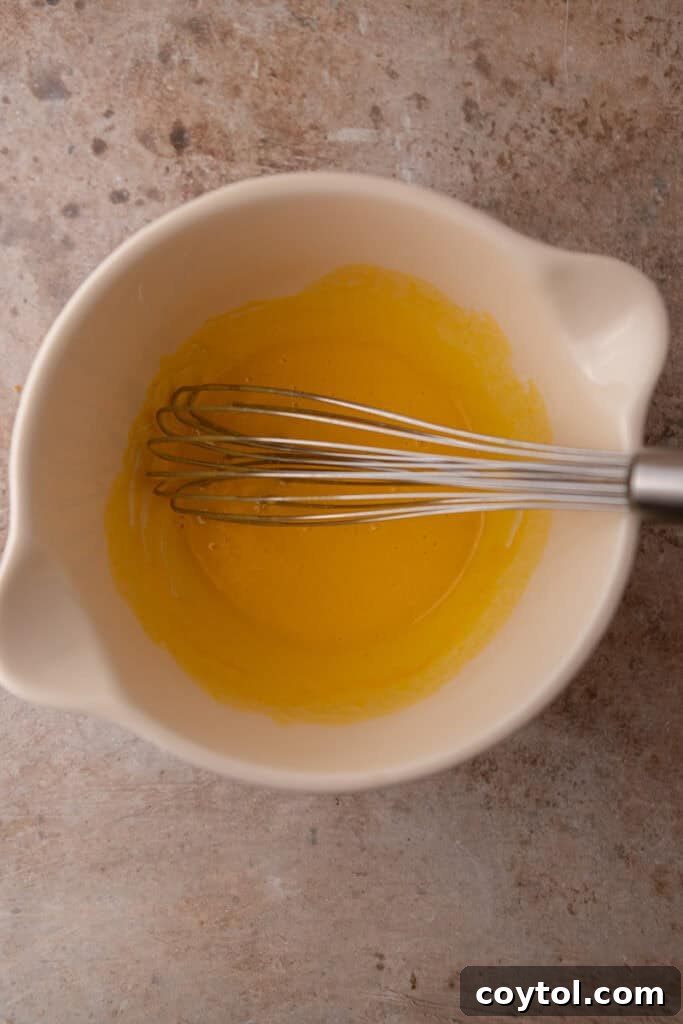
- This next step is crucial for preventing the eggs from scrambling, known as “tempering.” Slowly and steadily pour the hot pistachio dairy mixture into the whisked egg yolks in a thin, continuous stream. As you pour, vigorously whisk the egg mixture without interruption. This gradual addition of hot liquid slowly raises the temperature of the egg yolks, preventing them from cooking too rapidly. Once about a third of the hot mixture has been incorporated, pour the tempered egg yolk mixture back into the saucepan with the remaining hot pistachio dairy.
- Return the saucepan to medium heat. Continue cooking the custard, stirring constantly with a heatproof rubber spatula, making sure to scrape the bottom and sides of the pan. Cook until the custard thickens significantly, reaching a consistency where it coats the back of a spoon without running off when you draw a line with your finger. This typically occurs when the custard reaches a temperature between 170-175°F (77-80°C). Do not boil.
- Immediately remove the pan from the heat once the desired thickness is achieved. Stir in the vanilla extract to preserve its delicate flavor. For an exceptionally silky and refined texture, you have the option to strain the custard mixture through a fine-mesh strainer into a clean bowl. This step removes any tiny bits of cooked egg or undissolved pistachio particles, resulting in a smoother final product.
- Allow the rich pistachio custard base to cool down to room temperature. Once cooled, cover the bowl tightly with plastic wrap, ensuring the wrap touches the surface of the custard to prevent a skin from forming. Refrigerate the custard for at least 4 hours, or ideally, overnight. Thorough chilling is paramount for the best churning results and a consistently creamy ice cream.
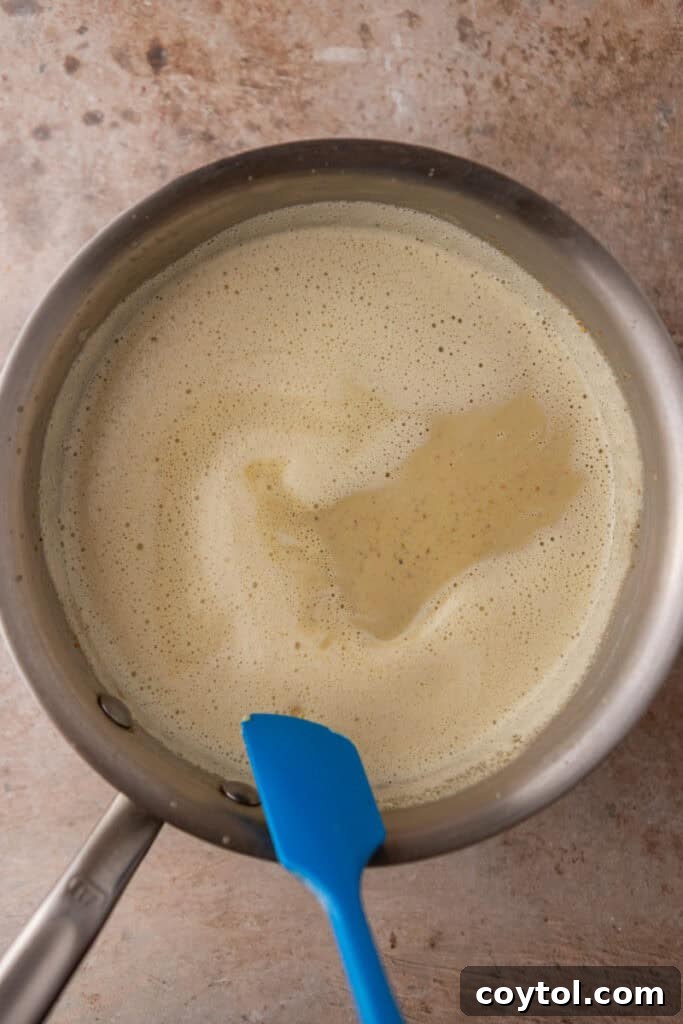
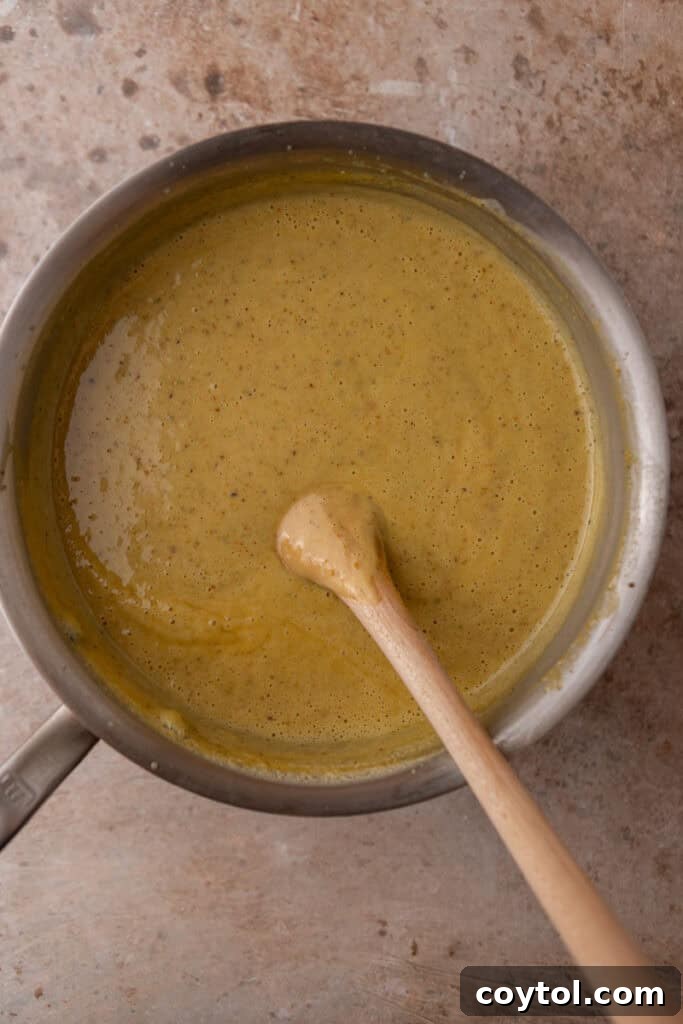
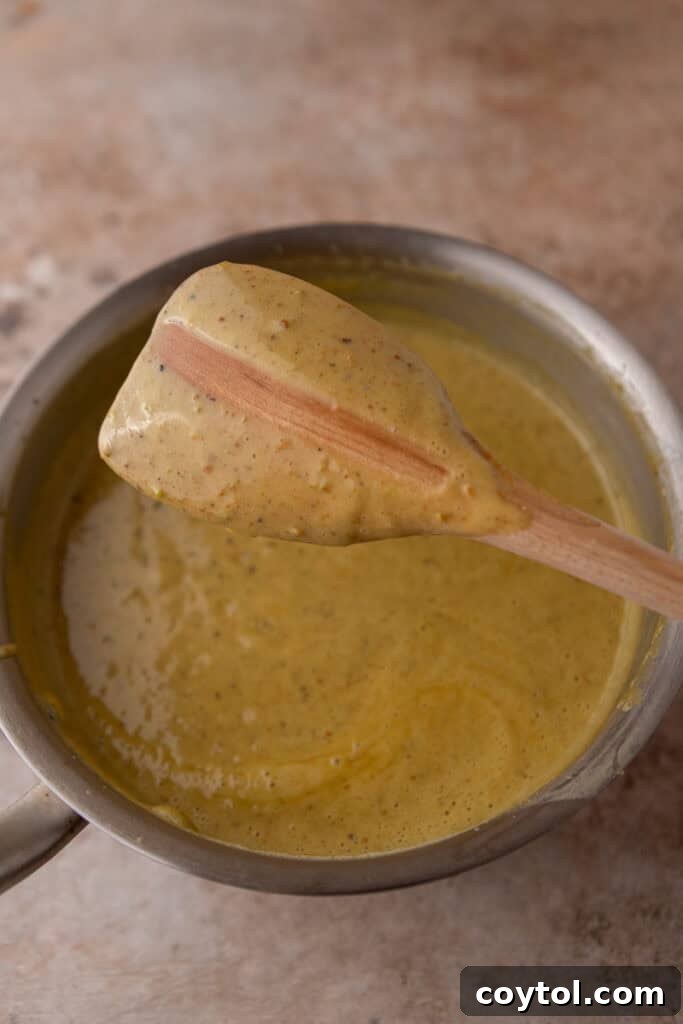
Step 3: Churning and Assembling Your Pistachio Dream
- Once your pistachio custard base is thoroughly chilled (it should be very cold), pour it into your ice cream maker. Churn the mixture according to your manufacturer’s specific instructions. This process typically takes between 20 to 25 minutes, but timing can vary depending on your machine. The goal is to churn the mixture until it reaches the consistency of a thick soft-serve ice cream. It should be soft and creamy but visibly thickened.
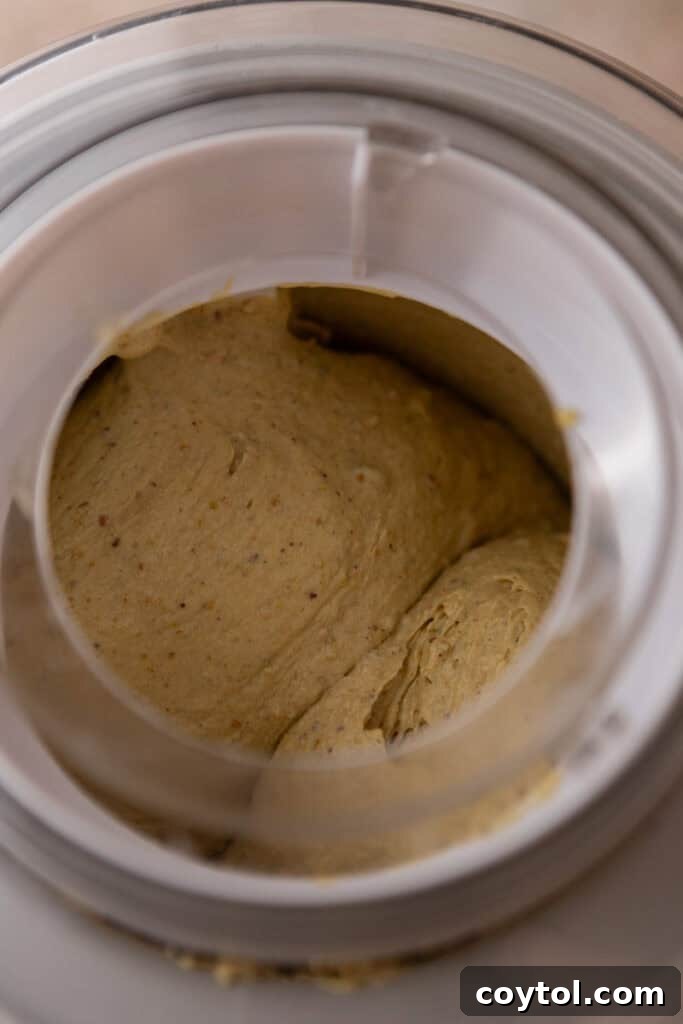
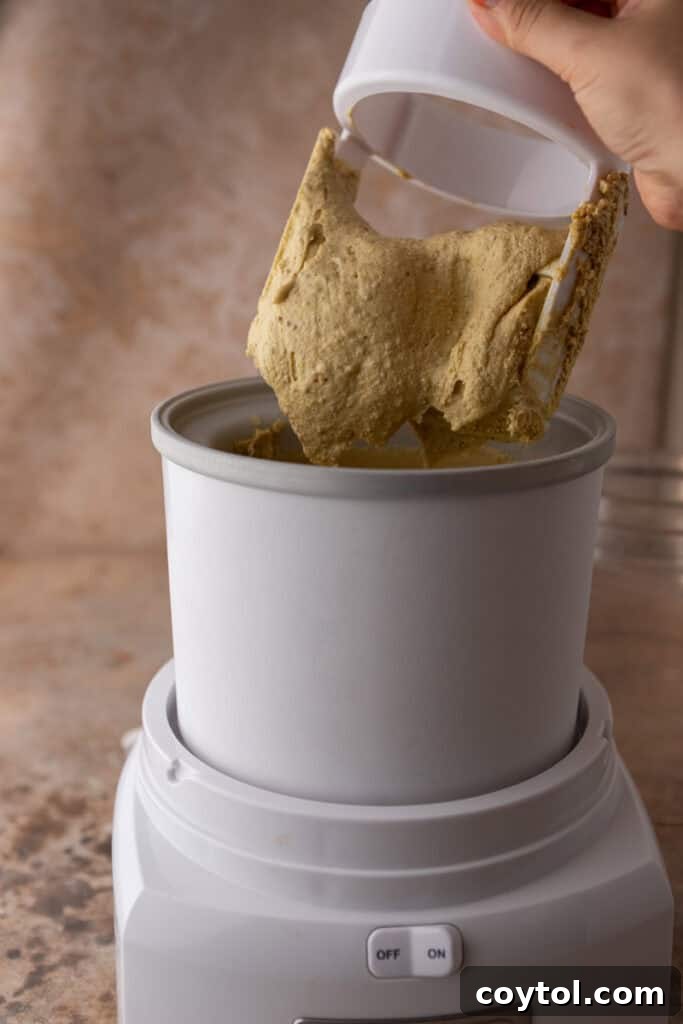
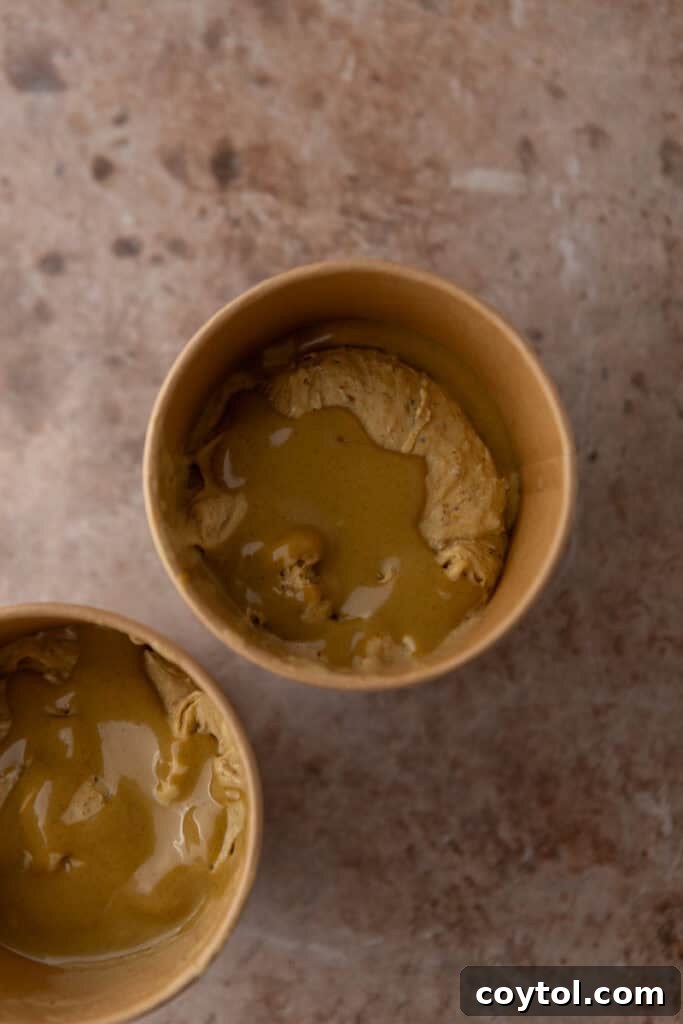
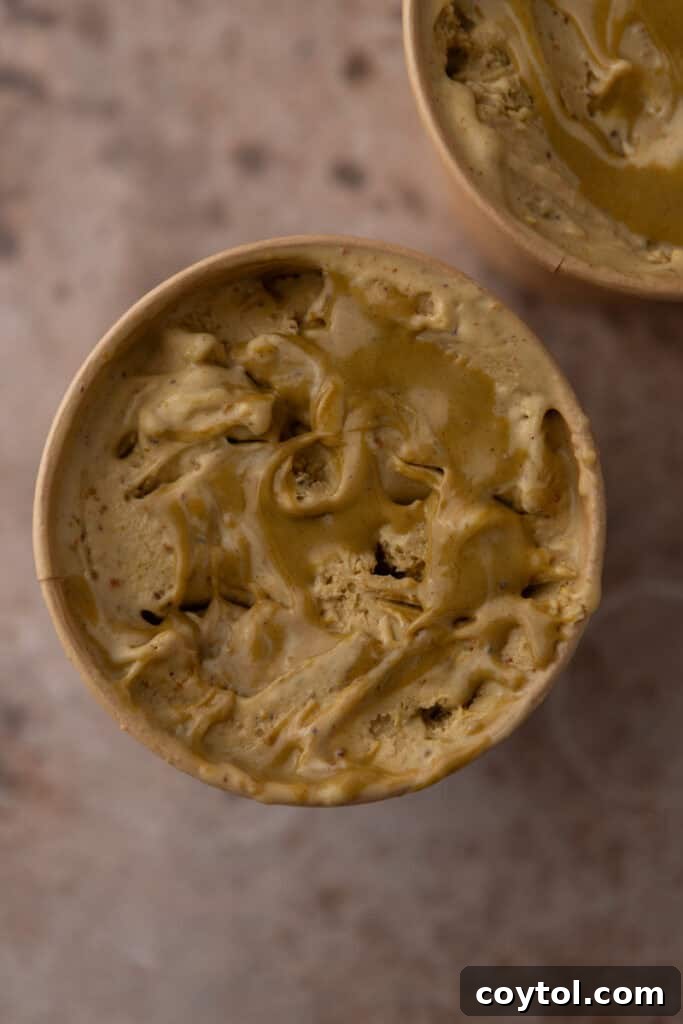
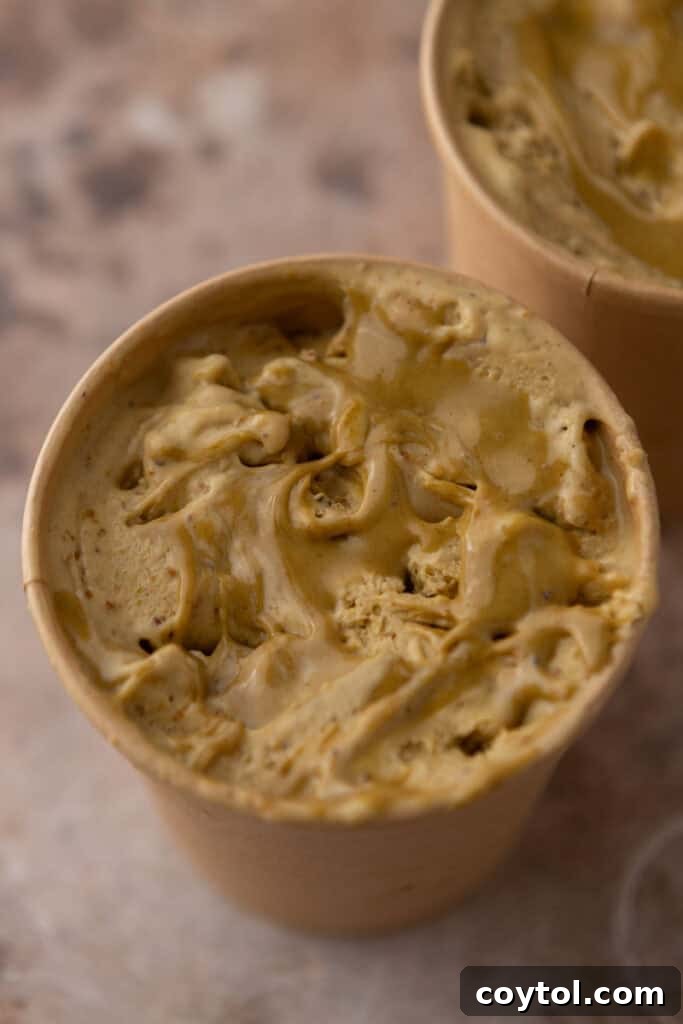
- To create beautiful swirls of concentrated pistachio flavor, transfer about half of the freshly churned, soft ice cream into a freezer-safe container. Using a spoon, drizzle a generous amount of pistachio cream (or pistachio butter) over the surface of the ice cream. Gently swirl the cream into the ice cream with a skewer or a butter knife, creating attractive ribbons. Avoid over-mixing to maintain distinct swirls.
- Repeat this layering process with the remaining ice cream and more pistachio cream. Once all layers are assembled, cover the container tightly with an airtight lid or plastic wrap pressed directly onto the surface of the ice cream. Transfer to the freezer for at least 4 hours, or until the ice cream becomes firm enough to scoop perfectly.
Expert Tips and Tricks for the Ultimate Homemade Pistachio Ice Cream
- Choose Unsalted Pistachios Wisely: Always scrutinize product labels to ensure you select *unsalted* pistachios. Many varieties come pre-salted, which can lead to an overly salty ice cream base. If you can only find raw, unsalted pistachios, move on to the next tip.
- Toast Your Pistachios for Enhanced Flavor: If your unsalted pistachios are raw, a quick toasting session is highly recommended. Spread them in a single layer on a baking sheet and toast in an oven preheated to 300°F (150°C) for 8-10 minutes, or gently toast them in a dry stovetop pan over medium heat for 5-10 minutes, stirring frequently, until they become fragrant and lightly golden. This simple step dramatically intensifies their nutty flavor. Apply this principle to any nuts you use in desserts for superior taste!
- Chill Your Custard Thoroughly: Patience is a virtue when making ice cream. Chilling your custard base for at least 4 hours, or ideally overnight, is crucial. This ensures the mixture is uniformly cold throughout, which significantly aids in the churning process, resulting in a smoother, creamier texture and preventing ice crystals.
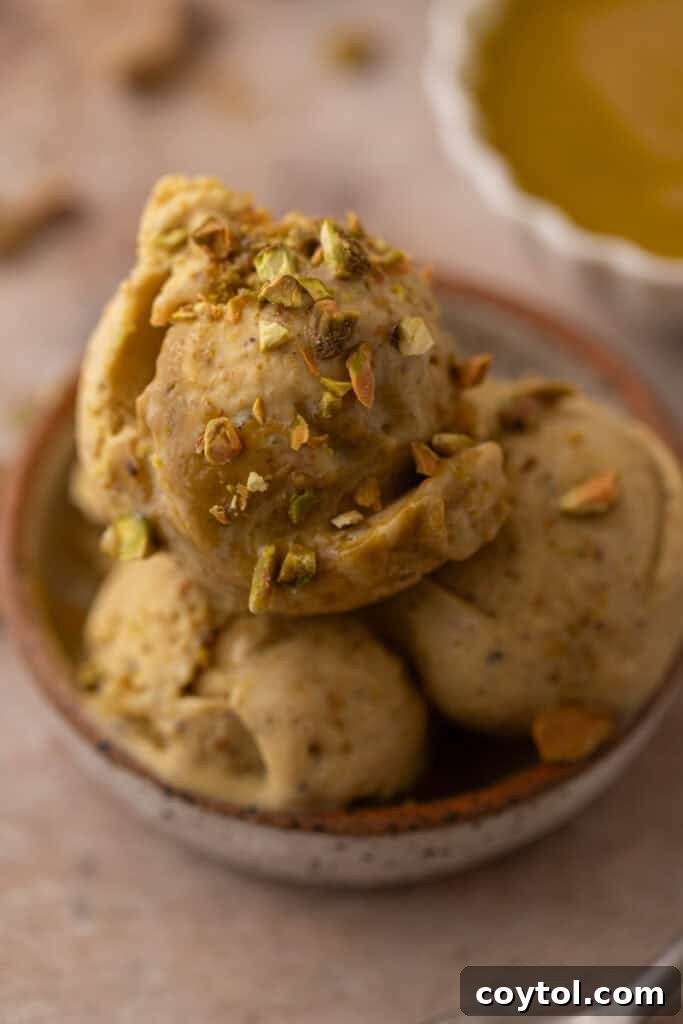
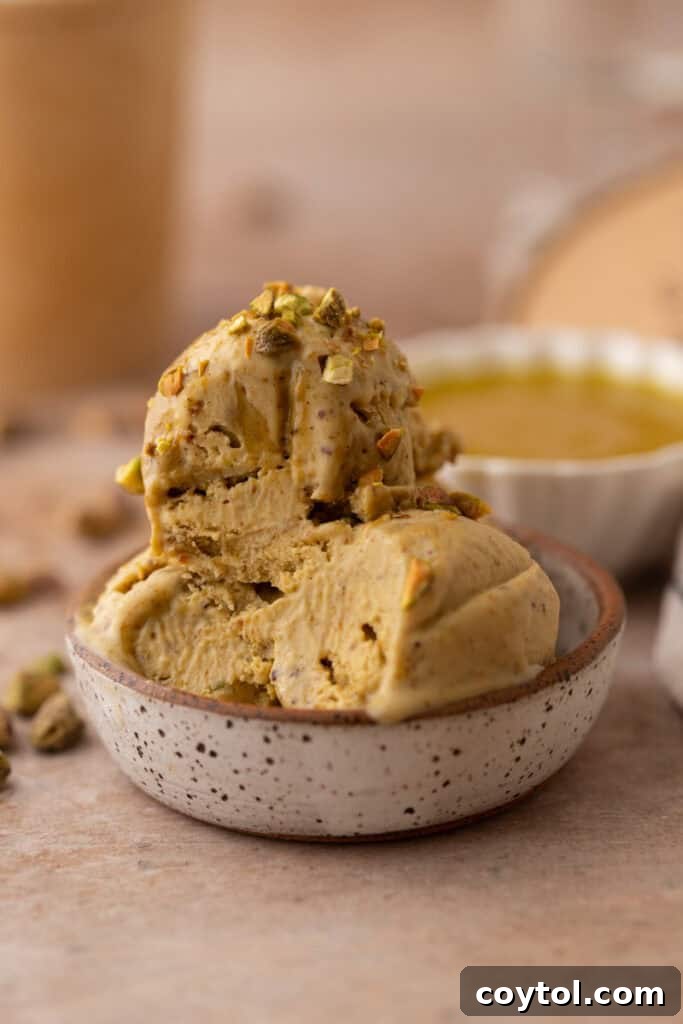
- Garnish for Visual Appeal and Crunch: For an elegant finishing touch and an extra textural dimension, sprinkle a handful of extra chopped pistachios over the top of your finished ice cream before serving. This not only adds a beautiful visual element but also provides a delightful crunch with every spoonful.
- Consider a Touch of Almond Extract (Optional): For an even more complex nutty profile that complements the pistachios beautifully, consider adding a tiny dash (1/8 to 1/4 teaspoon) of pure almond extract to your custard base along with the vanilla. Use sparingly, as a little goes a long way.
- Pre-chill Your Storage Container: Place your freezer-safe ice cream container in the freezer for at least 30 minutes before you start layering the churned ice cream. This helps keep the ice cream as cold as possible during transfer, minimizing melting and ensuring a smoother final texture.
Why This Homemade Pistachio Ice Cream Recipe is a Game-Changer
If you’ve grown accustomed to the often artificial flavors and muted textures of commercial pistachio ice creams, preparing this homemade version will be a revelation. Here’s why this recipe deserves a prime spot in your dessert repertoire:
- An Unforgettable Flavor Upgrade: If your only experience with pistachio ice cream comes from a grocery store carton, prepare for a serious flavor elevation. This recipe delivers an intense, authentic pistachio taste that is simply unmatched.
- Pure and Natural Ingredients: Say goodbye to artificial flavors, unnecessary additives, and unnatural green food coloring. Our recipe relies solely on real pistachios and other simple, high-quality ingredients, allowing the true essence of the nut to shine through.
- The End of Ice Cream Shop Dependence: Once you savor the rich, creamy, and genuine flavor of this homemade masterpiece, you’ll find yourself questioning the need to visit ice cream parlors ever again. You’ll have perfected the art of making superior pistachio ice cream right in your own kitchen.
- Customizable to Your Liking: Homemade means you’re in control. Adjust the sweetness, add more pistachio swirls, or even experiment with complementary flavors like cardamom or orange zest to tailor it perfectly to your preferences.
Frequently Asked Questions (FAQ) about Homemade Pistachio Ice Cream
How do I store leftover pistachio ice cream properly to maintain its creamy texture?
Proper storage is essential to prevent the formation of ice crystals and maintain the ice cream’s smooth, creamy texture. Always store your homemade pistachio ice cream in an airtight container. Before sealing with the lid, place a layer of plastic wrap directly onto the surface of the ice cream, ensuring it is flush and there are no air pockets between the wrap and the ice cream. This creates an additional barrier against freezer air, which is the primary culprit behind ice crystal development.
How long does homemade pistachio ice cream typically last in the freezer?
The longevity of your homemade ice cream largely depends on how diligently it’s stored. When kept in an airtight container with the plastic wrap barrier, it should maintain its peak freshness and flavor for at least one to two weeks. However, it can remain edible for up to several months, though its texture may gradually become firmer and less creamy over time.
Why is it important to use toasted pistachios in this recipe?
The difference between raw and toasted pistachios is truly remarkable, like night and day. Raw pistachios tend to have a more subtle, sometimes earthy flavor profile. Toasting them, however, unlocks and intensifies their natural oils, transforming their flavor into a potent, deeply nutty, and incredibly aromatic essence. This enhanced flavor then beautifully permeates the entire ice cream base, creating a far more complex and satisfying taste experience. If your pistachios aren’t already roasted, trust that taking the extra time to toast them is absolutely worth it. This tip applies not just to this recipe, but to most baking and cooking where nuts are a key ingredient – it always makes a noticeable difference!
Do I absolutely need an ice cream maker to create this specific recipe?
Yes, this particular pistachio ice cream recipe, which employs a custard base (also known as French-style ice cream), relies on the churning action of an ice cream maker to achieve its signature smooth and creamy consistency. The churning process introduces air and breaks up ice crystals as the mixture freezes, which is crucial for a dense, luxurious texture. If you prefer to make ice cream without a specialized machine, you can explore our other no-churn ice cream recipes here, which are designed to achieve a creamy texture using alternative methods.
What type of ice cream machine is recommended for this recipe?
For this recipe, I personally utilized the 1.5-quart Cuisinart ice cream maker, which consistently delivers excellent results. However, you can confidently use any ice cream machine of a similar capacity and design. Ensure your machine’s bowl is thoroughly frozen (if it’s a freezer-bowl type) or that it’s properly set up according to its instructions before you begin churning.
Homemade Pistachio Ice Cream
30 mins
15 mins
5 hrs 5 mins
8 servings
Print Recipe
Equipment
Ingredients
Custard Base + Pistachios:
- 1 & 1/2 cups whole milk
- 1 & 1/2 cups heavy cream
- ⅔ cup granulated sugar
- 4 large egg yolks
- 1 cup shelled, unsalted pistachios (roasted, unsalted)
- ½ tsp vanilla extract
- Pinch of salt
Pistachio Cream Swirl:
- ¼ to ⅓ cup pistachio cream (aka pistachio paste or crema di pistacchio—thicker, sweetened type used in Dubai chocolate)
Instructions
-
Add the pistachios to a food processor and blend until a thick paste forms. This can take 2–4 minutes, scrape down the sides as needed. The texture should be creamy like nut butter. Don’t rush this step, this is what gives your ice cream that rich, and delicious pistachio flavor.1 cup shelled, unsalted pistachios
-
In a medium saucepan, combine the pistachio paste, milk, cream, and half the sugar.1 & 1/2 cups whole milk, 1 & 1/2 cups heavy cream, ⅔ cup granulated sugar
-
Whisk over medium heat until fully combined and steaming (do not boil). You can use an immersion blender to help dissolve the paste if needed.
-
In a separate bowl, whisk egg yolks, remaining sugar, and salt until pale and slightly thick.⅔ cup granulated sugar, 4 large egg yolks, Pinch of salt
-
Slowly drizzle the hot pistachio dairy mixture into the egg yolks while whisking to temper them. Return everything to the saucepan.
-
Cook over medium heat, stirring constantly with a rubber spatula, until the mixture thickens and coats the back of a spoon (170–175°F / 77–80°C).
-
Remove from heat and stir in vanilla extract.½ tsp vanilla extract
-
Optional: strain the base through a fine mesh sieve if you want a smoother texture.
-
Let the base cool to room temp, then cover and chill in the fridge for at least 4 hours or overnight.
-
Once the base is fully chilled, churn it in your ice cream maker according to manufacturer instructions (usually 20–25 minutes) until it reaches a soft-serve texture.
-
Layer half of the churned ice cream into your storage container.
-
Drizzle spoonfuls of pistachio cream over the top and gently swirl with a knife.¼ to ⅓ cup pistachio cream
-
Repeat with remaining ice cream and more pistachio cream.
-
Freeze the ice cream for at least 4 hours or until firm and scoopable.
Nutrition Information
- Calories: 408 Calories
- Carbohydrates: 26g
- Protein: 9g
- Fat: 31g
- Saturated Fat: 14g
- Polyunsaturated Fat: 4g
- Monounsaturated Fat: 11g
- Cholesterol: 153mg
- Sodium: 69mg
- Potassium: 325mg
- Fiber: 2g
- Sugar: 22g
- Vitamin A: 924IU
- Vitamin C: 1mg
- Calcium: 118mg
- Iron: 1mg
Nutrition information is automatically calculated, so should only be used as an approximation.