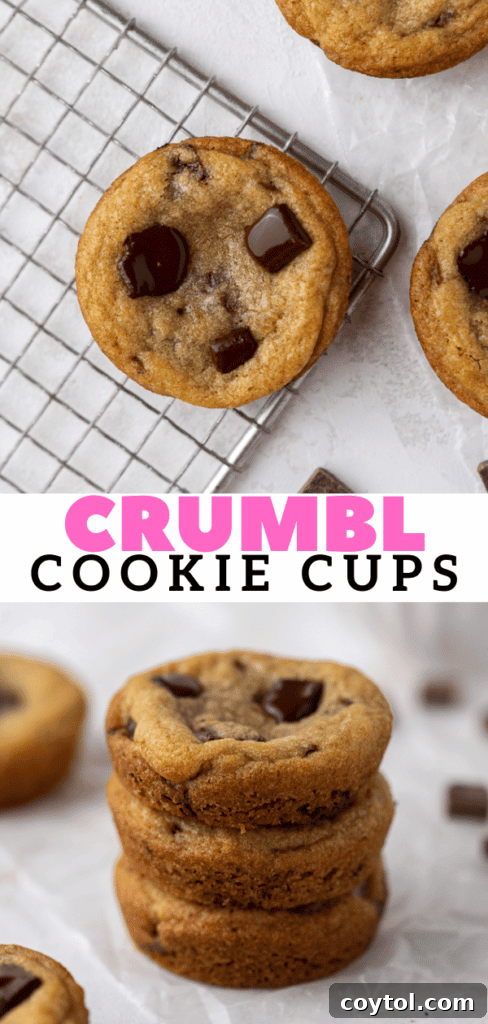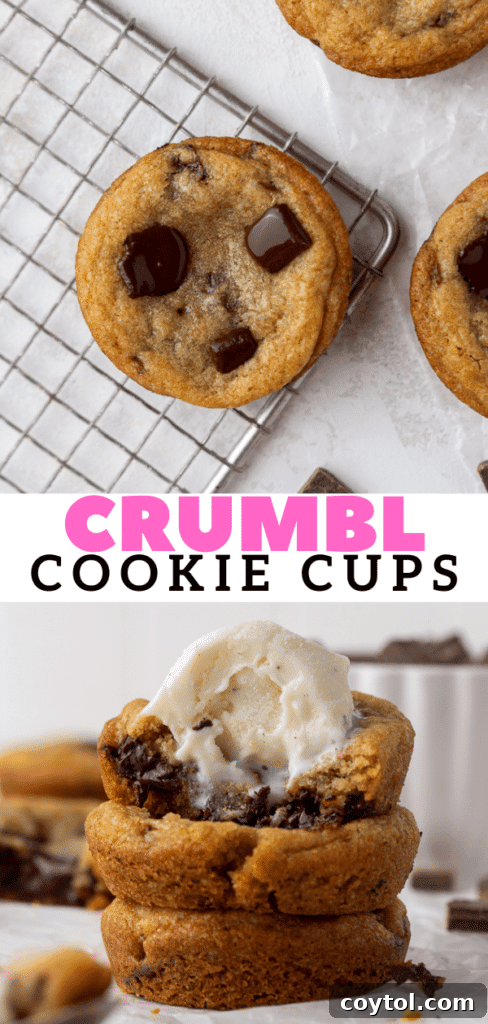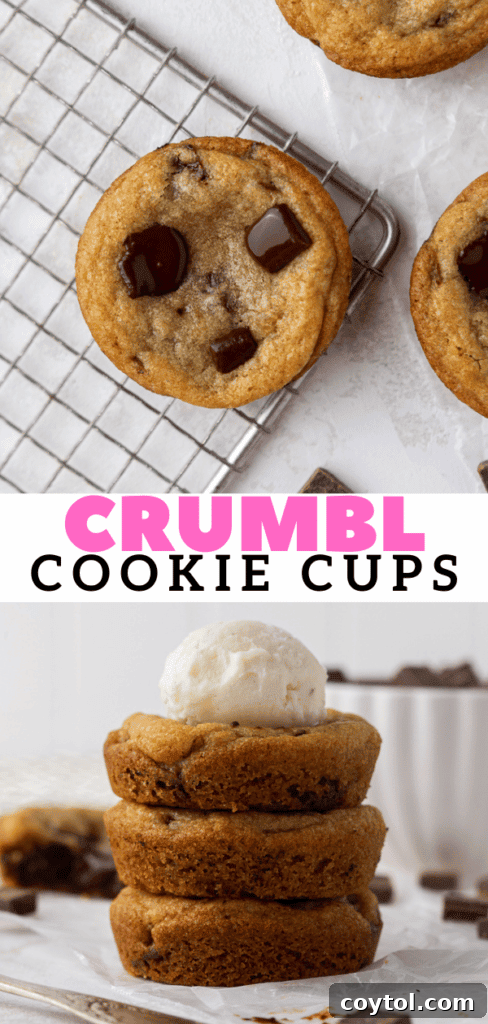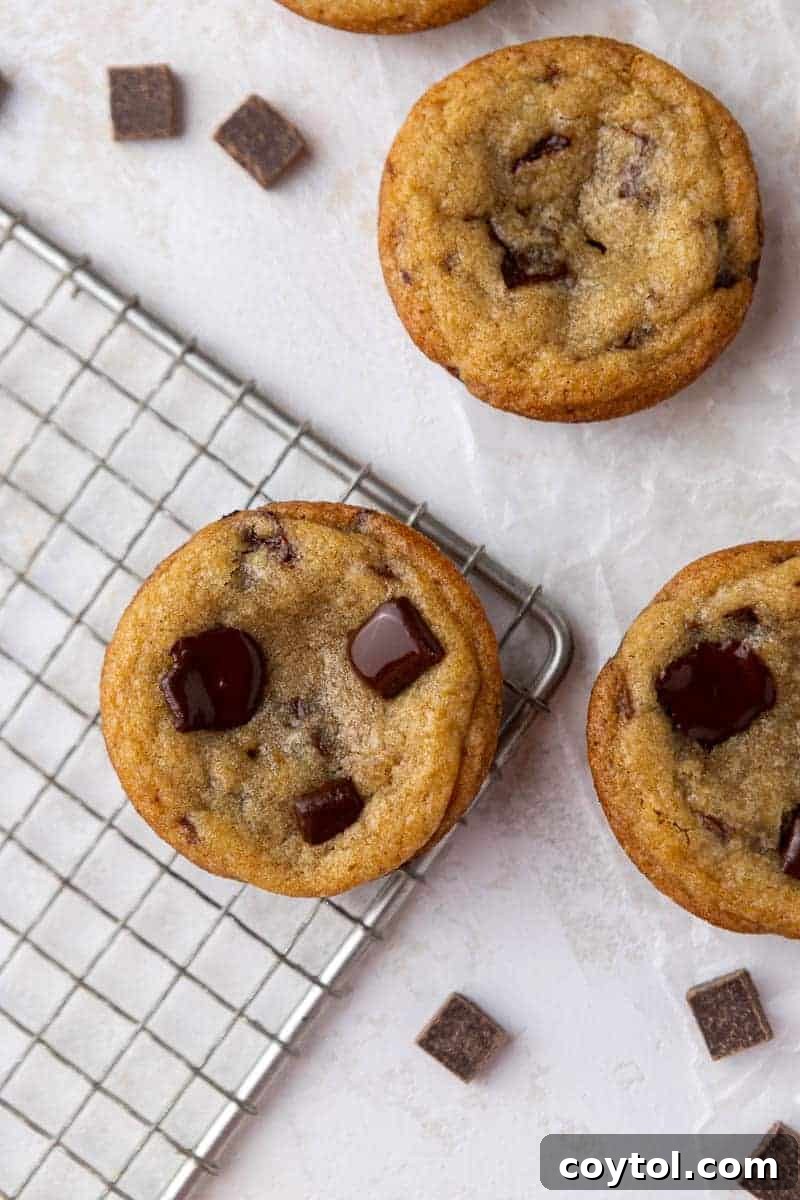
Warm, gooey, and utterly irresistible, these homemade chocolate chip cookie cups are a dream come true for any dessert lover. Inspired by the popular Crumbl cookie cups, this recipe delivers that perfect blend of a soft, chewy center and slightly crisp edges, all nestled in a convenient cup shape. Whether enjoyed on their own or topped with a scoop of your favorite ice cream, these semi-sweet chocolate chunk delights are guaranteed to become a new favorite. Prepare for a blissful baking experience and a truly decadent treat!
If you’re as passionate about chocolate chip cookies as we are, you’ll also adore these other recipes: Easy Chocolate Chip Scones, our authentic-tasting Crumbl Monster Cookie Recipe featuring M&M’s, peanut butter chips, and chocolate chips, the beloved Crumbl Chocolate Chip Cookies Copycat Recipe, and for those smaller cravings, our Small Batch Chocolate Chip Cookies.
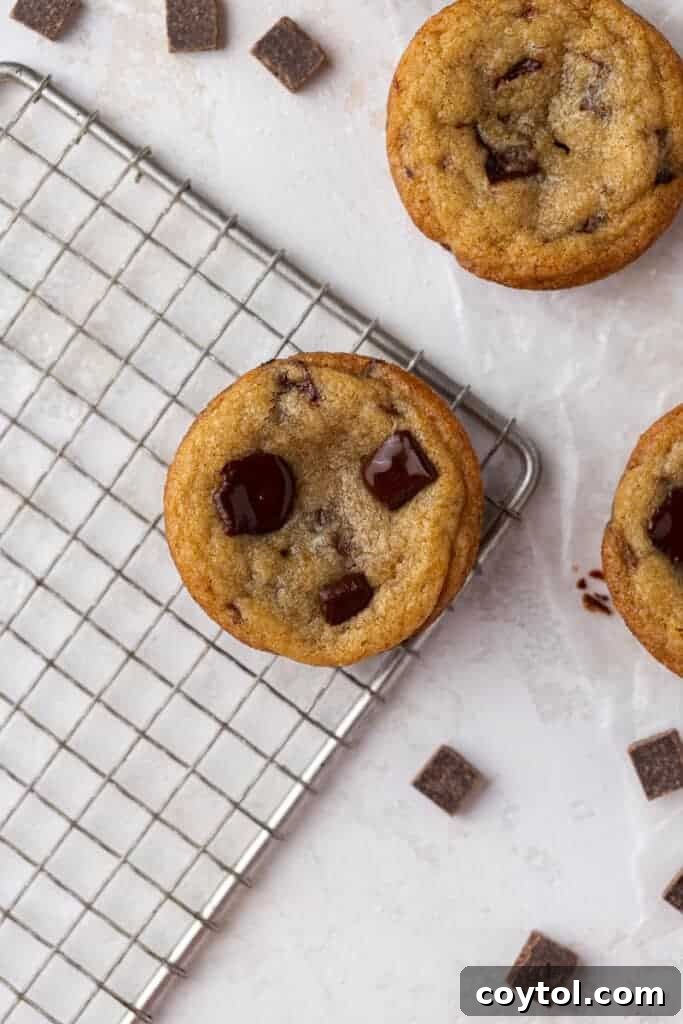
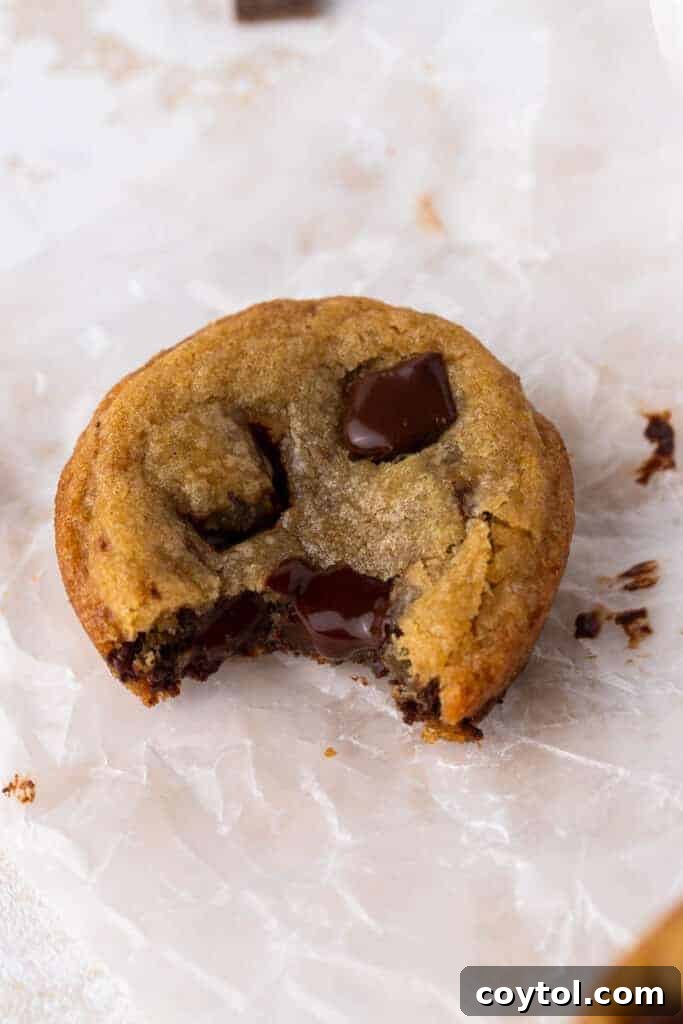
For me, chocolate chip cookies are more than just a dessert; they’re a comfort, a passion, and a true way to my heart. My love for them knows no bounds, as long as they’re crafted with quality ingredients that promise a rich, satisfying flavor. That’s why when Crumbl introduced their semi-sweet chocolate chunk cookie cups, I knew I had to recreate that magic at home. These delightful treats boast the perfect texture: a wonderfully soft, almost molten center encased by a slightly crisp, golden-brown exterior, just like any gourmet cookie cup or pizookie should.
Unlocking the Secret to the Best Homemade Crumbl Cookie Cups
While Crumbl’s original cookie cups often come in a larger size, requiring specialized molds, I’ve adapted this recipe to be easily achievable in any home kitchen. By utilizing a standard muffin tin, we eliminate the need to purchase expensive, oversized cookie cups from specialty stores or online retailers. This clever hack not only simplifies the baking process but also significantly reduces costs. The result? Perfectly portioned, personal-sized cookie cups that are ideal for individual enjoyment, sharing with friends, or even gifting as unique party favors for birthdays and special occasions. You’ll be amazed at how effortlessly you can replicate that signature Crumbl experience right in your own kitchen, all while enjoying the satisfaction of a homemade treat.
Why You Must Try This Irresistible Cookie Cup Recipe!
- A Dream Combination: Imagine your favorite chocolate chip cookie, but in a charming cup form! This innovative presentation makes them not only fun to eat but also perfect for holding delicious toppings like ice cream or whipped cream. It’s the ultimate upgrade to a classic dessert, offering convenience and pure indulgence in every bite.
- Effortless & Economical: Recreate the beloved Crumbl cookie cup experience at home with minimal fuss and a fraction of the cost. No need to stand in long lines or spend a fortune; you can enjoy gourmet quality from your own oven, saving both time and money.
- Enjoy Anytime, Anywhere: Forget waiting for Crumbl to bring back your favorite flavor. With this DIY recipe, you have the power to indulge in these warm, chocolatey cookie cups whenever the craving strikes, ensuring year-round access to this delightful treat without any seasonal limitations.
- Pure Chocolate Bliss: Each cookie cup is generously loaded with rich semi-sweet chocolate chunks, ensuring every bite is a decadent explosion of deep, satisfying chocolate flavor. It’s the very definition of happiness for any chocolate enthusiast, guaranteeing a truly satisfying dessert experience.
- Versatile Serving Options: These cookie cups are incredibly versatile. Serve them warm with a scoop of vanilla bean ice cream for an indulgent dessert, or let them cool and enjoy them as a delightful snack or portable treat. Their cup shape makes them easy to handle and enjoy, whether for a cozy night in or a festive gathering.
- Impress Your Guests: Whether for a casual gathering, a special celebration, or just a cozy night in, these homemade cookie cups are sure to impress. Their unique form factor and irresistible taste make them a standout dessert that will have everyone asking for the recipe and craving more.
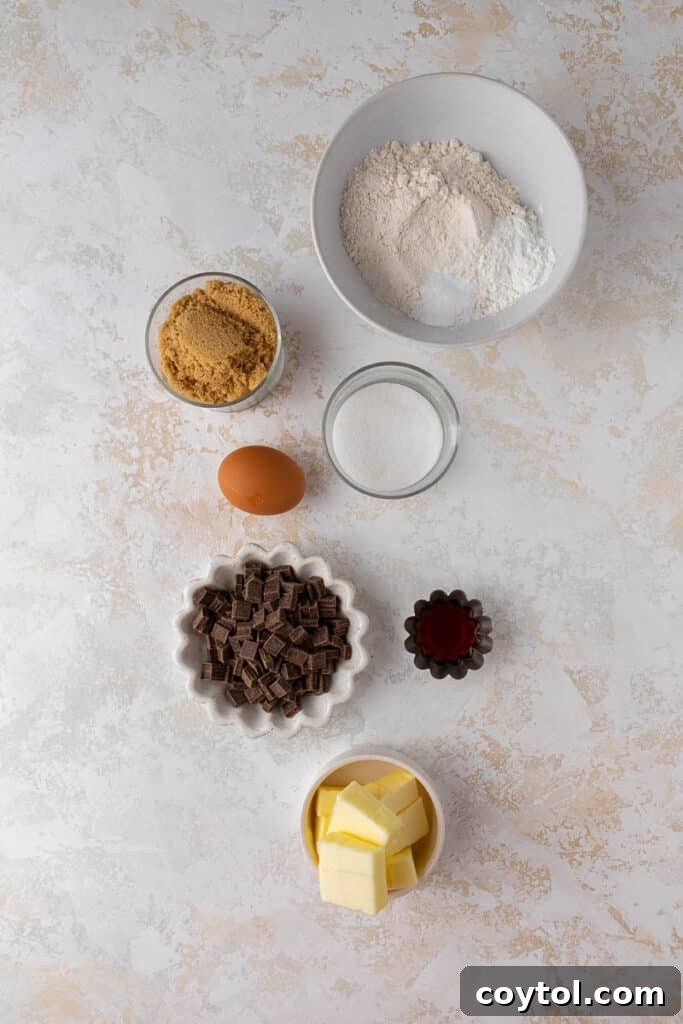
Essential Ingredients for Perfect Chocolate Chip Crumbl Cookie Cups
Crafting these amazing chocolate chip cookie cups requires a few simple, high-quality ingredients that work together to create that signature taste and texture. Below is a comprehensive list, but remember to refer to the full detailed measurements in the recipe card at the end of this article for precise quantities.
- Butter: You’ll need softened butter, whether salted or unsalted. If using unsalted, you might want to slightly increase the added salt in the recipe to enhance the overall flavors. Softened butter is crucial for creaming properly with the sugars, creating a light and airy base for your dough that contributes to a tender cookie cup.
- Brown Sugar & Granulated Sugar: This dynamic duo is key to achieving that authentic chocolate chip cookie flavor and texture. Brown sugar contributes moisture, chewiness, and a subtle caramel note, while granulated sugar adds structure and helps with those delightful crisp edges. The combination ensures a perfectly balanced sweetness and texture.
- Egg: A single large egg, at room temperature, acts as a binder, adds richness, and helps with the structure of the cookie cups. Room temperature eggs emulsify better with the butter and sugar, leading to a smoother, more uniform batter and a better final product.
- Vanilla Extract: Don’t skimp on good quality vanilla! It’s a flavor enhancer that adds depth, warmth, and a comforting aroma, elevating the overall taste of your cookie cups. Pure vanilla extract is highly recommended for the best results.
- All-Purpose Flour: Standard all-purpose flour provides the necessary structure for these cookie cups. Proper measurement is essential for the right consistency; avoid overpacking your measuring cup, as too much flour can lead to dry, dense cookies.
- Baking Soda: This leavening agent reacts with the acidic brown sugar to create carbon dioxide bubbles during baking, giving your cookies that desirable lift and slight puffiness, resulting in a lighter texture.
- Corn Starch: The secret ingredient for extra tenderness! Corn starch helps keep these cookie cups incredibly soft and prevents them from becoming too cakey or dry. It’s a game-changer for achieving that sought-after chewy, tender crumb.
- Salt: A pinch of salt is vital in any sweet recipe. It effectively balances the sweetness, amplifies the chocolate flavor, and brings out the best in all the other ingredients, creating a more complex and satisfying taste.
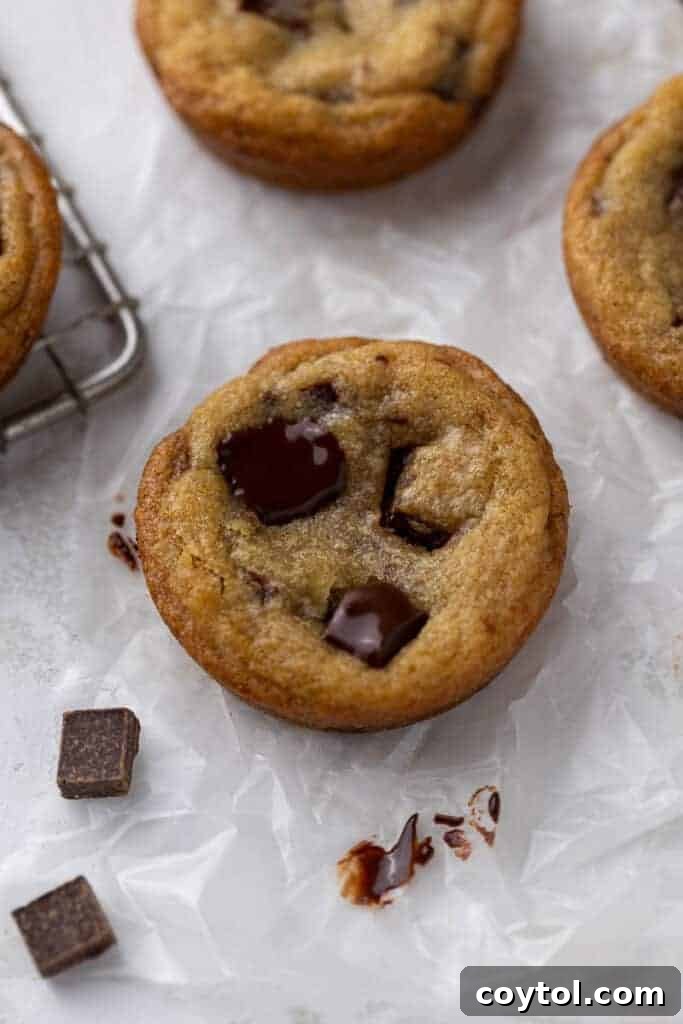
- Semi-Sweet Chocolate Chunks: The star of the show! For the best results, use high-quality semi-sweet chocolate. You can buy pre-made chunks or, for an even more luxurious experience, chop a good quality chocolate bar yourself. The irregular sizes of chopped chocolate create beautiful pockets of molten chocolate throughout the cookie, ensuring a burst of flavor in every bite.
Step-by-Step Guide: Crafting Your Crumbl-Inspired Chocolate Cookie Cups
Creating these delightful semi-sweet chocolate chunk cookie cups is a straightforward and rewarding process. Follow these detailed steps to achieve perfect results every time, ensuring that gooey center and crisp edges that make them so irresistible. For the complete, printable instructions and precise measurements, make sure to scroll down to the recipe card below.
- Prepare Your Workspace: Begin by preheating your oven to 350°F (175°C). This ensures your oven is at the correct temperature when the cookies are ready to bake, which is crucial for even cooking. Next, generously spray a standard 12-cup muffin tin with non-stick cooking spray. This crucial step prevents sticking and makes for easy removal of your delicate cookie cups once baked.
- Cream Butter & Sugars: In a large mixing bowl, combine the slightly softened butter with both the packed brown sugar and granulated sugar. Using an electric mixer (either a handheld mixer or a stand mixer fitted with the paddle attachment), cream these ingredients together on medium speed until the mixture is light, fluffy, and noticeably pale in color. This process incorporates air, which is essential for a tender, soft-textured cookie cup.
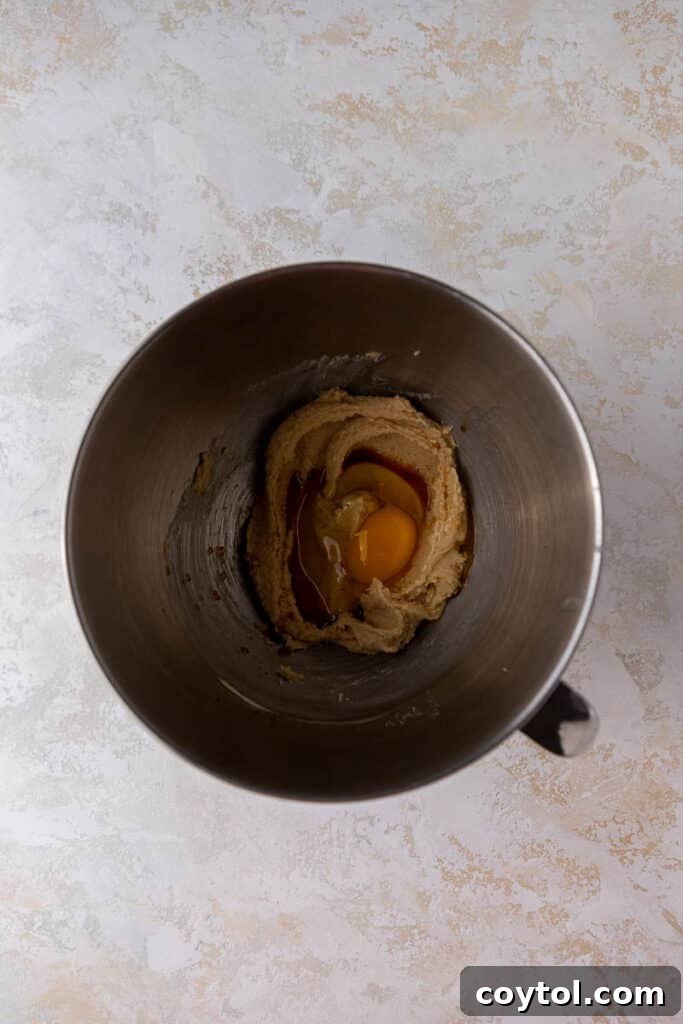
- Incorporate Wet Ingredients: Add the room temperature egg and vanilla extract to the creamed butter and sugar mixture. Continue mixing on medium speed until everything is fully incorporated and the mixture appears smooth and cohesive. Make sure to scrape down the sides of the bowl with a spatula as needed to ensure all ingredients are thoroughly combined, leaving no unmixed pockets.
- Combine Dry Ingredients: In a separate medium bowl, whisk together the all-purpose flour, corn starch, baking soda, and salt. This dry mix step is vital as it ensures the leavening agents and seasoning are evenly distributed throughout, preventing any pockets of unmixed ingredients in your final cookie cups.
- Gently Mix Wet and Dry: Gradually add the whisked dry ingredient mixture to the wet ingredients in the large bowl. Mix on low speed or by hand using a spatula, just until the flour mixture has disappeared and a cohesive dough forms. Be careful not to overmix at this stage, as overdeveloping the gluten in the flour can lead to tough cookies.
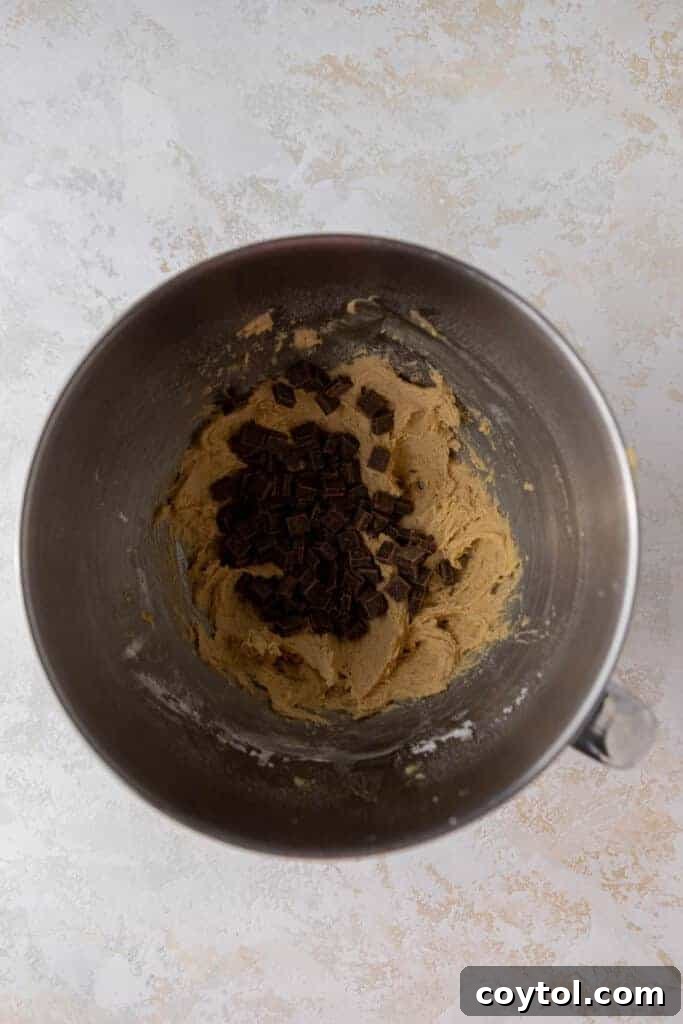
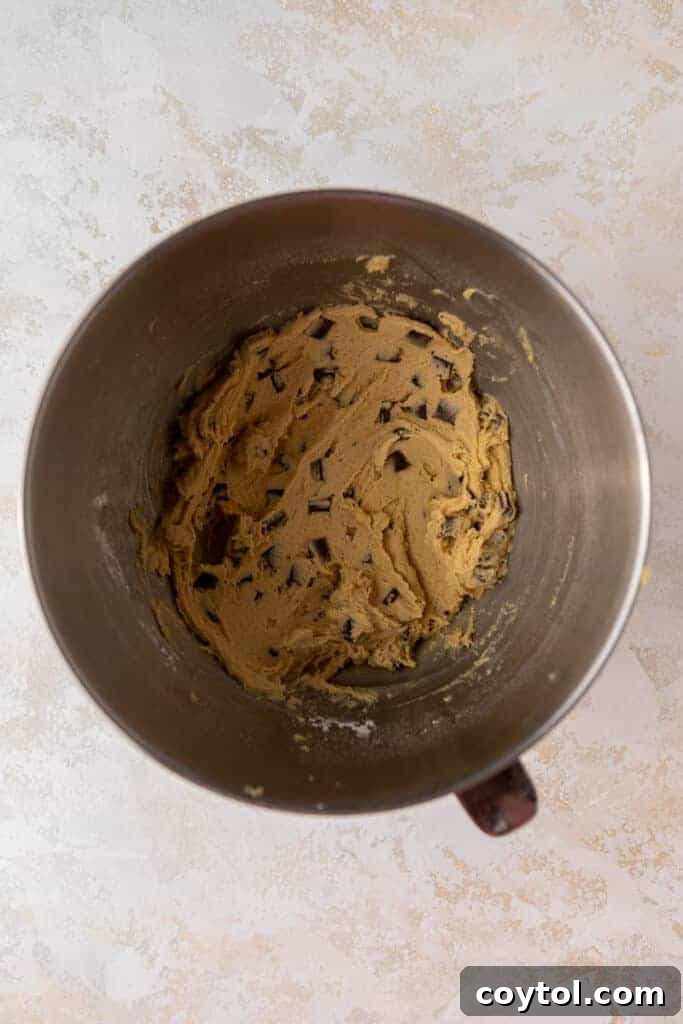
- Fold in Chocolate Chunks: Gently fold in the semi-sweet chocolate chunks using a spatula. Continue folding just until they are evenly distributed throughout the dough. You want a good amount of melty chocolate in every single bite, so ensure they are well spread.
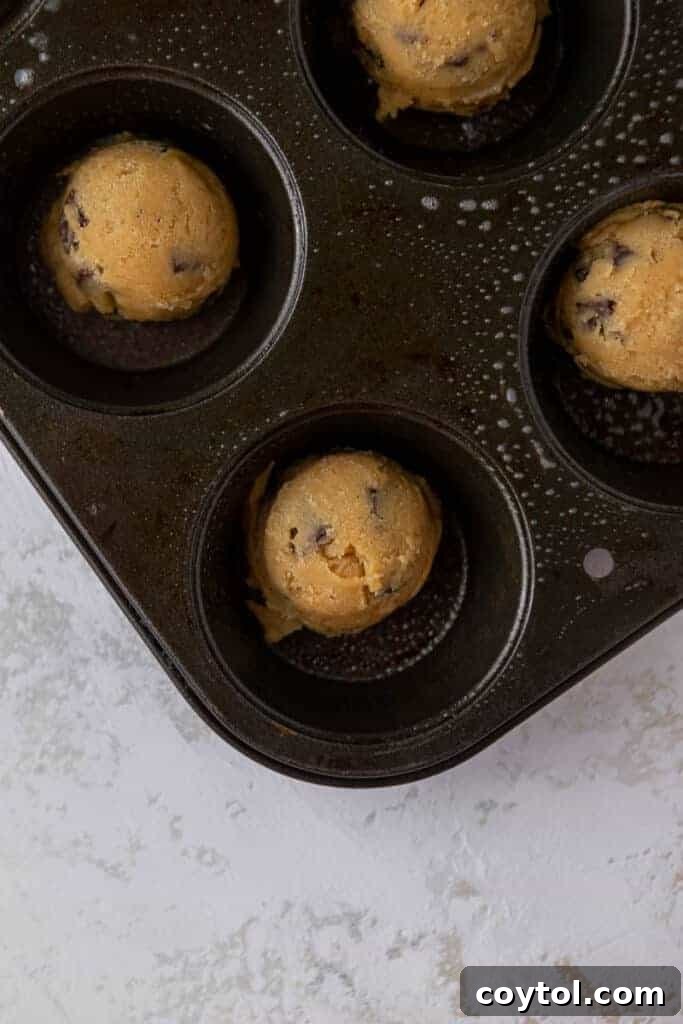
- Scoop and Bake: Using a medium-sized cookie scoop (approximately 1.5 to 2 tablespoons), scoop uniform portions of the cookie dough into each cavity of your greased muffin tin. Resist the urge to press or flatten the dough into the cups; leave it in rounded mounds. This allows the cookie to naturally spread and form its signature cup shape during baking.
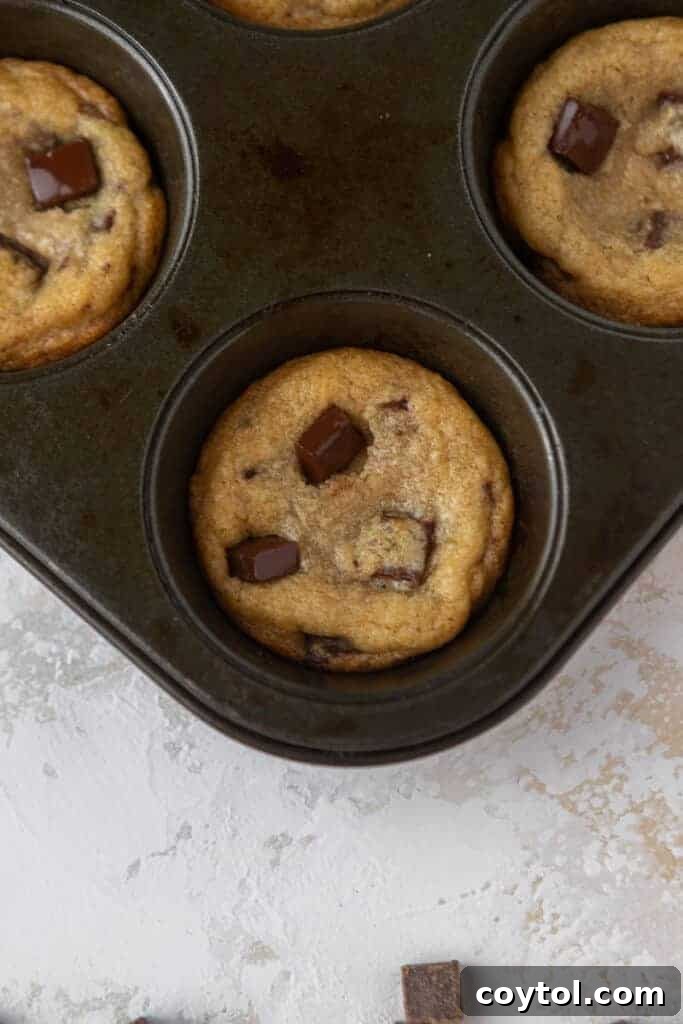
- Bake to Perfection: Place the muffin tin in the preheated oven and bake for 9-10 minutes. It’s important not to overbake! The cookie cups might still look slightly underdone and gooey in the middle when you pull them out – this is exactly what we want to achieve that signature soft, chewy Crumbl texture. They will continue to cook and set as they cool outside the oven.
- Cool and Enjoy: Allow the baked cookie cups to cool in the muffin tin for at least 5 minutes. This initial cooling period helps them firm up enough to be safely transferred without breaking. After 5 minutes, carefully transfer them to a wire cooling rack to cool completely, or until they are just warm enough to handle if you’re planning to serve them warm with ice cream.
Frequently Asked Questions (FAQ) about Homemade Crumbl Cookie Cups
What are the best practices for storing chocolate chunk Crumbl cookie cups?
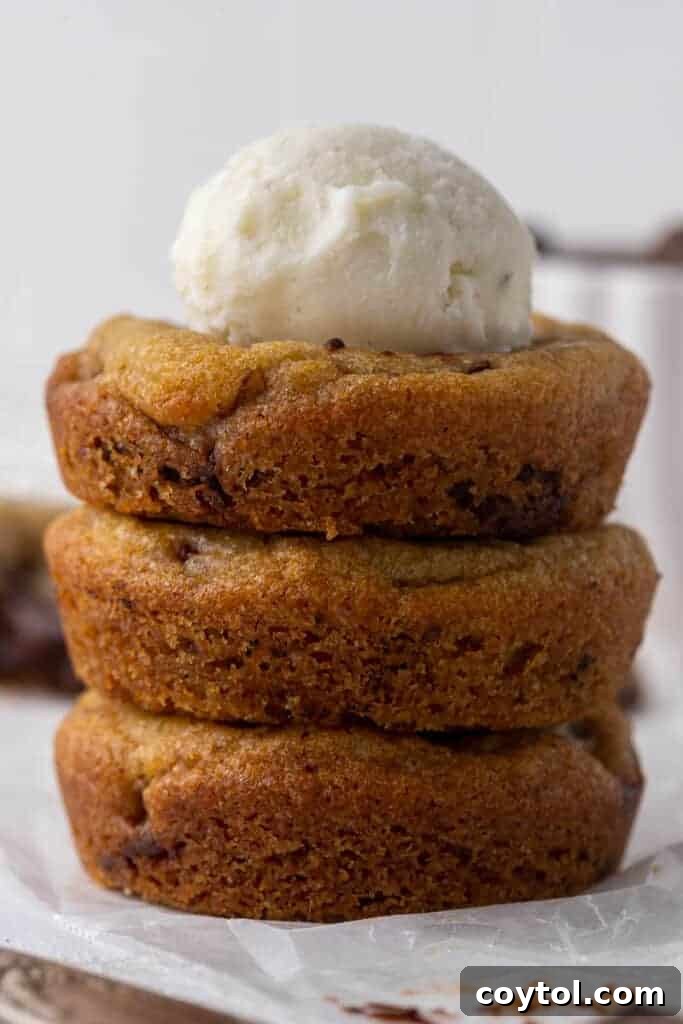
To keep your homemade chocolate chunk cookie cups fresh and delicious, proper storage is essential. You can store them in an airtight container at room temperature for up to 5 days, maintaining their soft texture and rich flavor. For a slightly longer shelf life, place them in an airtight container in the refrigerator, where they will stay fresh for up to 7 days. When you’re ready to enjoy them, simply let them come to room temperature for a chewy treat, or for that ultimate ooey-gooey experience, warm them in the microwave for a few seconds until the chocolate is delightfully melty and the cookie is soft.
Can I freeze these homemade Crumbl cookie cups?
Absolutely! These cookie cups are excellent for freezing, whether as unbaked dough or after baking. This makes them perfect for meal prepping desserts, having a quick treat on hand for unexpected cravings, or preparing for future events.
- Freezing Dough: To freeze the dough, scoop individual portions into balls and place them on a parchment-lined baking sheet. Freeze until solid, then transfer the frozen dough balls to an airtight freezer-safe bag or container for up to 3 months. When ready to bake, you can thaw them overnight in the fridge before baking as directed, or bake directly from frozen, adding a few extra minutes (typically 2-4 minutes) to the baking time until golden brown.
- Freezing Baked Cookie Cups: Once your cookie cups have cooled completely, arrange them in a single layer in an airtight freezer-safe container. You can layer them with parchment paper in between to prevent sticking. Freeze for up to 3 months. To enjoy, simply thaw them in the refrigerator overnight or, for a freshly baked taste, pop them into the microwave for 15-30 seconds until warm and soft. This method beautifully revives that fresh-baked warmth and gooey texture.
What if I want to make larger Crumbl cookie cups?
This recipe is specifically designed to use a standard muffin tin, making it accessible and cost-effective for everyone and yielding regular-sized cookie cups that are perfect for individual servings. This approach helps you avoid the expense and hassle of acquiring specialty large paper cookie cups often used by Crumbl.
However, if you’re aiming for that truly oversized Crumbl experience or wish to create a more dramatic dessert, you certainly can adapt the recipe to make larger cookie cups:
- Use Larger Molds: Opt for a jumbo muffin tin, which has larger cavities, or specialized large cookie cup molds if you happen to own them. These will accommodate a greater volume of dough.
- Adjust Scoop Size: For larger cookie cups, you’ll need a larger cookie scooper. A 3-tablespoon or 1/4 cup scoop would be appropriate for bigger portions of dough, ensuring they fill the larger molds adequately.
- Increase Baking Time: Larger cookie cups will naturally require additional baking time compared to their smaller counterparts. Start by adding 2-4 minutes to the recommended baking time and check for doneness. Look for golden-brown edges and a center that still appears soft and slightly underbaked for that desired gooey texture.
Larger cookie cups are fantastic for sharing, creating an impressive dessert presentation for parties, or for when you simply crave an extra-indulgent and satisfying treat!
Tips for Baking the Best Crumbl-Style Cookie Cups
- Room Temperature Ingredients: Always ensure your butter and egg are at room temperature. This is crucial for successful baking, as it allows them to cream together more effectively with the sugars, creating a smoother, more uniform dough and contributing to a more consistent and tender texture in your baked cookie cups.
- Proper Flour Measurement: For accurate results, always measure flour using the spoon-and-level method. Spoon the flour lightly into your measuring cup until it overflows, then level it off with a straight edge (like the back of a knife or a spatula). Do not scoop directly from the bag, as this can compact the flour and lead to an overly dry dough and dense cookie cups.
- Do Not Overmix: Once the dry ingredients are added to the wet ingredients, mix just until combined. Stop mixing as soon as no dry streaks of flour are visible. Overmixing develops the gluten in the flour, which can result in tough, chewy cookies instead of the desired soft and tender texture.
- High-Quality Chocolate: The quality of your chocolate chunks makes a significant difference in the final taste of your cookie cups. Invest in good semi-sweet chocolate chunks or a premium chocolate bar that you can chop yourself. Better quality chocolate will yield a richer, more luxurious flavor and melt beautifully.
- Don’t Overbake: For that signature gooey, melt-in-your-mouth center, resist the urge to overbake. The cookie cups might look slightly underdone in the middle when you pull them out of the oven, but trust the process – they will continue to cook and set as they cool on the counter.
- Initial Cooling is Key: Allow the baked cookie cups to cool in the muffin tin for the recommended 5 minutes before attempting to transfer them. This essential cooling period helps them firm up enough to be handled and transferred to a wire rack without breaking or falling apart. Transferring them too soon can cause them to lose their shape.
Delicious Serving Suggestions & Creative Variations
These chocolate chunk cookie cups are fantastic on their own, offering a perfectly portioned dose of pure bliss. However, they truly shine when paired with complementary flavors and textures, or when you experiment with creative twists. Here are some ideas to elevate your dessert experience and impress your taste buds:
Irresistible Serving Suggestions:
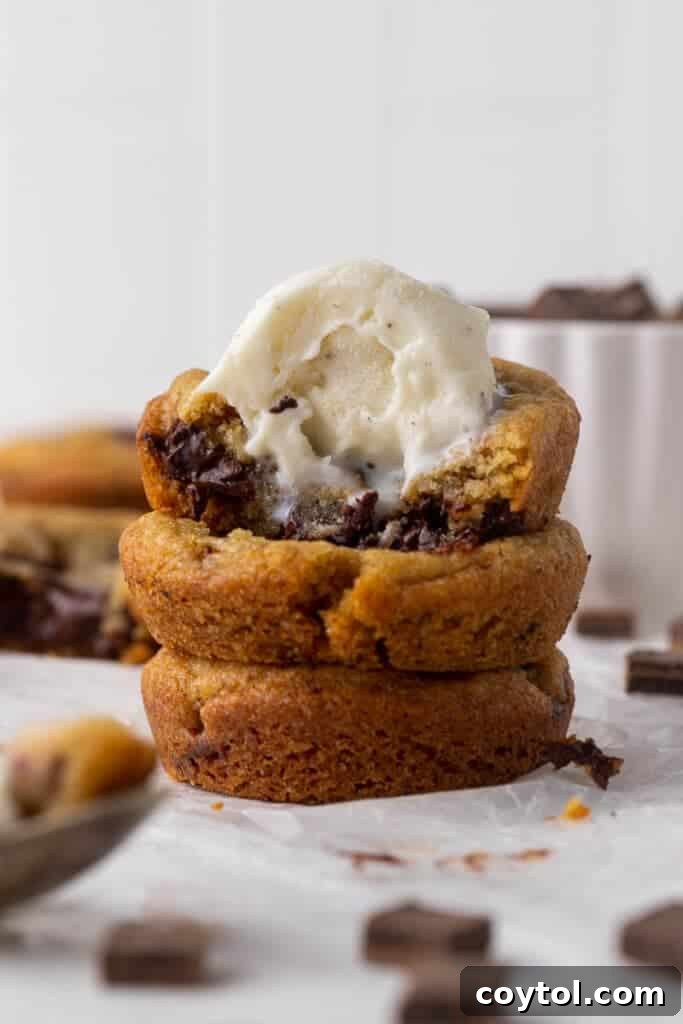
- Classic Ice Cream Pairing: The quintessential way to enjoy a warm cookie cup! Serve them straight from the oven with a generous scoop of your favorite vanilla bean ice cream. The delightful contrast between the warm, soft cookie and cold, creamy ice cream is pure bliss and an undeniable crowd-plepleaser.
- Whipped Cream & Caramel Drizzle: For an extra layer of indulgence, top your warm cookie cups with a dollop of freshly whipped cream and a luscious drizzle of gooey caramel sauce or rich hot fudge. A sprinkle of sea salt can further enhance the flavors.
- Sprinkle Fun: If you’re making these for a celebration or simply want to add a festive touch, finish them with a colorful sprinkle of your favorite jimmies or nonpareils before serving.
- Fresh Berry Medley: A side of fresh raspberries, sliced strawberries, or a mixed berry compote can add a delightful tartness that beautifully cuts through the richness of the chocolate cookie, creating a balanced and refreshing bite.
- Dusting of Cocoa or Powdered Sugar: For a sophisticated and elegant presentation, a light dusting of cocoa powder or powdered sugar can enhance their visual appeal, making them perfect for any occasion.
Creative Cookie Cup Variations:
- Explore Mix-Ins Beyond Chocolate: While semi-sweet chocolate chunks are a timeless classic, feel free to unleash your creativity! Experiment with milk chocolate, dark chocolate, white chocolate chips, peanut butter chips, colorful M&M’s, chopped nuts (like pecans or walnuts), toffee bits, or even a combination of your favorites.
- Alternate Cookie Base Flavors: Don’t limit yourself to just chocolate chip! Adapt the base recipe to explore other beloved cookie flavors. Imagine a rich peanut butter cookie cup, a comforting oatmeal raisin cookie cup, or even a simple and sweet sugar cookie cup, each offering a unique delightful experience.
- Stuffed Cookie Cups: For an extra special surprise, before baking, gently press a mini marshmallow, a piece of soft caramel, a small chocolate truffle, or even a dollop of Nutella into the center of each cookie dough portion. As the cookie bakes, it will encase the filling, creating a delightful molten core.
Chocolate Chunk Crumbl Cookie Cup Recipe
If you’ve baked and enjoyed these delectable chocolate chunk Crumbl cookie cups, please consider leaving a 5-star review! Simply click on the 5 stars below the title and description in the recipe card. Your feedback is incredibly valuable and helps us a ton in bringing you more amazing recipes!

Chocolate Chunk Cookie Cups (Crumbl Minis Copycat)
These homemade Crumbl-inspired chocolate chunk cookie cups are perfectly soft and gooey. Enjoy them as is or topped with ice cream for an unforgettable treat.
Print Recipe
Ingredients
- 1/2 cup butter, slightly softened
- 1/2 cup brown sugar (packed)
- 1/4 cup granulated sugar
- 1 large egg, at room temperature
- 1 tsp vanilla extract
- 1 & 1/3 cup all-purpose flour
- 1 tbsp corn starch
- 1/2 tsp baking soda
- 1/4 tsp salt
- 3/4 cup semi-sweet chocolate chunks
Instructions
- Preheat your oven to 350°F (175°C). Liberally spray a standard 12-cup muffin tin with non-stick spray and set aside.
- In a large bowl, using an electric mixer, cream together the softened butter, brown sugar, and granulated sugar until light and fluffy (about 2-3 minutes).
- Beat in the room temperature egg and vanilla extract until the mixture is smooth and well combined, scraping down the sides of the bowl as needed.
- In a separate medium bowl, whisk together the all-purpose flour, corn starch, baking soda, and salt. Gradually add this dry mixture to the wet ingredients, mixing on low speed just until the flour is incorporated and no dry streaks remain. Do not overmix.
- Gently fold in the semi-sweet chocolate chunks using a spatula until they are evenly distributed throughout the cookie dough.
- Using a medium cookie scoop (approx. 1.5-2 tablespoons), scoop mounds of dough into each cavity of the greased muffin tin. Do not press or flatten the dough.
- Bake for 9-10 minutes. The edges should be lightly golden, but the centers will still look soft and slightly underdone – this creates the signature gooey Crumbl texture.
- Remove from the oven and let the cookie cups cool in the muffin tin for 5 minutes. This allows them to set before you transfer them.
- Carefully transfer the warm cookie cups to a wire cooling rack to cool further. Enjoy them warm with ice cream or allow them to cool completely.
Notes
- For accurate flour measurement, use the spoon and level method: spoon flour into the measuring cup, then sweep the excess off with a flat knife or spatula. This prevents compacting and ensures the correct amount.
- Store leftover cookie cups in an airtight container at room temperature for up to 5 days. Though, they’re so good, they probably won’t last that long!
Nutrition
|
Carbohydrates: 21 g
|
Protein: 2 g
|
Fat: 9 g
|
Saturated Fat: 5 g
|
Polyunsaturated Fat: 1 g
|
Monounsaturated Fat: 2 g
|
Trans Fat: 1 g
|
Cholesterol: 24 mg
|
Sodium: 121 mg
|
Potassium: 70 mg
|
Fiber: 1 g
|
Sugar: 12 g
|
Vitamin A: 185 IU
|
Calcium: 15 mg
|
Iron: 1 mg
Nutrition information is automatically calculated and should be used as an approximation.
Enjoyed this recipe? Leave a comment below!
Thank you for journeying through this delicious recipe with us! We truly hope you enjoy baking and savoring these homemade Crumbl-inspired chocolate chip cookie cups as much as we do.
If you loved this recipe, please don’t forget to share your experience and leave a comment below! Your feedback brightens our day and helps other bakers discover these fantastic treats. In the meantime, be sure to connect with us and follow our latest culinary adventures on Instagram for more inspiration and mouth-watering recipes!

Shop Essential Tools for This Recipe
This post may contain affiliate links. As an Amazon Associate, I earn from qualifying purchases at no additional cost to you. These carefully selected products will help you create these amazing cookie cups with ease!
Don’t Forget to Pin This Delicious Crumbl Cookie Cups Recipe for Later!