
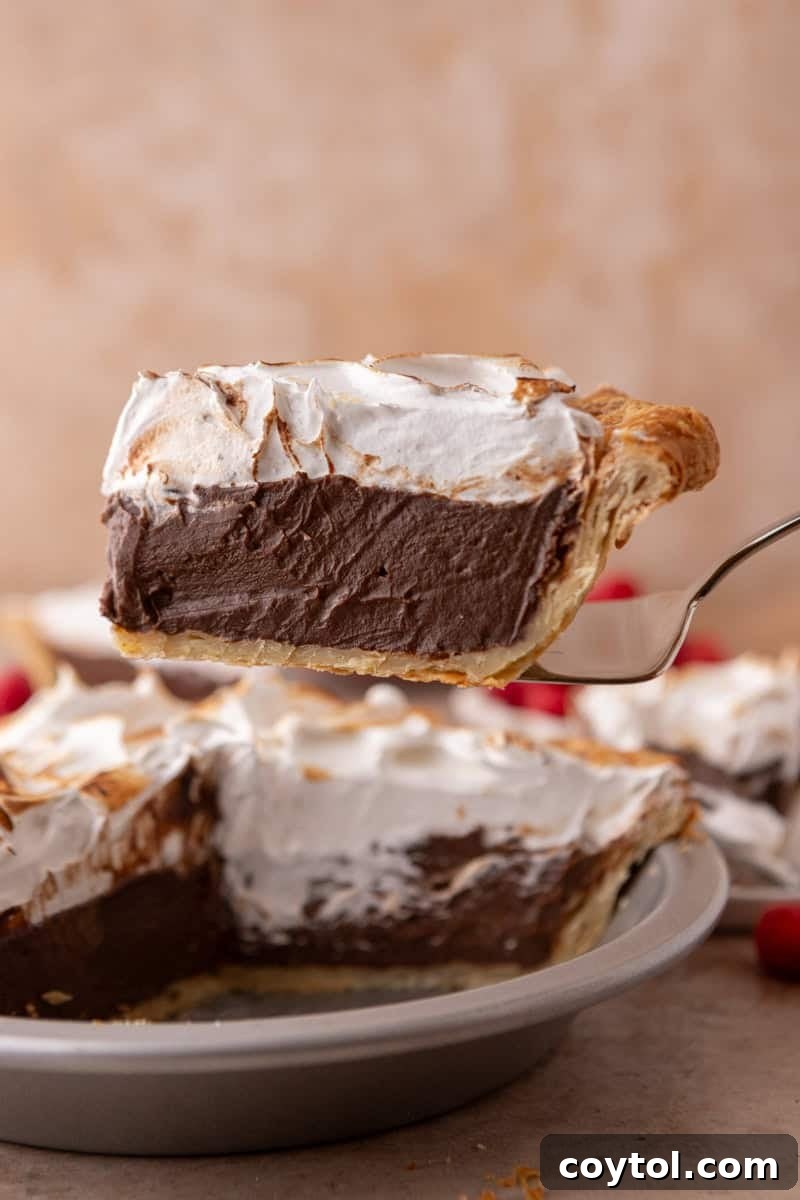
Indulge in Perfection: The Ultimate Homemade Chocolate Meringue Pie Recipe
For connoisseurs of exquisite chocolate desserts, mastering the art of the **chocolate meringue pie** is an absolute must. This beloved classic harmoniously blends a rich, velvety chocolate filling with a cloud-like, homemade fluffy meringue, all nestled within a perfectly buttery crust. Prepare to become everyone’s favorite baker, as this show-stopping dessert is guaranteed to be requested at every future gathering, from casual dinners to elegant holiday celebrations.
While the iconic lemon meringue pie rightfully holds its place in the dessert hall of fame, there’s a compelling argument to be made for its often-underrated chocolate counterpart. Swapping the tangy lemon curd for a luxurious chocolate custard transforms this pie into a decadent experience that deserves far more recognition. The contrasting textures alone are a revelation: the smooth, mousse-like consistency of the chocolate filling against the ethereal, marshmallow-soft meringue topping. Each bite delivers a melt-in-your-mouth sensation, akin to delicate, airy clouds dancing on your palate.
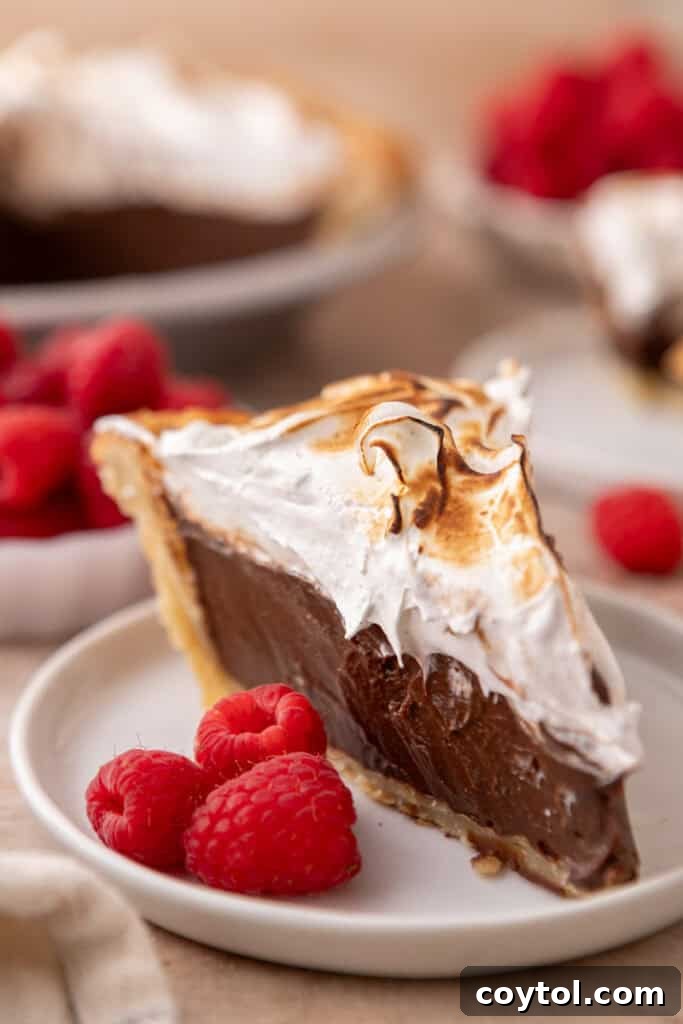
Beyond its unparalleled texture, the deep, complex flavors and impressive visual appeal further elevate this pie into a true masterpiece. The harmonious pairing of rich, bittersweet chocolate custard with a subtly vanilla-flavored, golden-brown meringue creates a flavor profile that is both comforting and sophisticated. When sliced, the distinct layers and impressive height of the pie present a stunning tableau, making it elegant enough to grace the most formal of special occasions, yet comforting enough for a cozy family dessert. It’s an unforgettable dessert that delights all the senses.
If you find yourself captivated by the magic of meringue, we invite you to explore more delightful recipes. Discover the delicate crunch of Meringue Cookies, master the art of Small Batch Cream Cheese Frosting, or dive into the silky smooth textures of Small Batch Chocolate Swiss Meringue Buttercream, Small Batch Swiss Meringue Buttercream, and Vanilla Bean Italian Meringue Buttercream.
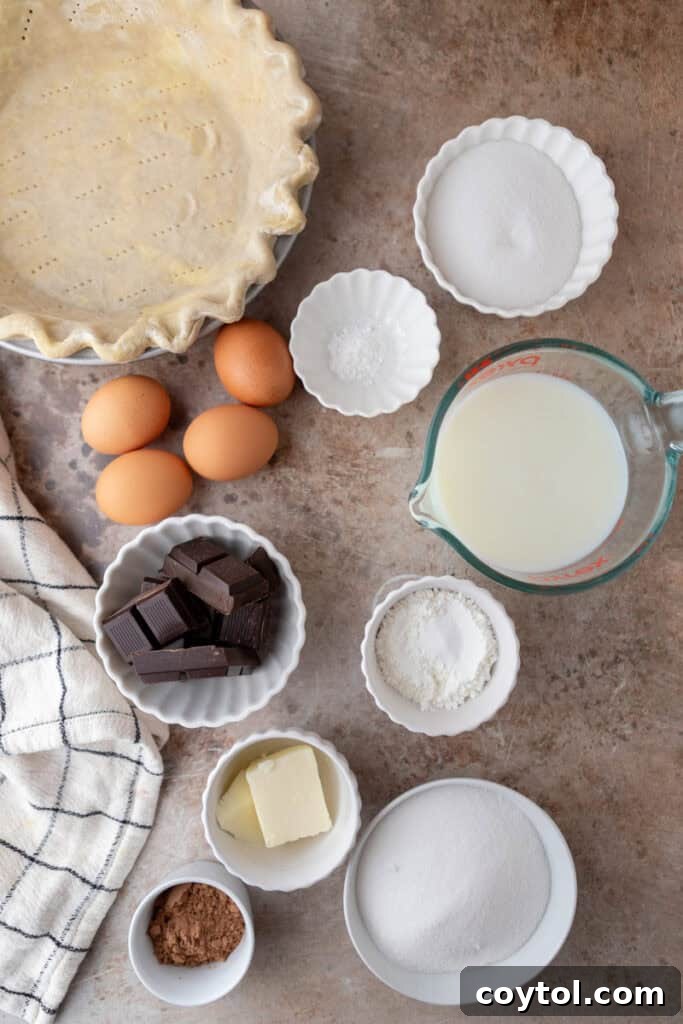
Essential Ingredients for Your Homemade Chocolate Meringue Pie
Creating this exceptional chocolate cream pie requires a selection of high-quality ingredients, each playing a crucial role in achieving the perfect flavor and texture. Below is a detailed list of what you’ll need. For precise measurements, please refer to the comprehensive recipe card at the conclusion of this article.
For the Decadent Chocolate Custard Filling:
- Granulated Sugar: Provides essential sweetness, balancing the richness of the chocolate.
- Cornstarch: Acts as a primary thickening agent, giving the custard its classic, smooth, and creamy consistency, reminiscent of old-fashioned chocolate meringue pies.
- Cocoa Powder: Infuses the custard with a deep, rich chocolate flavor and enhances its beautiful dark color. Opt for a good quality unsweetened cocoa powder for best results.
- Salt: A pinch of salt is vital for enhancing and rounding out the overall chocolate flavor, preventing the pie from tasting overly sweet and bringing out its complex notes.
- Whole Milk: Forms the luscious liquid base of the custard, contributing to its creamy texture.
- Egg Yolks: These are key for richness, adding a beautiful golden hue, and further contributing to the thickening of the filling. Remember to reserve the egg whites for the meringue!
- Semisweet Chocolate: Chopped semisweet chocolate melts into the warm custard, creating an intensely decadent and sophisticated chocolatey taste. Using a high-quality baking chocolate will make a noticeable difference.
- Unsalted Butter: Stirred in at the end, unsalted butter adds luxurious richness, an incredibly smooth mouthfeel, and a glossy finish to the custard.
- Vanilla Extract: A touch of vanilla extract wonderfully enhances and complements the deep chocolate flavor with its warm, aromatic notes.
For the Light and Fluffy Meringue Topping:
- Egg Whites: Whipped to stiff peaks, these create the signature light, airy, and voluminous topping. Ensure they are at room temperature for optimal volume.
- Cream of Tartar: A crucial stabilizer for egg whites, helping them whip up faster, achieve greater volume, and hold their stiff peaks without collapsing.
- Granulated Sugar: Sweetens the meringue and helps create a stable structure with a slightly crisp exterior once toasted.
- Vanilla Extract: Adds a delicate hint of vanilla flavor to the meringue, perfectly complementing the rich chocolate custard below.
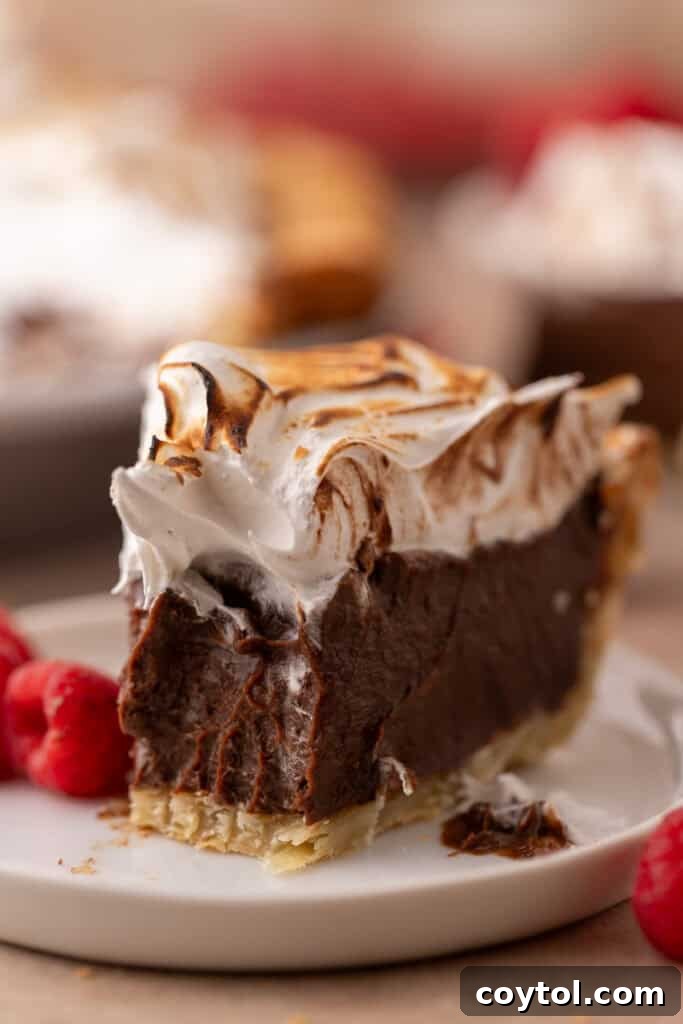
Crafting Your Chocolate Meringue Pie from Scratch: A Step-by-Step Guide
Embark on the delightful journey of creating this homemade chocolate pie recipe. For precise oven temperatures, detailed baking times, and a complete step-by-step guide, please refer to the comprehensive recipe card at the very end of this post!
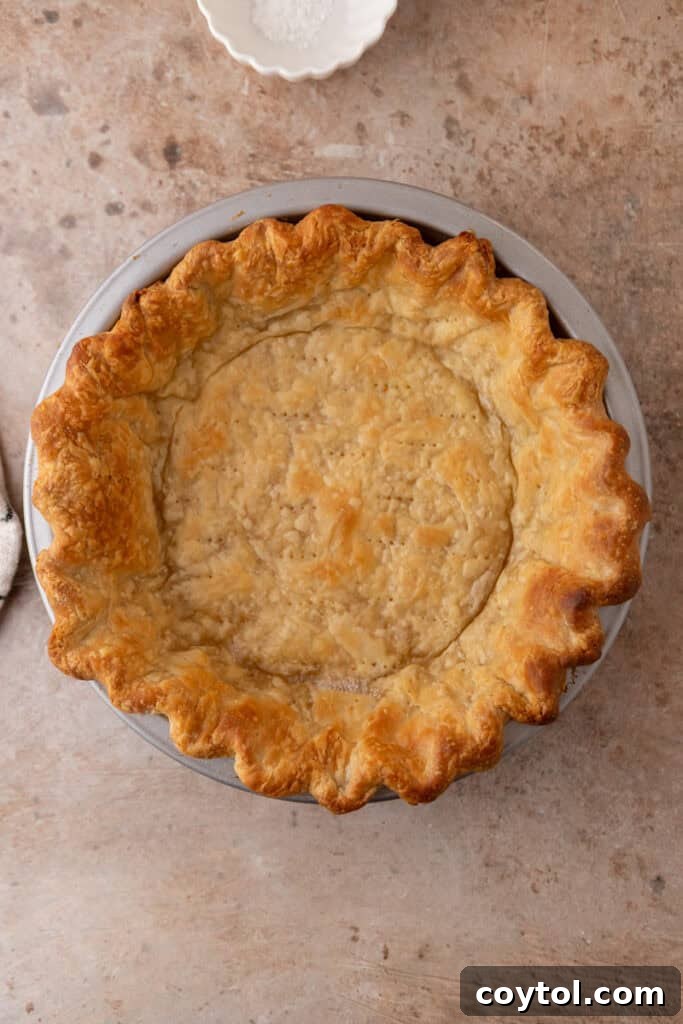
Important Recipe Note: If you are using a raw pie dough that requires baking, it is imperative to blind bake your pie crust beforehand. This chocolate pie recipe sets in the refrigerator and does not undergo heating in the oven once assembled. Remember to use pie weights or dried beans when blind baking your crust to prevent it from puffing up and ensure a perfectly even base for your filling.
Preparing the Silky Smooth Chocolate Custard Filling:
- Begin by whisking together the granulated sugar, cornstarch, cocoa powder, salt, a portion of the whole milk (as specified in the recipe card), and the egg yolks in a medium-sized, heatproof bowl. Continue whisking diligently until the mixture is completely smooth, lump-free, and resembles a thick, uniform batter. Set this vibrant chocolate mixture aside for a moment.
- Next, gently warm the remaining whole milk in a medium saucepan over medium heat. Heat the milk until you observe steam rising from its surface, indicating it’s hot but not yet boiling. Boiling the milk vigorously can affect the custard’s final texture.
- To prevent the eggs from scrambling, you’ll now temper the egg yolk mixture. Slowly, in a thin, steady stream, drizzle about half a cup of the hot milk into the reserved egg yolk mixture while continuously whisking without interruption. This gradual addition raises the temperature of the egg yolks gently. Once the initial milk is incorporated, continue to gradually add the remaining hot milk to the egg mixture, still whisking constantly to ensure a smooth, homogeneous blend.
- Pour the entire combined mixture back into the saucepan. Return the saucepan to medium heat and cook, whisking continuously and vigorously, until the custard visibly thickens and begins to bubble gently. The custard is perfectly cooked when it forms a “ribbon” off the whisk and leaves clear trails at the bottom of the pan as you stir. This indicates it has reached the ideal consistency.
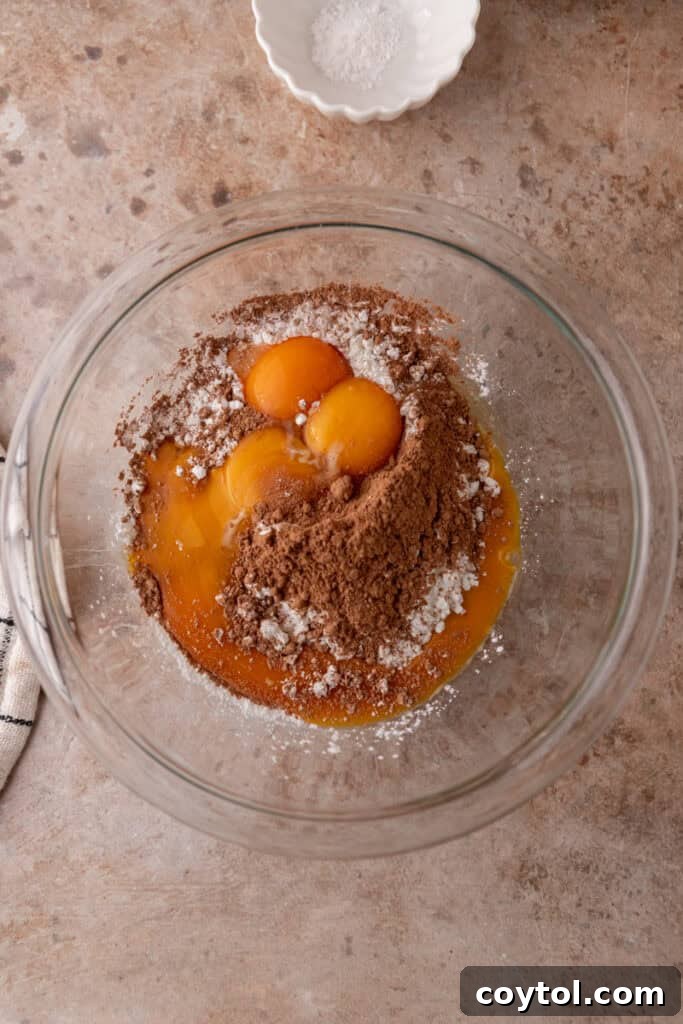
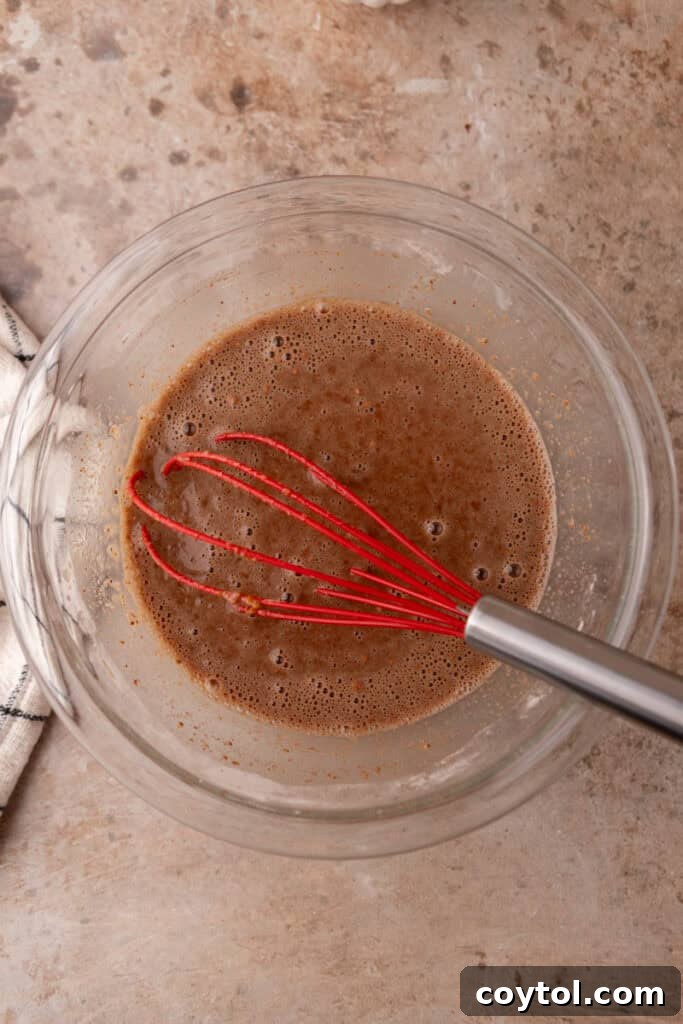
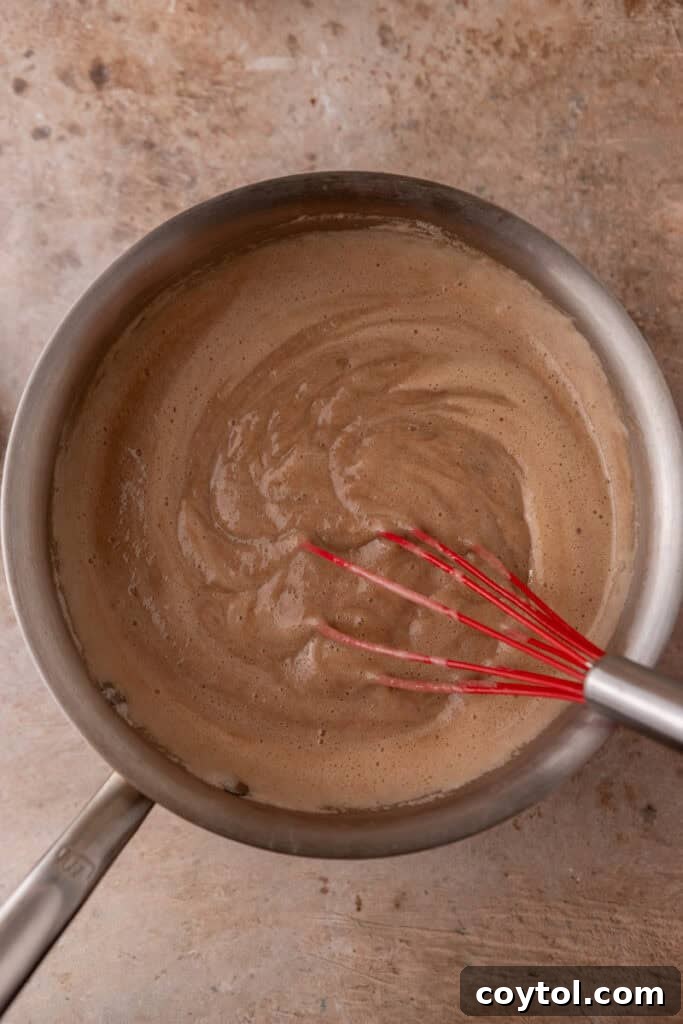
- Immediately remove the pan from the heat. Add the finely chopped semisweet chocolate, unsalted butter, and vanilla extract to the hot custard. Whisk continuously until all the chocolate and butter have fully melted and are completely incorporated, resulting in a perfectly silky-smooth and glossy filling.
- For the absolute smoothest and most refined custard, pour the warm filling through a fine-mesh strainer into a clean bowl. This step will catch any tiny bits of cooked egg or undissolved cornstarch, ensuring an impeccable texture.
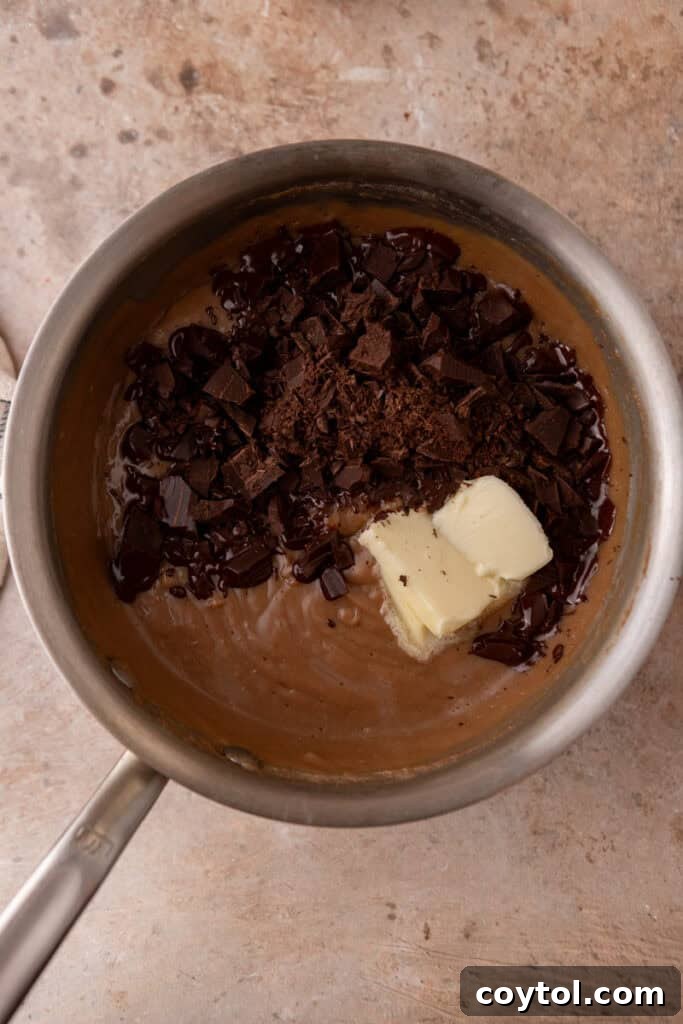
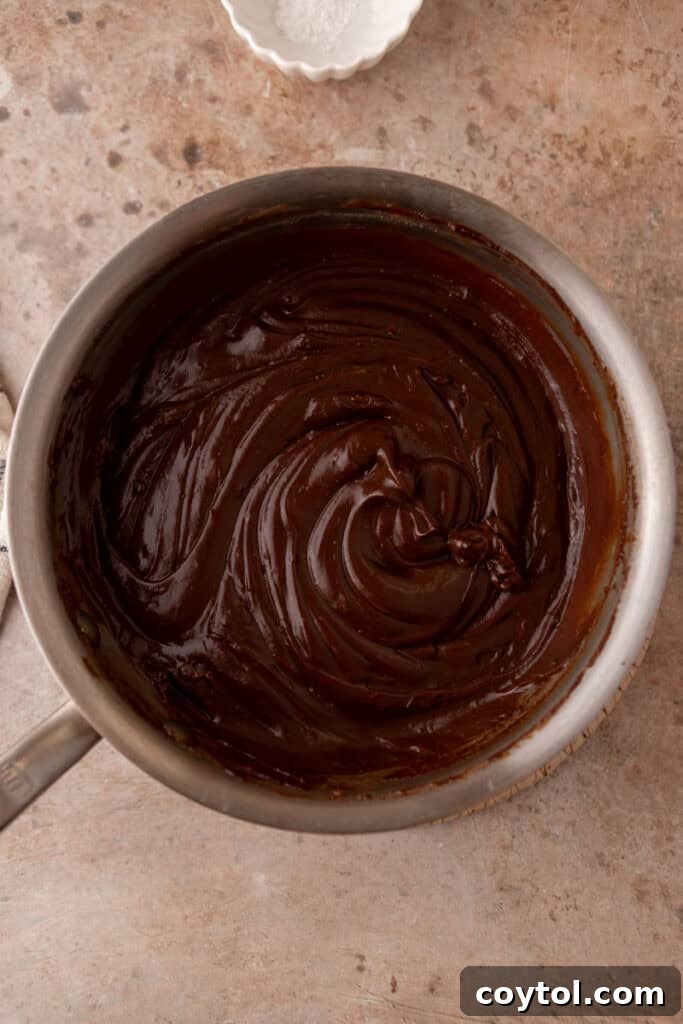
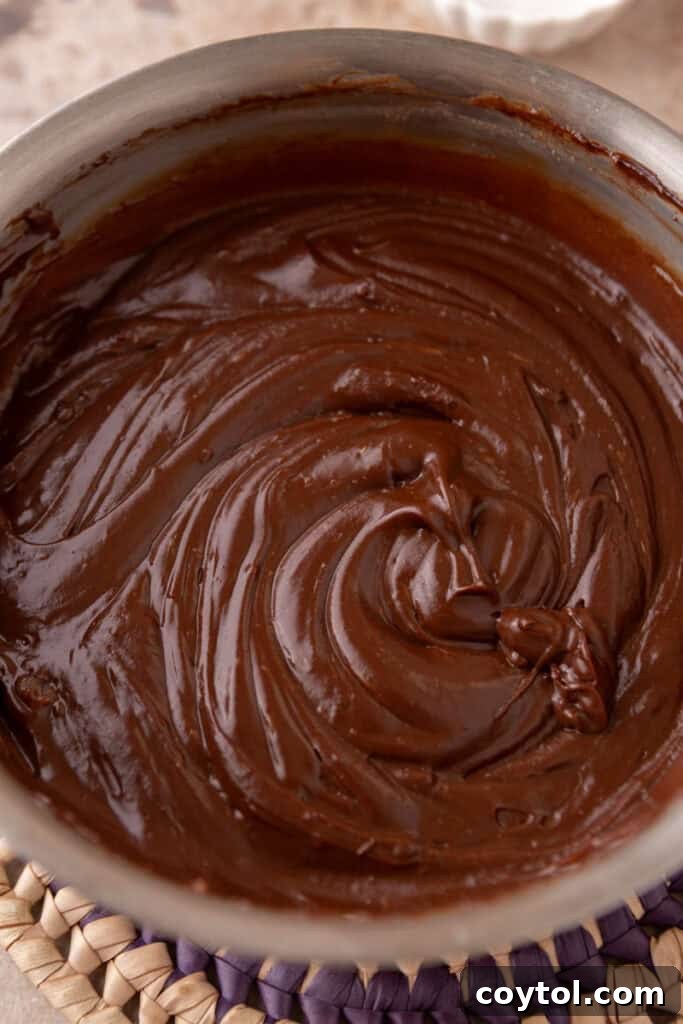
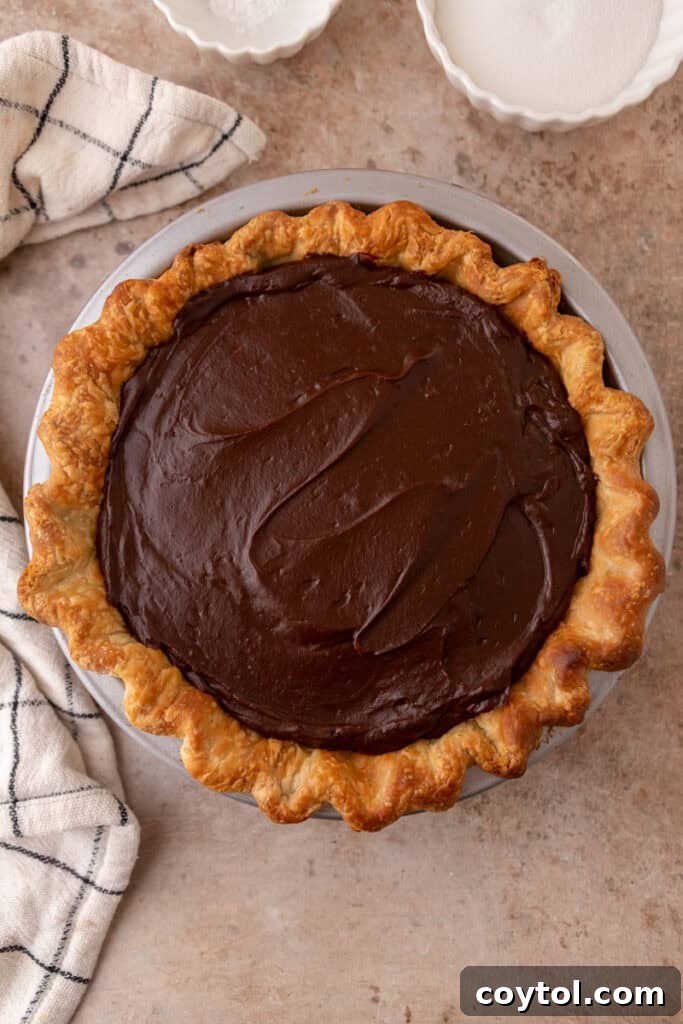
- Carefully transfer the strained chocolate filling into your completely cooled, pre-baked pie shell, ideally nestled in a 9-inch pie plate. For a truly exceptional base, we recommend our homemade pie crust recipe! Once the filling is in the shell, cover the surface directly with plastic wrap, pressing it down so it touches the custard. This crucial step prevents a “skin” from forming on top as it chills. Refrigerate the pie for a minimum of 4 hours, or ideally, overnight, to allow it to set completely and achieve its perfect firm yet creamy consistency.
Crafting the Perfect Meringue Topping:
- To create a stable meringue, set up a double boiler. Place a heatproof bowl (preferably metal or glass) over a saucepan containing about an inch or two of gently simmering water. Ensure that the bottom of the bowl does not touch the simmering water. Add the room temperature egg whites and granulated sugar to this bowl.
- Whisk the egg white and sugar mixture constantly over the simmering water. Continue whisking until the sugar granules have completely dissolved (you can test this by rubbing a small amount between your fingers; it should feel perfectly smooth) and the mixture reaches a temperature of 160°F (71°C) on an instant-read thermometer. This pasteurization step ensures food safety and helps create a very stable meringue.
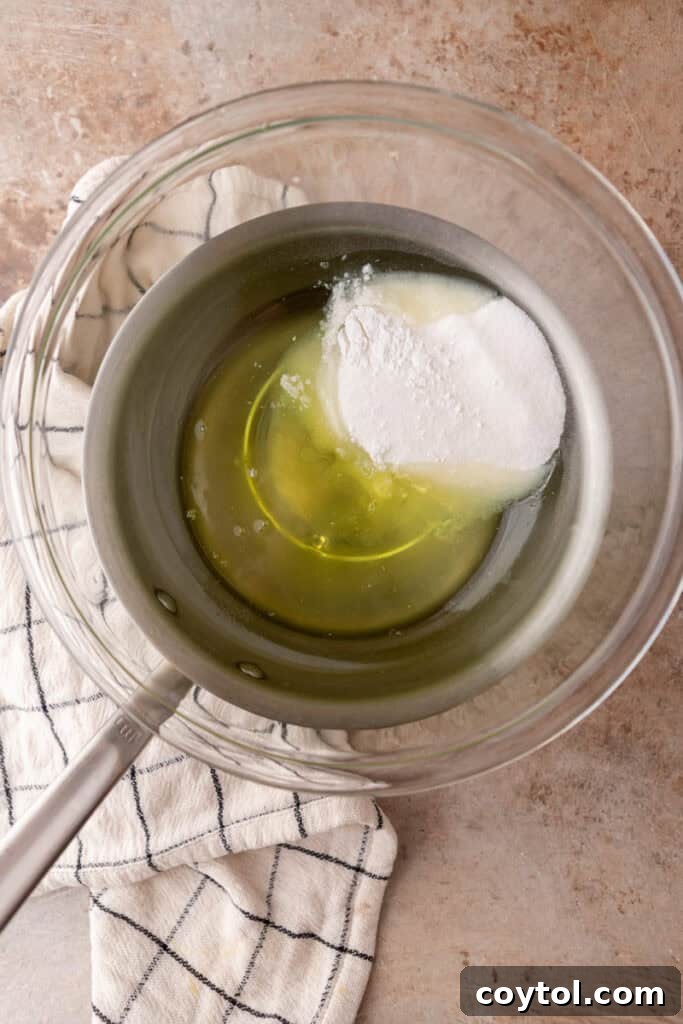
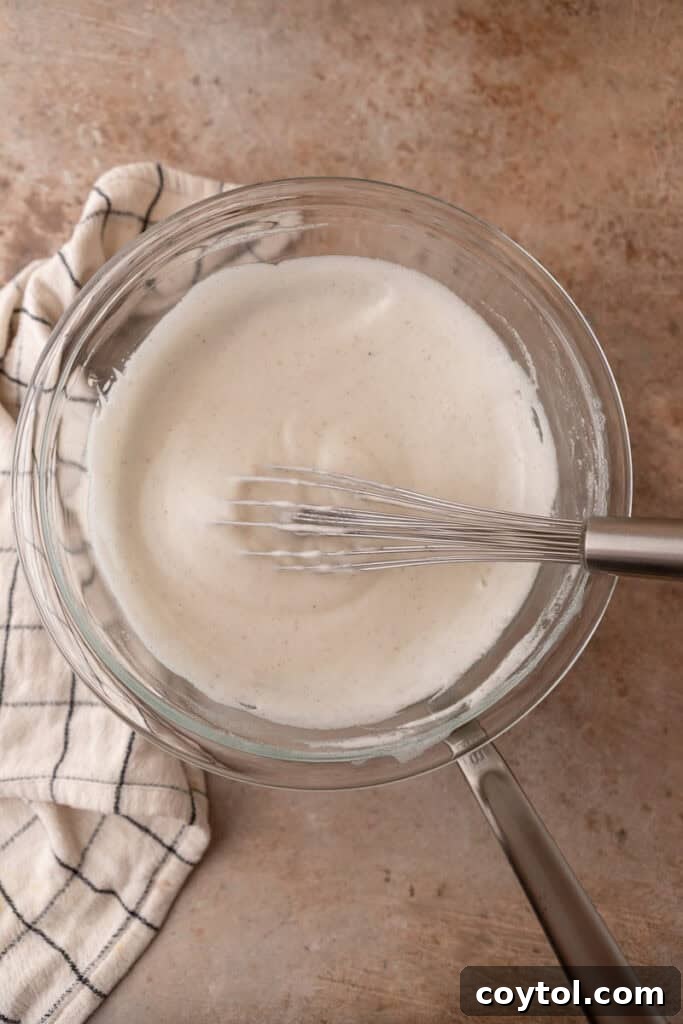
- Once the sugar-egg white mixture is warm and smooth, carefully transfer it to the bowl of a stand mixer fitted with a whisk attachment. Alternatively, you can use a powerful hand mixer. Begin beating the mixture on medium-high speed. Continue to beat until the meringue becomes incredibly thick, glossy, and forms firm, upright peaks that hold their shape when the whisk is lifted. The bowl should also feel cool to the touch, indicating the meringue has cooled down.
- During the final stages of whipping, gently mix in the vanilla extract. If using, now is also the time to add the cream of tartar or a tiny pinch of salt for additional stability and structure.
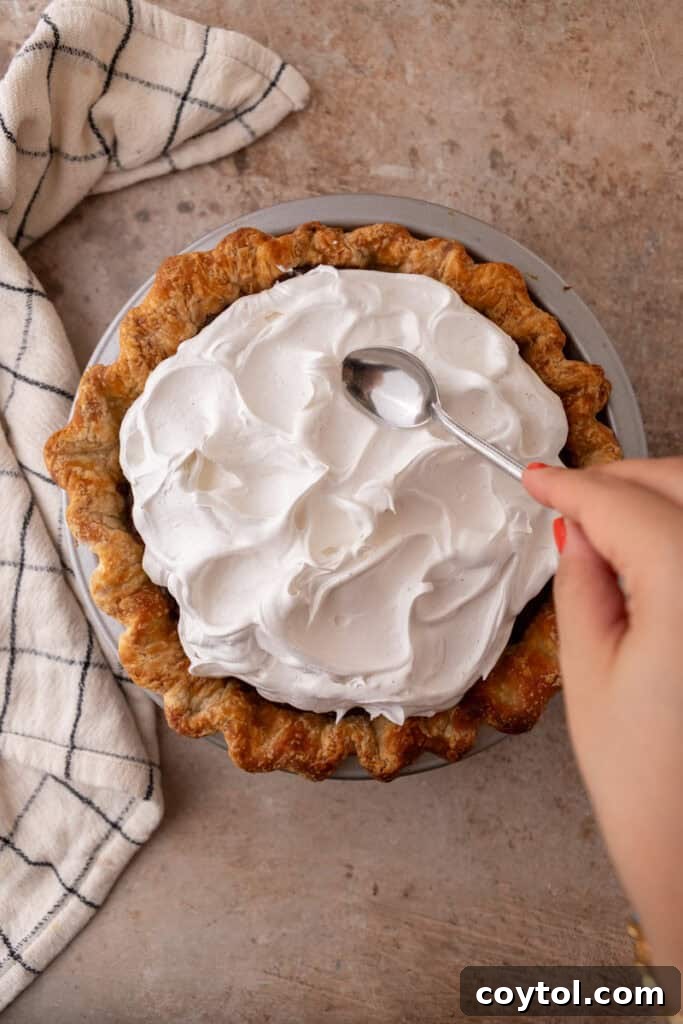
- With a rubber spatula, carefully spread the luxurious meringue evenly over the entire surface of the chilled chocolate pie. It’s crucial to ensure that the meringue touches and seals directly to the edges of the pie crust all the way around. This step helps prevent the meringue from shrinking back during the toasting process.
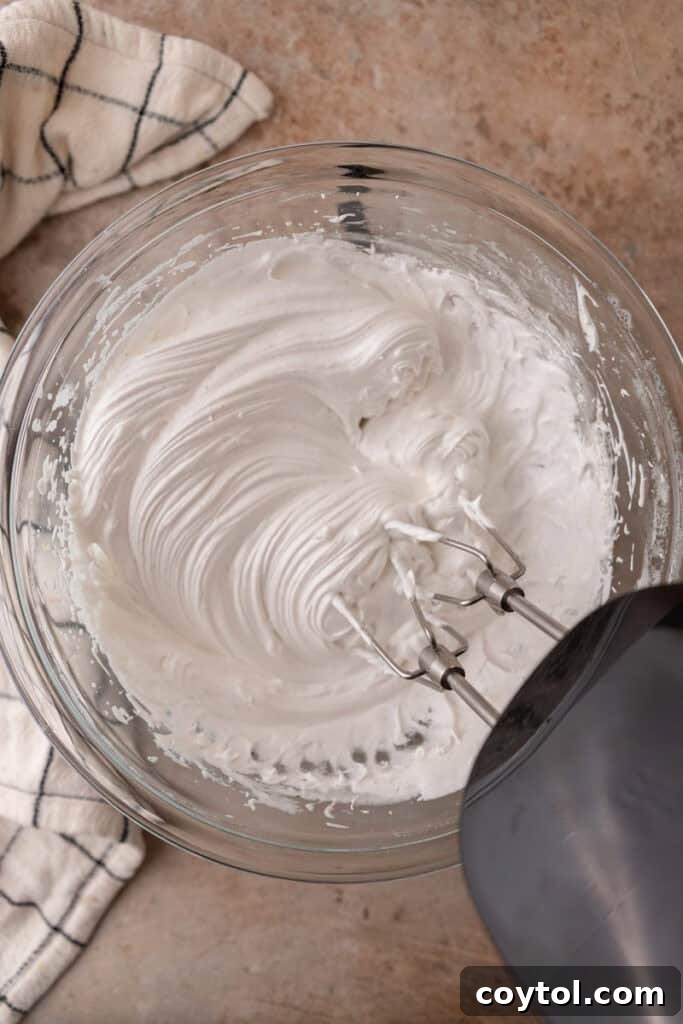
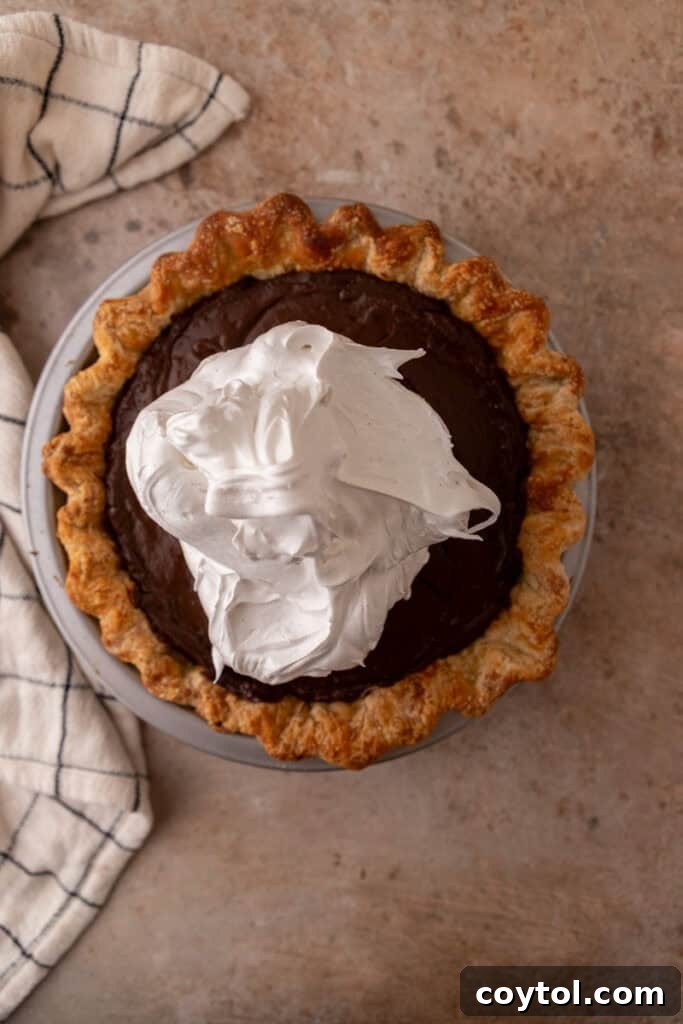
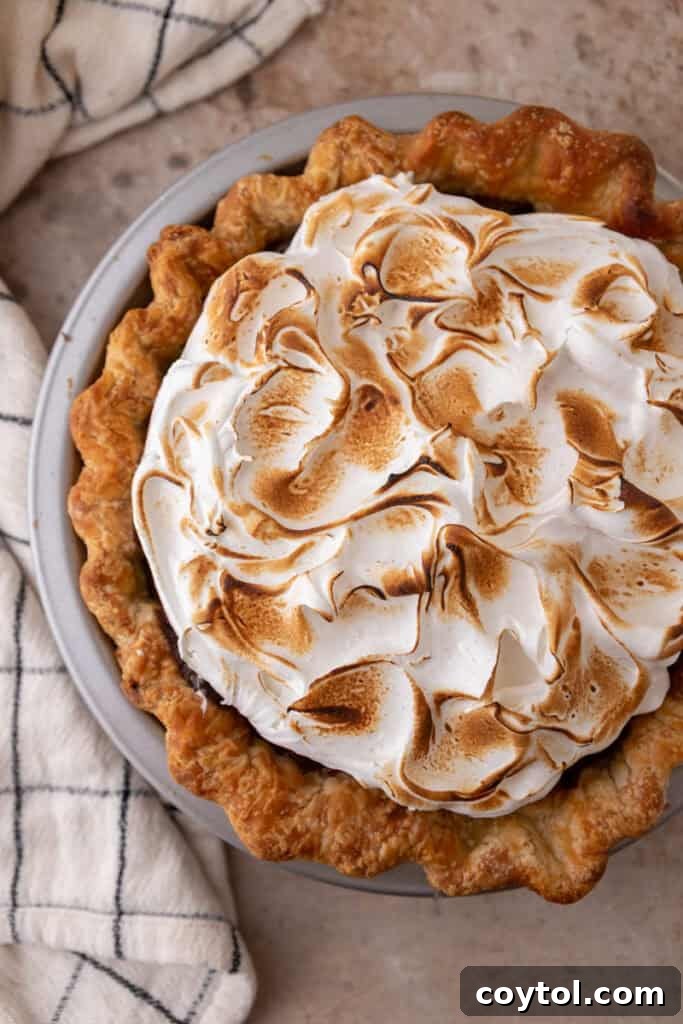
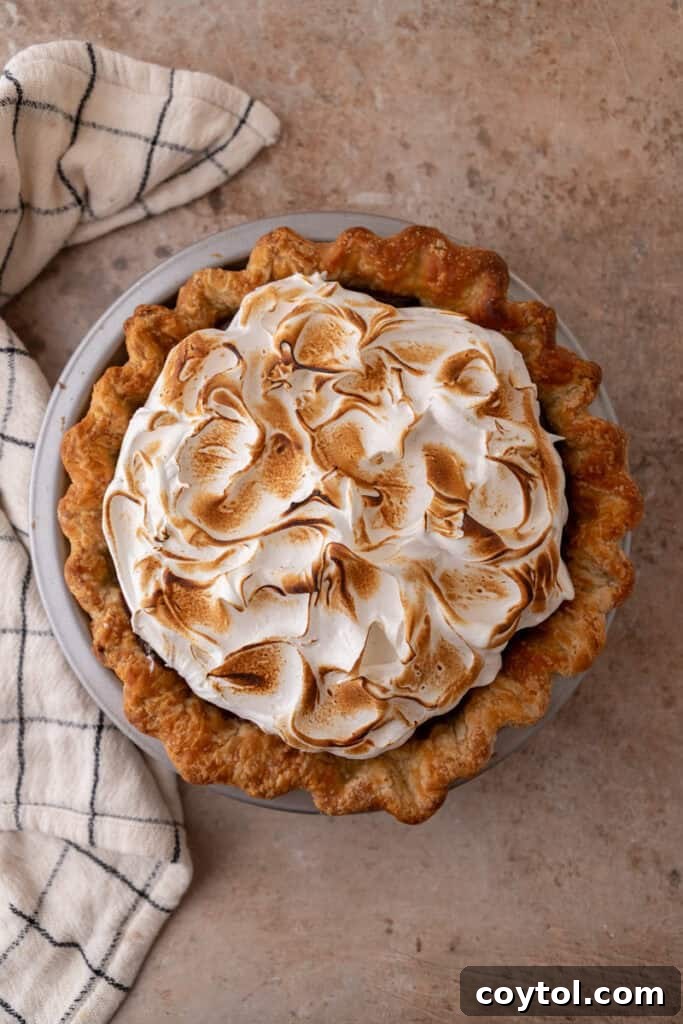
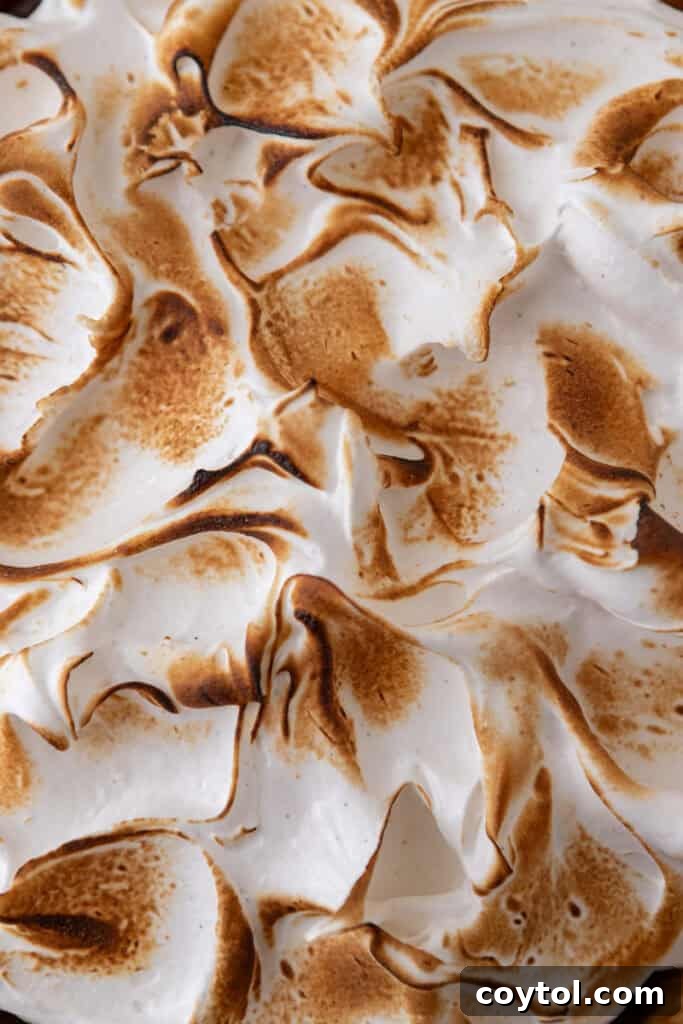
- For that signature golden-brown finish and a hint of caramelized flavor, carefully toast the meringue using a kitchen torch. Move the flame evenly across the surface until the peaks are beautifully browned.
- Allow the finished chocolate meringue pie to chill in the refrigerator for at least 1 hour before carefully slicing and serving. This additional chilling time ensures the meringue sets completely and the pie is perfectly firm.
Expert Tips and Tricks for the Best Chocolate Meringue Pie
- Precision is Key: For superior accuracy in baking, always use a kitchen scale to weigh your ingredients, especially flour and sugar, instead of relying solely on measuring cups.
- Room Temperature Ingredients: Ingredients at room temperature emulsify and blend much more effectively than cold ones. Remember to pull out refrigerated items like eggs and milk an hour or two before you begin mixing.
- Invest in Quality Chocolate: Since chocolate is a star player in this pie, opt for the highest quality bittersweet or semisweet chocolate you can find. A better chocolate will yield a richer, more profound flavor.
- Strain for Silkiness: Do not skip straining the cooked chocolate custard through a fine-mesh sieve. This step is vital for removing any potential tiny bits of cooked egg or lumps, guaranteeing an impeccably smooth and luxurious texture.
- Patience with Tempering: Tempering the egg yolks slowly and carefully is crucial. Drizzling hot milk gradually while whisking constantly prevents the eggs from scrambling, ensuring a perfectly smooth custard base.
- Dissolve the Sugar Fully: When preparing the meringue, ensure the sugar is completely dissolved in the egg whites over the double boiler. You can verify this by rubbing a small amount of the mixture between your fingers; it should feel absolutely smooth, with no grittiness.
- Seal the Meringue: Make sure the meringue touches and seals firmly to the pie crust all around its circumference. This barrier helps prevent the meringue from shrinking back during torching and minimizes weeping.
- Chill Thoroughly: Adequate chilling time is paramount for the filling to set properly and for the flavors to meld beautifully. Resist the temptation to cut into the pie too early.
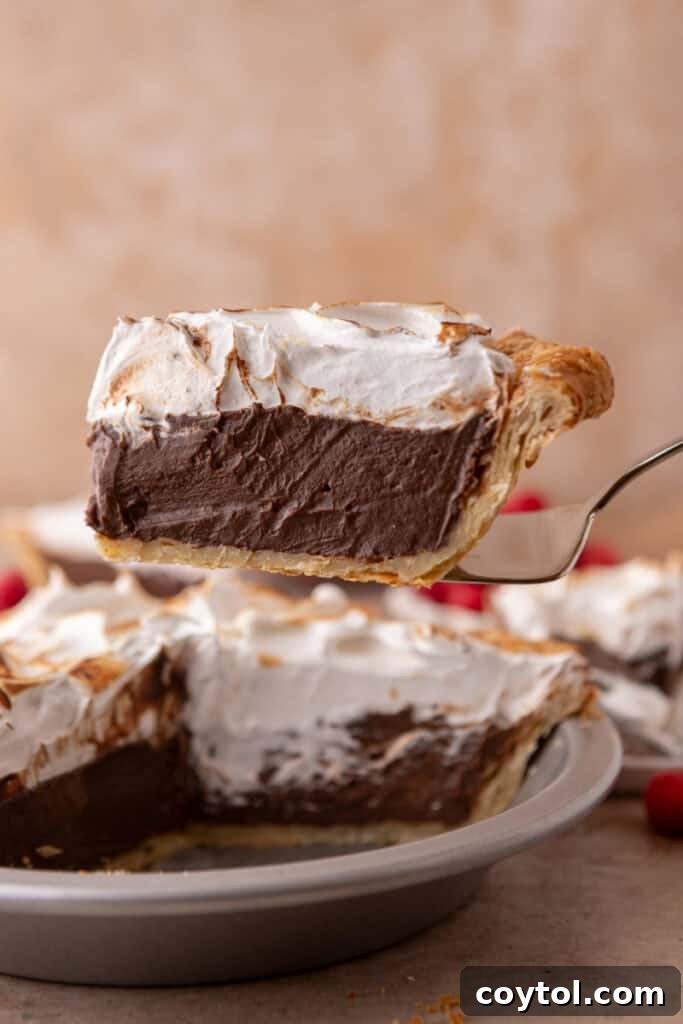
Why This Chocolate Meringue Pie Will Become Your New Favorite Dessert
There are countless reasons to add this perfect chocolate meringue pie to your baking repertoire. Beyond its stunning appearance, it offers a symphony of flavors and textures that will captivate anyone who tries it.
- A Chocolate Lover’s Dream: This decadent pie is the ultimate indulgence, guaranteed to satisfy the deepest cravings of every chocolate enthusiast with its rich and intense flavor.
- Impressive for Any Occasion: With its elegant layers and soaring meringue, this dessert makes an impressive statement. It’s perfect for family gatherings, festive birthday celebrations, and elegant holiday feasts, truly elevating any event.
- Excellent Make-Ahead Option: The chocolate custard filling requires several hours to chill and set, making this pie an ideal candidate for preparing in advance. You can assemble the filling the day before, saving you valuable time when hosting or preparing for events.
- A Trio of Textural Delight: This beloved dessert offers a sensational interplay of textures: the satisfying crunch of the buttery crust, the velvety smoothness of the rich chocolate filling, and the soft, chewy, marshmallow-like perfection of the meringue. It’s a mouth-pleasing trifecta that creates an unforgettable culinary experience.
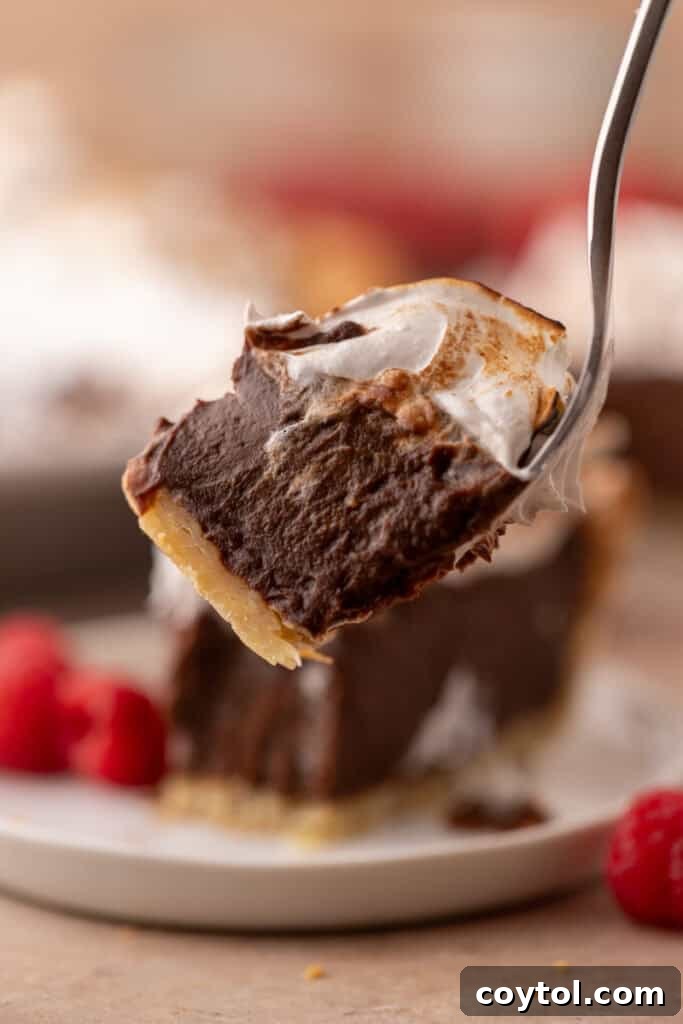
Frequently Asked Questions (FAQ) About Chocolate Meringue Pie
What is the best pie crust to use for this recipe?
For this rich chocolate meringue pie, a buttery shortbread or a slightly salty crust works wonderfully to balance the sweetness of the filling and meringue. Alternatively, a graham cracker crust can offer a sweeter, crumbly base if you prefer. The choice between a homemade pie crust or a quality store-bought option is entirely yours, depending on your available time and desired effort. If you’re seeking a perfect, flaky homemade pie crust recipe to serve as the foundation, we have an excellent recipe right here for you!
What if I don’t have a kitchen torch to brown the meringue?
If you don’t own a kitchen torch, you can still achieve a beautiful golden hue on your meringue in the oven. Preheat your oven to 400°F (200°C) and place the pie inside for approximately 4-6 minutes. Keep a very close eye on it, as meringue can brown quickly, and you want to prevent it from overcooking or burning. The result may not be as precisely defined as with a torch, but it will still be delicious and visually appealing.
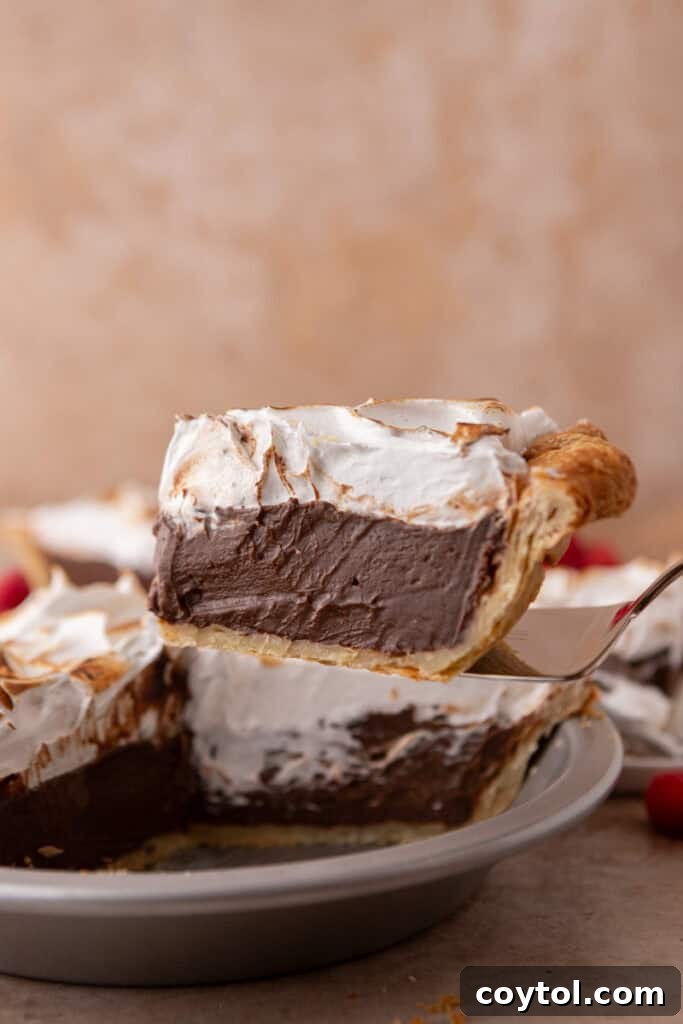
Why might my chocolate custard be lumpy or grainy?
A lumpy or grainy custard most often occurs if the eggs are cooked too rapidly during the tempering process, causing them to scramble, or if the custard overheats and curdles. To rectify this, the best solution is to strain the hot custard through a fine-mesh sieve immediately after cooking and before pouring it into the pie crust. This simple step will remove any cooked egg bits and ensure a beautifully smooth, lump-free filling.
How can I prevent the meringue from weeping or separating?
To minimize weeping (when liquid beads form on the meringue) and separation, ensure the sugar is completely dissolved when preparing the meringue mixture over the double boiler. Additionally, spread the meringue generously over the chocolate custard while the custard is thoroughly cold, ensuring the meringue completely seals to the edges of the pie crust. This creates a protective barrier. Since this recipe utilizes a cooked meringue (Swiss or Italian method), it is inherently more stable and less prone to weeping compared to a French meringue, so you should have less to worry about!
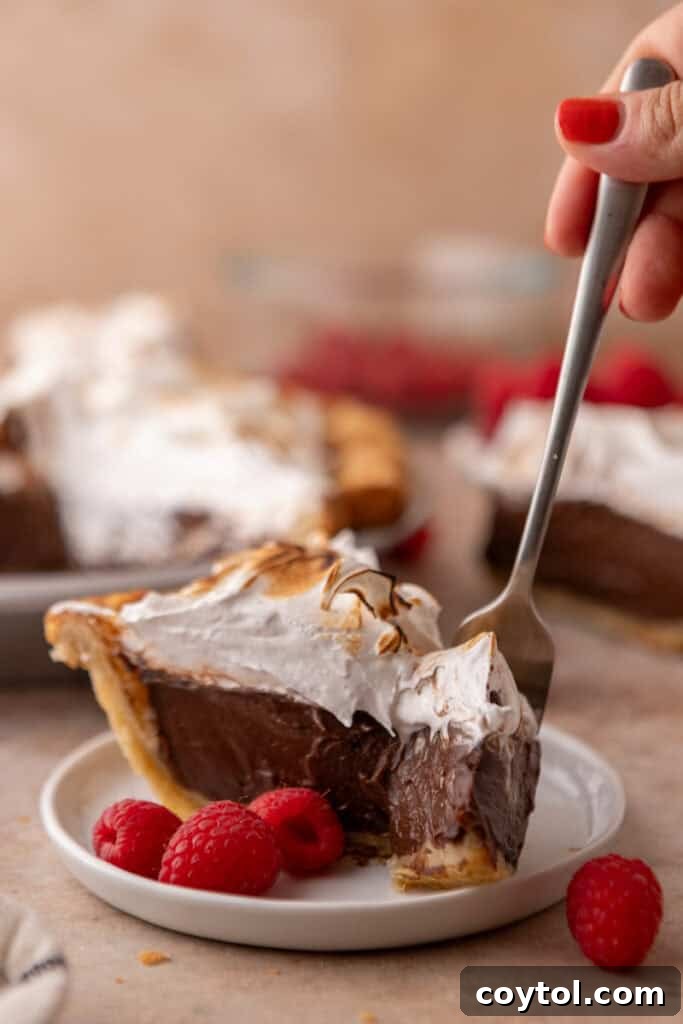
What’s the best way to store leftover chocolate meringue pie?
Store any leftover chocolate meringue pie in an airtight container in the refrigerator. To prevent the meringue from sticking, ensure the container lid does not press directly onto the topping. Properly stored, the pie should remain fresh and delicious for approximately three days.
Can I freeze the chocolate meringue pie?
Freezing this chocolate meringue pie is generally not recommended. The chocolate filling can develop an undesirable watery texture upon thawing, and the meringue often separates or becomes gummy after being frozen and defrosted, compromising the pie’s delicate structure and taste.
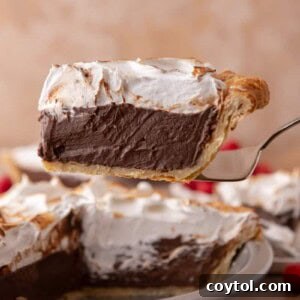
Chocolate Meringue Pie Recipe
A silky chocolate custard pie topped with fluffy meringue and baked in a buttery crust. It’s creamy, airy, decadent, and the perfect make-ahead dessert!
Prep Time: 15 mins
Cook Time: 40 mins
Total Time: 4 hrs 55 mins
Servings: 8 servings
Ingredients
Pie Crust
- Homemade or store-bought pie crust (9-inch, pre-baked and cooled)
Chocolate Custard Filling
- 1 cup granulated sugar
- ⅓ cup cornstarch
- 2 tablespoons cocoa powder
- ¼ tsp salt
- 2 ¾ cups whole milk (divided)
- 4 large egg yolks (reserve the whites for meringue)
- 6 oz bittersweet chocolate, chopped
- 2 tbsp unsalted butter
- 1 ½ tsp vanilla extract
Meringue Topping
- 4 large egg whites (room temperature)
- ¼ tsp salt
- ½ tsp cream of tartar
- ⅔ cup granulated sugar
- ½ tsp vanilla extract
Instructions
Pre-bake the Crust
- Roll out your pie dough and carefully fit it into a 9-inch pie dish. Trim any excess dough and crimp the edges to your desired decorative style. Chill the crust in the fridge for at least 30 minutes (or in the freezer for 15 minutes) to prevent shrinkage during baking.
- Using a fork, prick the base of the crust all over. This creates small vents that help prevent the crust from puffing up unevenly. Line the chilled crust with parchment paper or aluminum foil, ensuring it covers both the bottom and sides. Fill the lined crust with pie weights, dried beans, or even granulated sugar.
- Bake the crust at 375°F (190°C) for 20 minutes.
- Carefully remove the parchment paper or foil along with the pie weights. Return the now uncovered crust to the oven. Continue to bake for an additional 10–15 minutes, or until the bottom appears dry and lightly golden brown. Allow the crust to cool completely on a wire rack before adding your chocolate filling.
Chocolate Filling
- In a medium heatproof bowl, whisk together the 1 cup granulated sugar, ⅓ cup cornstarch, 2 tablespoons cocoa powder, ¼ tsp salt, ⅔ cup of the whole milk, and the 4 large egg yolks until the mixture is completely smooth and free of lumps. Set this bowl aside.
- In a separate saucepan, heat the remaining 2 cups and 1/12 cups of whole milk over medium heat until it is just steaming and hot, but do not let it come to a rolling boil.
- To temper the eggs, slowly and gradually pour about ½ cup of the hot milk into the egg yolk mixture while whisking constantly and vigorously. This slowly raises the temperature of the yolks. Then, continue to gradually add the rest of the hot milk to the mixture, still whisking continuously to ensure proper integration and prevent curdling.
- Pour the entire combined mixture back into the saucepan. Cook over medium heat, whisking constantly, for about 2–4 minutes, or until the custard becomes thick and begins to bubble. The custard is properly thickened when it can “ribbon” off the whisk and leave clear trails when stirred through the bottom of the pan.
- Remove the saucepan from the heat immediately. Stir in the 6 oz chopped bittersweet chocolate, 2 tbsp unsalted butter, and 1 ½ tsp vanilla extract. Whisk until the chocolate and butter are completely melted and the filling is smooth, glossy, and uniform.
- For the silkiest texture possible, pour the hot chocolate filling through a fine-mesh sieve into a clean bowl. This step catches any small lumps or cooked egg particles.
- Pour the strained filling into your pre-baked and completely cooled pie crust. Press plastic wrap directly onto the surface of the custard, ensuring no air is trapped between the plastic and the filling. Refrigerate for a minimum of 4 hours, or ideally overnight, to allow the filling to set fully.
Meringue Topping
- Prepare a double boiler by setting a heatproof bowl (glass or metal) over a saucepan containing gently simmering water. Ensure the bottom of the bowl does not touch the water. In this bowl, combine the 4 large room temperature egg whites, ¼ tsp salt, ½ tsp cream of tartar, and ⅔ cup granulated sugar.
- Whisk the egg white mixture constantly over the simmering water. Continue whisking until all the sugar has fully dissolved (rub a small amount between your fingers to check for smoothness) and the mixture reaches 160°F (71°C) on a thermometer.
- Once the mixture is ready, transfer it to the bowl of a stand mixer fitted with a whisk attachment (or use a hand mixer). Add the ½ tsp vanilla extract. Beat on medium-high speed until the meringue is very thick, beautifully glossy, and forms stiff peaks that hold their shape. The bowl should also feel cool to the touch, indicating the meringue has cooled. This process typically takes about 5–7 minutes.
- Spread the prepared meringue evenly over the chilled chocolate pie, making sure the meringue completely touches and seals to the edge of the pie crust all the way around. This prevents shrinkage and weeping.
- For a beautiful golden finish, carefully toast the meringue with a kitchen torch until lightly browned. If you don’t have a torch, you can bake the pie at 400°F (200°C) for 4–6 minutes, watching closely to achieve a light golden color without overcooking.
- Chill the completed chocolate meringue pie for at least 1 hour before slicing and serving to ensure everything is perfectly set and firm.
Nutrition Information
Nutrition information is automatically calculated and should only be used as an approximation.
- Calories: 422 Calories
- Carbohydrates: 63g
- Protein: 7g
- Fat: 16g
- Saturated Fat: 9g
- Polyunsaturated Fat: 1g
- Monounsaturated Fat: 5g
- Trans Fat: 0.1g
- Cholesterol: 116mg
- Sodium: 210mg
- Potassium: 334mg
- Fiber: 2g
- Sugar: 54g
- Vitamin A: 364IU
- Calcium: 132mg
- Iron: 2mg
Enjoyed this recipe? We’d love to hear from you! Leave a comment below to share your experience or ask any questions.