
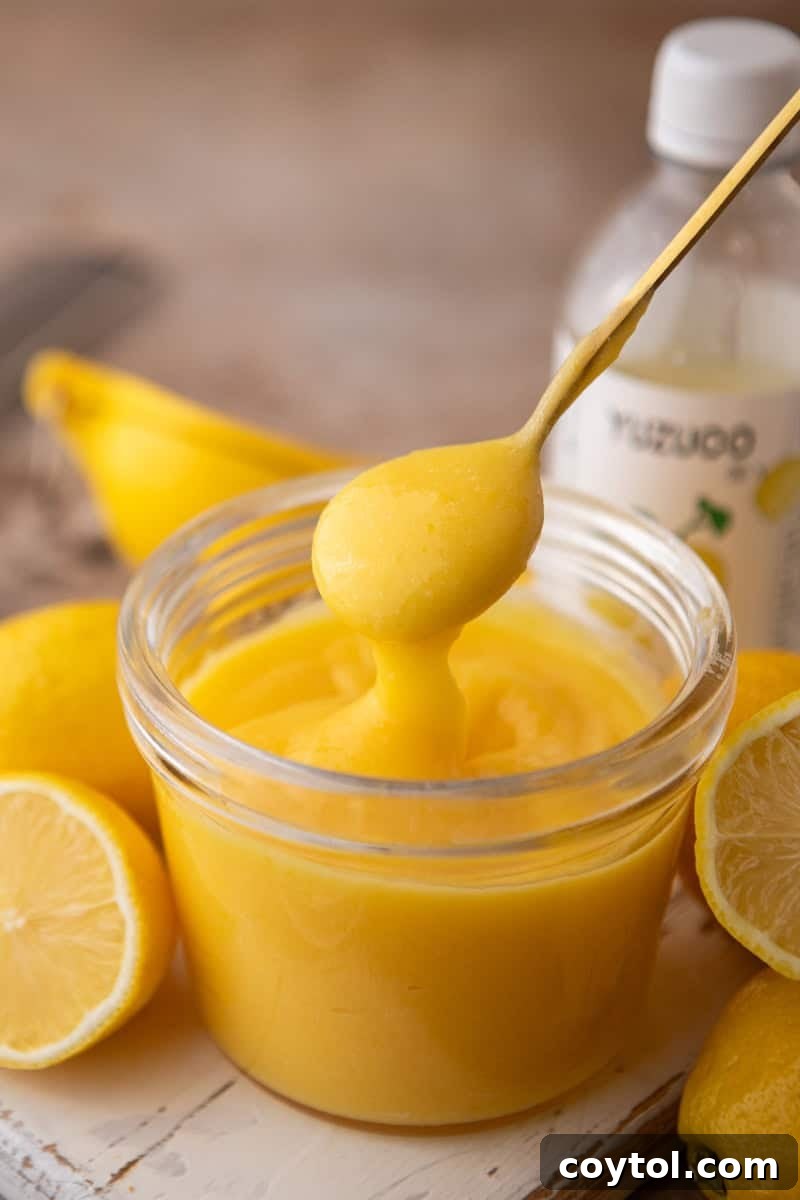
Unlock a new dimension of citrus desserts with this exquisite Yuzu Curd recipe. Elevating beyond the familiar lemon, this creamy, vibrant curd introduces the captivating aroma and unique tang of Japanese yuzu, making it an indispensable filling for your favorite spring and summer treats. Prepare to impress with a dessert component that’s both sophisticated and surprisingly simple to master.
For decades, the exotic yuzu fruit remained a cherished secret within East Asia, a culinary gem known for its distinct aromatic profile. However, in recent years, this special citrus has gracefully transitioned into Western kitchens, captivating the palates of discerning home bakers and professional chefs alike. If your heart belongs to lemon pies, zesty tarts, or any delightful dessert filled with bright, tangy curd, then this recipe is your next obsession. I promise, the first taste will transform your perception of citrus desserts forever.
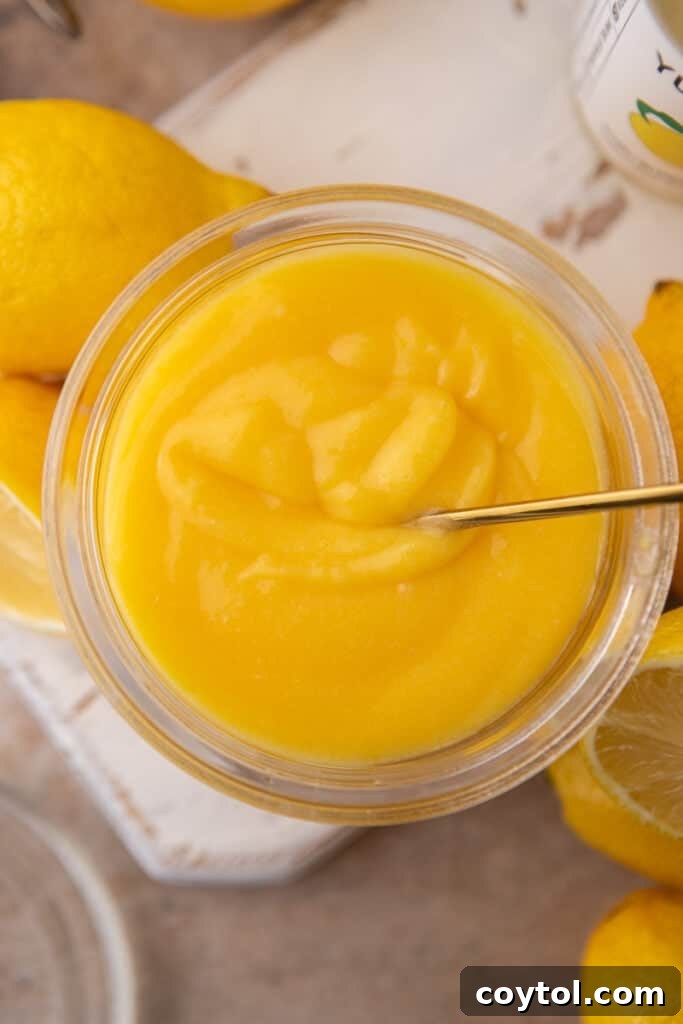
As a fellow enthusiast of vibrant citrus flavors, you might also enjoy exploring these other delightful recipes: our Small Batch Lemon Curd Recipe for a classic twist, the indulgent Crumbl Lemon Cheesecake Cookies, refreshing Easy Chilled Crumbl Lemon Bar Cookies, or the elegant Mini Lemon Cupcakes with Italian Buttercream and Lemon Curd.
What is Yuzu and Why is it Special?
Before we delve into the deliciousness, let’s get acquainted with the star ingredient itself. Yuzu (Citrus junos) is a fragrant citrus fruit native to East Asia, particularly Japan, Korea, and China. Often described as a hybrid of a wild mandarin orange and the Ichang papeda, yuzu offers a complex flavor profile that sets it apart from more common citrus varieties like lemon or lime.
Visually, yuzu resembles a small, round grapefruit with bumpy, uneven skin that ranges from yellow to green depending on its ripeness. Its true magic, however, lies in its intense aroma and distinct taste. Unlike the singular tartness of a lemon, yuzu boasts a more nuanced flavor—bright, floral, and deeply aromatic, with hints of mandarin orange, grapefruit, and even pine or bergamot. Its zest is incredibly potent and highly prized in Japanese cuisine, often used to impart a sophisticated fragrance to dishes and drinks. While its juice is less abundant than lemons, it carries a unique tang that is less sharp and more rounded, making it perfect for creating a truly unforgettable curd.
What Does Yuzu Curd Taste Like?
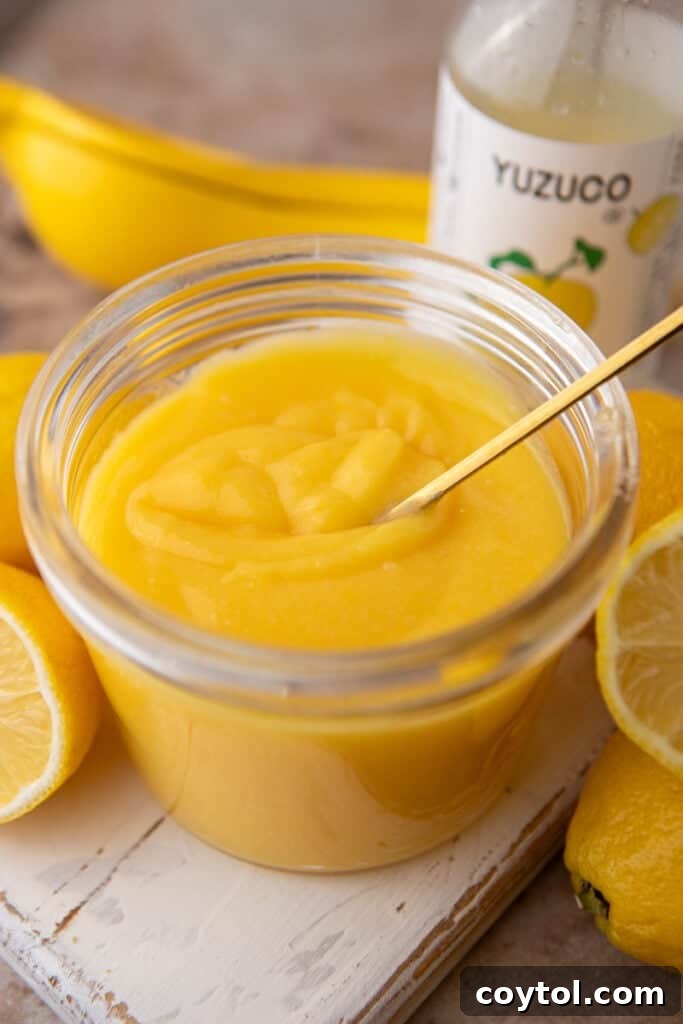
Yuzu curd is a revelation for anyone who appreciates citrus desserts. Imagine the bright, tangy zestiness of lemon curd, but with an added layer of intricate floral notes and a subtle bitterness that prevents it from being overly sweet. It’s less aggressively tart than pure lemon, offering a smoother, more sophisticated acidity. The unique blend of grapefruit’s tang, mandarin orange’s sweetness, and a distinct herbal or floral undertone makes yuzu curd an incredibly complex and captivating experience. Each spoonful delivers a symphony of flavors that dances on the palate, leaving a refreshing and lingering aromatic finish. It’s a flavor that you’ll crave long after the last bite.
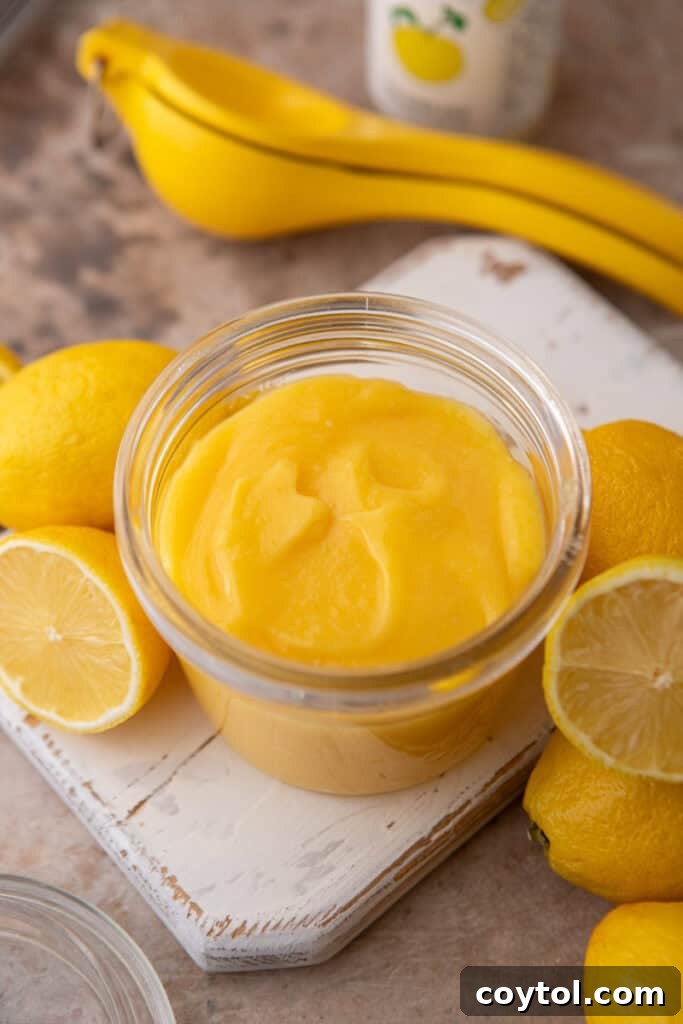
Essential Ingredients for this Easy Yuzu Curd Recipe
Crafting this Japanese-inspired yuzu curd requires just a few simple, high-quality ingredients. Each plays a crucial role in achieving that perfect silky texture and vibrant flavor. Below is a breakdown of what you’ll need. For precise measurements, please refer to the detailed recipe card at the bottom of this page.
- Eggs & Egg Yolks: The combination of whole eggs and extra egg yolks is fundamental for creating the rich, creamy consistency and stability of our curd. The yolks contribute richness and emulsifying power, while the whole eggs add structure. Don’t discard those leftover egg whites! They’re perfect for meringues, macarons, or a healthy breakfast omelette.
- Granulated Sugar: Standard granulated sugar provides the perfect balance to the yuzu’s tartness, creating a harmonious sweet-tart flavor profile. It also contributes to the curd’s smooth texture and helps prevent the eggs from scrambling prematurely.
- Yuzu Juice: This is the star! Since fresh yuzu fruit can be challenging to find outside of specialty markets or during its peak season, high-quality bottled yuzu juice (like the one from YuzuCo) is an excellent and convenient substitute. Ensure you choose 100% pure yuzu juice without added sweeteners for the most authentic flavor.
- Salt: Just a small pinch of fine sea salt is crucial. It doesn’t make the curd salty but rather enhances all the other flavors, making the sweet and tart notes more pronounced and well-rounded.
- Unsalted Butter: Cold, unsalted butter is whisked in at the end to provide richness, a luxurious mouthfeel, and that signature glossy finish. Using good-quality butter will significantly impact the final taste and texture of your curd. Cut it into small pieces for easier incorporation.
- Yuzu Zest (Optional, but Recommended): While bottled juice provides fantastic flavor, a touch of fresh yuzu zest, if available, will amplify the aromatic depth of your curd. If fresh yuzu is truly out of reach, a small amount of lemon zest can be used as a last resort, though it will alter the distinct yuzu profile slightly.
How to Make Yuzu Curd from Scratch: A Step-by-Step Guide
Making homemade yuzu curd is a straightforward process that yields incredibly rewarding results. Follow these detailed steps to achieve a perfectly smooth, rich, and tangy curd using bottled yuzu juice. Remember to scroll down to the full recipe card at the end of this post for all the precise measurements and further notes.
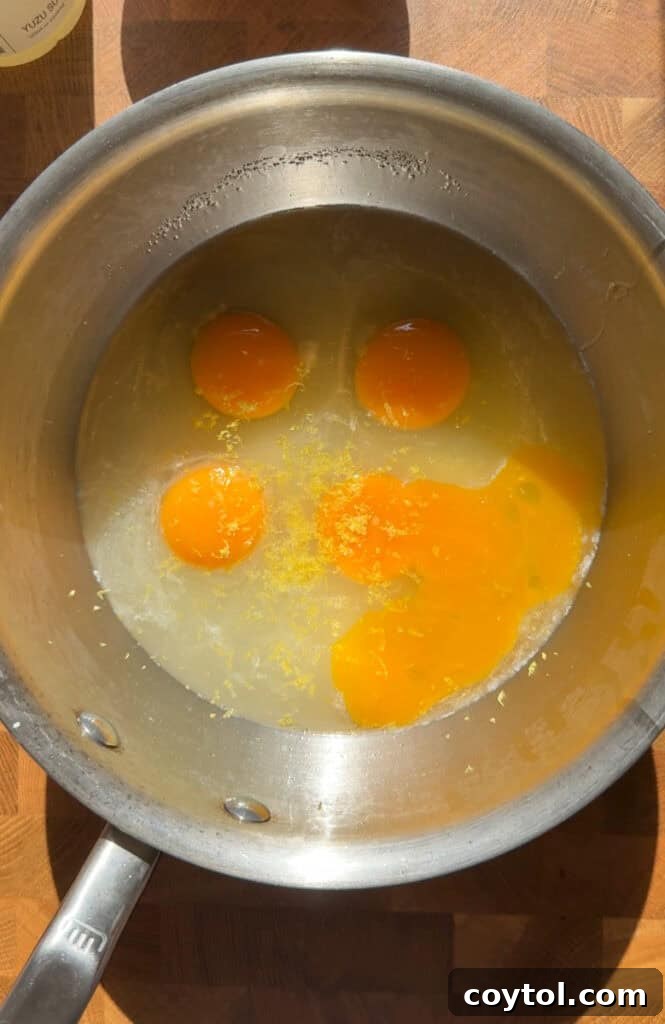
- Prepare the Base Mixture: Begin by combining the eggs, extra egg yolks, granulated sugar, yuzu juice, and a pinch of salt in a heatproof bowl. Using a whisk, vigorously blend these ingredients until the mixture is completely smooth and uniformly colored. Ensure no streaks of egg yolk remain and the sugar is well dissolved.
- Cook in a Double Boiler: Set your heatproof bowl over a small pot or medium saucepan filled with about an inch or two of gently simmering water. Ensure the bottom of the bowl does not touch the water. This creates a “double boiler” setup, which provides gentle, indirect heat—the secret to perfectly cooked curd without scrambled eggs. Constantly stir the mixture with a whisk, making sure to scrape the sides and bottom of the bowl, until it thickens significantly. This usually takes about 10-12 minutes. The curd is ready when it reaches a temperature of around 170°F (77°C) and is thick enough to generously coat the back of a spoon, leaving a clear trail when you draw your finger across it.
- While you can cook curd directly in a saucepan, the double boiler method is highly recommended, especially for beginners. It offers greater control over the temperature, drastically reducing the risk of overcooking the eggs and resulting in a smoother, more consistent curd.
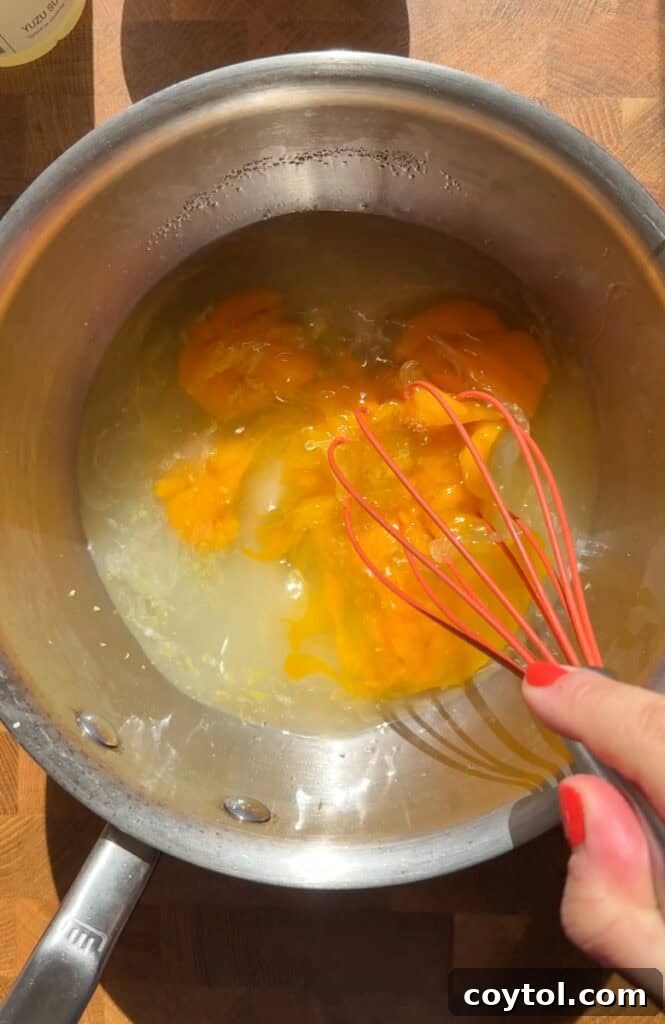
- Incorporate the Butter: Once the curd has reached the desired thickness, immediately remove the bowl from the heat. Gradually add the cold, unsalted butter, a few pieces at a time, whisking continuously until each addition is fully melted and incorporated. The curd will transform into a beautifully smooth, glossy, and luxurious consistency. This step is crucial for achieving the rich flavor and velvety texture.
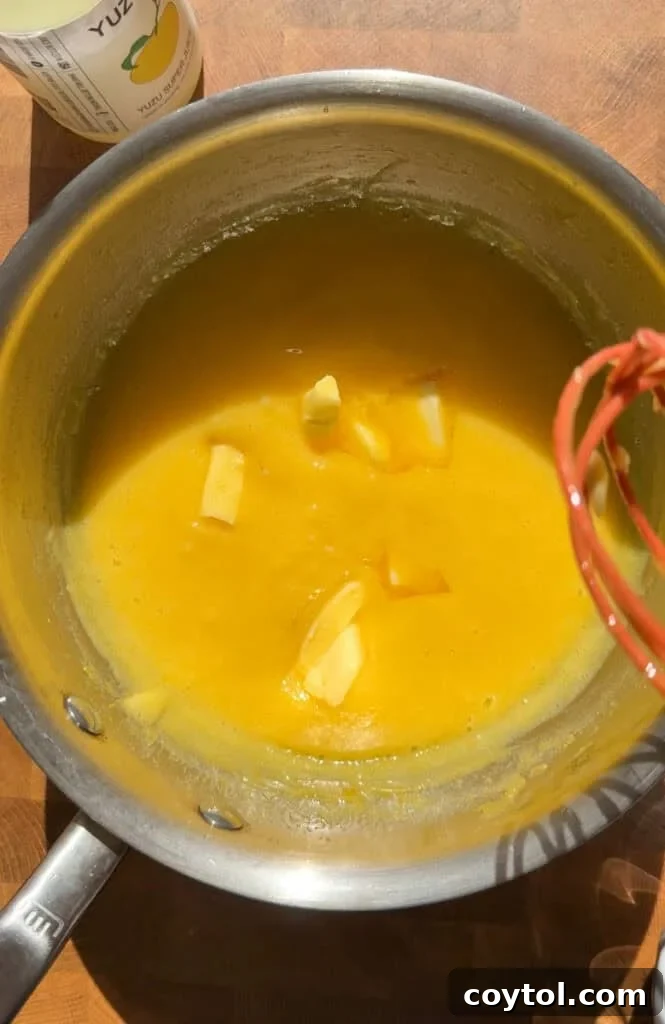
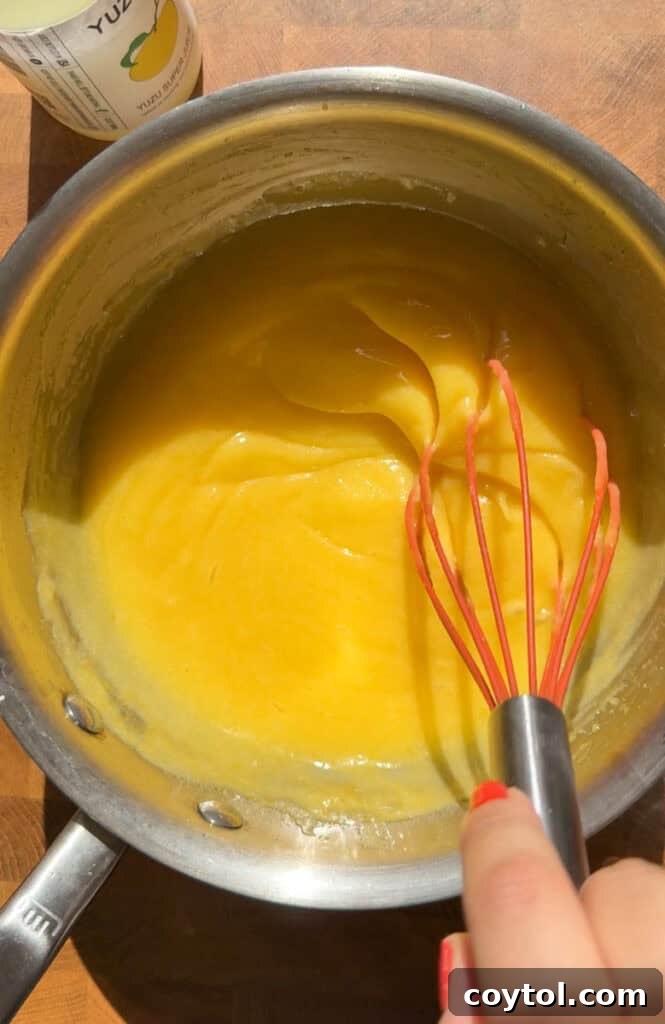
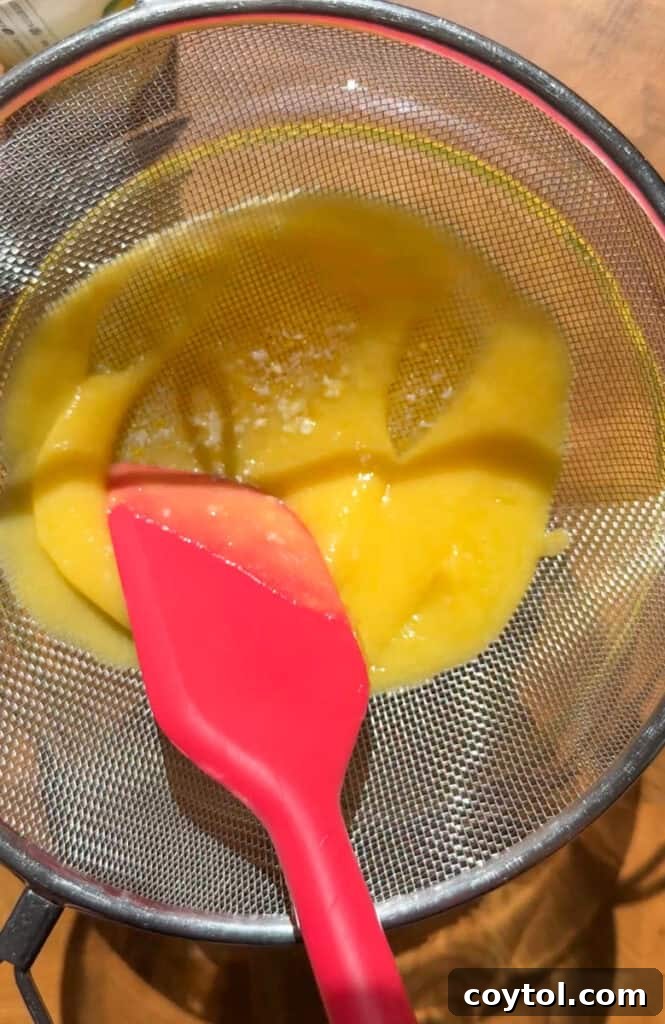
- Strain for Silky Smoothness (Optional but Recommended): For an exceptionally smooth and lump-free curd, pour the warm mixture through a fine-mesh strainer set over another clean bowl. This step catches any tiny bits of cooked egg or undissolved zest, ensuring a truly professional, silky finish. Press the curd through with a spatula.
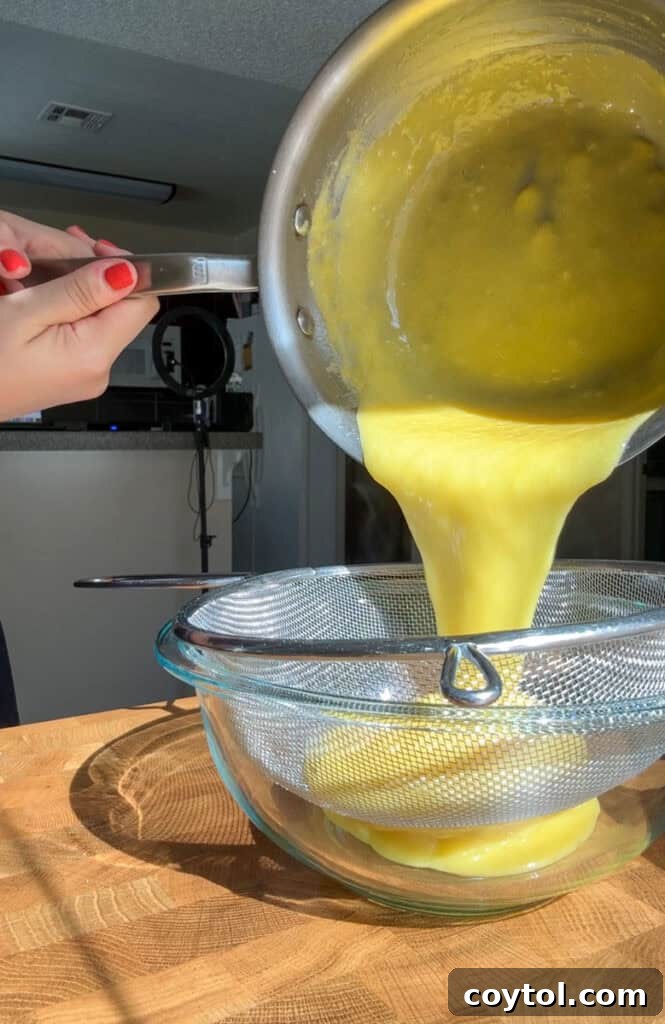
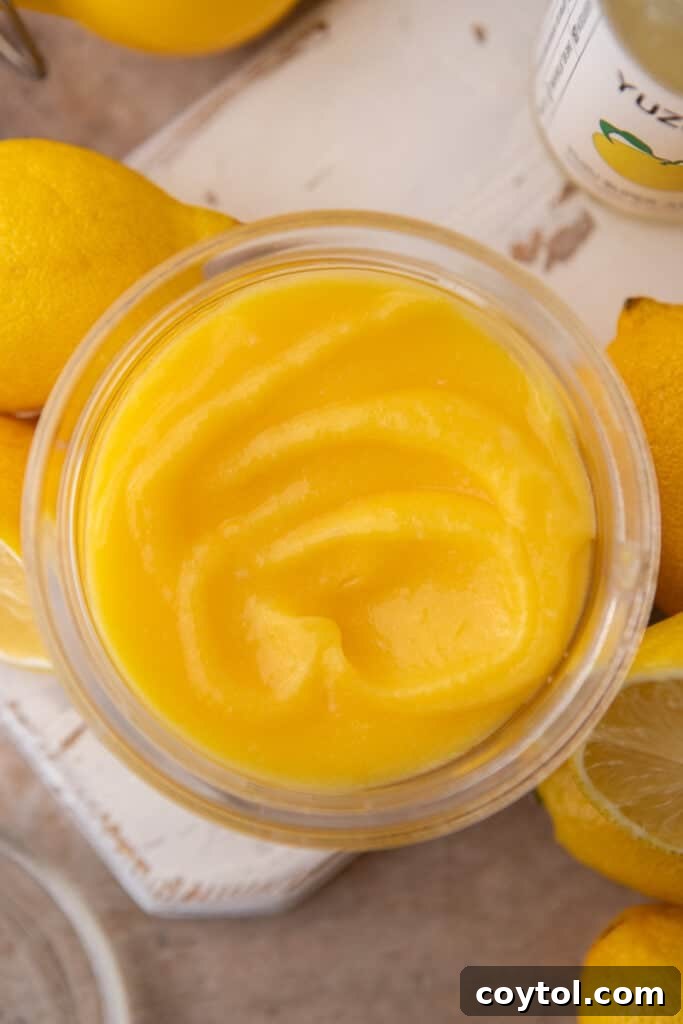
- Chill to Set: Transfer the strained curd to an airtight container. Press a piece of plastic wrap directly onto the surface of the curd to prevent a “skin” from forming as it cools. Allow it to cool down to room temperature on the counter before transferring it to the refrigerator. Chill for at least 1 hour, or preferably 2-4 hours, until it is completely cold and set. This chilling time is essential for the curd to thicken to its perfect spreadable consistency.
Expert Tips and Tricks for the Best Yuzu Curd
Achieving a flawless yuzu curd is easy with these insider tips:
- Don’t Skip the Strainer: For an ultimate silky smooth finish, passing the cooked curd through a fine-mesh sieve is highly recommended. It catches any tiny bits of cooked egg or zest, ensuring a luxurious texture.
- Whisk Consistently: The key to preventing scrambled eggs and achieving a smooth custard is constant whisking. Keep that whisk moving, especially when the curd starts to thicken. Low and slow heat, paired with continuous agitation, is your best friend here.
- Add Butter Last, Off the Heat: Introducing the cold butter in pieces after removing the curd from the heat is crucial. This method gives the curd its signature glossy sheen and contributes to its rich, velvety mouthfeel without compromising the egg mixture’s emulsification.
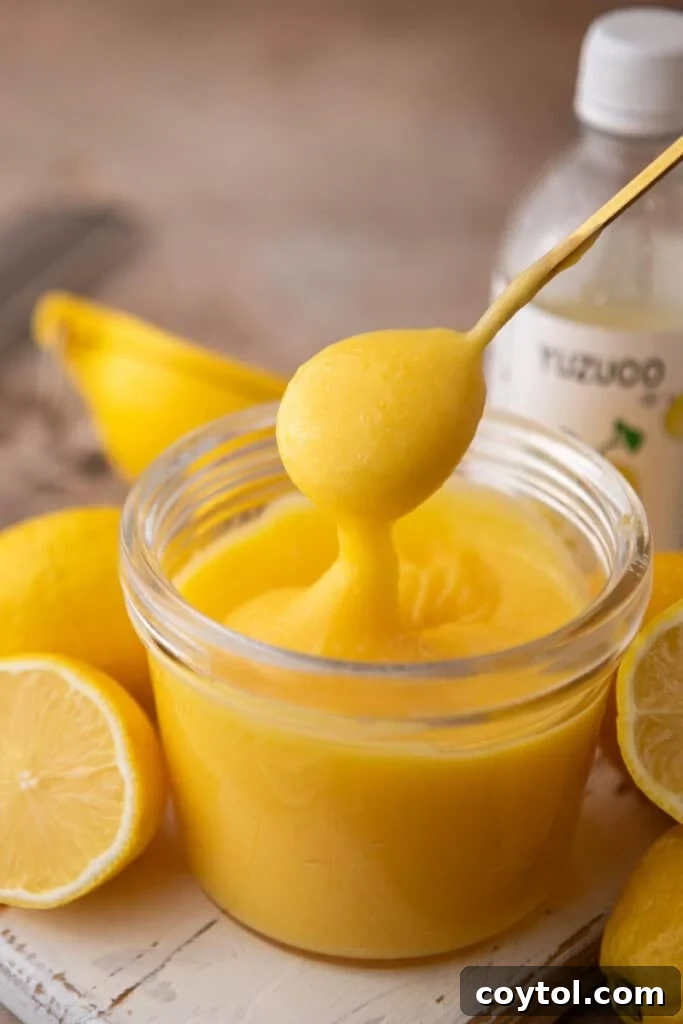
- Chill Thoroughly: Patience is a virtue when it comes to curd. Allow it to chill completely—at least 1-2 hours, but preferably longer—before using. As it cools, the curd will thicken beautifully and become perfectly spreadable or pipeable for your desserts.
- Use a Thermometer: While coating the back of a spoon is a good visual indicator, an instant-read thermometer offers precise control. Aim for 170°F (77°C) to ensure the eggs are safely cooked and the curd achieves optimal thickness without curdling.
- Quality Ingredients Matter: With so few ingredients, the quality of each shines through. Use fresh, large eggs, good unsalted butter, and pure yuzu juice for the best possible flavor.
Why You Need to Make This Simple Yuzu Curd Recipe
If you’re still contemplating whether to embark on this culinary adventure, here are compelling reasons why this easy yuzu curd recipe deserves a spot in your kitchen:
- An Exotic Flavor Explosion: Move beyond the ordinary! This curd offers a deliciously tangy, deeply floral, and uniquely fragrant citrus profile that is more complex and nuanced than traditional lemon curd. It instantly elevates any dessert from good to gourmet.
- Incredibly Versatile: Its vibrant flavor makes it perfect as a spread on toast, a filling for elegant tarts and layer cakes, a swirl into creamy yogurts or ice creams, or even dolloped onto scones or pancakes. The possibilities are endless, making it a valuable staple in your dessert repertoire.
- Elevate Any Dessert: A simple dollop of homemade yuzu curd can transform even the most basic treat—like a plain cupcake, a scoop of vanilla ice cream, or a slice of pound cake—into a sophisticated, chef-inspired delight.
- Simple to Master: Despite its gourmet appeal, this recipe is incredibly straightforward, featuring clear, step-by-step instructions that make it accessible for bakers of all skill levels. Enjoy a high-end ingredient at home without the fuss.
- Impress Your Guests: Introducing a new, exciting flavor like yuzu is a fantastic way to surprise and delight your family and friends. It’s a conversation starter and a testament to your culinary adventurousness.
Frequently Asked Questions (FAQ)
How long does yuzu curd last?
When stored properly in an airtight container in the refrigerator, homemade yuzu curd will maintain its freshness and quality for up to 7-10 days. For longer-term storage, you can freeze it for up to 3 months. To use frozen curd, simply thaw it overnight in the refrigerator, then give it a quick whisk to restore its smooth texture before serving.
Where can I find yuzu juice?
Bottled yuzu juice has become increasingly accessible. You can typically find it at well-stocked Asian grocery stores, Japanese specialty markets, or through various online retailers like Amazon. When purchasing, always look for 100% pure yuzu juice to ensure the best and most authentic flavor, and steer clear of brands with added sweeteners or artificial ingredients.
Can I use fresh yuzu instead of bottled juice?
Absolutely, if you’re fortunate enough to find fresh yuzu! Using fresh yuzu will provide an unparalleled depth of flavor and aroma. Simply juice the fruit, and make sure to incorporate the zest as well for an extra boost of essential oils and fragrance. Remember to strain out any seeds or pulp from the fresh juice to ensure your curd remains perfectly smooth.
Can I use yuzu curd in baking and other desserts?
Indeed! Yuzu curd is incredibly versatile and makes a magnificent filling or topping for a wide array of desserts. It’s superb in yuzu tarts, cupcakes, layer cakes, unfilled pavlova shells, delicate macarons, or even sandwiched between butter cookies. Beyond baking, you can swirl it into creamy Greek yogurt, spoon it over toast or pancakes for a gourmet breakfast, or even incorporate it into homemade ice cream for a truly divine, refreshing treat. I recently swirled this very curd into my lemon ice cream recipe, and the result was absolutely heavenly!
Why is my yuzu curd too runny or too thick?
The consistency of your yuzu curd is primarily dependent on cooking time and temperature. If your curd turns out too runny, it likely didn’t cook long enough to reach the proper thickening point (170°F/77°C). If it’s too thick, or worse, has a curdled texture, it was probably cooked too quickly or at too high a temperature. Remember the golden rule for curd: low, slow heat and constant whisking are paramount for perfect results. A reliable instant-read thermometer is your best friend in avoiding these common issues.
Can I make this yuzu curd recipe without eggs?
Traditional fruit curds, including this yuzu recipe, rely heavily on eggs or egg yolks (or a combination) for their characteristic richness, smooth texture, and thickening properties. While it’s possible to create an egg-free version using alternative thickeners like cornstarch or agar-agar, the resulting texture and flavor profile will inevitably be different from a classic egg-based curd. If you require an egg-free option, be prepared for a slightly altered consistency.
Is this curd safe to can for long-term storage?
For food safety reasons, fruit curds made with eggs, like this yuzu curd, are generally not recommended for water bath canning. The high egg content makes them prone to spoilage if not processed correctly, and home canning methods might not achieve the necessary conditions for safe long-term shelf storage. It’s best to stick to refrigeration or freezing for this particular recipe to ensure safety and quality.
Yuzu Curd Recipe
Print Recipe
Ingredients
- 2 large eggs
- 2 large egg yolks
- 3/4 cup granulated sugar
- ½ cup yuzu juice (bottled is great, I used YuzuCo)
- Pinch of salt
- 5 tbsp unsalted butter cut into pieces
Instructions
-
In a heatproof bowl, whisk together eggs, yolks, sugar, yuzu juice, and salt until smooth.2 large eggs, 2 large egg yolks, 3/4 cup granulated sugar, ½ cup yuzu juice, Pinch of salt
-
Set over a saucepan of simmering water (double boiler style). Whisk constantly for 10–12 minutes, or until thickened and the mixture reaches about 170°F (77°C). It should coat the back of a spoon.
-
You can cook it directly in a saucepan but it is easier to overcook your eggs that way. So I suggest the double boiler method!
-
Remove from heat and whisk in butter, a few pieces at a time, until silky and glossy.5 tbsp unsalted butter
-
Strain through a fine mesh sieve for extra-smooth curd.
-
Chill with plastic wrap pressed directly on the surface. Let set for at least 1 hour.
Notes
• Sweet-tart
• Floral and citrusy
• Much lighter and more aromatic than lemon curd
⸻
🧁 Serving Ideas:
• Fill mini tart shells and top with torched meringue
• Swirl into cheesecake batter or yogurt
• Spoon into cream puffs or layer into cakes
• Serve with matcha shortbread or sable cookies
Nutrition
Nutrition information is automatically calculated, so should only be used as an approximation.