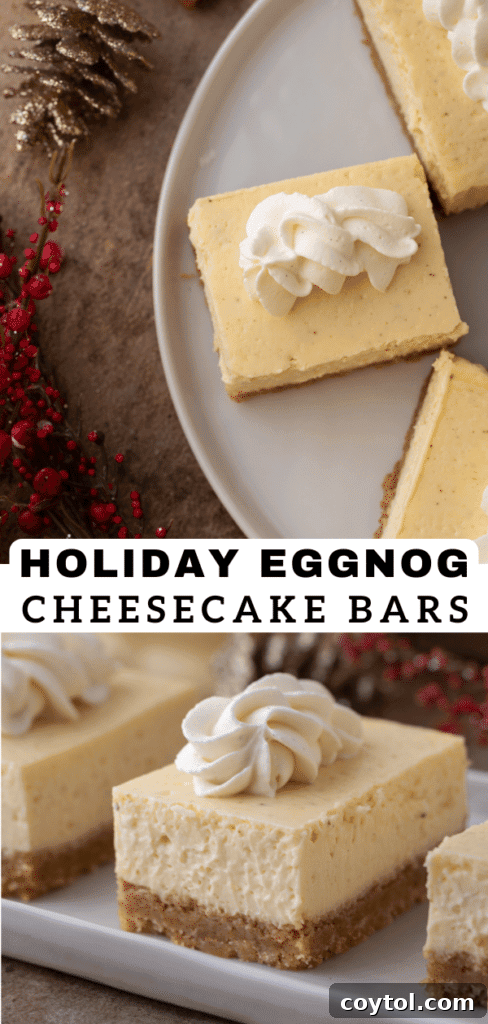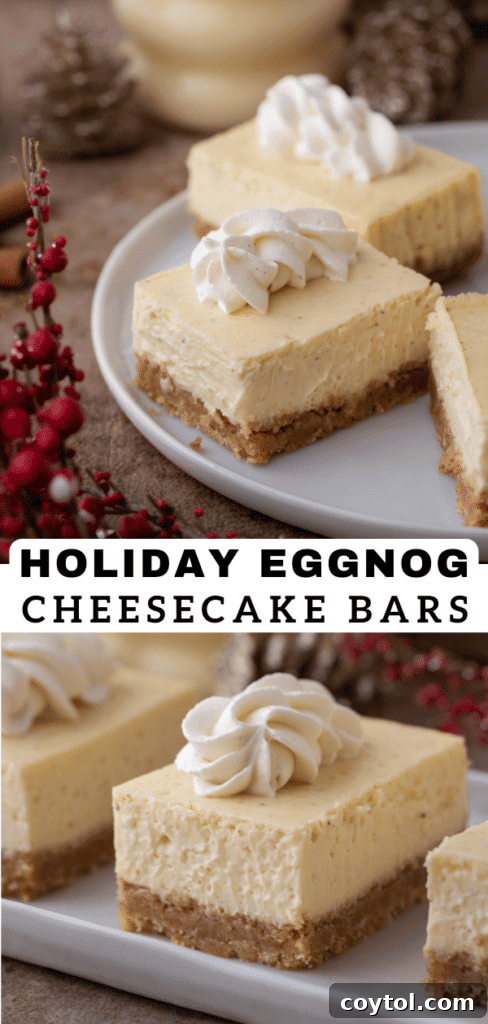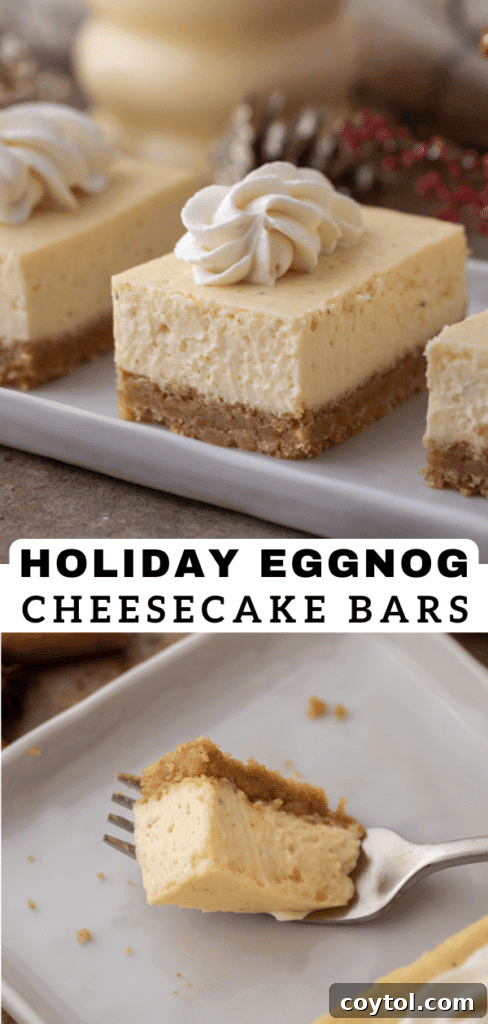
As the holiday season draws near, the anticipation of festive flavors fills the air. For many, eggnog is the quintessential taste of Christmas, a rich and creamy indulgence that perfectly captures the spirit of winter celebrations. But what if you could transform this beloved beverage into an even more irresistible dessert? Prepare to discover your new favorite holiday treat: **Eggnog Cheesecake Bars**!
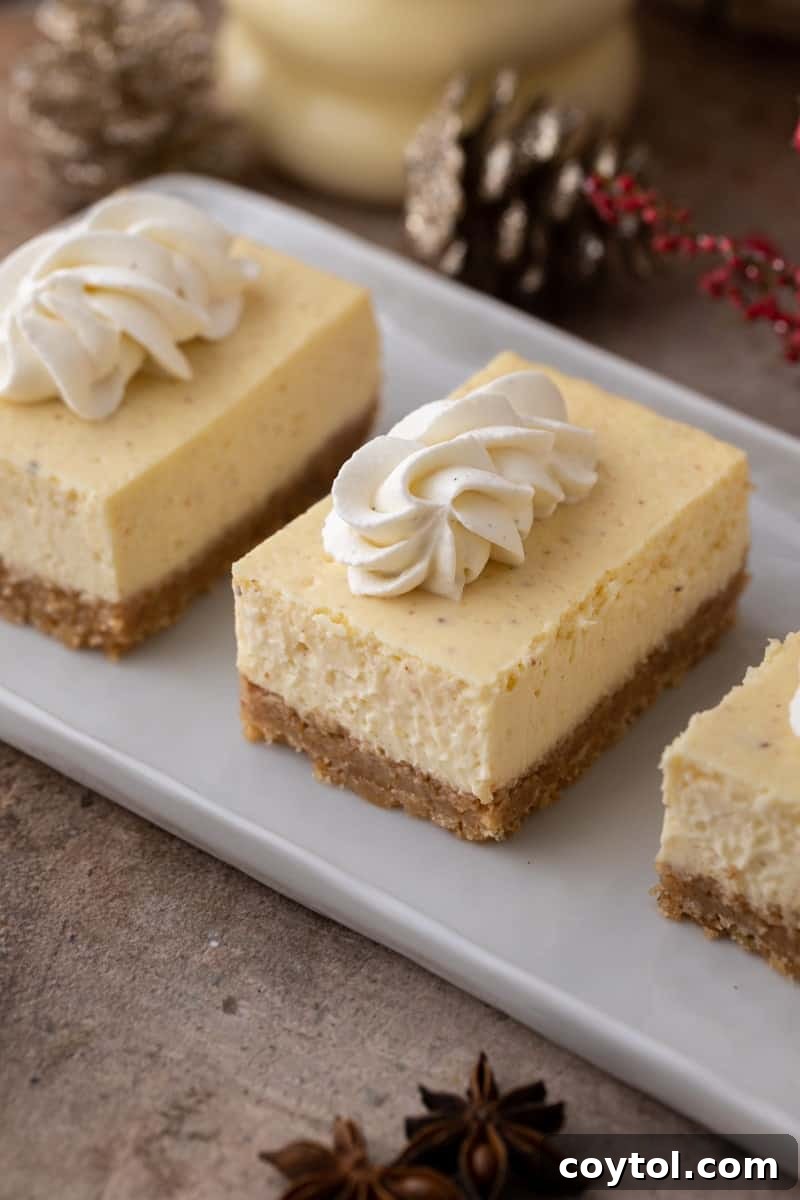
These delightful bars take the classic, comforting essence of eggnog and marry it with the luscious, smooth texture of cheesecake, all resting upon a perfectly crisp graham cracker crust. They are not just a dessert; they are a celebration of holiday cheer, designed to be a standout addition to any festive gathering, family meal, or cozy evening by the fire. Forget the hassle of a traditional cheesecake; these bars offer all the decadence with remarkable ease, making them perfect for both seasoned bakers and beginners alike.
If you’re looking to complete your holiday dessert table, don’t forget to explore our other festive favorites! Check out The Best Christmas Fudge Recipe, these Easy Festive Christmas Muddy Buddies, the incredibly popular Easy Christmas Crack Recipe, and this comforting Easy Festive Christmas Cake Mix Mug Cake for more delicious inspiration.
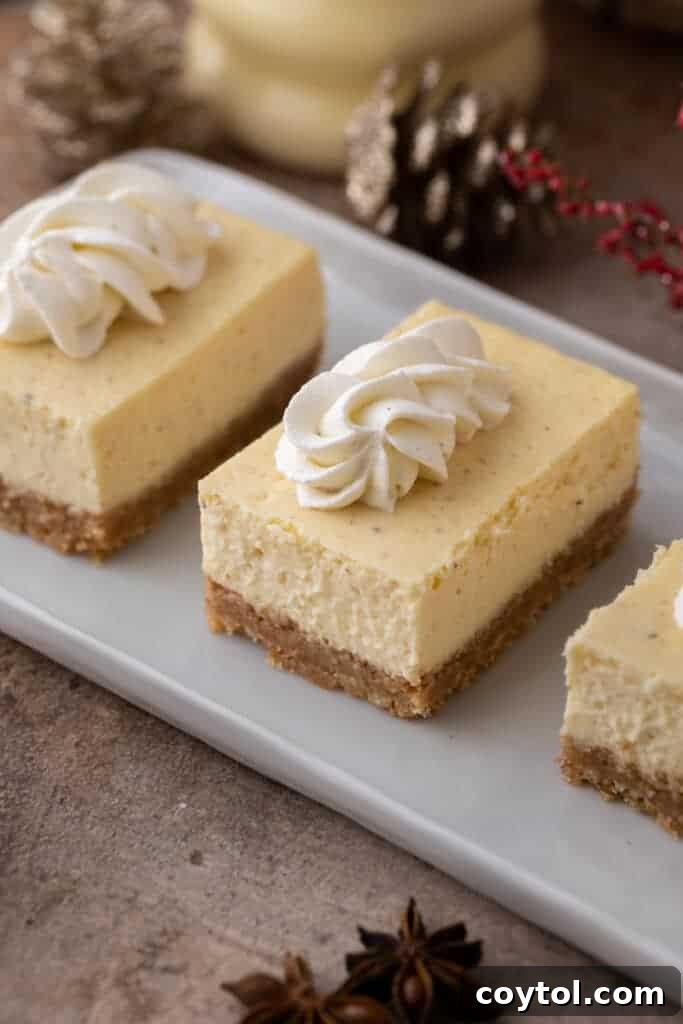
Why These Eggnog Cheesecake Bars Are Your Ultimate Holiday Treat
These Eggnog Cheesecake Bars aren’t just another dessert; they’re an experience waiting to happen. Here’s why they deserve a prime spot on your holiday baking list this year:
- Effortlessly Festive: Ditch complicated holiday baking projects. These bars are incredibly simple to prepare, making them an ideal dessert for any Christmas party, holiday potluck, or festive family gathering. Their elegant presentation belies their easy creation!
- A Seasonal Twist on a Classic: While traditional cheesecake is always a crowd-pleaser, these eggnog-infused bars offer a unique, seasonal flavor profile that’s simply irresistible. They provide a delightful change of pace, delivering the familiar creamy indulgence of cheesecake with the distinct, warm spice of eggnog.
- Guaranteed Crowd-Pleaser: Eggnog holds a special place in many hearts during the colder months. By transforming this beloved holiday drink into a delectable dessert, you’re sure to delight everyone at your table. These bars often become the highlight of any winter menu, sparking joy and nostalgic holiday memories.
- Perfect for Sharing: Unlike a whole round cheesecake that requires precise slicing, these bars are pre-portioned and easy to serve. They’re ideal for buffets, cookie exchanges, or simply enjoying a small, perfect square whenever a craving strikes.
- Make-Ahead Friendly: You can prepare these cheesecake bars a day or two in advance, allowing them ample time to chill and set perfectly. This frees up precious time on busy holiday event days, letting you focus on other preparations or simply relaxing.
Understanding Eggnog: The Star Flavor of Your Holiday Bars
Before diving into this delightful recipe, let’s talk about eggnog itself. Eggnog is a rich, creamy, and distinctively flavored dairy-based beverage traditionally consumed during the winter holiday season. Its origins can be traced back to medieval European drinks, evolving over centuries into the festive staple we know today.
The base of classic eggnog typically consists of milk, cream, sugar, and whipped eggs (sometimes just the yolks, sometimes whole eggs). It’s famously spiced with warming flavors like ground nutmeg and hints of vanilla, often with cinnamon or cloves also making an appearance. While many enjoy non-alcoholic versions, eggnog is also popularly “spiked” with spirits such as rum, brandy, or bourbon, adding another layer of warmth and complexity.
Eggnog’s seasonal availability in stores makes it a highly anticipated treat, but it’s also incredibly rewarding to make from scratch. Its unique blend of sweetness, creaminess, and aromatic spices makes it a versatile ingredient, perfect not just for sipping but also for infusing into desserts like these cheesecake bars, giving them that unmistakable holiday charm.
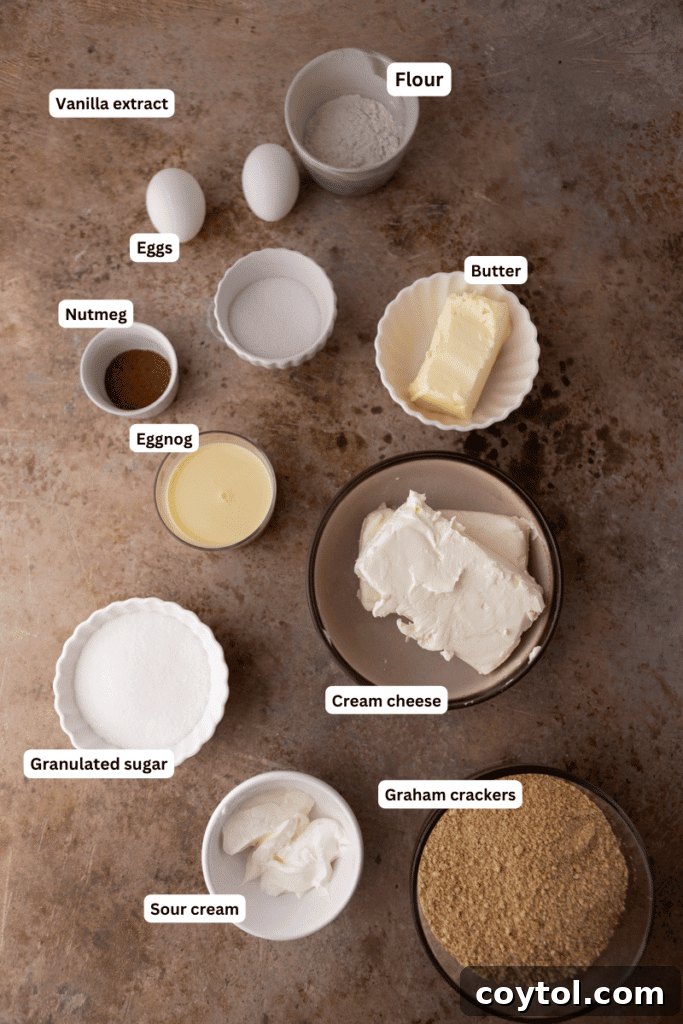
Gather Your Ingredients: What You’ll Need for Festive Eggnog Cheesecake Bars
Crafting these irresistible Eggnog Cheesecake Bars requires a selection of high-quality ingredients, each playing a crucial role in achieving that perfect balance of flavor and texture. For precise measurements, please refer to the detailed recipe card found at the bottom of this page.
For the Irresistible Graham Cracker Crust
- Graham Cracker Crumbs: The foundation of our cheesecake bars! You can either purchase pre-crushed crumbs for convenience or create your own by finely processing whole graham crackers in a food processor. Alternatively, place them in a sturdy plastic bag and crush them with a rolling pin until fine. Approximately 14 full graham cracker sheets yield one cup of crumbs, and for this recipe, you’ll need around 21 sheets to achieve the perfect amount. The finer the crumbs, the more compact your crust will be.
- Granulated White Sugar: A touch of sugar is added to the crust not only for sweetness but also to help with the caramelization during baking, contributing to a wonderfully crisp and flavorful base.
- Unsalted Butter (Melted): Melted butter is the binding agent that holds the graham cracker crumbs together. It creates a firm, buttery crust that provides a delightful contrast to the creamy filling. Using unsalted butter allows you to control the overall saltiness of your dessert.
For the Creamy Eggnog Cheesecake Filling
- Cream Cheese: The cornerstone of any great cheesecake! For the smoothest, lump-free filling, it’s absolutely essential to use full-fat cream cheese that has been softened to room temperature. This allows it to whip smoothly and incorporate easily with the other ingredients. Plan to take it out of the fridge at least 1-2 hours before you start baking.
- Sour Cream: This is truly the cheesecake secret ingredient! Sour cream adds a subtle tang, depth of flavor, and, most importantly, helps create an incredibly silky, smooth, and ultra-creamy texture while preventing the cheesecake from becoming too dense. If you haven’t used it in your cheesecakes before, you’ll be amazed by the difference.
- Granulated White Sugar: Provides the necessary sweetness to balance the tang of the cream cheese and sour cream, enhancing the overall eggnog flavor.
- Large Eggs: Eggs are crucial for the structure and body of your cheesecake. They act as an emulsifier, binding the ingredients and ensuring a smooth, firm, yet tender texture. The egg yolks specifically contribute to the rich, custardy consistency that makes cheesecake so decadent.
- Eggnog: The star of the show! Use your favorite brand of store-bought eggnog or even homemade if you’re feeling ambitious. Its distinctive flavor will permeate every bite, making these bars uniquely festive.
- Pure Vanilla Extract: A universal flavor enhancer, vanilla extract complements the spices in the eggnog and rounds out the overall flavor profile of the cheesecake, adding a layer of warmth and sweetness.
- Ground Nutmeg: The iconic spice associated with eggnog and holiday baking. Ground nutmeg adds a warm, aromatic, and slightly sweet-peppery note that elevates the entire dessert. For the freshest and most potent flavor, consider grating whole nutmeg seeds yourself, though pre-ground is perfectly fine.
- All-Purpose Flour: Just a couple of tablespoons of flour are added to the cheesecake batter to provide a little extra structural integrity. It helps to prevent cracking by balancing out excess moisture and ensuring a perfectly set, smooth filling.
Optional: Whipped Cream Topping and Garnish
- Whipped Cream: For an extra layer of indulgence and creaminess, a swirl of whipped cream on top is highly recommended. You can use ready-made canned whipped cream for convenience or easily make your own by whipping heavy cream with a touch of sugar and vanilla until soft peaks form.
- Ground Nutmeg: A final dusting of ground nutmeg not only adds a beautiful visual touch but also reinforces the signature eggnog flavor, tying all the components together for a truly festive finish.
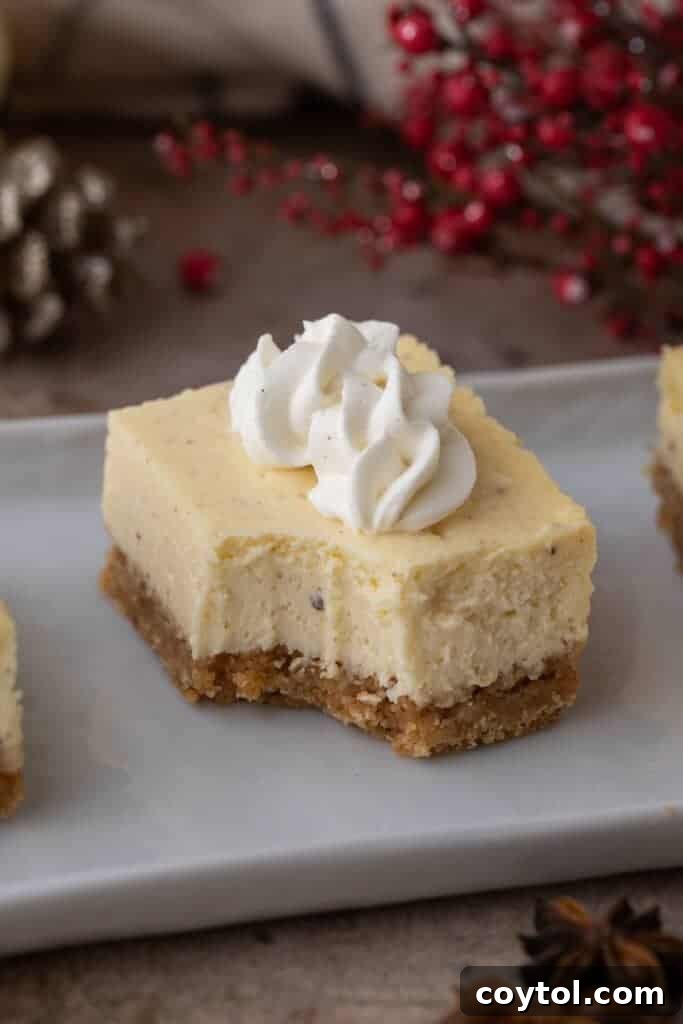
Essential Tools: Utensils for Baking Perfect Eggnog Cheesecake Bars
Having the right tools on hand can make the baking process smoother and more enjoyable. Here’s what you’ll need to create these delicious eggnog cheesecake bars:
- 8×8-inch Baking Pan: This specific size is perfect for achieving tall, thick, and satisfying cheesecake bars. A metal pan is ideal for even heat distribution.
- Parchment Paper: A true baking hero! Lining your baking pan with parchment paper, allowing some overhang on the sides, is crucial. It acts as a sling, making it incredibly easy to lift the entire chilled cheesecake out of the pan for clean cutting, and prevents sticking.
- Medium Bowl & Large Bowl: You’ll need one medium bowl for preparing the graham cracker crust and a large bowl for mixing the cheesecake filling. If you’re looking to minimize dishwashing, you can certainly use the large bowl for both, just ensure it’s thoroughly cleaned between uses.
- Electric Hand Mixer or Stand Mixer: An electric mixer is highly recommended for achieving a silky-smooth cheesecake batter. It effortlessly creams the cheese and incorporates other ingredients, ensuring a lump-free filling. Either a handheld mixer or a stand mixer with a paddle attachment will work wonderfully.
- Silicone Spatula: Essential for scraping down the sides of your mixing bowl. This ensures that all the cream cheese and other ingredients are fully incorporated into the batter, preventing unmixed pockets and guaranteeing a uniform, creamy consistency.
- Wire Rack: Once baked, your cheesecake bars will need to cool gradually. A wire rack allows air to circulate around the pan, helping them cool down evenly to room temperature before chilling in the refrigerator.
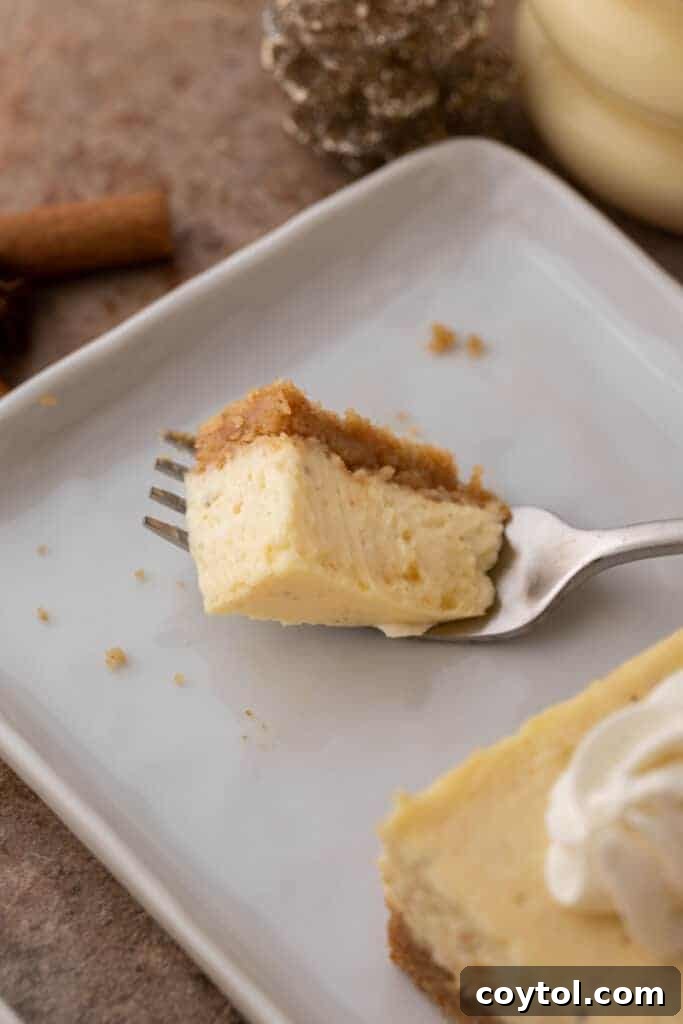
Crafting the Perfect Graham Cracker Crust for Your Eggnog Cheesecake Bars
A great cheesecake begins with a solid, flavorful crust. Follow these simple steps to create the ideal base for your festive eggnog cheesecake bars:
- Prepare Your Pan and Preheat Oven: Start by preheating your oven to 350°F (175°C). Line an 8×8-inch baking pan with parchment paper. Make sure to leave a generous overhang on two opposite sides; these “handles” will be vital later for easily removing the chilled cheesecake from the pan.
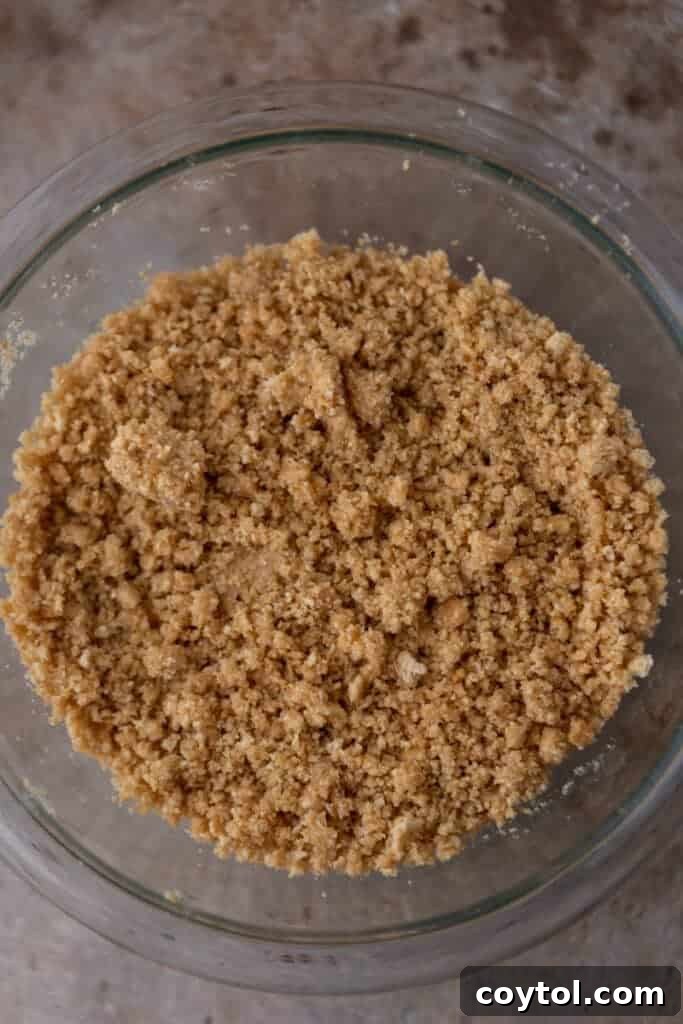
- Combine Crust Ingredients: In a medium-sized mixing bowl, combine the graham cracker crumbs, granulated sugar, and melted unsalted butter. Use a fork or your hands to mix these ingredients thoroughly until the crumbs are evenly moistened and resemble wet sand. Every crumb should be coated in butter to ensure a cohesive crust.
- Press the Crust: Pour the crumb mixture into the prepared baking pan. Using the bottom of a flat measuring cup, a glass, or your clean hands, press the mixture firmly and evenly into the bottom of the pan. It’s crucial to pack it down tightly to prevent a crumbly crust once baked. Ensure it forms a uniform layer across the entire base.
- Pre-Bake the Crust: Place the pan with the pressed crust into the preheated oven and bake for 10 minutes. This pre-baking step helps to set the crust, making it crispier and more stable, and prevents it from becoming soggy once the cheesecake filling is added.
Creating the Velvety Eggnog Cheesecake Filling
With your crust perfectly baked, it’s time to whip up the star of the show: the creamy, spiced eggnog cheesecake filling. The key here is gentle mixing and ensuring all ingredients are at room temperature for a smooth, lump-free batter.
- Adjust Oven Temperature: Once the crust is out of the oven, reduce the oven temperature to 325°F (160°C). This lower temperature is ideal for baking cheesecakes, promoting even cooking and helping to prevent cracks.
- Cream the Cheeses: In a large mixing bowl, combine the softened cream cheese and sour cream. Using an electric mixer (either handheld or stand mixer with a paddle attachment), beat on medium speed until the mixture is completely smooth and free of lumps. This can take a few minutes, so be patient. Scrape down the sides of the bowl frequently with a silicone spatula to ensure everything is well combined.
- Add Sugar: Gradually add the granulated white sugar to the cream cheese mixture. Continue mixing on medium-low speed until the sugar is fully incorporated and the mixture is light and fluffy. Avoid overmixing at this stage to prevent incorporating too much air.
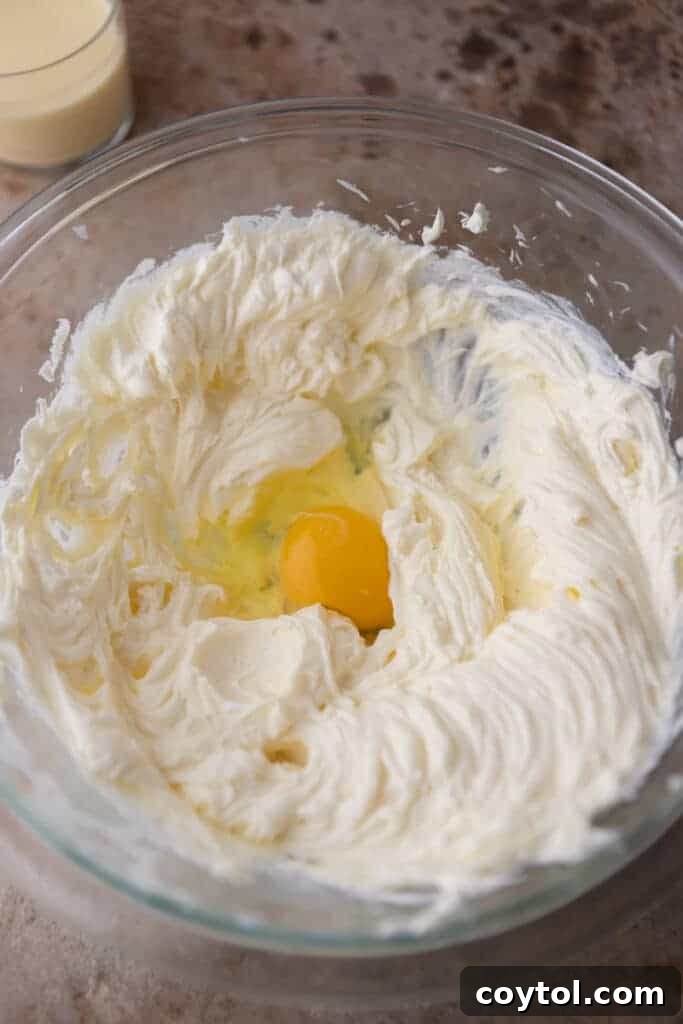
- Incorporate Eggs (One at a Time): Add the eggs one at a time, mixing on low speed only until each egg is just combined. It’s crucial not to overmix the eggs, as this can introduce too much air, which can lead to cracks in your baked cheesecake. Scrape the bowl after each addition.
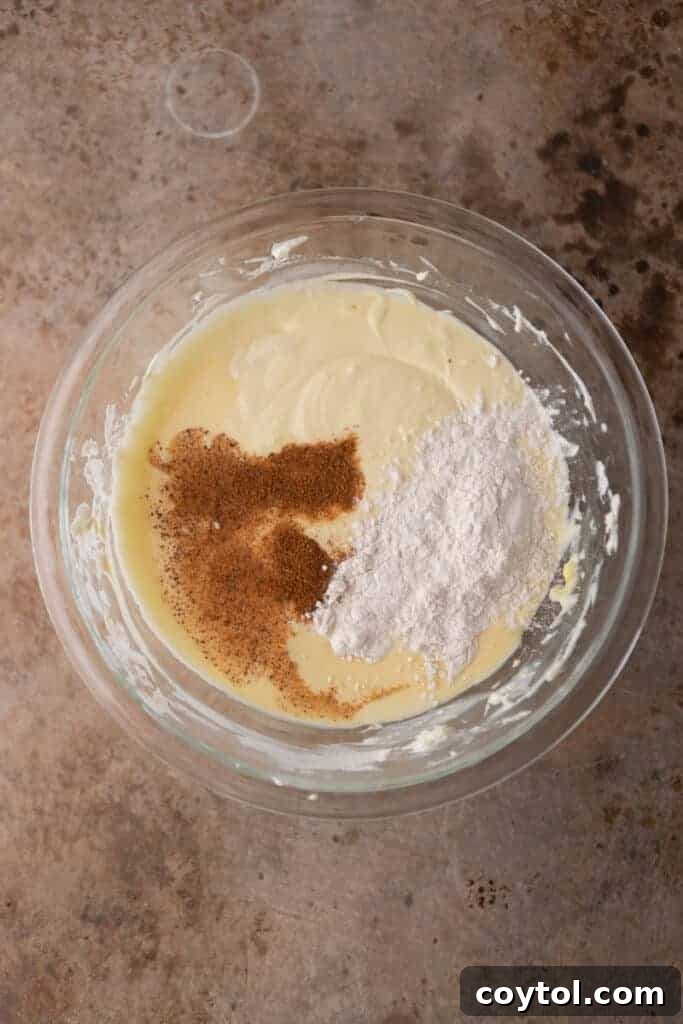
- Mix in Flavorings and Flour: Gently fold in the eggnog, pure vanilla extract, ground nutmeg, and all-purpose flour. Mix on the lowest speed or by hand with a spatula just until the batter is smooth and all ingredients are evenly distributed. Again, minimize mixing to maintain a dense, creamy texture.
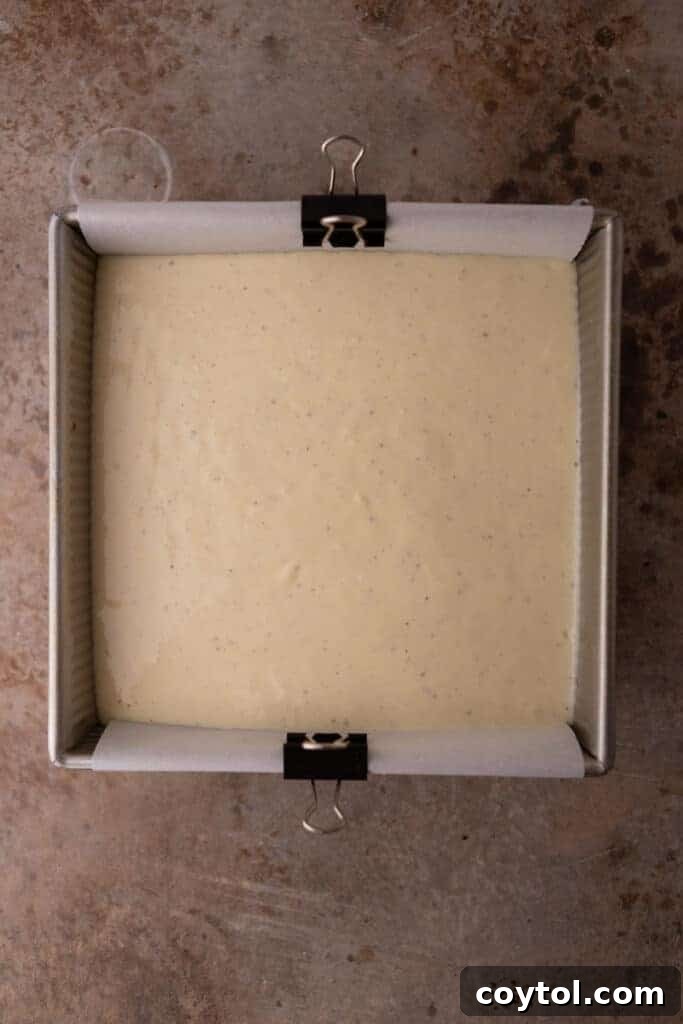
- Pour Over Crust: Carefully pour the finished cheesecake batter over the pre-baked graham cracker crust in your prepared pan. Use your silicone spatula to gently smooth the top of the batter, ensuring it’s an even layer.
- Bake in a Water Bath: To achieve that signature crack-free, perfectly creamy cheesecake texture, bake the cheesecake bars in a hot water bath (bain-marie). Place your cheesecake pan inside a larger roasting pan. Fill the larger pan with hot water, ensuring the water level comes about halfway up the sides of the cheesecake pan. This creates a moist, even heat environment, preventing rapid temperature changes that cause cracking. Bake for approximately 40-45 minutes, or until the edges are set and the center still has a slight jiggle when gently nudged.
- Cool and Chill: Once baked, carefully remove the cheesecake pan from the water bath. Let the bars cool completely in the pan on a wire rack at room temperature. This slow cooling prevents sudden temperature drops that can cause cracks. Once cooled to room temperature, transfer the pan to the refrigerator and chill for at least 3-4 hours, or ideally, overnight. Chilling is essential for the cheesecake to fully set and firm up, making it easy to slice.
- Slice and Serve: When the cheesecake bars are thoroughly chilled and firm, use the parchment paper overhang as handles to gently lift the entire cheesecake slab out of the pan. Place it on a cutting board and use a sharp knife (wiping the blade clean with a hot, damp cloth between cuts) to slice it into uniform square bars.
- Garnish (Optional): For a final festive touch, top each eggnog cheesecake bar with a dollop of whipped cream and a light sprinkle of fresh ground nutmeg just before serving. Enjoy this delightful holiday masterpiece!
Advanced Tips for Flawless Eggnog Cheesecake Bars
Achieving a perfect cheesecake can sometimes feel daunting, but with a few expert tips, you’ll be baking like a pro. These pointers will help ensure your Eggnog Cheesecake Bars are not only delicious but also structurally perfect and crack-free.
- Room Temperature Ingredients are Key: This cannot be stressed enough, especially for your cream cheese and eggs. Cold ingredients don’t emulsify properly, leading to a lumpy batter and a less smooth final texture. Softened cream cheese whips up beautifully, creating that signature velvety consistency.
- Do Not Overmix the Batter: Overmixing is the arch-nemesis of a smooth cheesecake. When you incorporate too much air into the batter, it expands rapidly during baking and then collapses as it cools, leading to unsightly cracks. Mix just until combined at each stage, especially after adding eggs.
- The Essential Water Bath (Bain-Marie): As detailed in the instructions, a water bath is crucial for cheesecake success. It provides a moist, gentle, and even heat environment that prevents the cheesecake from baking too quickly around the edges while the center remains undercooked. This gradual cooking process significantly reduces the risk of cracks and results in a custard-like, incredibly creamy texture.
- Chill Time is Non-Negotiable: Resist the urge to cut into your bars too soon! The extended chilling period (at least 3-4 hours, preferably overnight) allows the cheesecake to fully set and firm up. This not only improves its texture and flavor but also makes it much easier to slice into clean, beautiful bars.
- Clean Slices for Perfect Presentation: For neat, professional-looking bars, use a sharp, thin-bladed knife. For the cleanest cuts, wipe the knife clean with a hot, damp cloth after each slice. This prevents the cheesecake from sticking to the blade and dragging crumbs.
- Don’t Open the Oven Door Too Often: Maintain a consistent oven temperature. Each time you open the oven door, the temperature drops, which can disrupt the baking process and contribute to cracking.
Frequently Asked Questions (FAQ) About Eggnog Cheesecake Bars
What is a hot water bath and why should I use it?
A hot water bath, often referred to by its French name, “bain-marie,” is a technique used in baking to provide gentle, even heat to delicate desserts like cheesecakes. It involves placing your cheesecake pan inside a larger roasting pan, and then filling the larger pan with hot water, typically reaching about halfway up the sides of the cheesecake pan. The steam from the hot water creates a humid environment in the oven, preventing the cheesecake from drying out and baking too quickly. This gradual cooking process significantly reduces the risk of cracks and results in a much creamier texture, and ensures the cheesecake cooks evenly throughout. It’s an indispensable step for a perfectly smooth cheesecake surface!
How To Store Eggnog Cheesecake Bars?
To keep your Eggnog Cheesecake Bars fresh and delicious, it’s essential to store them properly. Place the cooled and sliced bars in an airtight container. They will keep beautifully in the refrigerator for up to 3-4 days. While they might still be edible after this period, the crust can start to soften and become soggy, so for the best texture and flavor, enjoy them within this timeframe.
Can I freeze these eggnog cheesecake bars?
Absolutely! These Eggnog Cheesecake Bars freeze exceptionally well, making them perfect for preparing ahead for future holiday events or for simply enjoying a taste of Christmas long after the season ends. To freeze, ensure the bars are completely cooled and chilled. For best results, wrap each individual bar tightly in plastic wrap, then place the wrapped bars in a freezer-safe airtight container or heavy-duty freezer bag. They can be stored in the freezer for up to 2-3 months. When you’re ready to enjoy, simply transfer them from the freezer to the refrigerator and let them thaw for several hours or overnight before serving. You can even enjoy them slightly frozen for a different texture!
Can I use a different crust for these cheesecake bars?
Yes, absolutely! While the classic graham cracker crust is always a winner, feel free to get creative and customize your crust to suit your taste or the holiday theme. For an extra festive touch, consider using cinnamon graham crackers, gingersnap cookies, or even shortbread cookies. Simply crush your chosen cookie variety into fine crumbs and follow the same instructions for combining with sugar and melted butter. Each alternative will impart its own unique flavor profile, taking your eggnog cheesecake bars to a delicious new level.
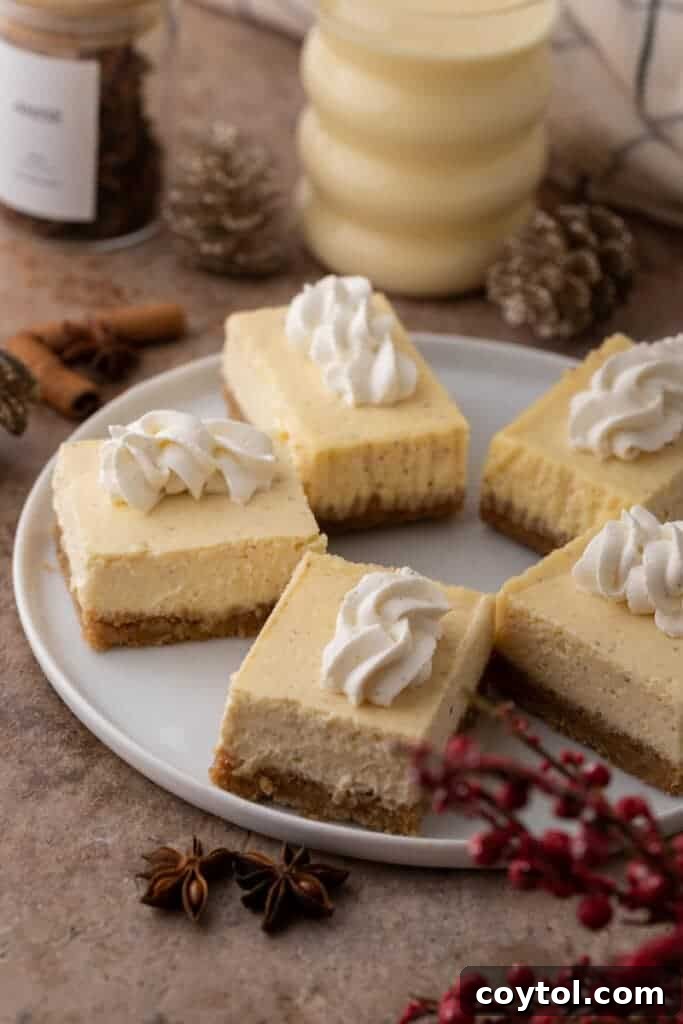
The Perfect Holiday Eggnog Cheesecake Bars Recipe: Your Festive Baking Guide
Eggnog Cheesecake Bars
20 mins
50 mins
1 hr 10 mins (+ chilling)
12 servings
Print Recipe
Ingredients
For the Crust:
- 1 1/2 cups graham cracker crumbs
- 1/4 cup granulated sugar
- 1/2 cup unsalted butter, melted
For the Cheesecake Filling:
- 16 oz cream cheese (2 packages), softened to room temperature
- 1/4 cup sour cream, at room temperature
- 1/2 cup granulated sugar
- 2 large eggs, at room temperature
- 1/2 cup eggnog
- 1 tsp pure vanilla extract
- 1/2 tsp ground nutmeg
- 2 tbsp all-purpose flour
For the Topping (optional):
- Whipped cream
- Ground nutmeg, for dusting
Instructions
Graham Cracker Crust:
- Preheat your oven to 350°F (175°C). Line an 8×8 inch baking pan with parchment paper, allowing some overhang on two sides for easy lifting later.
- In a medium-sized bowl, combine the graham cracker crumbs, 1/4 cup granulated sugar, and 1/2 cup melted unsalted butter. Mix until well combined and the crumbs are evenly moistened.
- Press the graham cracker mixture firmly and evenly into the bottom of the prepared pan. Bake for 10 minutes, then remove from oven and set aside.
Cheesecake Layer:
- Reduce the oven temperature to 325°F (160°C).
- In a large bowl, using an electric mixer, beat the softened cream cheese and sour cream on medium speed until smooth and creamy, about 2-3 minutes. Scrape down the sides of the bowl as needed.
- Add 1/2 cup granulated sugar and continue to beat on medium-low speed until just combined. Do not overmix.
- Mix in the eggs, one at a time, beating on low speed only until each egg is just incorporated before adding the next. Again, avoid overmixing.
- Add the eggnog, vanilla extract, ground nutmeg, and all-purpose flour to the cream cheese mixture. Mix on the lowest speed or gently fold with a spatula until the batter is smooth and fully combined.
- Pour the cheesecake batter evenly over the pre-baked graham cracker crust in the pan. Smooth the top with a spatula.
- Prepare a hot water bath: Place your baking pan inside a larger roasting pan. Carefully pour hot water into the larger pan until it comes halfway up the sides of the cheesecake pan.
- Bake in the preheated oven (with the water bath) for about 40-45 minutes, or until the edges are set and the center still has a slight jiggle.
- Remove the cheesecake bars from the oven and carefully lift the cheesecake pan out of the water bath. Let them cool completely in the pan on a wire rack to room temperature.
- Once at room temperature, transfer the pan to the refrigerator and chill for at least 3-4 hours, or preferably overnight, to allow the cheesecake to set fully.
- Once completely chilled, use the parchment paper overhang to gently lift the cheesecake out of the pan. Place on a cutting board and slice into 12 even square bars using a sharp knife, cleaning the blade between cuts for neat edges.
- If desired, top each bar with a dollop of whipped cream and a sprinkle of ground nutmeg before serving. Enjoy your festive eggnog cheesecake bars!
Nutrition
Carbohydrates: 25g |
Protein: 5g |
Fat: 23g |
Saturated Fat: 14g |
Polyunsaturated Fat: 1g |
Monounsaturated Fat: 6g |
Trans Fat: 0.3g |
Cholesterol: 94mg |
Sodium: 209mg |
Potassium: 111mg |
Fiber: 0.4g |
Sugar: 17g |
Vitamin A: 821IU |
Vitamin C: 0.2mg |
Calcium: 72mg |
Iron: 1mg
Nutrition information is automatically calculated and should be used as an approximation.
Shop Ingredients and Tools for This Recipe
This post may contain affiliate links, meaning that at no cost to you, I will get a small percentage of every purchase you make! Support our passion for delicious recipes by using these links to find some of our favorite kitchen essentials.
Loved These Eggnog Cheesecake Bars? Pin It for Later!
If you’re as excited about these creamy, festive Eggnog Cheesecake Bars as we are, make sure to save this recipe! Pin these delicious bars to your holiday dessert board on Pinterest so you can easily find them for all your seasonal baking needs. They’re a guaranteed hit that you’ll want to revisit year after year!