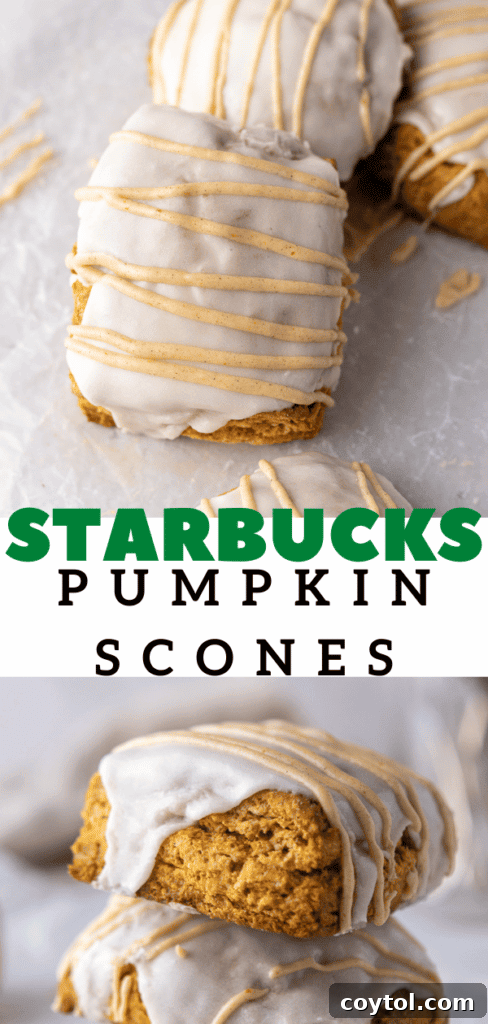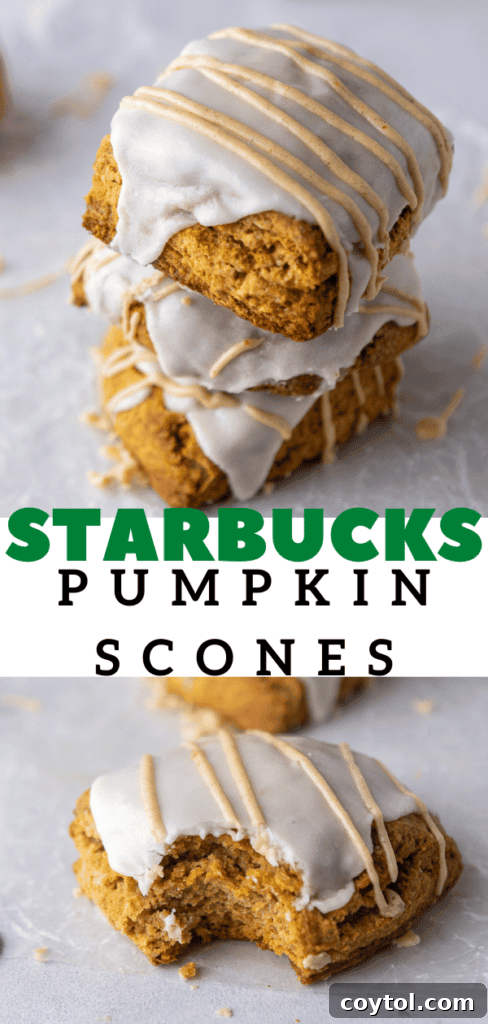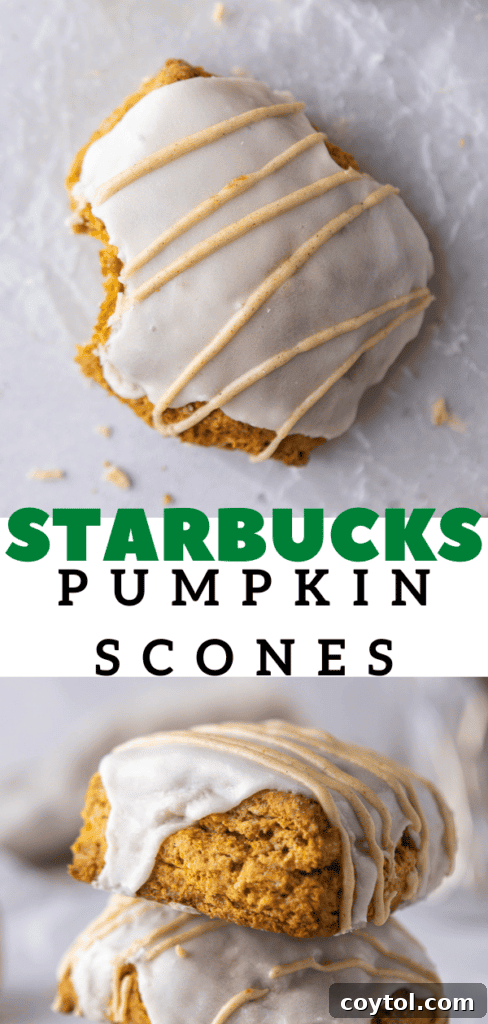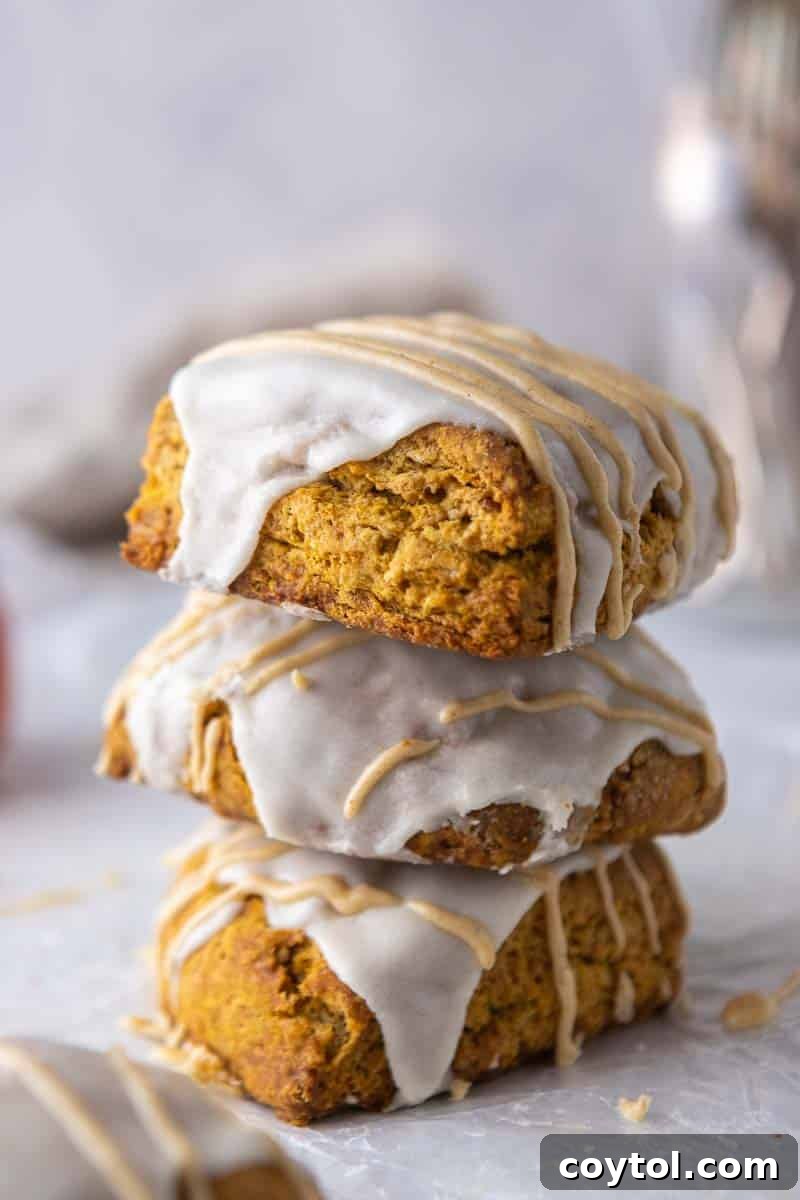
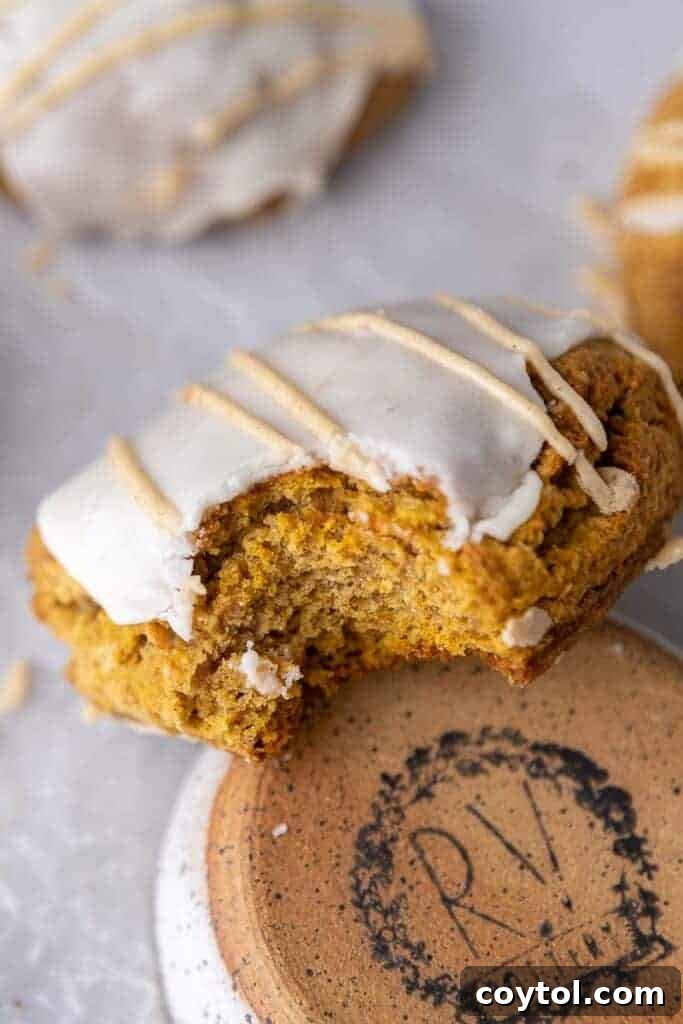
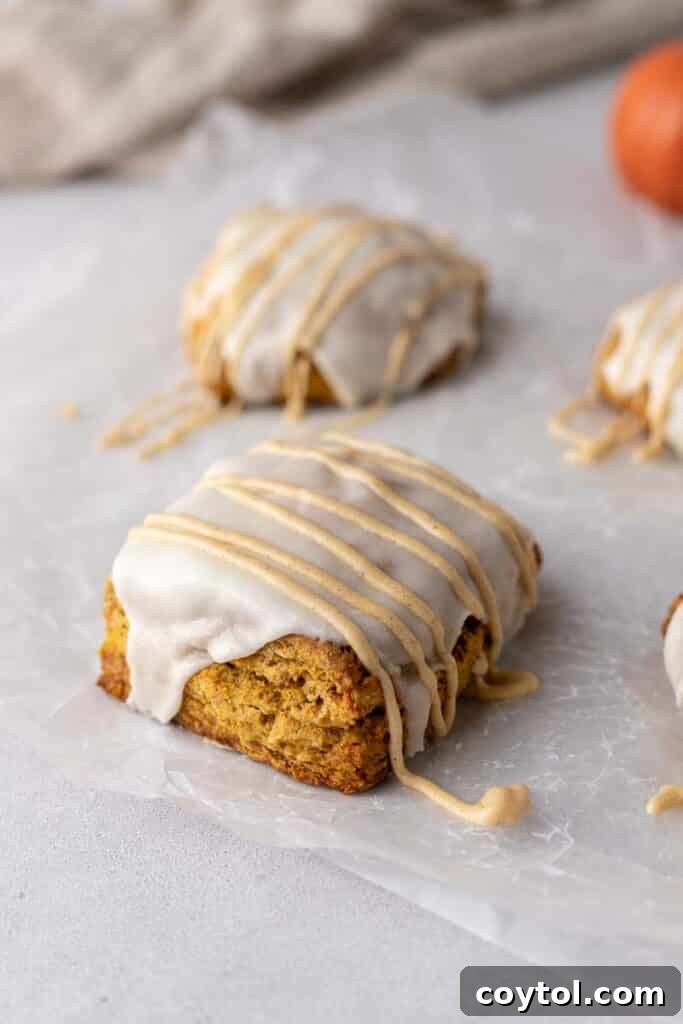
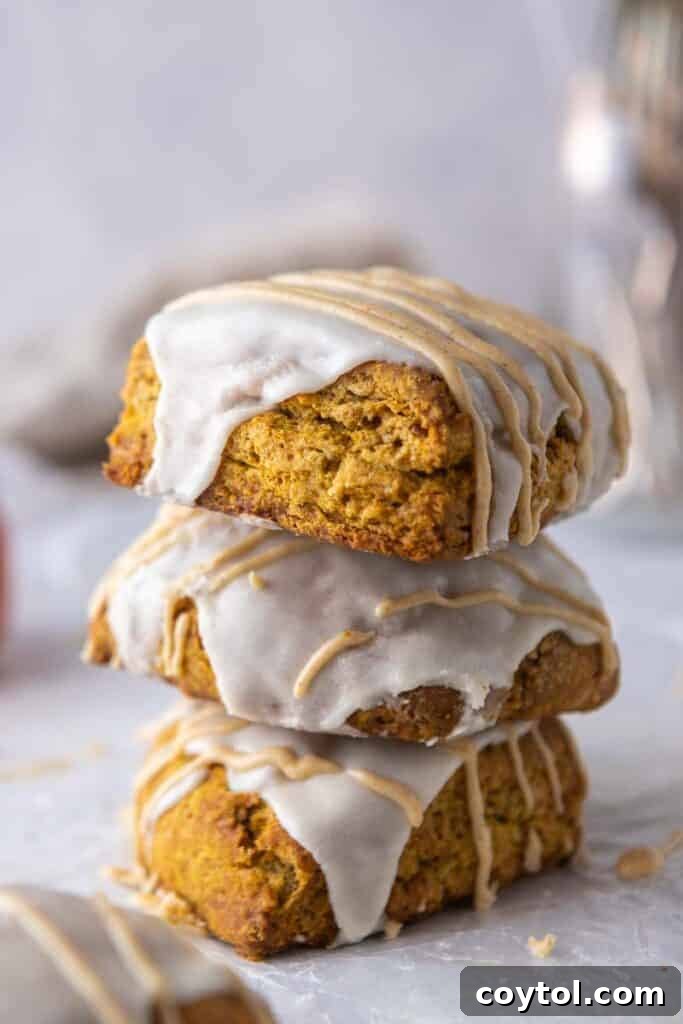
The arrival of fall brings with it a symphony of warm spices and comforting flavors, and few treats capture this essence quite like the Starbucks Pumpkin Scones. These delectable pastries are truly a work of culinary art: incredibly soft, bursting with aromatic autumn spices, and crowned with a delightful duo of glazes. A sweet, crunchy white icing forms the base, elegantly drizzled with a vibrant orange pumpkin spice icing, creating an irresistible treat that perfectly complements your favorite hot beverage. The best part? You can easily recreate this beloved seasonal indulgence right in your own kitchen, saving yourself approximately $4 with every scone you bake!
If you’re a fan of cozy fall baking and pumpkin-infused delights, you’ll also adore our Easiest Pumpkin Banana Bread, the Best Fluffy and Soft Pumpkin Cinnamon Rolls, and our Easy and Healthy Pumpkin Smoothie.

The Quest for the Perfect Starbucks Pumpkin Scone Copycat
The journey to perfecting this copycat Starbucks pumpkin scone recipe began, as many great baking adventures do, with a simple request. A message on Instagram challenged me to recreate these iconic fall scones at home. As a self-proclaimed pumpkin enthusiast and advocate for all things autumnal, I immediately accepted the delicious dare.
My first step, naturally, was a pilgrimage to Starbucks. I needed to experience the original, to truly understand what made it so special and why it garnered such a loyal following. And let me tell you, it did not disappoint. From the very first bite, I understood the hype. It was a 100% spot-on fall sensation that ignited my passion to crack its secret.
Unlocking the Secrets of the Best Starbucks Pumpkin Scone Recipe
Each Starbucks pumpkin scone I sampled was remarkably soft, impeccably spiced, and struck the ideal balance of sweetness. The magic truly happened with the crunchy icing on top; it provided just enough extra sweetness to create a harmonious pairing with a warm cup of coffee, elevating the entire experience. This wasn’t just a scone; it was a moment.
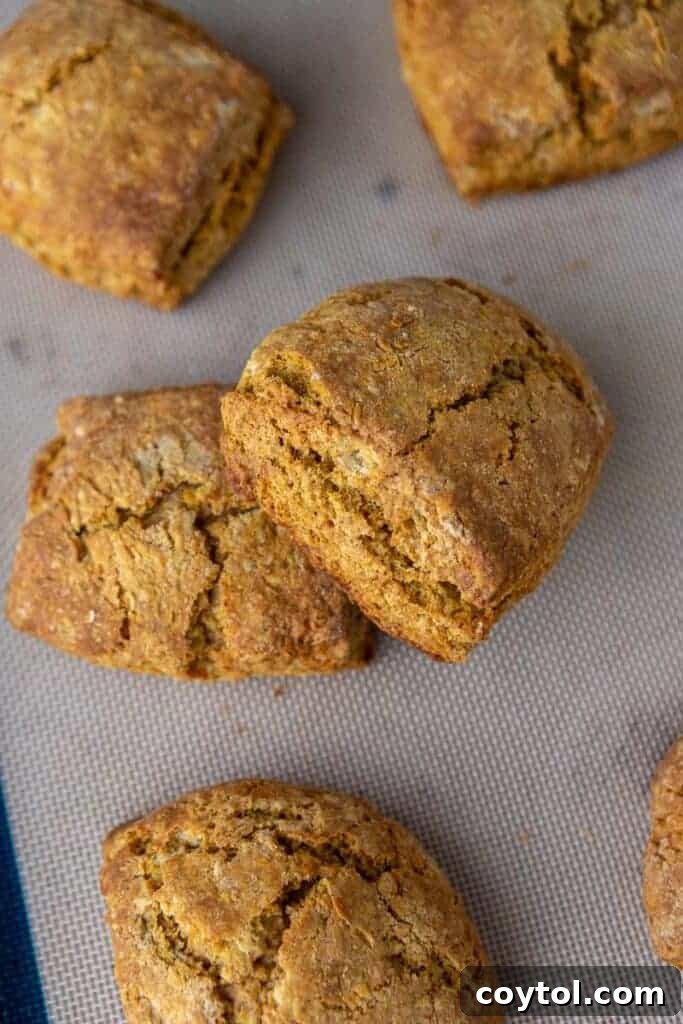
Beyond the exquisite taste and texture, another intriguing detail caught my eye: the unique shape. Unlike the traditional triangular scones often found in homemade batches, Starbucks pumpkin scones boasted a distinctive rectangular form. To me, this simple alteration added an undeniable touch of elegance and sophistication. Call it a whimsical preference, but that rectangular silhouette made them feel distinctly “bakery-style” and special.
Let’s Chit Chat About Scones & Pumpkin Obsession!
Alright, real talk: I’ve always had a soft spot for scones. Some might call them old-fashioned, but there’s an undeniable comfort in pairing them with a fresh cup of coffee or a comforting mug of tea, especially as the weather turns crisp.
And here’s a little secret I’ve developed since moving to the US: my obsession with pumpkin has reached new heights! So, when I first tasted that Starbucks pumpkin scone, I knew, deep down, that I had to figure out how to replicate that magic in my own kitchen. I immediately got to work, testing countless versions, tweaking ingredients, and refining techniques until I achieved perfection. My goal was a scone that was soft, buttery, perfectly spiced, and, dare I say, maybe even better than the original.
Oh, and one more essential tip for creating the ultimate glaze: most conventional powdered sugar in the US contains cornstarch, which can sometimes leave an unpleasant aftertaste. A game-changer for me was discovering Trader Joe’s organic powdered sugar, which uses tapioca starch instead. This simple swap makes all the difference, resulting in a glaze that is perfectly smooth, beautifully glossy, and actually tastes incredible – a crucial detail for that signature Starbucks scone finish.
Why You Absolutely Need to Make This Starbucks Pumpkin Scone Recipe!
Embarking on this baking adventure offers a multitude of delicious rewards. Here’s why these homemade Starbucks pumpkin scones deserve a prime spot on your fall baking list:
- Taste Authenticity: This recipe delivers a flavor profile that is remarkably true to the Starbucks original, often surpassing it in freshness and homemade quality. Get ready for a scone that’s soft, perfectly spiced, and utterly delightful.
- Unbeatable Moisture & Texture: Many find store-bought scones can sometimes be a bit dry. Our copycat version is specifically designed to be incredibly moist and tender, ensuring every bite is a dream.
- Effortless to Make & Store: Don’t let the bakery-quality fool you; this scone recipe is surprisingly straightforward. Plus, these scones store beautifully, allowing you to enjoy fall flavors for days to come.
- Significant Savings: Treat yourself to your favorite pumpkin scones without breaking the bank. Making them at home means substantial savings compared to daily coffee shop visits.
- A Perfect Fall Activity: Baking these scones is more than just making a treat; it’s a wonderfully fun and comforting “self-care” activity, perfect for those cozy fall weekends.
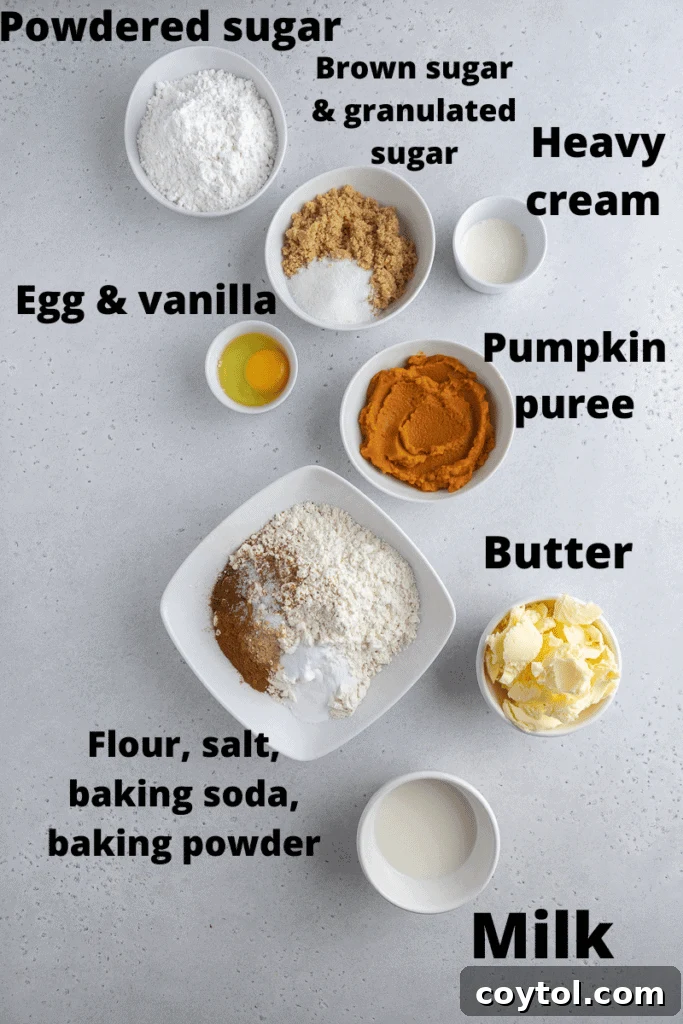
Essential Ingredients for These Glazed Pumpkin Scones
Gathering the right ingredients is the first step towards achieving scone perfection. Here’s a detailed look at what you’ll need, along with some important tips. For precise measurements, please refer to the comprehensive recipe card below.
- All-Purpose Flour: The foundation of our scones. Proper measurement is key; spoon and level your flour for the best results, avoiding a dense scone.
- Brown Sugar (packed): Contributes moisture and a deeper, more caramelized sweetness than granulated sugar, enhancing the fall flavor profile.
- Granulated Sugar: Used in conjunction with brown sugar to achieve the perfect level of sweetness and delicate crispness.
- Fall Spices (Cinnamon, Cloves, Ginger, Nutmeg): This blend is crucial for that authentic, warm pumpkin scone flavor. Consider using Saigon cinnamon for a naturally bolder, more fragrant spice note.
- Baking Powder & Baking Soda: These leavening agents work in harmony to give the scones their characteristic lift and tender crumb.
- Salt: A small but mighty ingredient that balances the sweetness and enhances all the other flavors in the scone dough.
- Cold Butter (cubed): This is perhaps the most critical ingredient for flaky scones. The cold butter creates pockets of steam in the oven, leading to those desirable tender, layered textures.
- Pumpkin Puree: Ensure you are using 100% pure pumpkin puree, not pumpkin pie filling, which is pre-spiced and sweetened and will alter the final taste and texture. Keep it cold for best results.
- Cold Milk (or heavy cream): Similar to butter, using cold dairy helps maintain the dough’s temperature, contributing to a lighter, flakier scone.
- Cold Egg: Acts as a binding agent, helping to hold the scone dough together and adding richness.
- Vanilla Extract: Enhances the overall depth of flavor, beautifully complementing the pumpkin and spices.
- Powdered Sugar (for the glaze): For the smoothest, most delicious glaze without any weird aftertaste, seek out pure powdered sugar, ideally one made with tapioca starch instead of cornstarch (like Trader Joe’s organic powdered sugar).
- Heavy Cream (for the glaze): Provides the rich, creamy base for both the white and spiced glazes, ensuring a luxurious finish.
How to Make Your Own Starbucks-Style Pumpkin Scones at Home
Creating these incredible pumpkin scones is a rewarding process that’s simpler than you might think. Follow these key steps, and for all the precise details, remember to check the recipe card below.
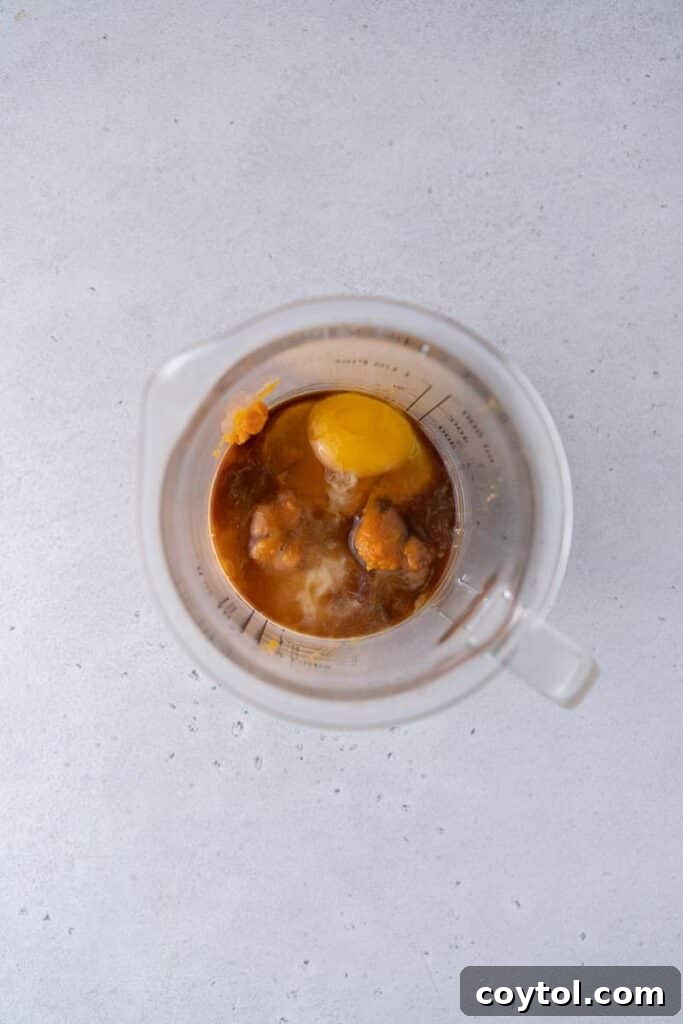
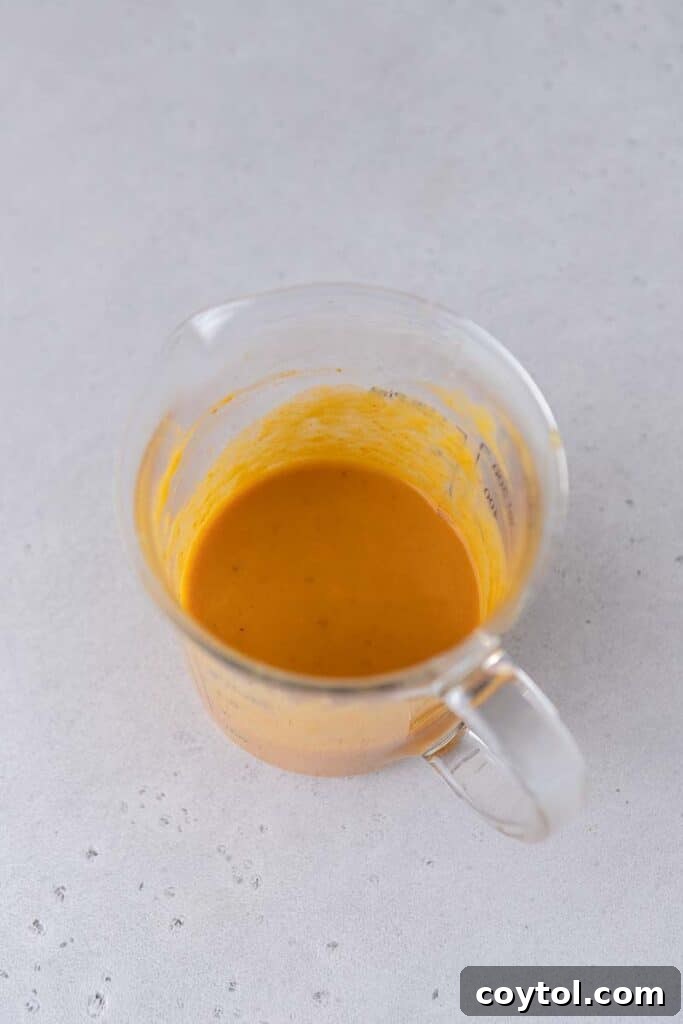
- Prepare Your Wet Ingredients: In a medium bowl, gently whisk together the cold pumpkin puree, milk, egg, and vanilla extract. Place this mixture back in the fridge to keep it chilled. Using cold ingredients is paramount for achieving those wonderfully flaky, tender scones.
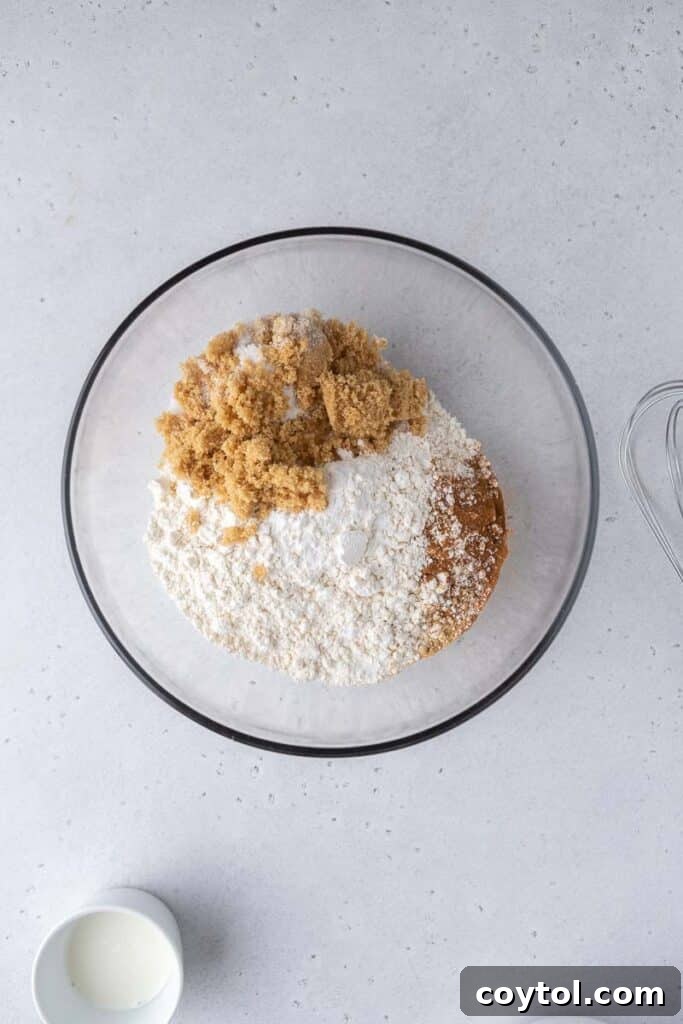
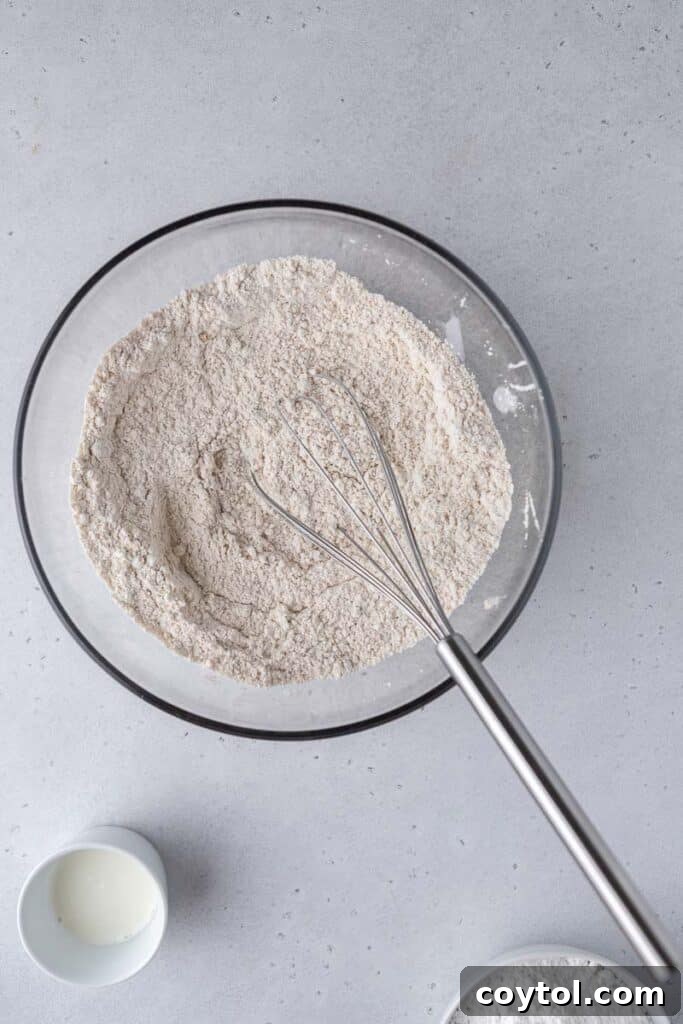
- Combine Dry Ingredients: In a separate, larger bowl, thoroughly whisk together the flour, both sugars, all the delightful fall spices (cinnamon, cloves, ginger, nutmeg), baking soda, baking powder, and salt. Ensure they are well combined.
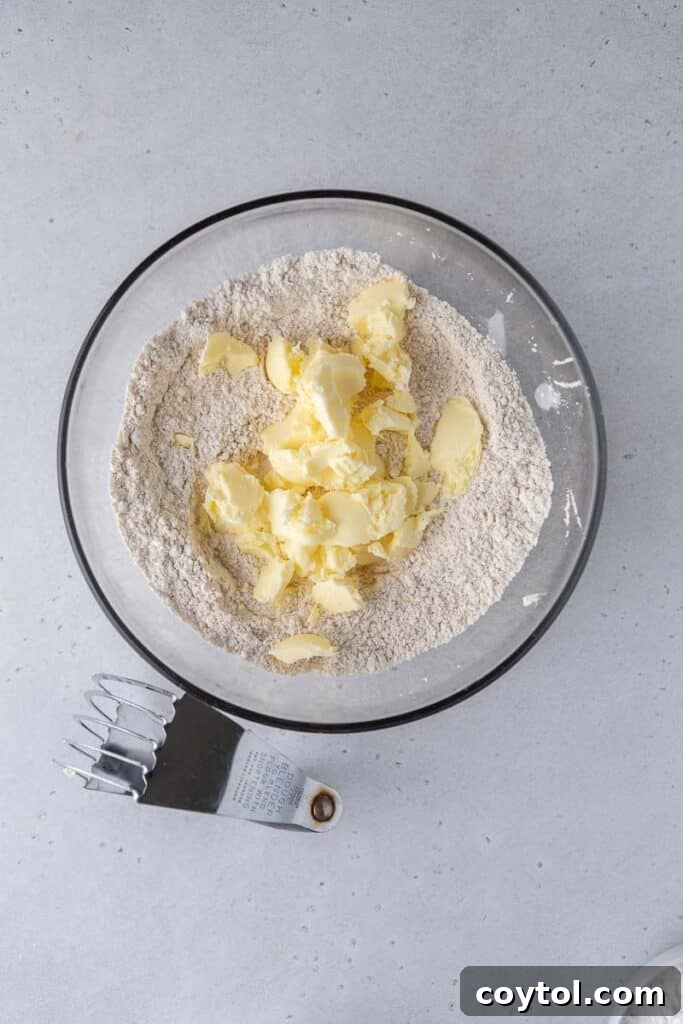
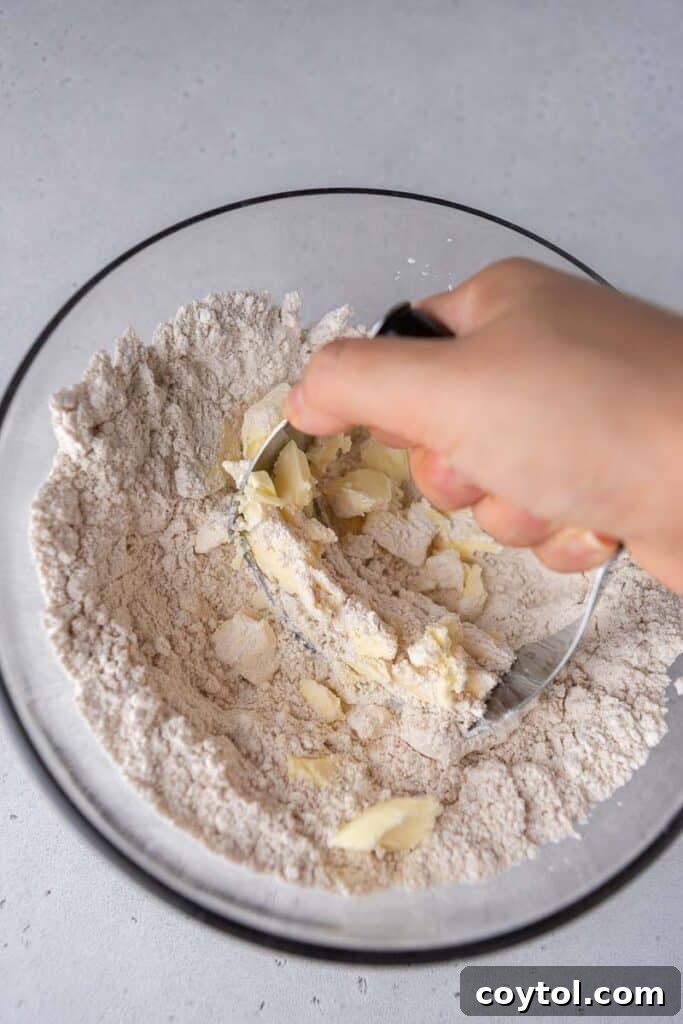
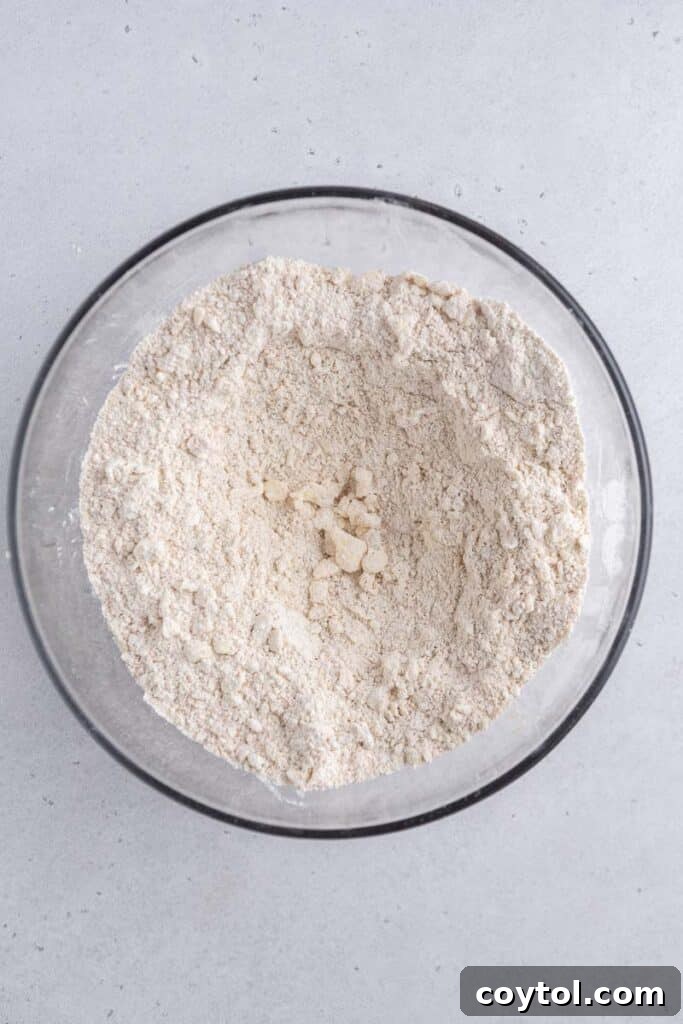
- Incorporate the Cold Butter: Add the cold, cubed butter to your dry mixture. Using a pastry cutter, fork, or even your fingertips, work the butter into the flour until the mixture resembles coarse crumbs, with some pea-sized butter pieces still visible. This step is crucial for flakiness.
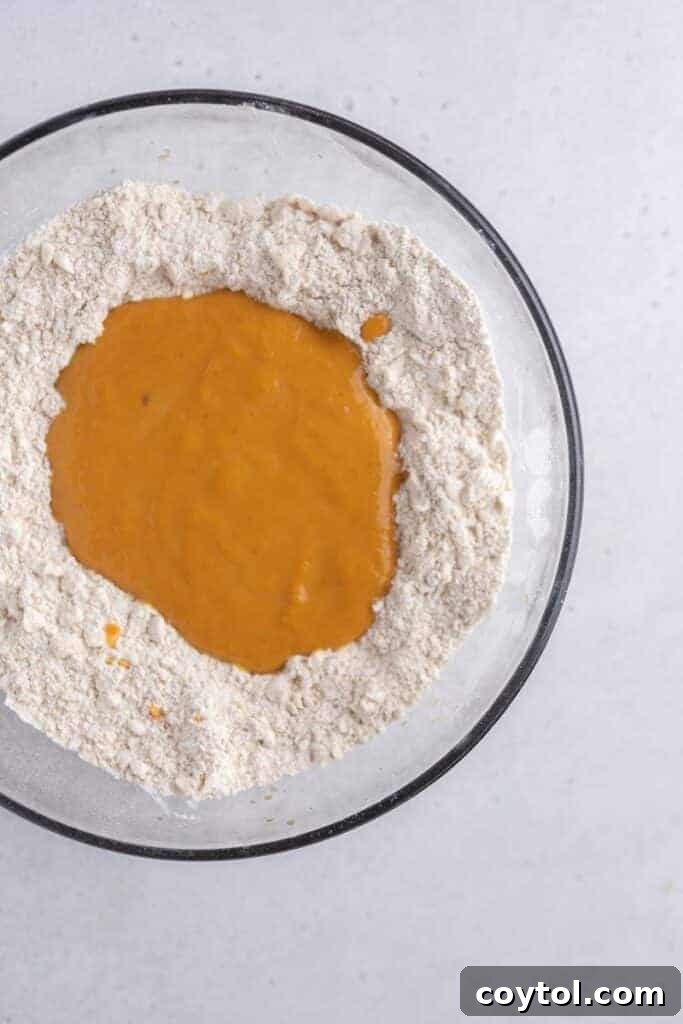
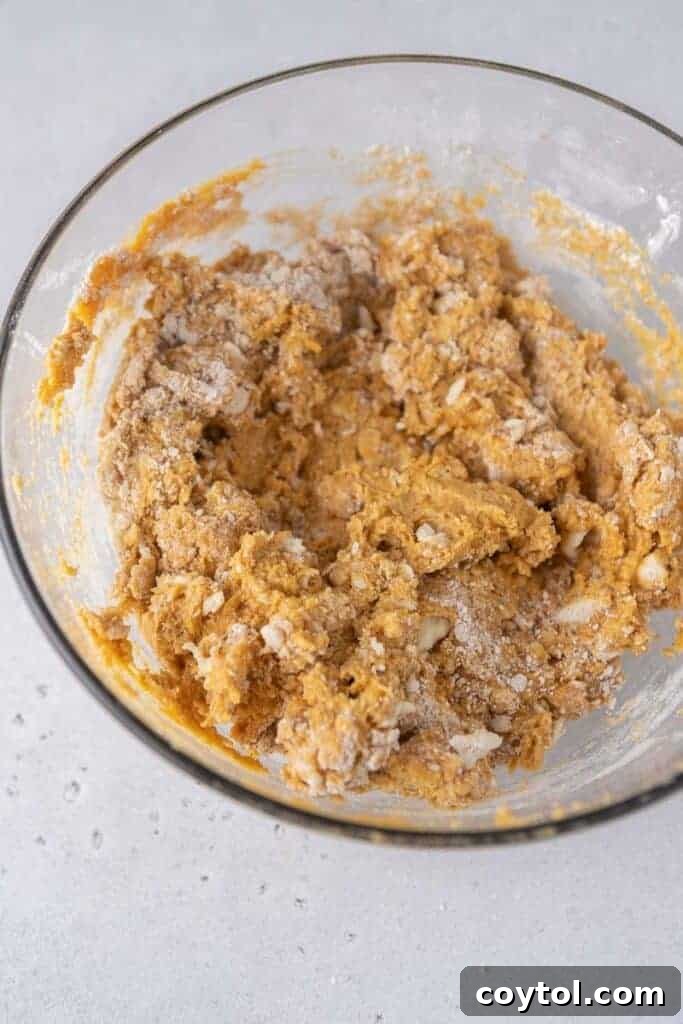
- Gently Combine Wet and Dry: Create a small well in the center of your dry ingredients. Pour in the chilled wet pumpkin mixture. With a rubber spatula, gently fold the ingredients together until a soft dough begins to form. Be careful not to overmix; a few dry patches are perfectly fine and will hydrate as the dough rests. Overmixing leads to tough scones.
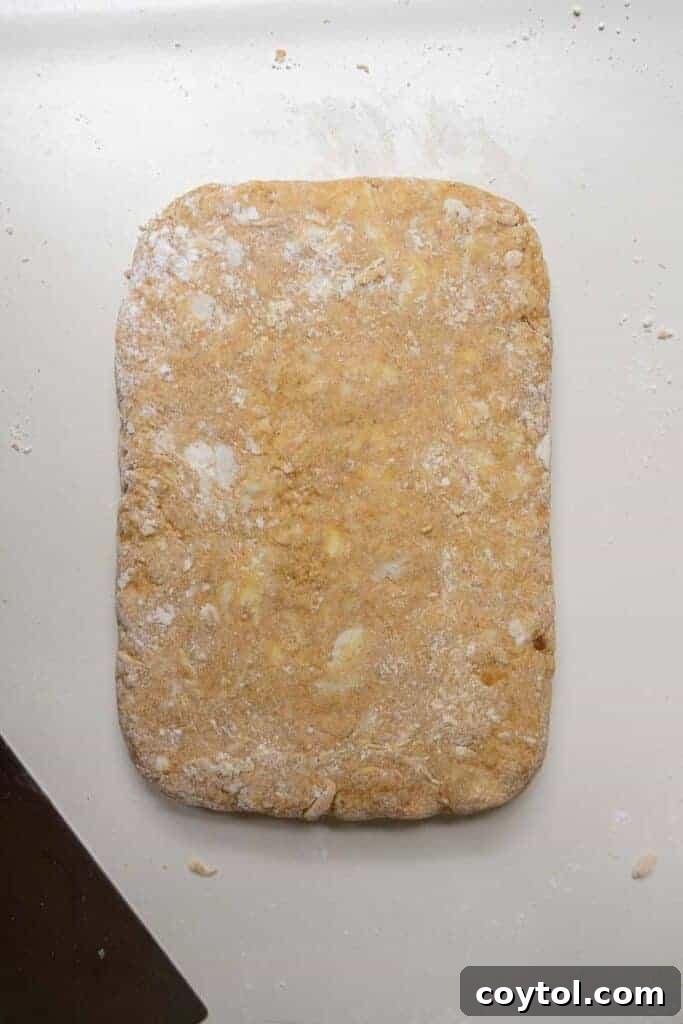
- Fold the Dough for Layers: Turn the scone dough out onto a lightly floured surface. Gently fold the dough in half, then turn it and fold again. Repeat this process a few times. This technique develops layers without overworking the gluten, resulting in a tender scone.
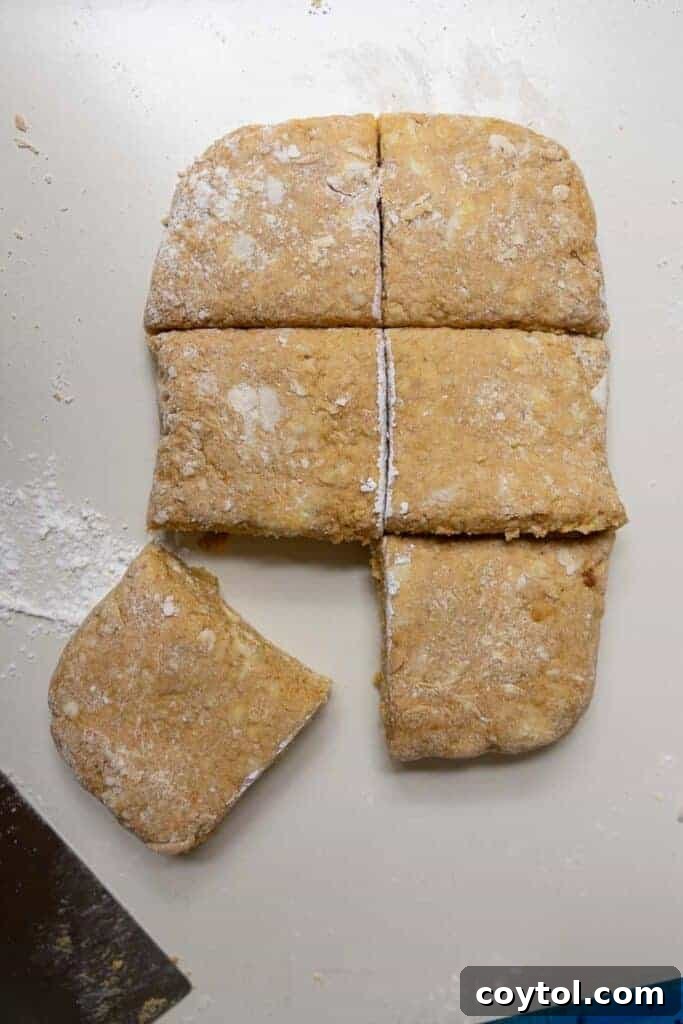
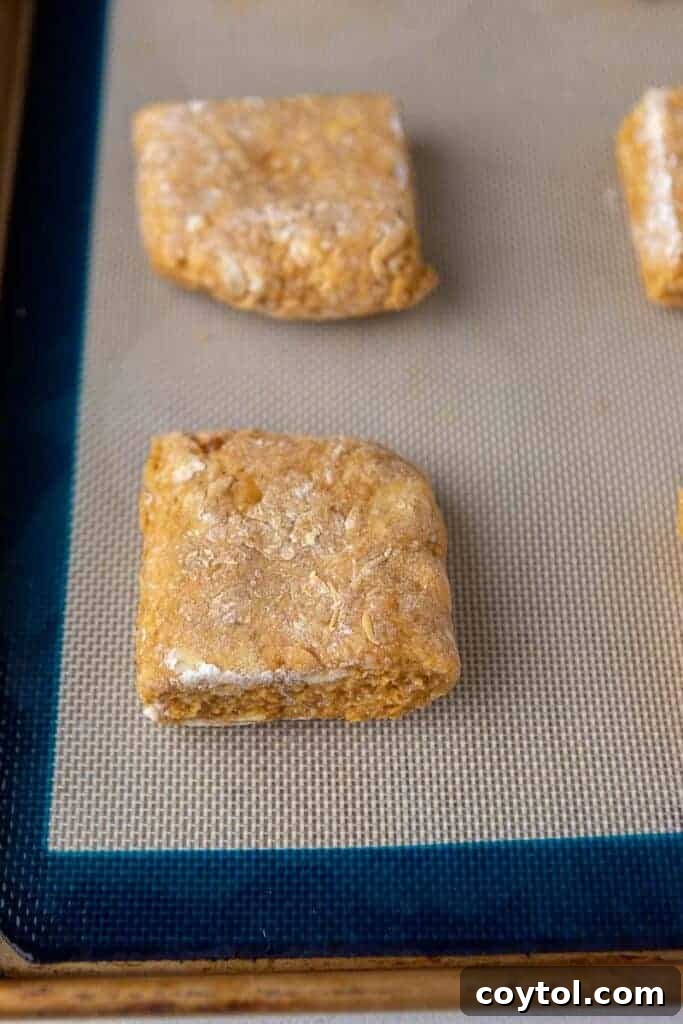
- Shape, Chill, and Bake: Now it’s time to shape your scones. You can opt for traditional round scones cut into triangles, or go for the authentic Starbucks rectangular shape. Once cut, transfer them to a parchment-lined baking sheet and chill them in the freezer for 20-30 minutes. This chilling period is a secret weapon for preventing spreading and promoting a good rise. Bake in a preheated oven until golden and set.
Crafting the Signature Glaze
The iconic two-tone glaze is what truly sets these Starbucks pumpkin scones apart. Here’s how to create that perfect sweet finish:
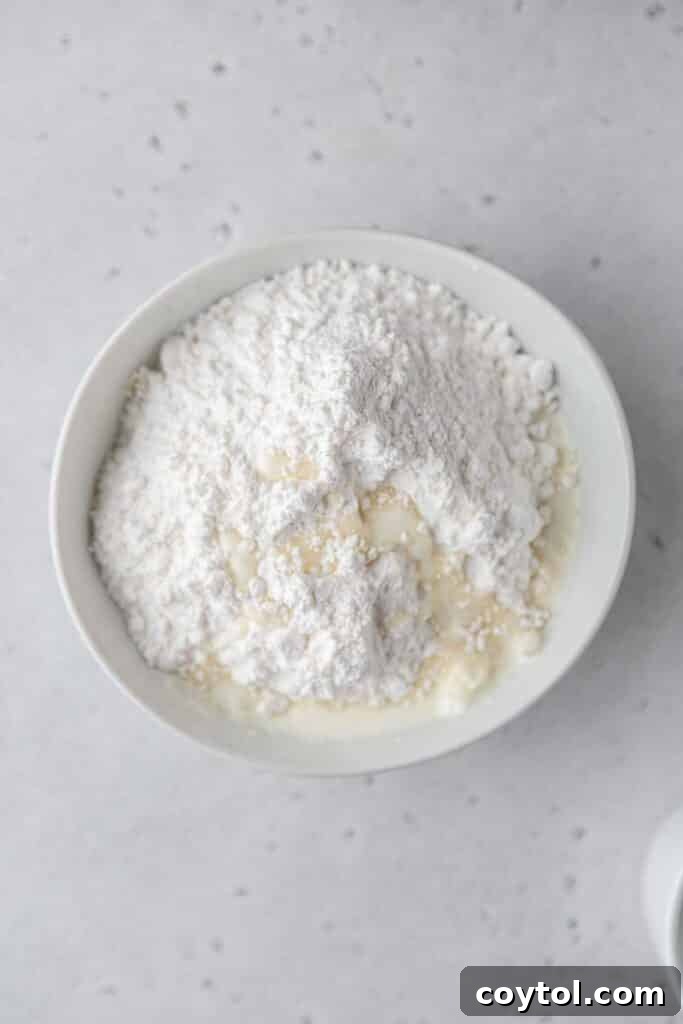
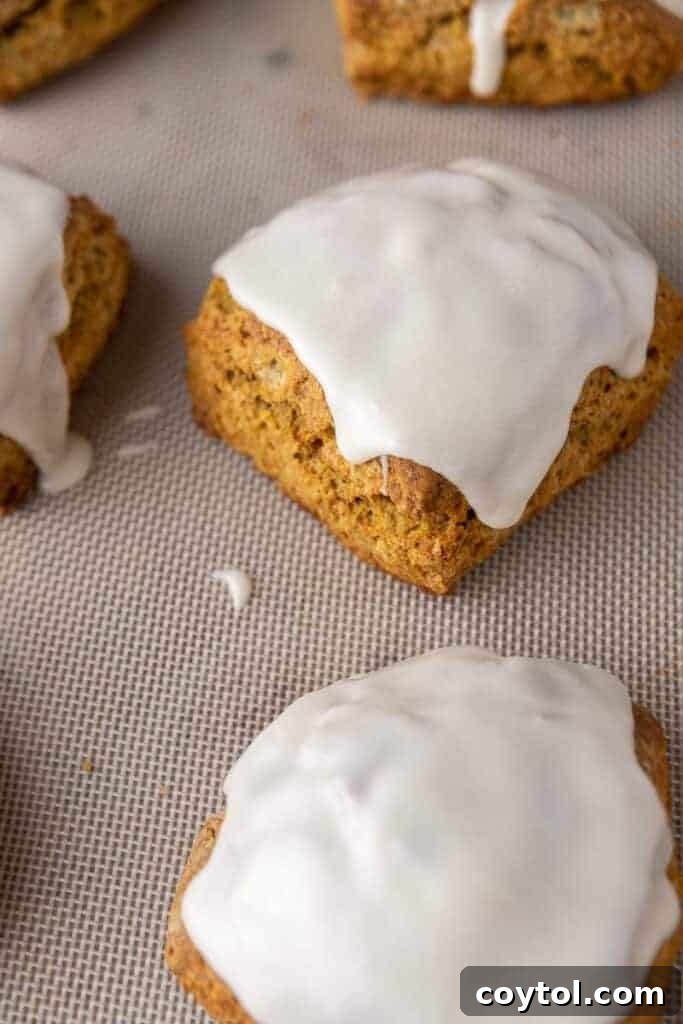
- Mix the White Glaze: In a bowl, whisk together the powdered sugar and heavy cream until you achieve a smooth, pourable but not watery consistency. Add the cream gradually to control the thickness.
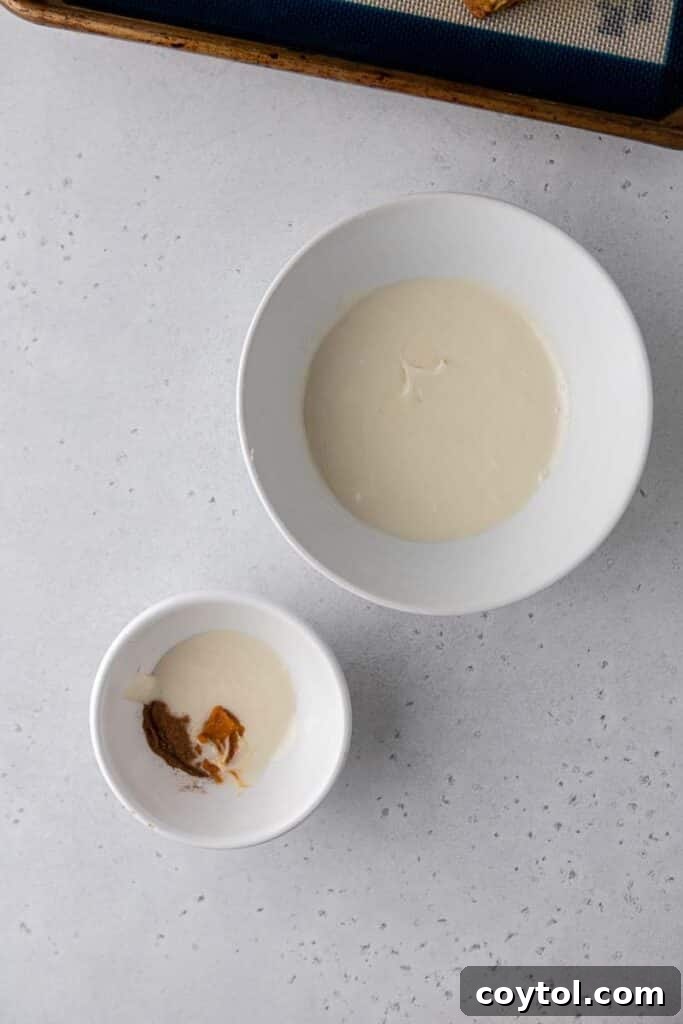
- Prepare the Spiced Drizzle: Transfer about a tablespoon of the prepared white glaze to a separate small bowl. Mix in a touch of pumpkin puree and pumpkin pie spice to create that beautiful orange, spiced drizzle. You can also add a tiny bit of extra powdered sugar if needed to thicken it slightly for drizzling.
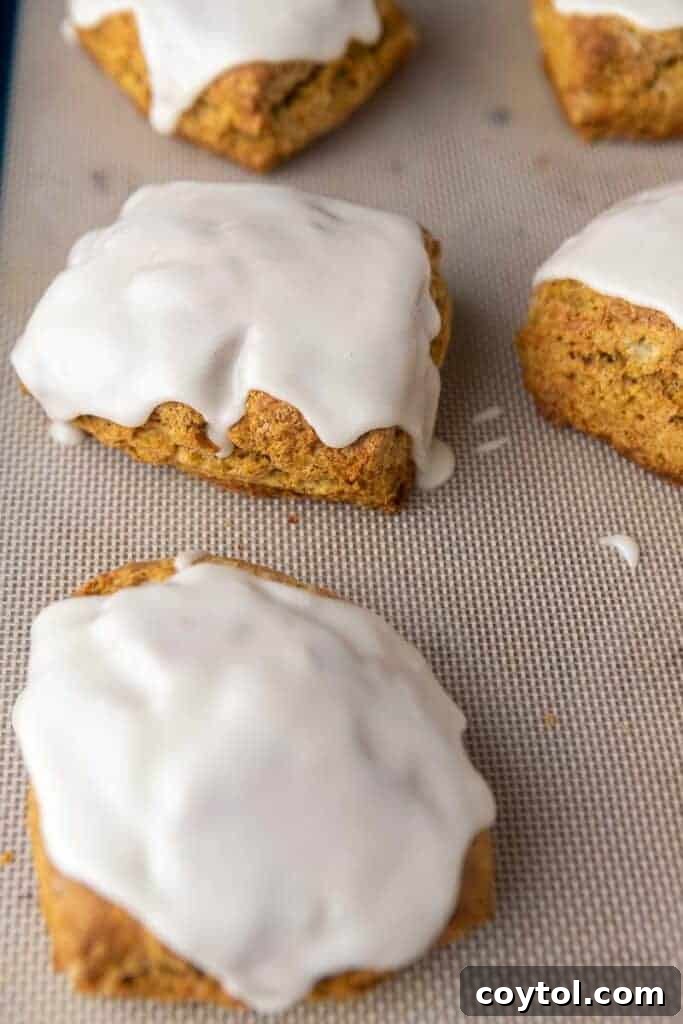
- Glaze the Scones: Once your baked scones are completely cool, evenly spread or dip each scone into the white glaze. Let this white layer set for approximately 5-10 minutes.
- Add the Decorative Drizzle: Carefully drizzle the spiced orange glaze over the set white glaze in a zigzag pattern, mimicking the classic Starbucks style. Allow the scones to rest for another 15-20 minutes to ensure both glazes fully set before serving.
Frequently Asked Questions (FAQ) About Pumpkin Scones
Here are some common questions about making and storing these delightful pumpkin scones:
How to Store These Starbucks Pumpkin Scones?
Once baked and the glaze has fully set, you can store these pumpkin scones in an airtight container at room temperature for up to 2 days. For extended freshness, you may also refrigerate them in an airtight container for up to 5 days. Be aware that refrigeration can alter the texture slightly, making them a little firmer.
Can I Freeze Baked Pumpkin Scones?
Absolutely! Freezing baked scones is an excellent way to enjoy them whenever a craving strikes. Once the icing has completely set and is firm to the touch, wrap each scone individually in plastic wrap, then wrap again securely in aluminum foil. Freeze for up to 2 months. To enjoy, you can let them thaw in the refrigerator overnight or at room temperature for a few hours. For a quick warm-up, microwave them for a few seconds, but be cautious as the icing can melt and become quite hot.
Can I Freeze Raw Scone Dough?
Yes, you certainly can freeze raw scone dough, making fresh-baked scones incredibly convenient! Prepare the scone recipe as directed in the recipe card. Once you’ve sliced the dough into your desired shapes, place them on a parchment-lined baking sheet and freeze until solid. Once fully frozen, transfer the individual raw scones to an airtight container or freezer bag and freeze for up to 1 month.
When you’re ready to bake your fresh Starbucks-style pumpkin scones, simply pull them out of the freezer. Preheat your oven to 400°F (200°C) and bake the frozen scones directly. Keep in mind that they will require a few extra minutes of baking time since they are starting from a frozen state. Once baked and cooled, frost and enjoy your perfectly fresh, warm scones!
Serving Suggestions & Perfect Pairings
These homemade Starbucks pumpkin scones are absolutely delightful on their own, but they truly shine when paired with the right accompaniment. Enjoy them warm from the oven with a dollop of whipped cream, a side of apple butter, or even a simple pat of salted butter to enhance their rich flavors. For the ultimate autumn experience, serve them alongside a classic cup of hot coffee, a comforting chai latte, or a steaming mug of spiced apple cider. They also make a fantastic addition to a brunch spread or a cozy afternoon tea.
The Ultimate Starbucks Pumpkin Scone Copycat Recipe
If you’ve made these incredible Starbucks pumpkin scones and loved them, please consider leaving a 5-star review! Simply click on the stars below the recipe title and description to share your feedback. Your reviews mean a lot and help others discover this delicious recipe!

Starbucks Pumpkin Scone Copycat Recipe
These Starbucks pumpkin scones are the best copycat recipe out there. Made with a thick and soft pumpkin scone base then topped with a sweet glaze for the ultimate finish!
Equipment
- Bench Scraper (for easy dough handling and cutting)
Ingredients
Pumpkin Scones
- 2 cup AP flour
- 1/3 cup brown sugar, packed
- 2 tbsp granulated sugar
- 2 tsp cinnamon (Use Saigon cinnamon for a naturally stronger spice flavor.)
- 1/4 tsp cloves
- 3/4 tsp ginger
- 1/2 tsp nutmeg
- 2 tsp baking soda
- 1/4 tsp baking powder
- 1/4 tsp salt
- 1/2 cup butter, cold, cubed
- 2/3 cup pumpkin puree, cold (ensure it’s not pumpkin pie filling)
- 2 tbsp milk, cold (or heavy cream)
- 1 egg, cold
- 1 tsp vanilla extract
Sugar Glaze
- 1 cup powdered sugar (pure, ideally with tapioca starch)
- 2-3 tbsp heavy cream (add the third spoonful only if needed for desired consistency)
- 1/4 tsp pumpkin puree (for spiced drizzle)
- 1/2 tsp pumpkin pie spice (for spiced drizzle)
- 1 tbsp powdered sugar (extra, to mix into the spiced glaze for thickness)
Instructions
- Start by preheating your oven to 400°F (200°C). Line a baking sheet with parchment paper or a silicone mat and set it aside.
- In a medium bowl, whisk together the cold pumpkin puree, milk, egg, and vanilla extract until combined.
- Place this bowl in the fridge to keep the mixture very cold while you prepare the dry ingredients. Keeping ingredients cold is key to creating flaky, tender scones.
- In a large bowl, whisk together the all-purpose flour, brown sugar, granulated sugar, cinnamon, cloves, ginger, nutmeg, baking soda, baking powder, and salt until they are well combined.
- Add the cold, cubed butter to the dry ingredients. Use a pastry cutter, two forks, or your fingertips to cut the butter into the flour mixture until it resembles coarse crumbs, with some pieces of butter still visible (about the size of small peas).
- Make a well in the center of the dry mixture. Pour in the cold pumpkin mixture, then gently stir with a rubber spatula until a soft dough forms. Do not overmix; it’s okay if there are a few dry patches of flour, as overmixing will result in tough scones.
- Turn the dough out onto a lightly floured surface. Gently fold it in half, then turn and fold again, repeating this process a few times (3-4 folds) to create layers.
Option 1: Traditional Triangle Scones (Circle Method)
- Form the dough into a round disc, about 1-inch thick. Using a bench scraper or a sharp knife, cut the disc into 8 equal wedges (like slicing a pizza).
Option 2: Bakery-Style Squares or Rectangles (Starbucks Copycat)
- Shape the dough into a rectangle, approximately 6×8 inches and 1-inch thick. Use a sharp knife or bench scraper to cut into 8 even pieces (e.g., cut in half, then each half into quarters).
- After cutting, transfer the scones to your lined baking sheet. Chill them in the freezer for 20–30 minutes. While they chill, ensure your oven is preheated to 400°F (200°C).
- Bake the scones for 17–18 minutes, or until the tops are set and lightly golden brown.
- Let them cool on the baking sheet for 10 minutes, then transfer them to a wire rack to cool completely before glazing. This step is important for the glaze to set properly.
Make the White Glaze
- In a medium bowl, whisk together the powdered sugar and 2-3 tablespoons of heavy cream until completely smooth and lump-free.
- If needed, add another ½ tablespoon of cream to thin it to a consistency that is easily spreadable but not too runny.
Make the Spiced Glaze for Drizzling
- Remove 1 tablespoon of the prepared white glaze and place it into a small bowl.
- Stir in the 1/4 tsp pumpkin puree, 1/2 tsp pumpkin pie spice, and 1 tbsp extra powdered sugar until smooth. Transfer this spiced glaze to a piping bag or a small ziplock bag (and snip a tiny corner) for easy drizzling.
Glaze the Scones
- Once the scones are completely cool, spread 1½–2 tablespoons of the white glaze evenly over the top of each scone. Alternatively, you can gently dip the tops of the scones directly into the white glaze.
- Let the white glaze set for 5–10 minutes. Then, using your piping bag, drizzle the spiced orange glaze on top in a zigzag pattern, replicating the Starbucks look. Allow the scones to rest for another 15–20 minutes before serving so the glaze can fully set and firm up. Enjoy your homemade Starbucks pumpkin scones!
Notes
How to store these Starbucks pumpkin scones?
You can store these pumpkin scones in an airtight container at room temperature for up to 2 days. For longer storage, refrigerate them in an airtight container for up to 5 days.
Nutrition
Carbohydrates: 60g |
Protein: 6g |
Fat: 18g |
Saturated Fat: 10g |
Polyunsaturated Fat: 2g |
Monounsaturated Fat: 5g |
Trans Fat: 0.5g |
Cholesterol: 55mg |
Sodium: 901mg |
Potassium: 156mg |
Fiber: 3g |
Sugar: 31g |
Vitamin A: 3651IU |
Vitamin C: 1mg |
Calcium: 128mg |
Iron: 3mg
Nutrition information is automatically calculated, so should only be used as an approximation.
Enjoyed this recipe? Leave a comment below and subscribe for more delicious ideas!
If you enjoyed this Starbucks pumpkin scones copycat recipe, make sure to pin it for later!