
Hello fellow food enthusiasts and home bakers! As the enchanting holiday season draws near, bringing with it warmth, cherished memories, and of course, an abundance of delicious treats, I’m thrilled to share a recipe that’s perfectly timed for your festive gatherings. Before we dive into the delicious details, let’s take a moment to reflect on a truly inspiring message:

This quote deeply resonates with me, especially when applied to both life’s aspirations and our culinary adventures. We often find ourselves entangled in “what-if” scenarios, inadvertently pushing away the very possibilities we desire. Whether it’s the success of a new blog, achieving a personal goal, or even baking the perfect holiday pie, the more we fret, the more challenging it seems to manifest our dreams. Embracing the power of belief and trusting the process, much like the Law of Attraction suggests, can liberate us from this cycle. For me, it means trusting that the effort I pour into my blog will attract the audience it deserves, just as the dedication to a recipe will yield a delightful result. It’s about taking action, then letting go of the worry and allowing success to unfold naturally.
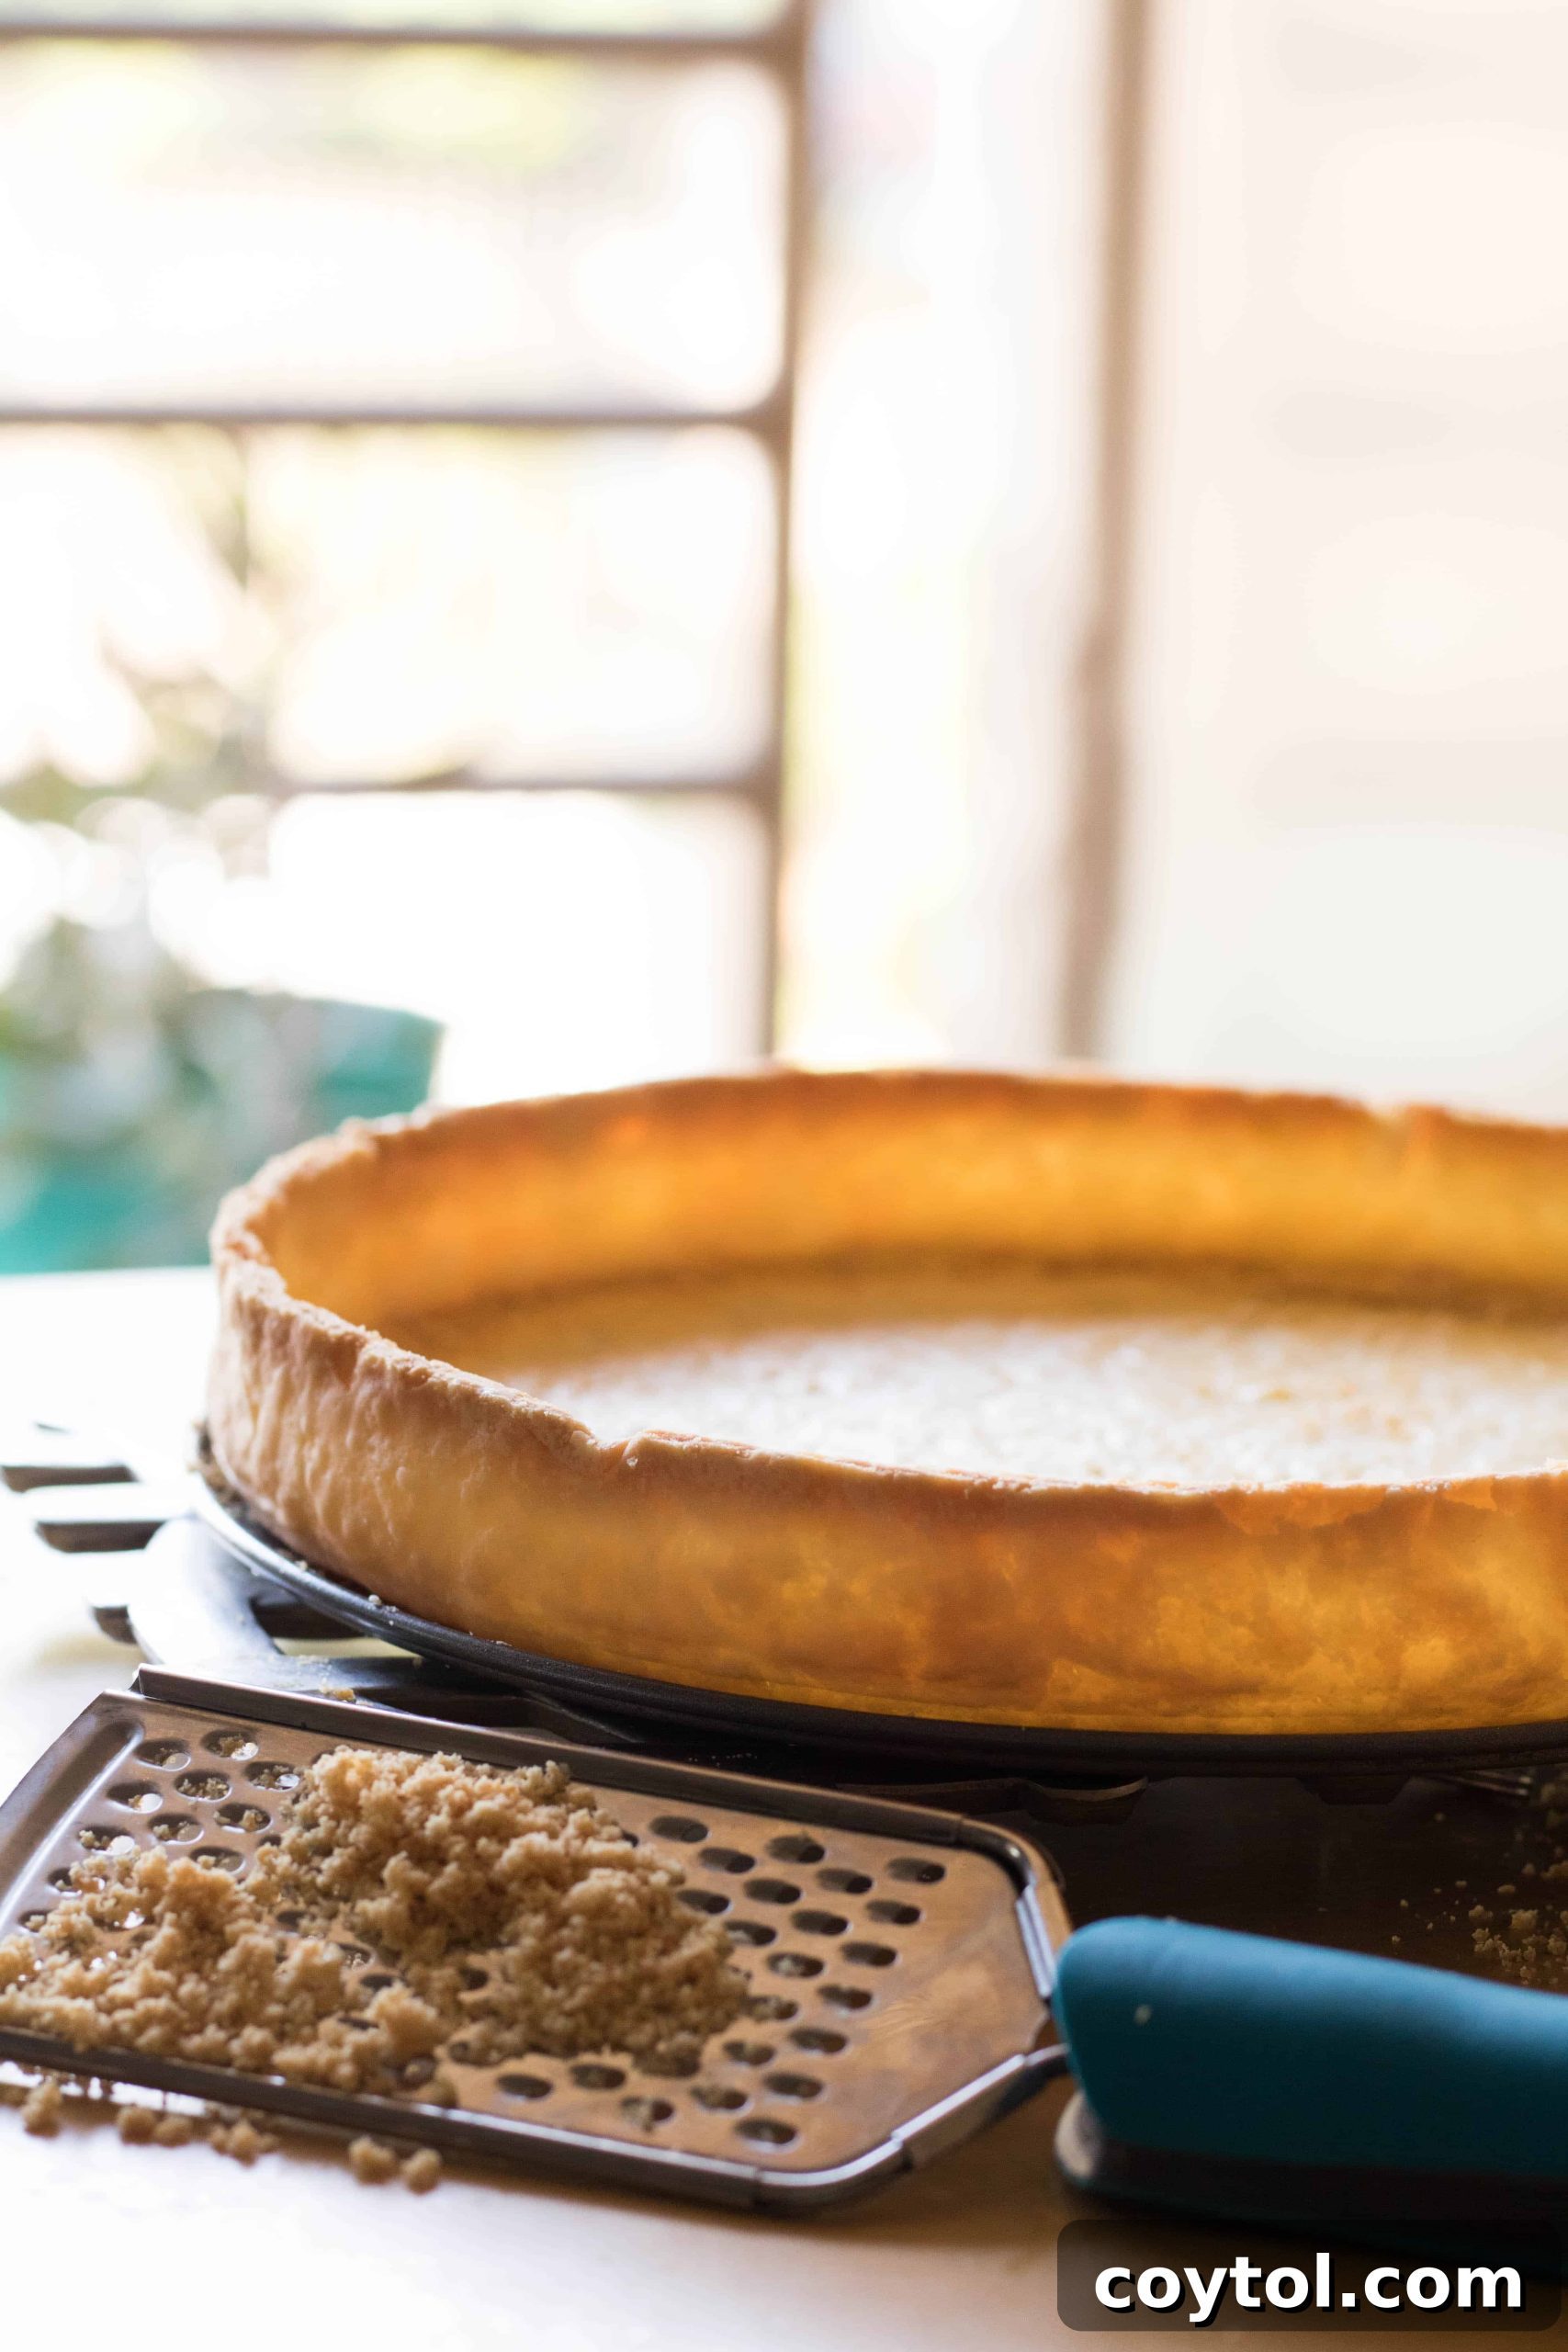
Speaking of delightful results, let’s shift our focus to the heart of today’s post: a holiday recipe that promises to impress! Take a look at this magnificent pie shell. Can you believe it’s not homemade? The sheer elegance and flawless finish often lead to gasps of amazement. When I prepared my sweet potato tart this past weekend for our Friendsgiving celebration, it was an absolute showstopper. Every guest was mesmerized by its beauty, convinced it was a labor of love crafted from scratch. Today, I’m excited to reveal my four essential secrets that will transform your humble store-bought pie crust into a masterpiece, making it appear even more spectacular than many homemade versions!
This article may contain some affiliate links, meaning, at no additional cost to you, I will earn a commission if you click through and make a purchase. Your support helps me continue creating valuable content!
Unlock the Secrets: Elevate Your Store-Bought Pie Crust to Gourmet Status
You might be wondering, what are these magical secrets that can turn a simple, pre-made pie dough into an artisanal crust that fools even the most discerning palates? The journey to a stunning, “homemade-looking” crust begins with a few clever techniques and the right tools. These simple yet effective strategies are designed to enhance both the visual appeal and the structural integrity of your pie or tart, ensuring a perfect bake every time. Let’s delve into the details:
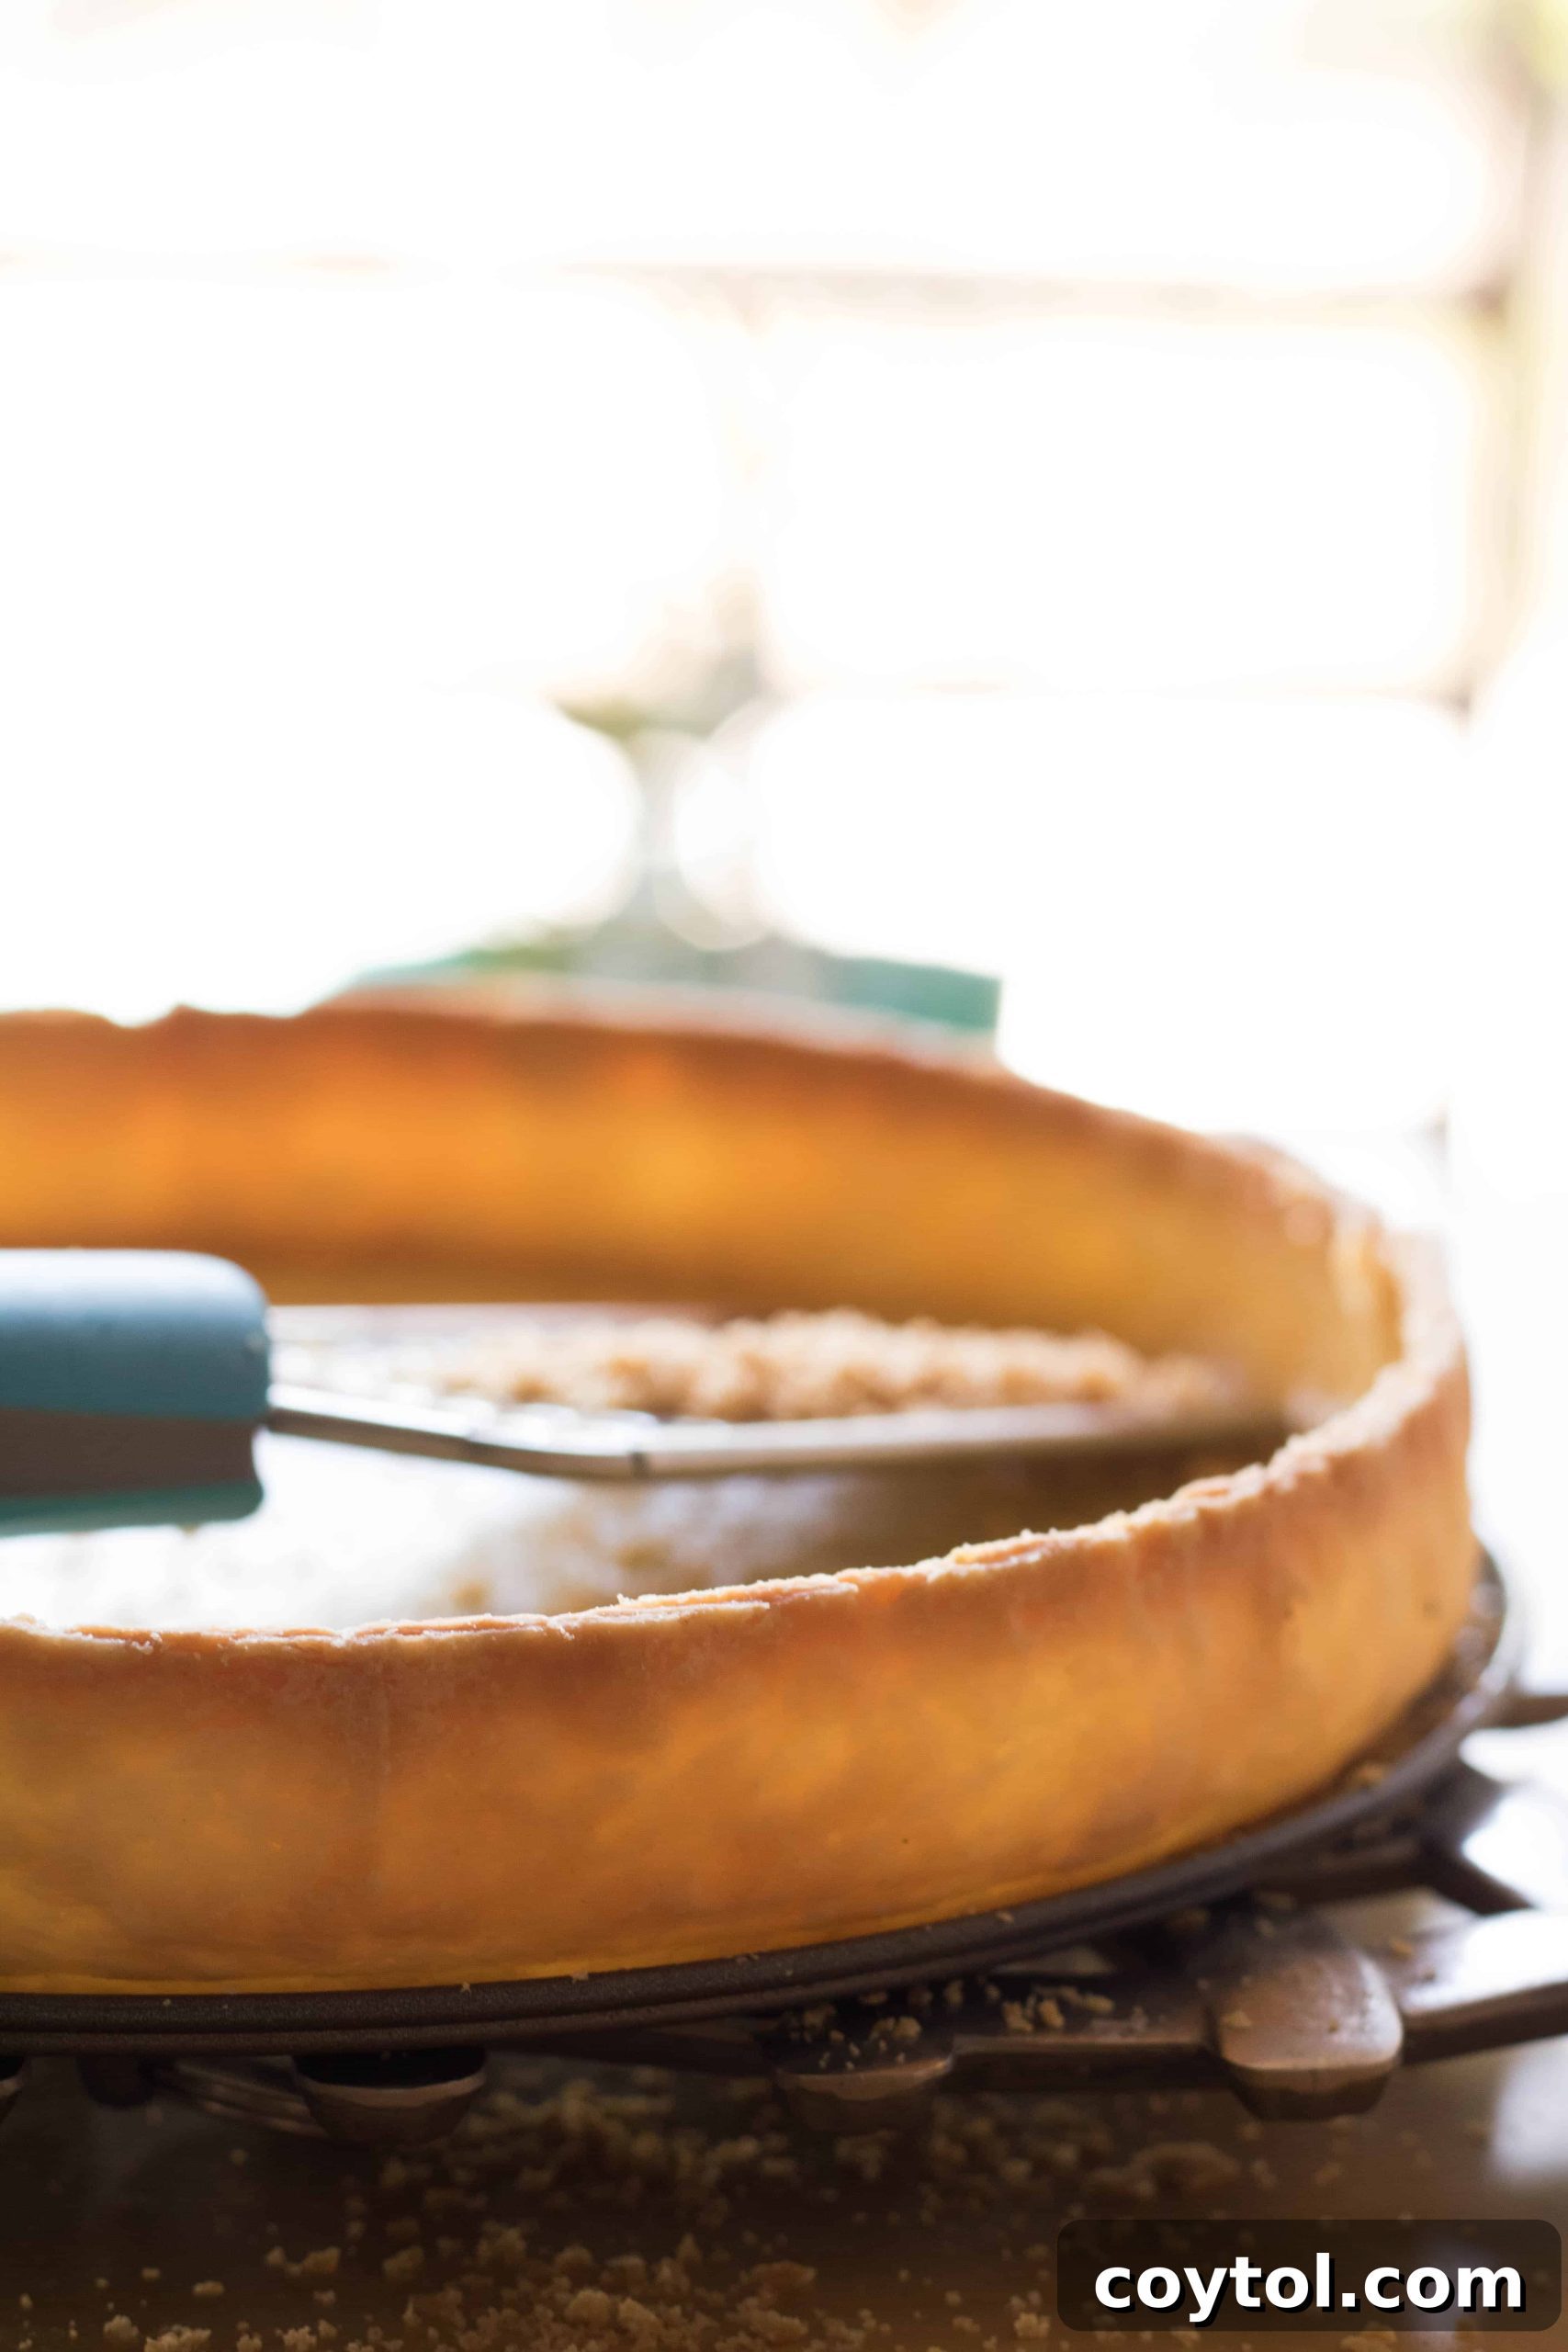
- Embrace the Tart Shell Shape for Instant Elegance: Ditch the traditional pie plate and opt for a tart pan. The fluted edges and shallower depth of a tart pan instantly elevate the aesthetic of your dessert, making it look far more sophisticated and complex than a standard pie. This simple change in shape communicates a level of culinary artistry that often leads everyone to believe you’ve spent hours meticulously crafting your pastry. The visual impact is undeniable, turning a familiar dessert into an impressive centerpiece.
I used this fluted tart pan for this tart, offering a beautiful edge.
You could also use a tart pan with a removable bottom for an easier, more professional finish, making serving effortless. - The Art of Blind Baking: Prevent a Soggy Bottom: Always pre-bake your pie or tart shells before adding any wet filling. This crucial step, known as blind baking, is the ultimate defense against a dreaded soggy bottom. It allows the crust to firm up and cook through, creating a barrier that prevents the filling’s moisture from turning your flaky pastry into a gummy mess. A properly blind-baked crust ensures a crisp texture from top to bottom, enhancing the overall enjoyment of your pie or tart.
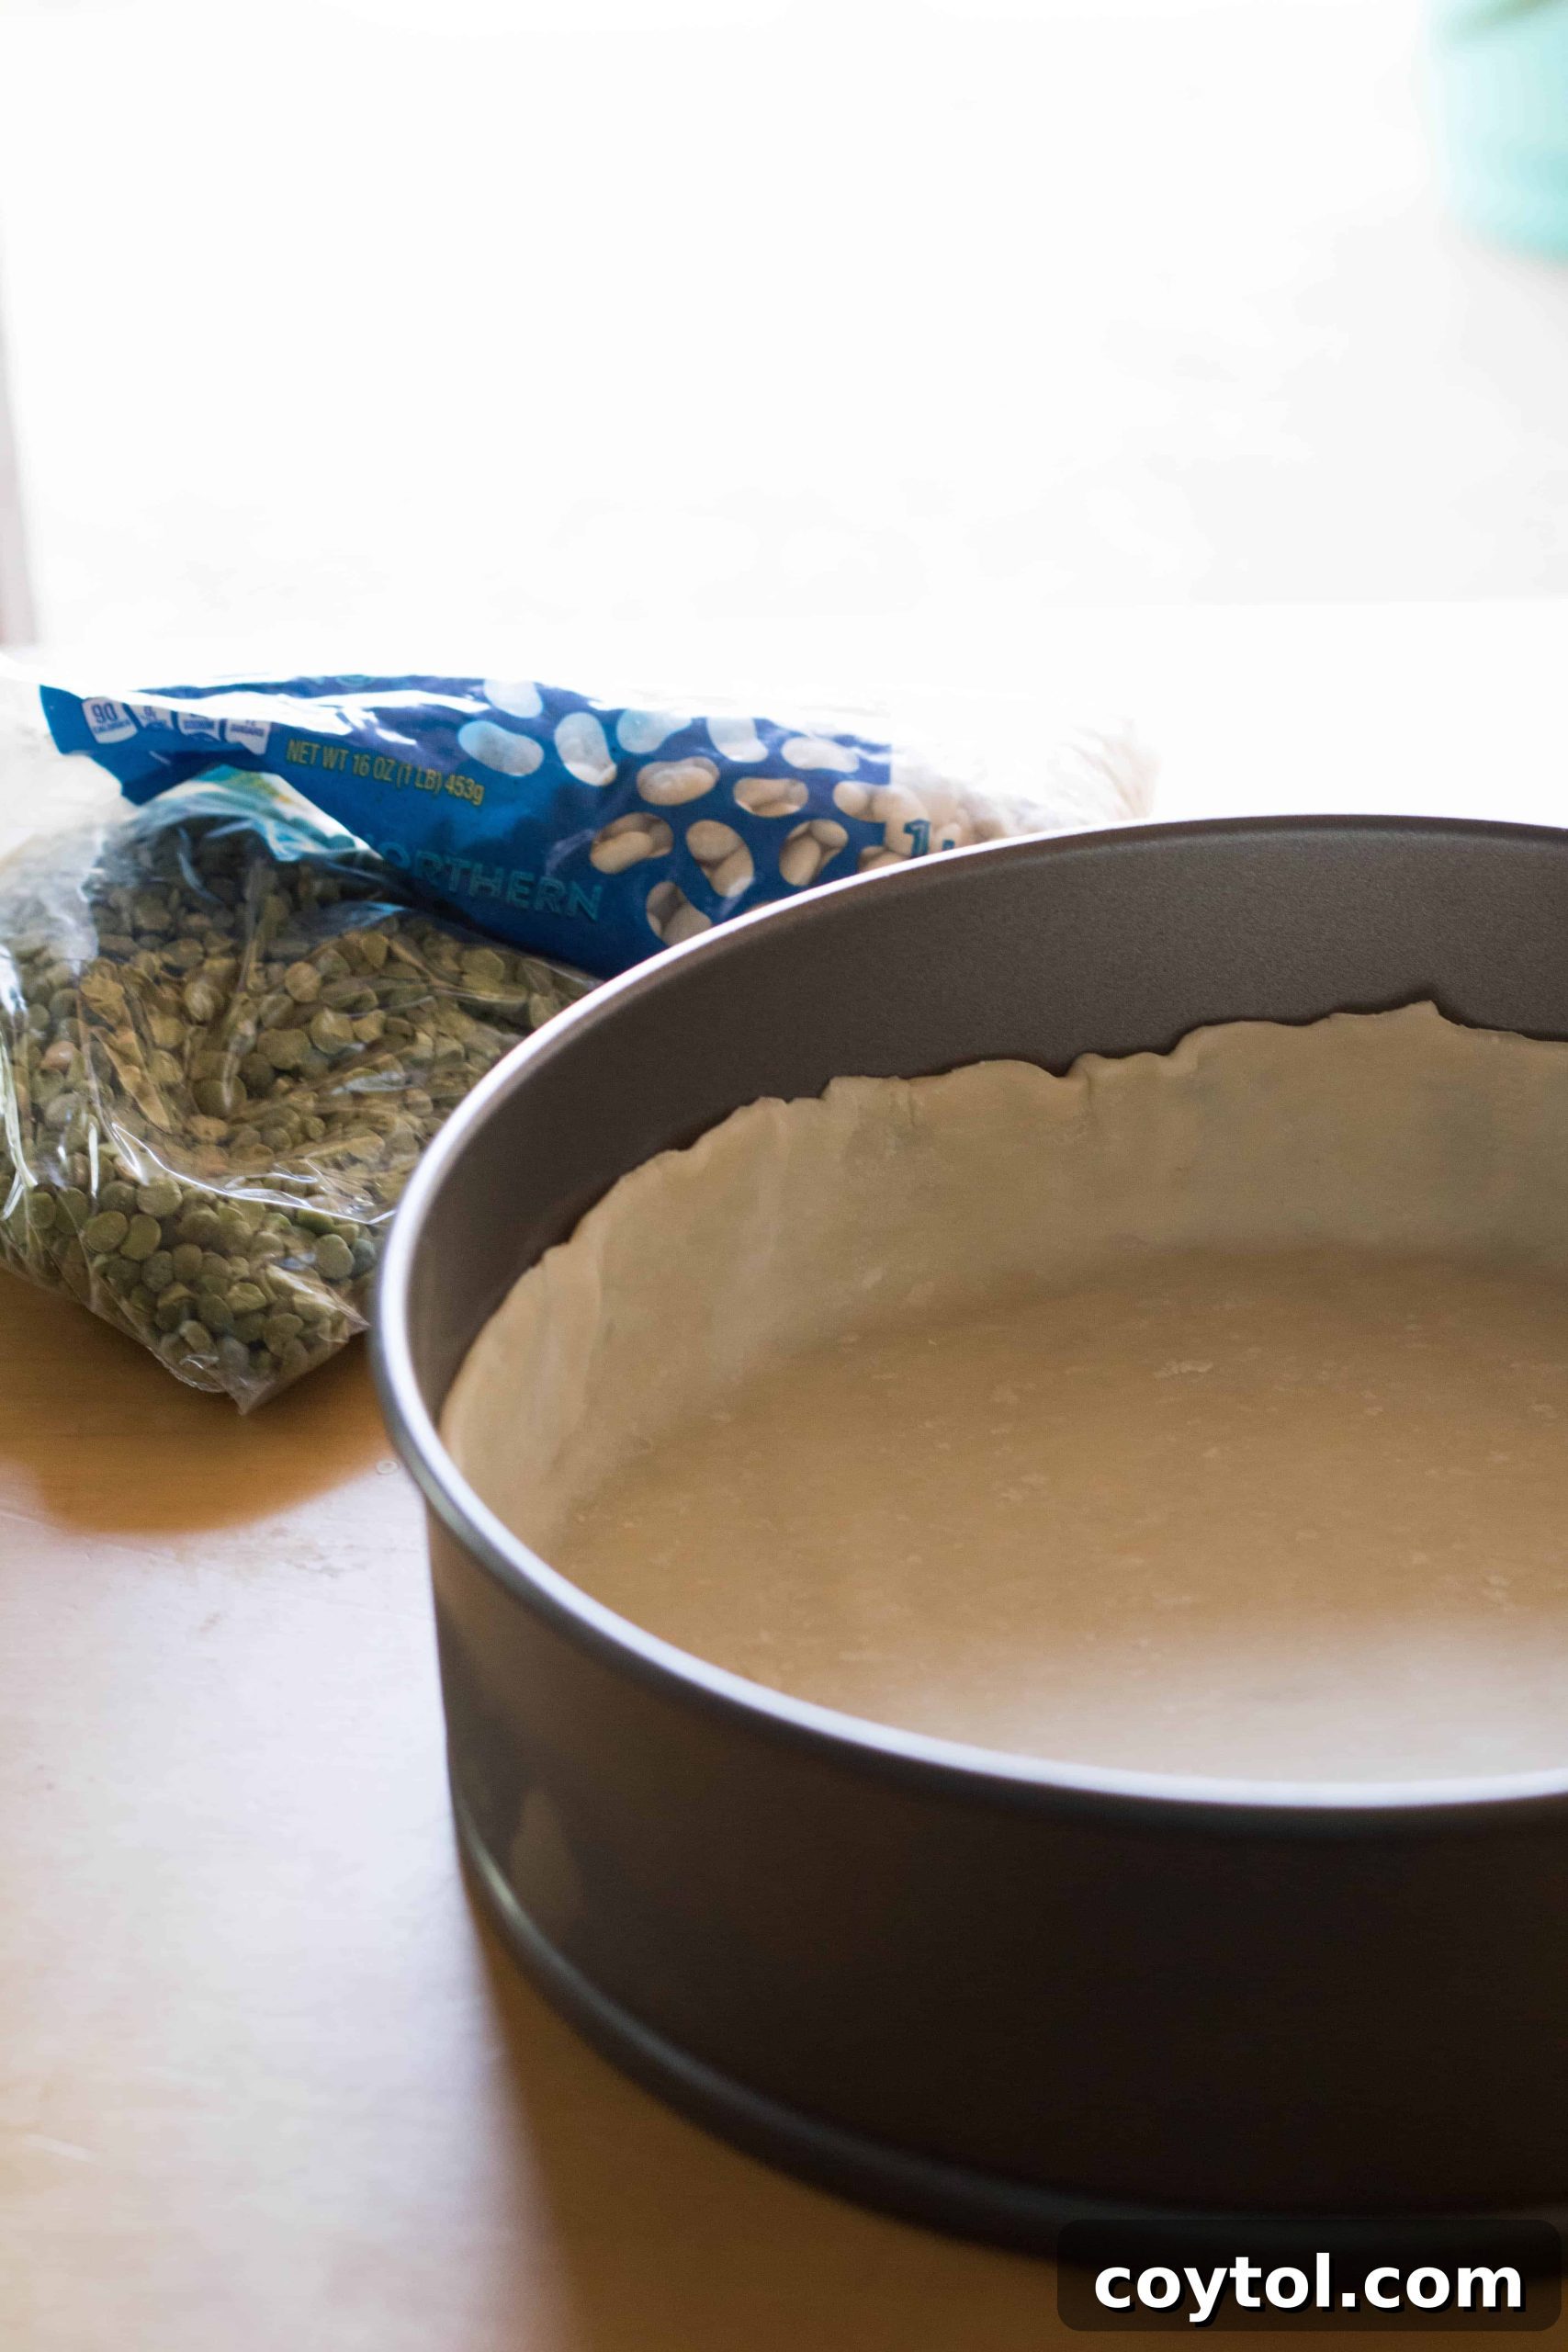
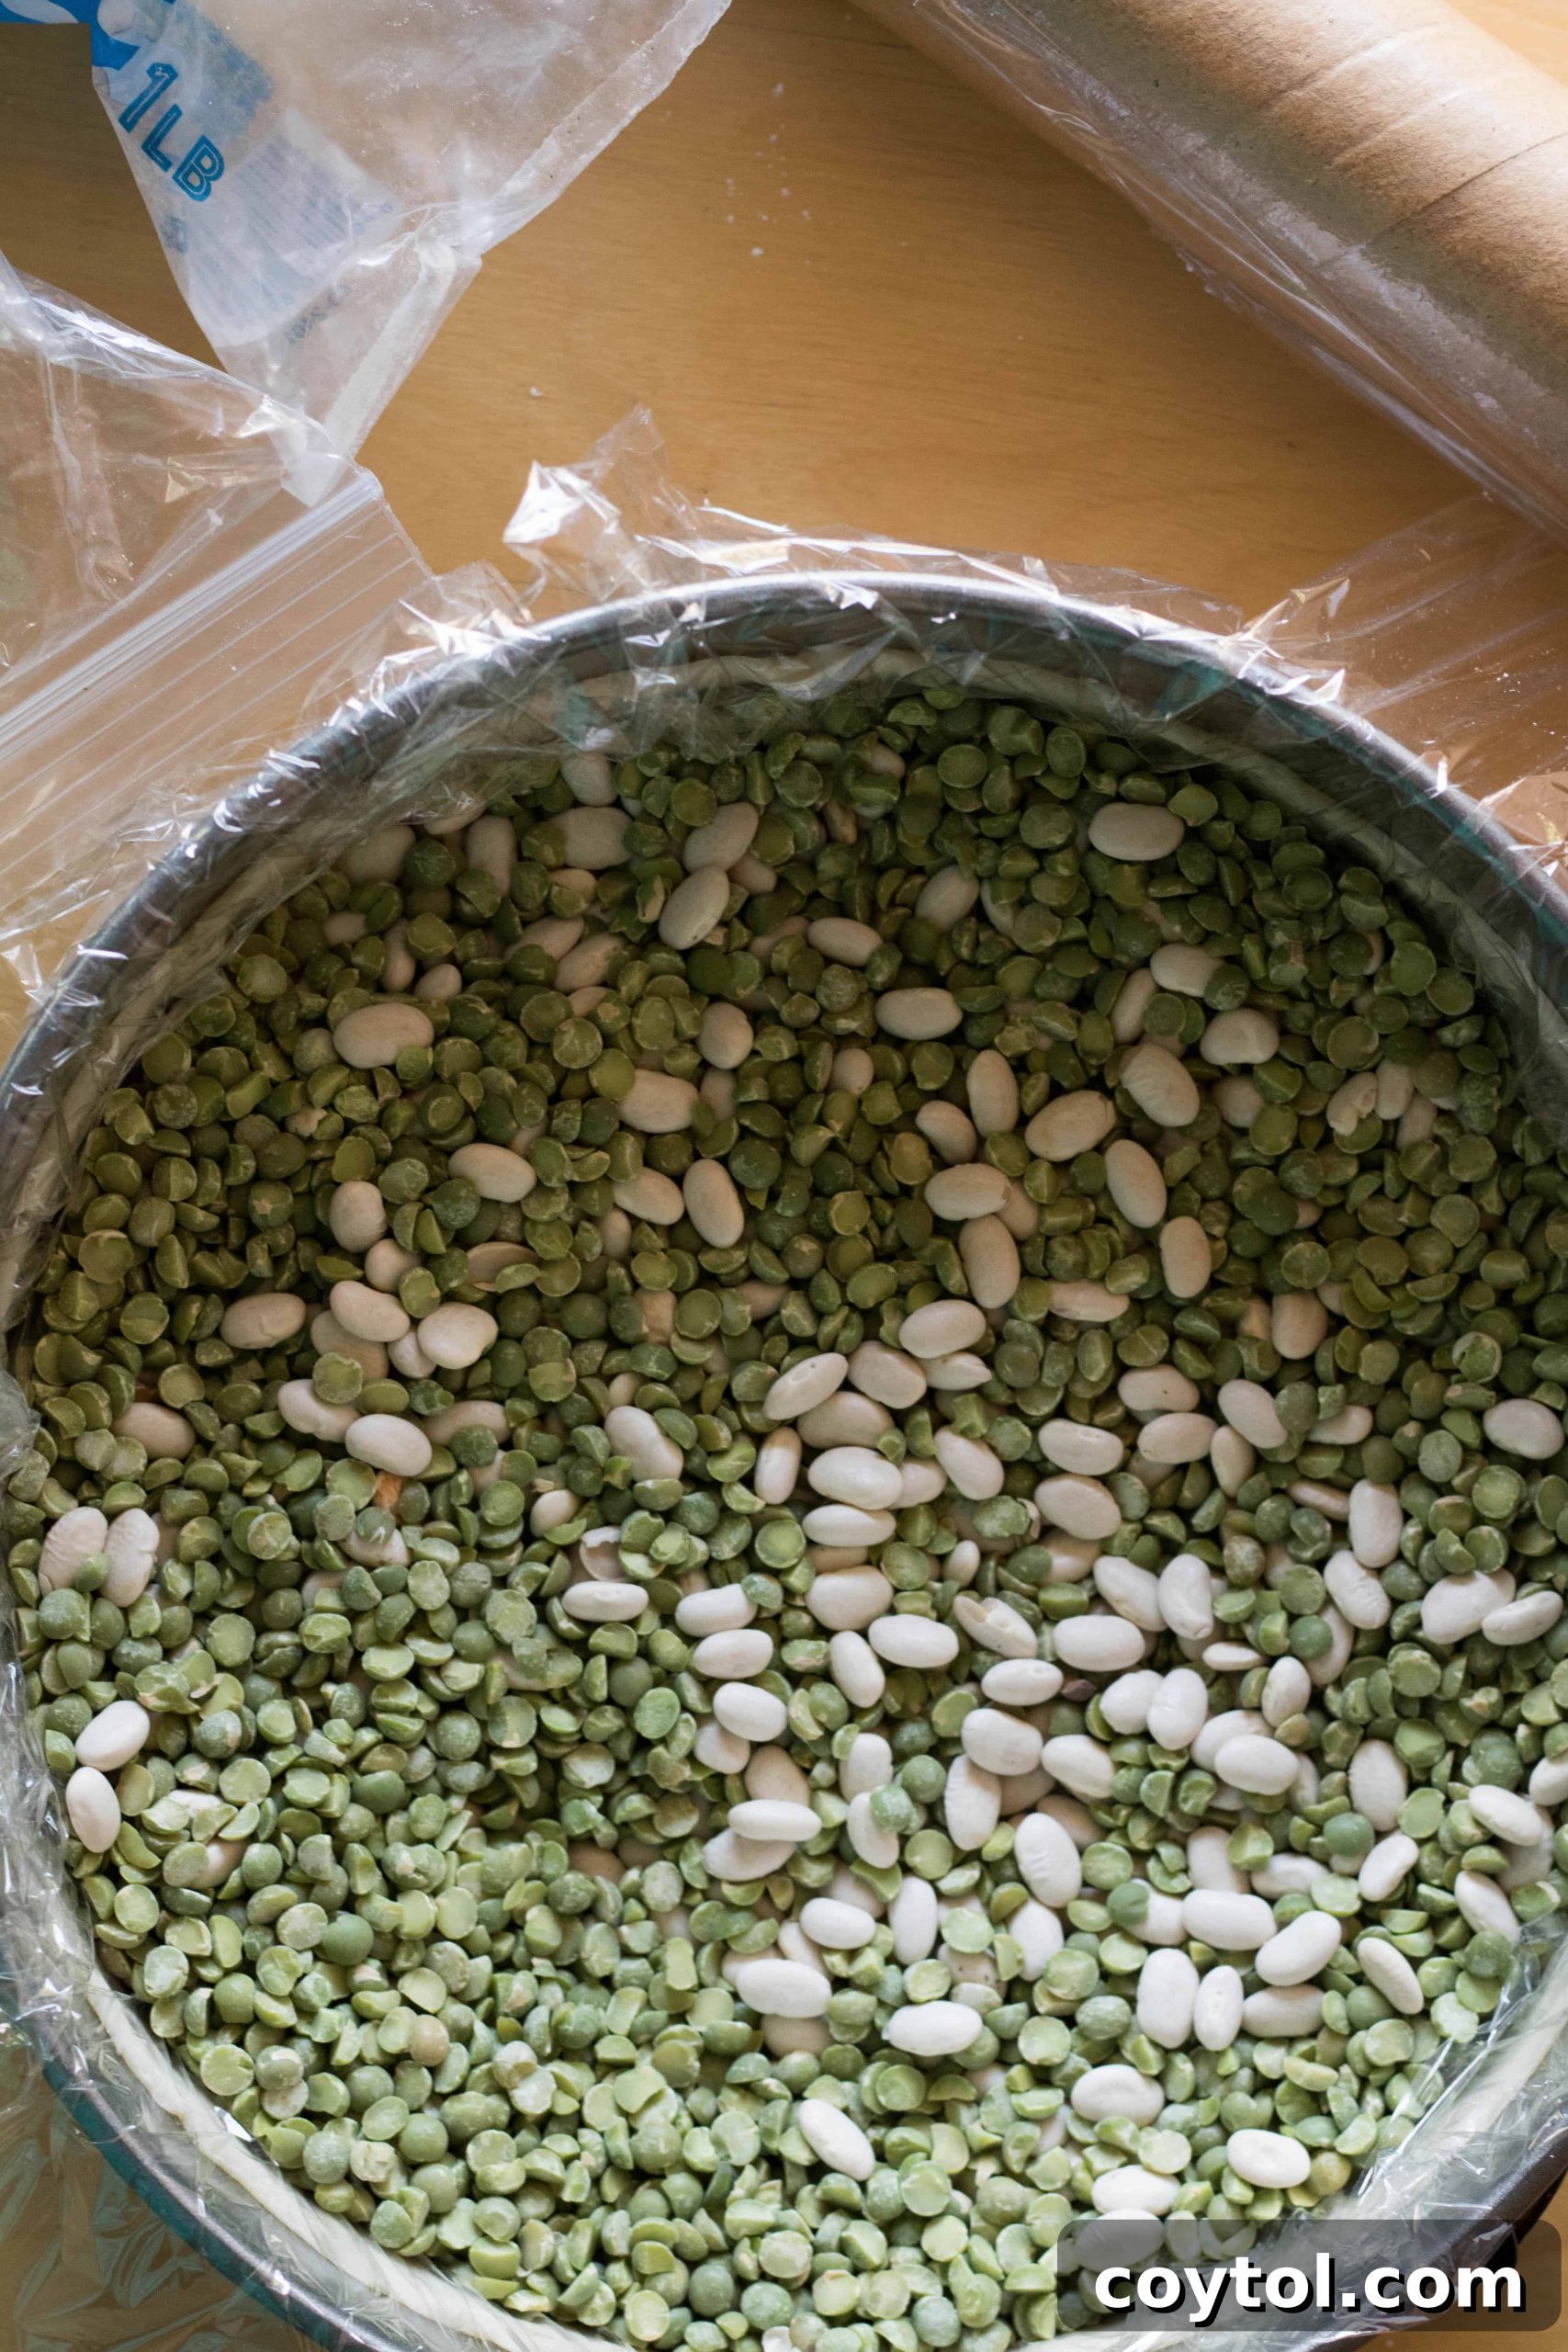
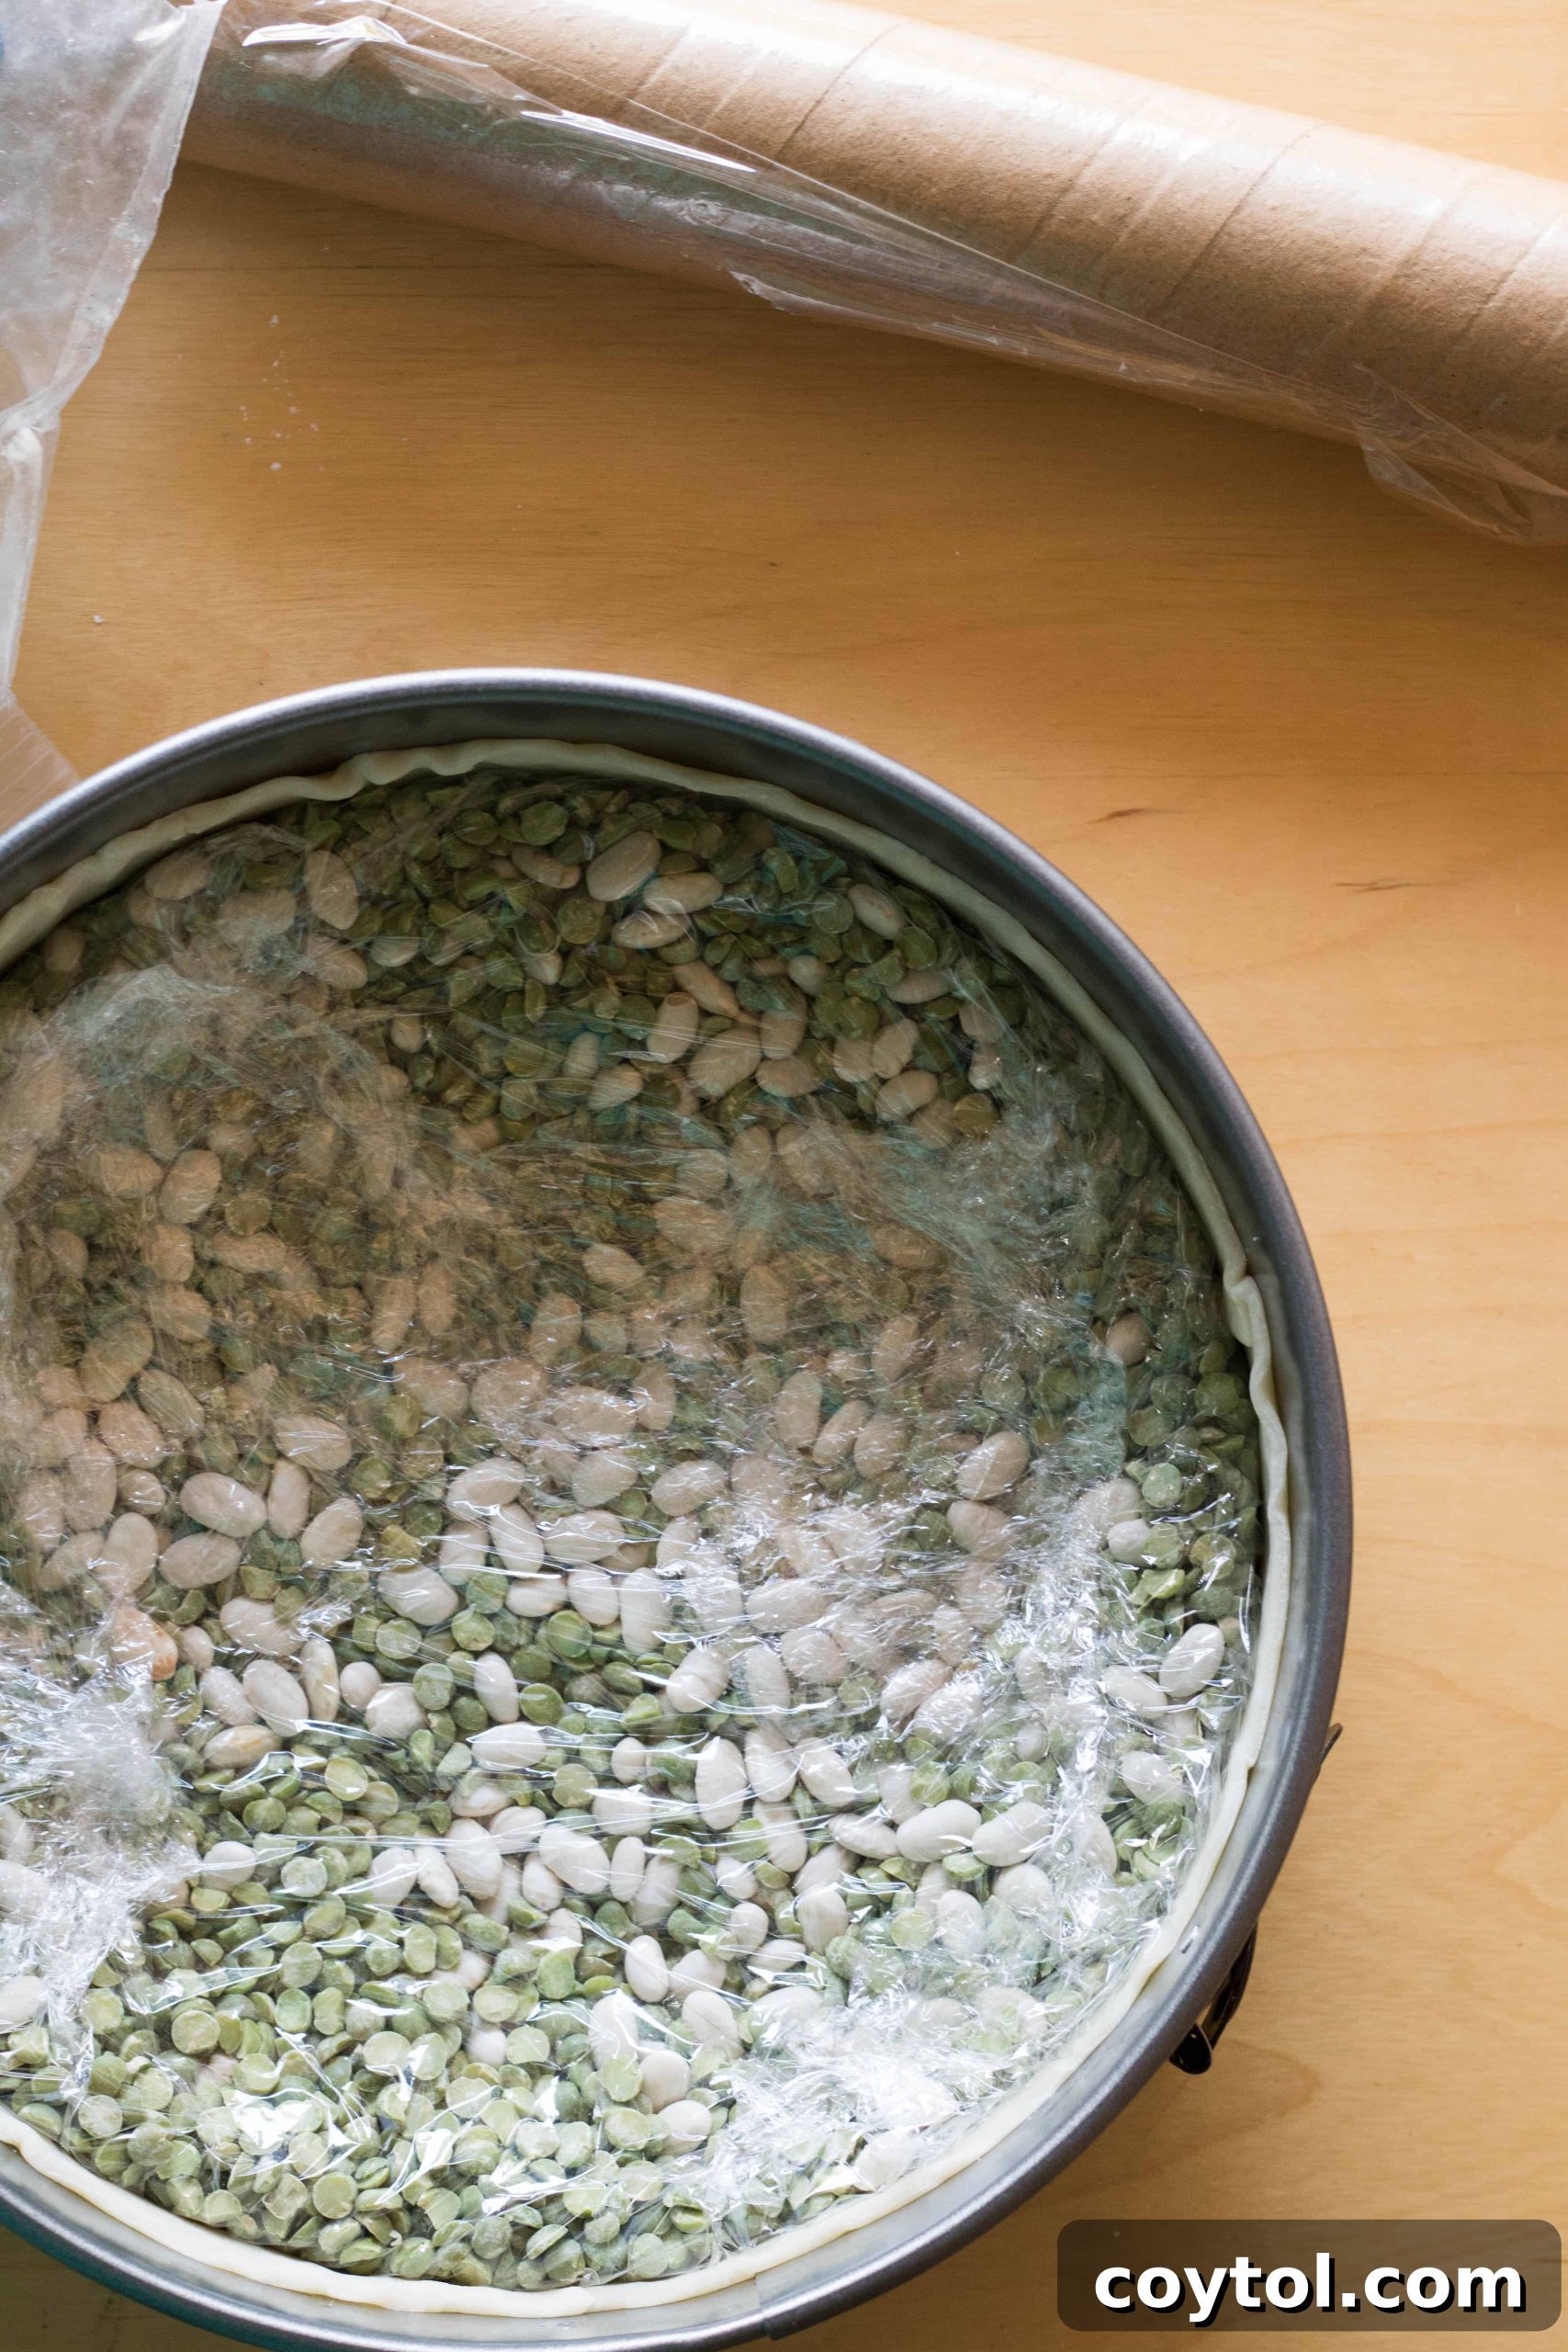
- Utilize Pie Weights for a Perfectly Even Crust: When pre-baking, gravity and heat can cause your pie crust to shrink or puff up in undesirable ways. This is where pie weights become your best friend. By filling the lined crust with pie weights (or even dry beans or rice), you provide essential support, preventing the dough from slumping down the sides or bubbling in the center. This technique guarantees an even, beautifully shaped crust that’s ready to hold your delicious filling without compromise.
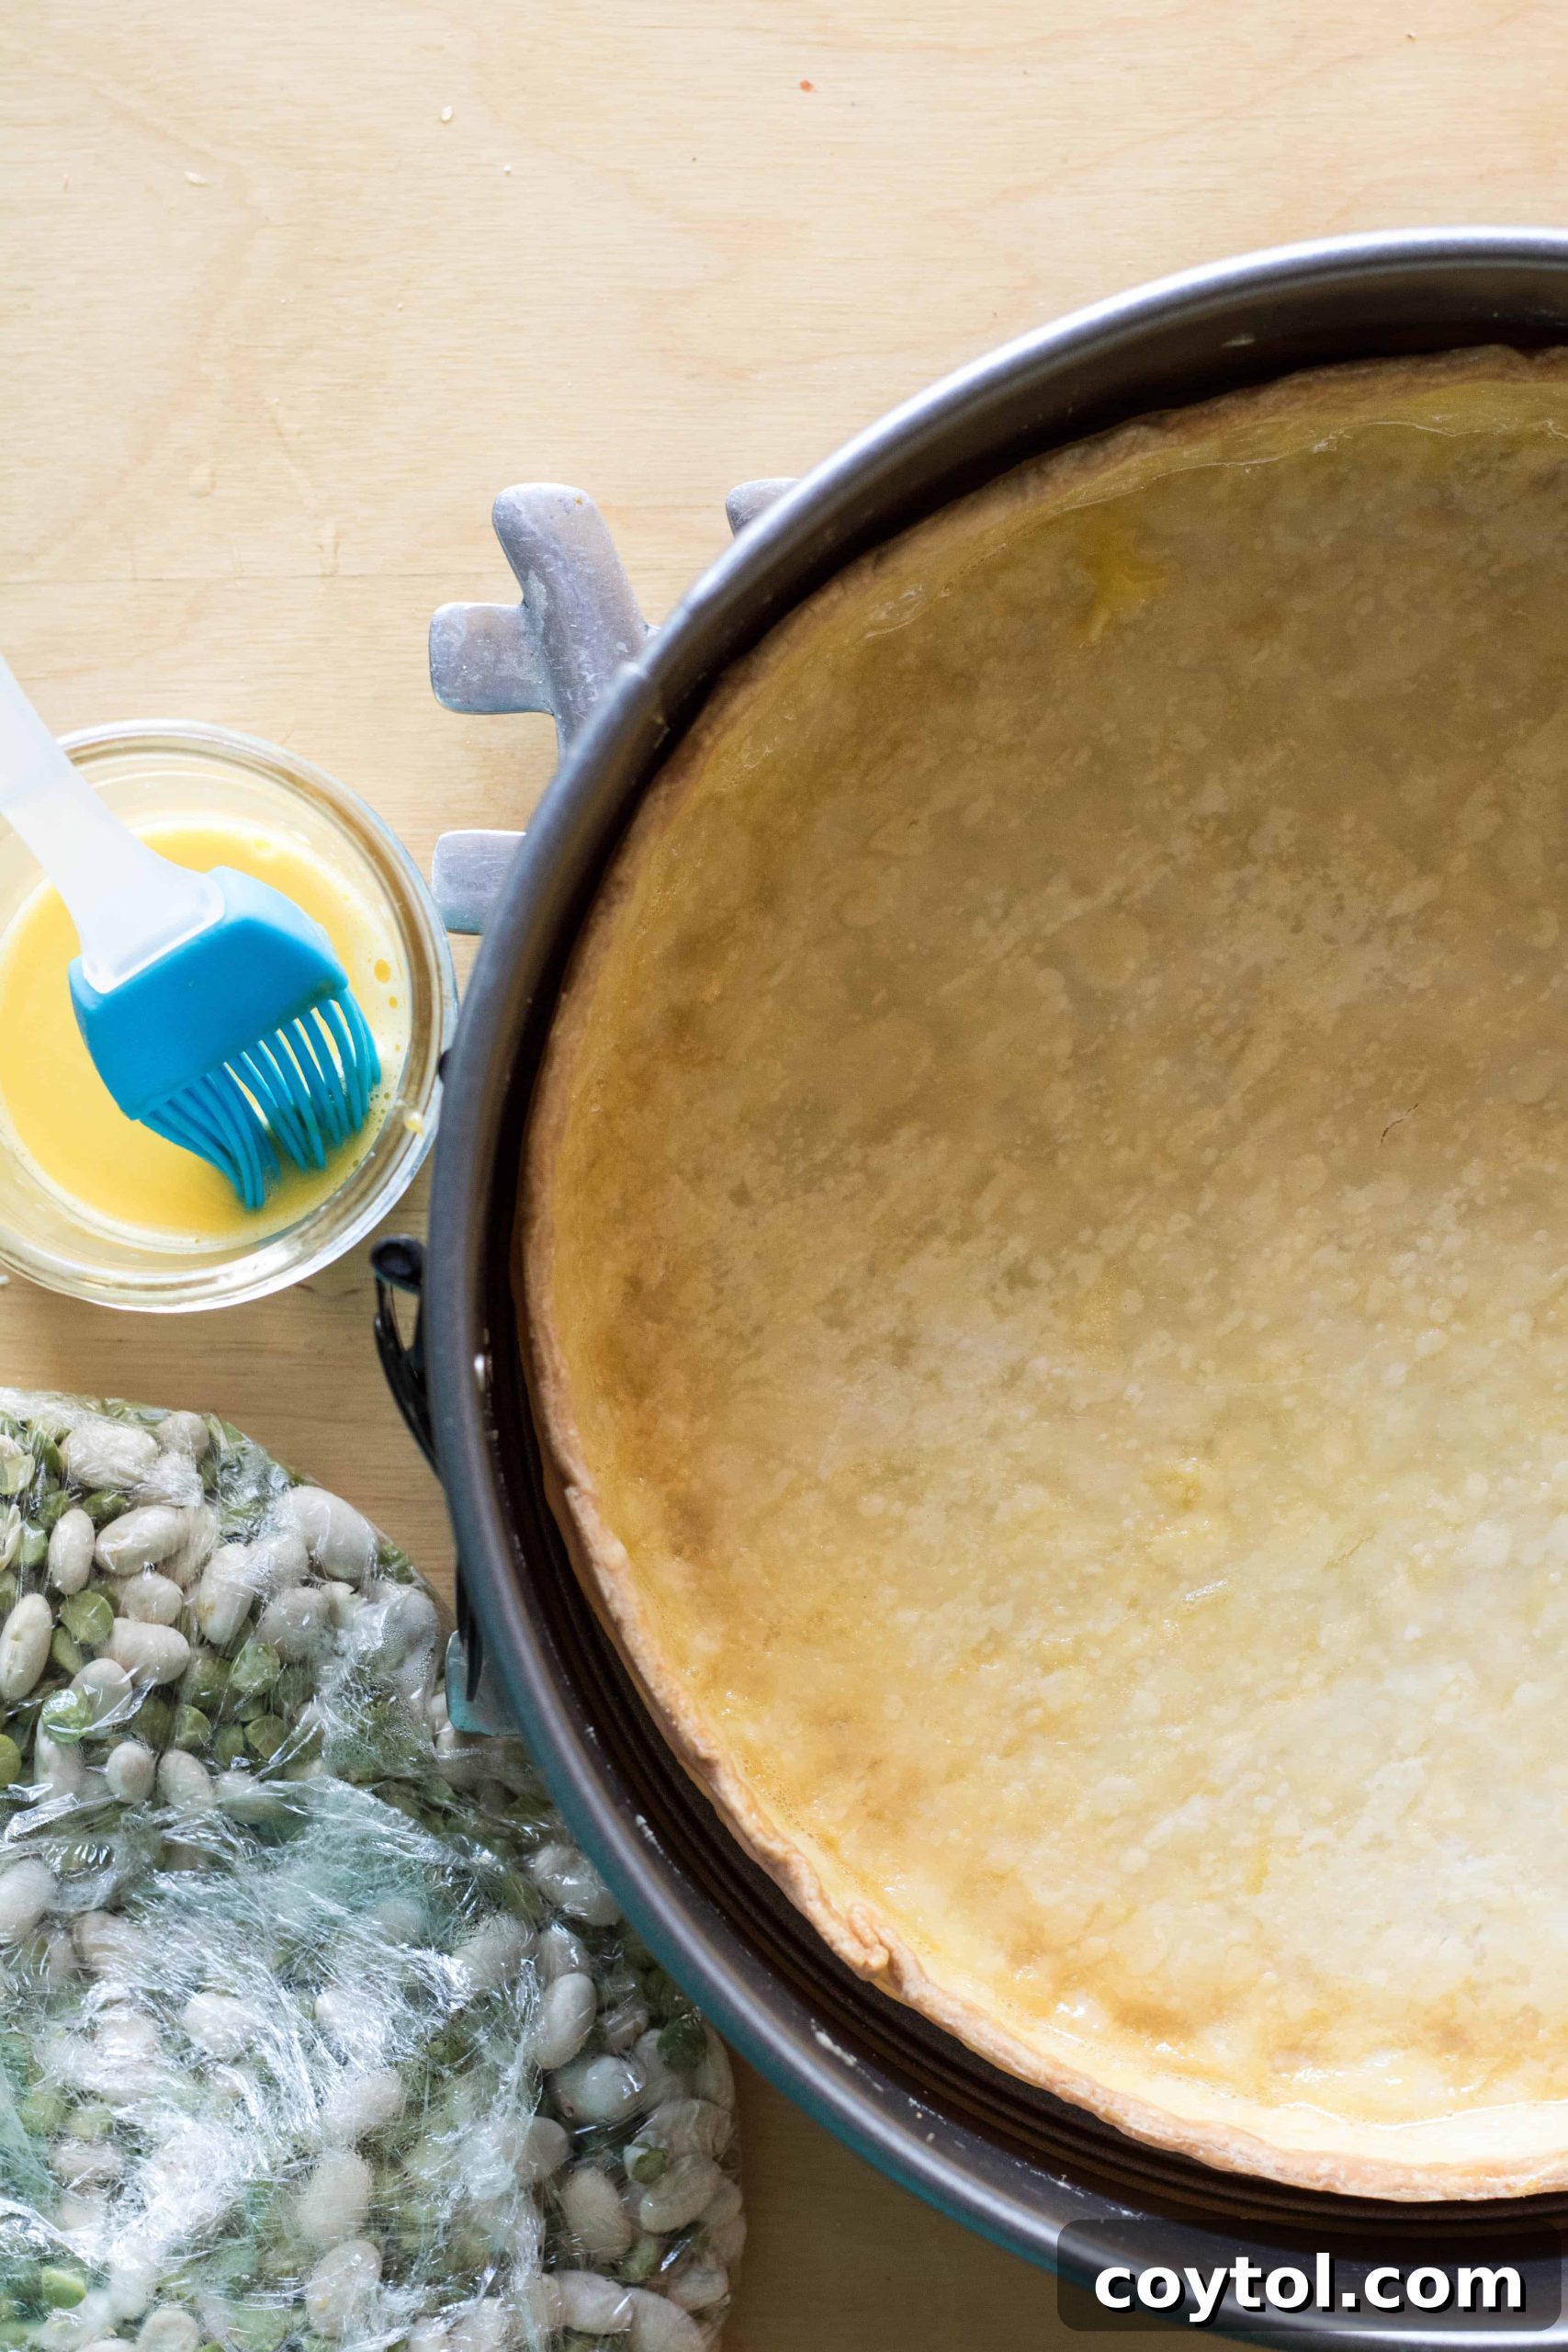
Click here if you want to get some high-quality pie weights for consistent results. - The Magic of an Egg Wash: Seal and Protect: As soon as your pre-baked crust emerges from the oven, brush it immediately with an egg wash (typically a beaten egg white). This simple step creates a thin, protective seal over the warm crust. This layer acts as a barrier, further preventing any liquid from your filling from seeping into the pastry and causing sogginess. Moreover, it contributes to a beautiful, golden-brown finish, adding to the illusion of a perfectly homemade crust.
And there you have it – four invaluable tricks that will significantly enhance the quality and appearance of your store-bought pie crust, making it truly indistinguishable from a homemade one. These methods are simple to implement but yield truly impressive results. Now, let’s move on to the detailed, step-by-step recipe, where we’ll put these secrets into practice to create the perfect foundation for your holiday desserts.
Foolproof Store-Bought Pie Crust: A Step-by-Step Guide
Crafting a professional-looking and tasting pie crust doesn’t have to be a daunting task, especially during the busy holiday season. This recipe leverages the convenience of a store-bought crust and transforms it with simple techniques into a flawless base for any pie or tart. Follow these steps to achieve a perfectly pre-baked shell every time, setting the stage for your most successful holiday baking yet.
Yield one tart shell (9-inch)
Prep Time 15 minutes (plus 30 minutes chilling)
Total Time 45 minutes
Ingredients and Utensils
To embark on this journey to a perfect crust, you’ll need just a few key items. Quality store-bought dough is essential, as are the right tools to shape and bake it to perfection.
- 1 package store-bought pie crust (e.g., Pillsbury, often found in the refrigerated section)
- 1 large egg white (for the protective wash)
- 9-inch cheesecake mold or tart pan with removable bottom (the secret to that elegant shape!)
- Pie weights or a generous amount of dry beans/uncooked rice (for blind baking)
- Saran wrap or parchment paper (to line the crust before adding weights)
- A fine grater or microplane (for perfecting the edges)
- Small pastry brush (for the egg wash)
Directions
- First, begin by preheating your oven to 375°F (190°C). This ensures the oven is at the correct temperature when your crust is ready to go in, promoting an even bake. While the oven heats, take your store-bought pie crust out of the refrigerator and let it sit at room temperature for about 10-15 minutes. This makes it more pliable and easier to work with without cracking.
- Carefully unroll the pie crust and gently press it into your 9-inch cheesecake mold or tart pan. Ensure the dough is pressed firmly into all the fluted edges and corners of the pan. Trim any excess dough from the edges, leaving a slight overhang if desired for a rustic look, or trim flush with the pan for a cleaner finish. This initial shaping is crucial for the final appearance of your tart.
- Once the crust is perfectly shaped in the pan, transfer it to the refrigerator and chill for approximately 30 minutes. This chilling period is vital for two reasons: it allows the butter in the dough to firm up, preventing excessive shrinkage during baking, and it helps the crust maintain its beautiful shape, ensuring a crisp, firm texture.
 Now, it’s time for the secret weapon against a soggy bottom: blind baking! This technique creates a perfectly crisp base, essential for tarts and pies with moist fillings.
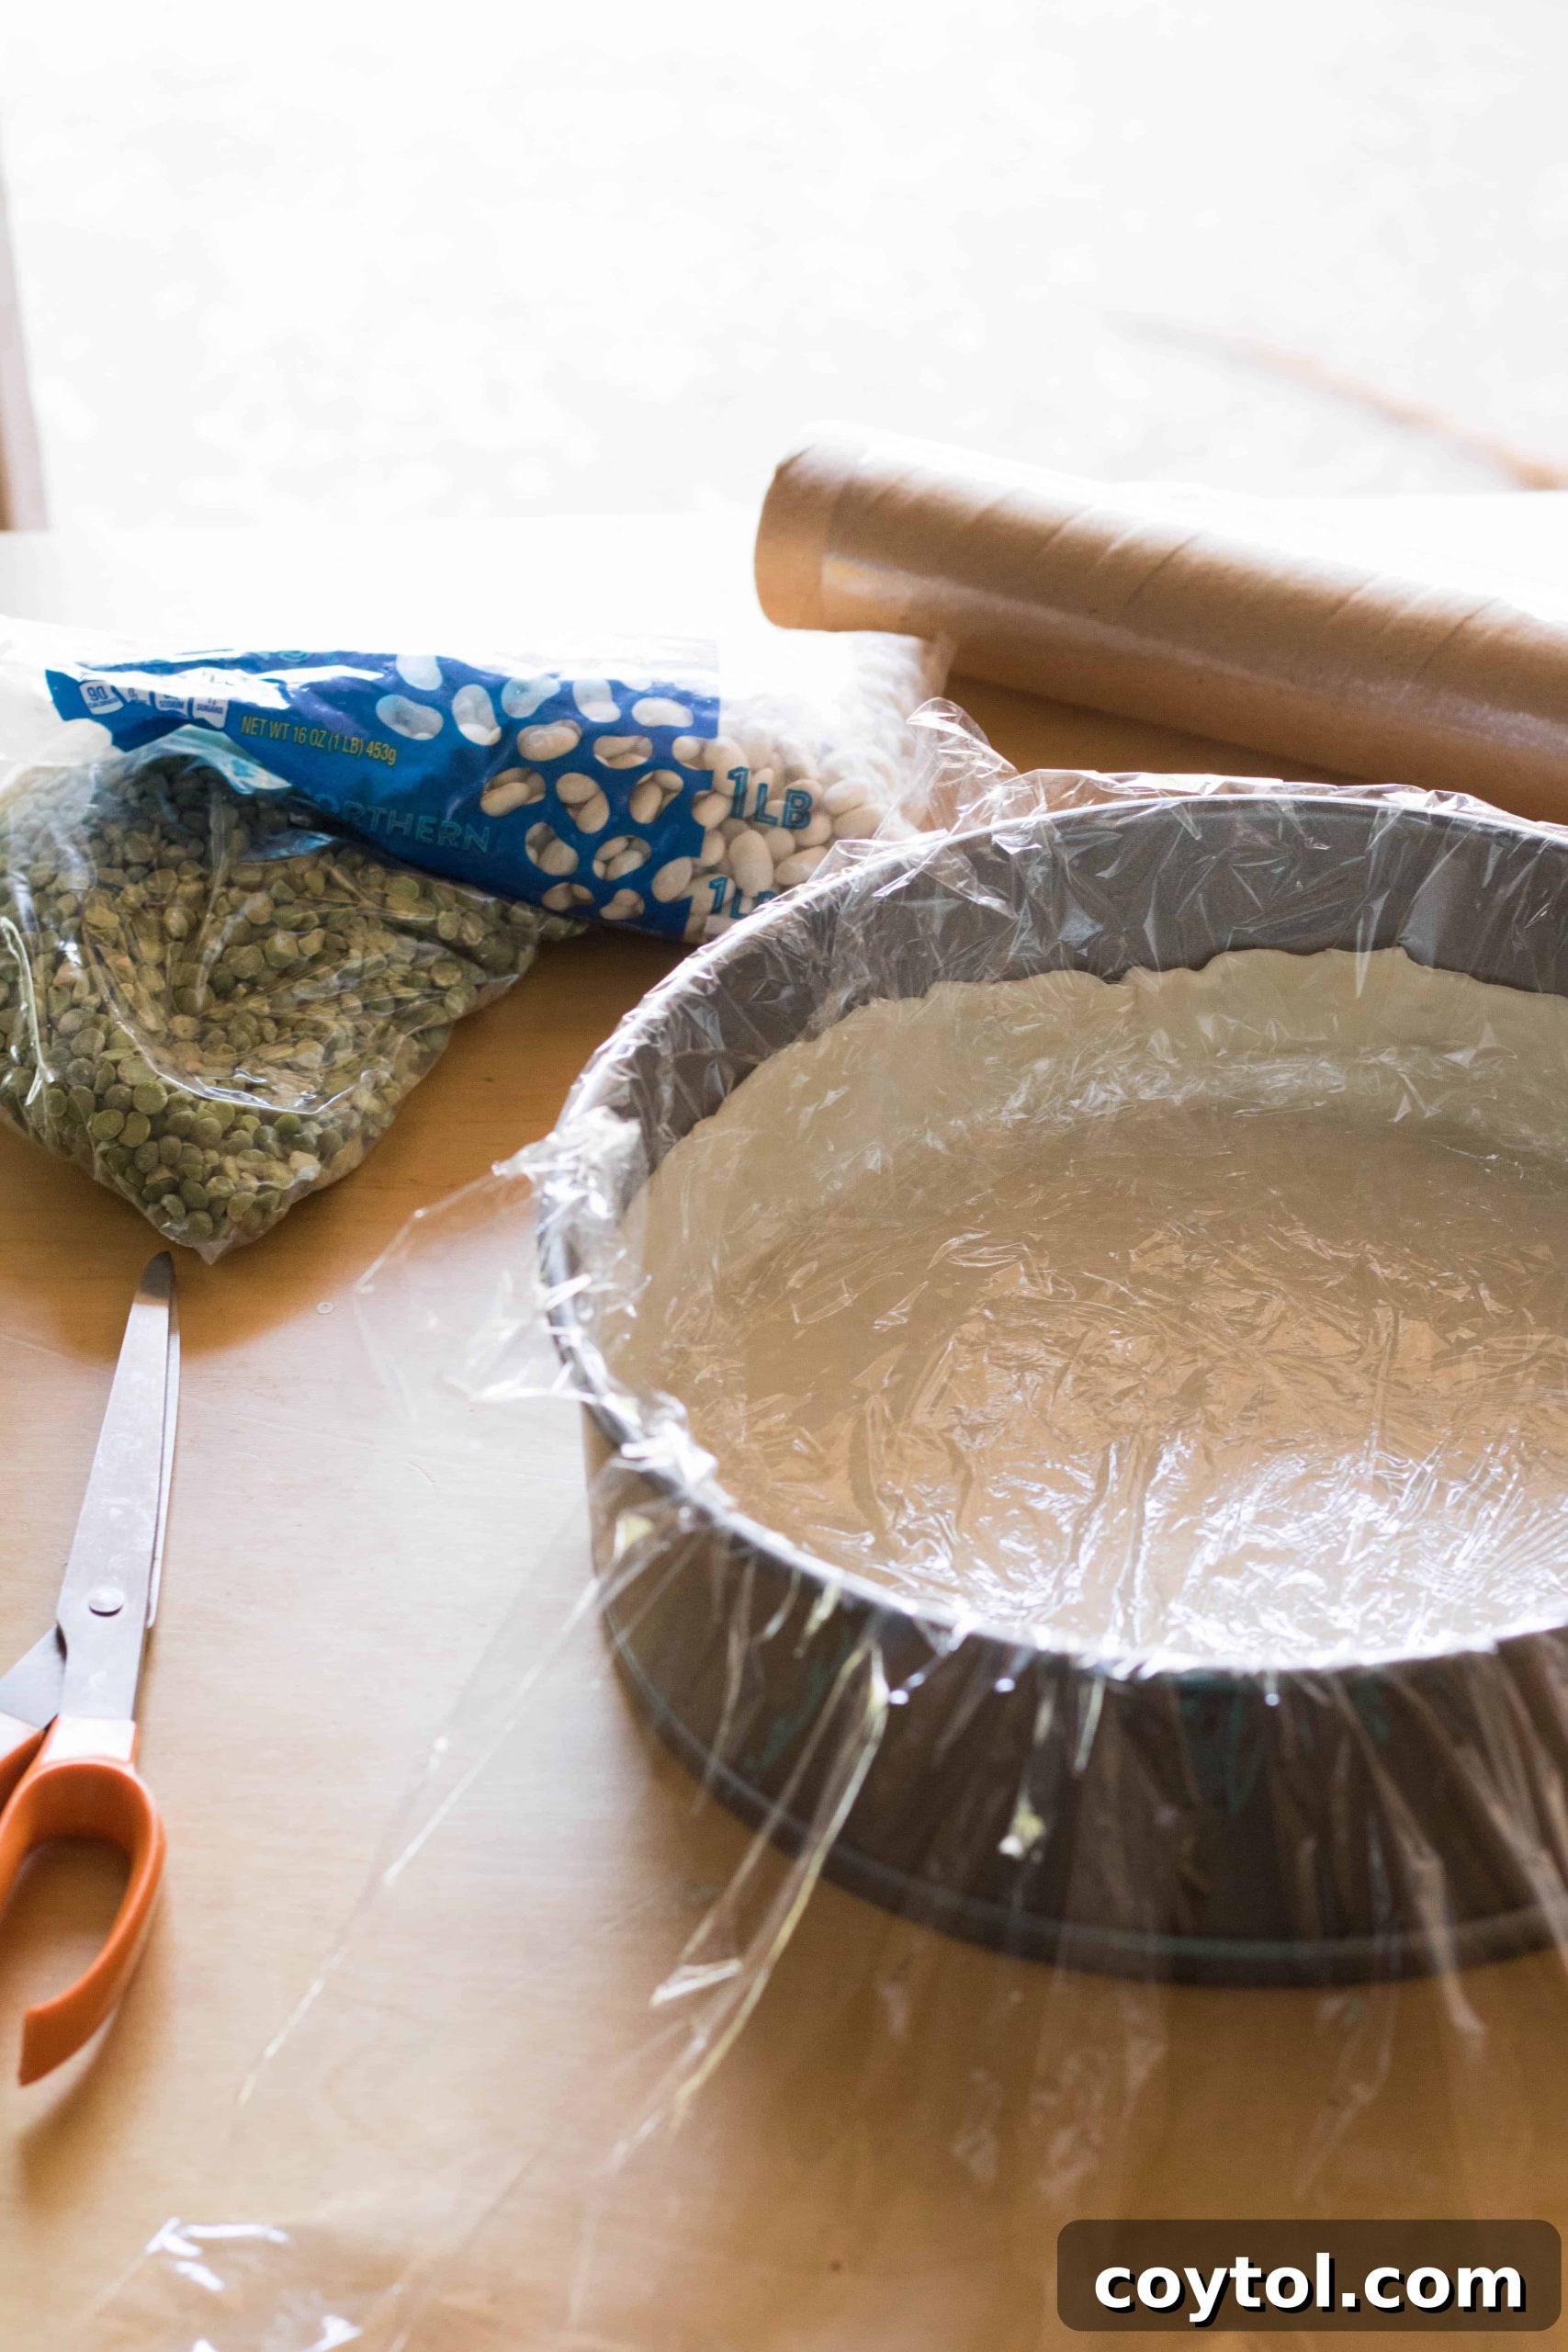
- Remove the chilled crust from the refrigerator. Carefully line the inside of the crust with a sheet of plastic wrap or crumpled parchment paper, ensuring it covers the bottom and extends up the sides. Then, fill this lined crust generously with pie weights, dry beans, or uncooked rice. Make sure the weights are evenly distributed and reach into all the cracks and crevices of the tart shell. This even distribution is key to preventing the crust from puffing up in the middle or shrinking from the sides during baking. Secure the edges of the plastic wrap or parchment over the weights before placing it in the oven.
- If you don’t have plastic wrap, aluminum foil can also be used, but ensure it’s tightly molded to the crust to prevent the weights from shifting. For parchment paper, crumple it first, then smooth it into the crust before adding weights.
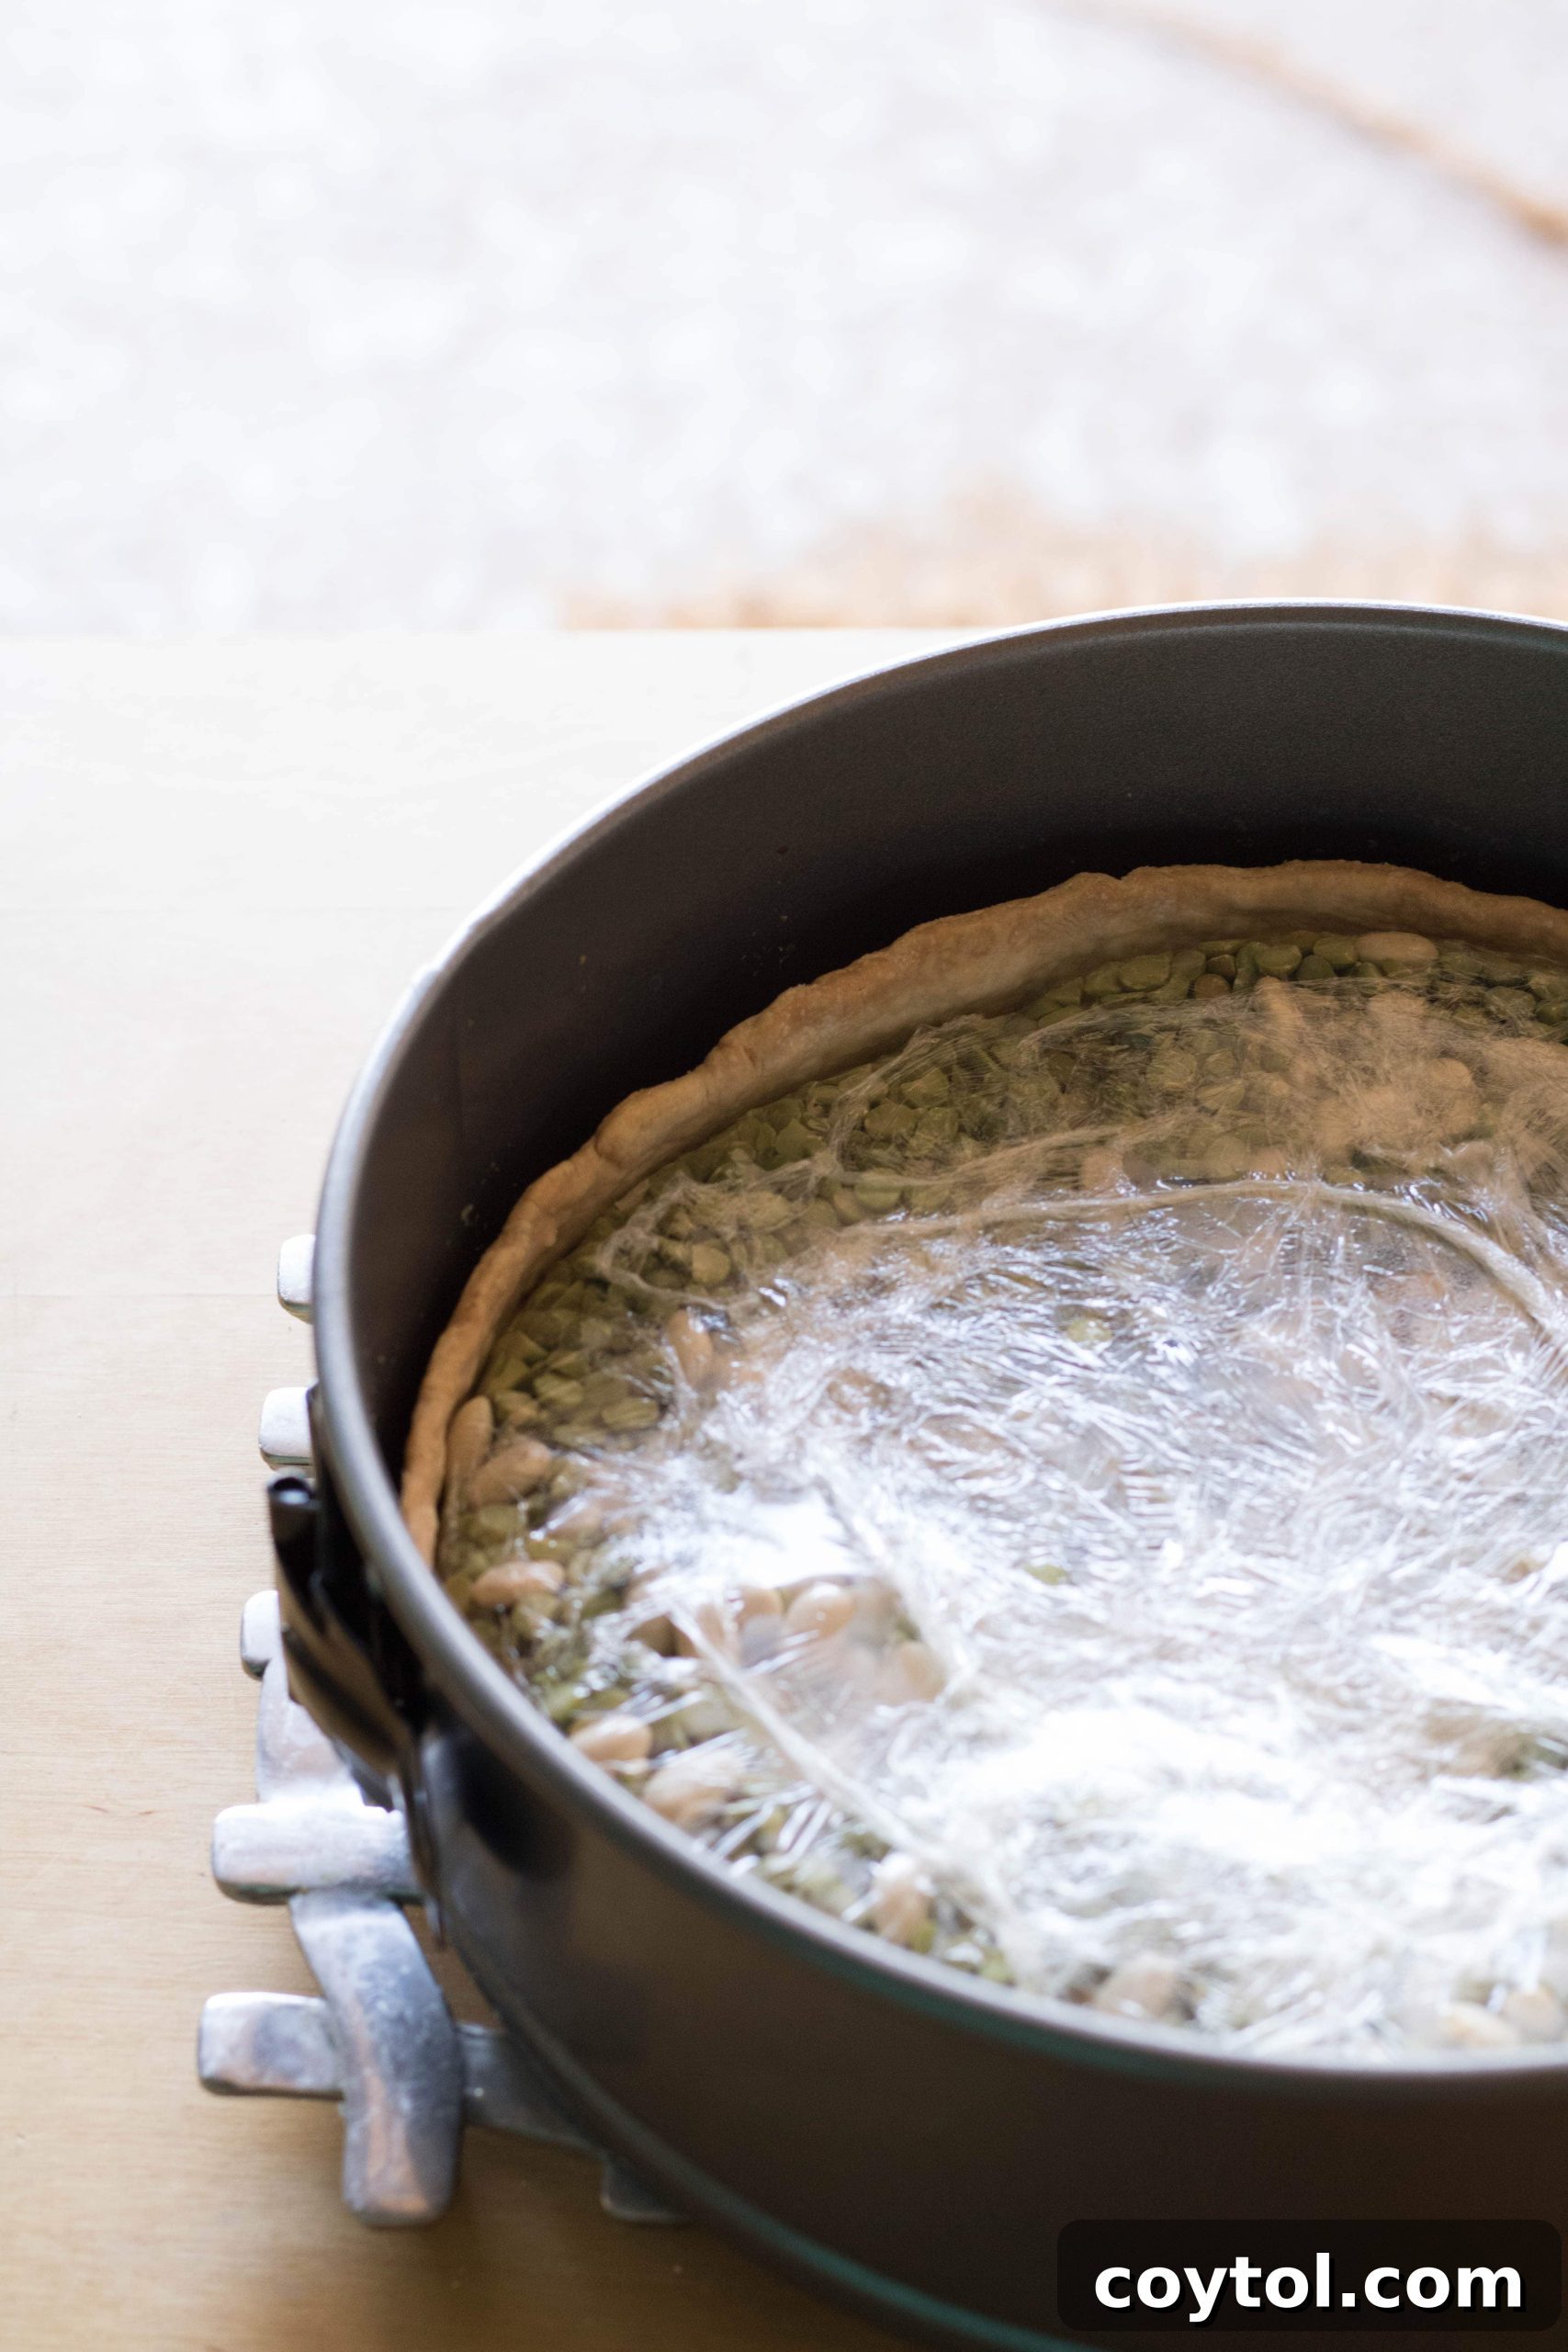
- Bake the prepared crust (with the weights) in your preheated 375°F (190°C) oven for about 20-25 minutes. After this initial bake, carefully remove the pan from the oven. Gently lift out the plastic wrap (or parchment/foil) with the pie weights. Return the crust to the oven for another 5-10 minutes, allowing it to turn a light golden color and cook through completely. This two-stage baking ensures a thoroughly cooked and crisp crust.
- As soon as the crust comes out of the oven after its final bake, while it’s still piping hot, quickly brush the entire inside surface with the beaten egg white using a pastry brush. The heat of the crust will instantly cook the egg white, creating a thin, impermeable layer. This protective barrier is your ultimate defense against any filling moisture seeping in, guaranteeing a perfectly crisp bottom even with the wettest fillings. It also adds a beautiful sheen to the finished crust.
- As soon as the crust comes out of the oven after its final bake, while it’s still piping hot, quickly brush the entire inside surface with the beaten egg white using a pastry brush. The heat of the crust will instantly cook the egg white, creating a thin, impermeable layer. This protective barrier is your ultimate defense against any filling moisture seeping in, guaranteeing a perfectly crisp bottom even with the wettest fillings. It also adds a beautiful sheen to the finished crust.
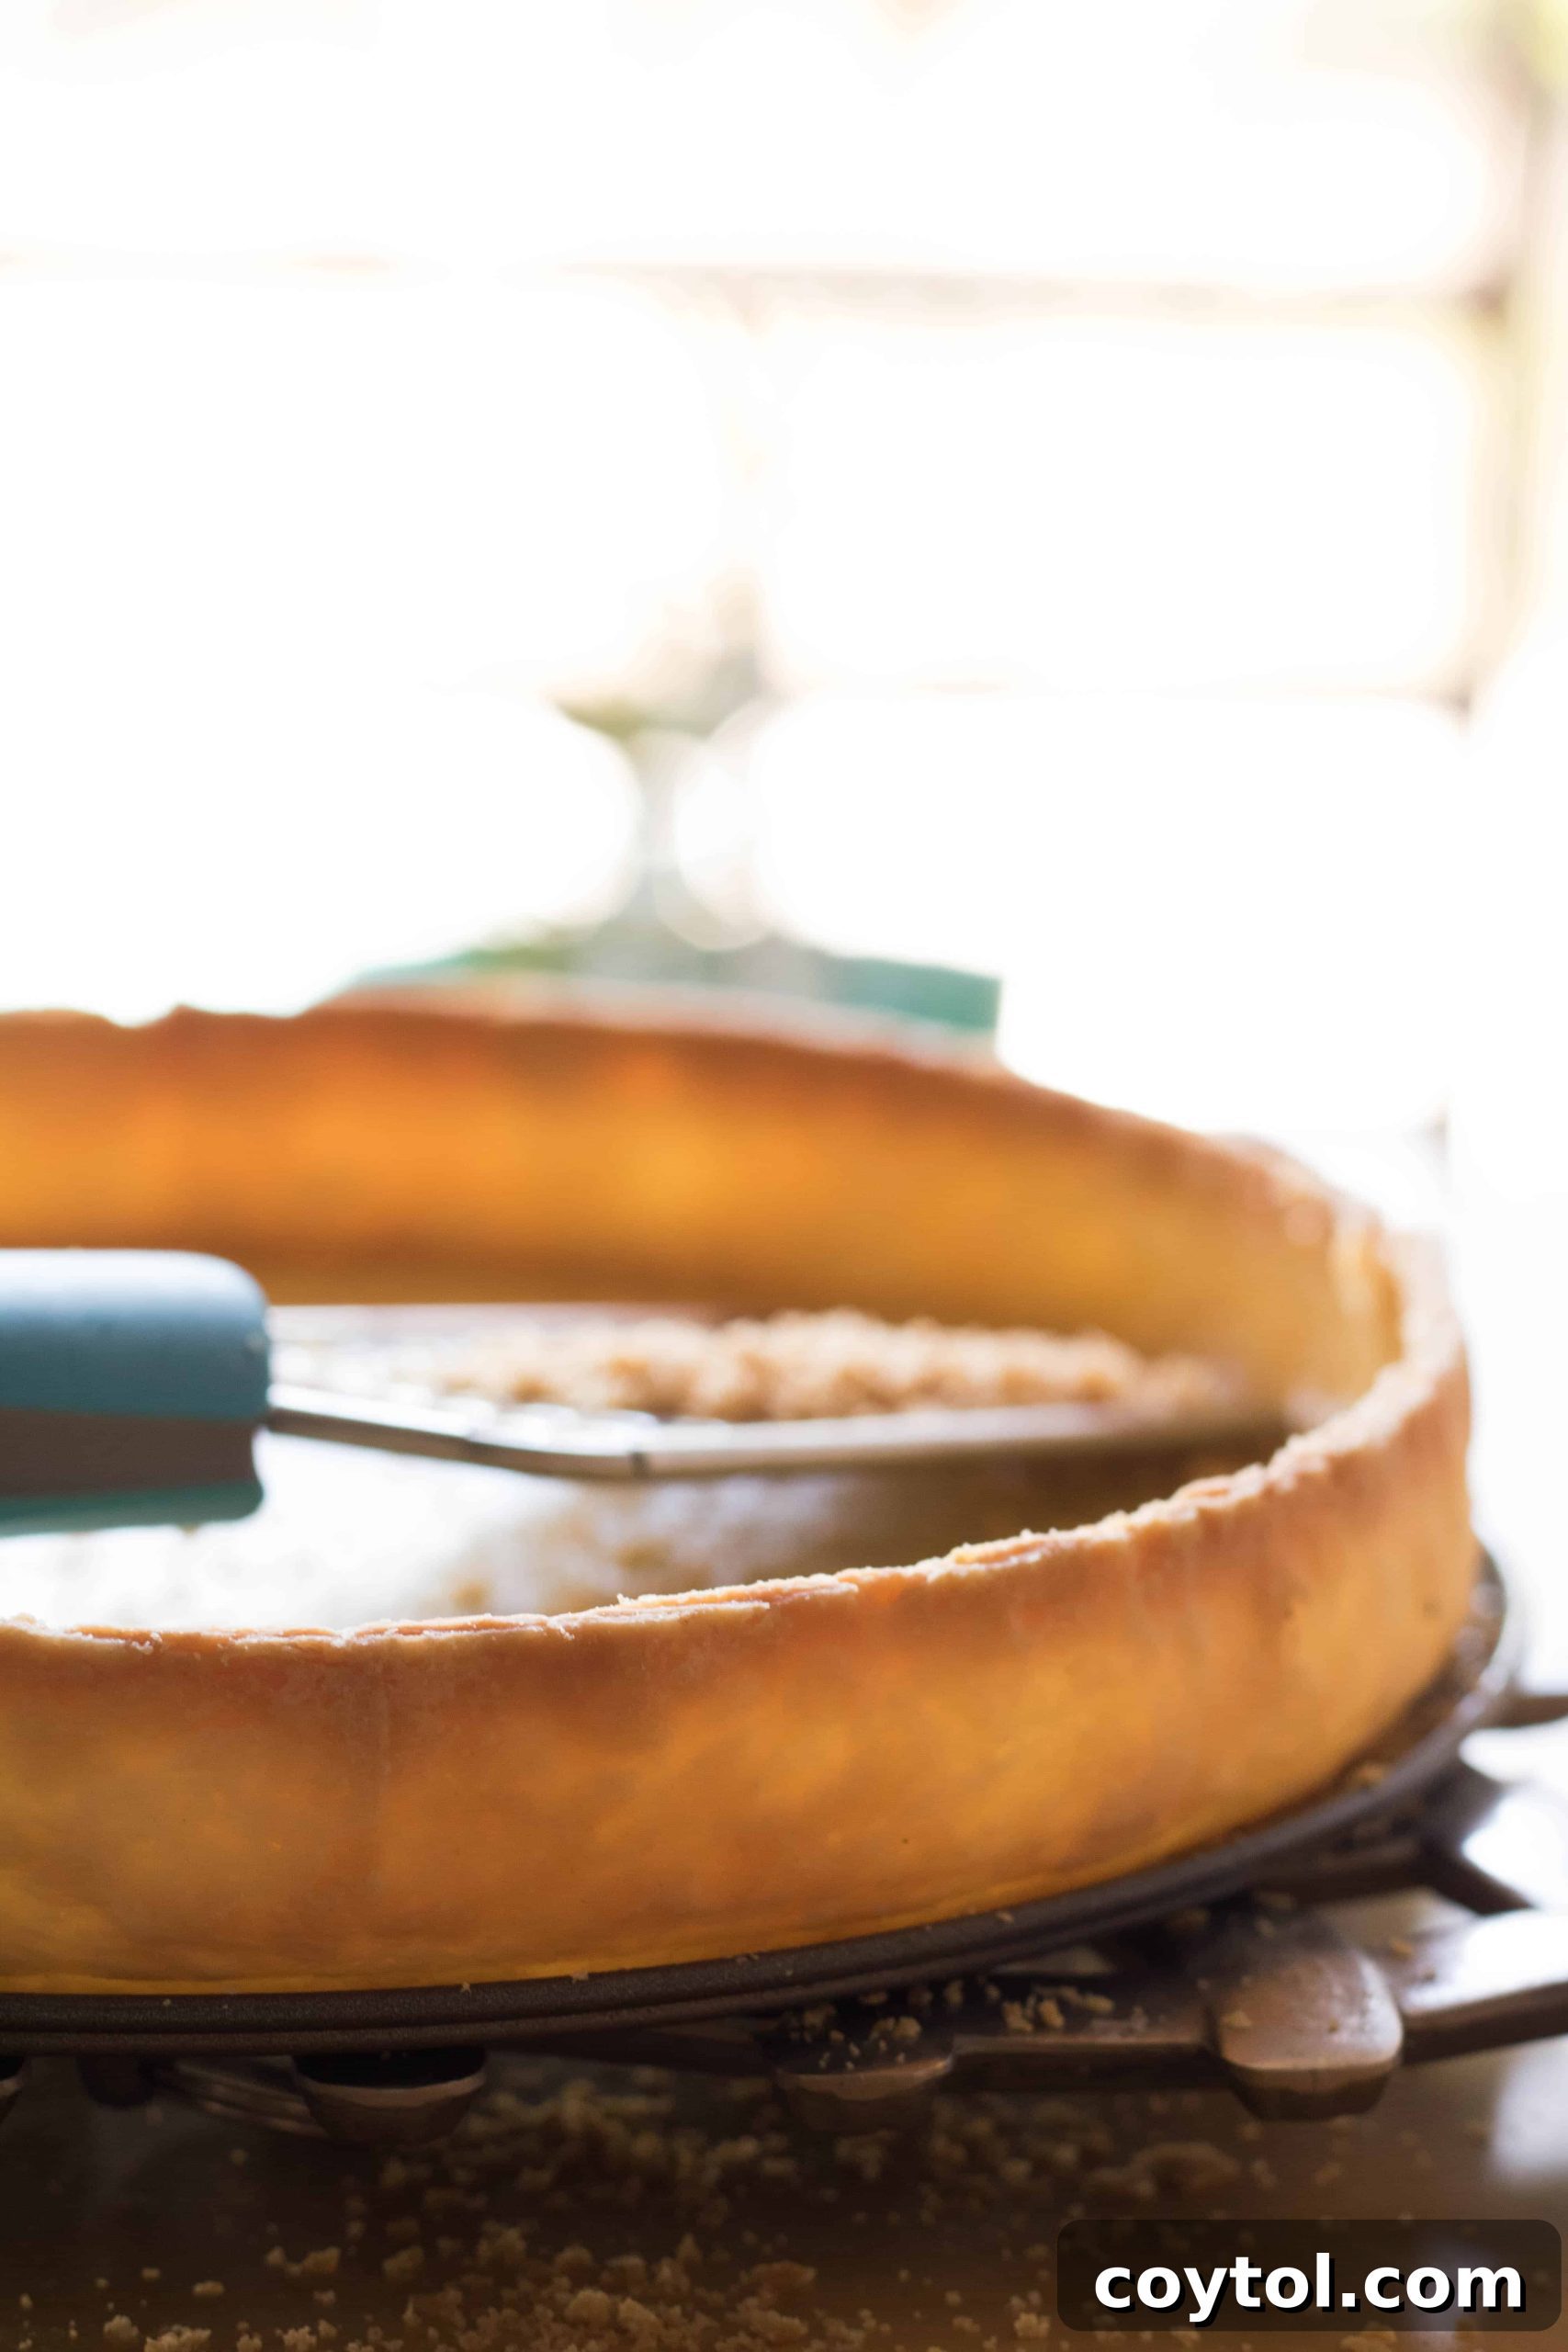
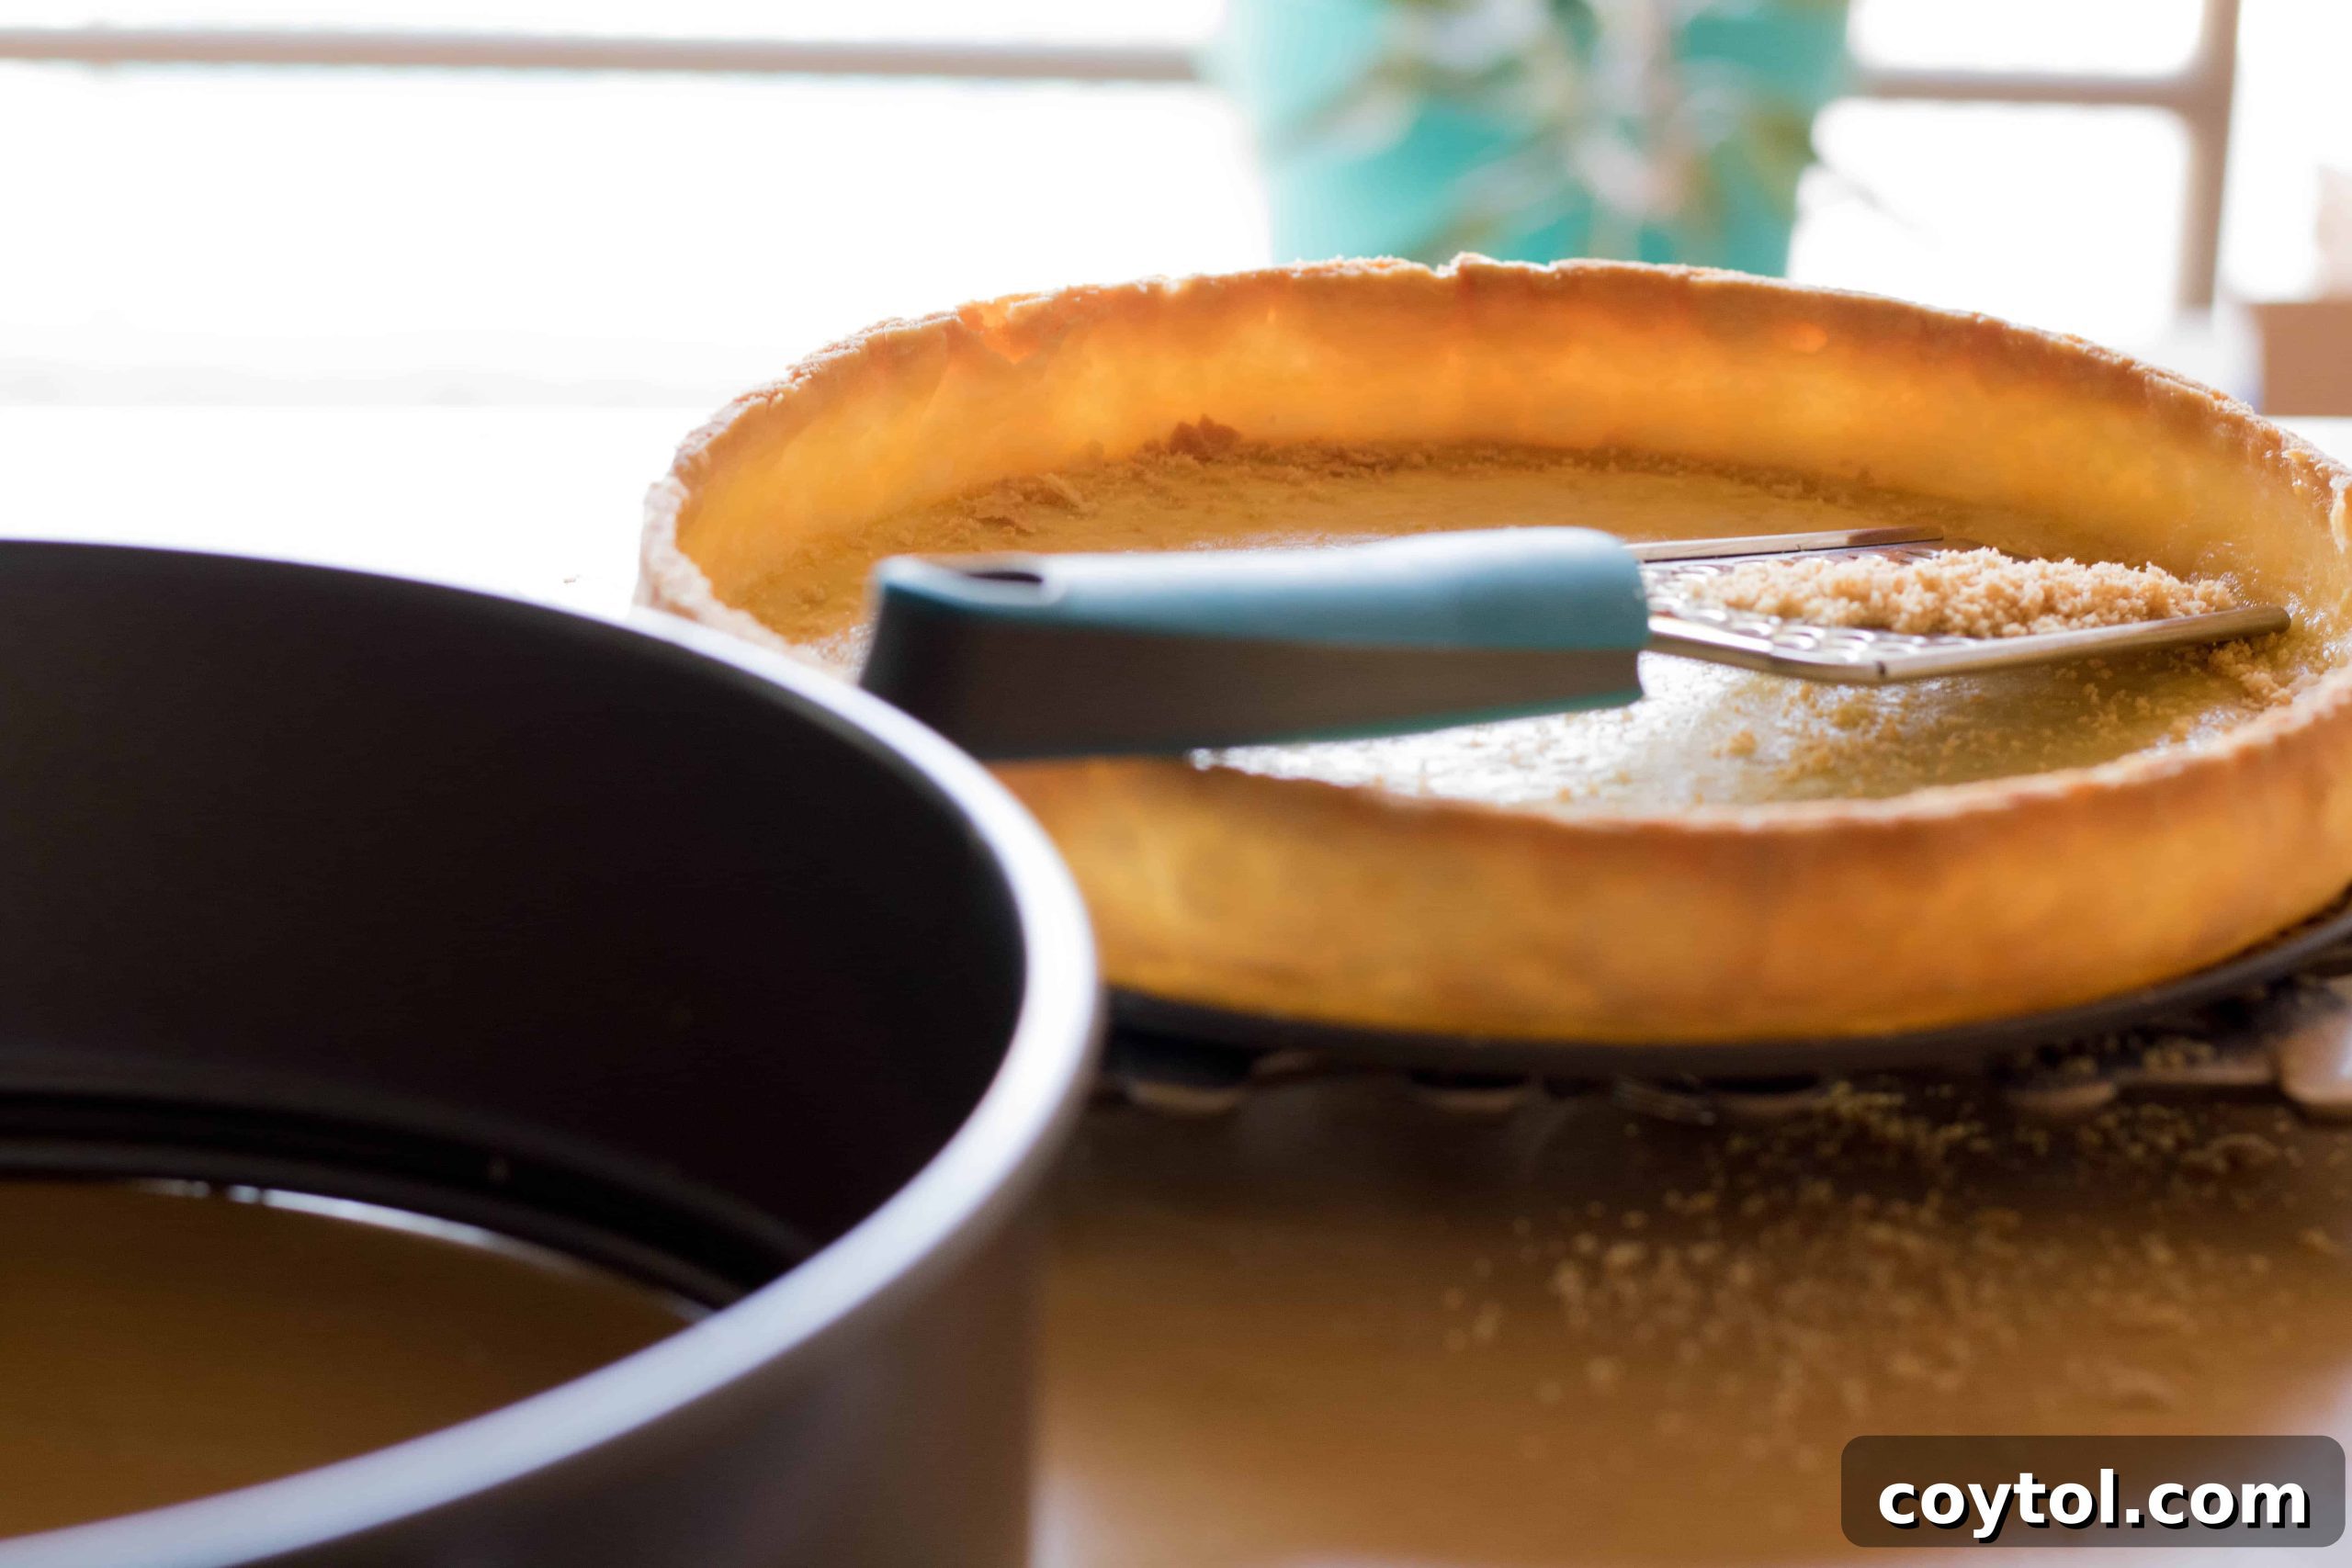
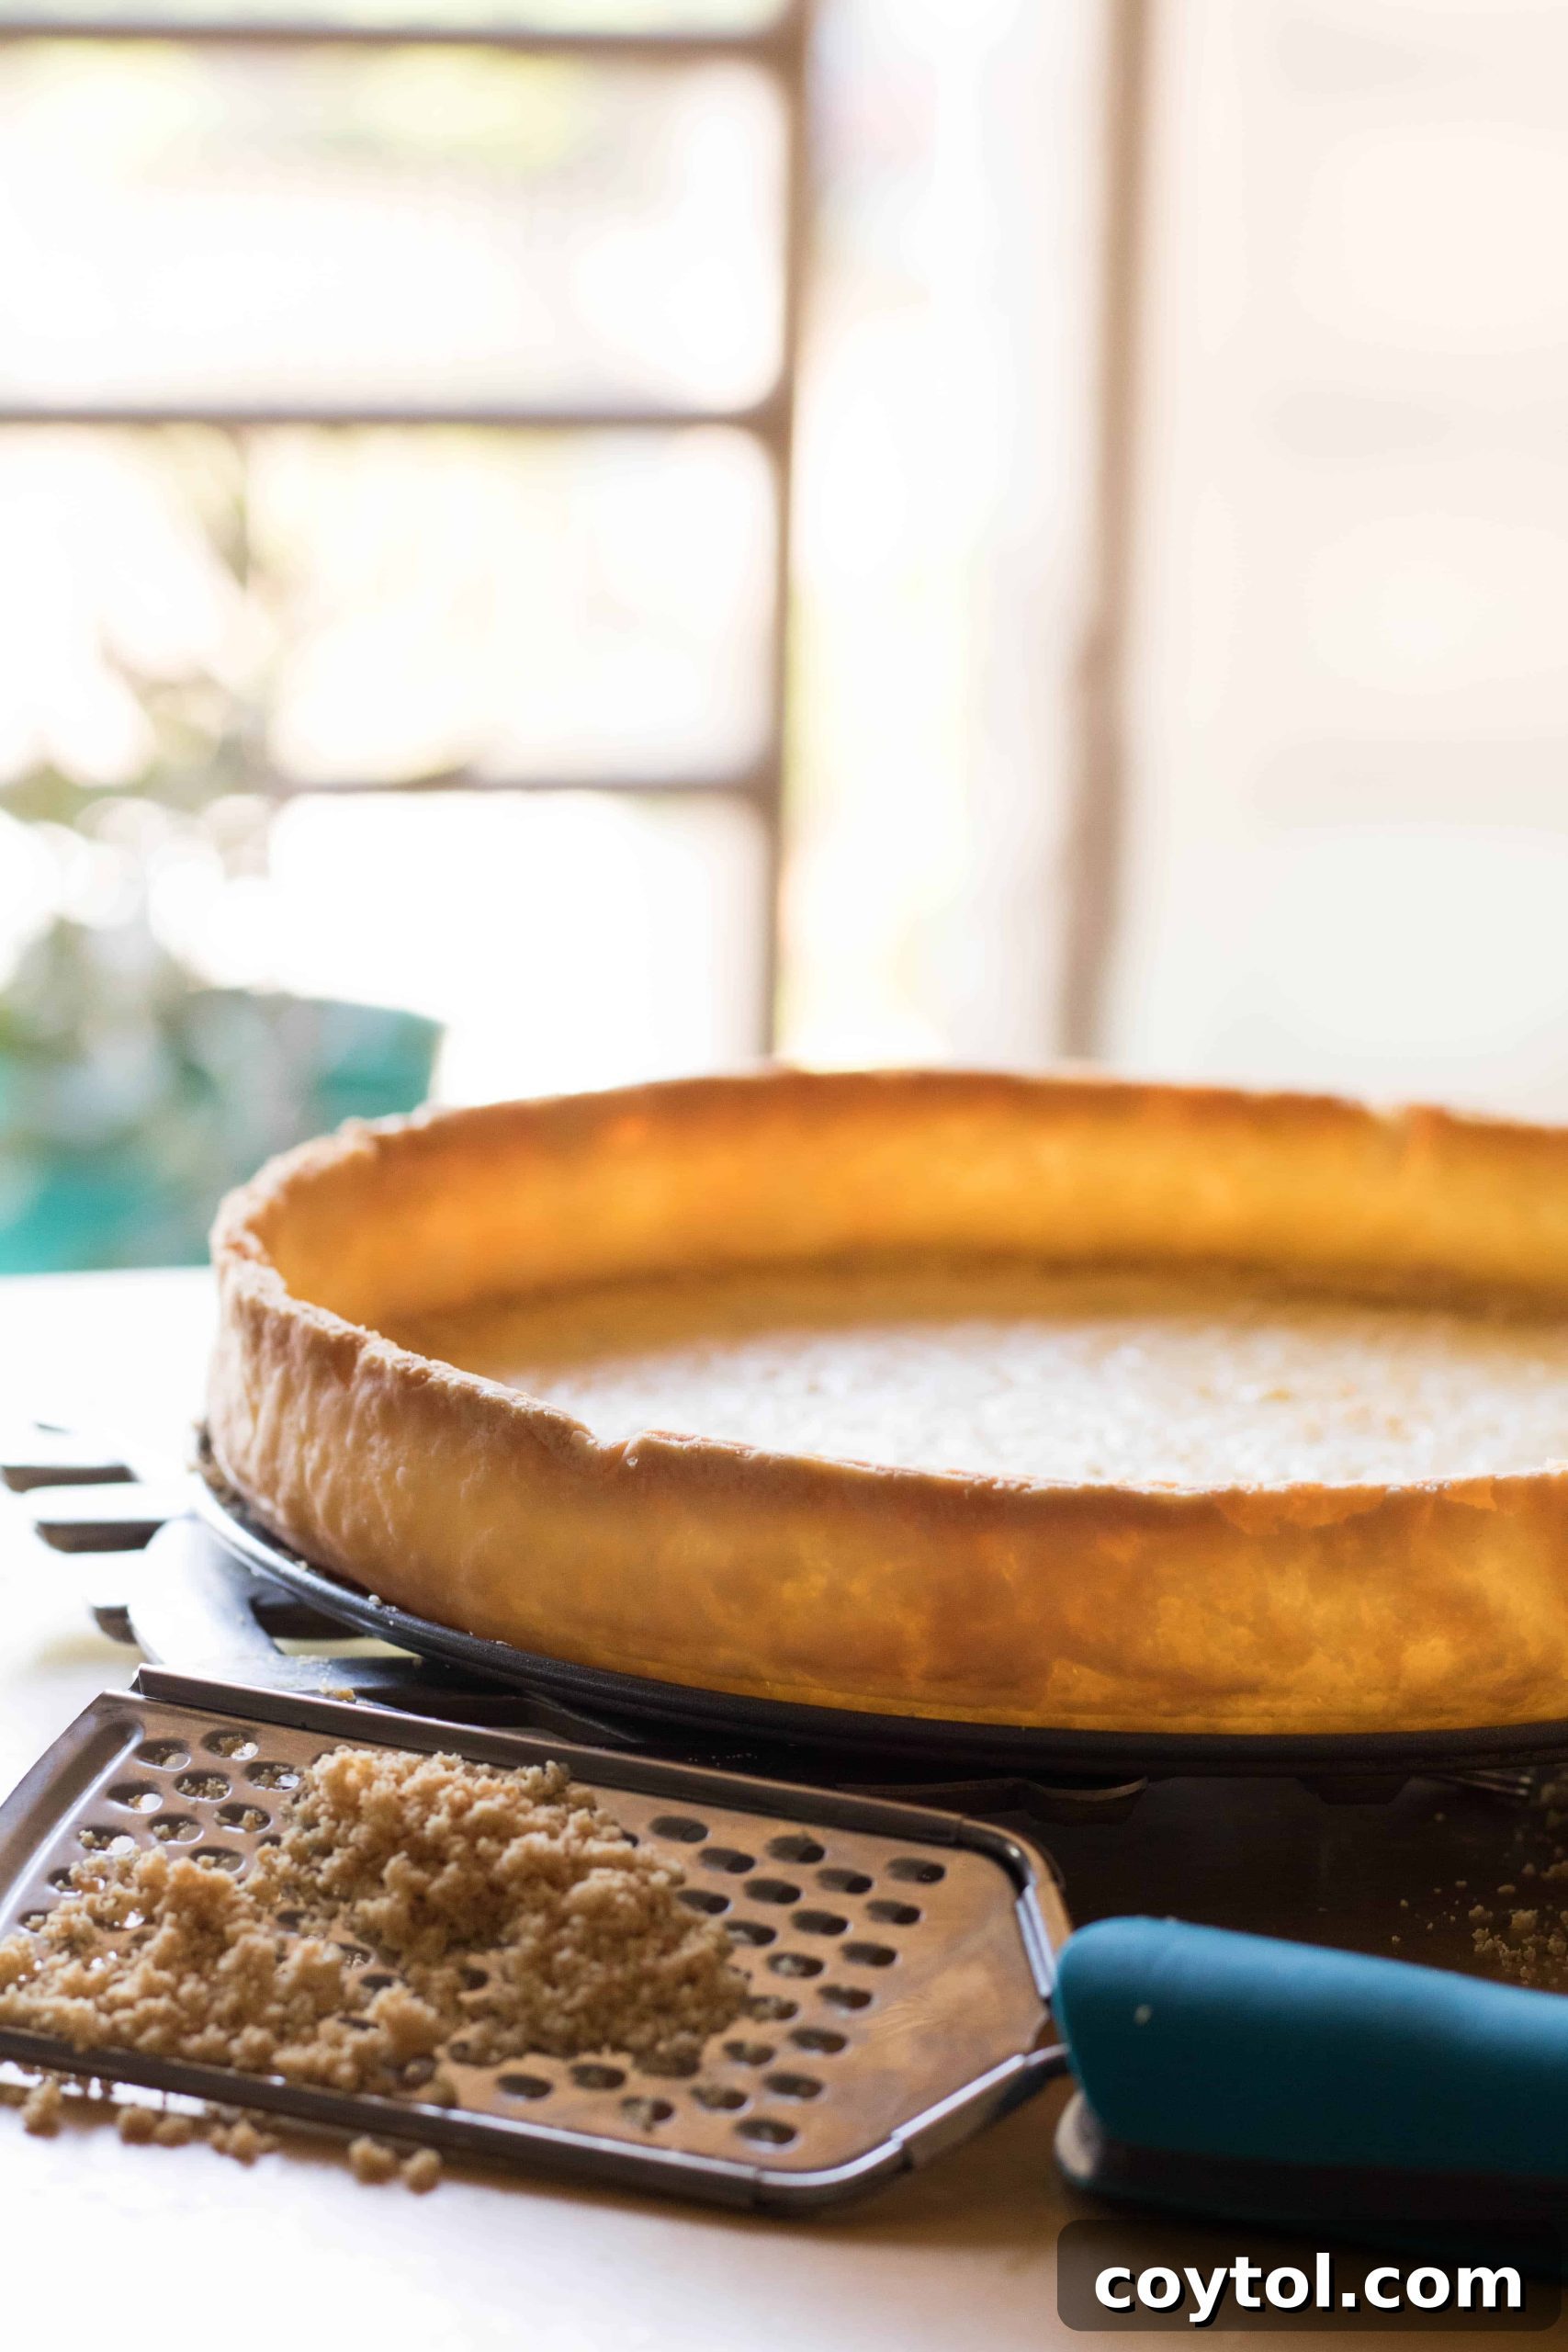
- Once the egg-washed crust is out of the oven, allow it to cool completely in the pan on a wire rack. Cooling is crucial, as the crust continues to set and crisp up. Once cooled, if you’re using a tart pan with a removable bottom, carefully push the bottom up to release the crust. For cheesecake molds, gently run a thin knife around the edge if needed before carefully removing the sides. Now, take your fine grater or microplane and gently grate the top edges of the crust. This technique helps to achieve perfectly even, uniform sides, giving your tart a truly professional, bakery-quality finish. It’s a small detail that makes a huge visual impact.
- Finally, your perfectly prepared, “homemade-looking” crust is ready for its star moment! Fill it with your favorite sweet or savory filling – be it a luscious pumpkin pie, a creamy chocolate tart, or a festive quiche. And TADA! You’ve just created a stunning, store-bought pie dough that will literally surprise and impress everyone this Thanksgiving holiday season (and any other time you bake!). Get ready for compliments and requests for your “secret” recipe.
 Now, it’s time for the secret weapon against a soggy bottom: blind baking! This technique creates a perfectly crisp base, essential for tarts and pies with moist fillings.
Why These Simple Tricks Make All the Difference
The beauty of these techniques lies in their simplicity and the dramatic impact they have on the final product. By strategically altering the shape, ensuring a thorough blind bake with weights, and sealing with an egg wash, you’re not just baking a pie; you’re crafting an experience. The tart shape signals sophistication, the blind bake guarantees textural perfection, the weights ensure structural integrity, and the egg wash provides both a protective barrier and a gleaming finish. Together, these steps elevate a convenient store-bought item into a dessert that looks like it came straight from a gourmet bakery, allowing you to save time without sacrificing quality or presentation during the bustling holiday season.
Creative Filling Ideas for Your Perfect Crust
Now that you have a beautifully pre-baked crust, the possibilities for fillings are endless! For the holiday season, consider classic options like a silky smooth pumpkin pie, a rich pecan pie with a hint of bourbon, or a vibrant cranberry curd tart. If you’re feeling adventurous, a decadent chocolate ganache tart or a refreshing lemon meringue pie would also be fantastic choices. Don’t limit yourself to sweet treats; this sturdy crust is also perfect for savory quiches filled with cheese, vegetables, and herbs, making it an excellent addition to a brunch spread or light dinner. Experiment with different flavors and textures to truly make your tart unique and a reflection of your culinary creativity.
Final Thoughts on Effortless Holiday Baking
Baking during the holidays should be a joyous and stress-free experience, not a source of anxiety. This method for enhancing store-bought pie crusts is a testament to the idea that you can achieve stunning results without spending hours in the kitchen. It’s about working smarter, not harder, and having the confidence that your creations will be both delicious and visually impressive. So, gather your ingredients, follow these easy steps, and prepare to delight your loved ones with a holiday tart that looks and tastes extraordinary. Happy baking, and may your holiday season be filled with joy, good company, and plenty of delicious pie!