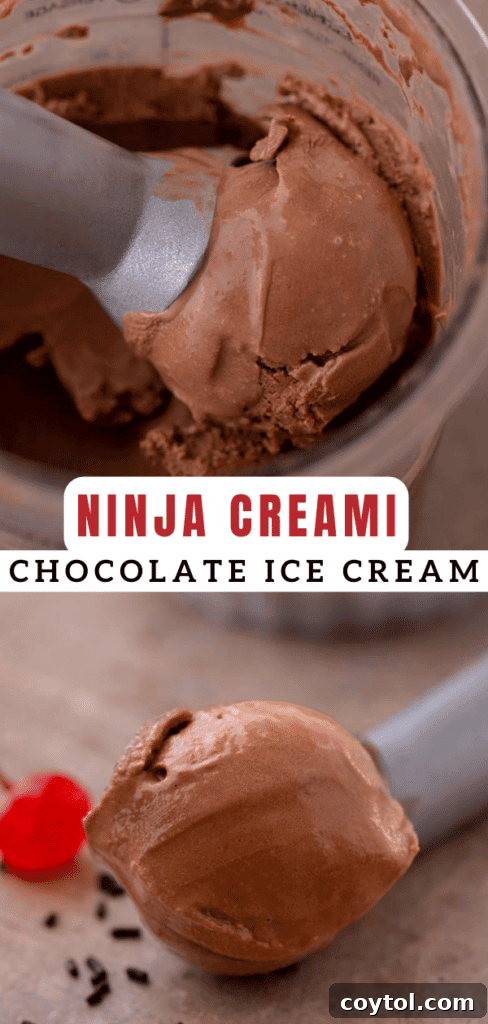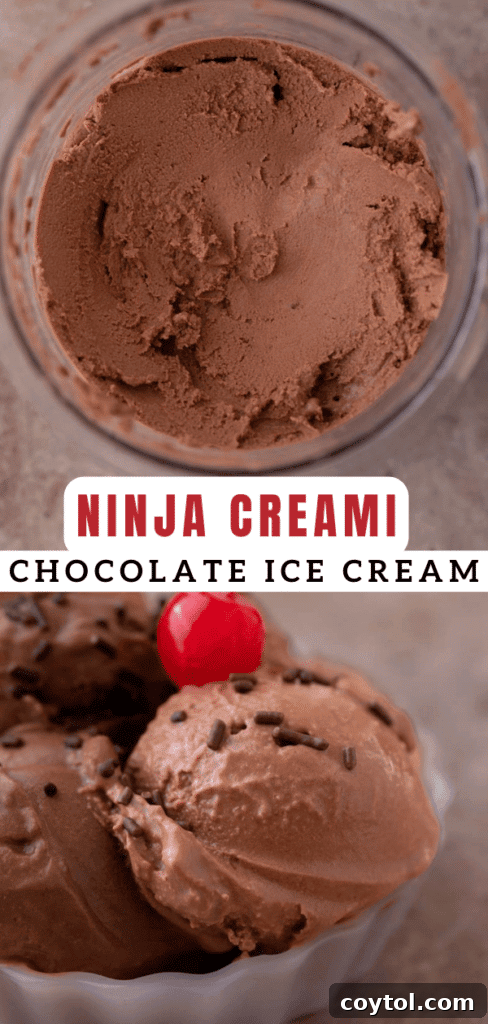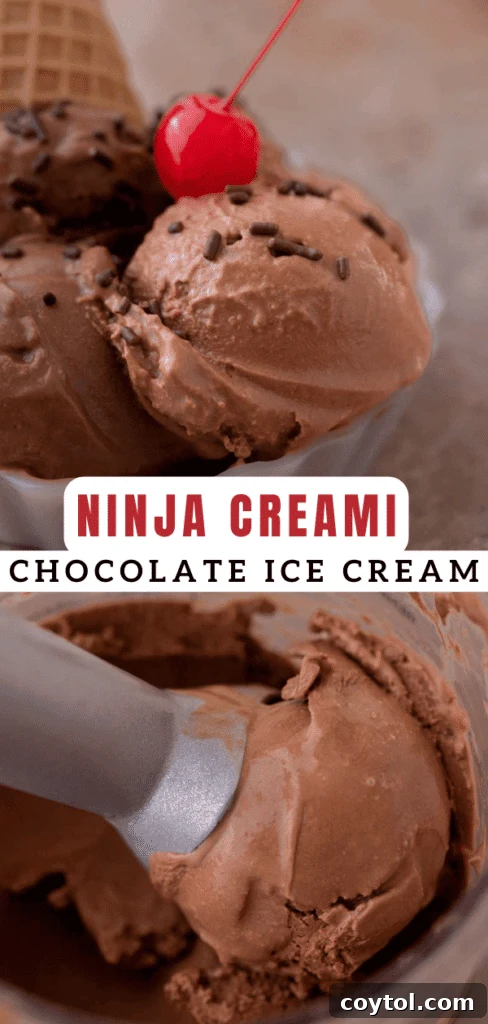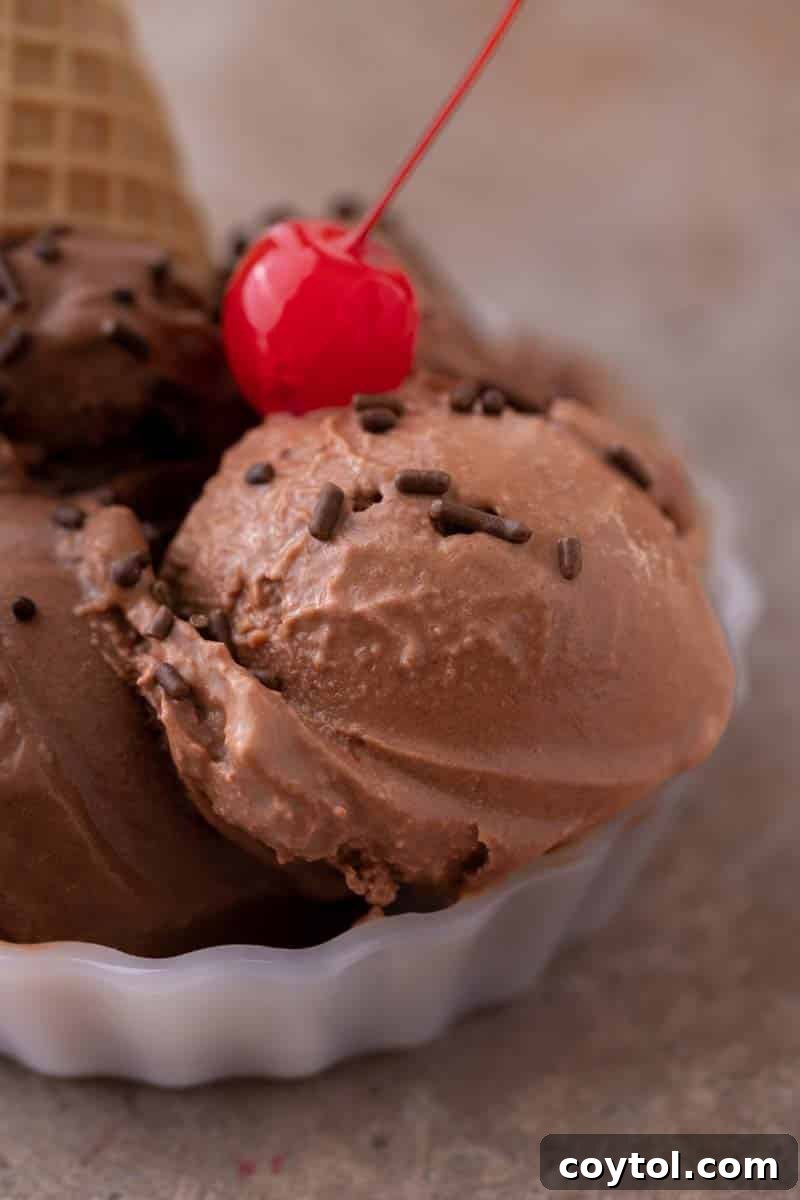
Transform your summer with the ultimate sweet indulgence: a rich and creamy Ninja Creami chocolate ice cream. This recipe, crafted with simple, wholesome ingredients like heavy cream, milk, and high-quality cocoa powder, promises a decadent dessert experience with minimal effort. It’s the perfect treat to satisfy that inevitable craving for something sweet after a delightful meal or on a warm, sunny day.
If you’re eager to explore more frozen delights for your Ninja Creami, don’t miss our comprehensive Ninja Creami ice cream maker recipe collection. For chocolate lovers, we also recommend our rich brownie chocolate ice cream recipe and the incredibly popular Ninja Creami vanilla ice cream.

Unlocking Perfect Homemade Chocolate Ice Cream with the Ninja Creami
The Ninja Creami machine has revolutionized the way we think about homemade ice cream, making what was once a complex, time-consuming process incredibly simple and accessible. Gone are the days of endless churning or requiring specialized skills; with the Ninja Creami, crafting your favorite frozen treats is as easy as mixing your base, freezing it, and letting the machine work its magic. This innovative kitchen gadget transforms a frozen block into a luxuriously creamy dessert in minutes, opening up a world of culinary possibilities for both novice and experienced dessert makers.
Since acquiring my Ninja Creami, I’ve been on an exciting journey, experimenting with countless ice cream flavors, from classic vanilla to exotic fruit sorbets. And now, I’m thrilled to share my absolute favorite: this incredibly rich and smooth chocolate ice cream. Its unparalleled creaminess and deep chocolate flavor make it a standout dessert that you’ll want to make again and again. What makes these Ninja Creami recipes truly exceptional is their versatility. They serve as a fantastic starting point, easily adaptable to your personal preferences and dietary needs, allowing you to create truly bespoke frozen desserts that you and your loved ones will adore.
Why This Ninja Creami Chocolate Ice Cream Recipe is a Must-Try
If you’re looking for compelling reasons to dive into the world of homemade frozen desserts with your Ninja Creami, this chocolate ice cream recipe offers plenty:
- Unmatched Versatility for Texture Control: The Ninja Creami stands out for its unique ability to customize the texture of your ice cream precisely to your liking. Whether you dream of a silky-smooth soft serve, a firmer scoopable consistency, or even crave added crunch from mix-ins, the Creami’s various settings allow you to achieve the perfect blend. This control ensures every spoonful is exactly as you envisioned, making it superior to many traditional ice cream methods.
- Complete Control Over Ingredients: Making your own chocolate ice cream means you’re in charge of every single ingredient. This empowers you to select only the highest quality cocoa powder, premium milk, and natural sweeteners, avoiding artificial flavors or preservatives often found in store-bought options. You can tailor the sweetness level, choose organic components, or even adapt it for specific dietary requirements, ensuring a healthier and more personalized treat.
- Endless Customization and Flavor Innovation: This recipe is merely a canvas for your creativity. The Ninja Creami encourages experimentation, allowing you to easily infuse your chocolate base with a myriad of mix-ins and flavor enhancements. Imagine swirls of peanut butter, chunks of cookies, a hint of espresso, or a sprinkle of sea salt to elevate the chocolate notes. The possibilities are truly endless, guaranteeing that your homemade ice cream will always be a unique culinary adventure.
- A Fun and Engaging Activity for Everyone: Preparing chocolate ice cream with the Ninja Creami is more than just cooking; it’s an interactive and enjoyable experience perfect for family and friends. It’s a wonderful way to involve children in the kitchen, teaching them about ingredients and the magic of food creation. Sharing the process of crafting and then savoring this delicious treat together creates lasting memories and strengthens bonds.
- Exceptional Freshness and Flavor: There’s an undeniable difference between freshly made ice cream and pre-packaged versions. When you make chocolate ice cream at home with your Ninja Creami, you’re guaranteed a product bursting with vibrant, fresh flavors and a superior creamy texture that simply can’t be replicated by mass-produced varieties. Enjoying it straight from the machine ensures the peak of its deliciousness.
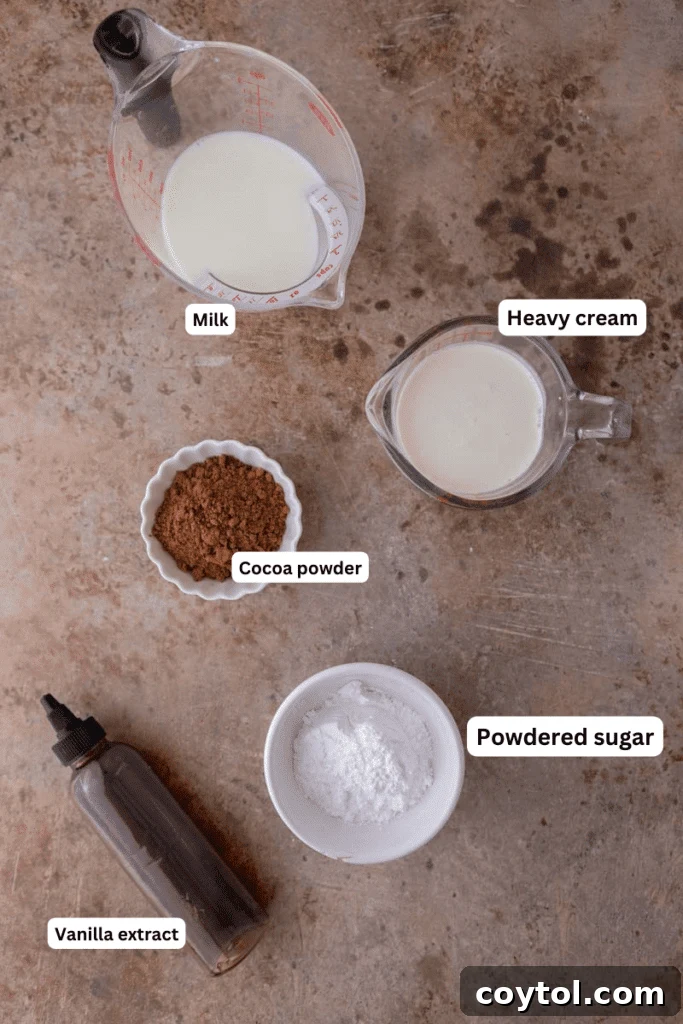
Essential Ingredients for Your Homemade Chocolate Ice Cream
Crafting this simple yet indulgent chocolate ice cream in your Ninja Creami machine requires just a few key ingredients. Each plays a vital role in achieving that perfect creamy texture and rich flavor. For exact measurements, please refer to the recipe card below.
- Heavy Cream: This is the cornerstone of our ice cream’s luxurious creaminess and rich mouthfeel. Heavy cream, with its high-fat content, contributes significantly to the smooth, decadent texture characteristic of premium ice cream. Do not substitute with lighter creams if you desire the ultimate indulgent experience.
- Milk: While you can use any milk you have on hand, the type of milk will impact the final creaminess. I typically use 2% milk, which yields a delightful result. However, for an even richer, more unbelievably creamy chocolate ice cream, whole milk is highly recommended as its higher fat content enhances the overall texture. For a dairy-free option, full-fat coconut milk can be a good substitute, though it will impart a subtle coconut flavor.
- Cocoa Powder: The secret to a truly deep and authentic chocolate flavor lies in using a high-quality, unsweetened cocoa powder. Dutch-processed cocoa powder will yield a darker color and a smoother, less bitter chocolate flavor, while natural cocoa powder offers a fruitier, more intense chocolate note. Experiment to find your preference, but always opt for quality to ensure your frozen concoction has the best flavor ever.
- Powdered Sugar: We opt for powdered sugar (also known as confectioners’ sugar) over granulated sugar for a crucial reason: its fine texture. Powdered sugar dissolves much more easily and thoroughly into the cold liquid base, preventing any gritty texture and ensuring a perfectly smooth and integrated sweetness in your ice cream.
- Vanilla Extract: While chocolate is undeniably the star of this recipe, a good quality vanilla extract acts as an essential supporting actor. It doesn’t just add its own subtle aroma; it enhances and deepens the chocolate flavor, adding a layer of complexity that elevates the ice cream from good to truly extraordinary. For an even more gourmet touch, consider using vanilla bean paste, which adds visible specks of vanilla bean and a more intense flavor.
Step-by-Step Guide: Crafting Your Ninja Creami Chocolate Ice Cream
Making this luscious chocolate soft-serve ice cream in your Ninja Creami is incredibly straightforward. Follow these detailed instructions to achieve a perfect frozen treat every time. Remember to consult the full recipe card below for precise measurements and additional notes!
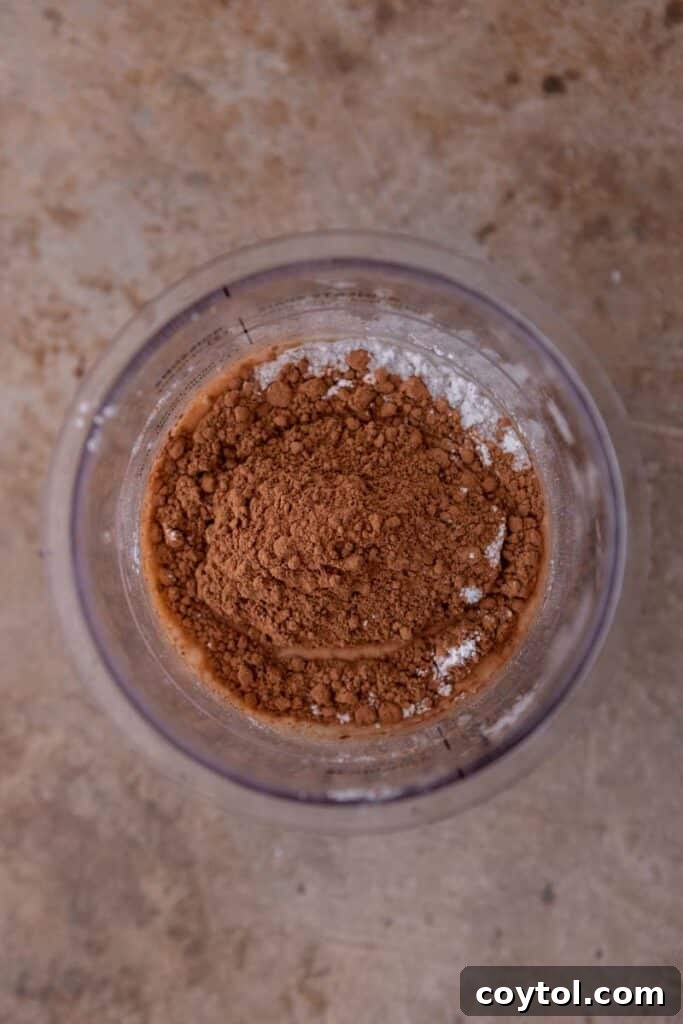
- Prepare the Ice Cream Base: Begin by adding all your ingredients—heavy cream, milk, cocoa powder, powdered sugar, and vanilla extract—directly into a Ninja Creami pint container. Ensure your pint is clean and dry before adding ingredients.
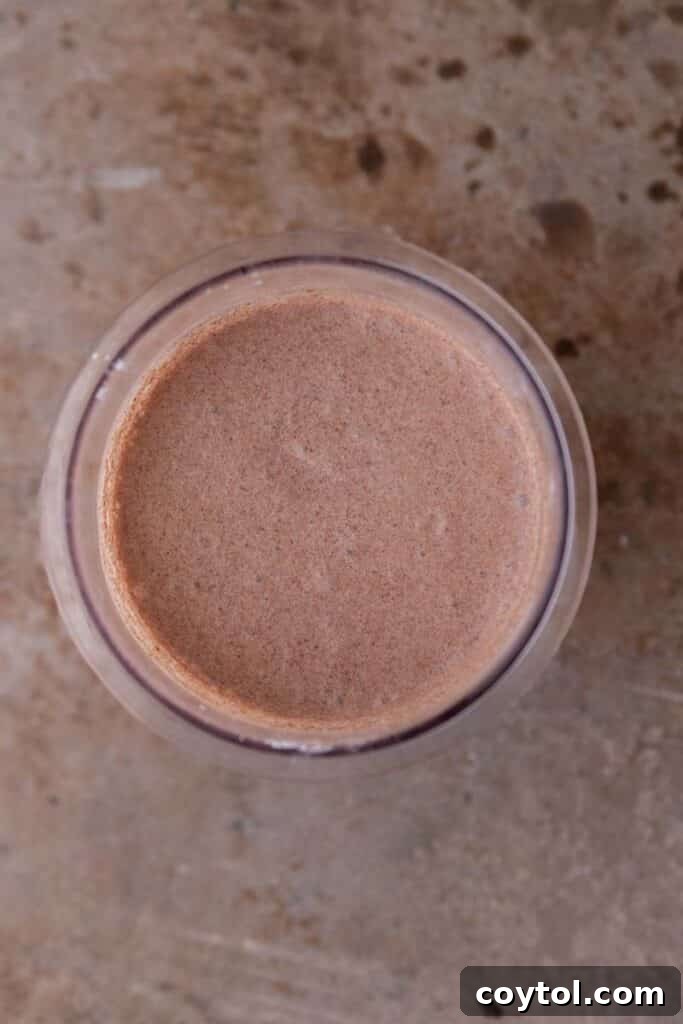
- Combine and Froth the Mixture: Using a handheld frother (or a whisk if you don’t have a frother, though a frother works best for aeration), thoroughly froth the mixture. Continue frothing until all ingredients are completely combined, smooth, and slightly aerated. This step is crucial for ensuring a uniform flavor and helping to create a creamy texture.
- Freeze the Pint: Securely close the pint container with its lid. Place it on a flat, level surface in your freezer. It’s essential for the pint to freeze completely flat and undisturbed for at least 24 hours. This allows the base to freeze evenly, which is key for optimal processing in the Ninja Creami. For best results, freeze for a full 24-48 hours.
- Process in the Ninja Creami: Once your base is fully frozen and you’re ready to enjoy your ice cream, remove the pint from the freezer. Place the pint container into the outer bowl of your Ninja Creami device. Securely attach the outer bowl lid, ensuring it clicks into place, and then lock the assembly into your Ninja Creami machine.
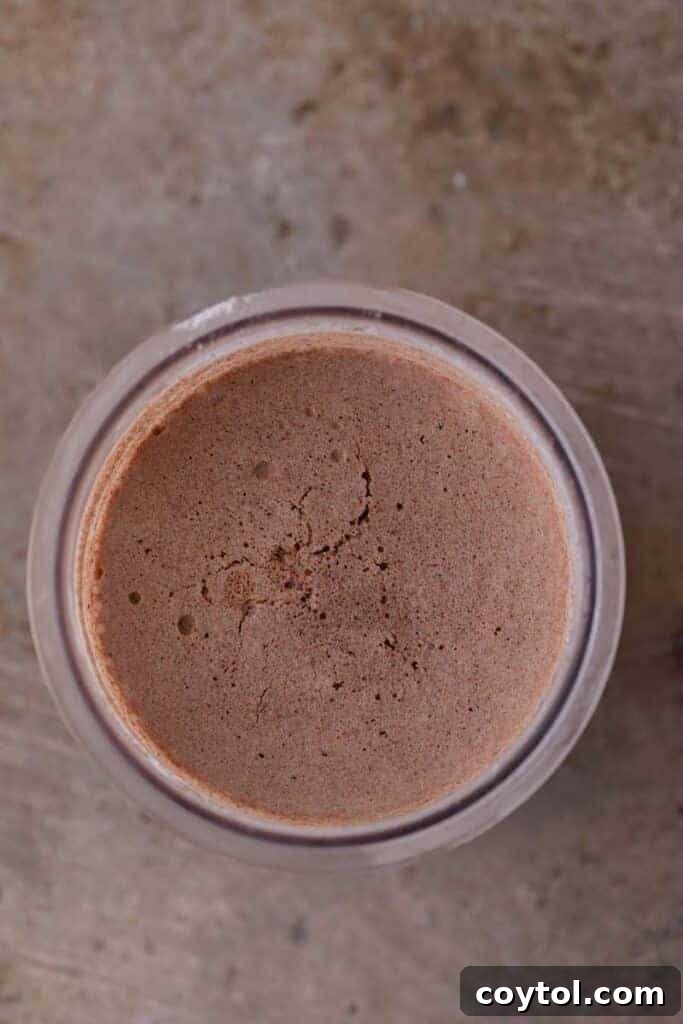
- Select the “Ice Cream” Function: Power on your Ninja Creami. Select the “Ice Cream” function on the machine’s control panel. Allow the machine to run through its cycle, transforming the solid frozen block into delightful, creamy soft-serve ice cream.
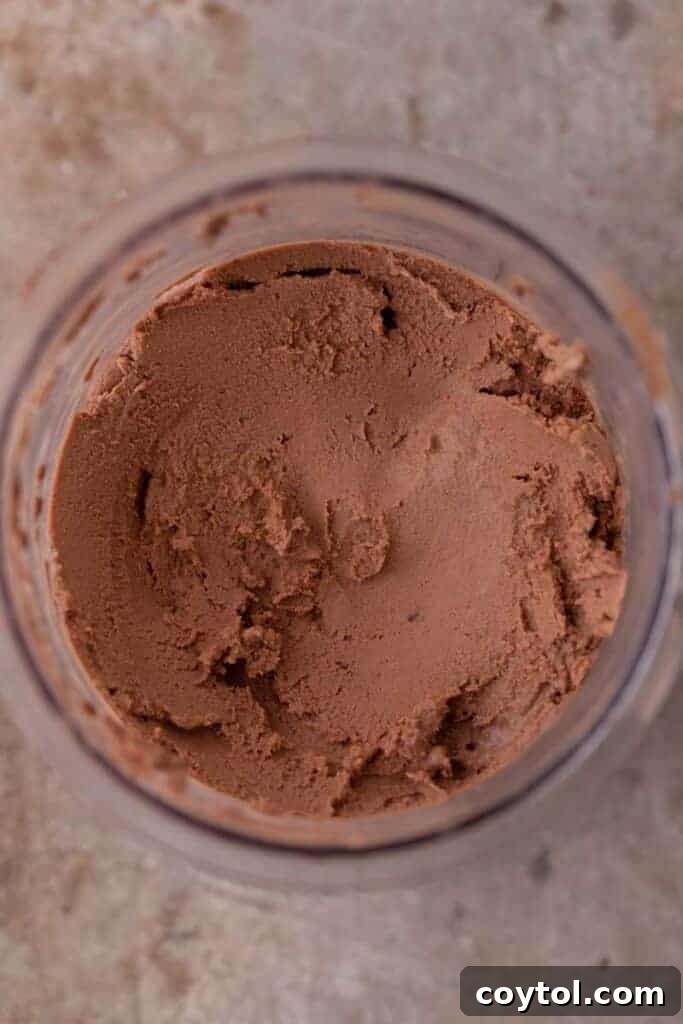
- Check Consistency and Re-Spin (if needed): After the first cycle, check the consistency of your chocolate ice cream. If it appears crumbly, powdery, or too firm, don’t worry! This is a common occurrence. Simply add 1 tablespoon of additional milk (or heavy cream for extra richness) to the pint. Return it to the machine, and press the “Re-Spin” function. You can re-spin as many times as necessary, adding a tiny splash of liquid each time, until you achieve your desired velvety smooth consistency. Enjoy your freshly made, decadent chocolate ice cream!
Frequently Asked Questions (FAQ) About Ninja Creami Chocolate Ice Cream
How to store leftover Ninja Creami chocolate ice cream and enjoy it later?
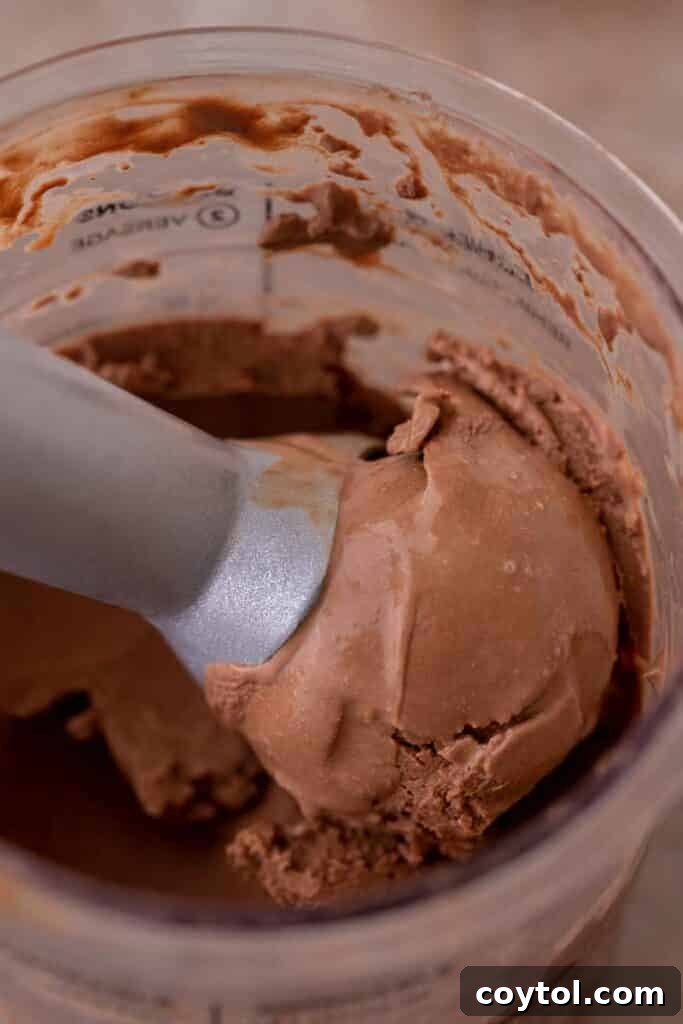
One of the fantastic features of the Ninja Creami machine is its convenience for leftovers. If you have any ice cream remaining, simply smooth the surface back down in its original pint container, ensuring it’s level, and seal it tightly with the lid. Store it back in the freezer for up to one month.
Unlike traditional churned ice creams, which can be scooped directly from the freezer after softening slightly, Ninja Creami creations require a quick re-spin to regain their perfect creamy texture. When you’re ready to enjoy your leftover ice cream, remove the pint from the freezer and place it back into the Ninja Creami machine. Select the “Re-Spin” function. This quick process will transform the hardened block back into a soft, smooth, and indulgent treat in no time, just like it was freshly made.
Can I use a sugar substitute to make a low-calorie ice cream?
You absolutely can use a sugar substitute in this recipe! Substituting powdered sugar with an erythritol-based sweetener or monk fruit sweetener will effectively reduce the carbohydrate content, making the ice cream suitable for a keto-friendly diet plan. However, it’s important to note that this won’t automatically make it a low-calorie ice cream, as the base still contains heavy cream, which is calorie-dense.
If your primary goal is a truly low-calorie frozen treat, you might want to explore alternatives like the Fairlife chocolate protein shake ice cream. This involves simply freezing a Fairlife protein shake directly in the Ninja Creami pint and then processing it until it transforms into ice cream. It’s a surprisingly delicious and significantly healthier option that provides a satisfying frozen dessert experience.
Can I use chocolate milk to make ice cream in the Ninja Creami?
Yes, you certainly can use chocolate milk to make ice cream in your Ninja Creami! This will create a delightful frozen treat, though it won’t yield the exact same rich and dense dessert as a base made with heavy cream and cocoa powder. The flavor profile will be lighter and more akin to frozen chocolate milk.
A key principle for Ninja Creami recipes is that the higher the fat percentage in your liquid ingredients, the creamier and richer your final ice cream texture will be. If you use a lower-fat chocolate milk, expect a result that might be more icy or sorbet-like compared to a full-fat dairy base. For a creamier result with chocolate milk, consider using a higher-fat chocolate milk or adding a splash of heavy cream to the mix before freezing.
What mix-ins can I add to my chocolate ice cream?
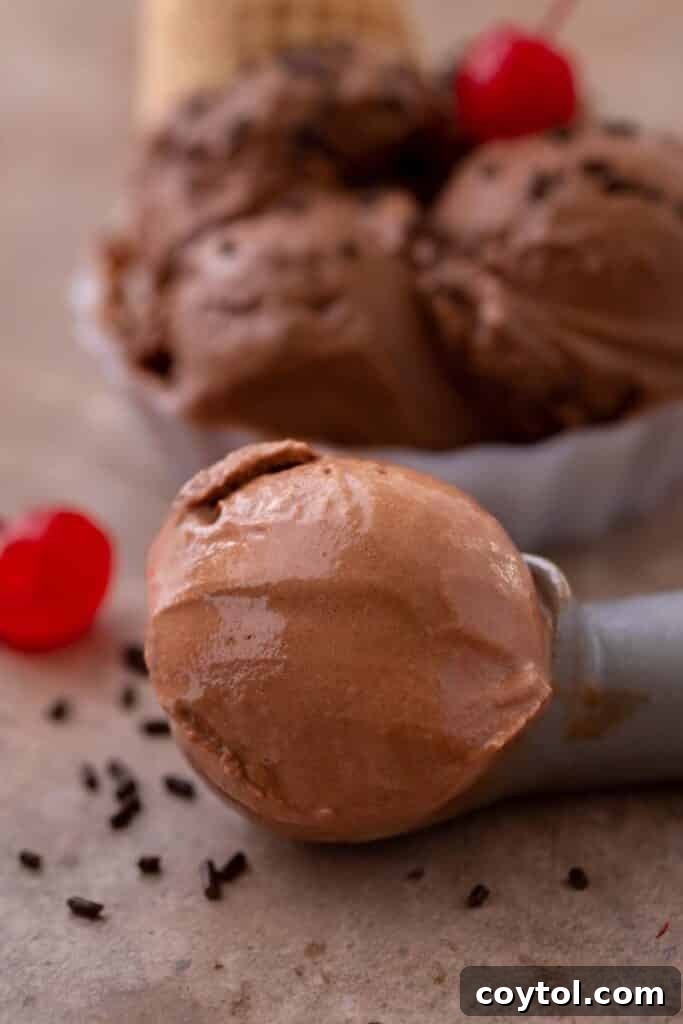
Elevate your Ninja Creami chocolate ice cream to new heights with a variety of exciting mix-ins! Adding mix-ins after the initial spin cycle is where the true magic of customization happens. Here are some fantastic ideas to inspire your next batch:
- Chocolate Chips: Classic for a reason! Mini chocolate chips blend in beautifully, providing little bursts of chocolatey goodness. Consider dark, milk, or white chocolate for different flavor experiences.
- Nuts: Toasted almonds, chopped walnuts, pecans, or cashews add a delightful crunch and a nutty depth of flavor that complements chocolate perfectly.
- Cookies: Crush your favorite cookies into the mix. Oreos are a popular choice for a cookies and cream twist, but Tate’s Bake Shop thin cookies, Chips Ahoy, or even graham crackers can create wonderful textures and flavors.
- Peanut Butter Cups: Roughly chopped peanut butter cups provide a fantastic salty-sweet combination that is utterly irresistible with chocolate.
- Peanut Butter Swirl: After the initial spin, add a generous dollop of creamy or crunchy peanut butter and use the “Mix-In” function. Peanut butter and chocolate are a match made in heaven!
- Candy Bars: Roughly chop your favorite candy bars—Snickers, Kit Kat, Twix, or Butterfinger—and mix them in for a customizable candy explosion.
- Marshmallows: Mini marshmallows add a soft, chewy element. Combine them with almonds and chocolate chips for a classic rocky road experience!
- Caramel or Fudge Swirl: Drizzle in some store-bought or homemade caramel sauce or hot fudge after the initial spin, then use the “Mix-In” function for luscious ribbons of flavor.
- Espresso Powder: A teaspoon of instant espresso powder or finely ground coffee beans can enhance the chocolate flavor, making it deeper and more complex, without adding a strong coffee taste.
Ninja Creami Chocolate Ice Cream Recipe
Ninja Creami Chocolate Ice Cream
This easy and delicious chocolate ice cream is a simple, indulgent sweet treat that you can now make perfectly in your Ninja Creami!
Total Time: 1 day 5 minutes (includes freezing)
Servings: 4 servings
Ingredients
- 2/3 cup heavy cream
- 1 cup milk (2% or whole milk for creamier results)
- 2 tbsp unsweetened cocoa powder
- 1/3 cup powdered sugar
- 1 tsp vanilla extract
Instructions
- In a Ninja Creami pint container, combine the heavy cream, milk, cocoa powder, powdered sugar, and vanilla extract.
- Using a handheld frother (or whisk), froth the mixture until all ingredients are well combined and smooth.
- Place the lid securely on the pint container and freeze on a flat surface for at least 24 hours (up to 48 hours for best results).
- Once frozen, remove the pint from the freezer, place it into the Ninja Creami outer bowl, attach the outer bowl lid, and lock it into the machine.
- Press the “Ice Cream” function on your Ninja Creami and allow it to process until creamy.
- If the ice cream appears crumbly or too firm after the first cycle, add 1 tablespoon of milk and select the “Re-Spin” function. Repeat this step as necessary until you achieve your desired smooth, soft-serve consistency. Enjoy!
Nutrition
Calories: 203 kcal | Carbohydrates: 16g | Protein: 4g | Fat: 15g | Saturated Fat: 9g | Polyunsaturated Fat: 1g | Monounsaturated Fat: 4g | Cholesterol: 47mg | Sodium: 37mg | Potassium: 180mg | Fiber: 1g | Sugar: 14g | Vitamin A: 708IU | Vitamin C: 0.2mg | Calcium: 110mg | Iron: 0.4mg
Nutrition information is automatically calculated and should only be used as an approximation.
Love this recipe? Leave a comment below and tell us what you think!
Shop This Recipe
This post may contain affiliate links, meaning that at no cost to you, I will get a small percentage of every purchase you make!
Ninja Creami Ice Cream Maker
High-Quality Unsweetened Cocoa Powder
If you enjoyed this delicious Ninja Creami chocolate ice cream recipe, make sure to pin it for later!