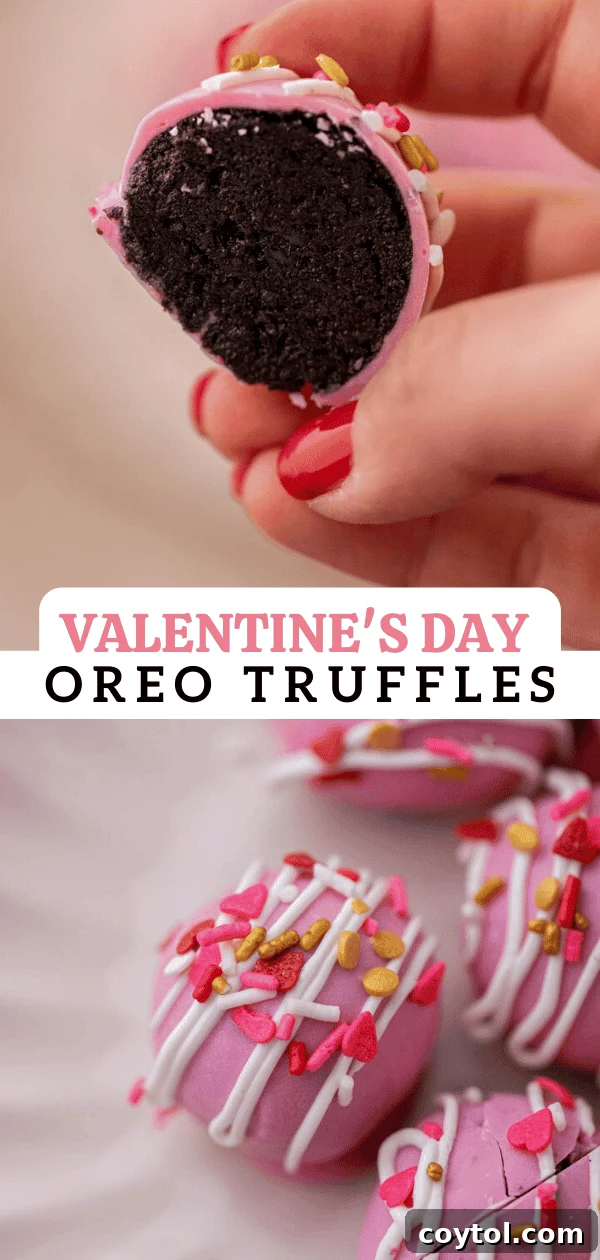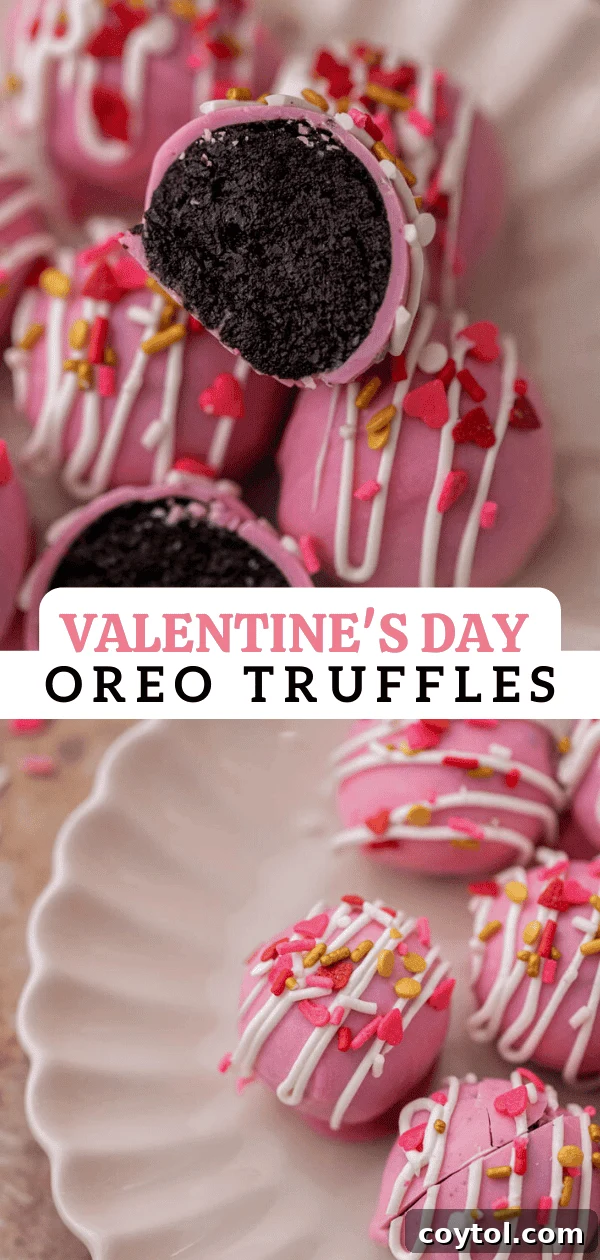
These delightful Valentine’s Day Oreo truffles are the ultimate festive indulgence, perfect for spreading love and sweetness. Crafted with just four essential ingredients – classic Oreo cookies, rich cream cheese, vibrant candy melts, and cheerful sprinkles – they are as irresistibly delicious as they are charmingly adorable. Best of all, this is a no-bake recipe that comes together in a flash, making it an ideal last-minute Valentine’s Day dessert when time is of the essence but you still want to impress.
If you’re looking for more delicious Valentine’s Day inspiration, you’ll also adore these Valentine’s Day Oreo M&M’s cookies, our easy M&M’s blondies, and this fun Valentine’s Day muddy buddy recipe. Each offers a unique way to celebrate the season of love with sweet treats!

Pink Valentine’s Day Oreo truffles are truly a universal crowd-pleaser, a delightful secret weapon every home baker should have in their repertoire. These perfectly bite-sized treats are remarkably simple to create, yet they consistently vanish first at any gathering, from intimate family dinners to festive holiday parties. There’s just something inherently appealing about their vibrant color, smooth texture, and rich, chocolatey-creamy flavor.
And honestly? That’s precisely why we love them! With just a handful of basic ingredients, many of which you likely already have stocked in your pantry and refrigerator, these adorable sweets are not only effortless to prepare but also incredibly rewarding. They offer a gourmet taste experience with minimal effort, making them a fantastic choice for both novice bakers and seasoned confectioners looking for a quick yet impressive dessert.
The Ultimate Valentine’s Day Oreo Truffle Recipe: A Sweet Sensation!
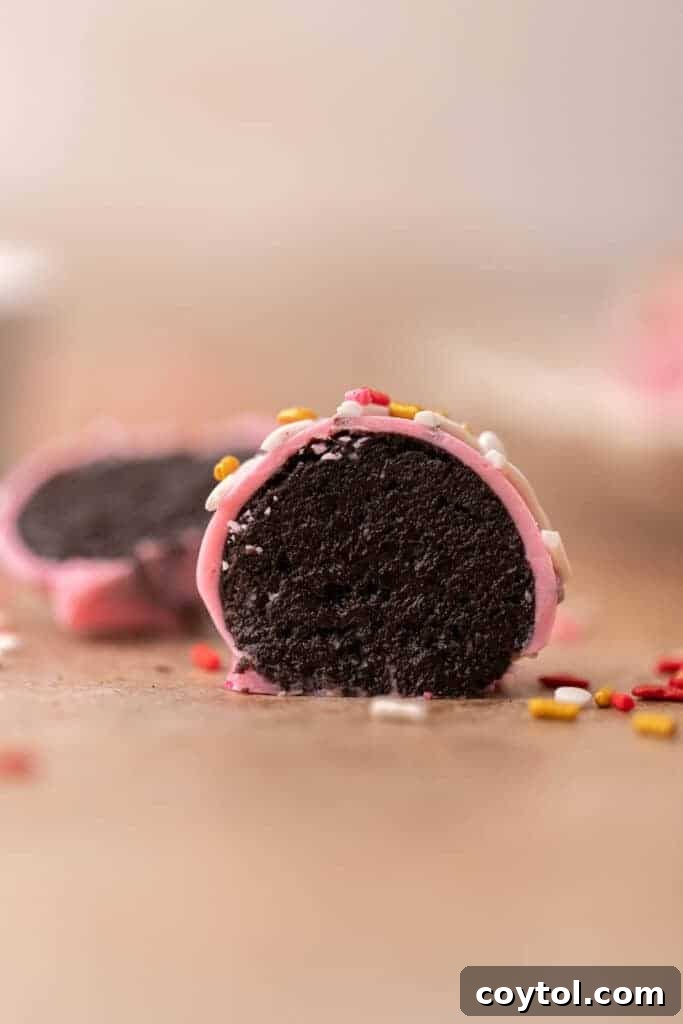
To fully embrace the romantic spirit of Valentine’s Day, we transform these truffles into miniature works of art. The secret lies in coating them in a captivating, vibrant pink candy melt shell, which immediately sets the festive tone. Following this, we add an elegant flourish with a delicate drizzle of contrasting white chocolate or an alternate color of candy melt, creating a beautiful visual pattern. To complete the look, a generous scattering of adorable Valentine’s-themed sprinkles adds a playful touch and an extra burst of color.
If you prefer working with traditional white chocolate instead of candy melts, that’s absolutely an option! However, a crucial tip for success is to ensure you use an oil-based food coloring or a dye specifically formulated for chocolate. This prevents the chocolate from seizing, a common issue where chocolate becomes thick, clumpy, and unworkable when it comes into contact with even a tiny amount of water (which water-based food colorings contain). Nobody wants to deal with a lumpy, unappealing chocolate mess, especially when aiming for a show-stopping dessert. These exquisite truffles truly deserve that flawlessly smooth, vibrant finish!
Why This Valentine’s Day Oreo Truffle Recipe Deserves a Spot in Your Heart!
There are countless reasons why these Valentine’s Day Oreo truffles should be your go-to recipe this season. They tick all the boxes for a perfect homemade treat:
- Effortlessly No-Bake & Incredibly Simple: Forget the oven and complex techniques! This recipe is a dream come true for beginner bakers who might be intimidated by intricate desserts, or for anyone simply short on time. With straightforward steps and no baking required, you can create professional-looking truffles without the stress, leaving you more time to enjoy the holiday.
- Infinitely Customizable: While designed for Valentine’s Day, the versatility of these truffles is unmatched. You can easily switch up the candy melt colors and sprinkle decorations to perfectly match any holiday, event, or special occasion throughout the year. Think green for St. Patrick’s Day, pastel shades for Easter, red and green for Christmas, or school colors for a graduation party. The possibilities are truly endless, allowing your creativity to shine!
- A Delightful Family-Friendly Activity: Making these truffles is more than just baking; it’s a wonderful opportunity to create lasting memories with your loved ones. The simple steps, like crushing Oreos, rolling the balls, and decorating, are perfect for involving children. It’s a fun, engaging, and delicious activity that encourages little hands to help in the kitchen, making the final treats even more special.
- Perfect for Making Ahead: Planning is made easy with this recipe! These truffles store beautifully, which means you can prepare them well in advance of Valentine’s Day or any other event. Once chilled, simply arrange them in cute little baggies, decorative boxes, or airtight containers, and they’ll be ready to gift, share, or enjoy whenever the occasion arises. This convenience takes the pressure off last-minute preparations, allowing you to focus on celebrating.
Essential Ingredients for These Heavenly Valentine’s Day Oreo Truffles
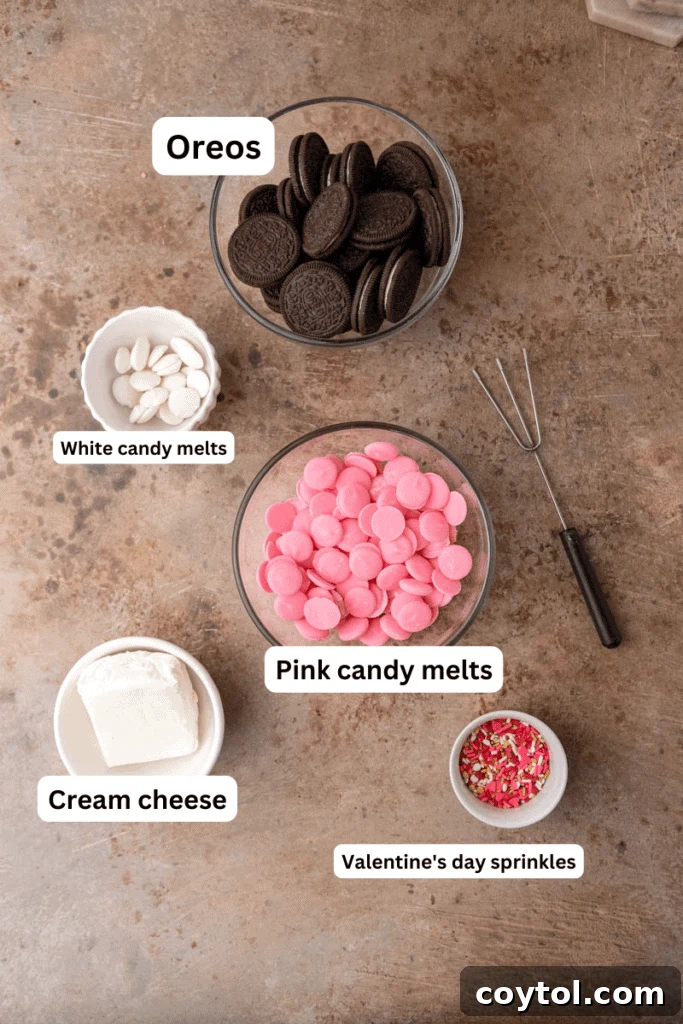
Crafting these delectable pink Oreo truffles requires only a few key ingredients. Precision and quality make all the difference, so let’s delve into what you’ll need to create these irresistible treats. For the exact detailed measurements, please refer to the comprehensive recipe card below.
- Oreo Cookies: The foundation of our truffles! While classic black and white Oreos are perfect for this recipe, you can also experiment with Golden Oreos for a different flavor profile or even seasonal varieties like Red Velvet Oreos for an extra Valentine’s touch. The key is to use standard Oreos with their regular cream filling, as this ensures the correct moisture and texture needed for the truffle mixture to bind perfectly. Avoid using double-stuffed Oreos unless you adjust the cream cheese amount, as they can make the mixture too wet.
- Cream Cheese: This is the binding agent that transforms crushed Oreos into a luxurious truffle dough. For the best results and easiest mixing, it’s absolutely crucial to use full-fat cream cheese that has been softened to room temperature. This ensures a smooth, lump-free mixture that incorporates beautifully with the cookie crumbs, creating that signature rich and tangy balance.
- Candy Melts: These provide the vibrant, smooth, and crisp outer shell of your truffles. For a festive Valentine’s Day theme, choose bright pink, classic white, or a delightful combination of both. Candy melts are specifically formulated to melt smoothly and set quickly, offering a consistent, professional finish. You can find them in various colors at most craft stores or baking supply shops.
- Valentine’s Day Sprinkles: The final flourish that adds both visual appeal and a delightful crunch! Select your favorite festive sprinkles to adorn your truffles. Options include tiny hearts, shimmering nonpareils, classic jimmies in red, pink, and white, or even edible glitter. Choose sprinkles that complement your candy melt colors and enhance the overall Valentine’s theme.
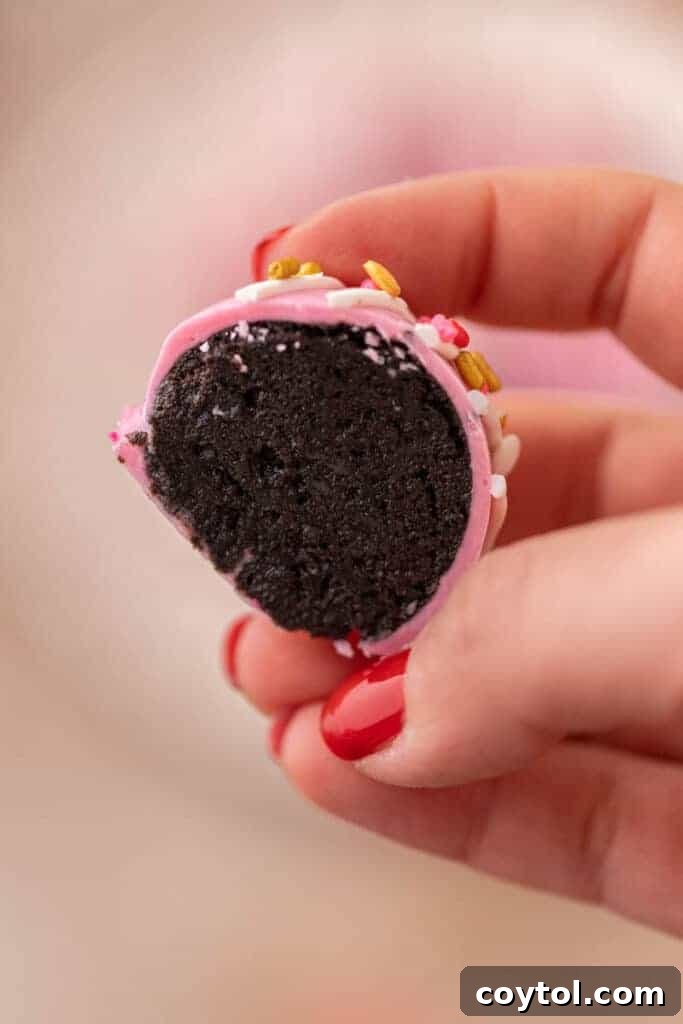
Simple Steps to Crafting Irresistible Pink Oreo Truffles
Get ready to create these amazingly easy and delicious treats! Follow these simple steps for perfect pink Oreo truffles every time. Remember to consult the recipe card below for the full, detailed instructions and precise measurements.
- Prepare Your Workspace: Begin by lining a baking sheet with parchment paper or wax paper. This crucial step prevents the truffles from sticking and makes for easy cleanup once they’re chilled and set.
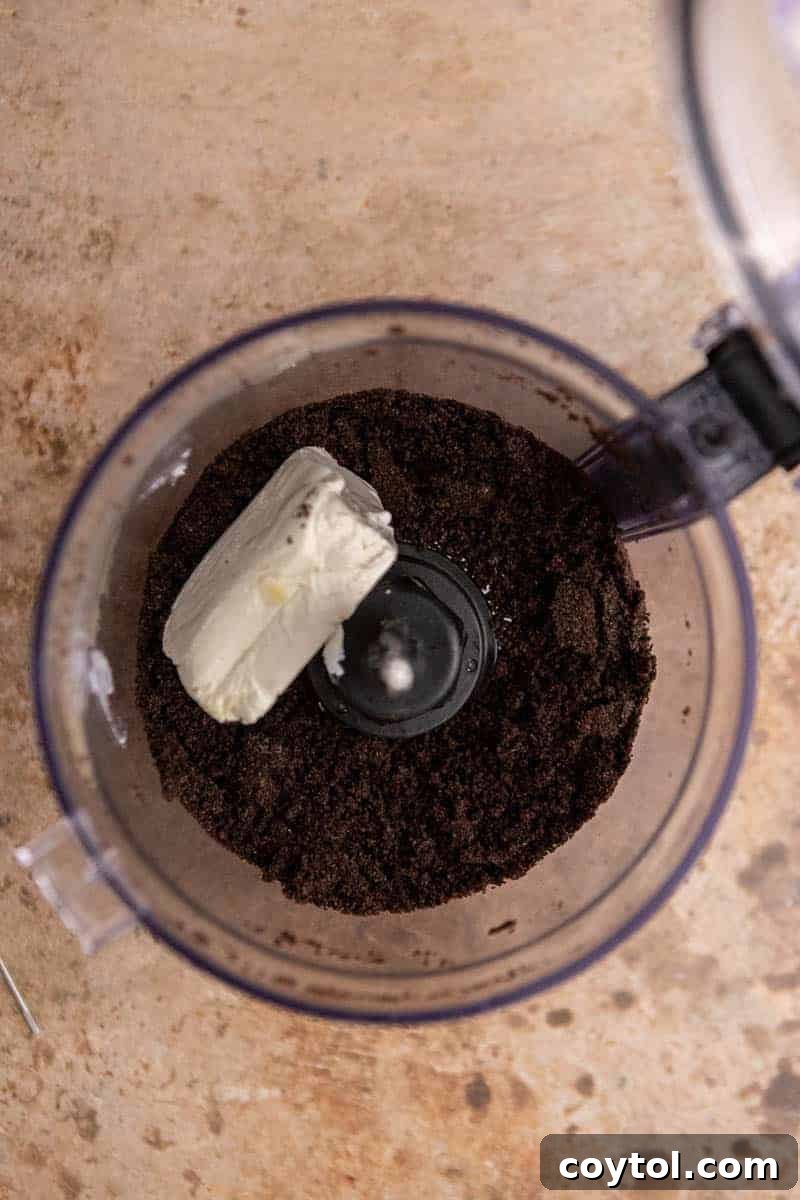
- Crush the Oreos: Place your Oreo cookies (both cookies and their cream filling) into a food processor. Pulse them until they are transformed into very fine, uniform crumbs. The finer the crumbs, the smoother your truffle mixture will be, ensuring a luxurious texture in every bite. If you don’t have a food processor, you can place the Oreos in a sturdy zip-top bag and crush them with a rolling pin until finely ground.
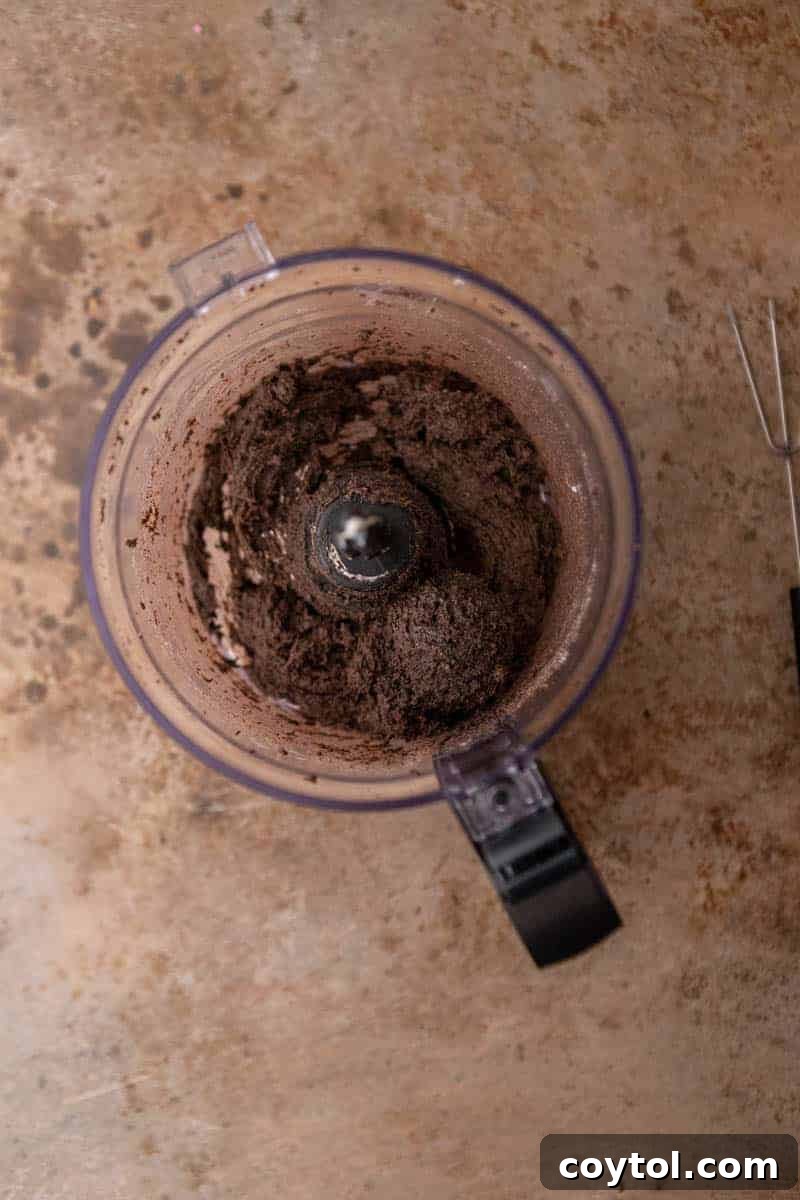
- Combine with Cream Cheese: Add the softened cream cheese to the food processor with the Oreo crumbs. Pulse or mix again until the mixture is thoroughly combined and resembles a thick, pliable cookie dough. It should hold its shape when pressed together and not be overly sticky or crumbly.
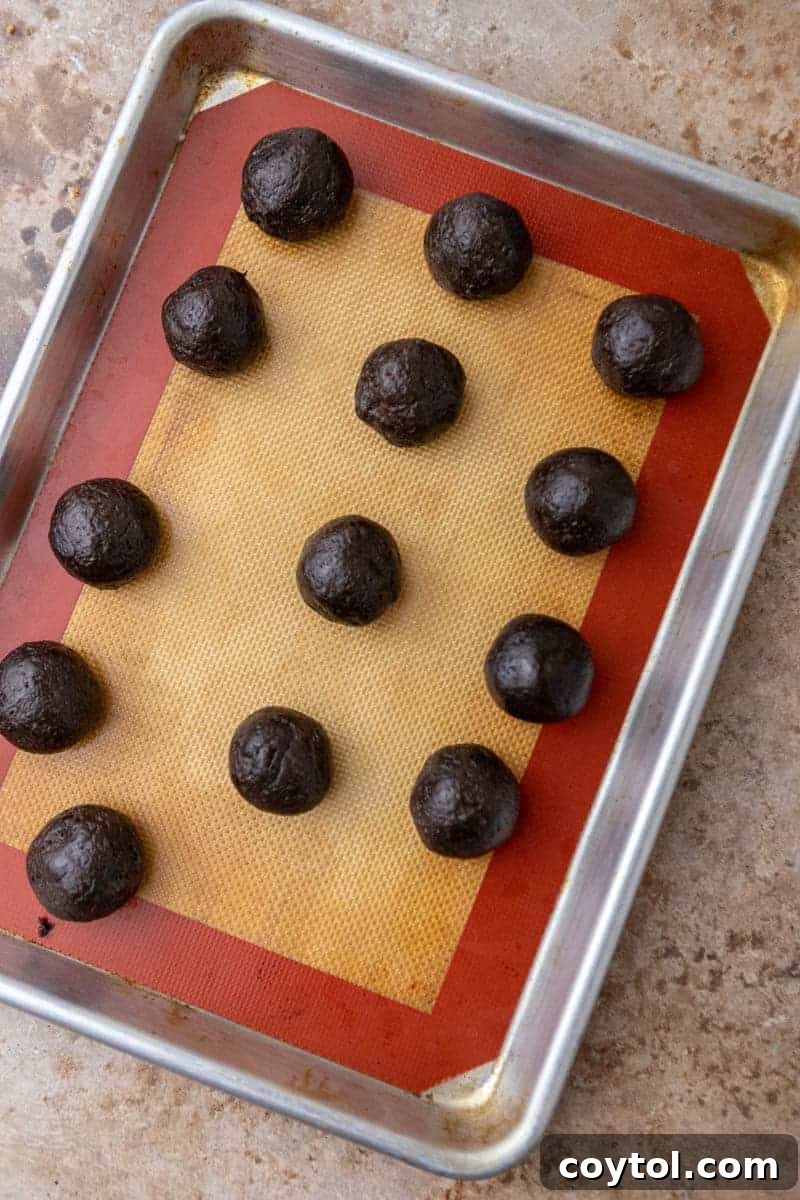
- Roll and Chill: Using a small cookie scoop (a 1-inch scoop works perfectly for uniform truffles), portion out the mixture. Roll each portion between the palms of your hands to form smooth, compact 1-inch balls. Aim for approximately 30 equally-sized truffles. Place these neatly onto your prepared parchment-lined baking sheet. Transfer the baking sheet to the freezer and chill for 30-60 minutes, or until the truffle balls are firm and solid. This freezing step is absolutely essential as it prevents the truffles from melting or falling apart when you dip them into the warm candy melts.
- Melt the Candy Melts: In a medium microwave-safe bowl, place your pink (or chosen color) candy melts. Microwave them in short 30-second increments, stirring thoroughly after each interval. Continue this process until the candy melts are completely smooth and fluid, with no lumps remaining. Be careful not to overheat them, as this can cause them to seize or become grainy.
- Dip and Decorate: Working quickly and in small batches (to keep the remaining truffles cold), retrieve a few frozen Oreo balls from the freezer. Using a fork or a specialized chocolate dipping tool, carefully dip each truffle into the melted candy melts, rolling it around gently to ensure it’s fully coated. Lift the truffle out, gently tapping the fork against the side of the bowl to shake off any excess coating. Immediately place the coated truffle back onto the prepared baking sheet. While the candy coating is still wet, liberally sprinkle with your Valentine’s Day sprinkles, or if desired, drizzle with an additional color of melted candy melts (like white chocolate).
- Set and Serve: Once all truffles are dipped and decorated, place the baking sheet back into the refrigerator for at least 10 minutes (or until the coating is completely set and firm). These truffles are best enjoyed chilled. Store any leftover truffles in an airtight container in the refrigerator to maintain their freshness and texture. They will remain delicious for up to 6 days.

Frequently Asked Questions – Your Guide to Perfect Truffles
Got questions about mastering these delightful Valentine’s Day Oreo truffles? We’ve got the answers to ensure your dessert-making experience is as smooth and sweet as the truffles themselves!
Pro Tips for Achieving the Perfect Valentine’s Day Oreo Truffles
- Always Use Softened Cream Cheese: This is non-negotiable for a silky-smooth truffle mixture. If your cream cheese is too cold, it won’t incorporate evenly with the crushed Oreos, leading to a lumpy or uneven texture. Simply take it out of the refrigerator about 30-60 minutes before you plan to start mixing to allow it to reach optimal room temperature.
- Never Skip the Chilling Step: Freezing the truffles before dipping them into the melted candy coating is paramount. This ensures they remain firm and intact, preventing them from crumbling or melting when they hit the warm chocolate. A well-chilled truffle will hold its shape beautifully, allowing for a flawless, even coating.
- Work in Small Batches for Dipping: To maintain the optimal temperature and firmness of your truffles, remove only a few at a time from the freezer when you’re ready to dip them. This keeps the remaining truffles cold and solid, ensuring they don’t soften prematurely and become difficult to coat smoothly.
Can I Make Valentine’s Day Oreo Truffles Ahead of Time?
Absolutely, these Oreo cookie balls are a fantastic make-ahead dessert! They store exceptionally well in an airtight container. Simply keep them refrigerated for up to a week, and they’ll be just as fresh and delicious as the day you made them. This makes them perfect for party planning or for preparing sweet gifts in advance.
How to Freeze Valentine’s Day Oreo Truffles for Longer Storage?
These truffles are not only great for making ahead but also freeze beautifully! Prepare them as directed, then once they are fully set, transfer them to an airtight freezer-safe container. You can store them in the freezer for up to 2 months. When you’re ready to enjoy, simply transfer them to the refrigerator to thaw for a few hours before serving. They maintain their delicious flavor and texture after thawing.
What Are Some Creative Ways to Decorate These Cookie Truffles?
Beyond the classic sprinkles, there are many fun and imaginative ways to adorn your Oreo truffles:
- Crushed Oreos: For a delightful textural and visual contrast, lightly sprinkle a small amount of finely crushed Oreo crumbs over the wet candy coating. This adds a sophisticated touch and a hint of extra Oreo flavor.
- Drizzle Chocolate: Get artistic with melted white chocolate, milk chocolate, or even different colored candy melts. Use a spoon or a piping bag with a tiny hole to create elegant zigzag patterns, swirls, or geometric designs over the set truffles. This is a fantastic opportunity to involve your little ones in the decorating process, letting their creativity run wild!
- Festive Sprinkles Galore: Don’t limit yourself to just one type! Mix and match various Valentine’s Day-themed sprinkles, such as small heart shapes, edible glitter, shimmery pearls, or a blend of red, pink, and white jimmies.
- Edible Decorations: For an extra special touch, consider small edible candy hearts, tiny sugar flowers, or even use edible markers to draw delicate designs once the coating is fully set.
- Nutty Toppings: If you’re not opposed to nuts, a sprinkle of finely chopped pistachios or almonds can add a lovely crunch and subtle flavor, especially if using a dark chocolate coating.
What if I Don’t Want to Use Candy Melts?
No problem at all! While candy melts offer convenience and vibrant color, you have excellent alternatives:
If you’re still aiming for that stunning pink finish, you can absolutely melt good quality white chocolate and color it. The key here is to use an oil-based food coloring or a food coloring specifically designed for chocolate. This is crucial because even a tiny drop of water-based coloring can cause melted chocolate to seize and become thick and grainy, making it impossible to work with. Always add coloring sparingly until you achieve your desired shade.
If the pink coating isn’t a must-have for your celebration, you can opt for melted milk chocolate or dark chocolate for a rich, classic truffle. For a smoother, more fluid coating that’s easier to dip with, mix the chocolate with a small amount of coconut oil or vegetable shortening (about 1 teaspoon per 6 ounces of chocolate) before melting. Melt the chocolate in the microwave in 30-second intervals, stirring diligently after each round until it’s completely smooth and luscious.
Once your truffles are coated, don’t forget to top them with your favorite festive pink sprinkles or other decorations while the chocolate is still wet. Allow them to set completely, either at room temperature or in the refrigerator, until the coating is firm. After that, store them in an airtight container in the fridge, and you’re all set to impress with these homemade delights!

Valentine’s Day Oreo Truffles Recipe

5 from 3 votes
Valentine’s Day Oreo Truffles
These easy Valentine’s Day Oreo truffles are the ultimate dessert for Valentine’s Day. Simple yet delicious!
Prep: 20 mins
Total: 20 mins
Servings: 36 servings
Print Recipe
Ingredients
- 36 Oreos
- 8 oz cream cheese
- 16 oz candy melts (pink or white or a mix)
- Valentine’s Day sprinkles
- 2 oz white candy melts (for drizzling)
Instructions
- Start by lining a baking sheet with parchment paper or wax paper.
- Crush the Oreos in a food processor until fine crumbs form.
- Add in the chopped up room temperature cream cheese and pulse until the mixture turns into cookie dough. Using a small cookie scooper, scoop equally sized cookie dough balls, roll between the palm of your hands until smooth and place on the baking sheet. Repeat until done and freeze for 30-60 minutes.
- Melt the candy melts in separate bowls in the microwave and dip each ball into the melted candy melts with a fork or a chocolate dipping fork, roll to coat, then tap the fork on the side of the bowl to get rid of excess chocolate. Allow to set then drizzle some of the white chocolate candy melts on top and top with sprinkles.
- Let the Oreo truffles set for about 30-60 minutes in the fridge before serving.
Nutrition
Calories: 109 Calories | Carbohydrates: 13g | Protein: 1g | Fat: 6g | Saturated Fat: 4g | Polyunsaturated Fat: 1g | Monounsaturated Fat: 2g | Trans Fat: 0.01g | Cholesterol: 6mg | Sodium: 73mg | Potassium: 36mg | Fiber: 0.3g | Sugar: 9g | Vitamin A: 85IU | Calcium: 9mg | Iron: 1mg
Nutrition information is automatically calculated, so should only be used as an approximation.
Like this? Leave a comment below!

If You Enjoyed This Valentine’s Day Oreo Truffles Recipe, Be Sure to Pin It for Later!