
Chocolate Peppermint Crunch Slice and Bake Cookies have quickly become a beloved holiday tradition in our kitchen! These delightful treats are not only incredibly easy to prepare but also exceptionally convenient for all your festive gatherings and seasonal merriment. Imagine the rich aroma of chocolate mingling with the refreshing scent of peppermint, a perfect symphony for the holiday season.

Hello, fellow baking enthusiasts!
While the new year might have arrived, the spirit of holiday baking, especially with these irresistible chocolate peppermint cookies, lingers on. It feels like just yesterday we were celebrating, and I confess, I regret not sharing this incredible recipe before Christmas. But fear not, for these cookies are truly timeless. If you happen to have any leftover candy canes from the festive season, consider this your sign to transform them into something truly spectacular. Trust me, this is hands down the best peppermint candy cookie recipe you’ll ever encounter.
These cookies encapsulate the essence of winter wonder, offering a perfect blend of deep chocolate flavor with a crisp, cool peppermint crunch. They are designed to bring joy and ease to your baking endeavors, proving that memorable treats don’t have to be complicated. Whether you’re extending the holiday cheer or simply craving a taste of festive delight, these slice and bake cookies are your answer.
More Irresistible Cookie Recipes You’ll Love
If you’re anything like us, a good cookie recipe is always a welcome addition to your repertoire. Here are a few other favorites that promise to capture your heart and tantalize your taste buds:
- Decadent Chocolate Walnut Slice and Bake Cookies
- Easy Fudgy Cake Mix Chocolate Crinkle Cookies
- Wholesome Cranberry Oatmeal Cookies
The Unparalleled Charm of These Chocolate Peppermint Slice and Bake Cookies
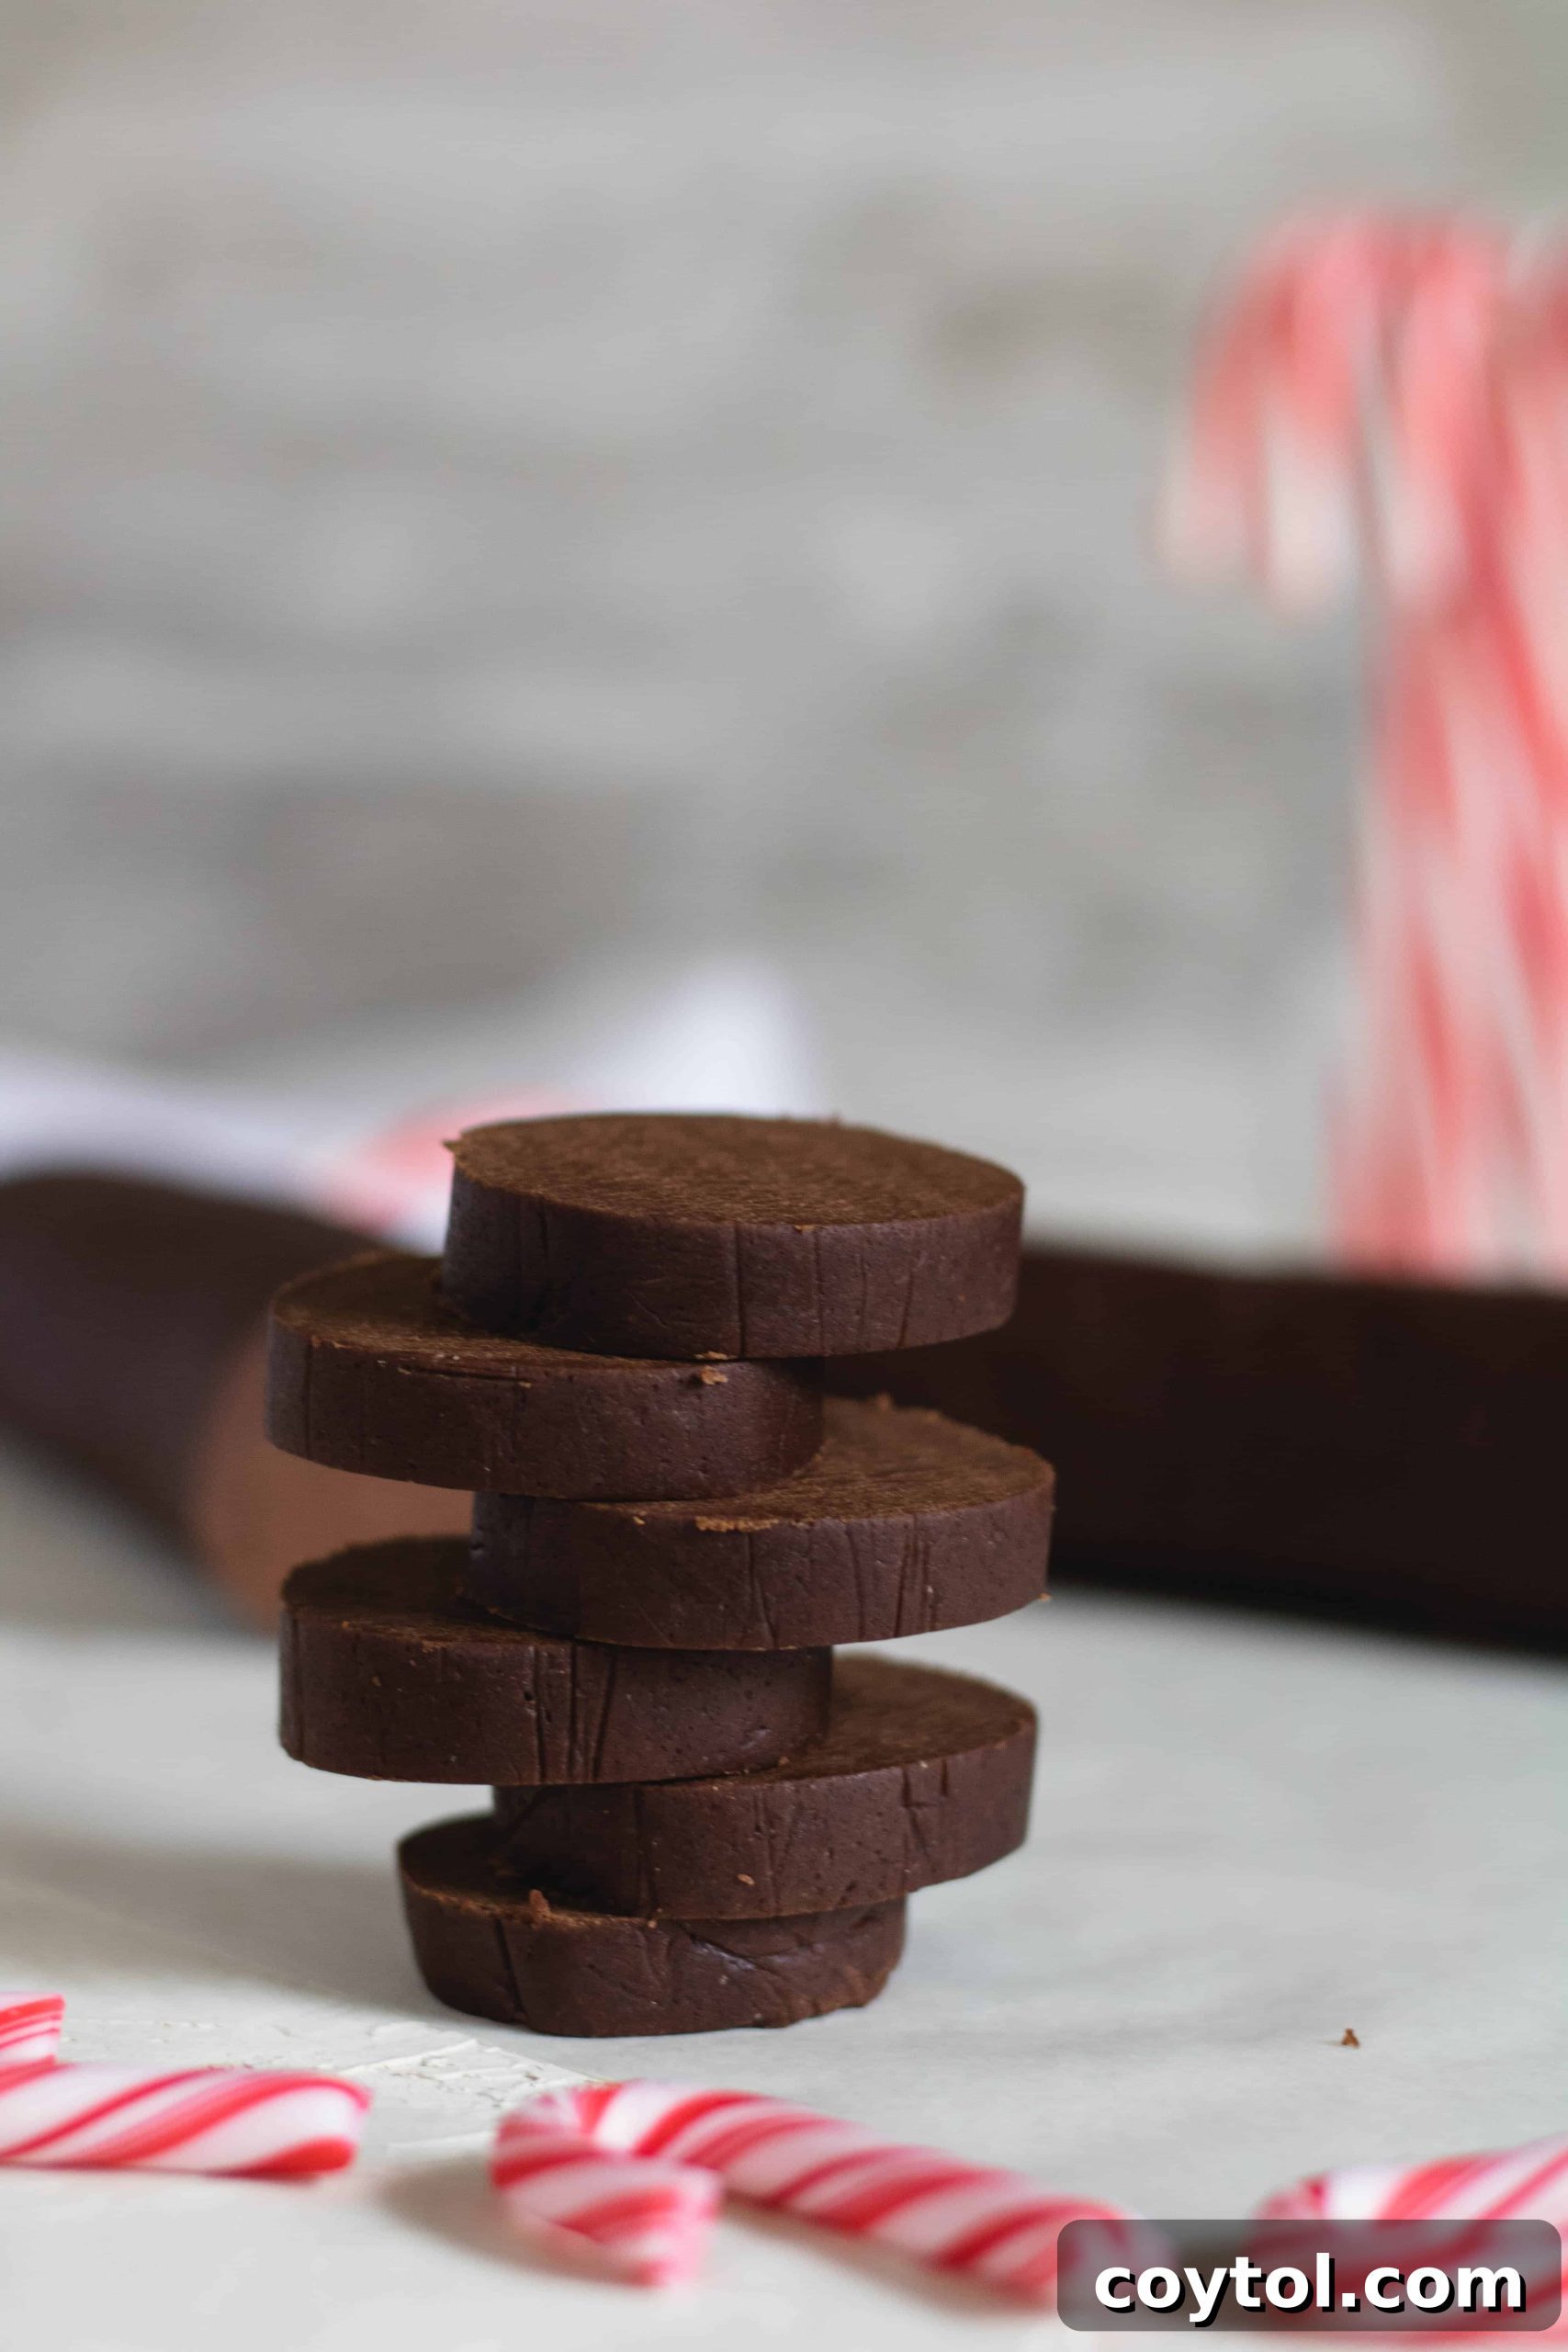
My profound adoration for slice and bake cookies stems from their sheer simplicity and convenience. As the name suggests, you simply slice the prepared dough and bake! It’s an incredibly straightforward process, making it an absolute lifesaver, especially during the bustling holiday season or any time you crave a quick, homemade treat. These cookies embody everything I love about easy baking. Inspired by the resounding success of my
chocolate walnut slice and bake cookie recipe, I felt compelled to craft a peppermint version, knowing how much everyone cherishes this classic flavor combination around Christmas.
What makes this particular recipe stand out is its reliance on readily available ingredients. I often find myself without peppermint extract, which is precisely why I designed these as candy cane chocolate cookies rather than incorporating direct flavoring into the dough. This means you likely have most, if not all, of these pantry staples on hand! So, go ahead and gather your ingredients; you’re just a few steps away from treating everyone to some of the most delightful cookies they’ll ever taste.
You might wonder what gives these cookies their exceptional flavor. While I don’t typically play favorites, these truly are a cut above. They’re elevated by the inclusion of actual peppermint candy pieces, providing a delightful crunch and an intense burst of fresh, minty flavor. This texture contrast – a chewy chocolate cookie with crisp peppermint bits – is what makes them utterly irresistible for anyone who adores peppermint. Every bite is a delightful surprise, a perfect harmony of rich chocolate and cool, vibrant mint.
Essential Tools for Crafting Your Peppermint Dreams
To ensure a smooth and enjoyable baking experience, having the right tools can make all the difference. Here’s a list of kitchen essentials that will assist you in creating these spectacular white chocolate-dipped peppermint cookies:
-
High-Quality Baking Sheets: Essential for even baking and preventing burnt bottoms. -
Silpat Baking Mat
or
Parchment Paper: For a non-stick surface and easy cleanup. -
A
Sharp Knife: Crucial for clean, even slices of dough. - **Stand Mixer or Hand Mixer**: To efficiently cream butter and sugar, and mix the dough.
- **Large Mixing Bowls**: For combining ingredients.
- **Measuring Cups and Spoons**: For precise ingredient measurements.
- **Rolling Pin**: For crushing candy canes and shaping dough logs.
- **Cooling Rack**: To allow cookies to cool evenly after baking.
Ingredients for These Festive Chocolate Candy Cane Cookies
This chocolate candy cane cookie recipe yields a generous batch, making it absolutely perfect for holiday gifting or large festive gatherings. You’ll easily be able to fill at least six cookie boxes, making them an ideal homemade present! Here’s what you’ll need to create the best holiday cookies ever, bursting with rich chocolate and cool peppermint:
- All-Purpose Flour: The foundational structure of our delicious cookies.
- Unsweetened Cocoa Powder: Provides the deep, rich chocolate flavor. Opt for Dutch-processed for a darker color and mellower taste.
- Baking Powder & Baking Soda: Our leavening agents, ensuring a perfect rise and chewy texture.
- Salt: A crucial flavor enhancer that balances the sweetness and deepens the chocolate notes.
- Unsalted Butter (softened): The key to a tender, rich cookie. Ensure it’s softened to room temperature for proper creaming.
- Brown Sugar (packed): Adds moisture, chewiness, and a subtle caramel note that complements the chocolate beautifully.
- Large Eggs (room temperature): Bind the ingredients together and contribute to the cookie’s structure and richness.
- Vanilla Extract: A classic flavor enhancer that elevates the overall taste profile.
- Bright White Candy Melts (12 oz packet): For a smooth, festive white coating that hardens quickly.
- Coconut Oil: Helps to thin the candy melts, making them easier to dip and ensuring a glossy finish.
- Candy Canes (crushed): The star of the show, providing both the vibrant peppermint flavor and a delightful crunch. Using leftover candy canes is a great way to avoid food waste!

Crafting Your Chocolate Peppermint Crunch Slice and Bake Cookies: A Step-by-Step Guide
This cookie recipe unfolds in several delightful stages, starting with the creation of the rich chocolate dough and culminating in a festive peppermint crunch. Precision and patience are your best allies here!
First, Prepare the Dough:
Begin by combining your dry ingredients. In a medium bowl, whisk together the flour, cocoa powder, baking powder, baking soda, and salt. Whisking ensures they are evenly distributed, leading to a consistent cookie texture. Set this mixture aside.
In a separate large bowl, or the bowl of a stand mixer fitted with the paddle attachment, cream together the softened unsalted butter and packed brown sugar. Beat on medium-high speed until the mixture is light, fluffy, and pale in color. This typically takes about 2-3 minutes with a stand mixer or 5 minutes with a hand mixer, or a little longer if mixing by hand. This creaming process incorporates air, which is vital for a tender cookie.
Next, beat in the eggs one at a time, ensuring each is fully incorporated before adding the next. Stir in the vanilla extract. Continue mixing until the wet ingredients are well combined and the mixture is smooth. Scrape down the sides of the bowl as needed to ensure everything is evenly mixed.
Gradually add the dry ingredient mixture to the wet ingredients. Mix on low speed until the dough is just combined. Be careful not to overmix, as this can lead to tough cookies. As soon as no streaks of flour remain, stop mixing.
Divide the cookie dough into two equal portions. Roll each portion into a log, approximately 12 inches long. Wrap each dough log tightly in plastic wrap, ensuring no air can reach the dough. Place them in the refrigerator to chill for at least one hour, or ideally, overnight (up to 24 hours). Chilling is crucial as it firms up the butter, prevents spreading during baking, and allows the flavors to deepen.


Baking the Cookies:
When you’re ready to bake, preheat your oven to 350°F (175°C). Line a large baking sheet with a Silpat baking mat or parchment paper. This will prevent sticking and help with even baking.
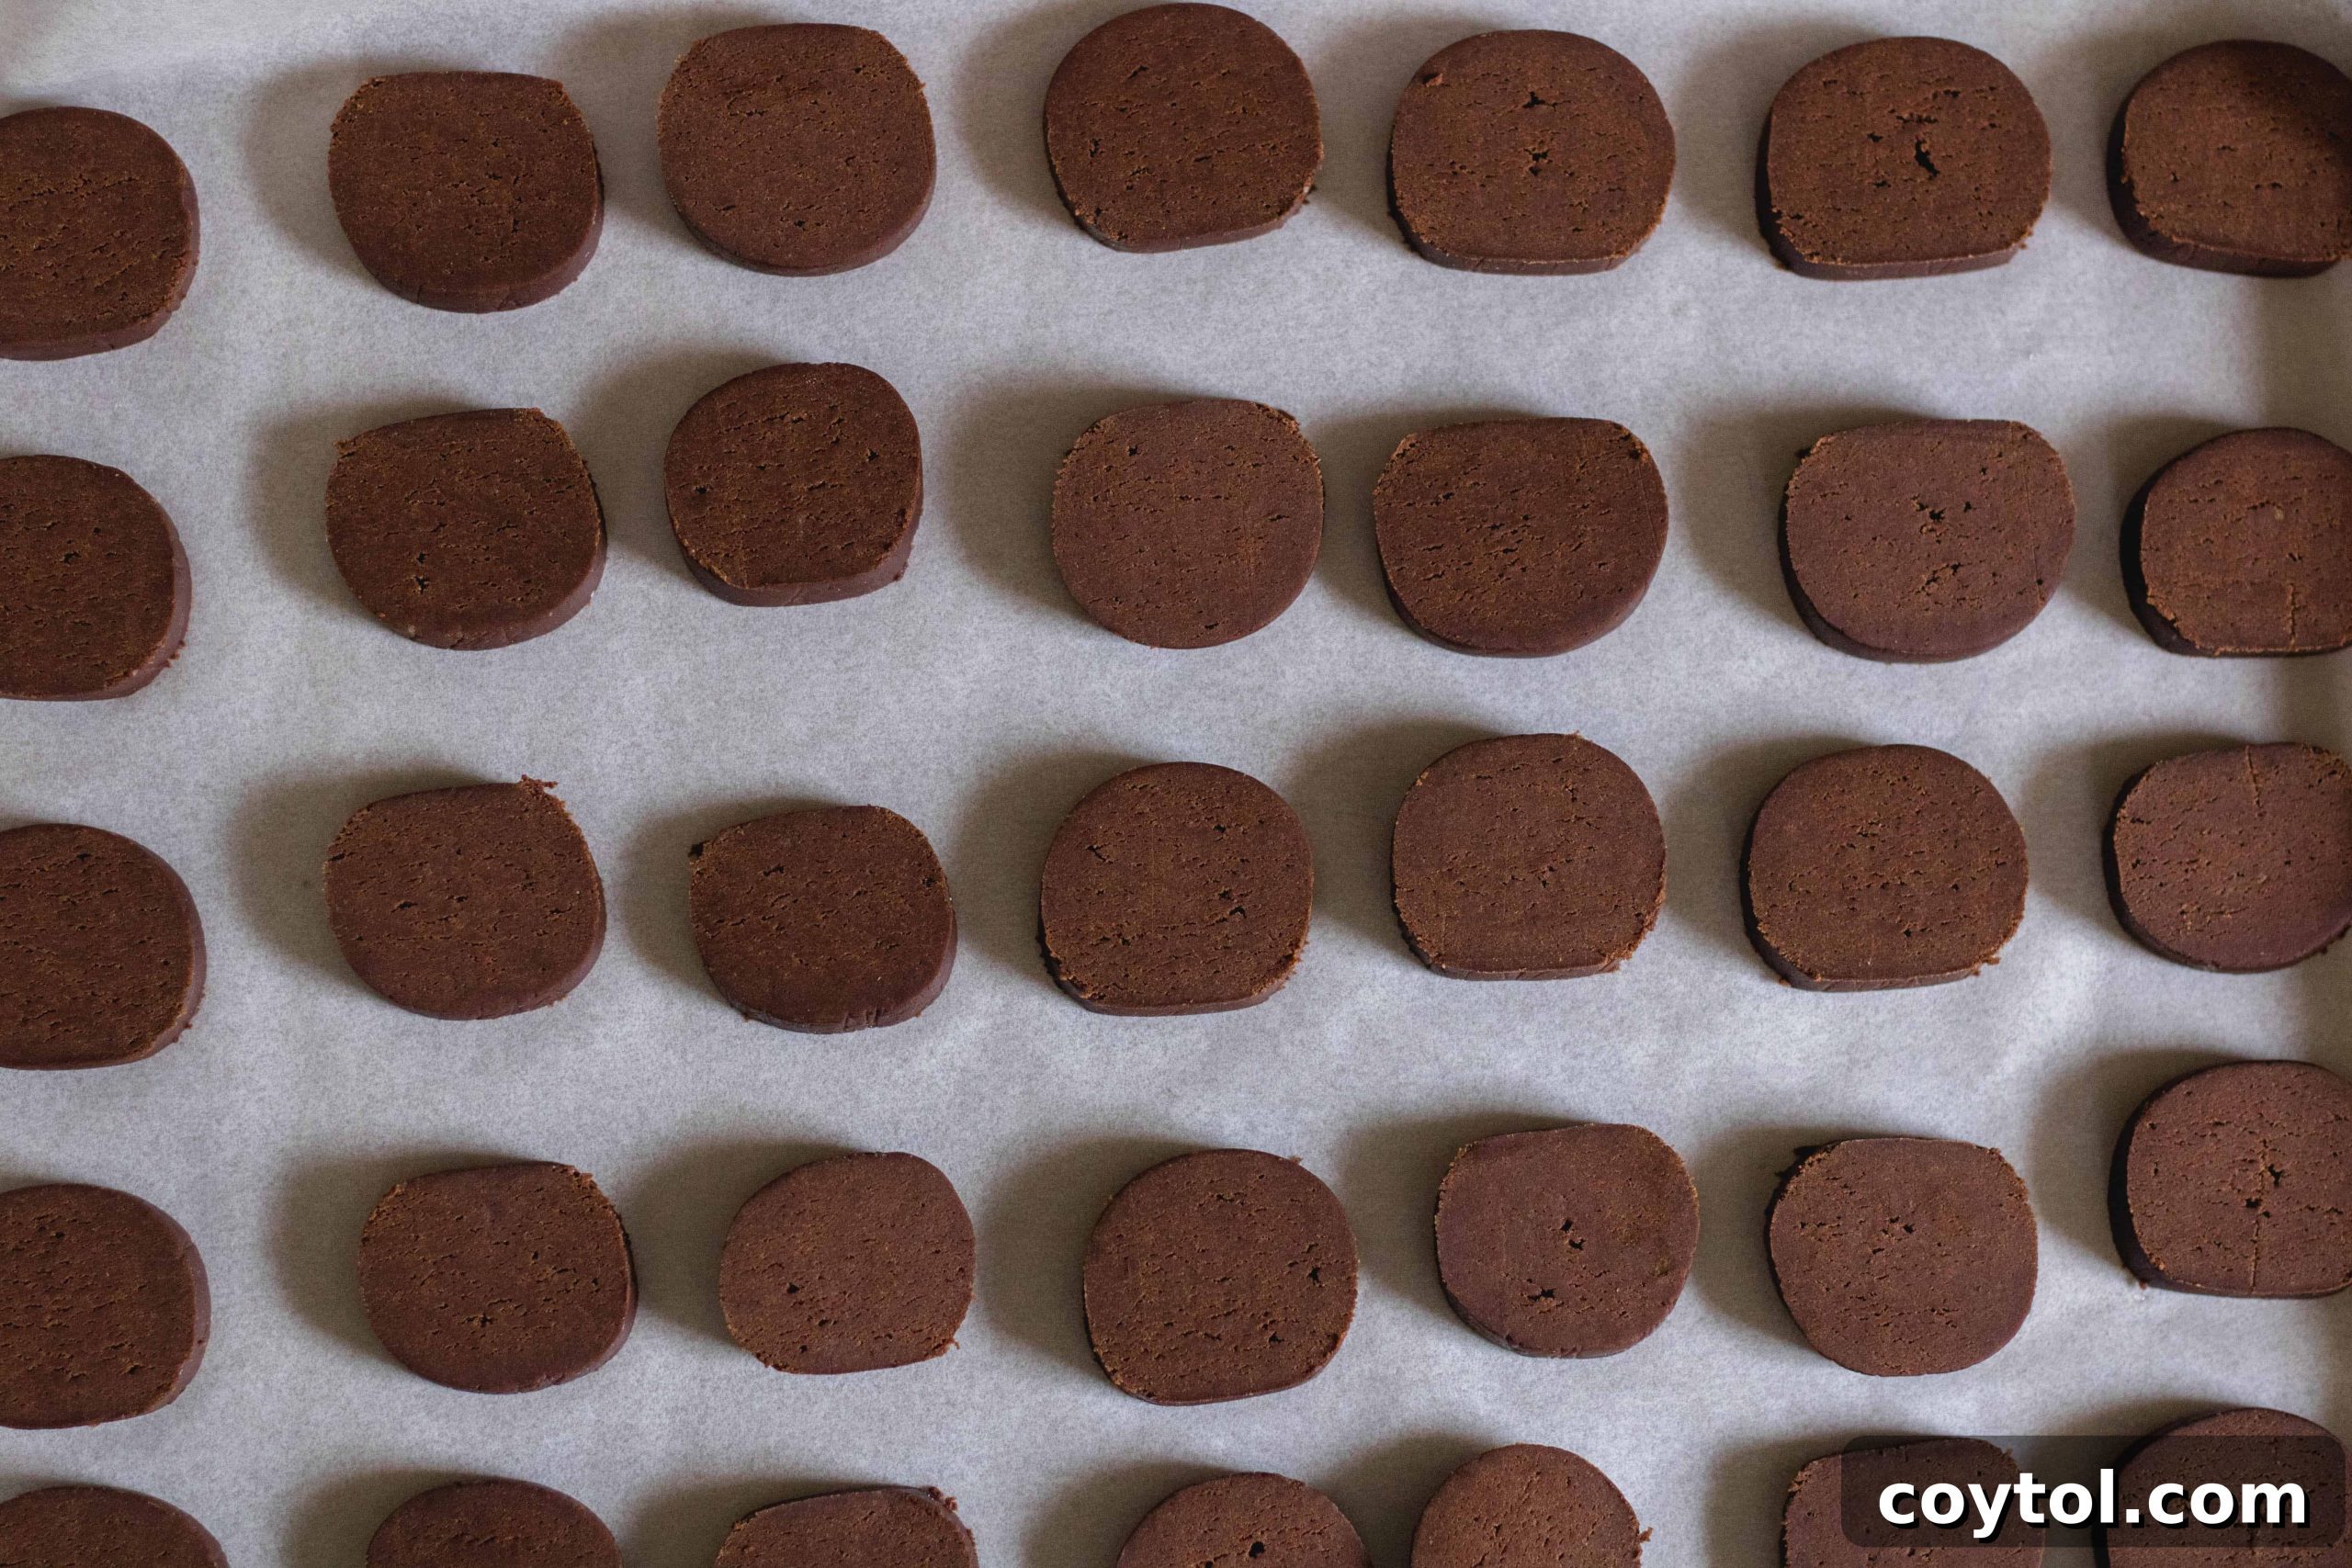
Retrieve the chilled cookie logs from the fridge. Using a sharp knife, carefully slice the dough into cookies approximately 1/2 inch thick. Try to make each slice as uniform as possible to ensure even baking.
Place the sliced cookies on the prepared baking sheet, leaving about 1-2 inches of space between each. This spacing is important because the cookies will spread slightly as they bake, and we don’t want them to merge into one giant cookie!
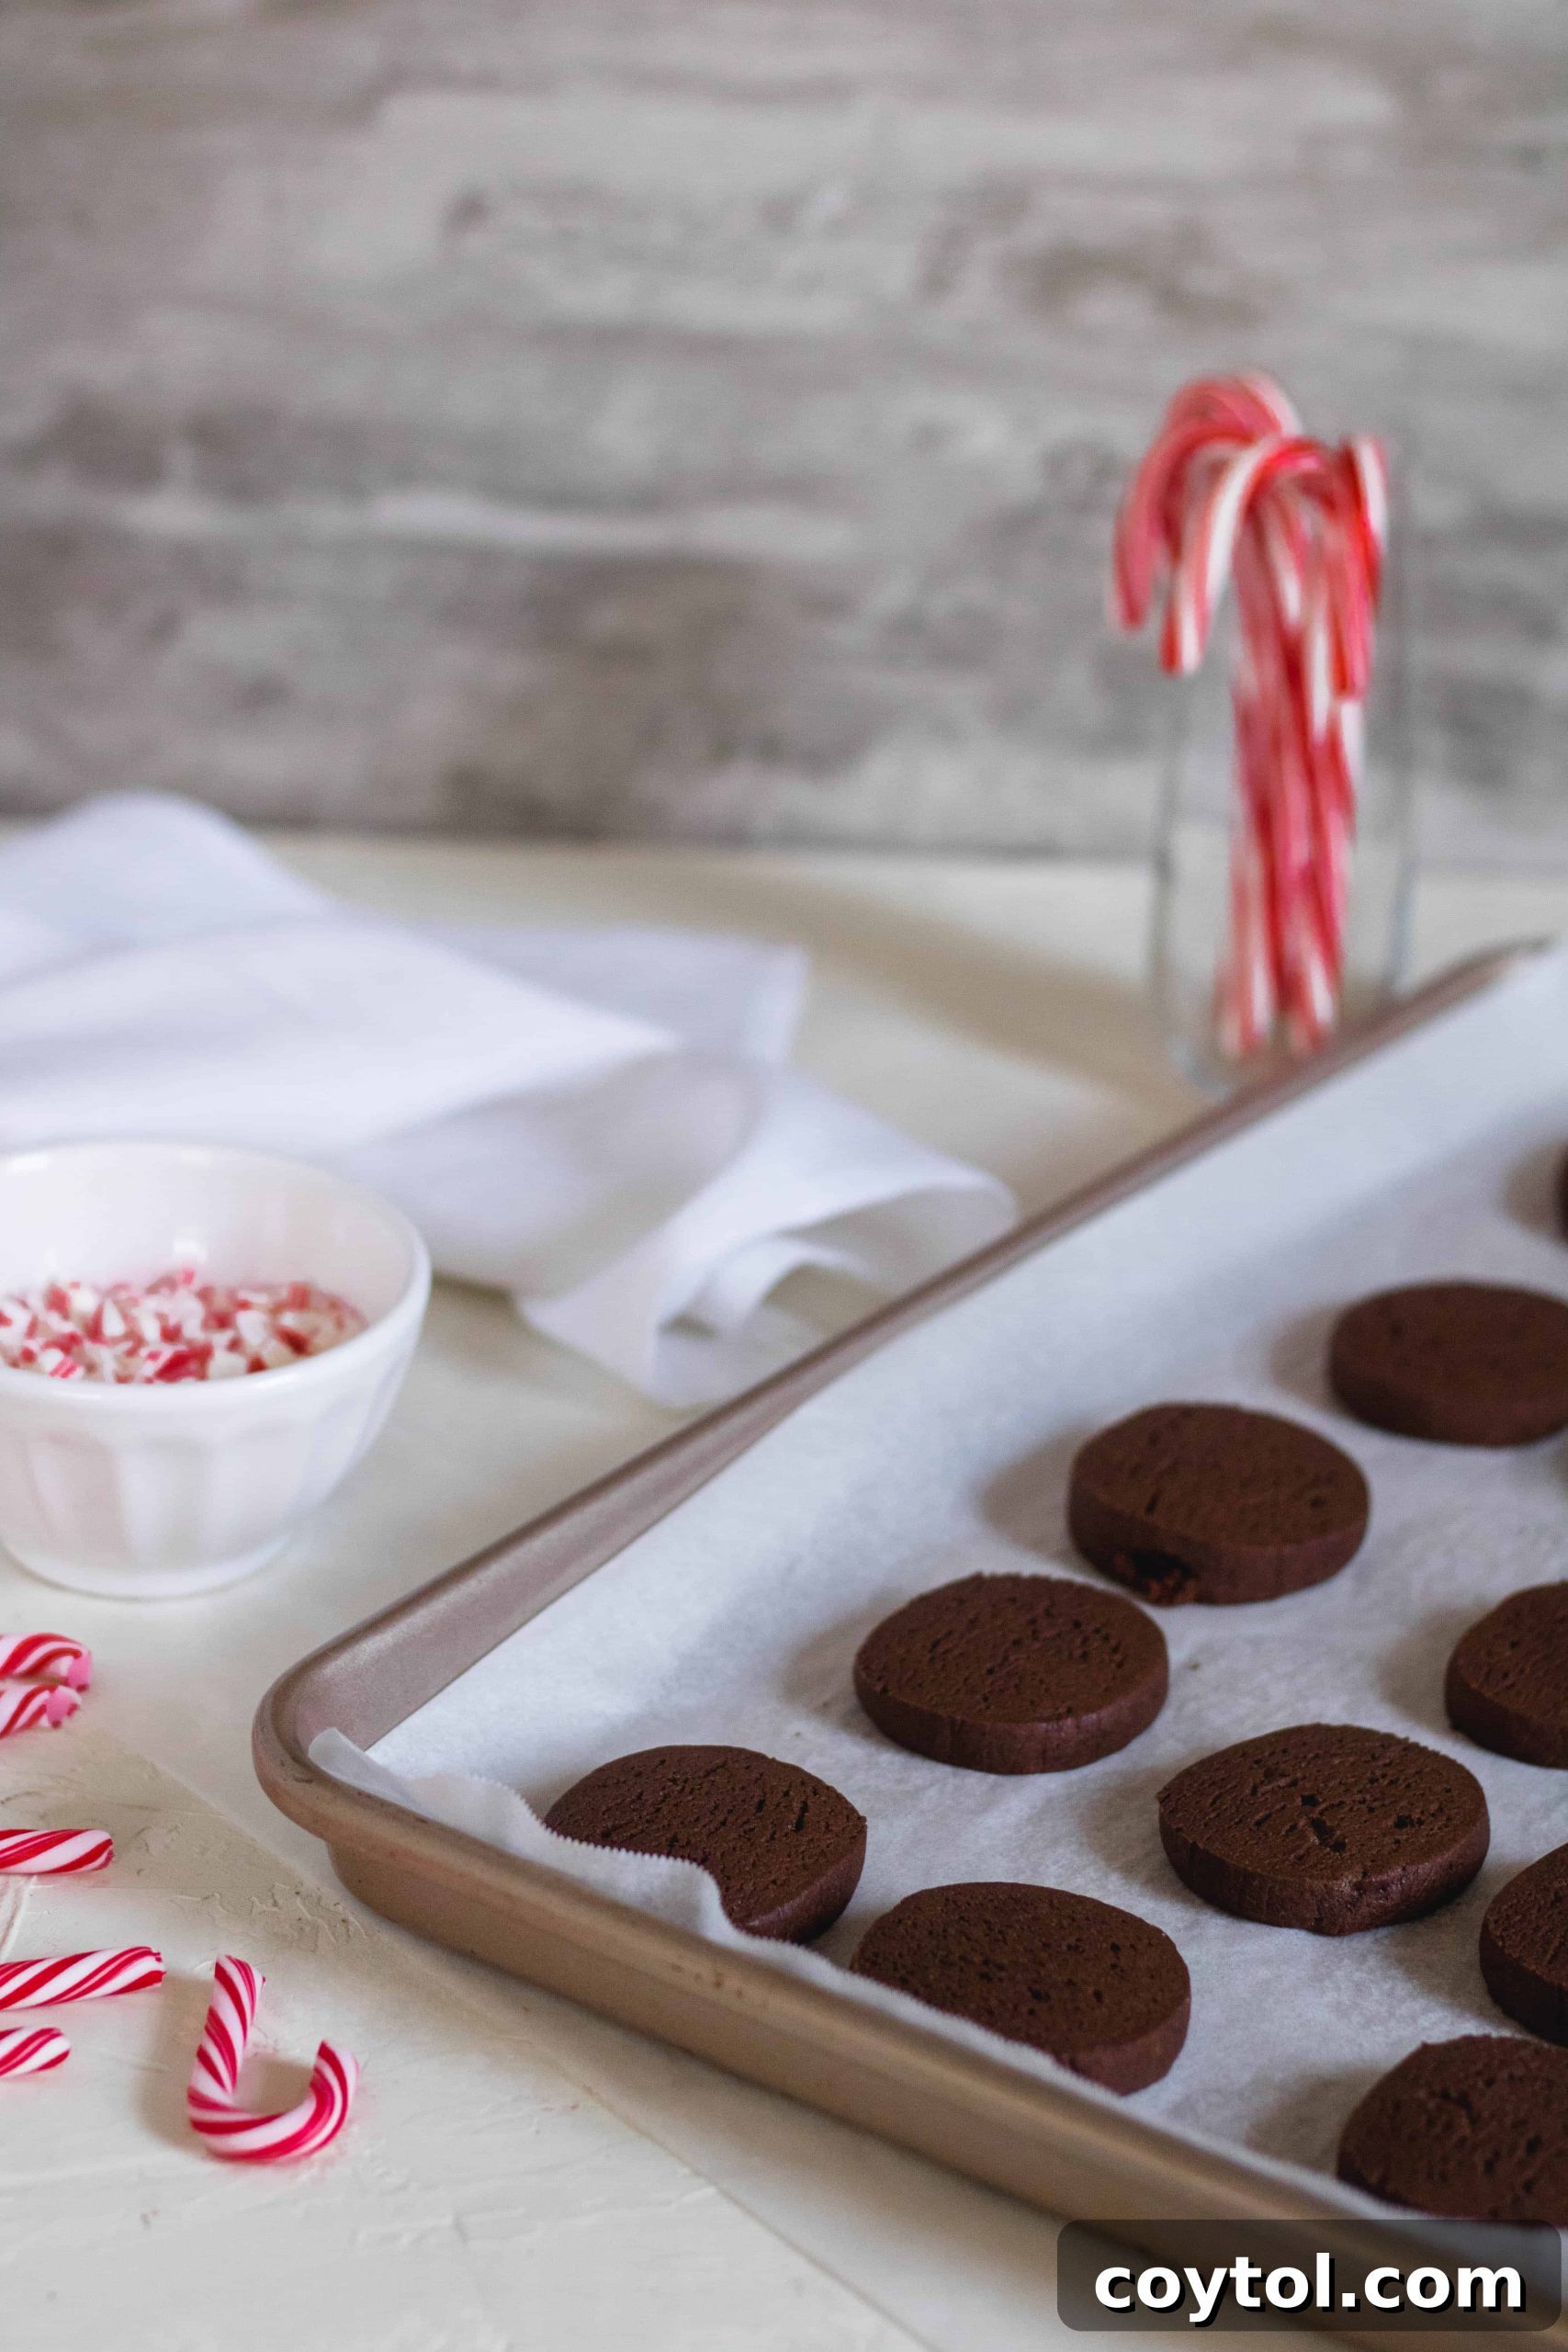
Bake for 8-10 minutes, or until the edges are just set and the centers still look slightly soft. Remember, cookies continue to bake for a few minutes after they are removed from the oven. Let the cookies cool on the baking sheet for about 10 minutes before carefully transferring them to a wire cooling rack to cool completely. This step prevents them from breaking apart and allows them to firm up.
Prepare the Peppermint Topping:
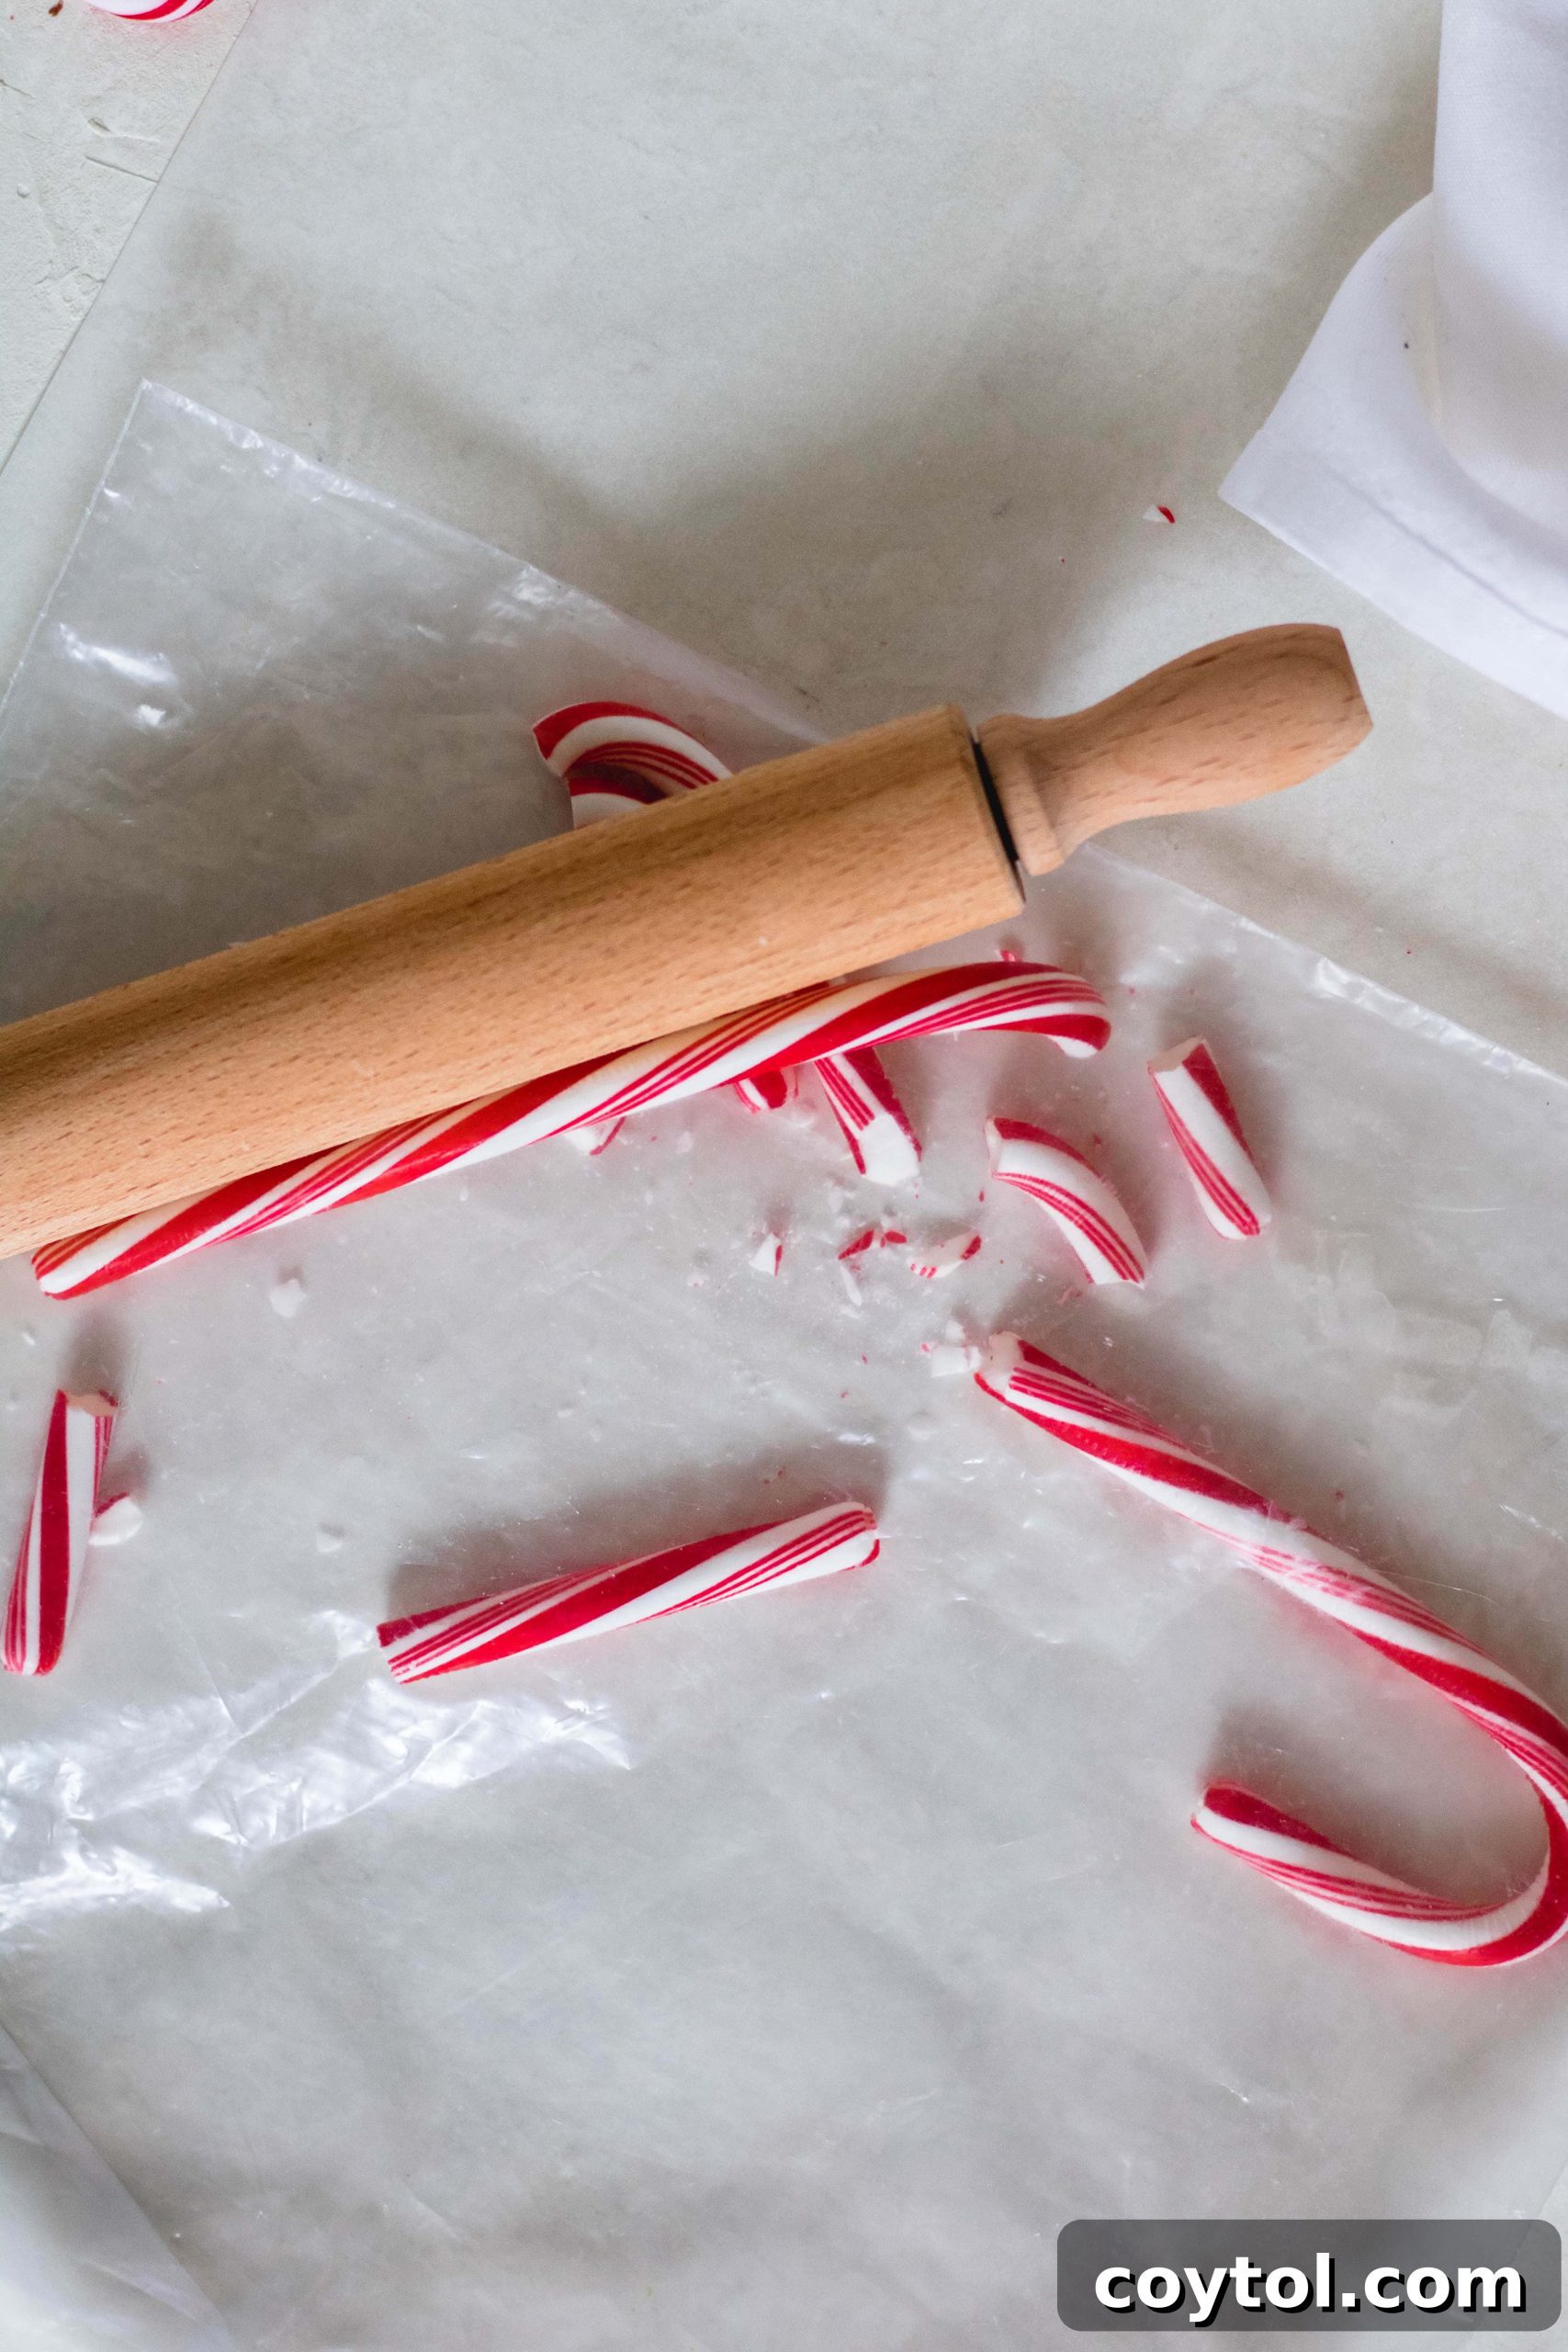
While your cookies are cooling, prepare your candy cane crunch. Place the candy canes in a sturdy resealable plastic bag. Using a rolling pin or a meat mallet, gently but firmly smash the candy canes until they are completely crushed into small, sprinkle-able pieces. Set aside.
Dipping and Decorating:
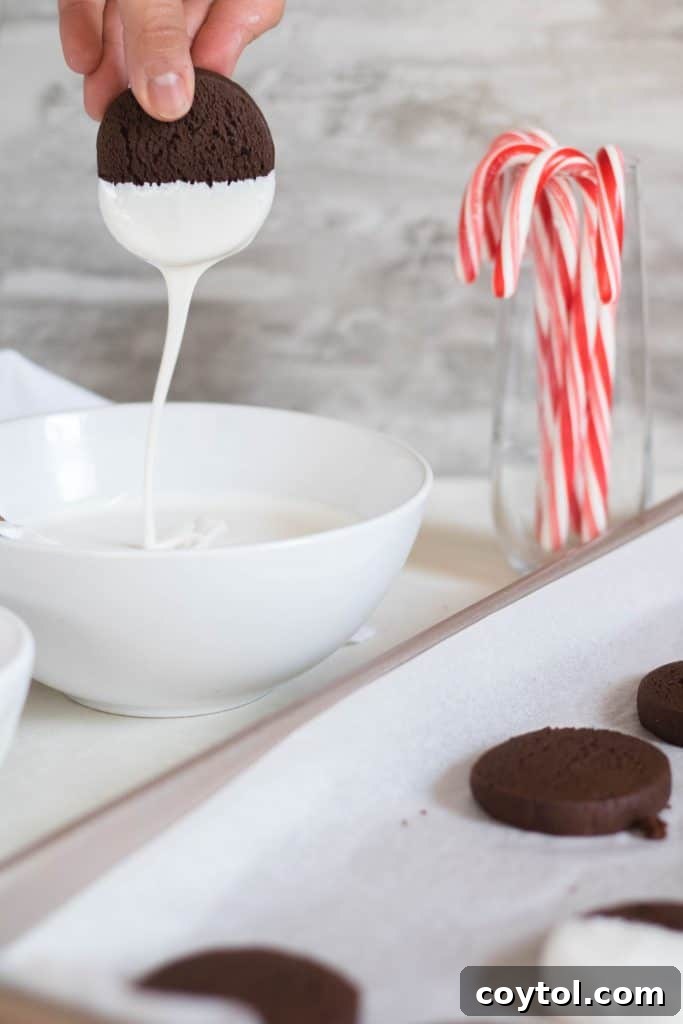
Once the chocolate slice and bake cookies are completely cool (this is crucial, as warm cookies will cause the candy melts to seize), it’s time for the final festive touch. Melt the bright white candy melts according to the package directions. To make the candy melts smoother and easier to work with, stir in 2-3 tablespoons of coconut oil. This will give you a thinner consistency perfect for dipping.
Work with one cookie at a time. Dip each chocolate cookie halfway into the melted candy coating. Allow any excess to drip off briefly, then immediately place the cookie back on a parchment-lined baking sheet. Without delay, generously sprinkle the crushed peppermint candy over the freshly dipped portion of the cookie. The candy melts solidify quickly, so speed is key here to ensure the peppermint bits adhere perfectly. Repeat this process for all remaining cookies.
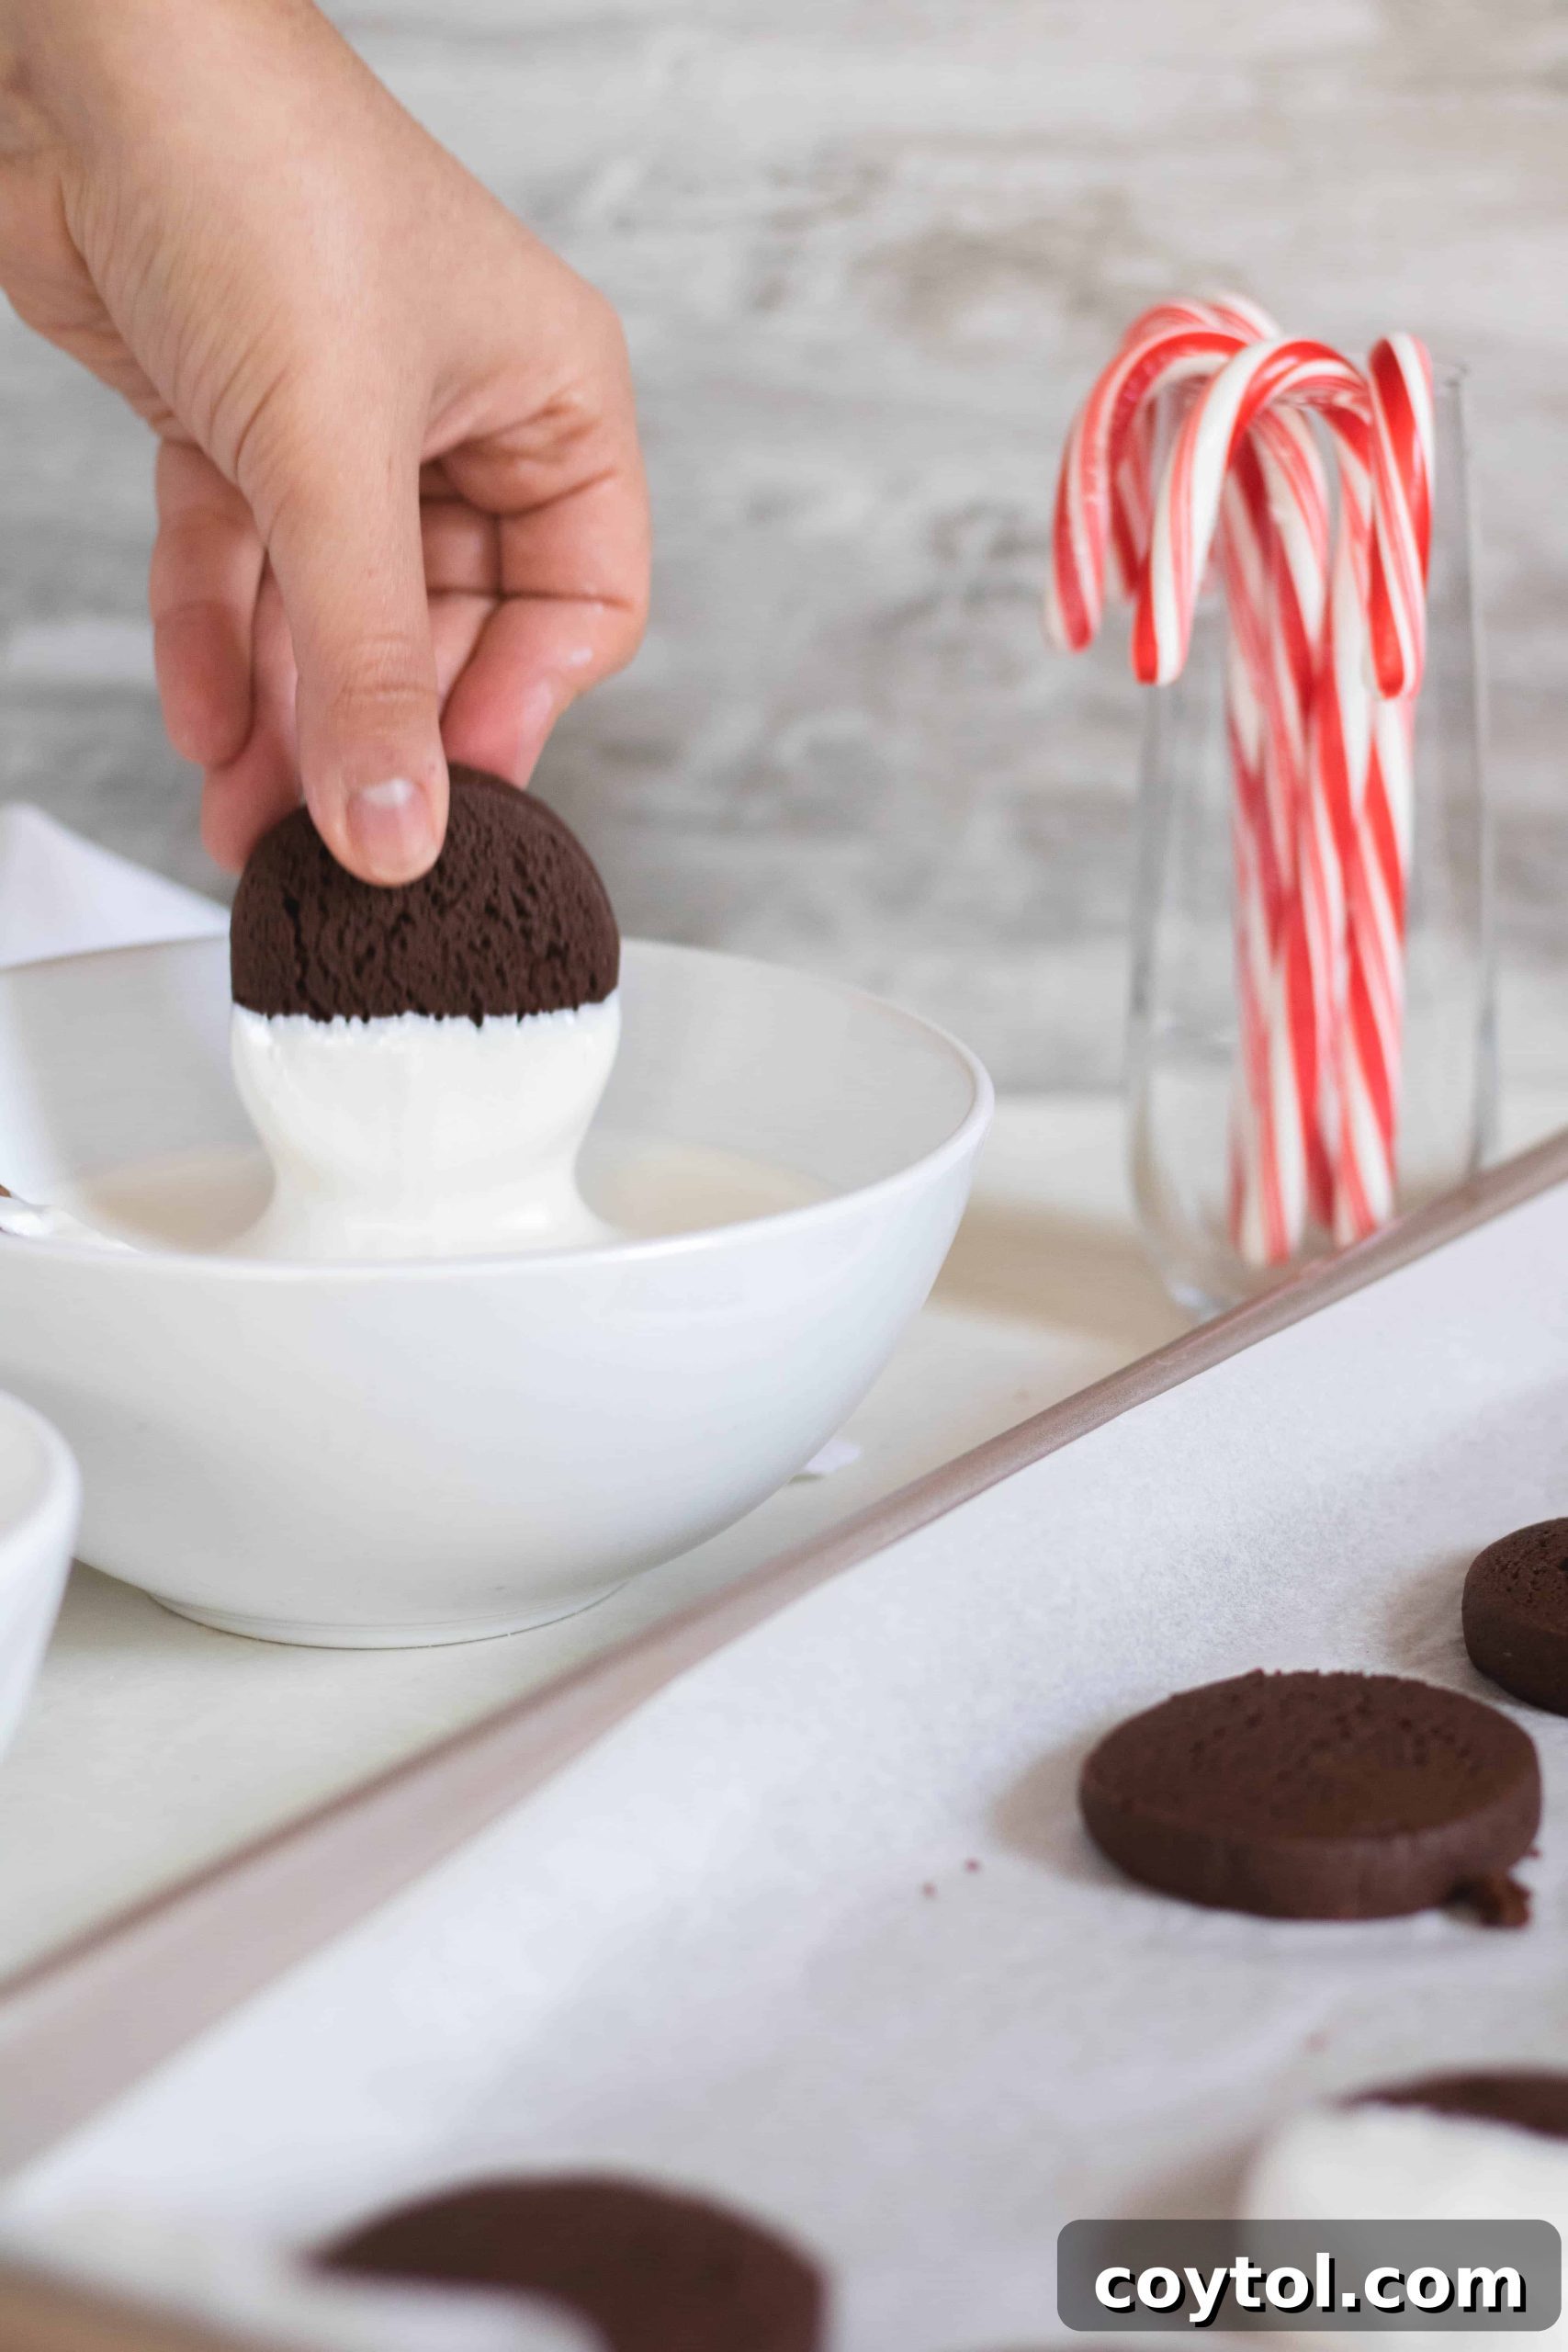

Once dipped and sprinkled, let the cookies set completely on the parchment-lined baking sheet until the white coating is firm. This might take 15-30 minutes at room temperature, or you can speed it up by placing them in the refrigerator for a few minutes.
Finally, enjoy your beautiful and delicious slice and bake chocolate cookies with their festive candy cane crunch! These are not just treats; they are edible works of art that are sure to impress. Don’t forget to share these wonderful Christmas cookies with friends, family, and loved ones. They make fantastic gifts and are always a welcome addition to any dessert table.
Remember, storing your candy canes for next year, especially in humid climates, is often a recipe for a sticky, unusable mess. This recipe offers the perfect solution to utilize any leftover peppermint candy, ensuring you enjoy every last bit of that festive flavor!

Chocolate Peppermint Crunch Slice and Bake Cookies Recipe
These chocolate cookies, adorned with vibrant candy cane pieces, are more than just visually stunning and brimming with festive colors; they are absolutely UHHH-MAZING in taste! Be sure to include them in your next batch of Christmas cookie boxes.
Recipe Summary
- Prep Time: 30 mins
- Cook Time: 8-10 mins
- Chilling Time: 1 hour (or overnight)
- Total Time: Approximately 2 hours (including chill time)
- Yields: 44 cookies
Ingredients
- 2 cups all-purpose flour
-
3/4 cup unsweetened cocoa powder
(Recommended) - 1/4 tsp baking powder
- 1/4 tsp baking soda
- 1/4 tsp salt
- 3/4 cup unsalted butter, softened
- 1 cup packed brown sugar
- 2 large eggs, room temperature
-
1 tsp vanilla extract
(Recommended) - 12 oz packet of bright white candy melts
- 2 tbsp coconut oil
-
3 candy canes, crushed up
(Recommended)
Instructions
-
In a large bowl, whisk together the flour, cocoa powder, baking powder,
baking soda, and salt. Set aside. -
In a separate large bowl or the bowl of a stand mixer, cream the softened
butter and brown sugar together on high speed until light and fluffy
(about 2 minutes with a stand mixer or 5 minutes by hand). -
Add the eggs one at a time, beating well after each addition. Stir in the
vanilla extract and beat until the mixture is well combined and smooth. -
Gradually add the dry flour/cocoa powder mixture to the wet ingredients.
Mix on low speed until the dough is just combined. Be careful not to
overmix. -
Divide the dough in half and roll each portion into a log approximately
12 inches long. -
Cover each dough log tightly in plastic wrap and chill in the refrigerator
for at least 1 hour, or ideally overnight, to firm up. -
When ready to bake, preheat your oven to 350°F (175°C). Line a large
baking sheet with a Silpat baking mat or parchment paper. -
Remove the chilled cookie logs from the fridge and slice cookies about 1/2
inch thick. -
Place the sliced cookies on the prepared baking sheet, leaving 1-2 inches
of space between them to allow for spreading. -
Bake for 8-10 minutes, or until the edges are set and the centers are
slightly soft. Let the cookies cool on the baking sheet for 10 minutes
before transferring them to a wire cooling rack to cool completely.
Dipping them in white chocolate and topping them with candy cane
-
While the cookies are cooling, crush your candy canes completely. Place
them in a resealable plastic bag and smash them using a rolling pin until
they are fine crumbs. -
Once the cookies are completely cool, melt the candy melts according to
the package directions. Stir in 2-3 tablespoons of coconut oil to thin the
melts, making them easier to work with. -
Dip each cookie halfway into the melted white candy. Place the dipped
cookie back on a parchment paper-lined baking sheet and immediately
sprinkle it generously with the crushed candy cane bits. Work quickly, as
the candy melts solidify fast. Continue this process for all cookies. - Allow the dipped cookies to set completely before serving or storing.
Notes
You can store these delicious cookies in an airtight container at room
temperature for up to 5 days. For longer storage, they can be frozen for up
to 3 months.
Nutrition information is automatically calculated, so should only be used as
an approximation.
Like these cookies?
Leave a comment
below!
Beyond the holiday season, I implore you: do not save your candy canes for next
year. They will inevitably turn into a sticky, unappetizing mess, especially
if you live in a humid environment. This recipe offers the perfect, delicious
solution to put those festive peppermint candies to good use right away!
Expert Tips for Perfect Chocolate Peppermint Crunch Slice and Bake Cookies
Achieving cookie perfection is all about paying attention to a few key details. As always, I’m here to share some invaluable tips to help you bake the best cookies imaginable:
- Ensure Uniform Sizing: This is perhaps the most crucial tip for slice and bake cookies. If your cookies are cut into varying sizes, they will not bake evenly. Some will be overdone, while others will be undercooked. Take your time and use a ruler if necessary to slice each cookie to approximately 1/2 inch thickness, ensuring consistent results across the entire batch.
- Never Overbake!: I cannot stress this enough – resist the urge to overbake your cookies. They might appear slightly soft in the center when you pull them from the oven, but they will continue to set and firm up as they cool on the baking sheet. Overbaking leads to dry, crumbly cookies, and we want a delightfully chewy texture. Trust the recommended baking time and the visual cues of slightly set edges.
- Speedy Dip and Sprinkle: When it comes to the final decorative step, timing is everything. Once you dip a cookie into the melted candy coating, immediately sprinkle it with the crushed peppermint candy canes. Candy melts, in particular, harden very quickly. If you hesitate or try to dip several cookies before sprinkling, the coating will set, and the peppermint bits won’t adhere properly, resulting in a less festive finish.
- Chill Thoroughly: The chilling period for the dough is not optional; it’s essential. Well-chilled dough is easier to slice cleanly, prevents excessive spreading in the oven, and allows the flavors to meld and deepen. For best results, aim for an overnight chill if possible.
- Room Temperature Ingredients: Ensure your butter and eggs are at proper room temperature. This allows them to cream together effectively, creating a smooth emulsion that traps air, leading to a lighter, more tender cookie. Cold ingredients don’t combine as well, affecting the final texture.

Creative Substitutions and Variations for Your Chocolate Peppermint Cookies
While this recipe is tried and true, there’s always room for personal touches and creative substitutions. Don’t be afraid to experiment and make these slice and bake chocolate cookies uniquely yours!
- Elevate Your White Chocolate Choice: If candy melts aren’t your preference, or you’re looking for a gourmet touch, feel free to use high-quality white chocolate. Remember, the quality of your chocolate will significantly impact the flavor. For best results, use a premium white chocolate couverture and temper it properly for a glossy, snappy finish. I’ve made these with good quality white chocolate before, and they truly create the best white chocolate cookie recipe, in my opinion!
- Any Peppermint Candy Works: While candy canes are synonymous with the holidays and offer a classic look, any peppermint-flavored hard candy can be used. Peppermint candies are readily available during the festive season, but if you’re making these at other times of the year and can’t find candy canes, simply opt for mint candies, peppermint discs, or even starlight mints. Just ensure they are crushed finely enough to sprinkle.
- A Hint of Peppermint Extract: For an even more intense peppermint flavor in the cookie dough itself, you can add 1/2 to 1 teaspoon of peppermint extract to the wet ingredients along with the vanilla. Adjust to your taste preference, as peppermint extract can be quite potent.
- Dark Chocolate Drizzle: Instead of, or in addition to, the white candy melt dip, consider a drizzle of melted dark chocolate over the set white chocolate. This adds another layer of chocolatey goodness and visual appeal.
- Sea Salt Flakes: A tiny sprinkle of flaky sea salt over the wet white chocolate dip can beautifully enhance the chocolate and peppermint flavors, adding a sophisticated contrast.
- Gluten-Free Option: For those with dietary restrictions, you can experiment with a 1:1 gluten-free all-purpose flour blend. Ensure the blend contains xanthan gum for structure.
Shop This Recipe: Essential Baking Aids
This article may contain some affiliate links, meaning, at no additional cost to you, I will earn a commission if you click through and make a purchase. These links help support the creation of delicious recipes like this one!
Loved This Recipe? Pin it for Later & Share the Sweetness!
If you’ve enjoyed making (and undoubtedly devouring!) these incredibly
chewy chocolate peppermint crunch cookies, don’t forget to save this recipe
for future baking inspiration. Pin it to your favorite holiday or dessert
boards on Pinterest so you can easily find it next time you’re craving a taste
of festive joy. And of course, share the sweetness with your friends and
family – everyone deserves a bite of these amazing slice and bake cookies!