Delightful Mini Cheesecakes with Nilla Wafers: Your New Go-To Bite-Sized Dessert
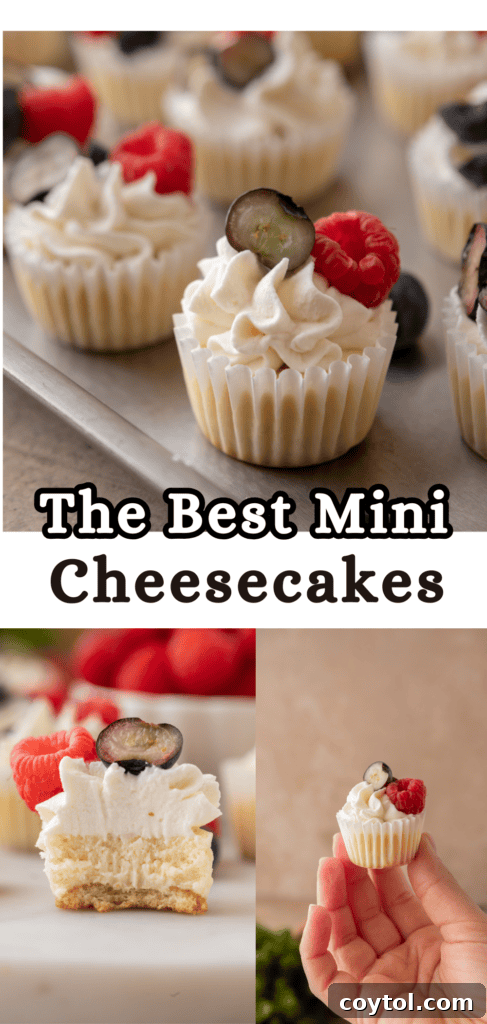
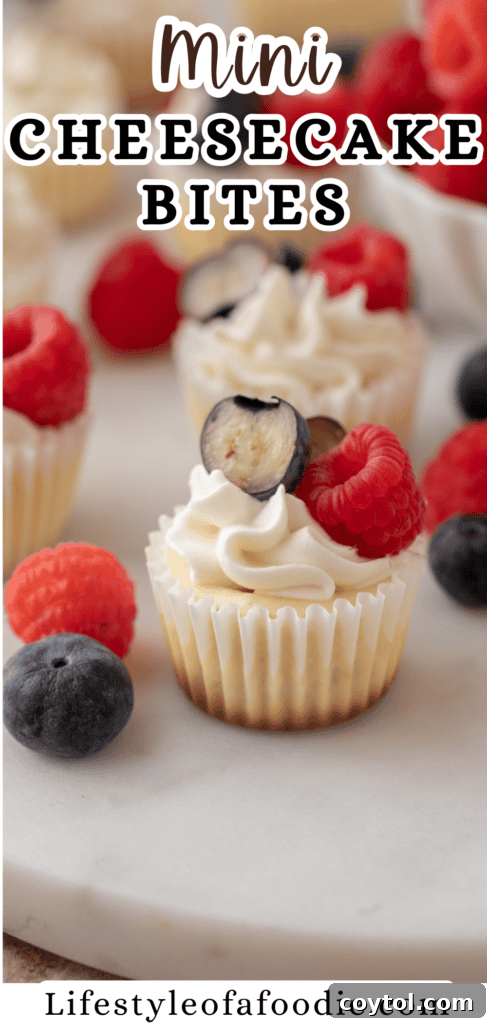
Craving a creamy, delightful dessert that’s perfectly portioned and incredibly easy to make? Look no further than these irresistible Mini Cheesecakes with Nilla Wafers! This recipe transforms classic cheesecake into a charming, bite-sized treat, featuring a simple yet luxurious blend of velvety cream cheese, a touch of sweetness, and a hint of vanilla, all nestled atop a crisp Nilla wafer crust. Whether you’re a seasoned baker or just starting out, this easy mini cheesecakes recipe promises a smooth texture, rich flavor, and an undeniably cute presentation that will impress everyone. Say goodbye to complicated water baths and cracked full-sized cheesecakes – these individual cheesecakes are designed for effortless baking and maximum enjoyment!
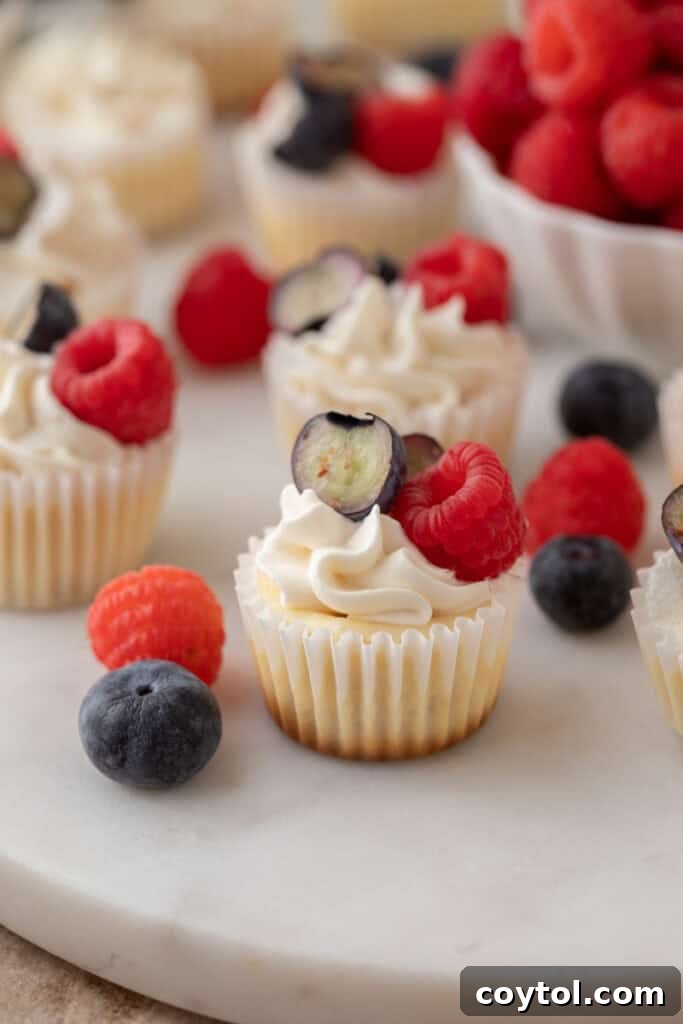
There’s a special kind of joy that comes with anything mini! From adorable miniature puppies (completely unrelated, but I’m obsessed!) to perfectly proportioned desserts, tiny treats just have a way of brightening our day. And when it comes to desserts, these individual mini cheesecakes are the absolute best! They offer all the rich, creamy goodness of a classic cheesecake in a convenient, charming package. You might remember my love for mini chocolate chip cookies and mini brownies, but these cheesecake bites truly take the crown for their elegance and simplicity.
These delightful mini cheesecakes are perfect for any occasion. Imagine serving them at your next party, bringing them to a family gathering, or simply enjoying them as a cozy, indulgent treat during a quiet night in. They chill beautifully in the refrigerator, making them an ideal make-ahead dessert. You can prepare them well in advance, giving you more time to relax before your event. Perfectly portioned, endlessly versatile, and always a crowd-plepleaser, this is one easy cheesecake recipe you’ll find yourself making again and again!
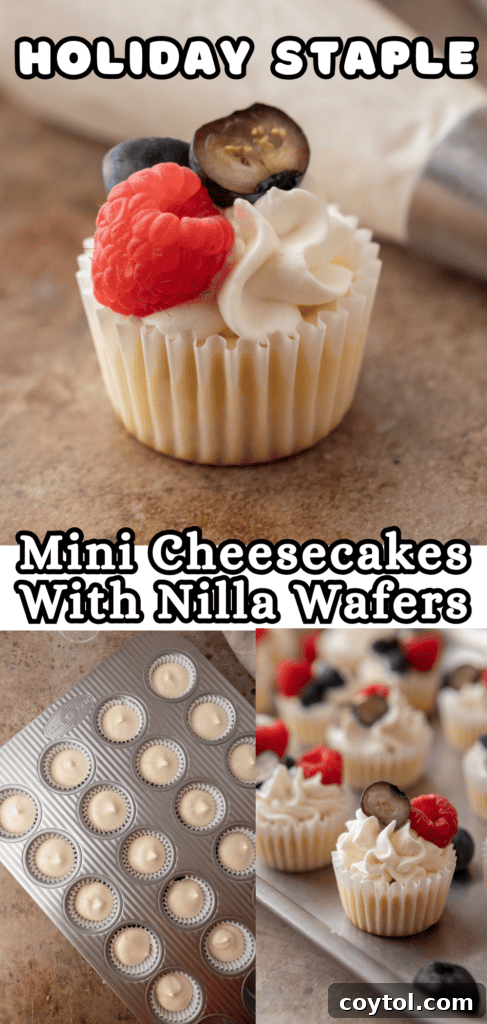
They shine particularly bright during the holiday season when you often desire a diverse spread of delicious options to truly “wow” your family and guests. Instead of a single large dessert, a platter of these mini cheesecakes allows everyone to enjoy a taste without feeling overwhelmed. Plus, their small size makes them incredibly easy to customize with different toppings, adding another layer of festive fun to your dessert table.
If you’re as big a fan of mini cheesecake recipes as I am, be sure to explore some of my other favorites: try the rich Mini Cheesecakes with Oreo Crust for a chocolatey twist, indulge in the decadent Chocolate Cheesecake Mini Recipe, or master the Creamy 4-inch Mini Cheesecake Recipe for a slightly larger but still personal-sized delight. Each recipe offers a unique flavor profile while maintaining that irresistible mini charm.
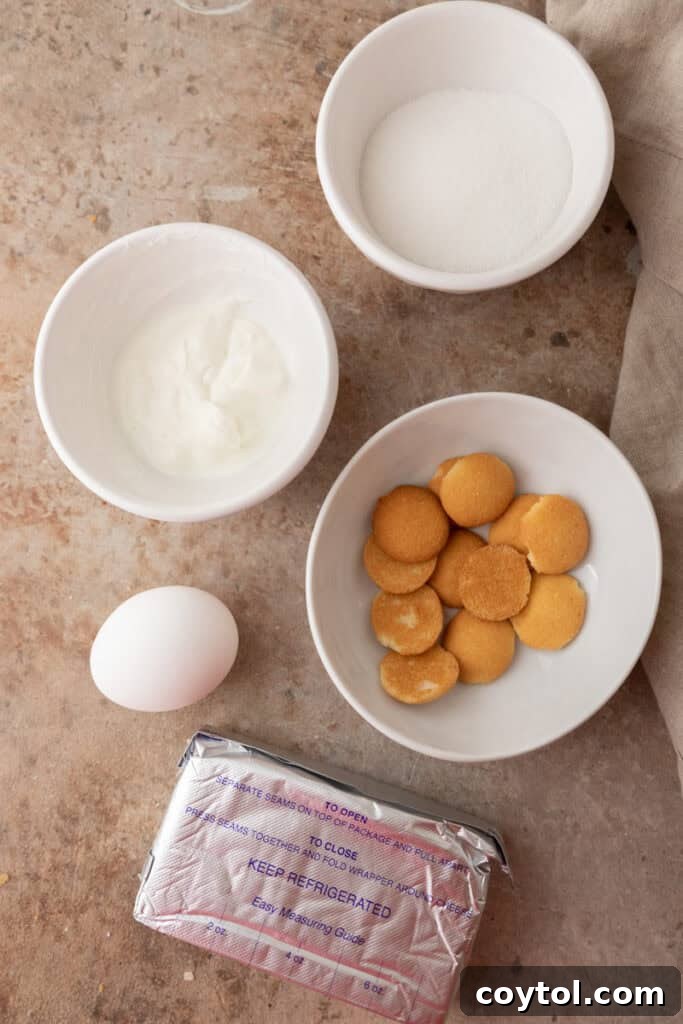
Essential Ingredients for Your Easy Mini Cheesecakes with Vanilla Wafer Cookies
Crafting these tiny treats requires just a handful of straightforward ingredients, ensuring a smooth, creamy, and flavorful result every time. For precise measurements, please refer to the detailed recipe card conveniently located at the bottom of this page. Let’s dive into what makes these mini cheesecakes so special:
- Full-fat Cream Cheese: This is the heart and soul of your cheesecake, providing its signature tang, richness, and incredibly smooth texture. For optimal mixing, ensure your cream cheese is softened to room temperature. Simply take it out of the fridge at least 30 minutes (or even an hour) before you plan to start baking. This prevents lumps and ensures a uniformly creamy batter.
- Granulated Sugar: Essential for sweetening the cheesecake mixture, balancing the tartness of the cream cheese and sour cream. You can adjust the amount slightly to suit your sweetness preference, but the recipe provides a perfect balance.
- Sour Cream: A secret weapon for cheesecake! Sour cream adds a delightful subtle tang and an extra layer of creaminess to the filling, enhancing its overall luxurious mouthfeel. Thanks to this, there’s no need to add lemon juice, as the sour cream provides that authentic, bright flavor.
- Vanilla Extract: A crucial flavor enhancer, vanilla brings warmth and depth to the cheesecake. For an elevated experience and visible vanilla specks, I highly recommend using vanilla bean paste if you have it on hand. The intensity of flavor it provides is truly exceptional.
- Large Egg: The binding agent! The egg helps set the cheesecake, ensuring it holds its shape beautifully while maintaining that desirable creamy consistency. It’s important not to overmix the egg into the batter, as this can introduce too much air, leading to cracks during baking.
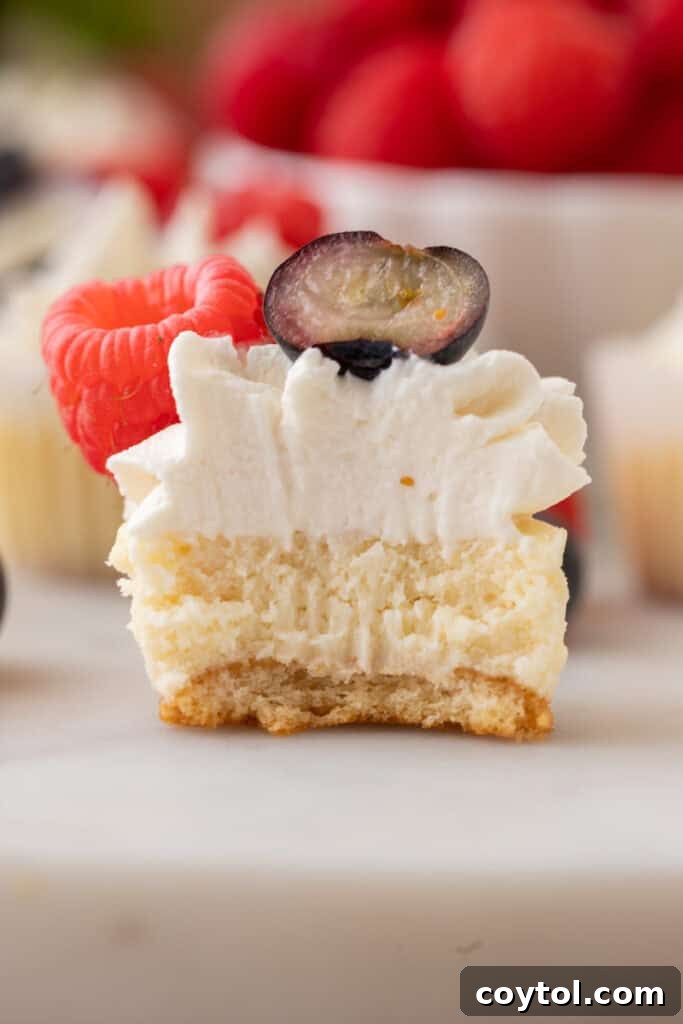
- Mini Nilla Wafers: These delightful cookies form the perfect crust for each mini cheesecake. Their light, sweet flavor complements the creamy filling beautifully, and their pre-portioned size means you don’t have to bother with making a cheesecake graham cracker crust from scratch. Simply pop one into each liner, and you’re good to go!
Recommended Equipment for Perfect Mini Cheesecakes
To ensure your mini cheesecakes achieve their ideal shape and texture, you will definitely need a mini muffin pan. This specialized pan is key to keeping the individual cheesecake fillings intact and beautifully formed.
I personally swear by my Flexipan Mini Muffin Silicone Mold. It’s a game-changer because silicone conducts heat so much more evenly than traditional metal pans. This even heat distribution is vital for preventing those dreaded cracks that often plague cheesecakes. Plus, the non-stick nature of silicone makes removal a breeze! You might even be able to use my discount code LOAF at checkout for a special saving!
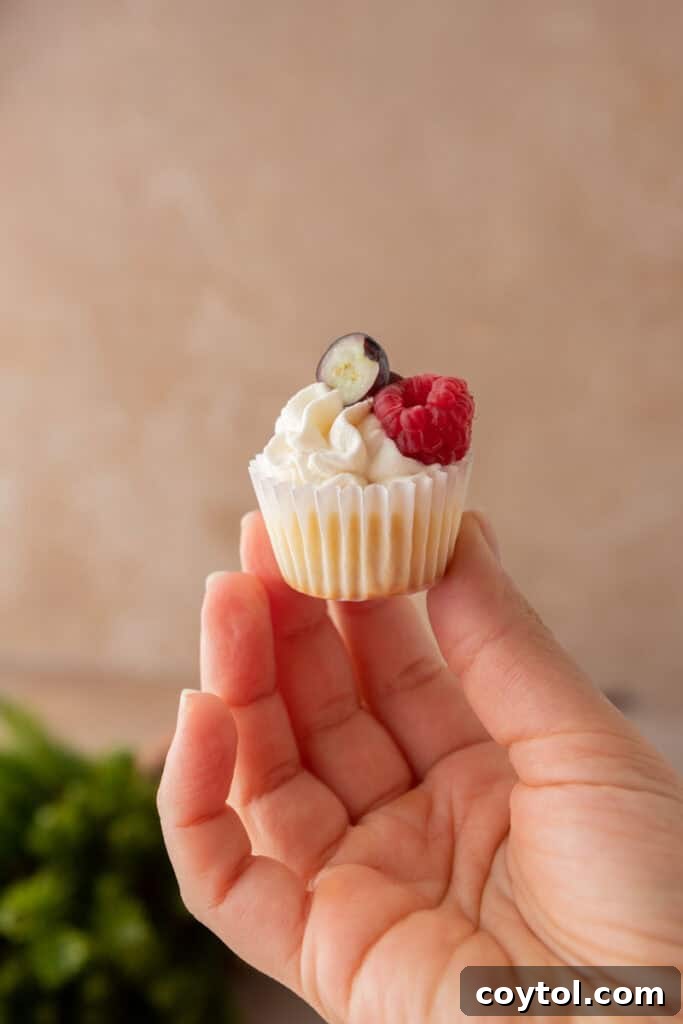
How To Make These Irresistible Mini Cheesecakes With Nilla Wafers
Creating these creamy, delicious mini cheesecakes is surprisingly simple, making them a fantastic project for any home baker. Follow these straightforward steps to achieve perfect results every time. Remember to consult the full recipe card at the end of this post for precise oven temperatures, bake times, and comprehensive instructions!
- Prepare Your Baking Setup: Begin by preheating your oven to the specified temperature (check the recipe card!). Then, line 34 mini muffin tin cavities with mini cupcake liners. Depending on the size of your pan, you may need two 24-cavity muffin tins to accommodate all the liners. Ensure the liners fit snugly to prevent the cheesecakes from spreading.
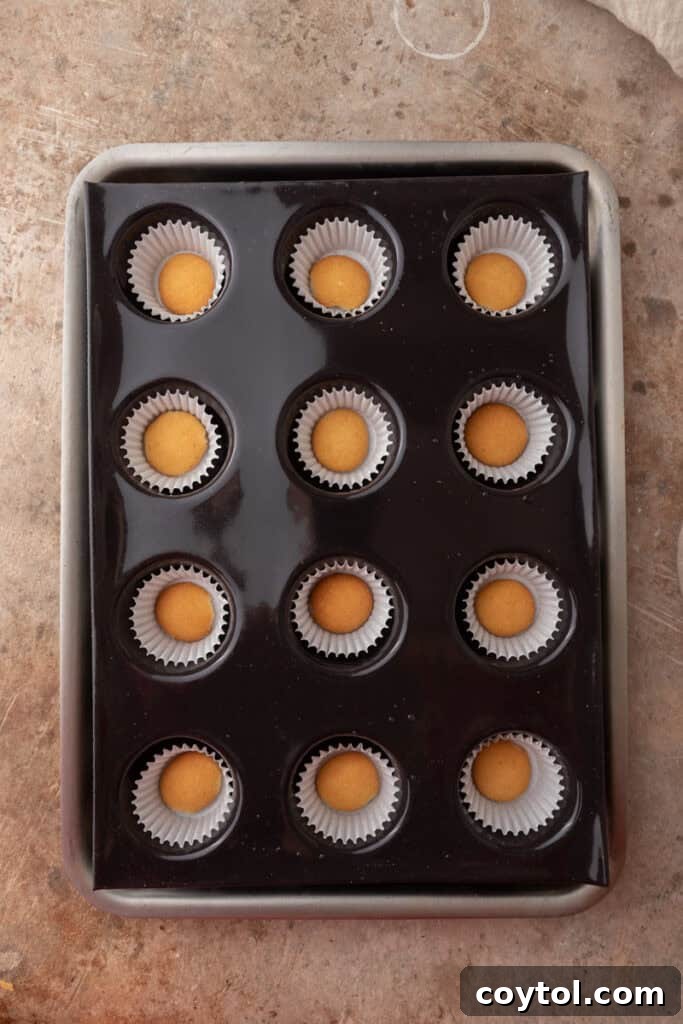
- Lay the Foundation: Place a single mini Nilla wafer at the bottom of each prepared muffin cup. These wafers will become the delightful, crunchy crust for your individual cheesecakes, providing a sweet base without any extra effort.
- Creamy Filling Base: In a spacious mixing bowl, use an electric mixer to beat the softened cream cheese until it’s wonderfully smooth and completely free of lumps. This is a crucial step for a silky-smooth cheesecake texture.
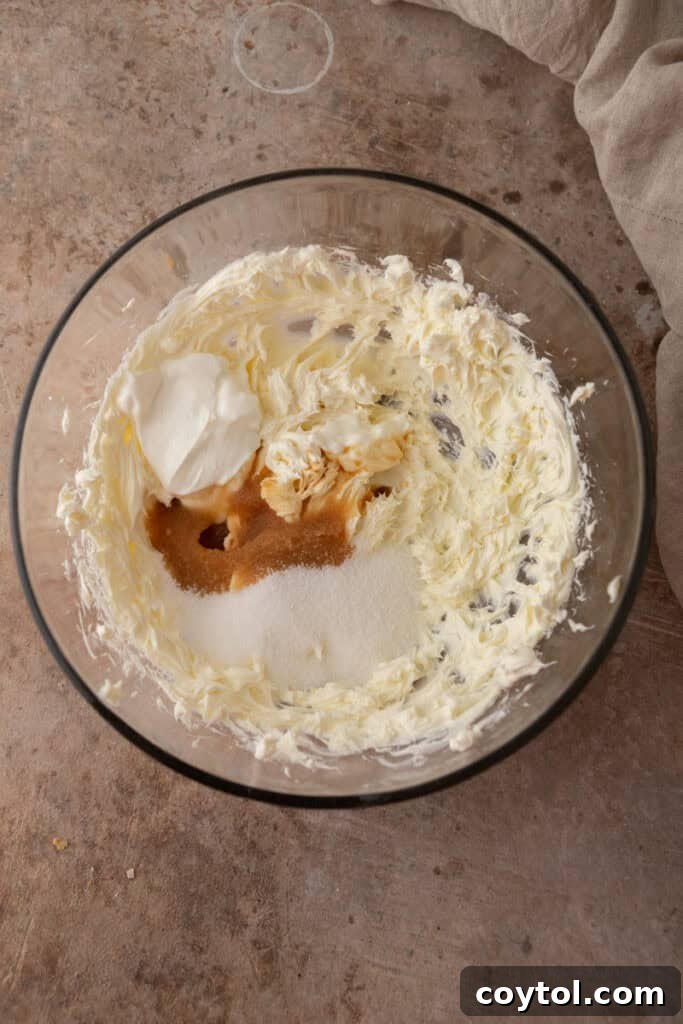
- Add Sweetness and Tang: Incorporate the granulated sugar, sour cream, and vanilla extract into the cream cheese mixture. Continue beating with your electric mixer until all these ingredients are thoroughly combined and the batter is homogeneous and creamy. Avoid overmixing at this stage.
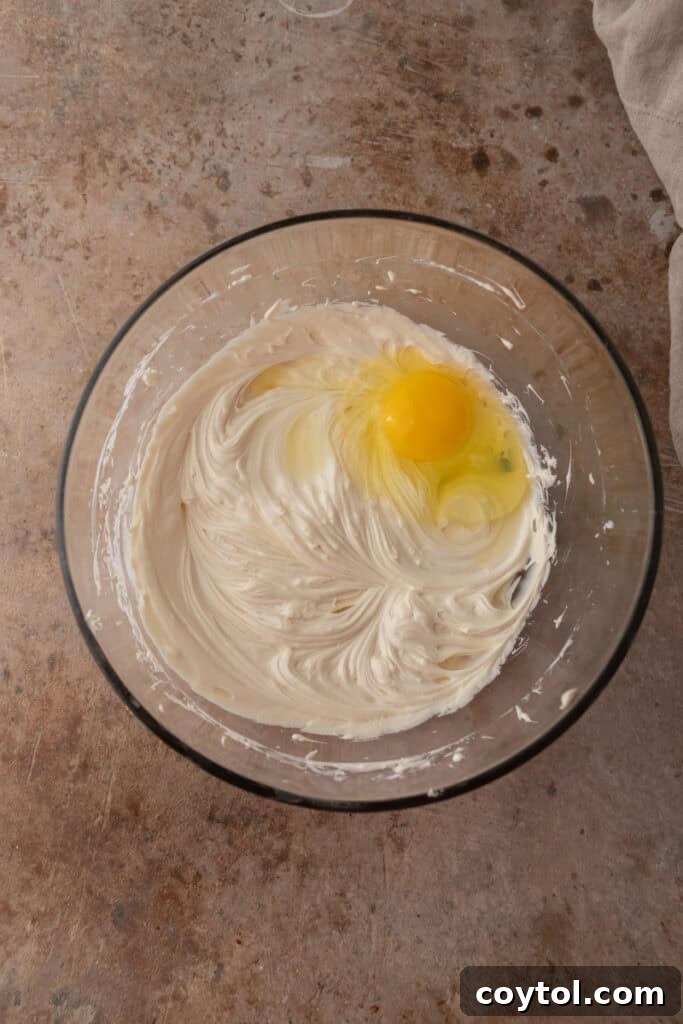
- Introduce the Egg: Gently add the large egg to the mixture. Beat just until the egg is fully incorporated into the batter. It’s very important not to over-mix once the egg is added, as excessive beating can introduce too much air, leading to potential cracks in your finished cheesecakes.
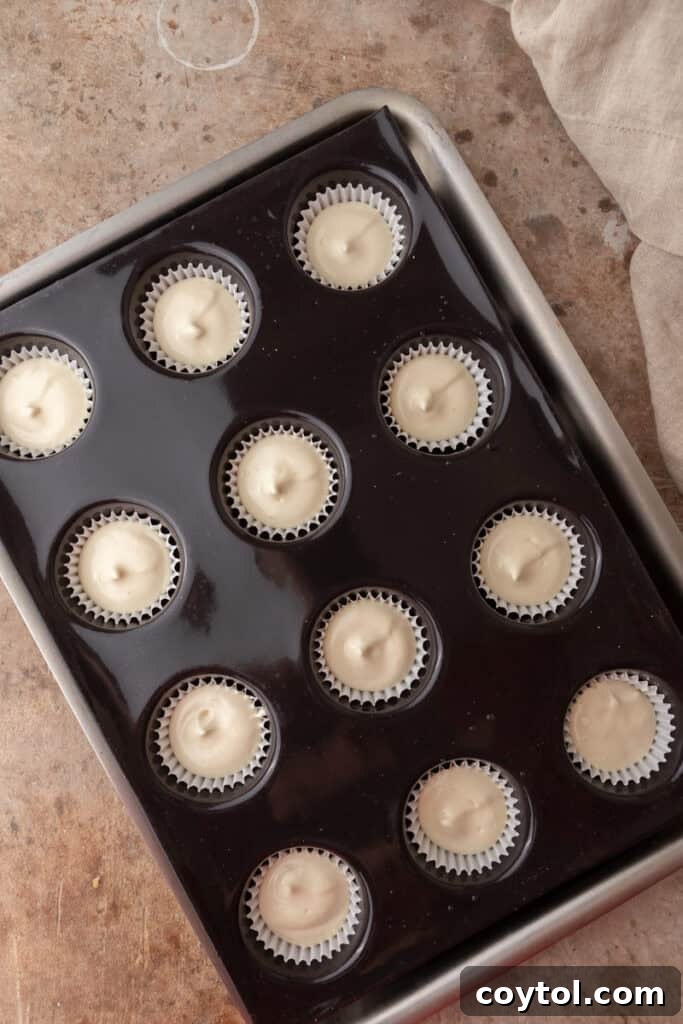
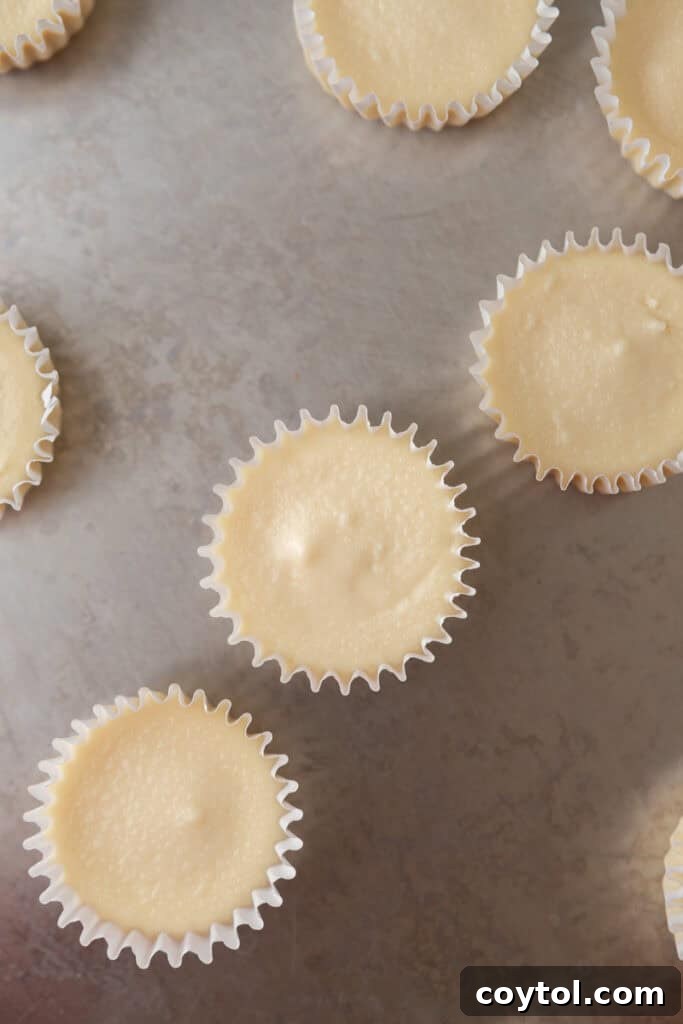
- Portion the Batter: Spoon the creamy cheesecake filling evenly over each Nilla wafer, filling each mini cupcake liner approximately 3/4 of the way full. For a neater and more professional finish, you might find it easier to use a piping bag to dispense the batter into the cups. This ensures uniform portions and prevents messy edges.
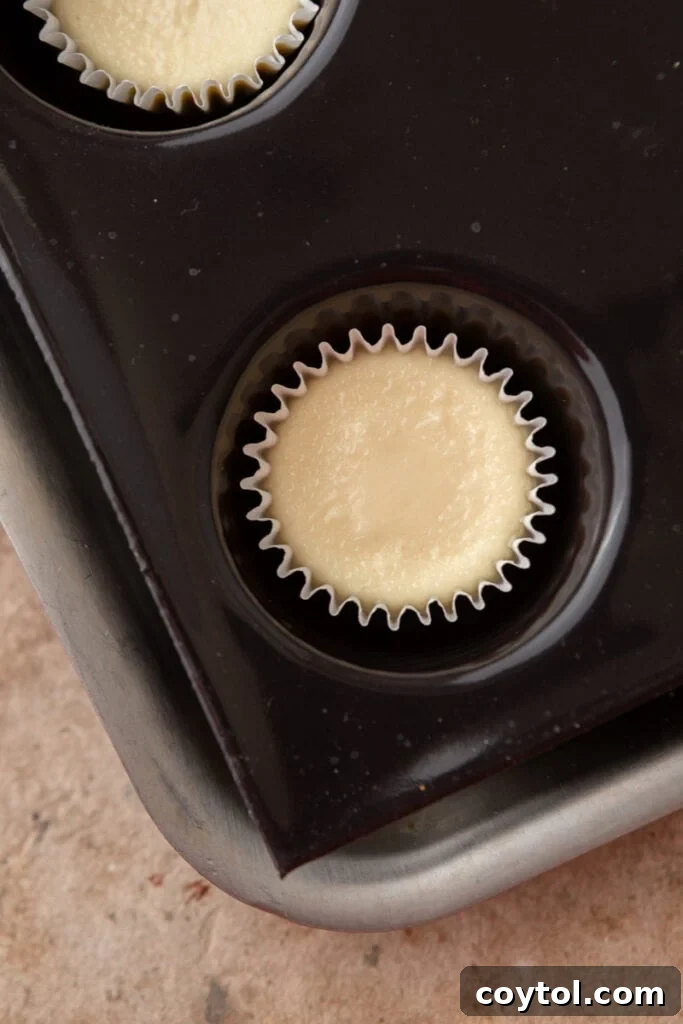
- Bake to Perfection: Carefully place the muffin tins in the preheated oven and bake for the recommended time (refer to the recipe card for specifics). Bake until the centers of the cheesecakes are just set. They should still have a slight, delicate jiggle in the center when gently tapped, which indicates they are perfectly cooked and will be beautifully creamy once chilled.
- Cooling Process: Once baked, remove the muffin tins from the oven. Allow the individual mini cheesecakes to cool in the tin for about 10 minutes. This allows them to firm up slightly before handling.
- Final Chill: After the initial cooling, carefully transfer the mini cheesecakes to a wire rack to cool completely to room temperature. Once cooled, place them in the refrigerator for at least 2 hours, or until they are thoroughly chilled. This chilling time is essential for the cheesecake to fully set and for its flavors to meld beautifully.
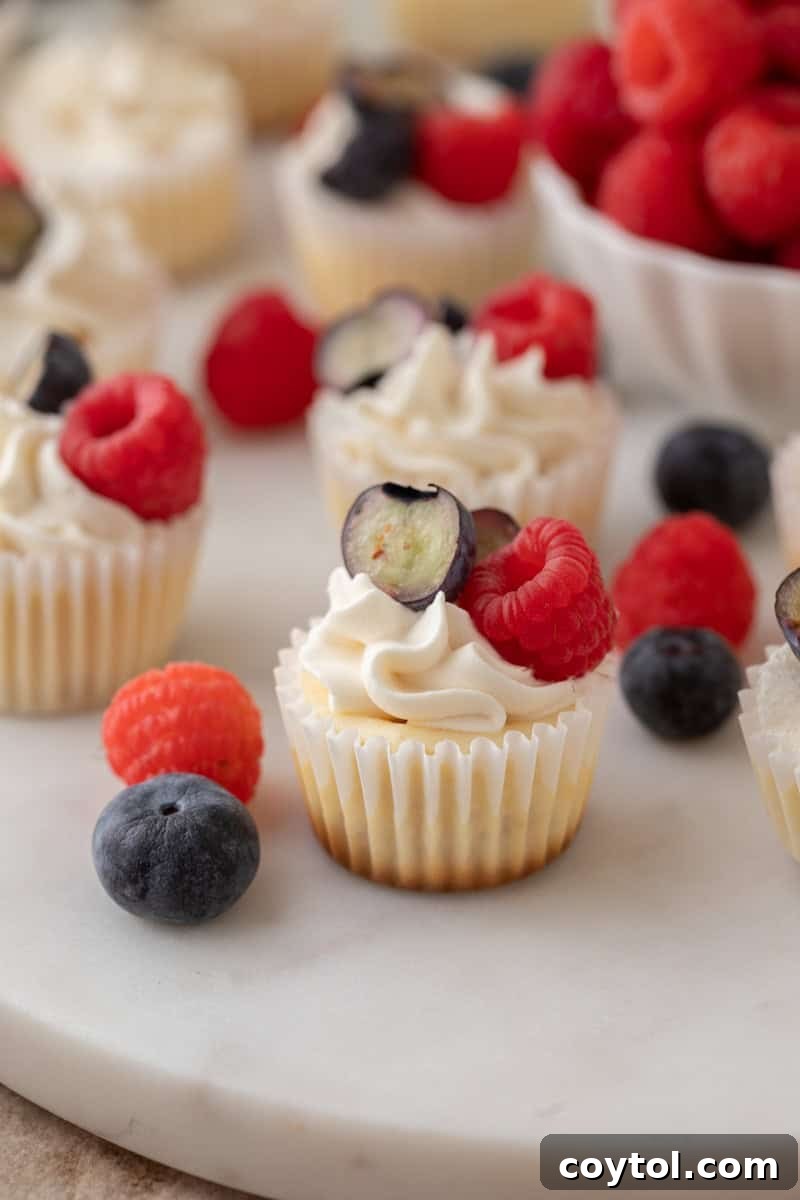
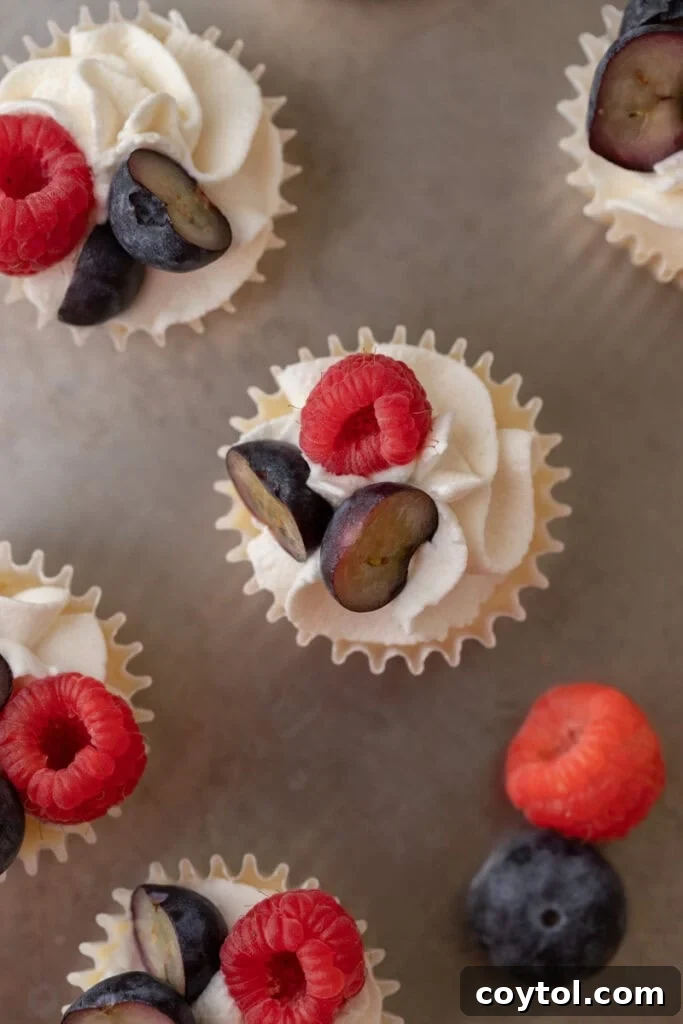
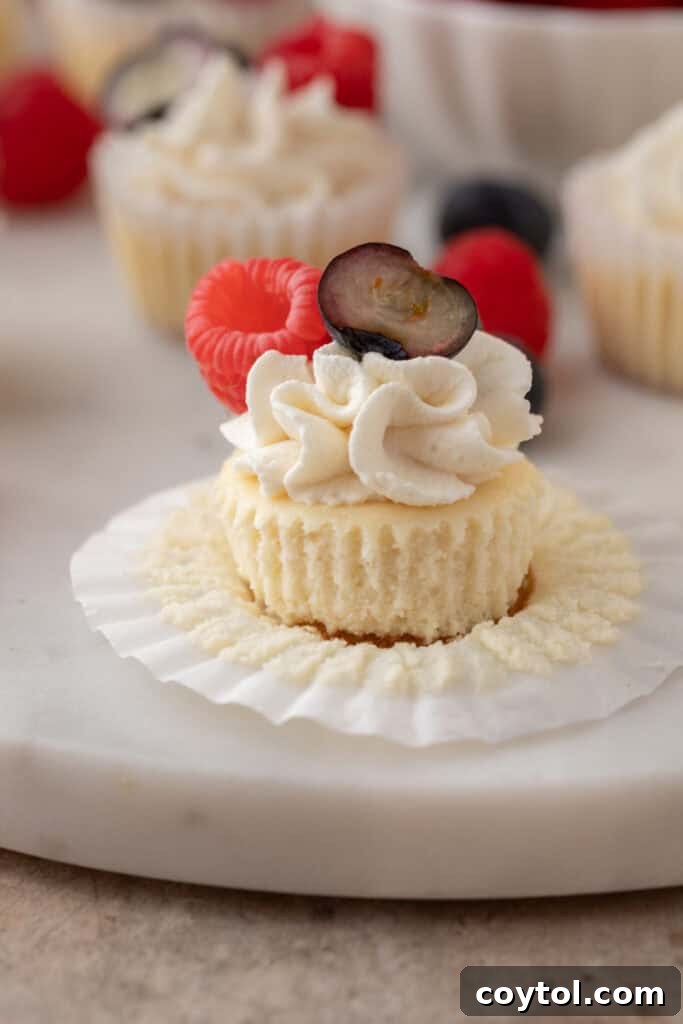
- Serve and Enjoy: These mini cheesecakes are absolutely delicious enjoyed as they are, showcasing their pure, creamy vanilla flavor. However, they are also a fantastic canvas for various toppings! Consider fresh fruit, a dollop of whipped cream, a spoonful of cherry or blueberry pie filling for a classic touch, or a decadent drizzle of chocolate syrup.
Why You Absolutely Need to Make This Easy Mini Cheesecake Recipe!
If you’re still contemplating whether to whip up a batch of these glorious mini cheesecakes, let me give you a few compelling reasons why this recipe deserves a permanent spot in your dessert repertoire:
- A Dream Come True for Cheesecake Lovers: This recipe delivers all the rich, decadent flavor of a classic cheesecake in a convenient, charming format. It’s the ultimate indulgence for anyone who adores creamy, tangy, and subtly sweet desserts.
- Perfect for Any Gathering: These individual servings are an absolute showstopper for special occasions, holiday parties, potlucks, or even a simple brunch. Their neat, self-contained presentation makes them easy to serve, eliminating the need for cutting and plating a large cheesecake.
- Master of Portion Control: Craving something sweet but don’t want to overdo it? Bite-sized desserts like these mini cheesecakes are ideal for portion control. You can enjoy a satisfying treat without the guilt, or offer variety without excess.
- Unbeatable Texture and Customization: Experience the silkiest, creamiest cheesecake filling combined with the delightful crunch of the Nilla wafer crust. Beyond their amazing texture, these cheesecakes are a blank canvas for customization. From fresh berries to chocolate drizzles, the topping possibilities are endless, allowing you to tailor them to any taste or theme.
- Stress-Free Baking: Unlike traditional cheesecakes that often require water baths and can be prone to cracking, these mini versions are much more forgiving. The simplicity of the Nilla wafer crust further streamlines the process, making it an easy cheesecake recipe even for beginners.
Frequently Asked Questions – FAQ About Mini Cheesecakes
Got questions about perfecting your mini cheesecakes? Here are some common queries and helpful answers to ensure your baking experience is a sweet success!
What are the best toppings for mini cheesecakes?
The beauty of these mini cheesecakes is their versatility when it comes to toppings! You can get incredibly creative. For a fresh and vibrant touch, consider piling on fresh berries like strawberries, blueberries, raspberries, or a mix of all three. A dollop of homemade or store-bought whipped cream adds a light, airy contrast. For something more indulgent, a drizzle of caramel sauce or rich chocolate syrup works wonders. And if you’re a fan of classic fruit desserts, a spoonful of cherry pie filling can transform them into delightful mini cherry cheesecake bites, or blueberry pie filling for a tangy alternative!
What flavors can I add to the cheesecake filling?
While classic vanilla is undeniably delicious, you can easily experiment with different flavorings to customize your mini cheesecakes. A touch of almond extract pairs beautifully with the vanilla already present, adding a sophisticated nutty note. For a bright and zesty twist, try adding lemon extract along with some fresh lemon zest – this will make your filling taste incredibly fresh and citrusy. Another fun and popular twist is to mix in a handful of mini chocolate chips into the batter before baking for a delicious mini chocolate chip cheesecake vibe. You could also swirl in a spoonful of fruit puree (like raspberry or strawberry) for a marbling effect and fruity flavor.
Can I use a different cookie for the crust of my mini cheesecakes?
Absolutely! The Nilla wafer crust is fantastic for its simplicity and taste, but feel free to get creative. Graham cracker crumbs, crushed Oreo cookies (for a chocolatey take), or even shortbread cookie crumbs can work wonderfully as alternatives. If you’re using whole cookies, make sure they are the mini versions to fit the cupcake liners easily. Otherwise, you’ll need to crush your chosen cookies into fine crumbs, mix them with a small amount of melted butter (typically 1-2 tablespoons per cup of crumbs), press this mixture firmly into the bottom of each cupcake liner, and then pre-bake the crust for about 5-8 minutes before adding your cheesecake batter. This pre-baking step helps create a sturdy, flavorful crust.
What if I don’t have a mini muffin tin?
While a mini muffin tin is highly recommended for consistent shaping and ease of baking, you can still make these mini cheesecakes without one. You’ll need to use sturdy paper baking cups or silicone cupcake liners. Place these individual cups on a flat baking sheet to provide support. Ensure they are on a level surface in the oven. Just be extra cautious when placing them in and removing them from the oven, as they won’t have the structural support of a muffin tin. They might spread a little more, but they’ll still taste amazing!
How do I store these Mini Cheesecakes with Vanilla Wafers?
Proper storage is key to keeping your mini cheesecakes fresh and delicious. Once they are completely chilled, transfer any leftover cheesecakes to an airtight container. Store them in the refrigerator, where they will maintain their quality for at least 3 to 4 days. Keep in mind that the longer they sit, the softer the Nilla wafer crust might become, but the creamy filling will remain delightful, and they will still taste absolutely amazing regardless!
Can I freeze them?
Yes, absolutely! Freezing these mini cheesecakes is a fantastic way to extend their shelf life and have a delicious treat ready whenever a craving strikes. Once your cheesecakes are fully cooled and chilled from the refrigerator, arrange them in a single layer on a baking sheet. Place the baking sheet in the freezer until the cheesecakes are solid (this prevents them from sticking together). Once frozen solid, transfer them to an airtight container or wrap each cheesecake individually in plastic wrap before placing them in an airtight freezer-safe bag or container. This method ensures maximum freshness and prevents freezer burn. When you’re ready to enjoy them, simply thaw the cheesecakes in the refrigerator overnight or for several hours until soft enough to eat. They’ll taste just as good as freshly made!
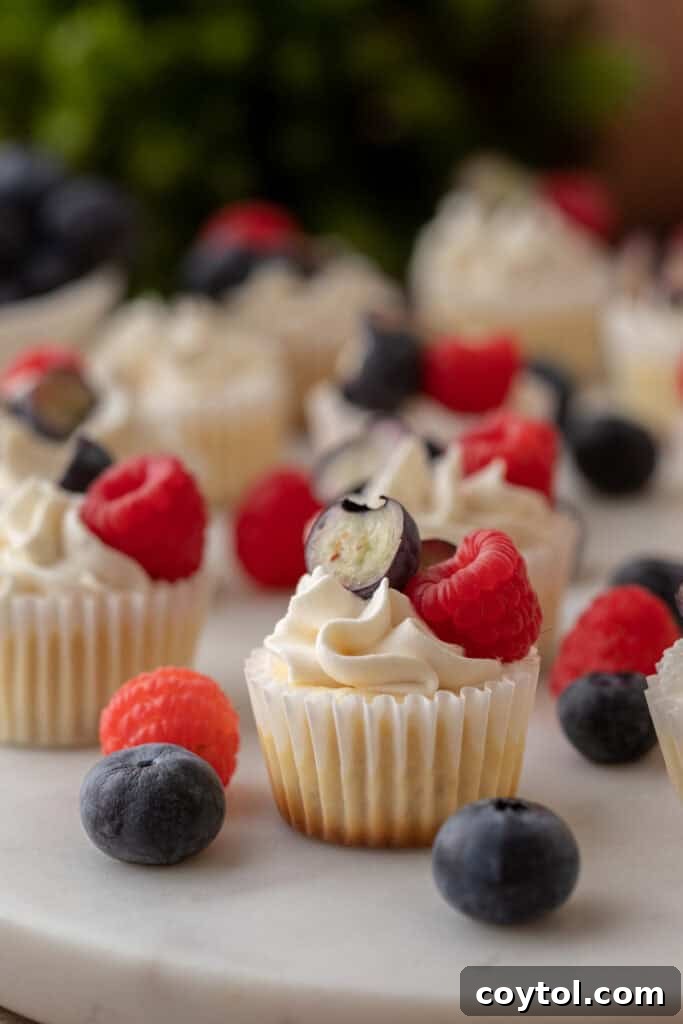
The Best Mini Cheesecakes with Nilla Wafers
Mini Nilla Wafer Cheesecakes
Print Recipe
Ingredients
- 1 package (8 oz) cream cheese, softened
- 1/3 cup granulated sugar
- 3 tablespoons sour cream
- 1 teaspoon vanilla extract
- 1 large egg
- 34 Mini Nilla wafers
Instructions
-
Preheat the oven to 325°F (160°C) and line 34 mini muffin tin cavities with mini cupcake liners. You’ll likely need two 24-cavity muffin tins to accommodate all the liners.
-
Place one Mini Nilla wafer at the bottom of each cupcake liner to form the crust for each mini cheesecake.
-
In a large mixing bowl, beat the softened cream cheese with an electric mixer until it is completely smooth and creamy.
-
Add the granulated sugar, sour cream, and vanilla extract. Continue beating until all ingredients are well combined and the mixture is uniform.
-
Add the large egg and beat on low speed just until it is incorporated into the batter. Be careful not to overmix, as this can introduce too much air.
-
Spoon the cheesecake batter evenly over each Nilla wafer, filling each cup about 3/4 of the way full. For a cleaner finish, you can use a piping bag.
-
Bake for 14-17 minutes, or until the centers of the cheesecakes are just set and slightly puffy. A slight jiggle in the center is perfectly fine.
-
Allow the cheesecakes to cool in the muffin tin for about 10 minutes, then carefully transfer them to a wire rack to cool completely to room temperature.
-
Once fully cooled, refrigerate the mini cheesecakes for at least 2 hours, or until they are completely chilled and firm.
-
Enjoy them as they are, or customize with your favorite toppings such as fresh fruit, whipped cream, cherry or blueberry pie filling, or a delicious drizzle of chocolate!
Notes
Nutrition
Nutrition information is automatically calculated and should be used as an approximation only.
If You Enjoyed This Mini Cheesecakes with Vanilla Wafers Recipe, Make Sure to Pin it for Later!
Loved creating and tasting these delightful mini cheesecakes? Don’t let this fantastic recipe get lost! Make sure to save it for future baking adventures or share it with friends and family. Pinning this recipe helps others discover it too, spreading the joy of these easy and delicious bite-sized treats. It’s the perfect addition to any dessert board or party menu!