
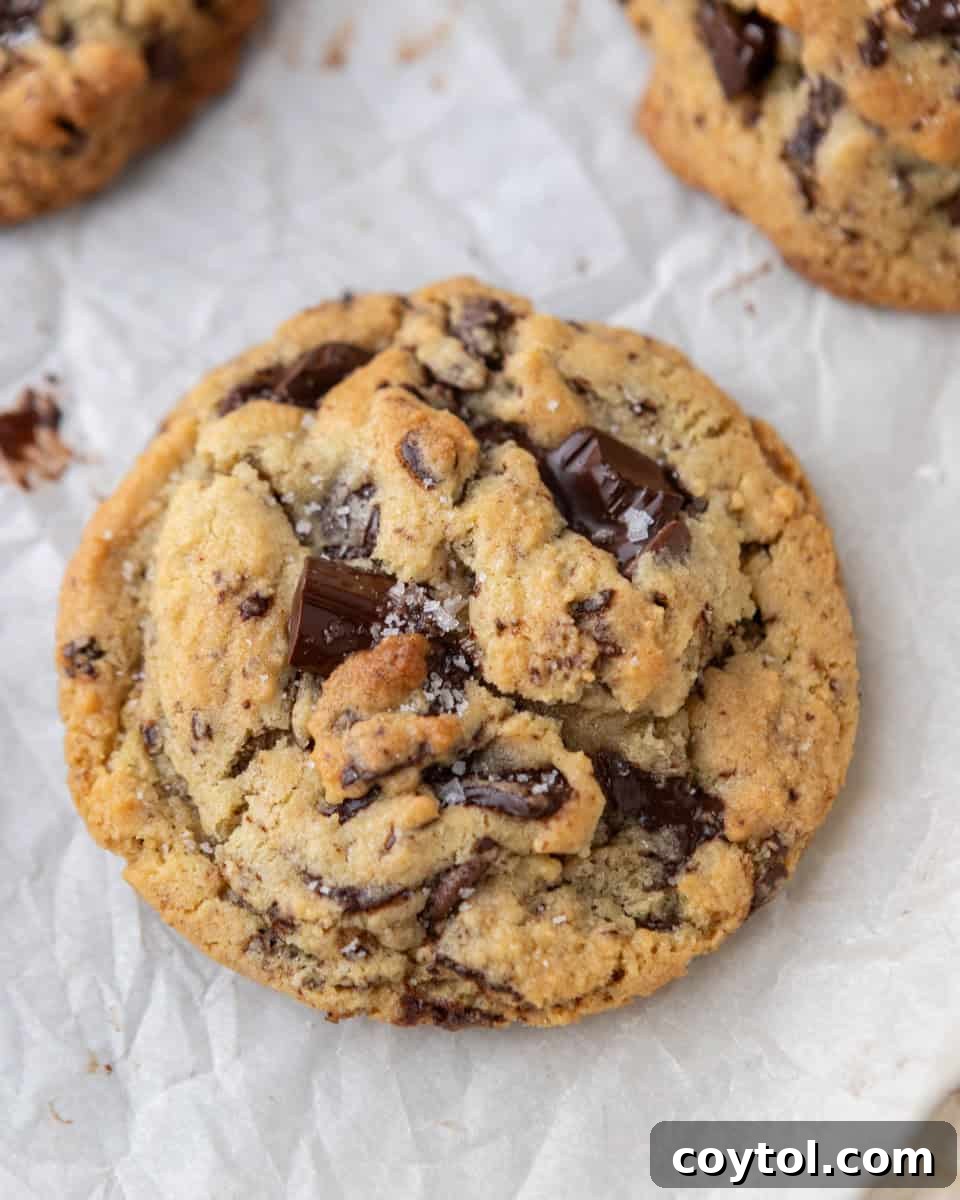
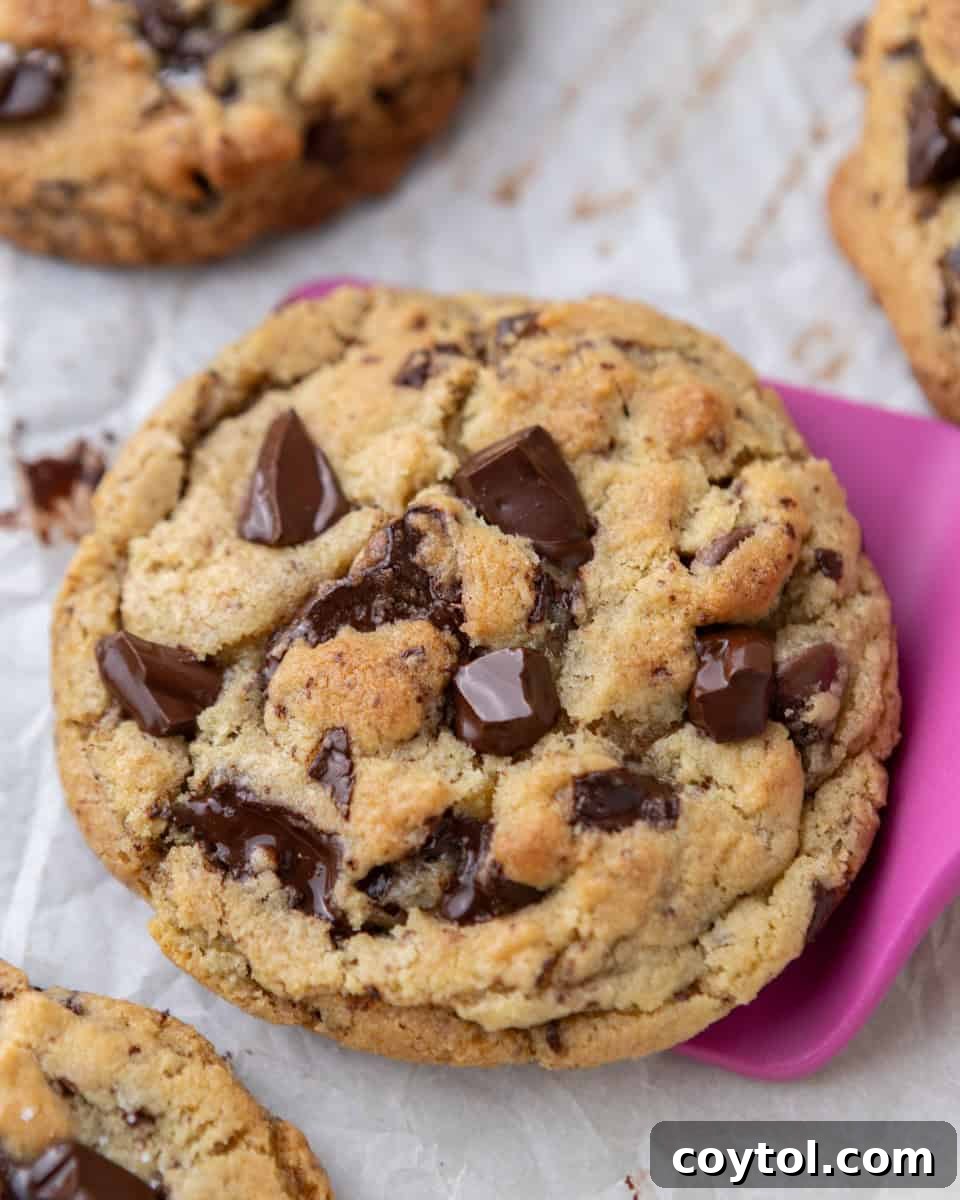
Welcome to the ultimate guide for crafting the most delectable **cream cheese chocolate chip cookies** you’ve ever tasted! These aren’t just any cookies; they are a culinary revelation, boasting a perfect symphony of textures and flavors. Imagine: a cookie with a sumptuously soft and irresistibly chewy interior, generous thick centers, and delicate, lightly crisp edges. The secret to this bakery-style perfection lies in a distinctive blend of cream cheese and extra egg yolks added to the classic chocolate chip cookie dough. This unique combination ensures a rich, tender crumb that avoids becoming cakey or overly sweet, setting these cookies apart from the rest.
Our meticulously developed recipe has undergone rigorous testing, exploring various ingredient ratios and baking techniques to achieve the ideal balance of spread, structure, and depth of flavor. Whether you prefer baking on parchment paper for a slightly wider, flatter cookie or a silicone baking mat for a marginally thicker result, these cookies consistently bake evenly, hold their exquisite shape, and remain wonderfully soft long after they’ve cooled. Prepare to elevate your cookie baking game and impress everyone with these truly extraordinary treats.
For those who adore innovative cookie creations, be sure to explore our recipes for cheesecake stuffed chocolate chip cookies and brown butter chocolate chip cookies.
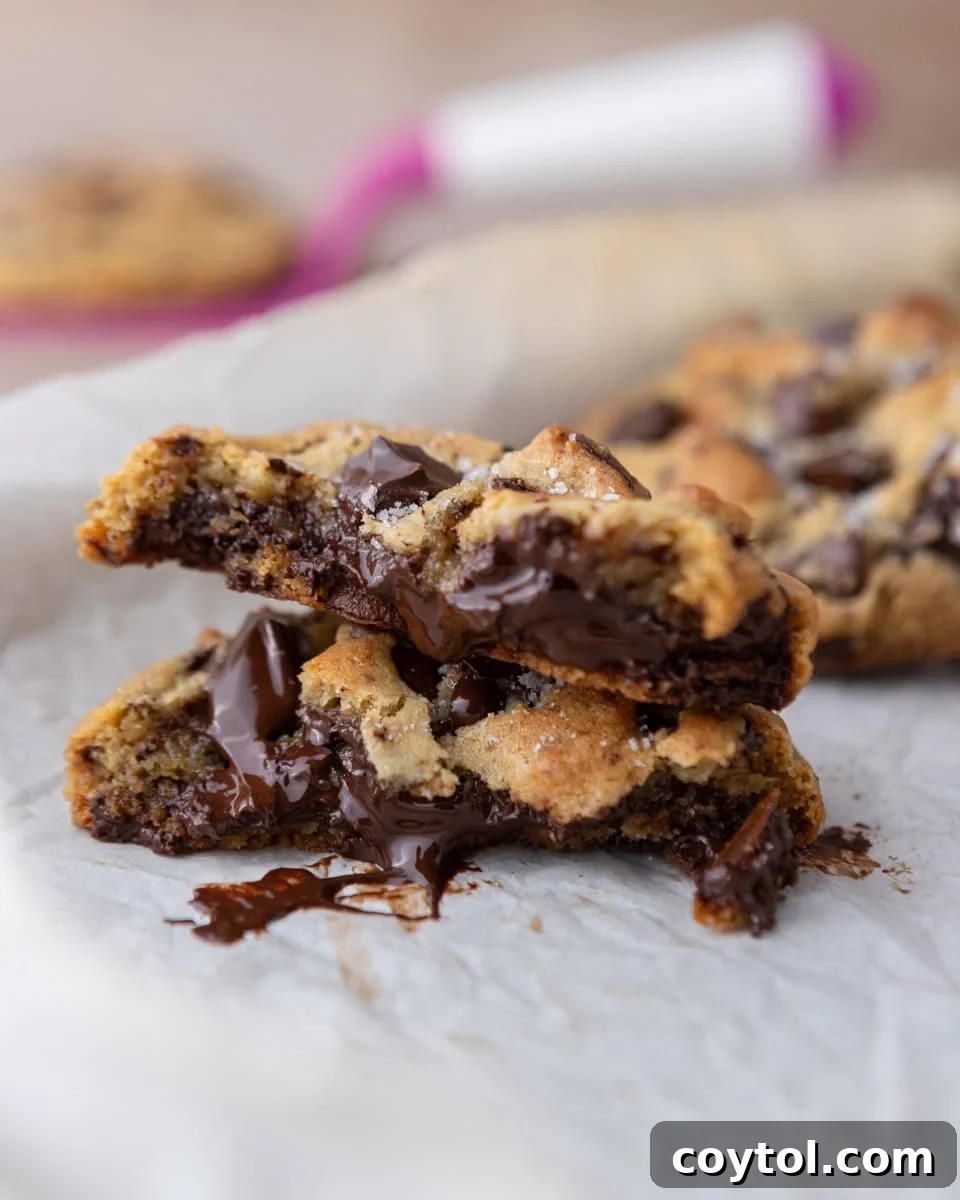
The Magic of Cream Cheese in Chocolate Chip Cookies
Integrating cream cheese into chocolate chip cookie dough is a game-changer, fundamentally transforming the texture and flavor profile. Cream cheese introduces a luxurious moisture and profound richness that butter alone cannot achieve, all without making the dough heavy or dense. When cream cheese is creamed together with butter and sugars, it forms an exceptionally smooth, cohesive base. This emulsified foundation is key to how the cookies maintain their moisture during the baking process, preventing them from drying out.
Unlike many recipes that attempt to achieve softness by increasing flour content, which can lead to a dry or crumbly texture, cream cheese naturally enhances the cookie’s structure. The result is a batch of exceptionally soft, almost melt-in-your-mouth cream cheese chocolate chip cookies, distinguished by their tender crumb and a beautifully balanced flavor that hints at a subtle tang, perfectly complementing the sweetness of the chocolate.
Why This Recipe Relies on Egg Yolks for Superior Texture
Our recipe intentionally deviates from using whole eggs, opting instead for egg yolks. This seemingly small adjustment has a significant impact on the final cookie texture. Egg yolks are concentrated sources of fat and natural emulsifiers, which are crucial for achieving that coveted chewy, rich consistency. The additional fat from the yolks contributes to a moist, tender crumb, while the emulsifiers help bind the ingredients more effectively, creating a smoother, more uniform dough.
Furthermore, by excluding the egg whites, we limit excess moisture in the dough. Egg whites primarily contribute water and protein, which can lead to a more cake-like texture and excessive puffing during baking. By using only yolks, we ensure that the cookies spread evenly and maintain a desirable thickness, rather than puffing up excessively and retaining an unwanted dome shape. For optimal blending and the smoothest dough, always ensure your egg yolks are at room temperature before incorporating them into the butter and cream cheese mixture.
Essential Ingredients for Unforgettable Cookies
Every ingredient in this recipe plays a vital role in creating these extraordinary cream cheese chocolate chip cookies. Understanding the function of each component will help you appreciate the science and artistry behind baking perfection.
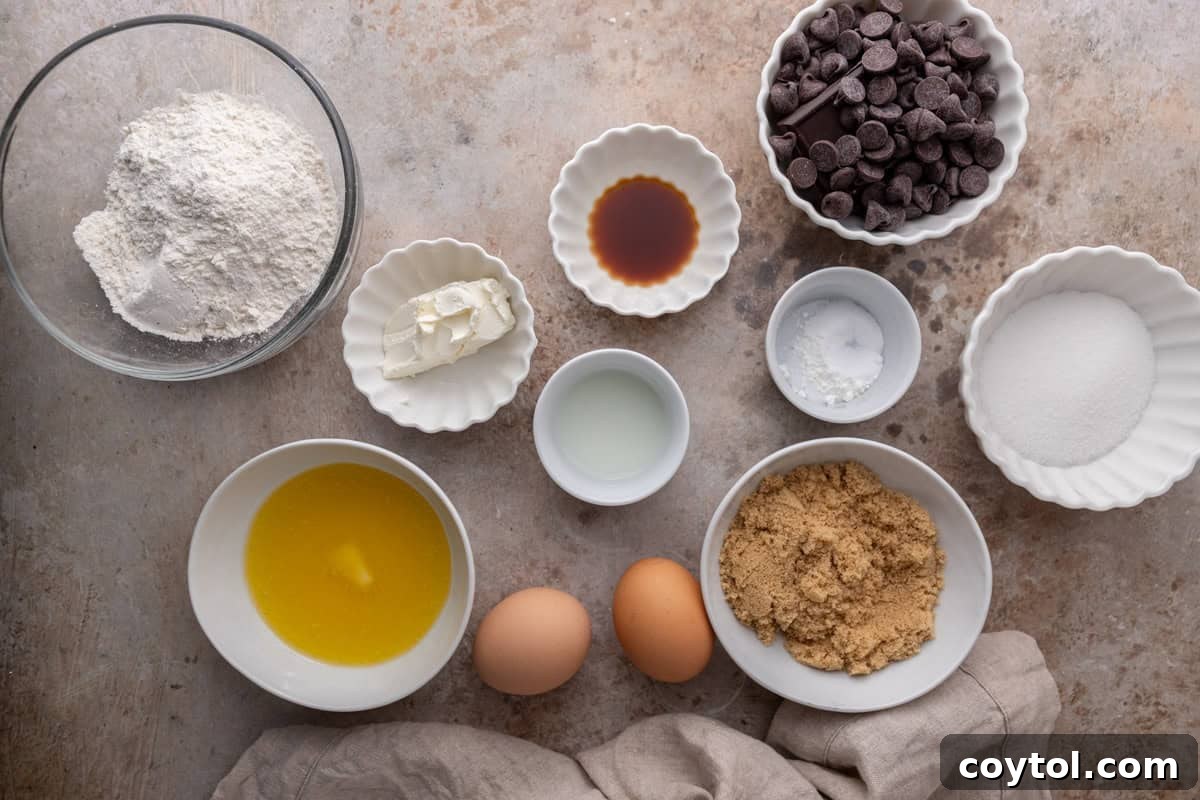
- Cream Cheese: The star ingredient, adding unparalleled richness, moisture, and a subtle tang that elevates the cookie’s flavor profile and keeps them incredibly tender. Use full-fat brick cream cheese for the best results, ensuring it’s softened to room temperature for smooth incorporation.
- All-Purpose Flour: Provides the necessary structure to hold the cookies together while allowing for the perfect amount of spread, creating those appealing crinkly edges. Proper measurement (spooned and leveled) is crucial to avoid dry, dense cookies.
- Cornstarch: A secret weapon for enhancing tenderness. Cornstarch helps soften the gluten in the flour, resulting in a wonderfully delicate and tender texture that resists dryness. It also contributes to the cookies maintaining their soft batch quality for days.
- Light Brown Sugar: Essential for both moisture and a deeper, more complex flavor. The molasses in brown sugar keeps the cookies soft and chewy, imparting a rich, caramel-like sweetness that granulated sugar alone cannot provide.
- Granulated Sugar: Works in conjunction with brown sugar to achieve the desired texture and sweetness. It contributes to crisp edges and aids in the overall spread of the cookie.
- Chocolate Chips or Chunks: The heart of any chocolate chip cookie. Use high-quality semi-sweet or dark chocolate for the best flavor. Chunks create beautiful pockets of gooey, melted chocolate throughout the cookie, while chips distribute more evenly. Consider a mix for varied texture.
- Vanilla Extract: A fundamental flavor enhancer. Pure vanilla extract deepens the overall taste of the cookies, complementing the chocolate and butter notes without overpowering them.
- Baking Soda: The leavening agent that helps the cookies rise and spread. When activated by the acidic cream cheese and brown sugar, it creates carbon dioxide bubbles, contributing to the cookies’ characteristic soft, puffy centers and crinkly tops.
- Salt: A critical ingredient for balancing sweetness and enhancing all other flavors. It prevents the cookies from tasting overly saccharine and brings out the best in the chocolate and butter. A sprinkle of flaky sea salt on top after baking can add a gourmet touch and a delightful textural contrast.
When combining the dry ingredients with the wet, remember to fold them gently. Overmixing the dough can develop the gluten too much, leading to tough cookies. Stir just until no streaks of flour remain, ensuring a tender, soft result.
Crafting Your Cream Cheese Chocolate Chip Cookies: A Step-by-Step Guide
This recipe is designed for ease and efficiency, often requiring just one bowl for the main mixing, minimizing cleanup. Follow these simple steps to create your perfect batch of cookies.
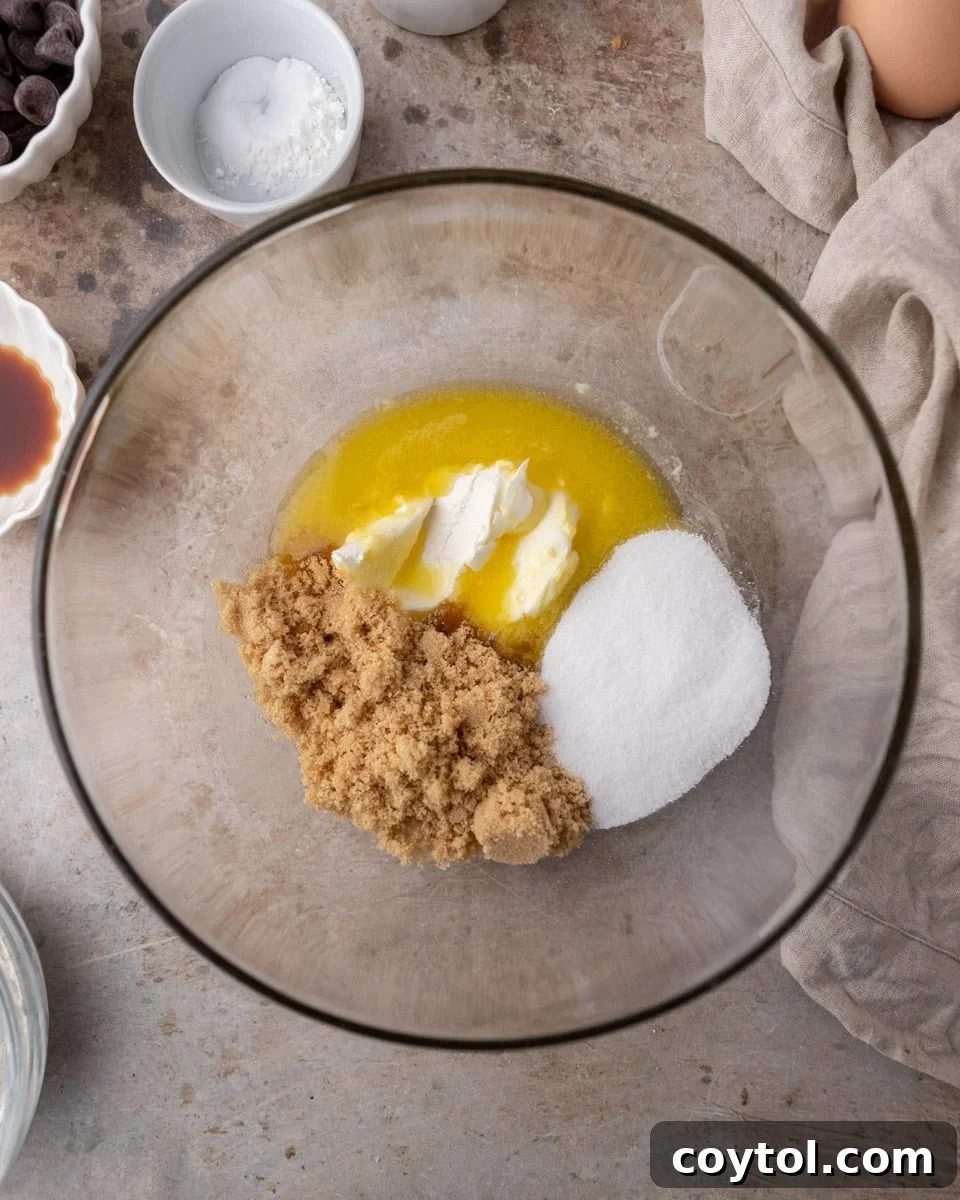
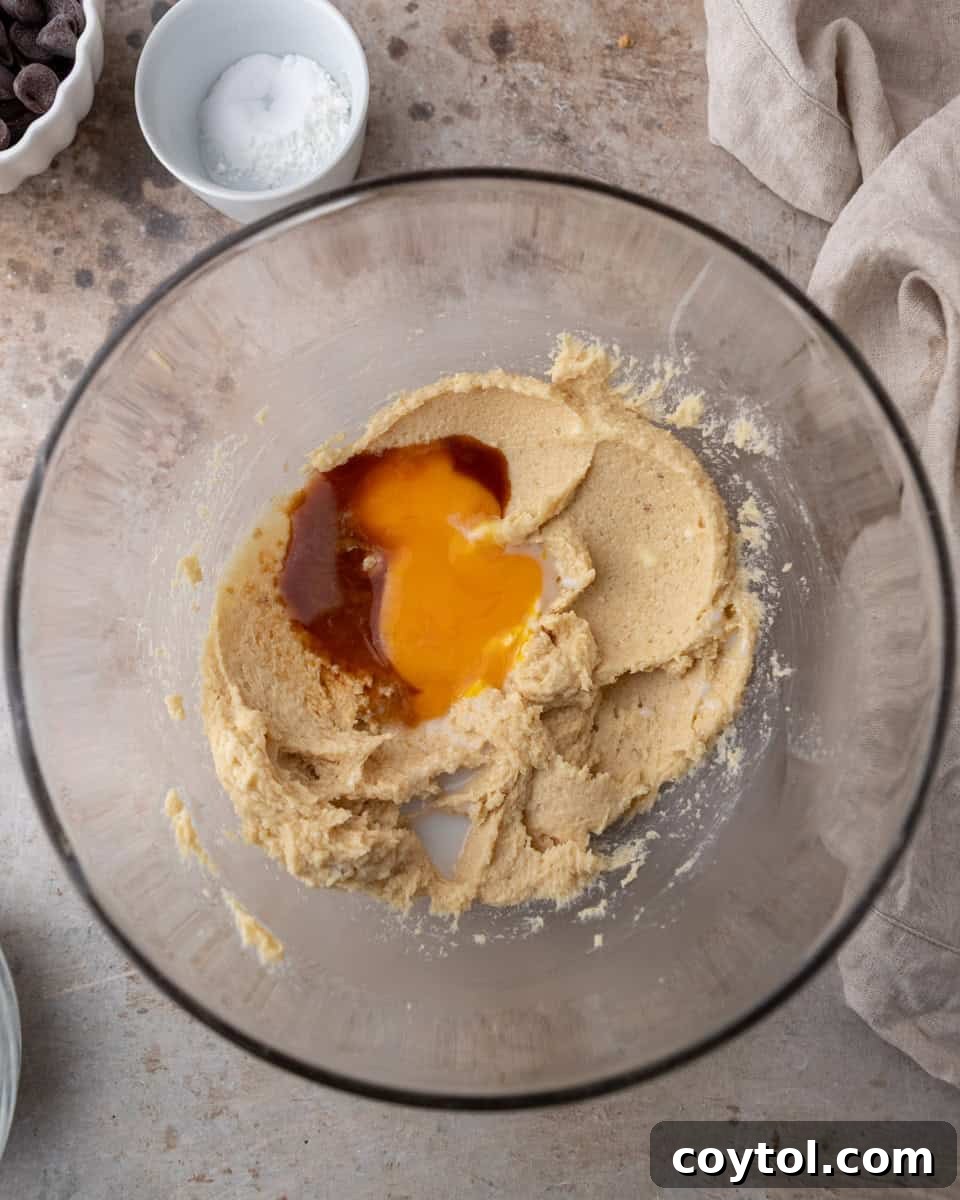
- **Prepare Your Wet Ingredients:** In a large mixing bowl, combine the melted unsalted butter (cooled to just warm), softened full-fat cream cheese, light brown sugar, and granulated sugar. Whisk these together vigorously until the mixture is smooth, light, and glossy. This initial creaming process is vital for incorporating air and creating a uniform base. Next, whisk in the room-temperature egg yolks, vanilla extract, and milk. Continue mixing until all these ingredients are thoroughly combined and the mixture is cohesive and shiny.
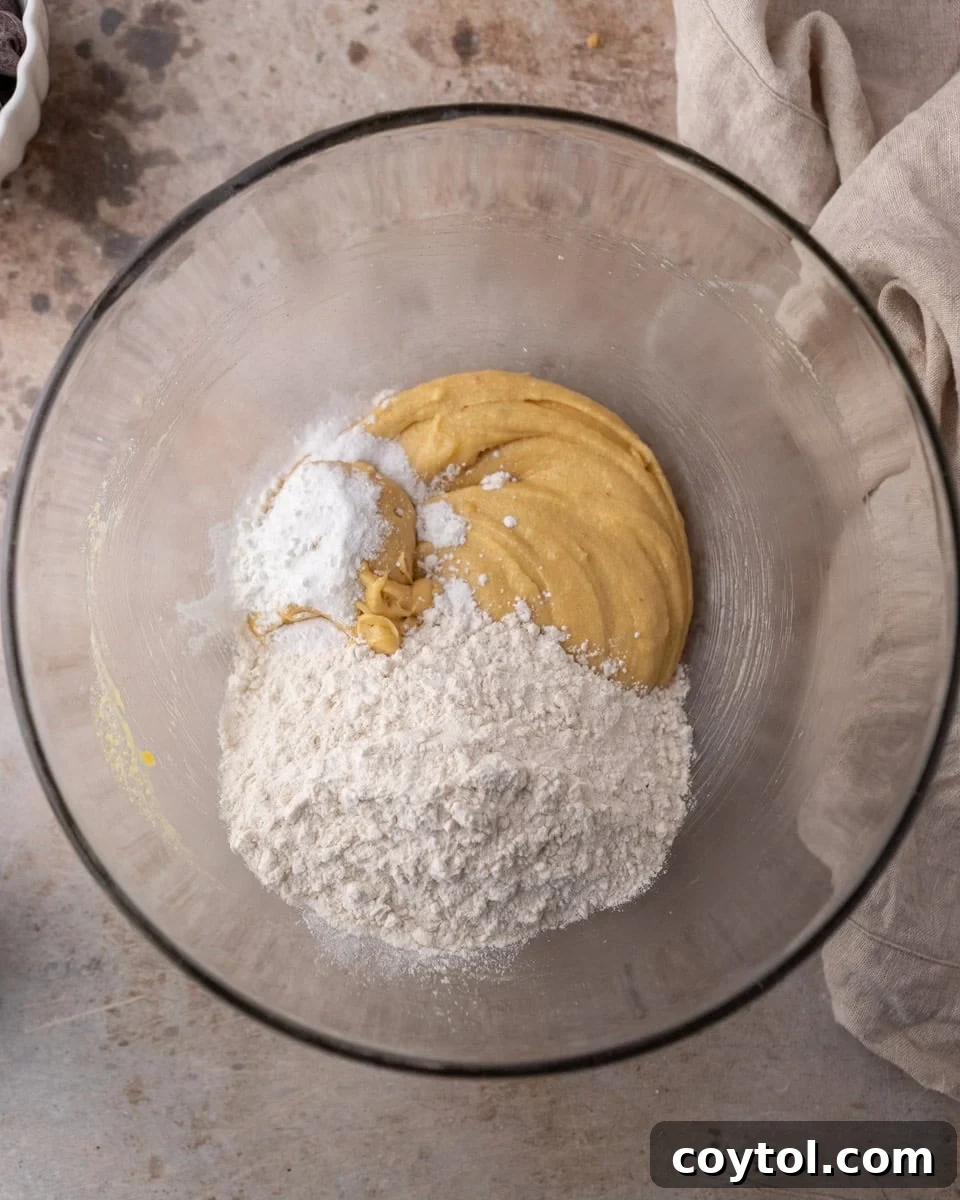
- **Incorporate Dry Ingredients:** In a separate medium bowl, whisk together your dry ingredients: all-purpose flour (spooned and leveled), cornstarch, baking soda, and salt. Gradually add this dry mixture to the wet ingredients. Switch to a sturdy spatula and fold the dry ingredients into the wet until just combined. The key here is to mix until no streaks of dry flour are visible. Be careful not to overmix, as this can lead to tough cookies.
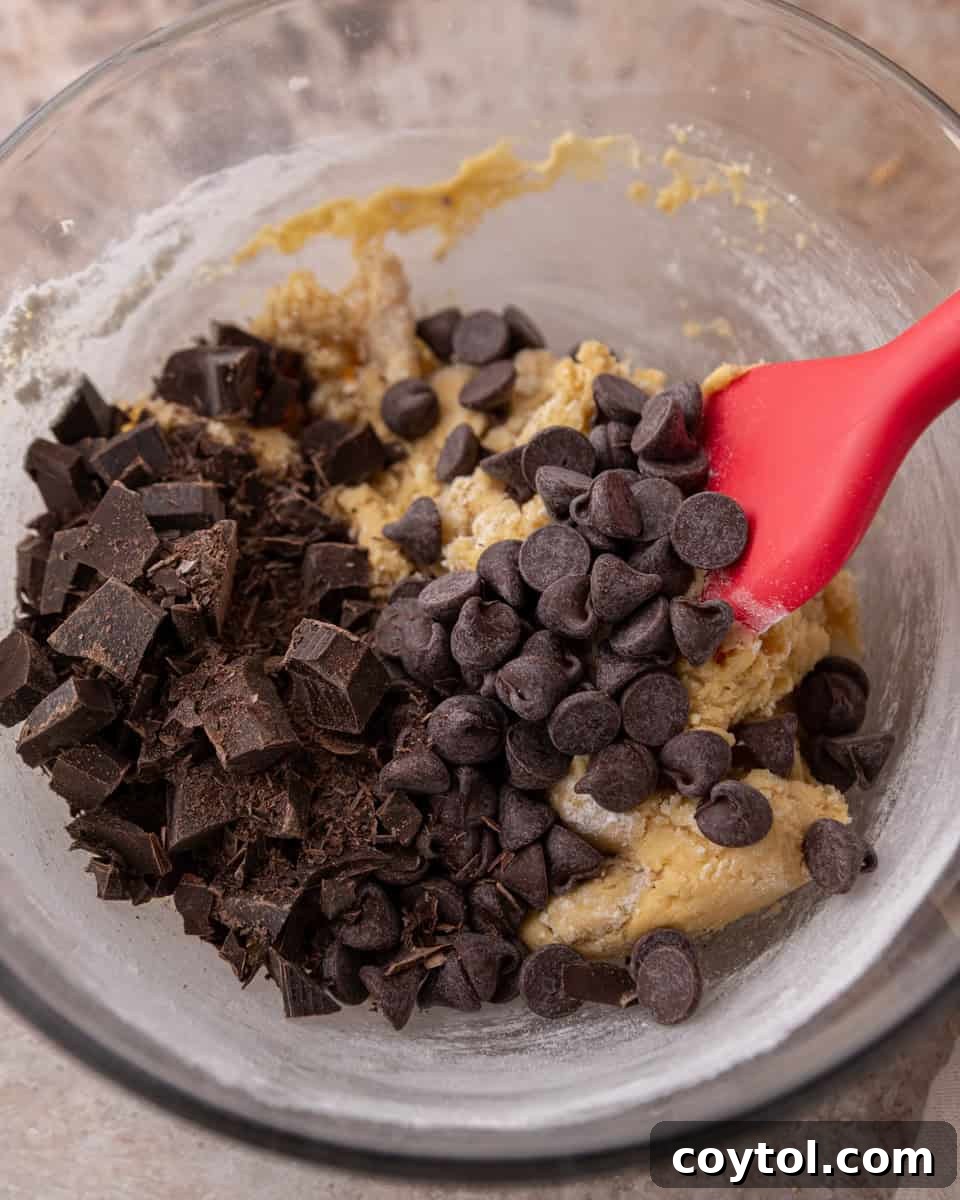
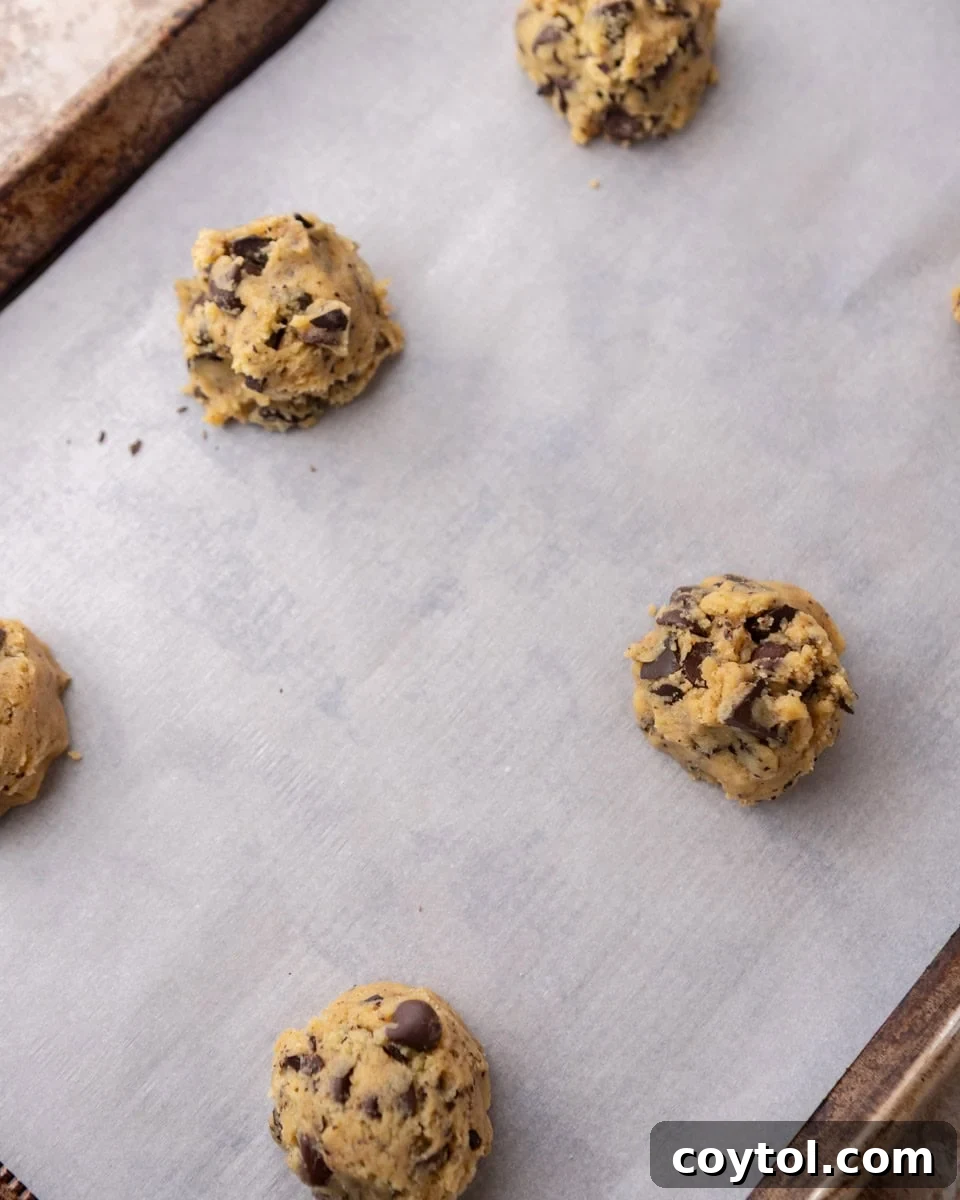
- **Add Chocolate and Scoop:** Gently fold in your chosen chocolate chips or chunks. If you’re feeling adventurous, you can substitute or combine them with M&M candies for a colorful and fun variation. Once the chocolate is evenly distributed, use a 3-tablespoon cookie scoop to portion the dough into uniform balls. This ensures consistent baking and cookie size. Place the dough balls onto your prepared baking sheets, ensuring they are well-spaced (no more than 4 cookies per standard baking sheet) to allow for proper spreading.

Expert Baking Tips for the Best Results
- **Preheating is Key:** Always bake your cookies in a fully preheated oven (set to 360°F or 180°C). This ensures even heat distribution from the moment the cookies enter the oven, promoting consistent spread and preventing premature setting or uneven baking.
- **Parchment vs. Silicone:** Be aware that cookies tend to spread slightly more on parchment paper than on silicone baking mats. Parchment allows for a wider, flatter cookie with crispier edges, while silicone mats provide more insulation, yielding a slightly thicker, chewier cookie. Both methods produce delicious results, so choose based on your preference.
- **The Bakery Finish:** For that truly professional, bakery-style appearance, press a few extra chocolate chips or chunks onto the tops of your cookies immediately after removing them from the oven. This not only makes them visually stunning but also helps the warm cookies flatten evenly as they cool, giving them a more polished look.
- **Perfectly Round Edges:** If you desire perfectly circular cookies, employ the “cookie cutter swirl trick.” While the cookies are still warm and pliable on the baking sheet, take a round cookie cutter slightly larger than your cookie. Place it around the warm cookie and gently swirl it to coax the edges into a neat, round shape.
- **Patience in Cooling:** Allow your cookies to cool on the baking sheet for at least 15 minutes before attempting to transfer them to a wire rack. This crucial resting period allows the cookies to finish setting and firm up, preventing them from breaking or losing their shape.
Following these tips will help you achieve cookies that are not only delicious but also beautiful, making them a joy to bake and share.
Storage and Freezing Instructions
One of the many benefits of these cream cheese chocolate chip cookies is their excellent shelf life, thanks to the moisture-retaining properties of cream cheese. Properly stored, they remain soft and delicious for several days.
To store baked cookies, allow them to cool completely to room temperature. Then, place them in an airtight container. They will stay wonderfully soft and fresh at room temperature for up to 4 days, which is notably longer than many traditional chocolate chip cookie recipes.
For longer storage, these cookies freeze beautifully. Once baked and fully cooled, arrange them in a single layer on a baking sheet and flash freeze for about 30 minutes until firm. Then, transfer the frozen cookies to a freezer-safe ziploc bag or an airtight container, separating layers with parchment paper to prevent sticking. They can be frozen for up to 3 months. When ready to enjoy, simply allow them to thaw at room temperature. You can also gently warm them in a microwave for 10-15 seconds for a “fresh out of the oven” experience.
You can also freeze the unbaked cookie dough. Scoop the dough into balls as instructed and place them on a parchment-lined baking sheet. Flash freeze until solid, then transfer the frozen dough balls to a freezer-safe bag. They can be stored in the freezer for up to 2-3 months. When ready to bake, place the frozen dough balls on a prepared baking sheet and bake for an additional 2-4 minutes beyond the recommended baking time, or until golden brown at the edges.
Frequently Asked Questions
- Can I make cream cheese chocolate chip cookies ahead of time?
- Absolutely! This recipe is fantastic for meal prep. You can refrigerate the dough for up to 24 hours. If storing for longer, freeze the scooped cookie dough balls. When baking from frozen, you might need to slightly flatten the dough balls before they go into the oven to ensure even spreading.
- Why did my cookies spread differently on parchment vs. silicone?
- This is a common observation due to the properties of each baking surface. Parchment paper allows for slightly more spread because it doesn’t conduct heat as efficiently as silicone and provides a less resistant surface. Silicone baking mats, on the other hand, insulate the dough more, resulting in slightly thicker cookies. Both methods yield delicious cookies; your choice depends on your desired texture and appearance.
- Can I use M&M candies instead of chocolate chips?
- Yes, absolutely! M&M candies are a wonderful substitute for some or all of the chocolate chips in this recipe. They add a delightful pop of color and a slightly different texture, making them a fun variation, especially for holidays or parties.
- Do cream cheese chocolate chip cookies need refrigeration?
- No, once baked, these cookies do not require refrigeration. Their high fat content from the butter and cream cheese helps them stay fresh and moist at room temperature. Simply store them in an airtight container for up to 4 days.

Crinkly-Top Cream Cheese Chocolate Chip Cookies
These cream cheese chocolate chip cookies are soft, thick, and chewy with lightly crisp edges and rich, gooey centers. Made with melted butter, cream cheese, and egg yolks, this one-bowl recipe creates bakery-style cookies that stay tender for days.
Prep Time: 20 mins
Cook Time: 10 mins
Total Time: 30 mins
Servings: 16 cookies
Ingredients
- ½ cup butter (salted or unsalted, fully melted and cooled until just warm)
- 2 oz full-fat brick cream cheese (very soft, room temperature)
- ⅔ cup brown sugar (packed)
- ½ cup granulated sugar
- 2 large egg yolks (room temperature)
- 2 teaspoons vanilla extract
- 1 tablespoon milk
- 1¾ cups all-purpose flour (spooned and leveled)
- 1 teaspoon cornstarch
- 1 teaspoon baking soda
- ½ teaspoon salt
- 1 ½ cups chocolate chips or chunks (use at least semi-sweet; darker is even better)
Instructions
- Preheat your oven to 360°F (180°C). Line cookie sheets with parchment paper or silicone baking mats.
- In a large bowl, whisk together the melted butter, cream cheese, brown sugar, and granulated sugar until smooth, glossy, and fully combined.
- Whisk in the egg yolks, vanilla extract, and milk until the mixture is cohesive and shiny.
- Switch to a spatula. Add the all-purpose flour, cornstarch, baking soda, and salt. Fold gently just until no dry flour remains. Do not overmix.
- Stir in the chocolate chips or chunks. (You can reserve some to press on top after baking for a professional look).
- Scoop 3 tablespoons of dough per cookie. Place a maximum of 4 cookies per baking sheet, spaced well apart, to allow for optimal spreading.
- Bake one pan at a time for 10-11 minutes, or until the edges are set and lightly golden, but the centers still look slightly soft and puffy.
- Remove from the oven. If desired (highly recommended!), press extra chocolate chips onto the warm cookies.
- Let cookies cool on the baking pan for 15 minutes before carefully transferring them to a wire rack to cool completely.
Notes
- Parchment vs. silicone mats: These cookies will naturally spread slightly more on parchment paper, yielding a wider, flatter cookie with crispier edges. Silicone baking mats produce a slightly thicker, chewier result by insulating the dough more. Both options work great, so choose based on personal preference.
- Chocolate on top = better shape: Pressing a few extra chocolate chips or chunks onto the cookies right after baking not only improves their appearance but also helps them settle and flatten more evenly as they cool. This is a simple trick for a bakery-worthy finish.
- For perfectly round cookies: If desired, use the cookie cutter swirl trick while the cookies are still warm. Place a round cookie cutter slightly larger than the cookie around it and gently swirl it to shape the cookie into a perfect circle.
- Cooling matters: These cookies will continue to set and firm up as they cool. Allow them to rest on the baking sheet for at least 15 minutes before transferring to a wire rack to ensure they don’t break.
Nutrition
Calories: 279 Calories | Carbohydrates: 35g | Protein: 3g | Fat: 14g | Saturated Fat: 8g | Polyunsaturated Fat: 1g | Monounsaturated Fat: 4g | Trans Fat: 0.2g | Cholesterol: 44mg | Sodium: 204mg | Potassium: 134mg | Fiber: 2g | Sugar: 22g | Vitamin A: 268IU | Calcium: 30mg | Iron: 2mg
Nutrition information is automatically calculated and should only be used as an approximation.
Enjoy these truly exceptional cream cheese chocolate chip cookies, and don’t forget to leave a comment below if you loved this recipe!