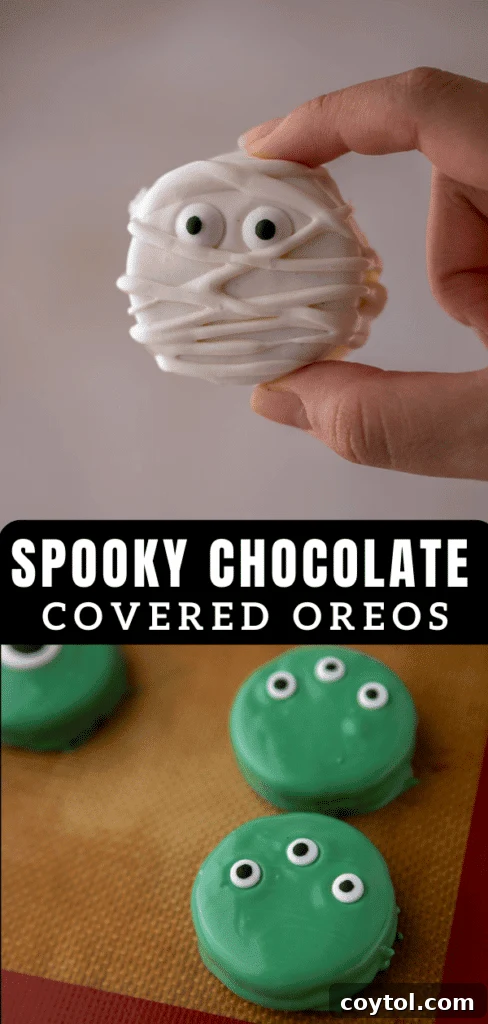
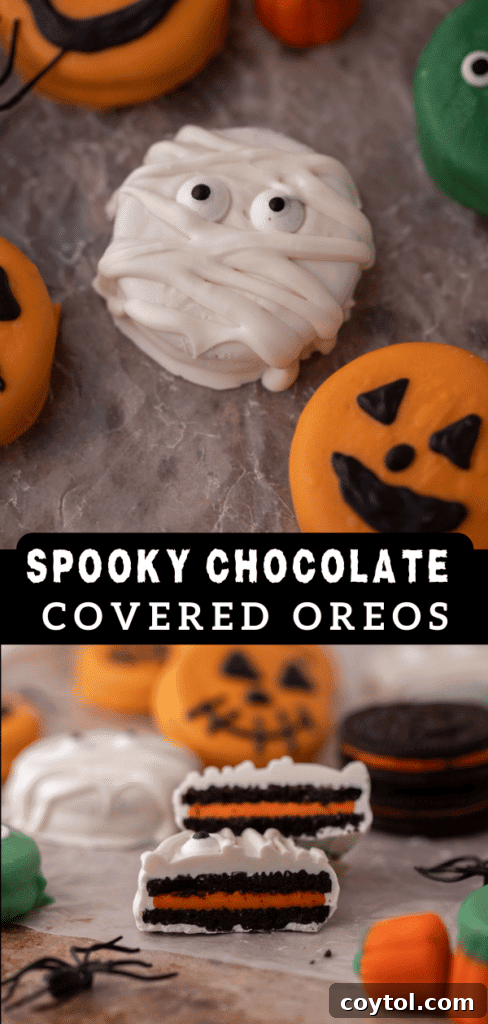
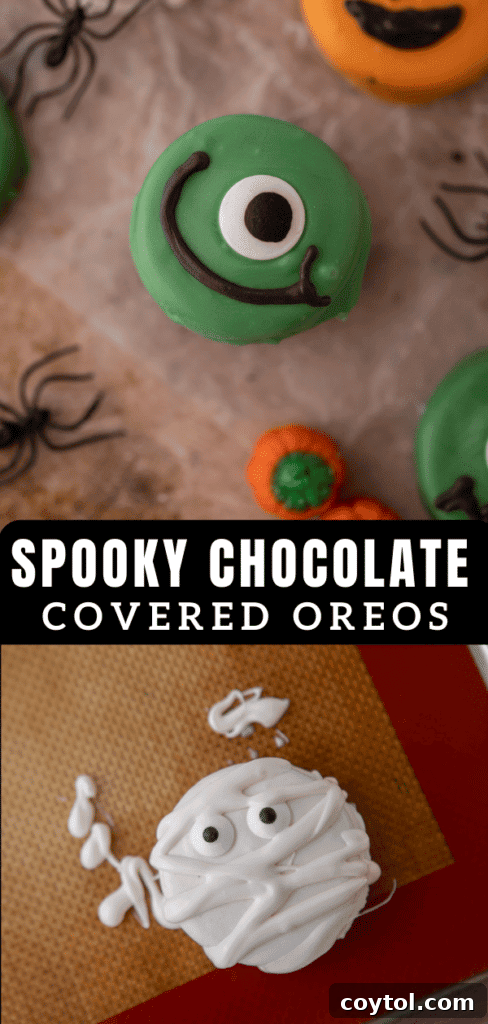
Get ready to add a touch of spooky sweetness to your Halloween celebrations with these incredibly delicious and easy no-bake Halloween Chocolate Covered Oreos! Whether you’re looking for a quick treat to whip up for a last-minute party or a fun activity to enjoy with your little ones, these chocolate-dipped delights are an absolute game-changer. Combining the classic appeal of America’s favorite cookie with a generous coating of rich, festive chocolate, these treats are simply irresistible. They are a guaranteed crowd-pleaser that will have everyone reaching for more. Dive into this simple recipe and transform ordinary Oreos into extraordinary Halloween magic!
While you’re here conjuring up Halloween treats, be sure to explore more of our ghostly delights. You might also enjoy this Spooky Oreo Halloween Bark, these decadent Halloween Oreo Brownies, our terrifyingly tasty Monster Chocolate Cookies, and these chillingly good Ghoulish Black Cupcakes!

The Ultimate Halloween Chocolate Covered Oreos Recipe!
Let’s be honest, we don’t truly need an excuse to enjoy an Oreo smothered in chocolate. However, if Halloween provides the perfect opportunity to indulge, then let’s embrace it fully! These festive chocolate-dipped Oreos aren’t just a treat; they’re an experience, designed to bring joy and a dash of spookiness to the entire month of October. Or even earlier – who are we to judge when the Halloween spirit truly takes hold?
This recipe delivers an easy-to-make Halloween treat that’s perfect for casual snacking at home, school parties, or as a show-stopping dessert at your next Halloween gathering. Their versatility extends beyond just taste; they are a blank canvas for your creativity. Each cookie offers a chance to unleash your inner artist, decorating them with ghoulish grins, monstrous eyes, or shimmering sprinkles. Get into the Halloween spirit and let your imagination shine with every spooky creation!
Why These Spooky Chocolate Covered Oreos Are a Must-Make!
- Effortlessly Festive: These Halloween chocolate covered Oreos are incredibly simple to make, requiring no baking at all. They’re perfect for busy schedules and make a big impact with minimal effort, ensuring you have more time to enjoy the Halloween fun.
- Party Perfection: If you’re hosting a Halloween party or attending one, these treats are an absolute essential. They’re portable, delicious, and visually captivating, making them the star of any dessert table.
- Kid-Friendly Fun: Involve your children in the decorating process! This recipe offers a fantastic opportunity for little hands to get creative, adding sprinkles and candy eyeballs to their heart’s content. It fosters a sense of independence and creates wonderful, lasting memories in the kitchen.
- Simple Ingredients, Stunning Results: You only need a handful of readily available ingredients to bring these spooky cookies to life. Despite their simplicity, they look incredibly impressive and taste even better, guaranteeing smiles all around.
- Customizable Creativity: The decorating possibilities are endless! From classic Halloween colors to intricate designs, you can personalize each Oreo to match your theme or let each family member express their unique spooky style.
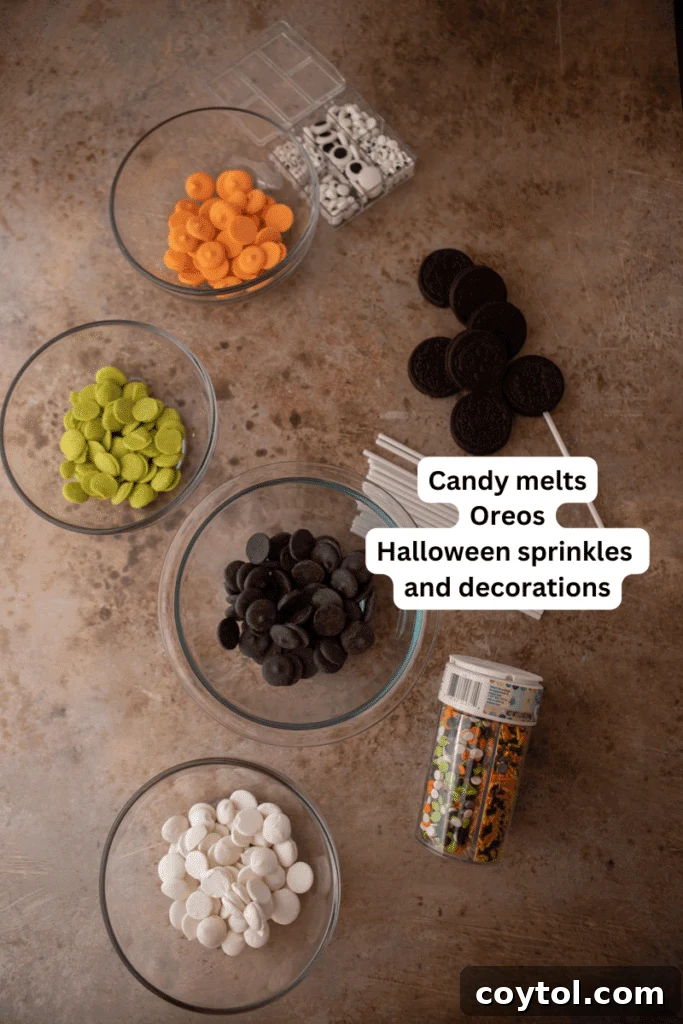
Essential Ingredients for Your Spooky Chocolate Covered Oreos
Crafting these delectable Halloween-themed treats requires just a few key ingredients. While the list is short, the potential for creativity is vast! Make sure to scroll down to the full recipe card below for precise measurements and detailed ingredient specifications.
- Halloween Oreo Cookies: The foundation of our treat! You can use classic Oreos or seek out the special edition Halloween Oreos with orange creme filling for an extra festive touch. Their distinct flavor and satisfying crunch are perfectly complemented by a rich chocolate coating. For a fun twist, consider golden Oreos too! Find Halloween Oreo cookies here.
- Candy Eyeballs: These are crucial for bringing your spooky characters to life! A variety of sizes will allow for different expressions, from wide-eyed monsters to subtle ghostly stares. Stock up on candy eyeballs.
- Quality Chocolate Chips: Opt for your favorite brand of semi-sweet, milk, or dark chocolate chips. These will provide a rich, classic chocolate coating. Ensure they are good quality for smooth melting and a superior taste.
- Colorful Candy Wafers (Candy Melts): This is where the Halloween magic truly happens! Candy melts are perfect for achieving vibrant, spooky colors without needing to temper chocolate or use special food coloring.
- Color Choices: Embrace the Halloween palette! White, purple, orange, neon green, and even black candy melts are fantastic options. These colors will allow you to create ghost, pumpkin, Frankenstein, or witch-themed Oreos.
- Unleash Your Imagination: Don’t feel limited! Pick your absolute favorite colors and let your imagination run wild. The beauty of these treats is their adaptability – the sky’s the limit for your decorating dreams! Explore various candy wafer colors.
- Assorted Halloween Sprinkles: Beyond candy eyeballs, have fun with various Halloween-themed sprinkles – bats, ghosts, pumpkins, skulls, nonpareils in festive colors, or even glitter dust can elevate your designs.
How to Make These Scary Good Treats: A Step-by-Step Guide!
Creating these fun and spooky chocolate-covered Oreos is simpler than you might think! Follow these easy steps to bring your Halloween visions to life. For full detailed instructions and expert tips, remember to check the complete recipe card below.
- Prepare Your Workspace: First, line a baking sheet with parchment paper or wax paper. This will prevent your chocolate-covered Oreos from sticking as they set and make for easy cleanup. Set it aside for later.
- Melt Your Chocolate/Candy Melts: Place your chosen chocolate chips or candy melts in a microwave-safe bowl. Heat in 30-second intervals, stirring thoroughly after each interval, until the chocolate is completely smooth and melted. Be careful not to overheat, as this can cause chocolate to seize or burn. If you’re using multiple colors, it’s best to melt one color at a time and use it before moving on to the next, to ensure a perfect dipping consistency.
- Adjust Consistency (If Needed): If your melted chocolate or candy mixture appears too thick for dipping, don’t worry! Add 1/2 teaspoon of vegetable oil, coconut oil, or even vegetable shortening. Stir well until you achieve a smooth, flowing consistency that easily coats the Oreos. Add more in small increments if necessary.
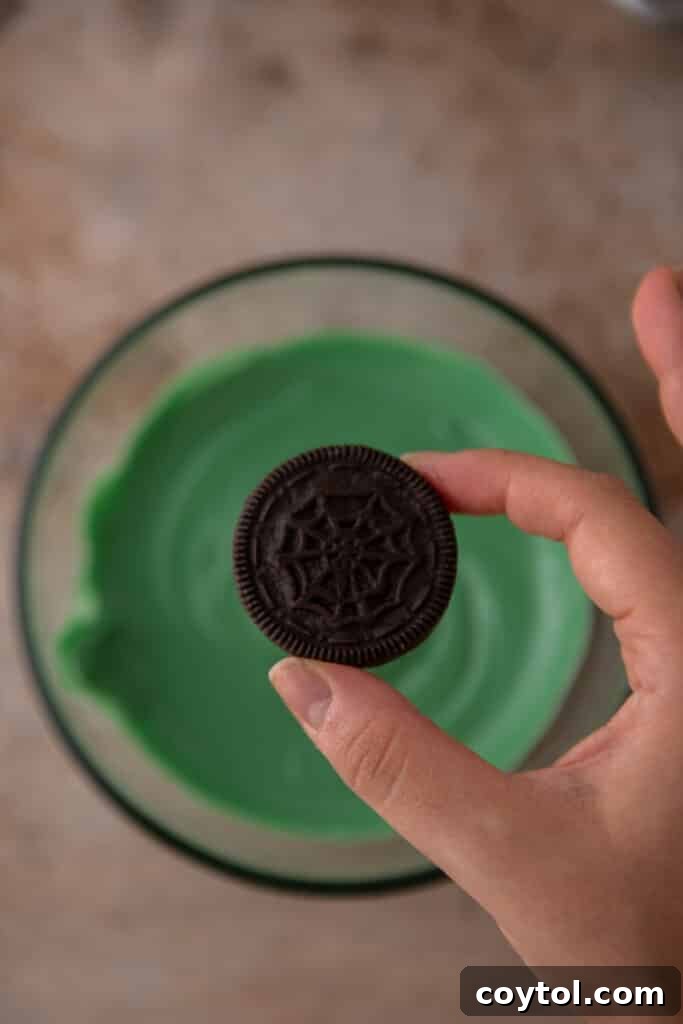
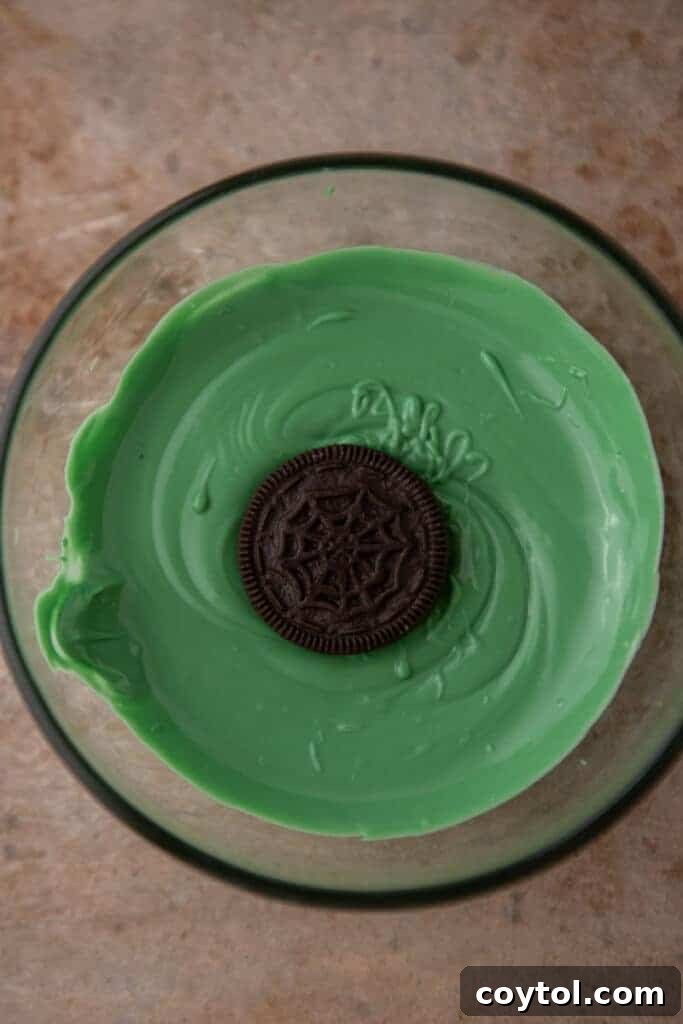
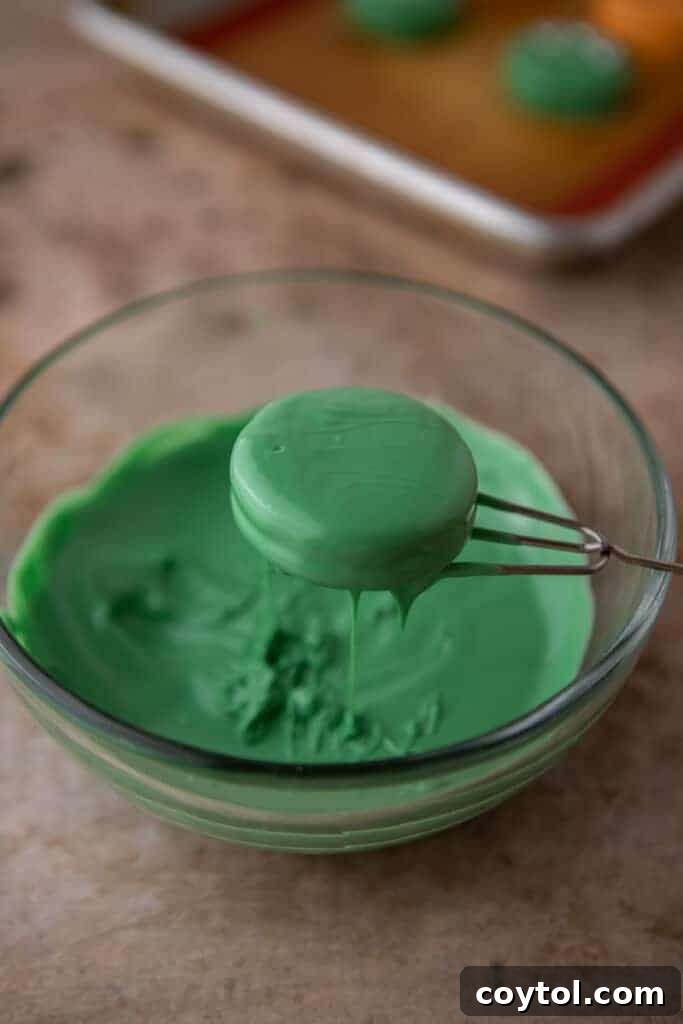
- Dip the Oreos: Using a chocolate dipping fork (or a regular fork), carefully pick up an Oreo cookie and submerge it completely into the melted chocolate. Flip the Oreo to ensure both sides are fully coated.
- Remove Excess Chocolate: Gently lift the chocolate-covered Oreo with your dipping fork. Lightly tap the fork against the edge of the bowl to allow any excess chocolate to drip off. This creates a cleaner finish and prevents thick puddles of chocolate around the cookie.
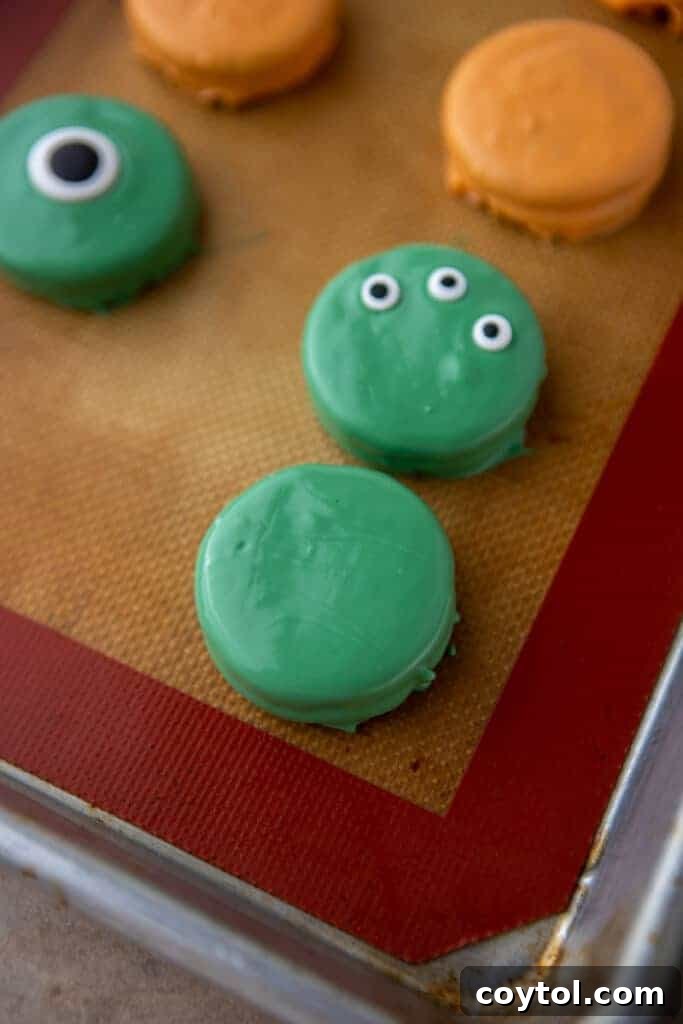
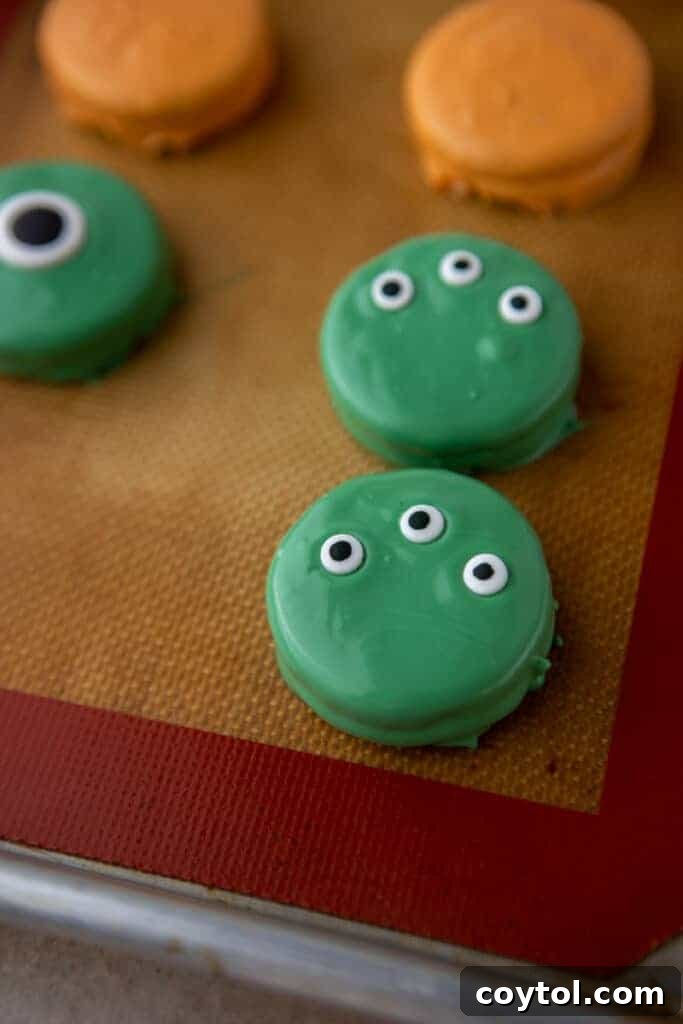
- Decorate Instantly: Carefully transfer the dipped Oreo onto your prepared parchment-lined baking sheet. Immediately decorate with your desired sprinkles, candy eyeballs, or any other Halloween embellishments you have on hand. The chocolate will start to set quickly, so swift decorating is key!
- Chill and Enjoy: Once decorated, place the baking sheet with the chocolate-covered Oreos into the refrigerator for at least 15-20 minutes, or until the chocolate has fully set. Once firm, they are ready to be devoured!

Creative Decoration Ideas for Your Spooky Oreos
The fun truly begins when you start decorating your chocolate-covered Oreos! Here are a few ideas to spark your creativity and make each cookie a mini Halloween masterpiece:
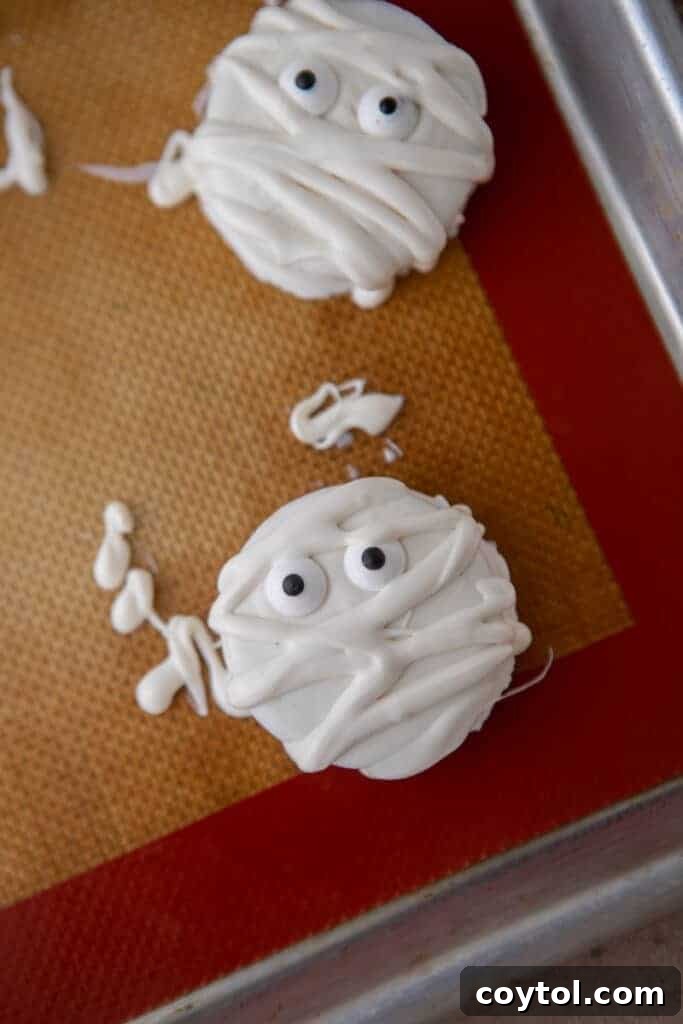
- Mummy Oreos: Dip Oreos in white candy melts. While wet, place two small candy eyeballs. Once set, drizzle thin lines of melted white chocolate over the cookies in a crisscross pattern to resemble mummy bandages.
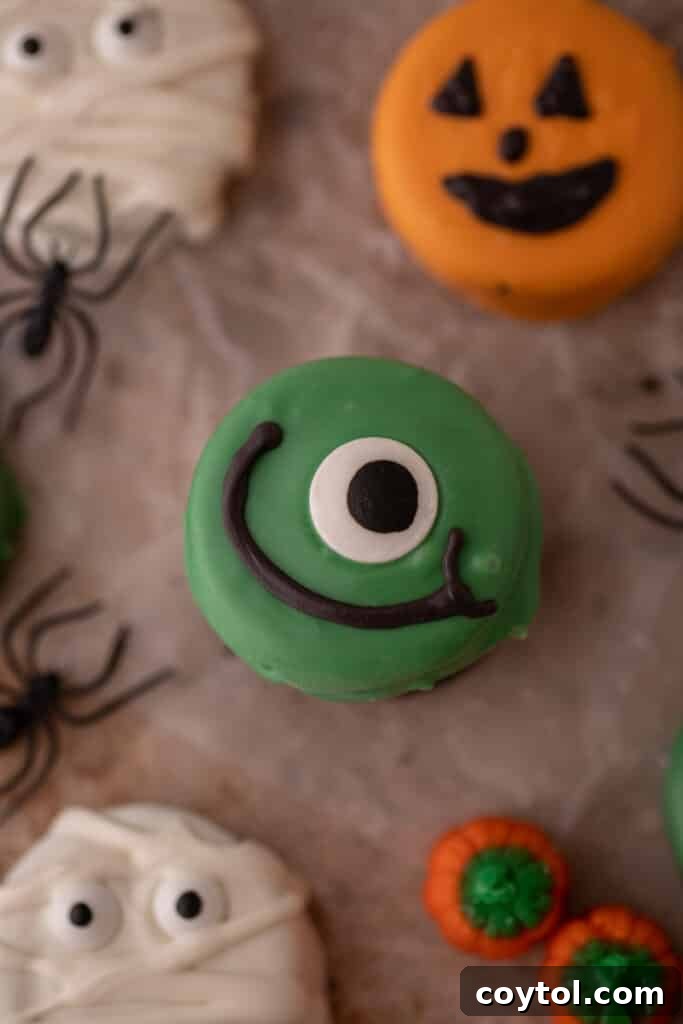
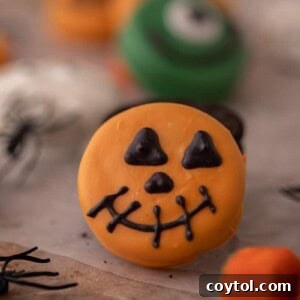
- Monster Oreos: Use green, purple, or orange candy melts. Add one large or several small candy eyeballs. Use a black edible marker or melted dark chocolate to draw mouths, stitches, or scars.
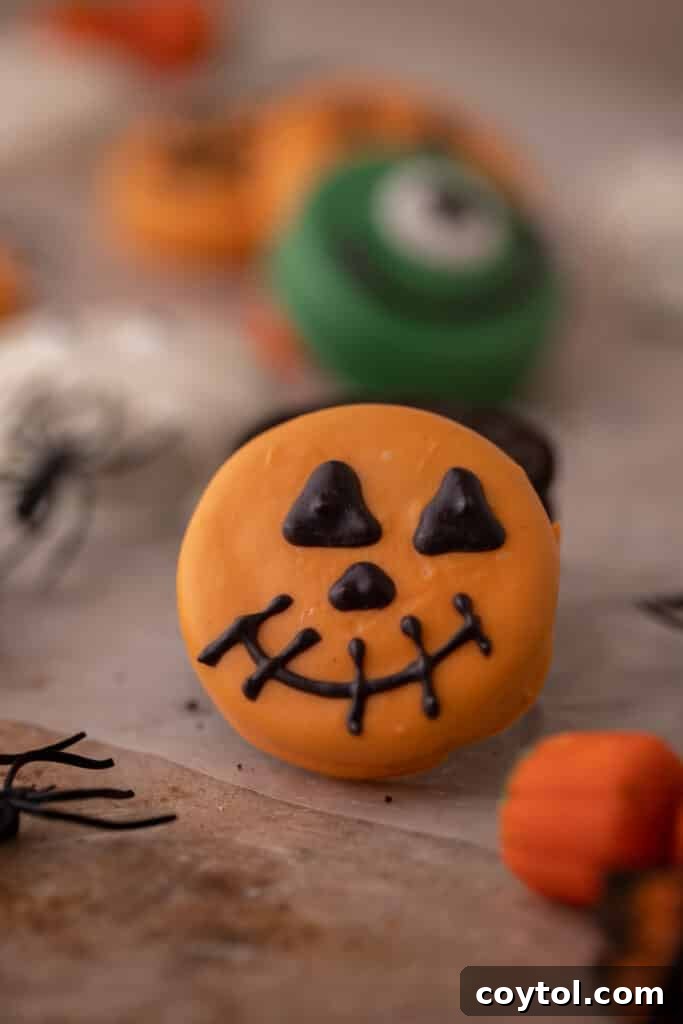
- Pumpkin Patch Oreos: Dip in orange candy melts. Use green sprinkles for a stem and edible marker for jack-o’-lantern faces.
- Spiderweb Oreos: Dip in dark chocolate. While still wet, pipe concentric circles of white chocolate. Use a toothpick to drag lines from the center outwards to create a web effect.
- Ghostly Oreos: Dip in white chocolate. Add two candy eyeballs. For an extra touch, use a tiny bit of black food coloring (oil-based!) or melted dark chocolate to draw a simple “O” mouth for a classic ghost look.
- Sprinkle Explosion: Simply dip your Oreos in any color chocolate and immediately cover them generously with a mix of Halloween-themed sprinkles. Quick, easy, and always a hit!
Pro Tips for Perfect Chocolate Dipped Oreos
- Don’t Overheat Chocolate: Melt chocolate in short bursts (30 seconds at a time) and stir well between each. Chocolate can burn quickly, becoming grainy and unusable. Residual heat will continue to melt the chocolate after it’s removed from the microwave.
- Keep Your Chocolate Warm: If you’re dipping many Oreos, your chocolate may start to thicken. You can keep it over a double boiler on low heat or return it to the microwave for a very short burst (5-10 seconds) to bring it back to a dippable consistency.
- Use a Dipping Tool: A chocolate dipping fork or a simple kitchen fork with two tines works best for dipping Oreos. It allows excess chocolate to drip off easily, preventing pools of chocolate at the bottom of your cookies.
- Decorate Immediately: Once an Oreo is dipped, the chocolate starts to set quickly. Have all your sprinkles and candy eyeballs ready before you begin dipping, so you can decorate each cookie right after it’s coated.
- Parchment Paper is Your Friend: Always use parchment or wax paper on your baking sheet. It ensures your chocolate-covered Oreos lift off easily without sticking once set.
Frequently Asked Questions (FAQ) – Spooky Chocolate Oreos
How long do these chocolate-dipped Oreo Halloween cookies last?
When stored correctly, these delightful Halloween chocolate covered Oreos will maintain their freshness and deliciousness for approximately two weeks. They’re a fantastic make-ahead treat for parties or to enjoy throughout the spooky season!
How to store this easy Halloween treat?
To ensure your chocolate-covered Oreos remain pristine and prevent any melting or stickiness, store them in an airtight container or a resealable plastic bag. Keep them in the refrigerator, especially if your home is warm or humid, as this will help the chocolate stay firm and mess-free. Alternatively, you can store them on the counter at room temperature, provided they are kept away from direct sunlight or any heat sources.
Can I make these gluten-free?
Absolutely! Making these spooky Oreos gluten-free is very simple. Many grocery stores now offer excellent gluten-free Oreo varieties that taste just like the original. When selecting your ingredients, just be sure to double-check that both your chosen chocolate (chips or candy melts) and any Halloween decorations like sprinkles or candy eyeballs are also certified gluten-free. This ensures everyone can safely enjoy these festive treats!
Can I use gel food coloring to color my chocolate?
This is a crucial point for chocolate dipping: you generally cannot use regular gel food coloring to color chocolate or candy melts. The primary reason is that standard gel food colorings are water-based. When water comes into contact with melted chocolate, it causes the chocolate to “seize” – meaning it becomes thick, lumpy, and unusable for smooth dipping. If you wish to color your chocolate or candy melts, you must use an oil-based food coloring or food coloring specifically designed for chocolate. These are often labeled as “candy colors” or “chocolate colors” and will blend smoothly without affecting the chocolate’s consistency. This allows you to achieve vibrant, festive hues safely.
Can I use other cookies instead of Oreos?
While Oreos are a classic choice, feel free to experiment with other cookies! Graham crackers, shortbread cookies, or even vanilla wafers can be dipped and decorated for a similar festive effect. Just be mindful of their sturdiness when dipping and handling.
Spooky Chocolate Covered Halloween Oreos Recipe Card
Spooky Halloween Chocolate Covered Oreos
Print Recipe
Ingredients
- 1 package Oreos (about 36 cookies)
- 6 oz white candy melts or white chocolate chips
- 6 oz orange candy melts
- 6 oz chocolate chips or black candy melts
- 6 oz green candy melts
- assorted Halloween sprinkles like candy eyes, bat sprinkles, ghost shapes, etc.
Instructions
-
Line a baking sheet with parchment paper or wax paper and set aside. This will be where your decorated Oreos will set.
-
In a microwave-safe bowl, melt your first color of chocolate or candy melts. It’s best to work with one color at a time to maintain optimal dipping consistency and color vibrancy. Heat in 30-second increments, stirring well after each, until smooth.1 package Oreos, 6 oz white candy melts, 6 oz orange candy melts, 6 oz chocolate chips, 6 oz green candy melts
-
Using a chocolate dipping fork (or a regular fork), dip each Oreo into the melted chocolate or candy melt, ensuring both sides are fully coated. Lift the Oreo, gently tapping the fork against the edge of the bowl to remove any excess chocolate for a clean finish. Place the dipped Oreo on the prepared baking sheet.
-
Immediately decorate your dipped Oreo with spooky eyeballs or various Halloween sprinkles, depending on your desired design. Work quickly as the chocolate will begin to set. Chill the decorated Oreos to set the chocolate.assorted Halloween sprinkles
-
Repeat this process with the remaining Oreos and desired chocolate colors. For a mummy design, dip in white candy melts, immediately add candy eyeballs, chill until firm, then drizzle additional melted white candy melts over the top in thin lines for a bandaged effect, and chill again until fully set.
Chef’s Tip for Chocolate Consistency:
-
If your chocolate or candy melts are a bit too thick for easy dipping, add about 1/2 teaspoon of vegetable oil or coconut oil and mix thoroughly. Add in 1/4 teaspoon increments if more is needed, stirring well after each addition, until you achieve a smooth, dippable consistency.
Nutrition Information
Nutrition information is automatically calculated, so should only be used as an approximation.
Shop This Recipe
This post may contain affiliate links, meaning that at no cost to you I will get a small percentage of every purchase you make!
Pin This Halloween Chocolate Covered Oreos Recipe for Later!
If you loved creating these delightful Halloween Chocolate Covered Oreos, don’t forget to save this recipe! Pin it to your favorite Halloween board on Pinterest so you can easily find it for next year’s celebrations or whenever a spooky sweet craving strikes. Happy haunting and happy baking (or rather, no-baking)!