

One year ago today, I embarked on an exciting, yet daunting, adventure: launching my very own food blog. I was just three months shy of earning my marketing bachelor’s degree, standing at a crossroads, feeling a blend of confusion and apprehension about my future. The conventional path didn’t quite resonate with me; my heart yearned for the freedom of self-employment, the autonomy to shape my own schedule, and the flexibility to work from anywhere. I understood from the outset that this journey wouldn’t be without its challenges – indeed, the world of blogging can be incredibly demanding, often requiring immense effort for seemingly minimal returns. It’s a landscape where many aspiring creators ultimately choose to step away, yet I stand here today, immensely proud to be commemorating my blog’s one-year anniversary. This milestone isn’t just a testament to perseverance; it’s a celebration of passion, learning, and the incredible community we’ve built together. Join me as I reflect on this past year and share a truly special recipe that symbolizes this joyous occasion!
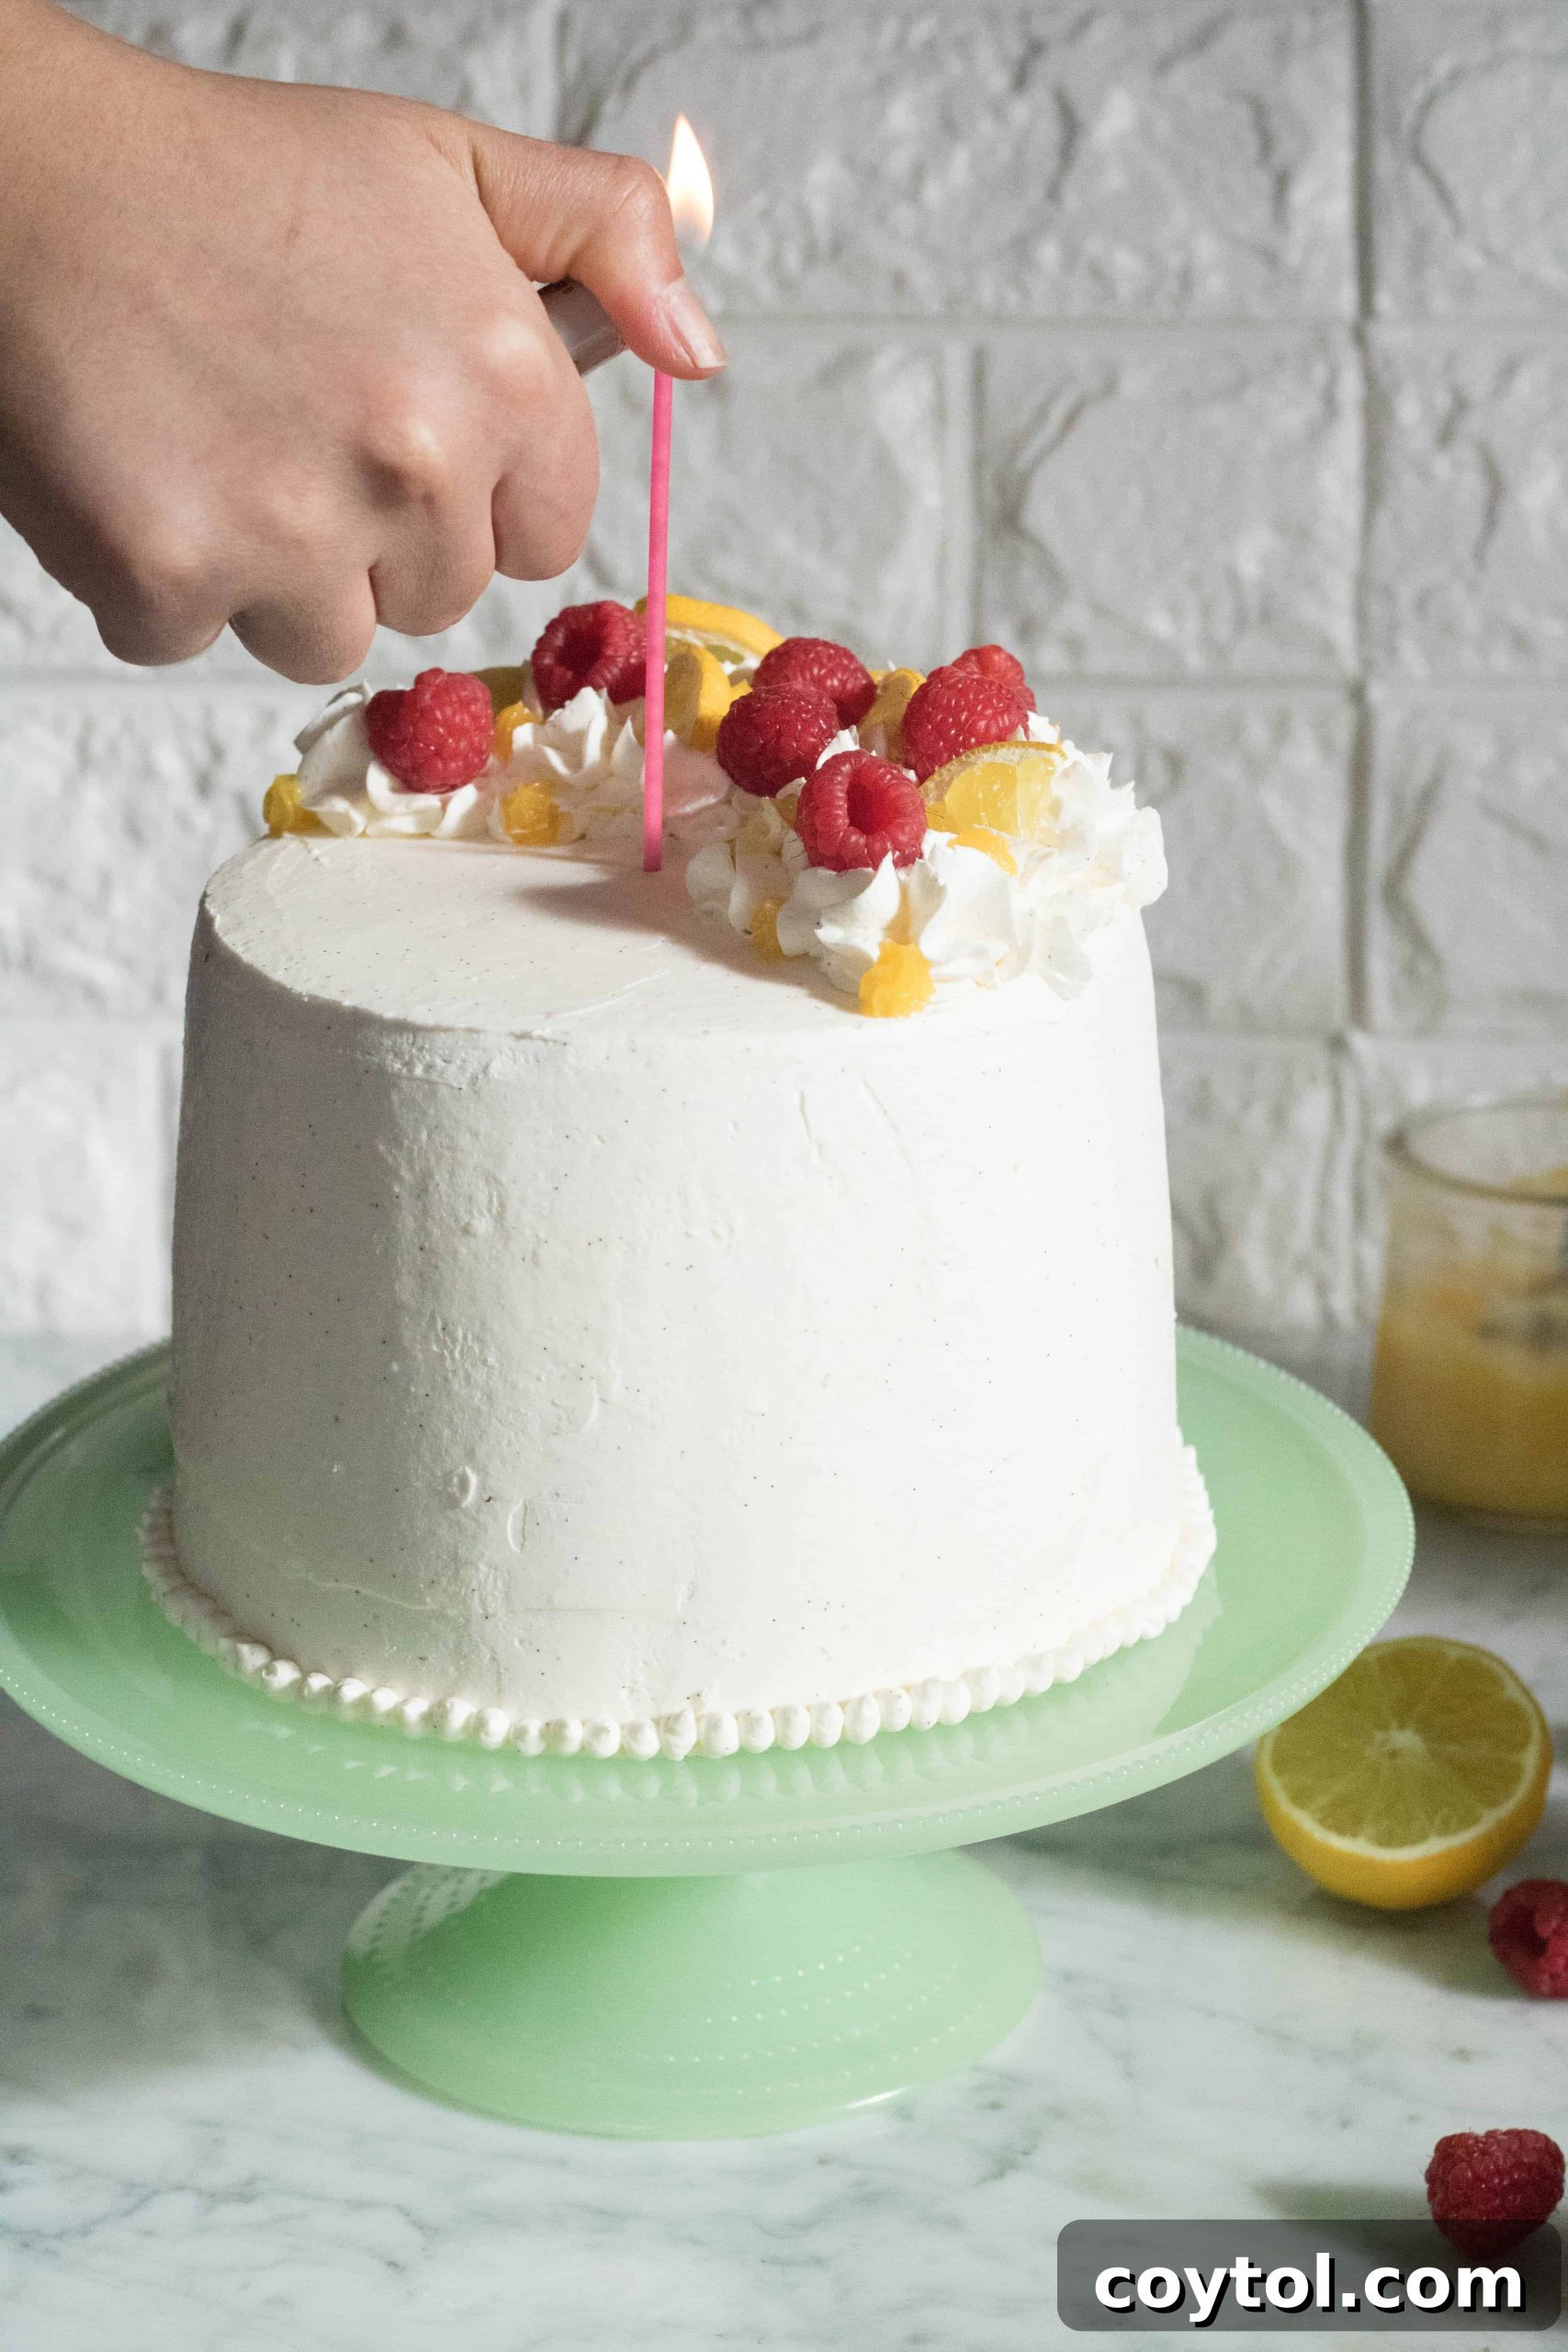
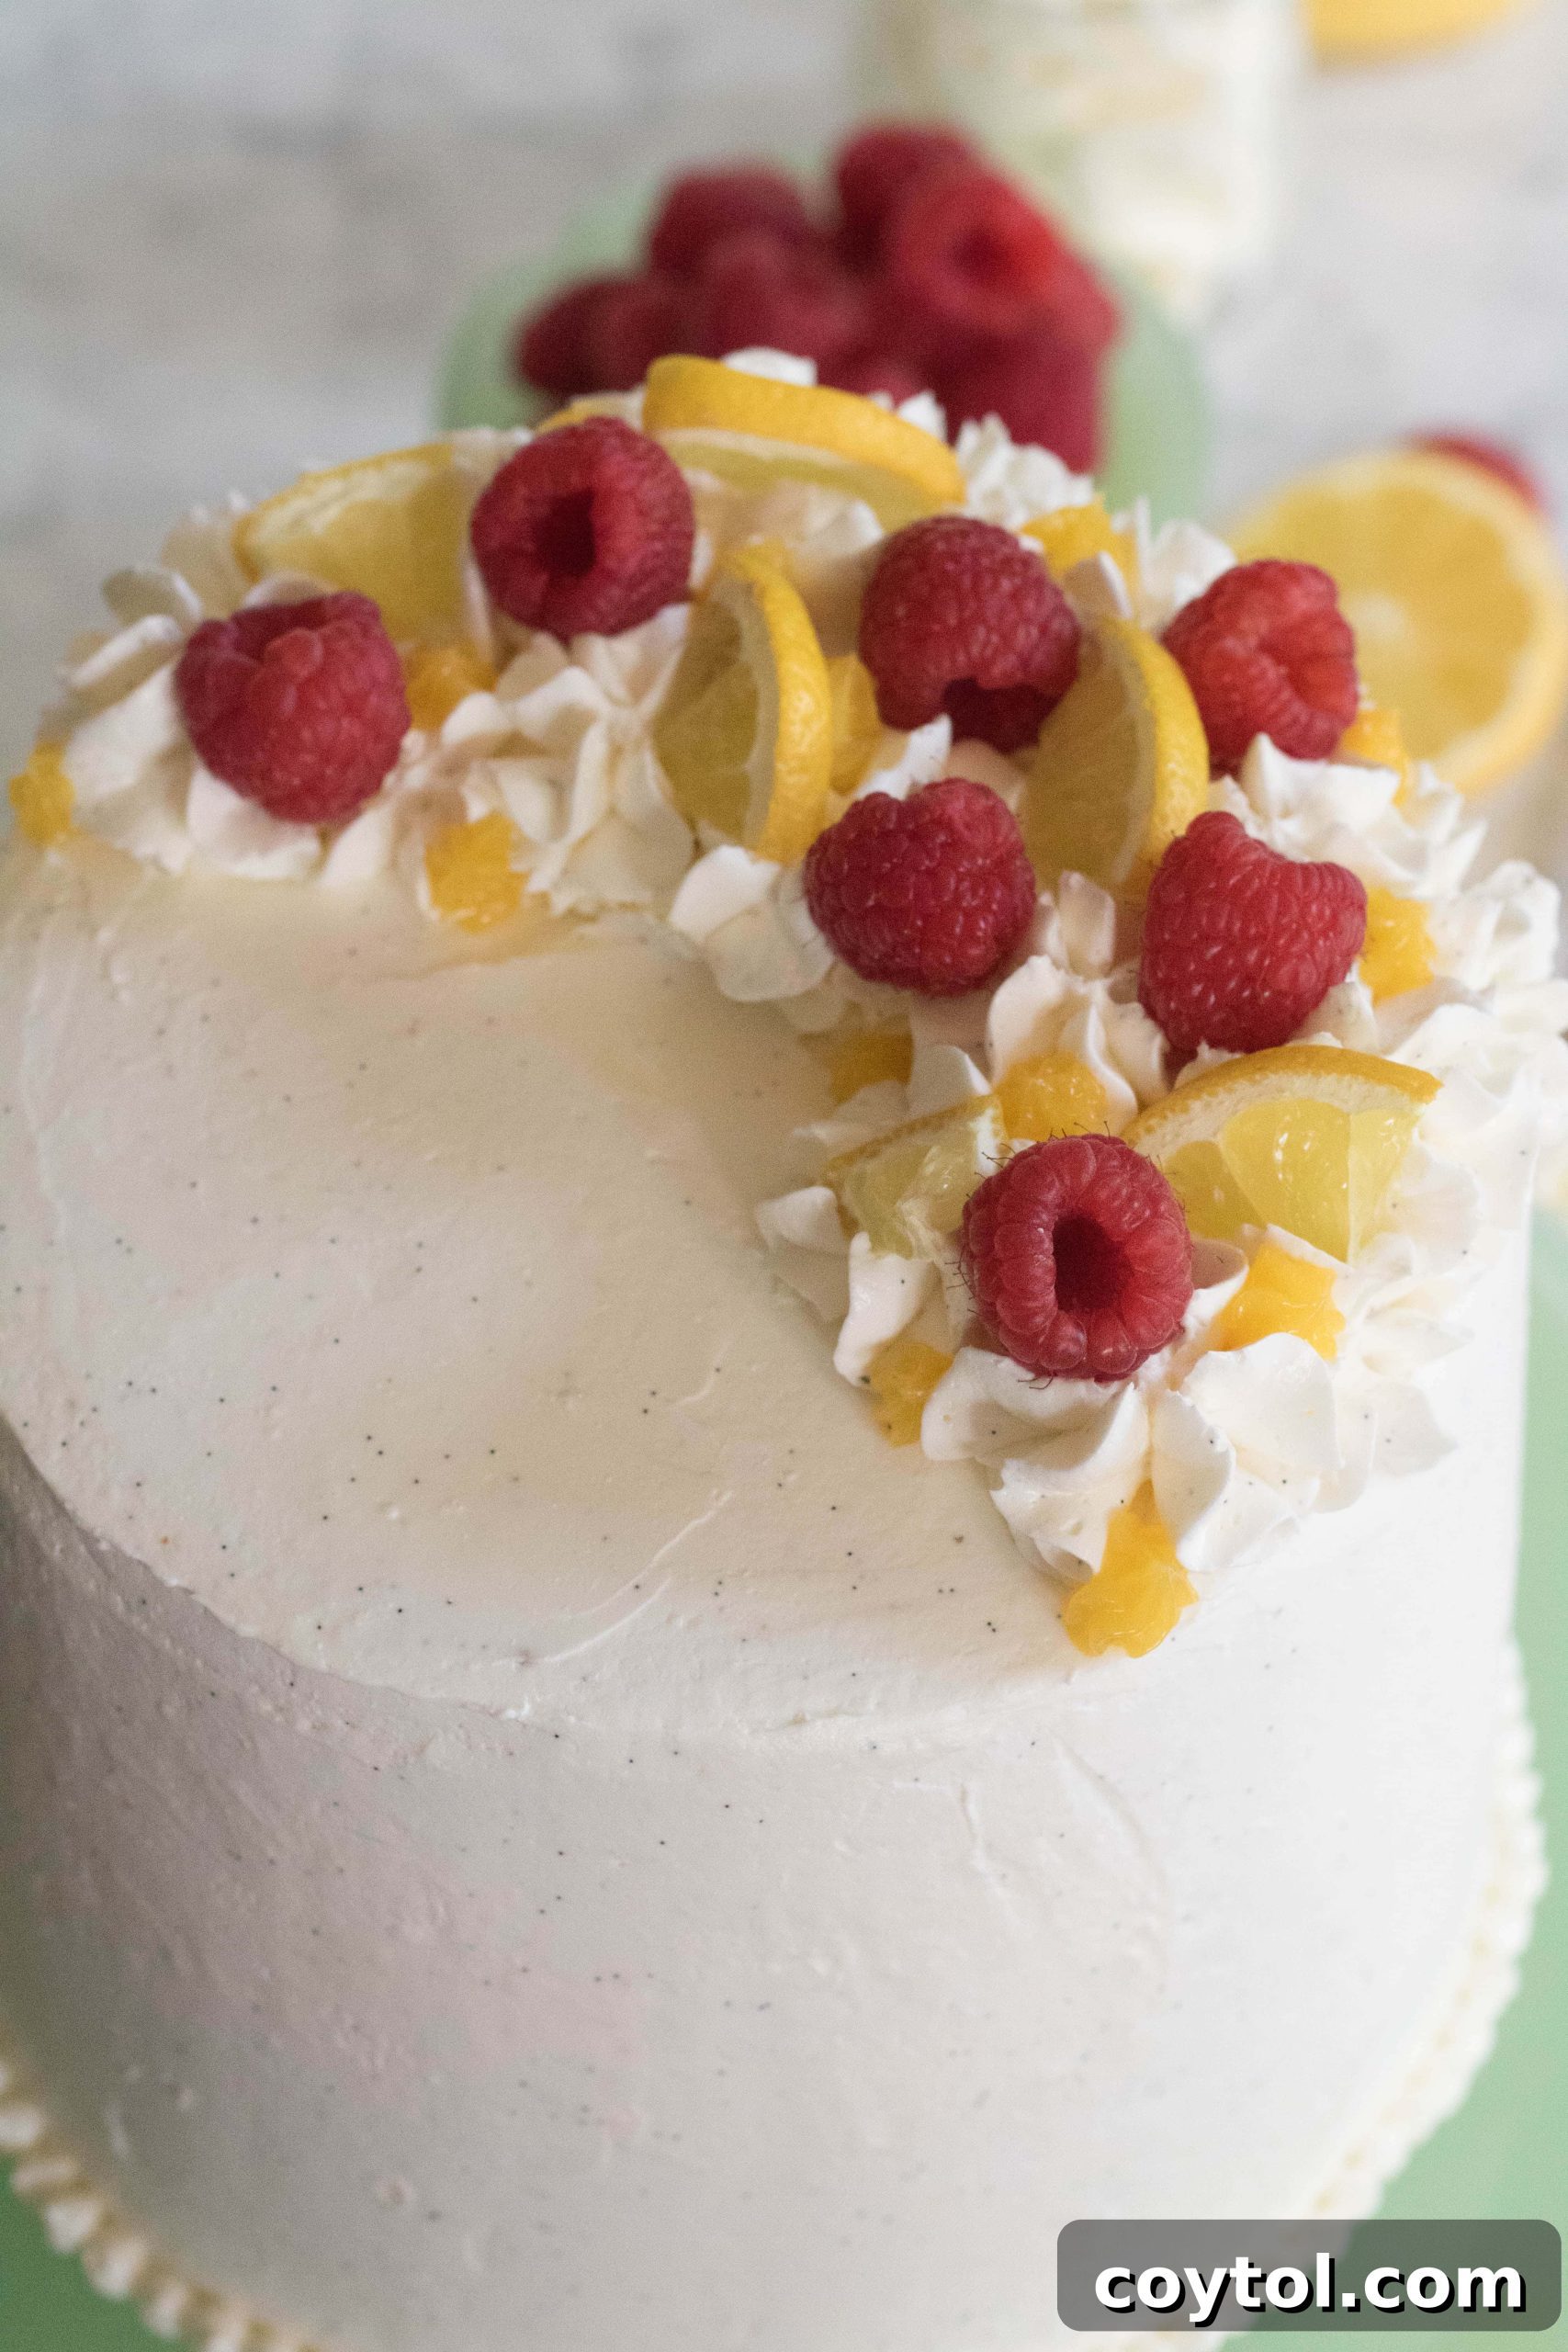
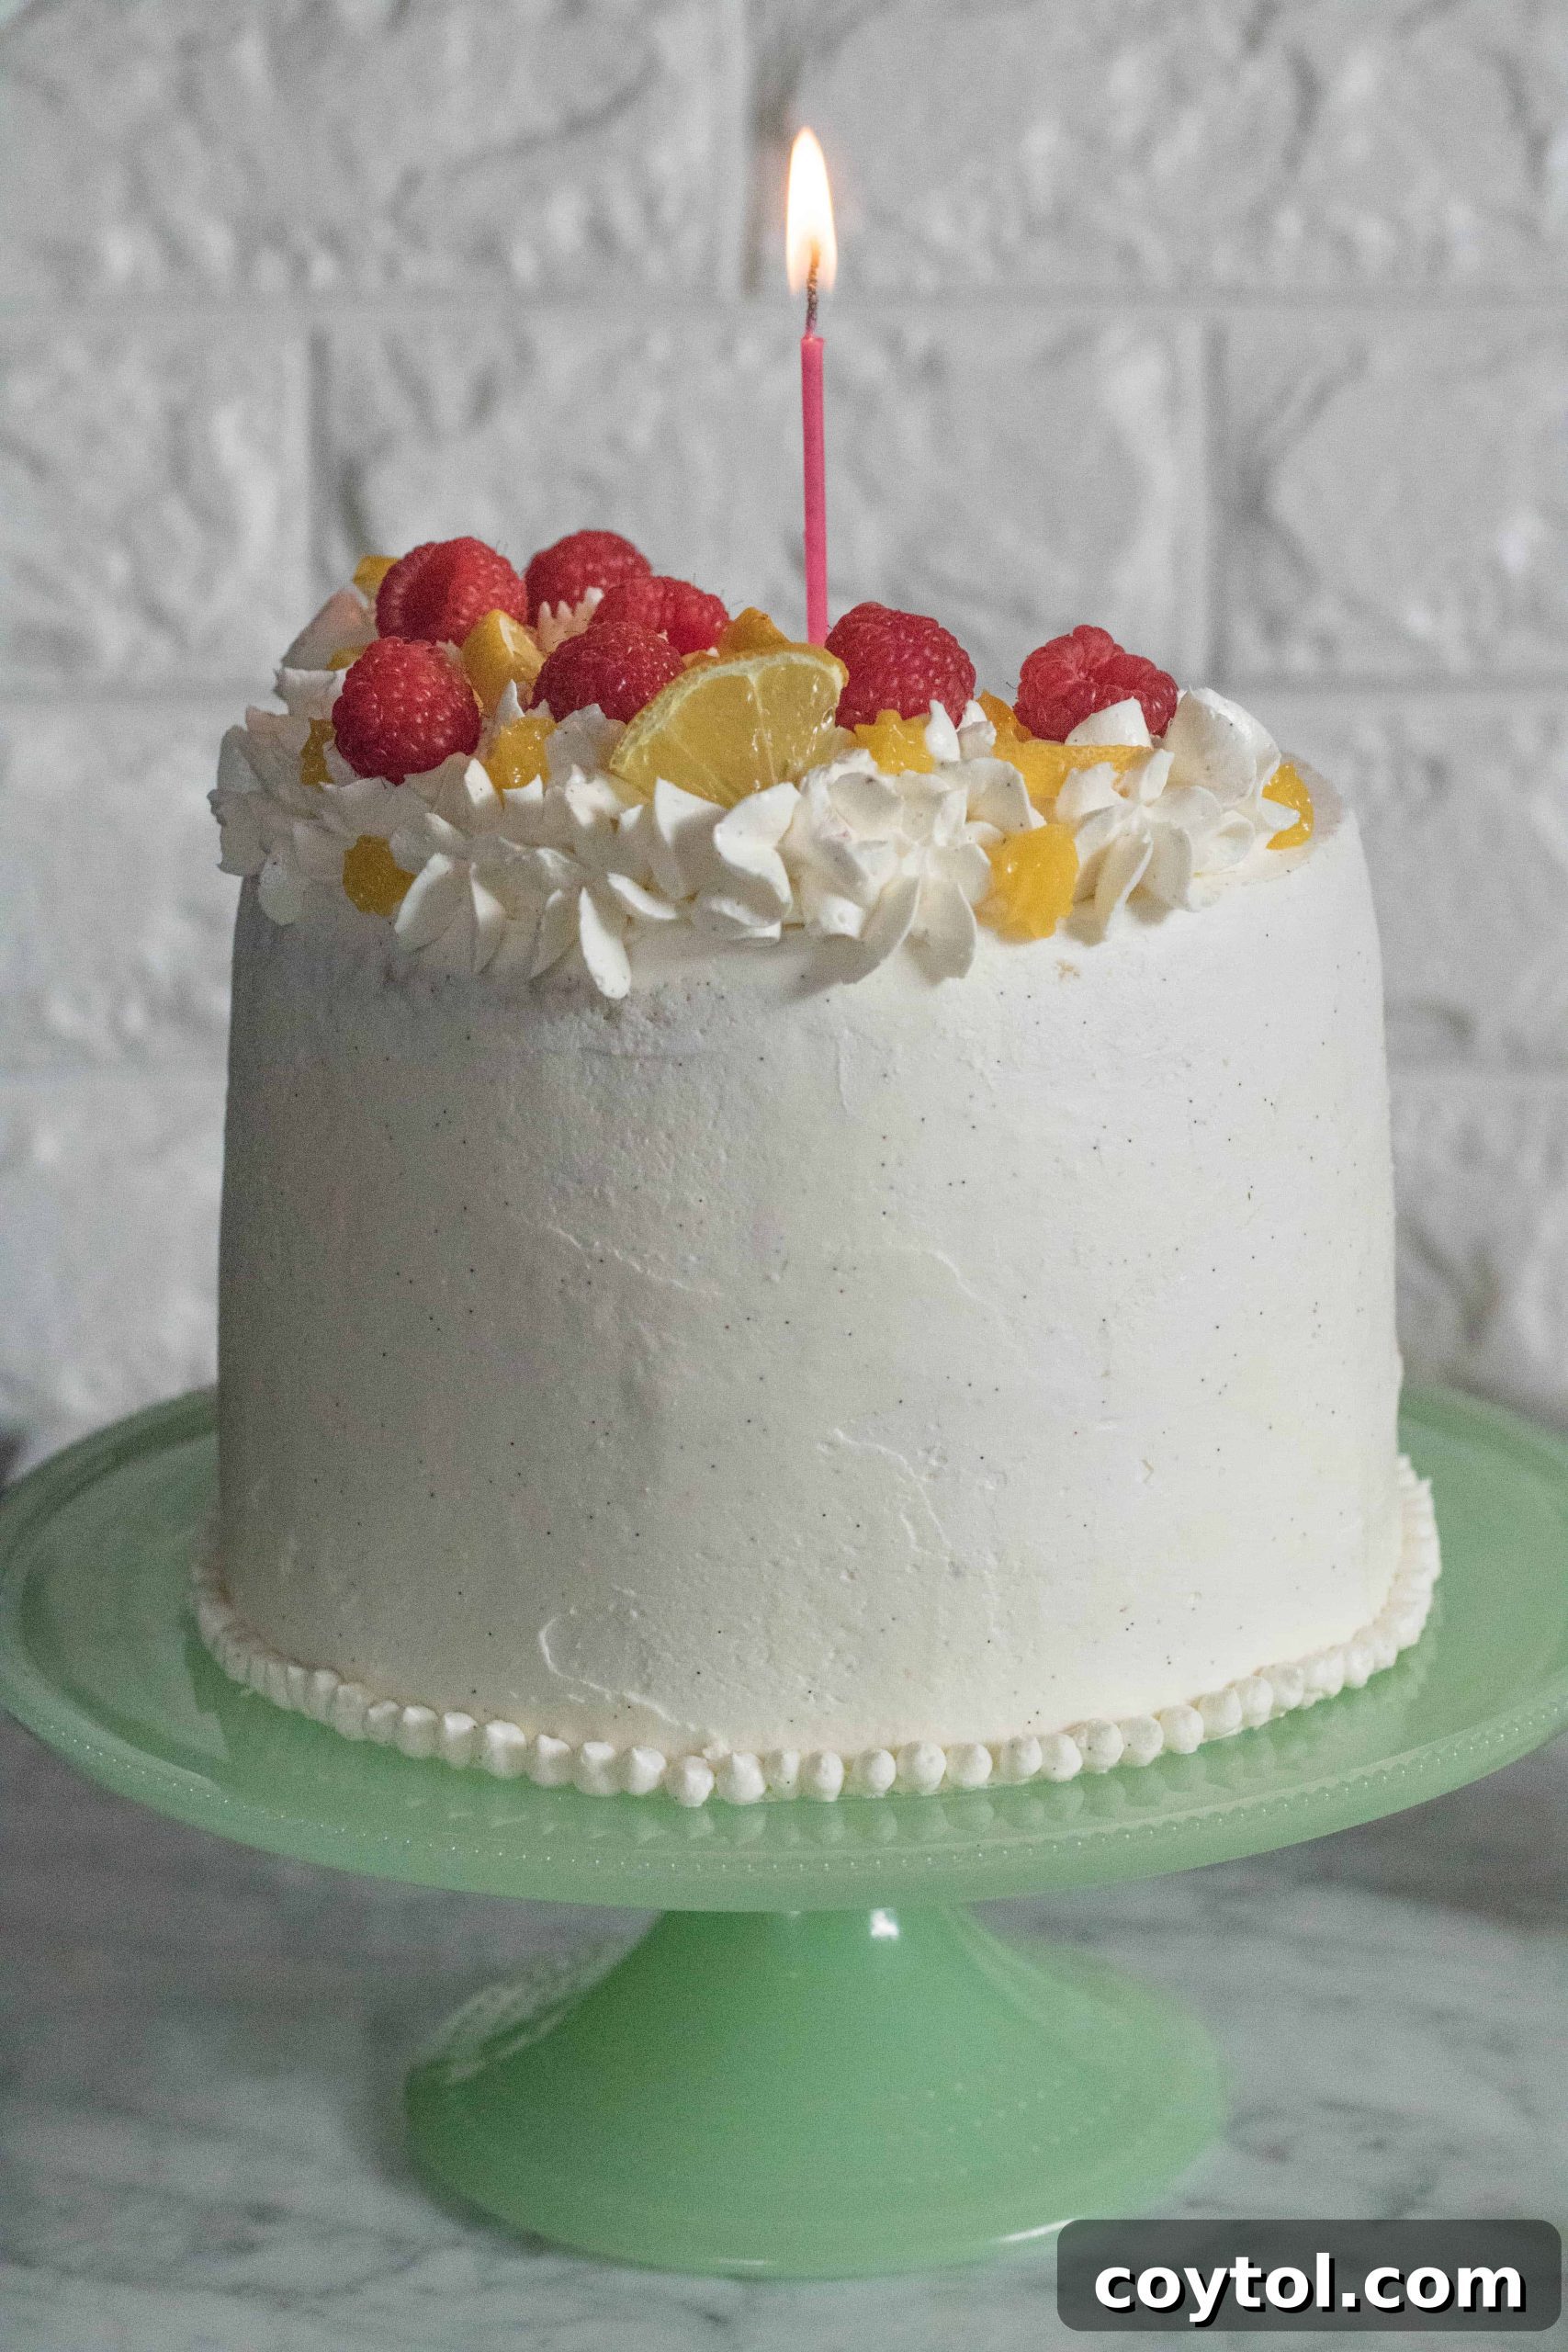
What better way to mark such a significant milestone than with a truly show-stopping dessert? Today, I am overjoyed to present this exquisite layered vanilla cake, adorned with tangy lemon curd and silky Italian meringue buttercream, created specifically for this one-year blog anniversary celebration. In full transparency, this beautiful cake actually made its debut earlier this month for my little sister’s birthday on April 2nd. Given its timing and undeniable celebratory flair, it felt like the perfect centerpiece to share with you all as we commemorate this special occasion on Lifestyle of a Foodie. Its vibrant flavors and elegant presentation embody the joy and growth of the past year.
Before diving into the delectable details of this cake, I want to offer a heartfelt message to every aspiring or struggling blogger out there. The blogging world, especially in niches like food, can feel incredibly saturated and competitive. It’s undeniably challenging, and there will be moments of doubt and frustration. However, I firmly believe that with unwavering dedication, consistent effort, and a genuine passion for what you do, success is within reach. My commitment to you, my wonderful readers, remains steadfast: I will continue to share incredible, approachable recipes that I hope will inspire joy and delicious creations in your own kitchens. This past year has taught me that true progress is a marathon, not a sprint. If you find yourself pursuing a dream, pouring your heart into it, yet feeling discouraged by slow results, remember this: don’t give up too soon. Ponder the possibilities an extra day, week, or even a month could unlock. Often, the breakthrough is just around the corner, waiting for your continued persistence. Giving up prematurely means potentially missing out on the very achievements you’ve worked so tirelessly to attain.
Now, let’s talk about the star of our anniversary celebration: this utterly mouthwatering Layered Vanilla Cake with Lemon Curd & Vanilla Bean Italian Meringue Buttercream. This recipe is a homage to three of my absolute favorite culinary elements, combined to create a symphony of flavors and textures. First, there’s the classic appeal of a perfectly baked, moist vanilla cake. Then, the delightful counterpoint of a tangy and tart lemon curd, adding a burst of citrusy brightness. Finally, the luxurious embrace of a silky smooth, vanilla bean-flecked Italian meringue buttercream. If you share my passion for these individual components, you’ll understand the magic that happens when they come together. This combination isn’t just good; it’s truly exceptional. If you’ve never experienced anything quite like it, I wholeheartedly encourage you to try this recipe. Be prepared, however, to dedicate a reasonable amount of time to its creation, as it involves a few steps. To simplify the process, many of the components for this exquisite Layered Vanilla Cake can be prepared in advance, making assembly on the big day much smoother.
Diving deeper into the first essential layer, let’s discuss the remarkable vanilla cake itself. My quest for the ideal vanilla cake base for this recipe involved extensive research. I spent hours poring over countless reviews, watching numerous YouTube tutorials, and meticulously analyzing various recipes. Ultimately, I discovered and adapted an outstanding recipe from The Preppy Kitchen. John, the brilliant mind behind that blog, had perfected a method for crafting three perfectly even 6-inch cake layers that not only boast a flat top but also retain exceptional moisture – a true hallmark of a great cake. My particular goal was to find a recipe that eliminated the need for trimming, as I’m always keen to minimize food waste. John’s expertise highlighted a crucial technique for achieving such consistent results: using fabric strips (or cake strips) wrapped around the baking pans. These ingenious strips work by insulating the edges of the cake, slowing down their baking process and allowing the entire cake to bake at a more uniform temperature. Without this simple yet effective trick, the outer edges of the cake tend to bake and set much faster than the center, inevitably leading to an undesirable dome in the middle – a problem these fabric strips elegantly solve, ensuring perfectly level layers every time.
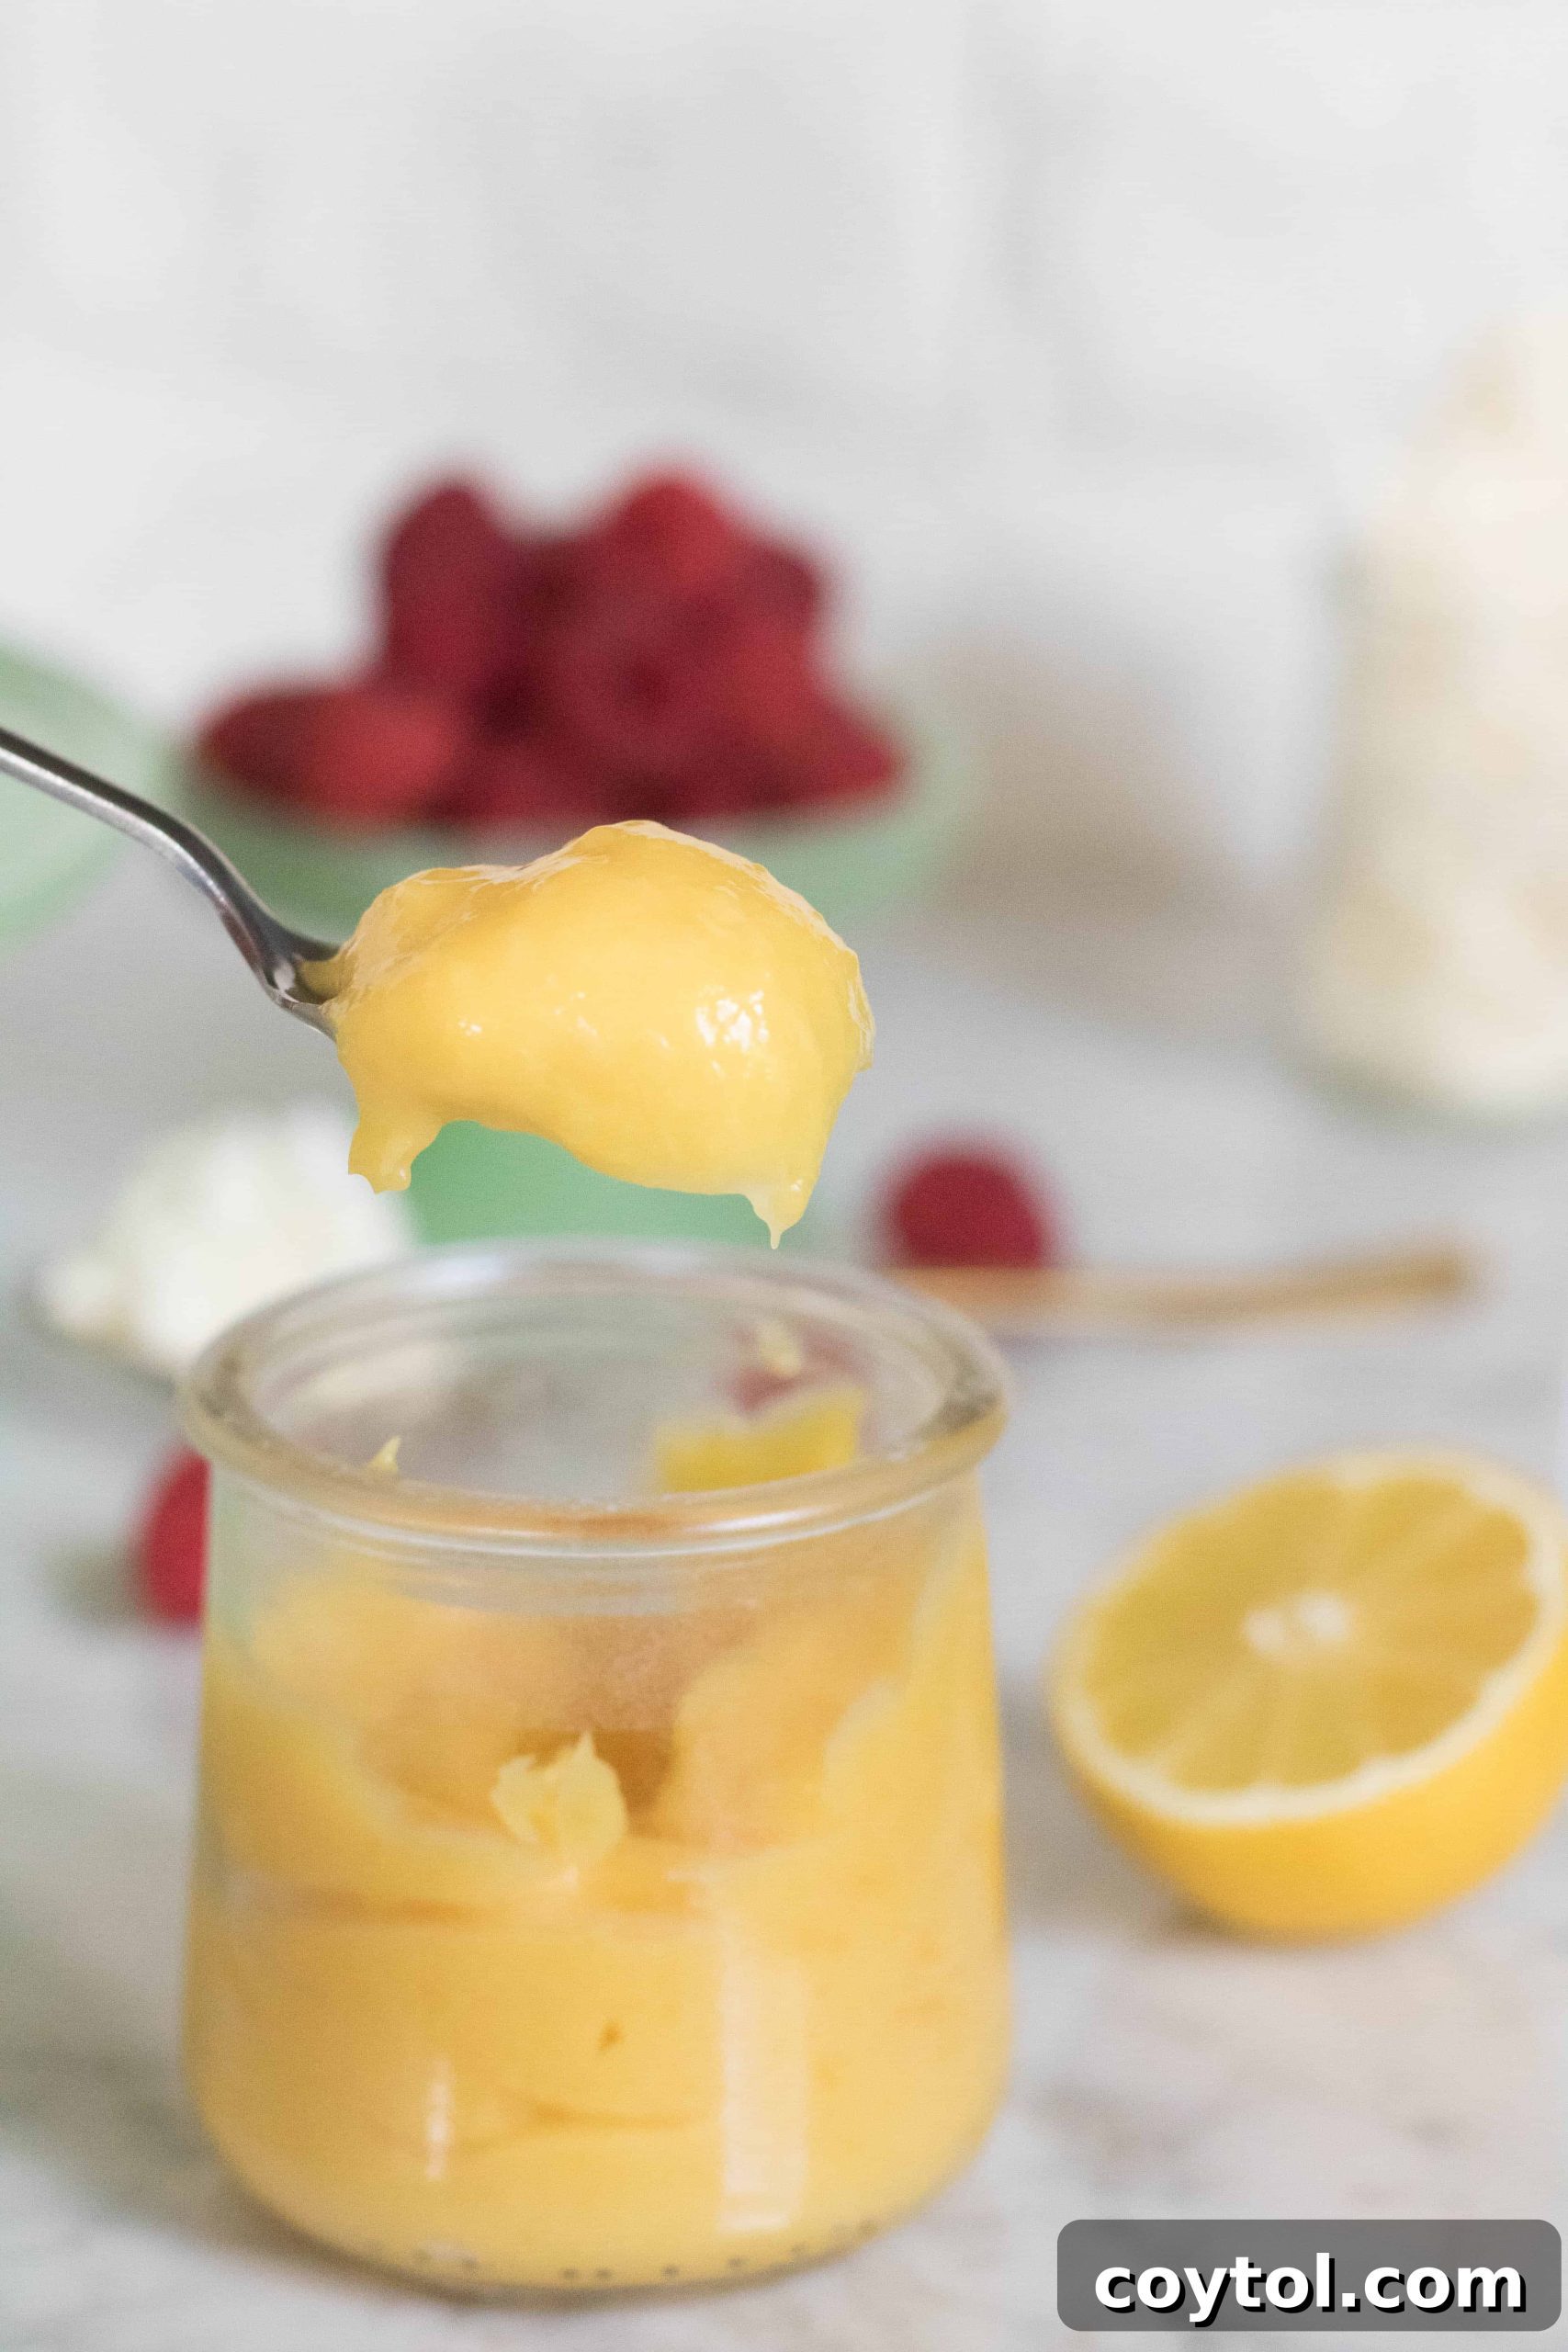
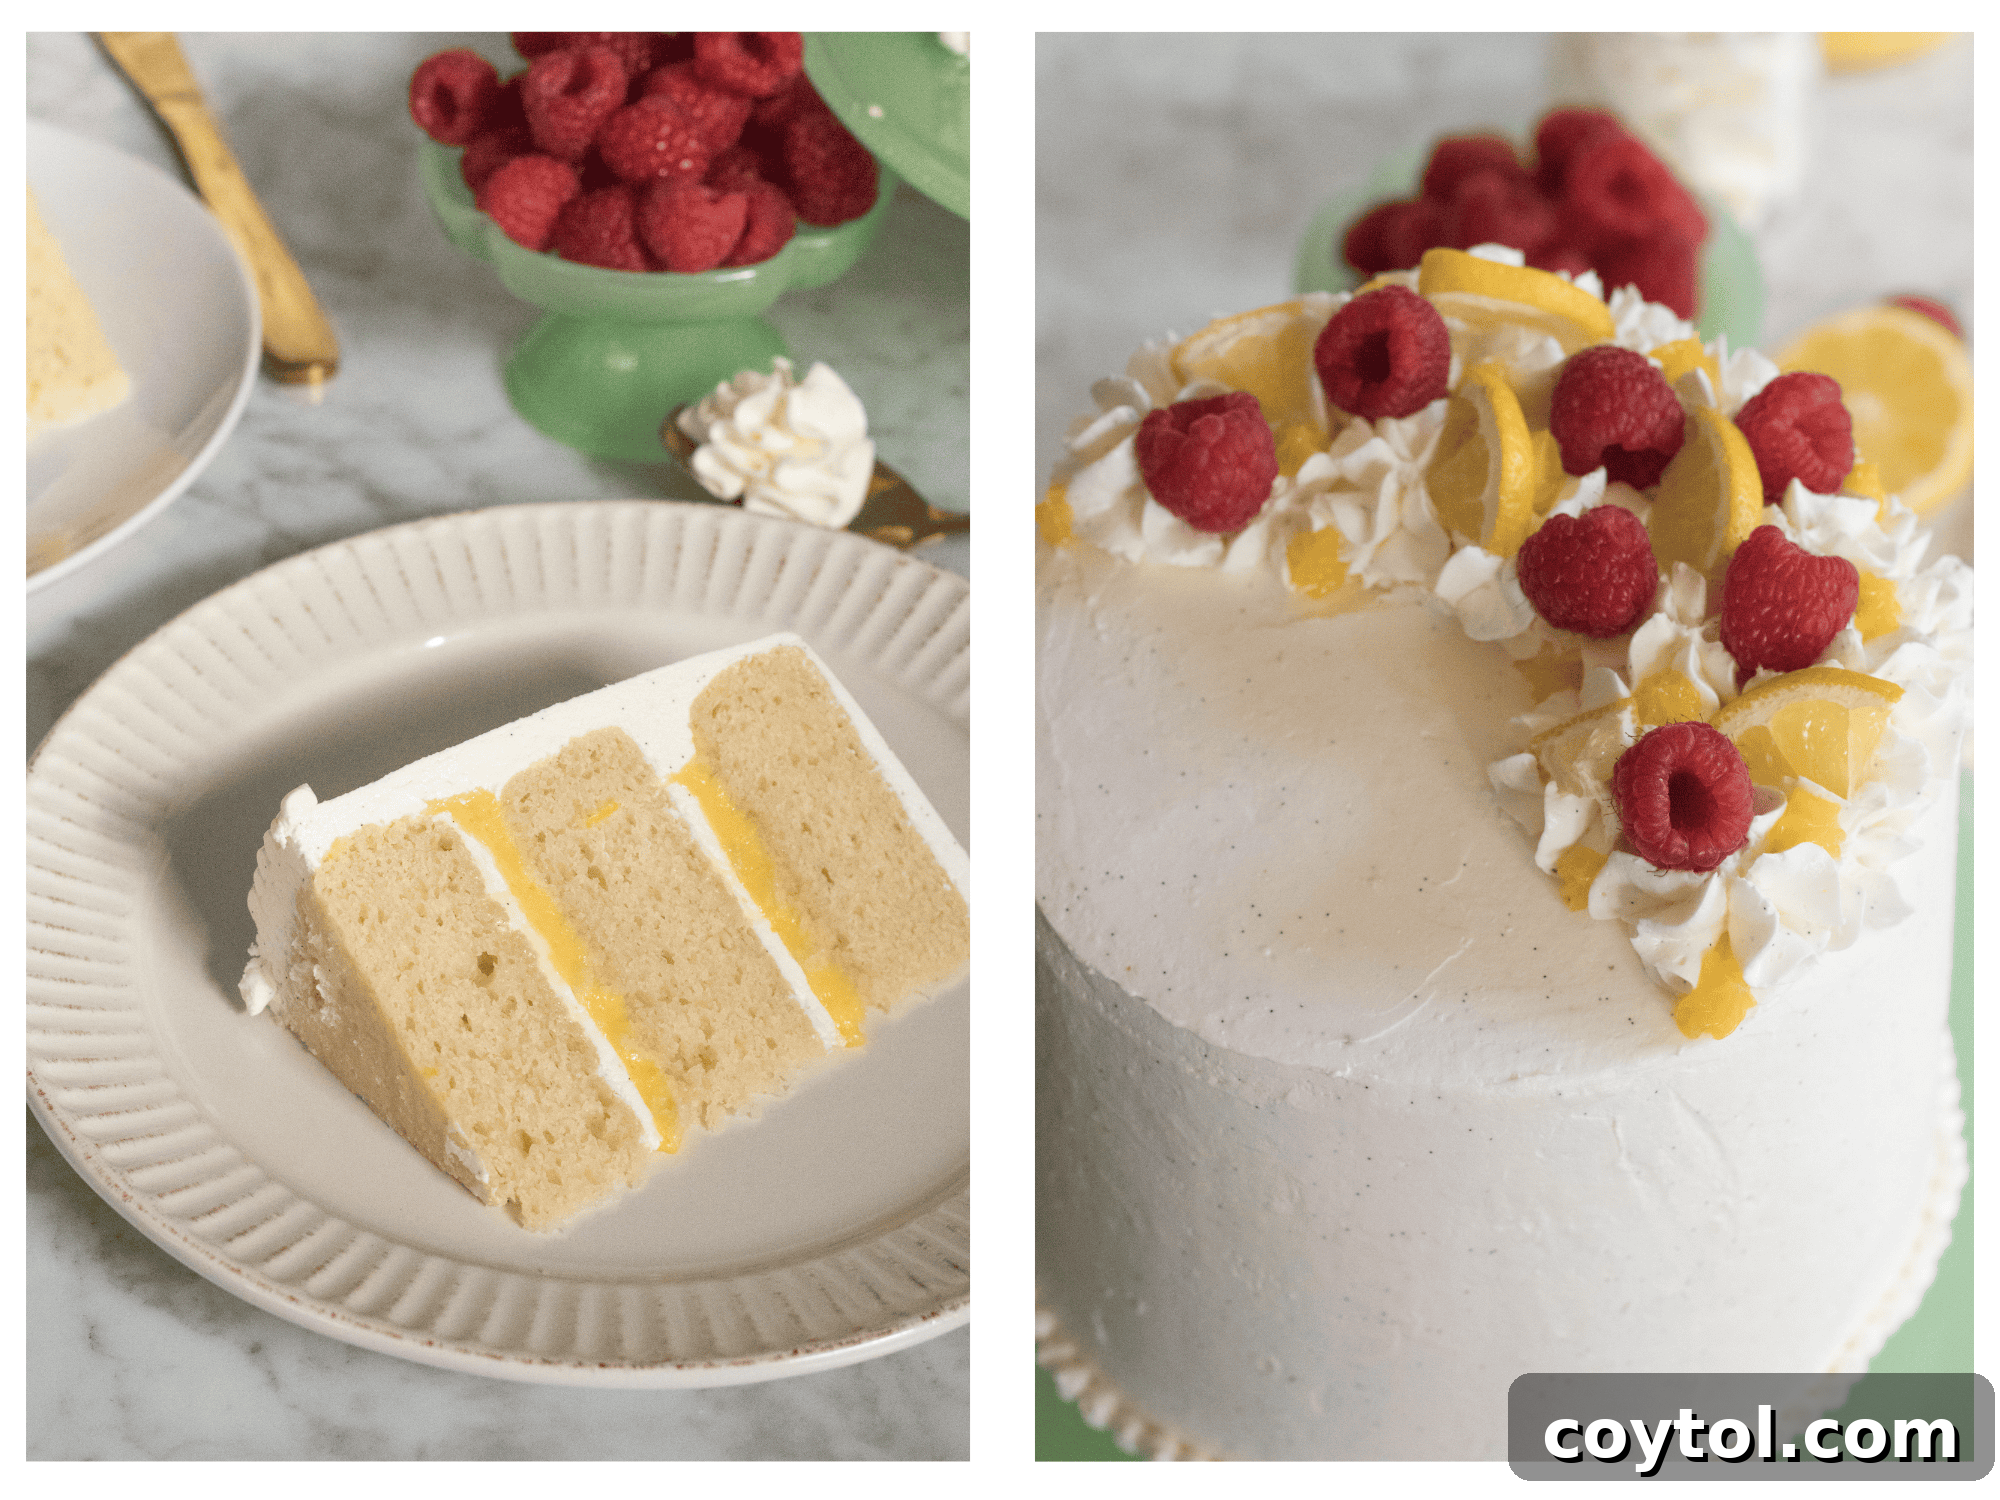
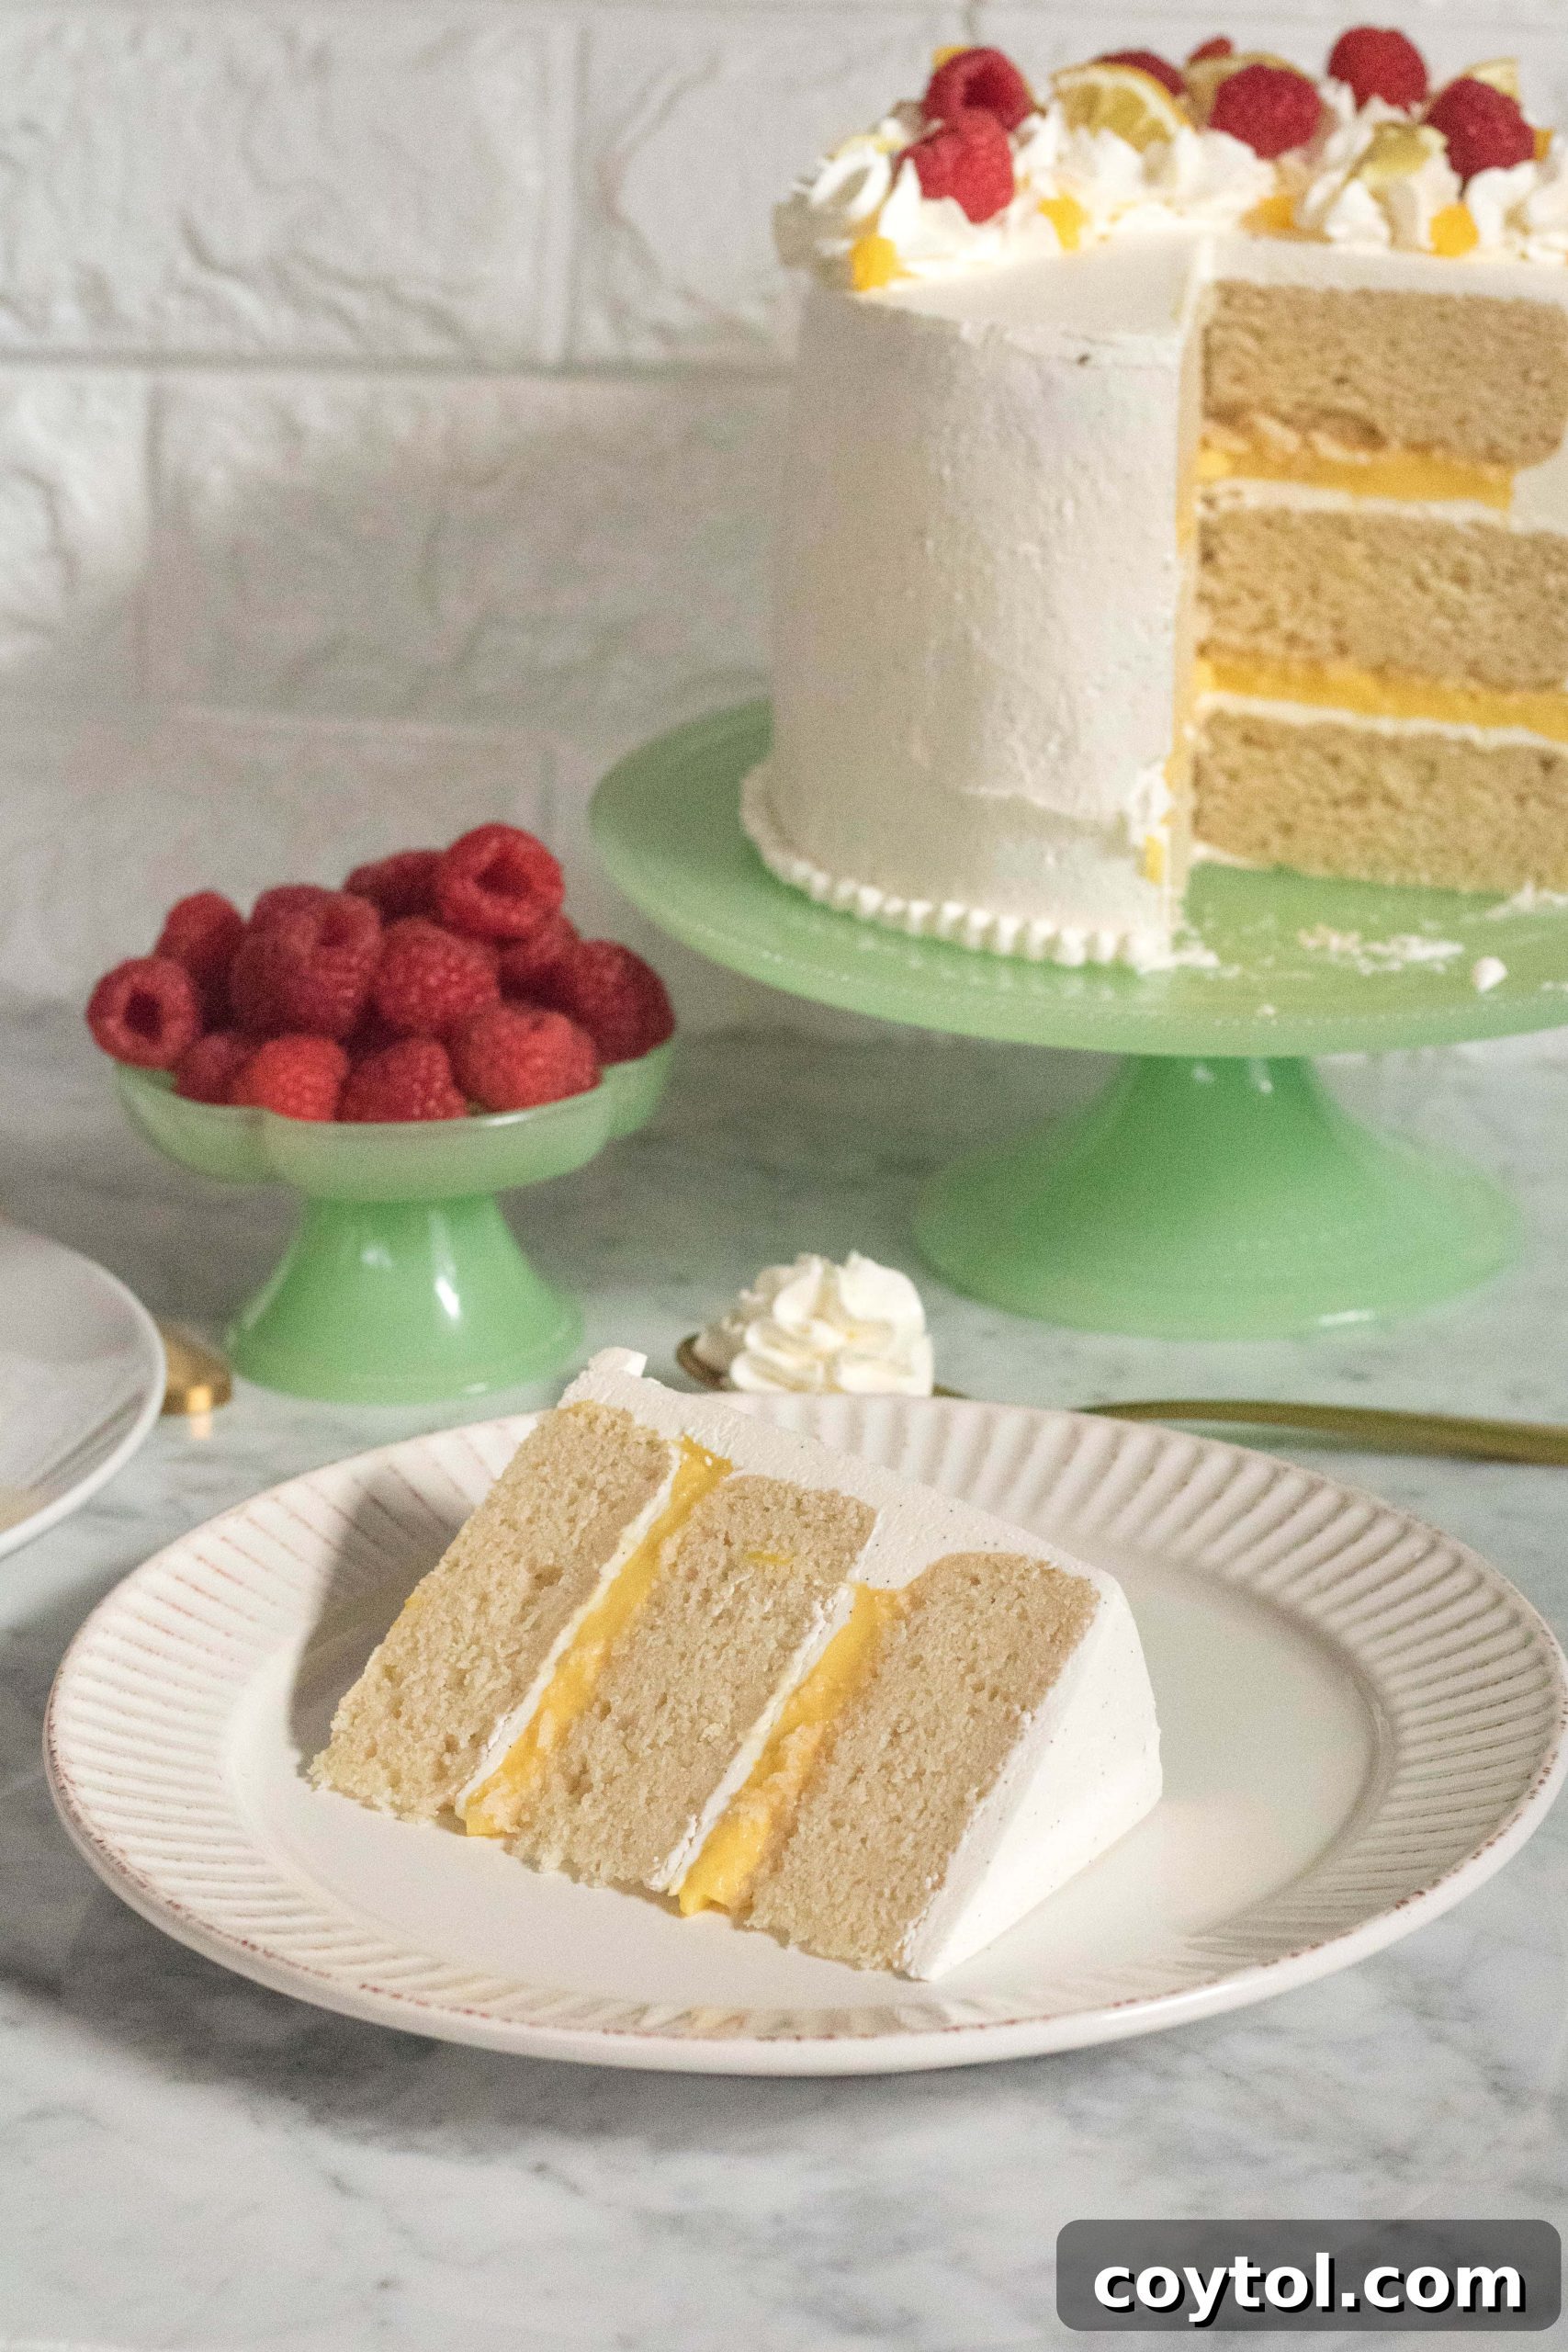
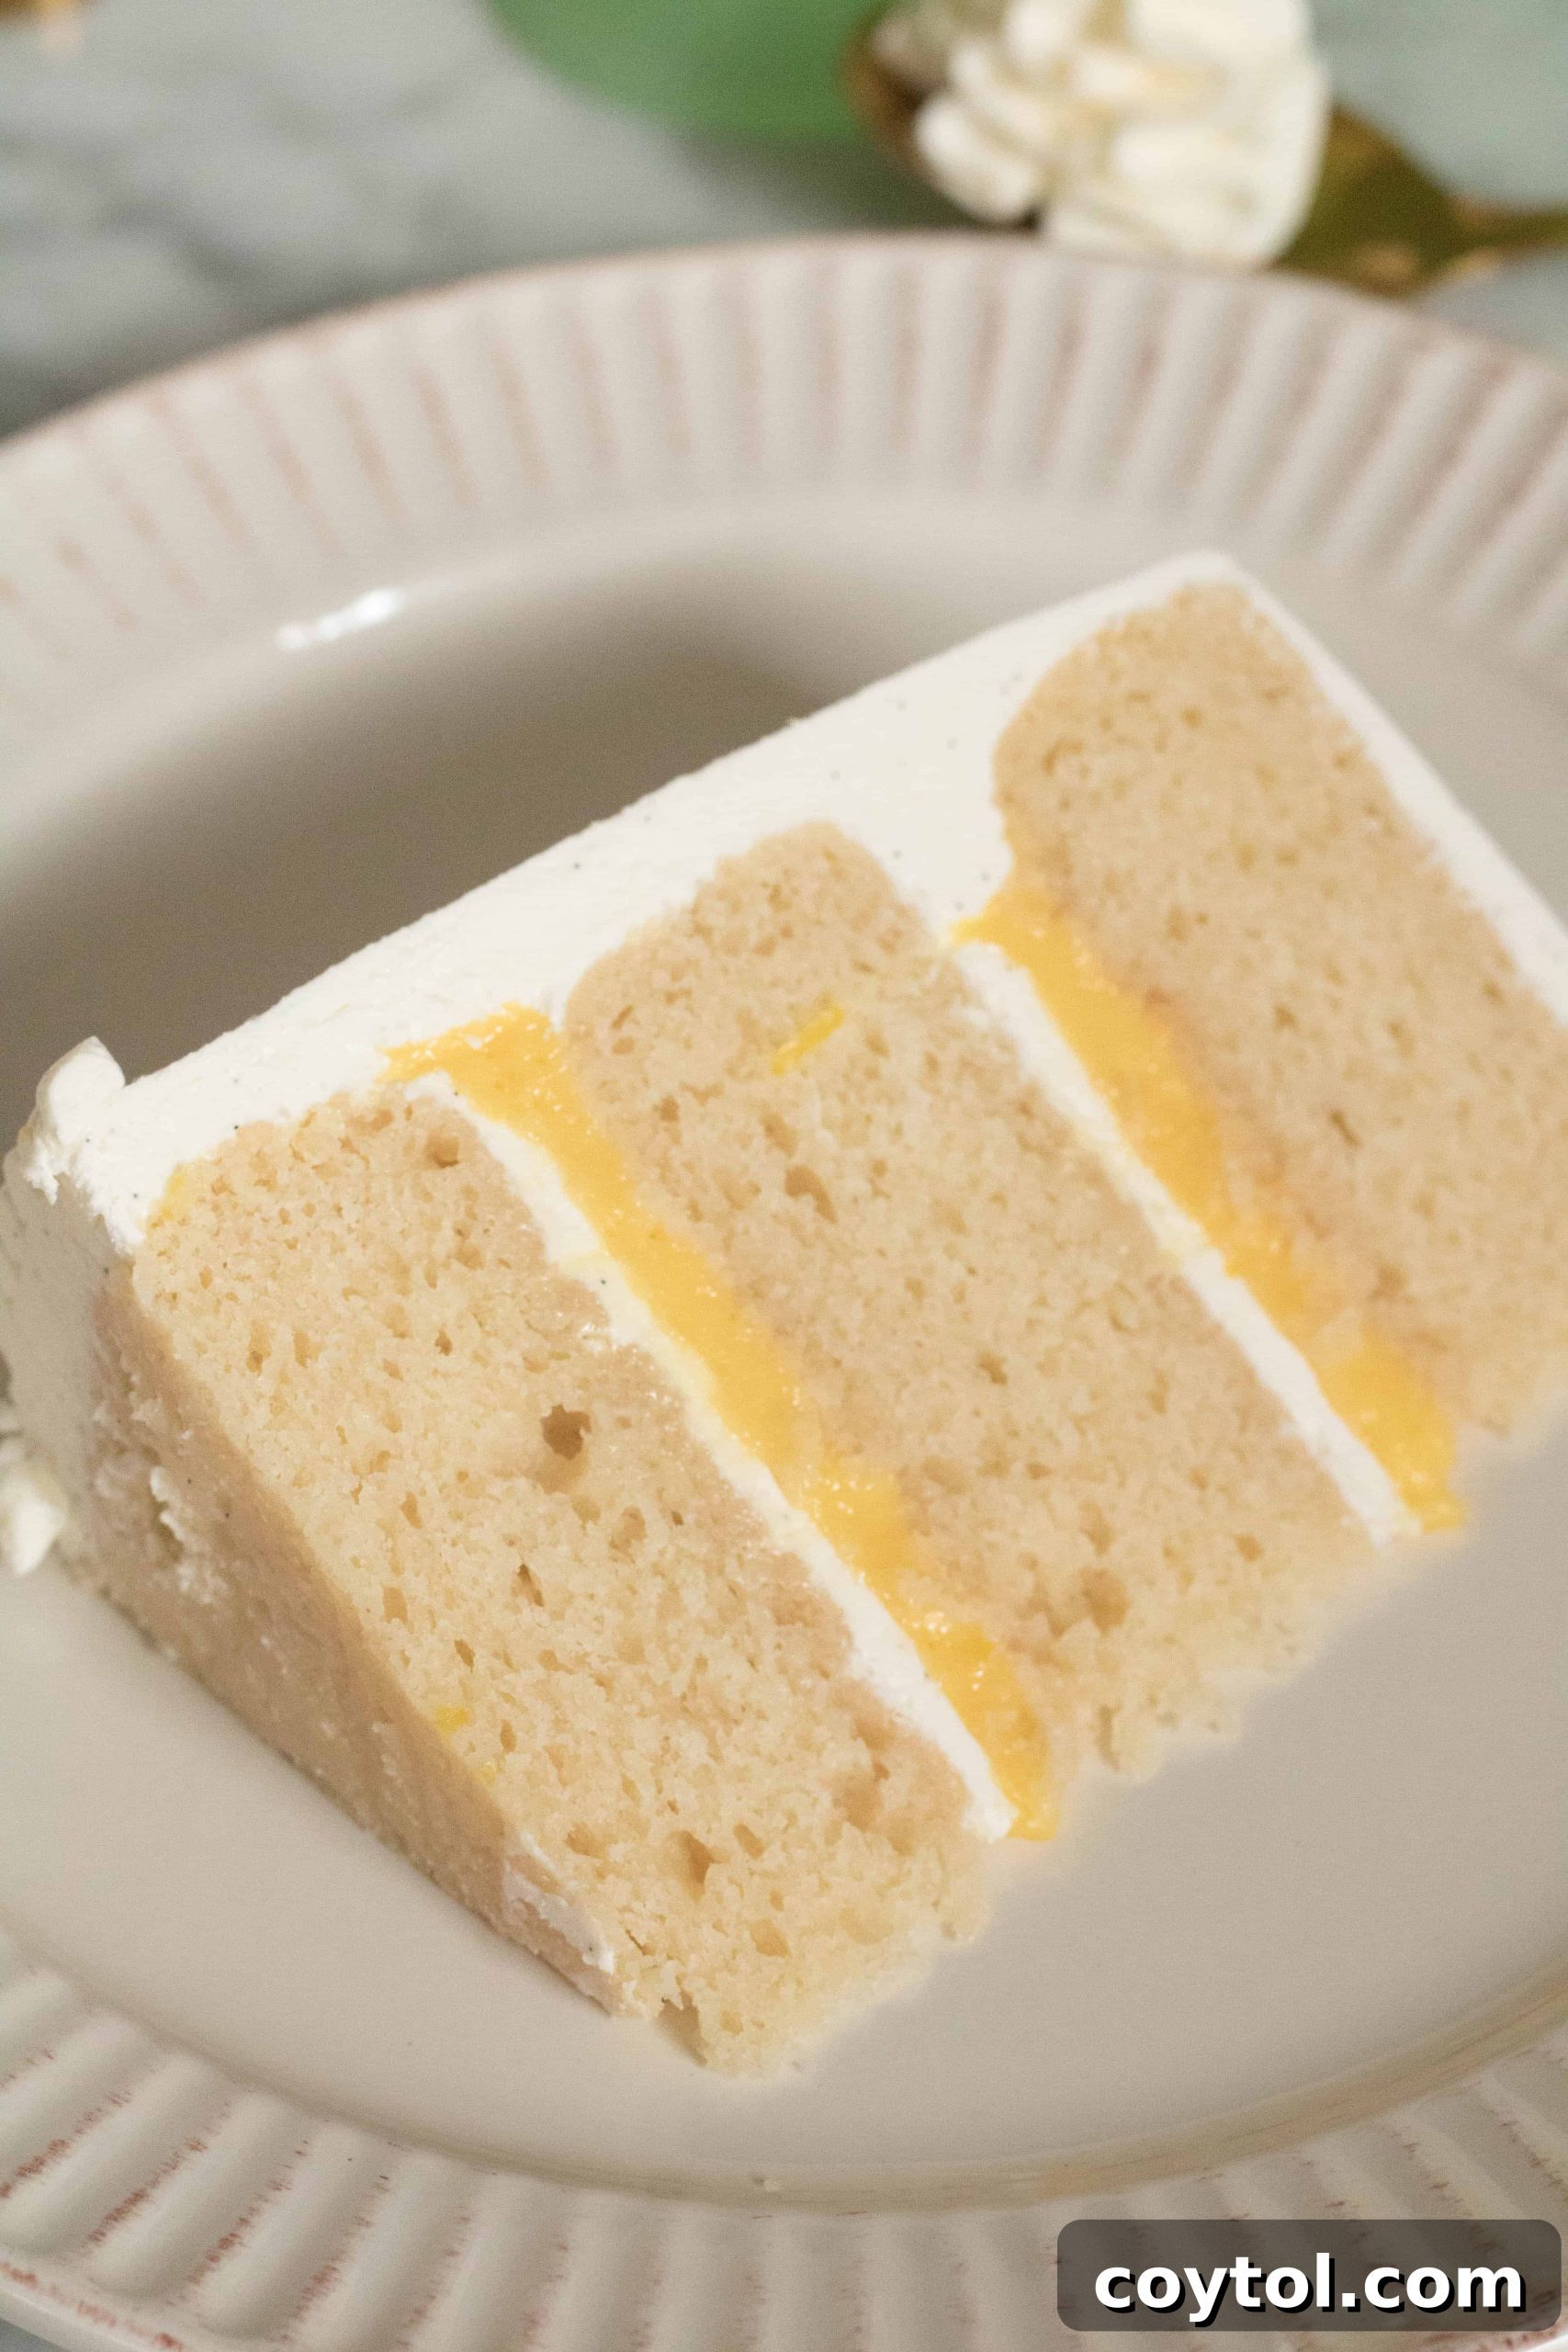
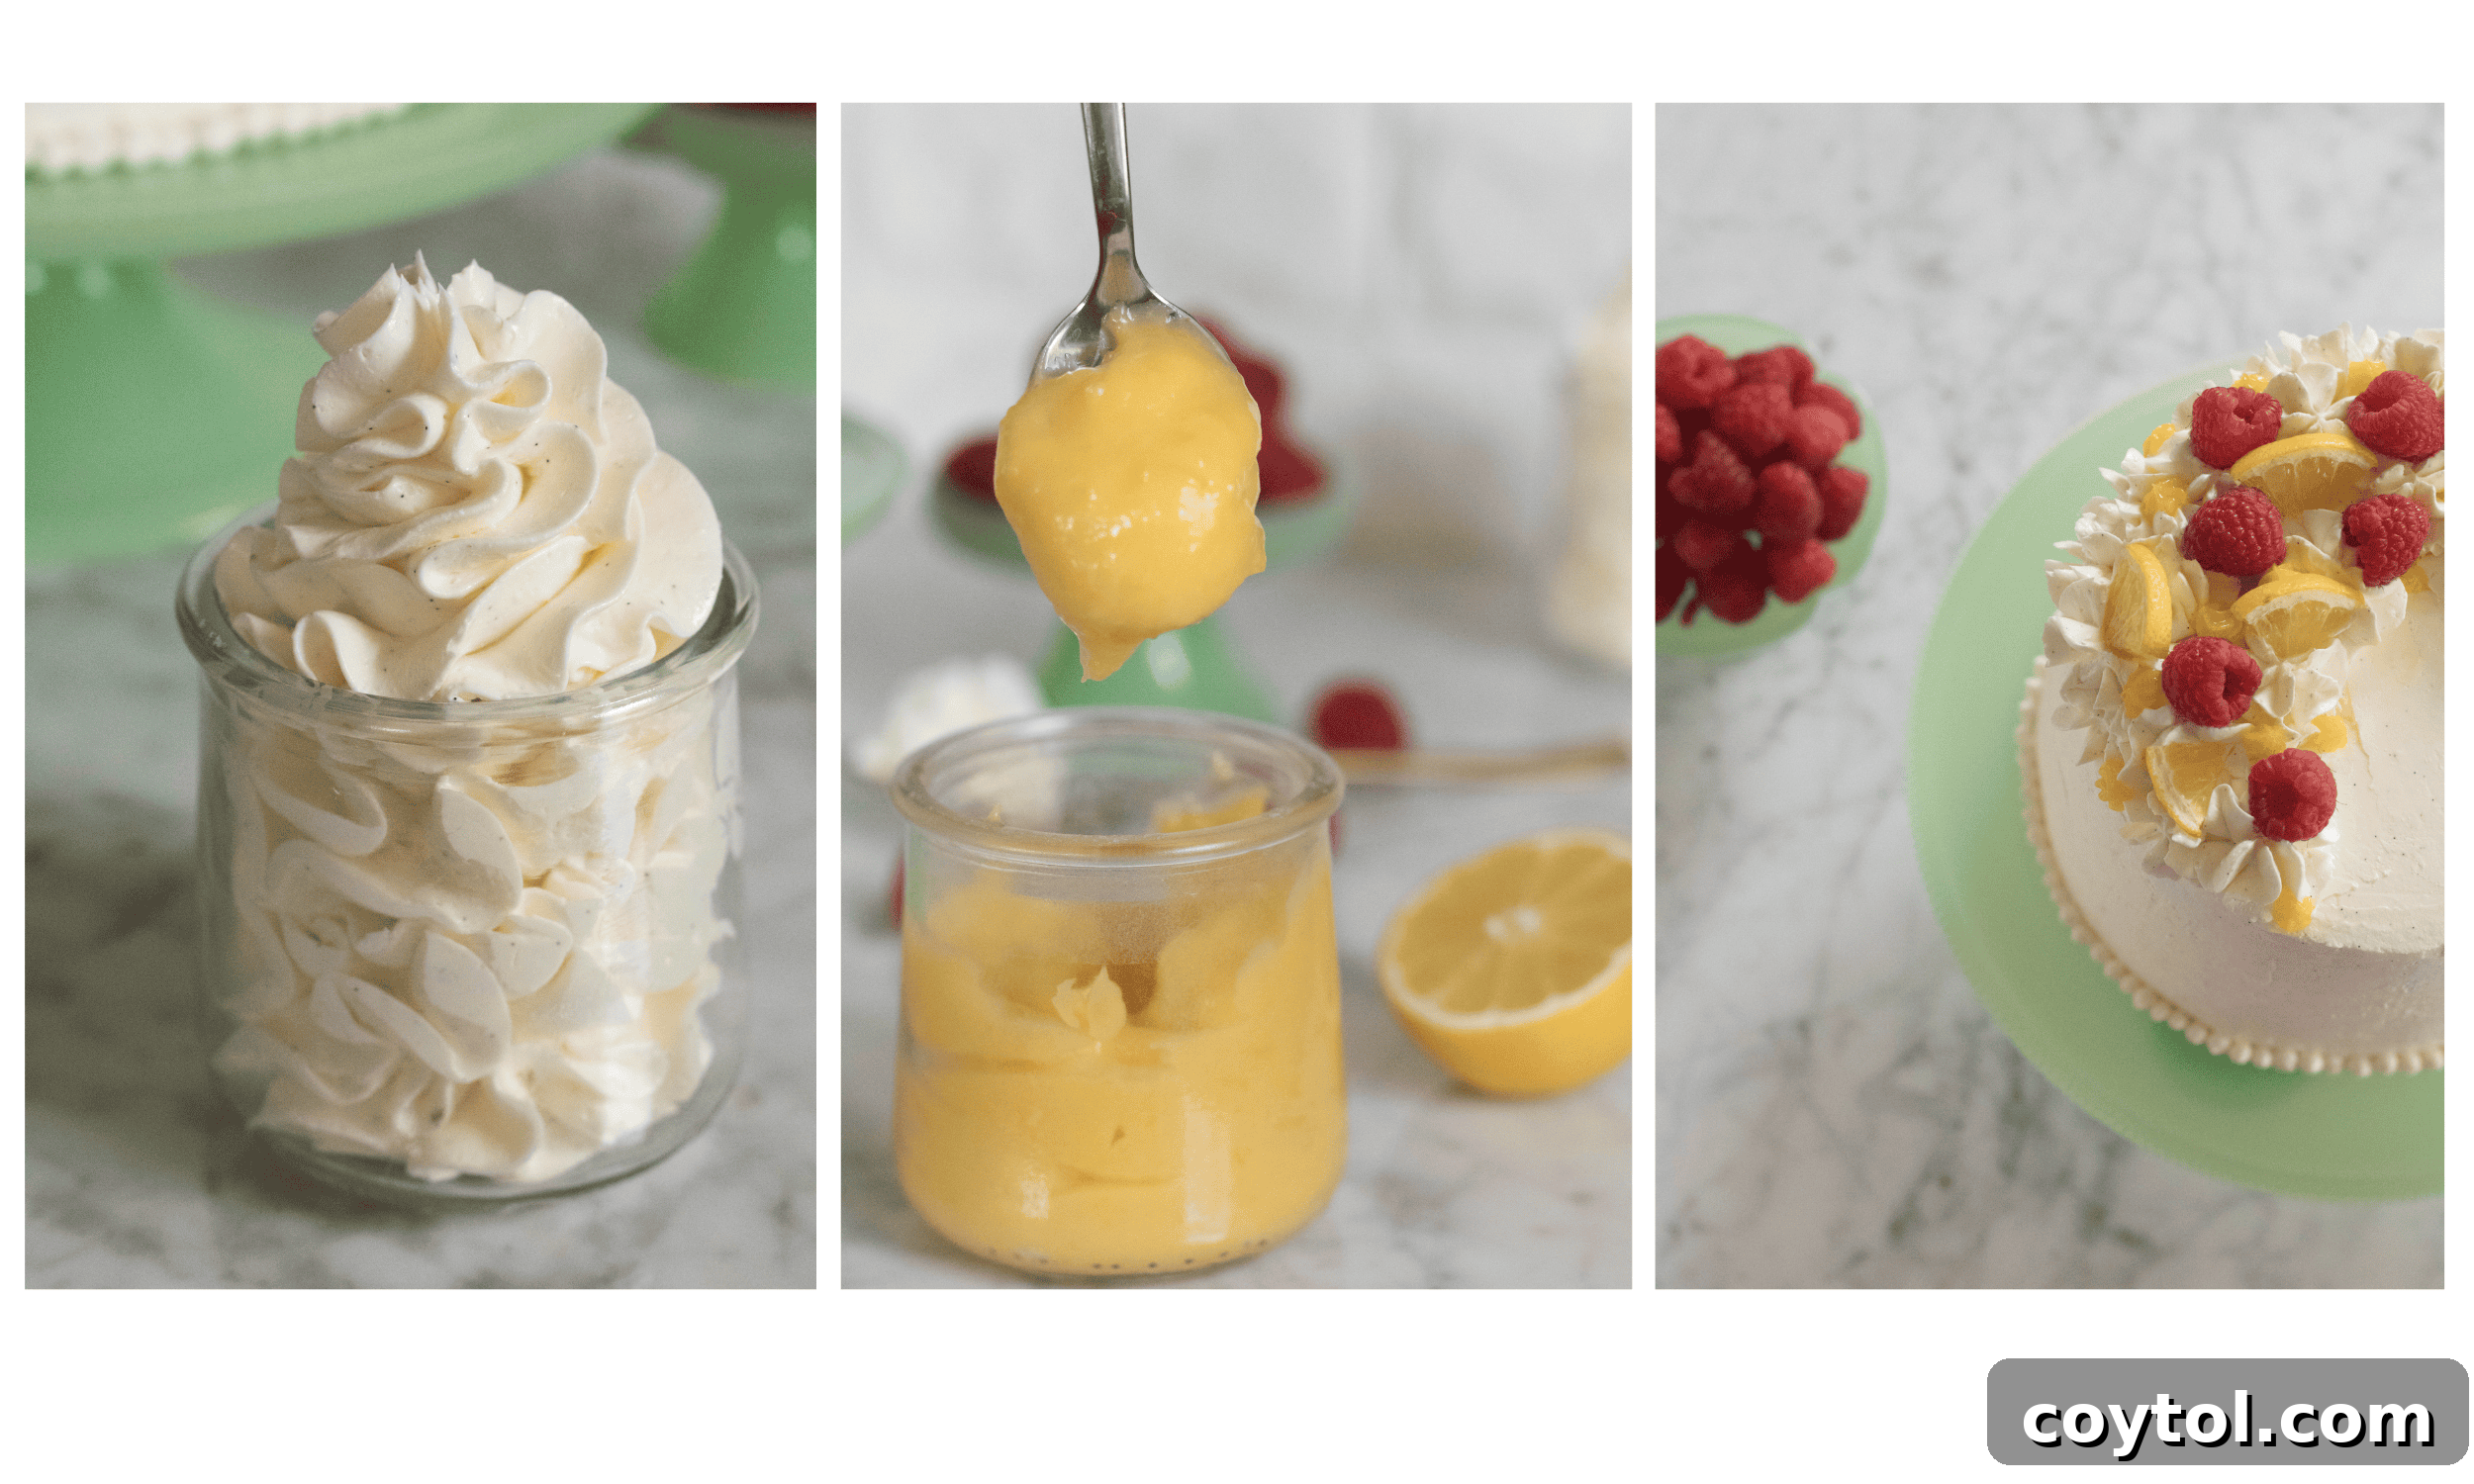
Following our discussion of the cake layers, let’s move on to the star filling: the vibrant lemon curd. For me, lemon curd holds a special place in my heart and my culinary history. It’s a creation I’ve been perfecting since childhood, largely due to my mother’s enduring love for lemon pies, which provided ample opportunities for practice. My skills were further refined during a three-month internship with a highly acclaimed pastry chef in Las Vegas, where making lemon curd became a bi-weekly ritual. This intensive experience solidified my understanding of the techniques required to achieve a truly perfect curd. The process begins with gently heating fresh lemon juice and zest. This warm liquid is then carefully tempered into a mixture of sugar and egg yolks, a crucial step that prevents the eggs from scrambling. Finally, cold butter is hand-blended into the warm curd, contributing to its luxurious texture and stability. The result is a beautifully balanced, sweet-tart, and incredibly stable lemon curd that stands up wonderfully within the layers of this cake. Each slice reveals distinct, inviting layers, making for an aesthetically pleasing and utterly satisfying dessert experience.
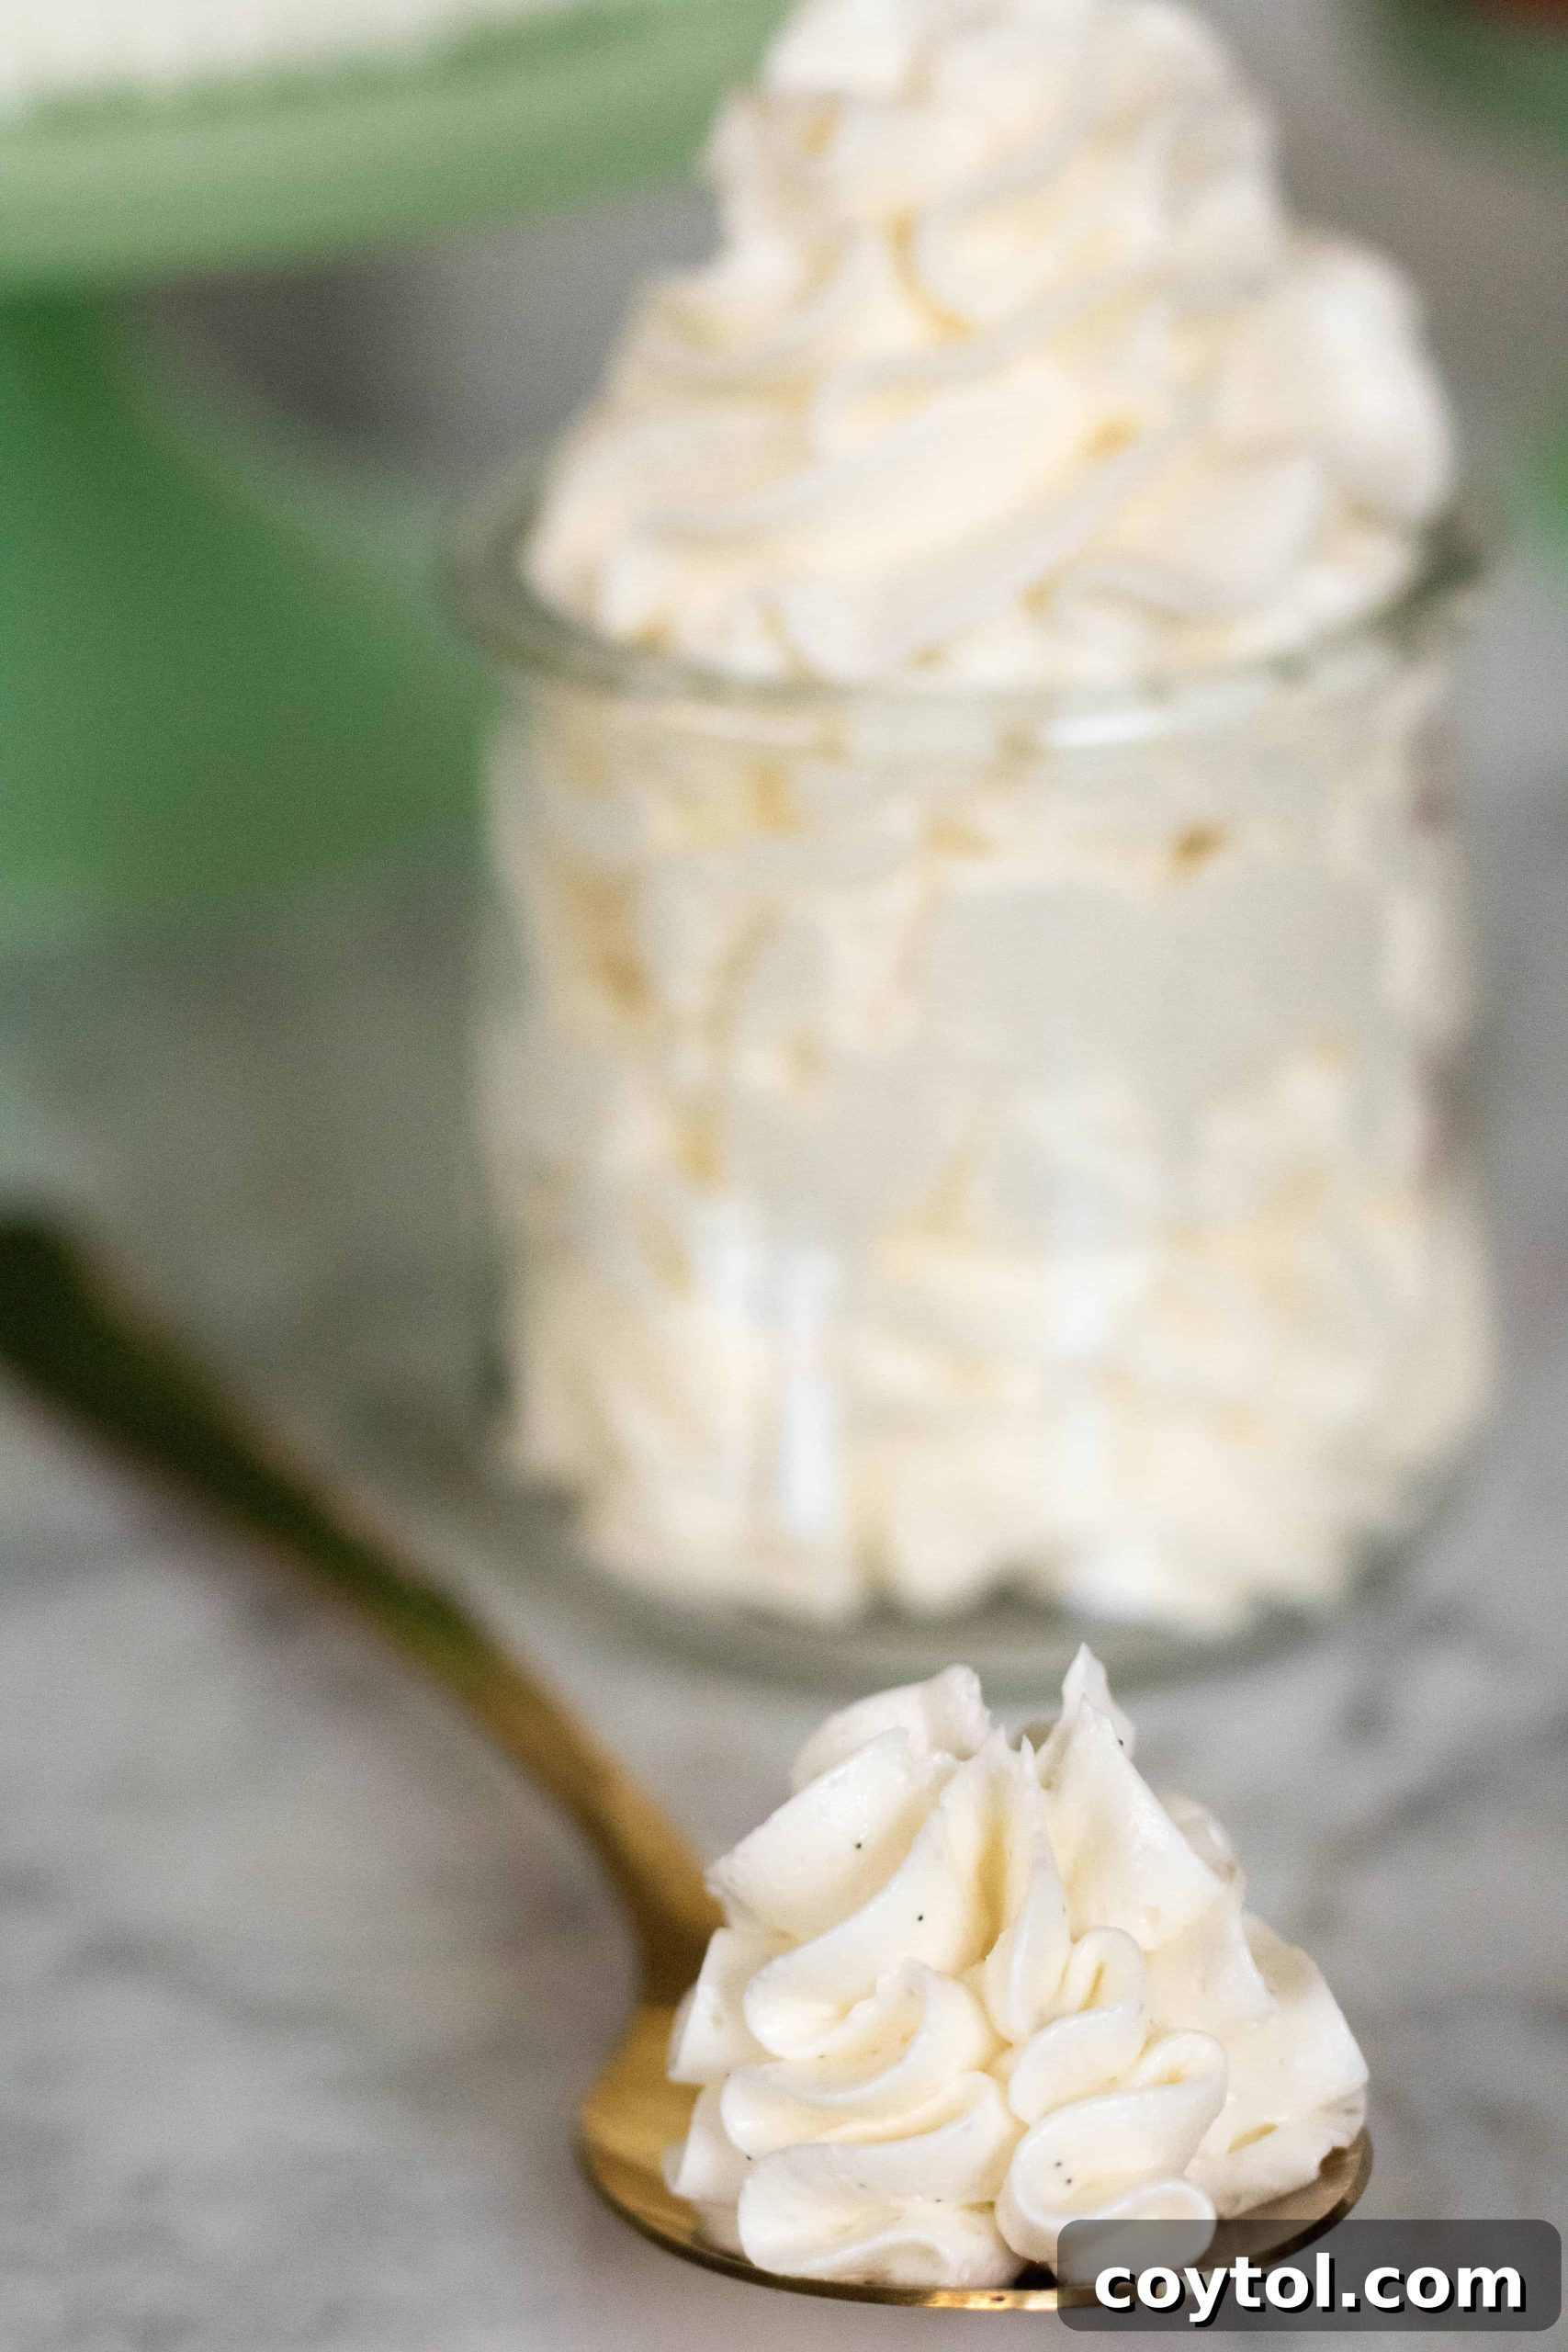
Finally, I’ve saved the best for last: the exquisite Vanilla Bean Italian Meringue Buttercream – a component I am particularly proud of mastering. For years, I relied on traditional American buttercream, but I often found it overwhelmingly sweet and heavy, frequently overshadowing the delicate flavors of my cakes and fillings. It consistently felt too dense, detracting from the overall balance of the dessert. This time, I decided to challenge myself and explore new territory. The journey to perfecting Italian meringue buttercream was a delightful, albeit trying, experience, and I couldn’t be more thrilled with the outcome. My initial attempt, following a recipe from Yolanda’s popular baking website, “How to Cake It,” encountered a significant hiccup. Despite whipping for over 20 minutes, my meringue stubbornly refused to cool sufficiently. Then, in an eager moment, I added two small chunks of room-temperature butter prematurely. Instantly, the entire mixture collapsed into a dishearteningly soupy mess. A definite fail! Recognizing the error, I set aside the compromised batch in the freezer, hoping to salvage it later, and immediately started fresh. For the second attempt, I paid meticulous attention to the details. Ensuring the meringue reached the precise, cooler temperature was paramount – the mixing bowl itself had to feel cool to the touch. Then, with careful patience, I began incorporating the butter, cube by cube, allowing each addition to fully emulsify. Gradually, the buttercream began to transform, coming together into a beautifully smooth, stable, and incredibly silky consistency. The subtle flecks of vanilla bean not only imparted an unparalleled depth of flavor but also lent a sophisticated visual elegance to this magnificent frosting.
Tips and Tricks to Make the Best Layered Cake
Achieving a perfectly layered cake can feel intimidating, but with the right techniques, it becomes an incredibly rewarding endeavor. To help you elevate your baking game, I am incredibly proud to have collaborated with two other exceptionally talented food bloggers, Ashley from Foodislife and Ai from Aimadeitforyou. They’ve graciously shared their invaluable tips and tricks for mastering the art of layered cakes, from preparing your pans to the final decorative touches. These insights are designed to demystify the process and empower you to create stunning, professional-looking cakes right in your home kitchen.
Getting the Cakes Out of the Pan:
- One of the biggest keys to baking a beautiful cake is to make sure that the cake is going to come out of the pan! You’ve put in time, effort, and maybe even a little sweat from using elbow grease, so it’s incredibly heartbreaking when your beautifully baked cake stays stuck to the pan. Greasing the cake pan and lining it with parchment paper is so easy yet crucial. Trace the bottom of your pan on a piece of parchment paper with a pencil and then cut it out with scissors. You could even go an extra step and line the sides of the pan as well for an easier release!
Ai from Aimadeitforyou
Perfect Leveling:
- Occasionally the top of the cake bakes unevenly. If this happens, place the top face down on the cake board. On the side that it is uneven, place a dollop of icing on the cake board, and gently press the cake down to make it level. This also prevents the entire cake from moving around on the board once it’s decorated!
Ashley from Foodislife
- The most accurate way to make sure that the thickness of the cake layers are the same is to weigh the batter so each cake pan has equal amounts of batter in them. When pouring the batter into the cake pans, place each pan on a kitchen scale and make sure each weighs the same. If you don’t have a kitchen scale, you could use measuring cups, or eyeball it. It won’t be as accurate as using a scale, but it’ll do in a pinch.
Ai from Aimadeitforyou
- If your cakes have uneven heights or have domed tops, you could use a ruler and mark the sides of the cake and slice the top off. Lay your clean ruler against the cake vertically and go around the cake making marks with your knife at the height you want it to be at. Once you have several marks, use your knife to carefully slice the excess off while making sure to connect the marks you made. When I make cakes for a client, in addition to slicing the domes off, I also slice the caramelization off the bottom and sides. This creates for a more even and beautiful look when the cake is sliced.
Ai from Aimadeitforyou
Cake Layering:
- The easiest way to add icing to layers and ensure they’re level is to take a piping bag and fill it with icing. Pipe all around the edges first, and then move towards the inside of the cake, ensuring you’re piping it evenly across the entire layer. Gently spread the icing out with a spatula, and repeat for each layer.
- If the cake is being layered with a jam or custard, pipe a line of icing around the inside edges of the cake to create a small “barrier.” Spread the filling in the middle, stopping around the inside edges of the icing. This will stop it from bleeding through the icing on the outside of the cake.
Ashley from Foodislife
Cake Decorating:
- Cakes are easier to work with when they are frozen. They are more forgiving and less crumbly. Wrap each cake in plastic wrap, and place in the freezer for at least two hours. Remove it from the freezer, apply the filling to each layer, and decorate the outside with your icing of choice.
- If there’s no time to freeze the cake, do a “crumb” coat on the outside of the cake. A crumb coat acts as a sealer for all those cake crumbs. Using an offset spatula, place a dollop of icing on the top of the cake, and evenly spread a thin layer of the icing all around the outside of the cake (top and sides). Place it in the fridge for 20-25 minutes to firm up, and proceed to decorate.
Ashley from Foodislife
Practice makes perfect when it comes to cake decorating. Once you get a few cakes under your belt, it’s smooth sailing and becomes easier each time!
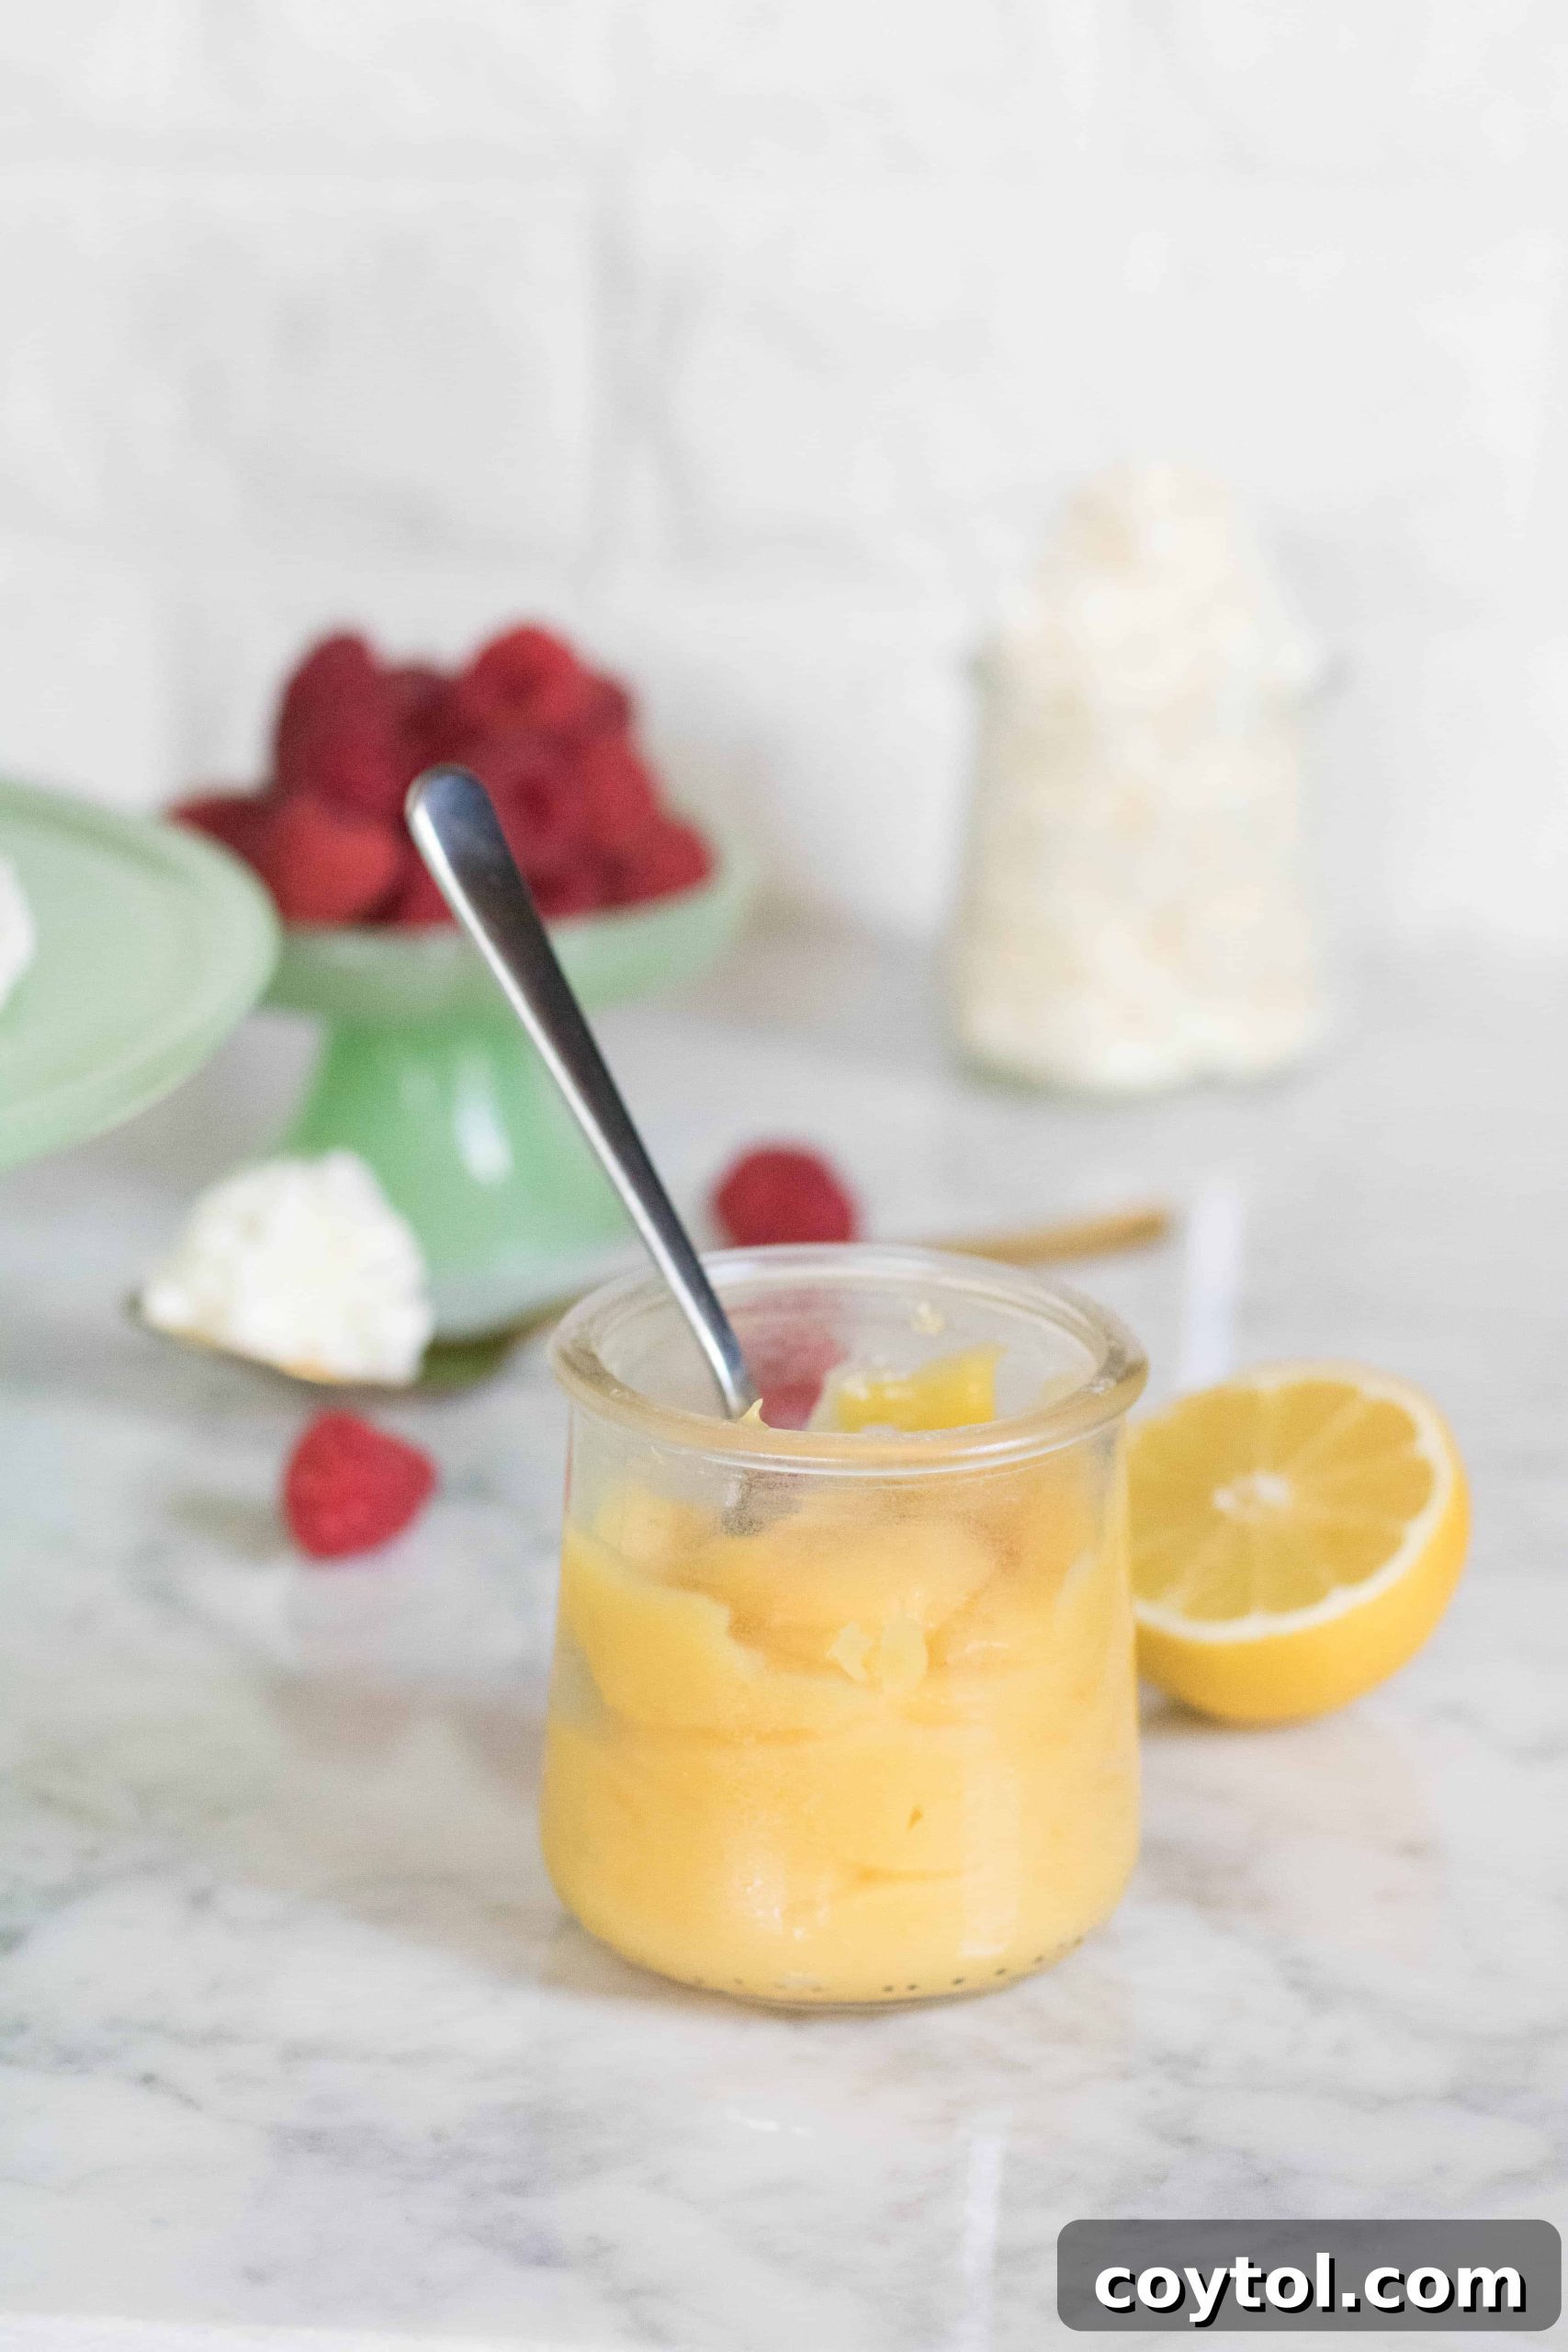
Lemon Curd Recipe
Thick Lemon Curd
Ingredients
- ½ cup fresh lemon juice about 3-4 lemons
- 3 tbsp grated lemon zest
- ⅔ cup caster sugar
- 8 egg yolks
- 6 tbsp butter
Instructions
-
Start by heating up the lemon juice and the lemon zest in a small pot.
-
While the juice is heating up, whisk the egg yolks and the sugar together in a separate bowl.
-
When the juice mixture comes to a boil, slowly pour it in the egg yolk mixture a little at a time while whisking vigorously. This will temper your egg yolk mixture.
-
Return the mixture to the pot, whisk over medium heat until the lemon curd thickens.
-
Turn off the heat and let the curd rest for 5 minutes, add in the butter and use a hand blender to get that incorporated in.
-
Pour the lemon curd into a large bowl and cover with saran wrap, making sure that it touches the curd to avoid it creating a film. Place in the fridge to chill for 30 minutes to an hour.
Notes
- This recipe will yield 1 & 1/2 cup!
- This lemon curd can stay covered in the fridge for 1-2 weeks
Nutrition
Nutrition information is automatically calculated, so should only be used as an approximation.
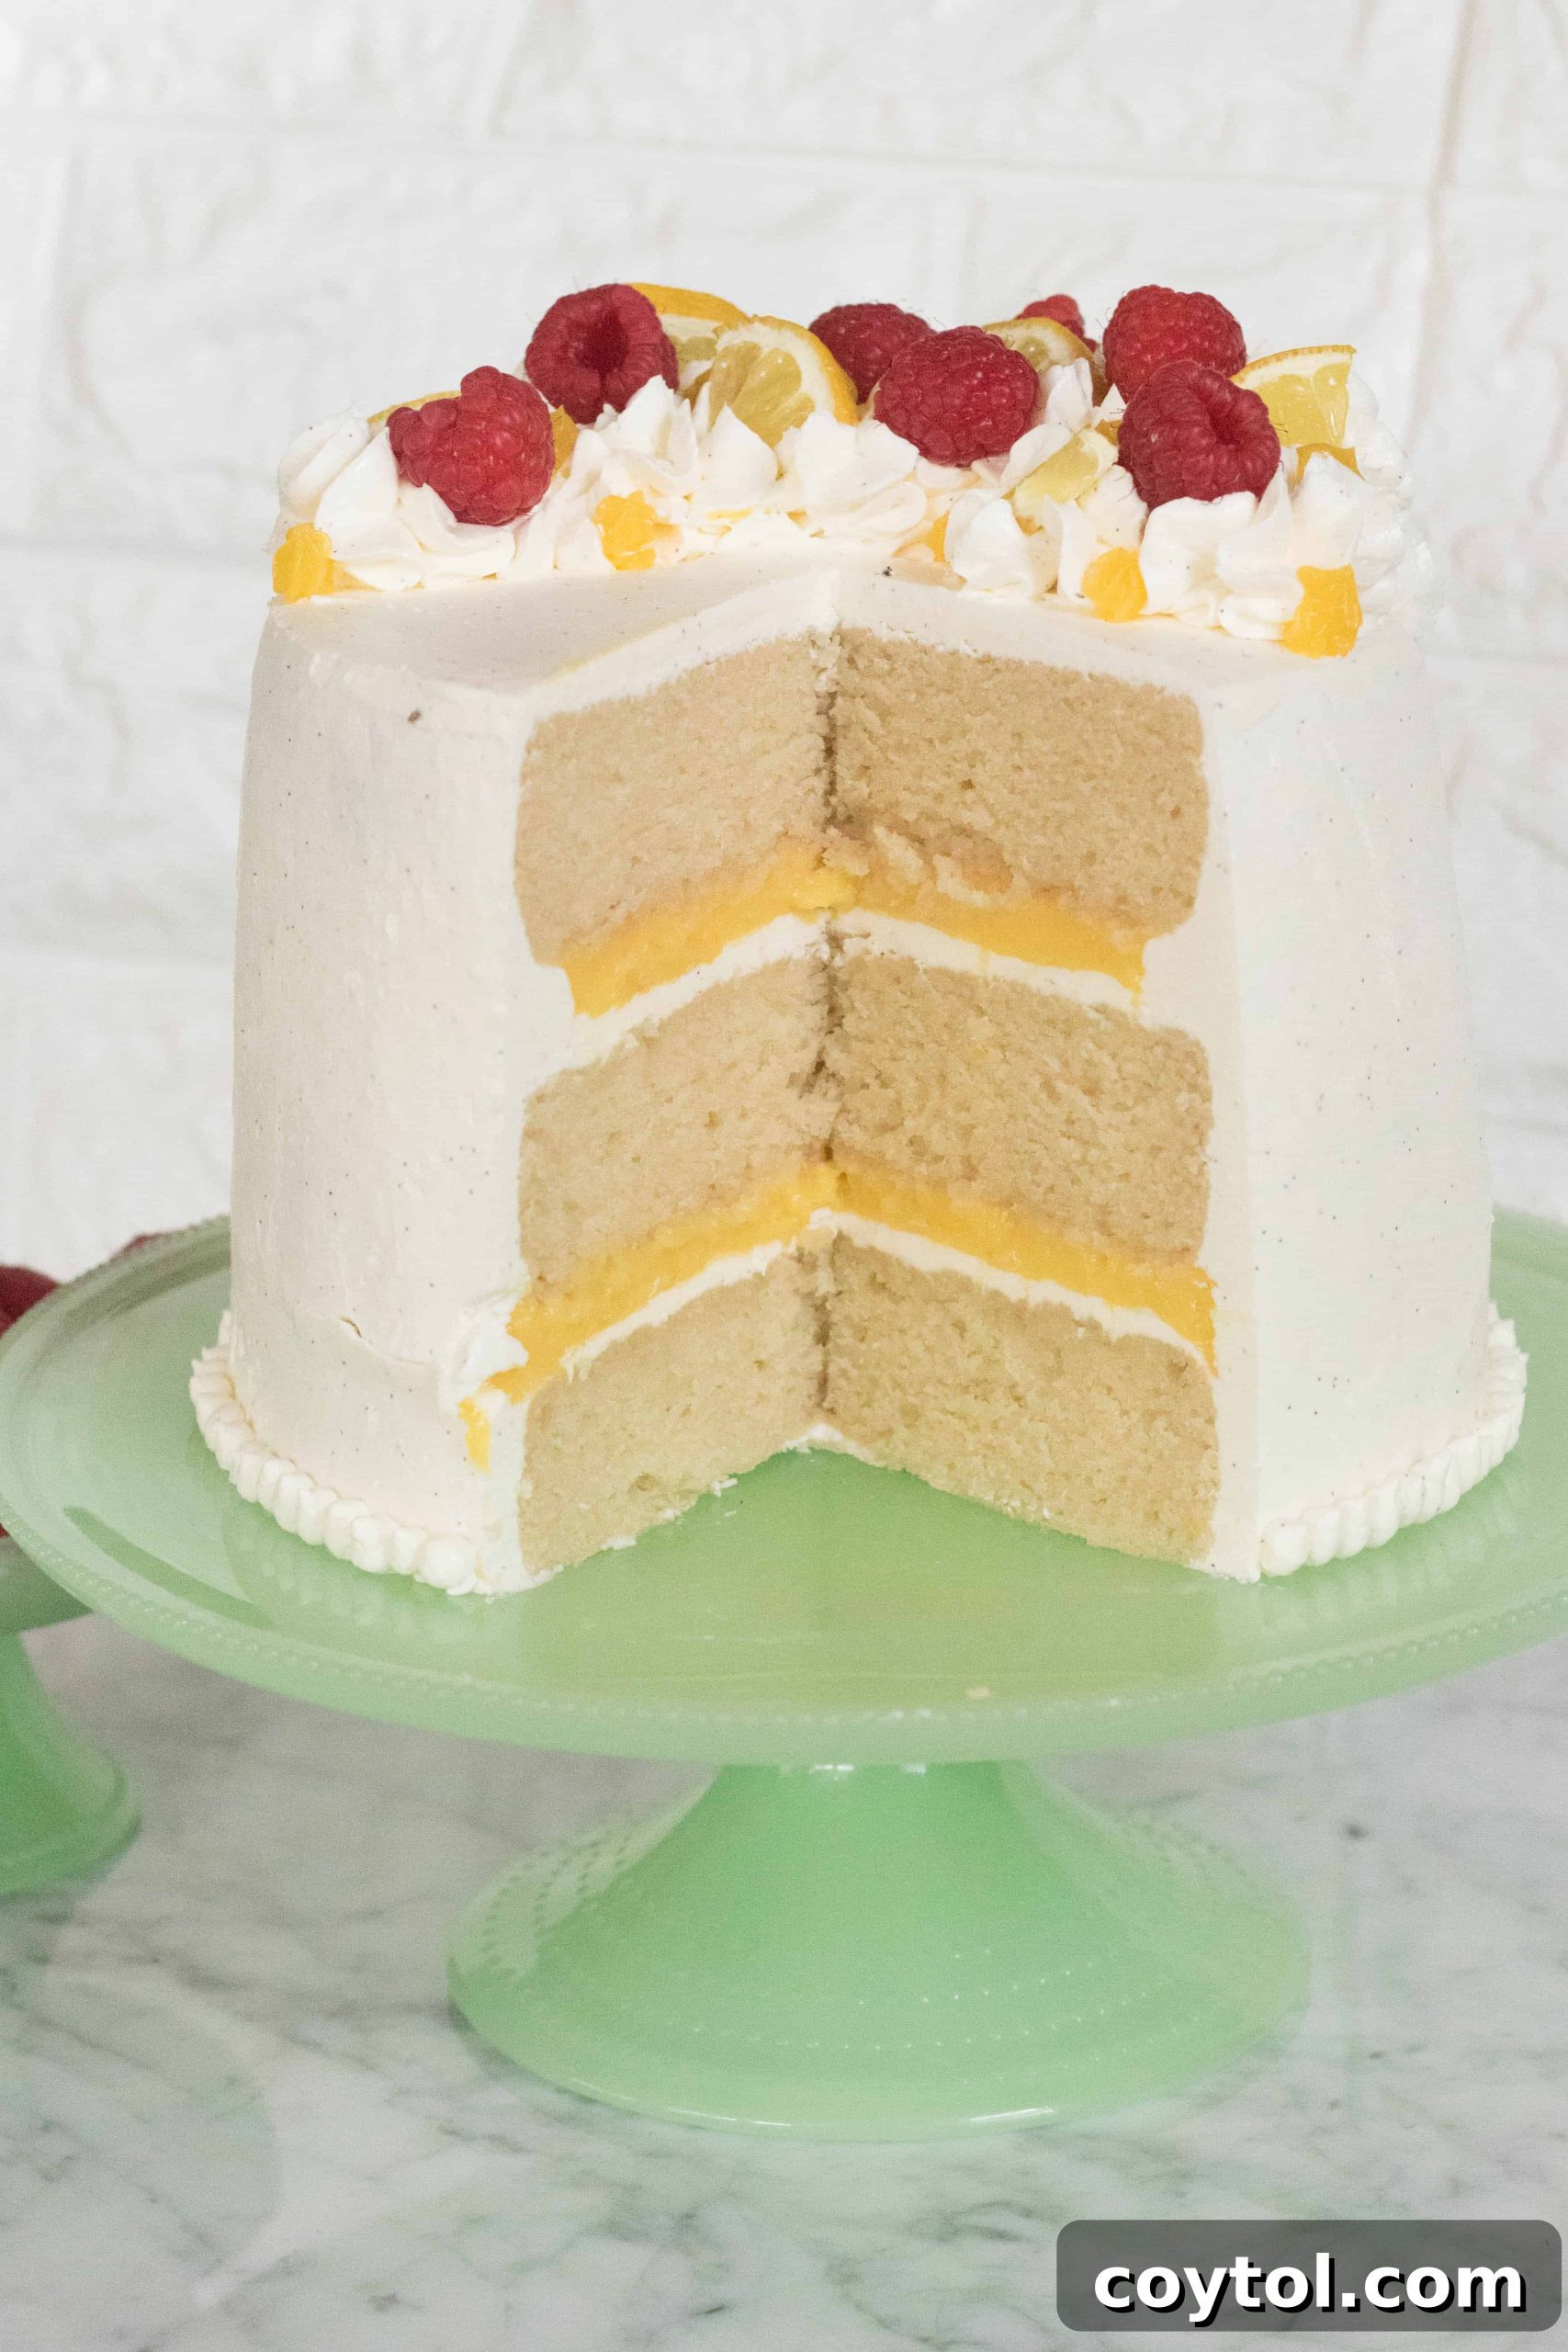
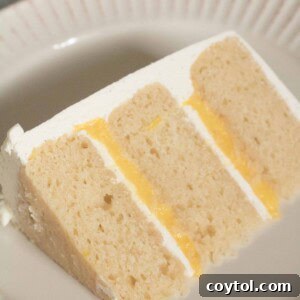
Vanilla Cake Layers (3 x 6-inch cakes)
Layered Vanilla Cake for Lemon Curd and Vanilla Bean Italian Meringue Buttercream
Print Recipe
Ingredients
- 1 ⅔ cup flour
- 1 cup sugar
- ¼ tsp baking soda
- 1 tsp baking powder
- ¾ cup unsalted butter at room temperature
- 3 egg whites
- 3 tsp vanilla extract
- ½ cup greek yogurt
- ½ cup whole milk or 2%
Instructions
-
Start by preheating the oven to 340 degrees, butter and flour your three 6-inch baking pans. Place the wet cake strips around your pan to ensure even baking.
-
Sift the dry ingredients, including the sugar in a large bowl.
-
In a separate bowl whisk the wet ingredients together, until well combined.
-
Pour the wet ingredients over the dry ones and mix until just combined (you don’t want to over mix and allow for too much gluten to form).
-
Divide the cake batter evenly between the three pans, place the wet cake strips around to pan to ensure even baking and bake for 25 to 30 minutes or until the centers are springy to the touch.
Notes
- You could also double the recipe for 8-inch pans, or triple the recipe for 9-inch pans.
- Having little clumps of butter after mixing your wet ingredients is ok. When you mix the wet and the dry ingredients together, everything will incorporate nicely!
Nutrition
Nutrition information is automatically calculated, so should only be used as an approximation.
For optimal flavor development and ease of assembly, I highly recommend preparing this cake two days before your planned serving date. This allows the cake layers to cool completely, giving you ample time to assemble and frost it on the second day. The resting period then enables all the delicious flavors – the vanilla cake, the lemon curd, and the Italian meringue buttercream – to meld beautifully, resulting in an even more harmonious and decadent dessert by the third day. While it is possible to make and assemble the cake the day before serving, tackling all the baking, frosting, and decorating in a single day can be quite demanding. Planning ahead truly makes the process enjoyable and stress-free.
To Assemble the Cake
- Begin by piping a generous layer of buttercream between each cake layer, ensuring it is spread evenly. For the first two layers, pipe a protective ring of buttercream around the top edge of the cake, creating a barrier. This will securely hold the lemon curd filling in place, preventing it from oozing out.
- After carefully stacking all the cake layers, start by covering the entire top surface with the Vanilla Bean Italian Buttercream. Then, pipe more buttercream around the outer sides of the cake. Use an offset spatula or a cake scraper to smooth out this initial layer of frosting. This is your crumb coat.
- Chill the cake in the refrigerator for 15-30 minutes to allow the crumb coat to firm up. This step is essential for trapping any loose crumbs and creating a stable base for your final layer of frosting. Once firm, apply another layer of buttercream and smooth it out again using your scraper for a perfectly polished finish.
- Finally, decorate the cake with the remaining buttercream. For this particular cake, I used a star tip to pipe elegant swirls and rosettes on the top, and then adorned it with fresh raspberries and thin lemon slices for a vibrant, appealing contrast. A drizzle of extra lemon curd on top also adds a beautiful pop of color and an additional layer of tangy flavor.
Once your magnificent layered cake is decorated, consider how to best present and enjoy it. After many delicious trials, I’ve discovered that the ultimate way to serve this decadent dessert is alongside a generous handful of fresh raspberries. The vibrant, natural sweetness and slight tartness of the raspberries cut through the richness of the buttercream and complement the lemon curd beautifully, adding an exquisite burst of freshness and fruitiness to every slice. This simple addition elevates the entire experience, perfectly balancing the tart lemon with the sweet vanilla.
Some recipes that might interest you:
- Vanilla Bean Italian Meringue Buttercream
- Small Batch Cream Cheese Frosting
- Easiest Cake Truffles! No more leftover cake waste.
- The Best Vanilla Magic Cake
As always, make sure to follow me on Instagram at @Chahinez_tbt and Pinterest. And if you try this recipe out, let me know how you like it! Have an awesome day and make sure to pin this for later.