
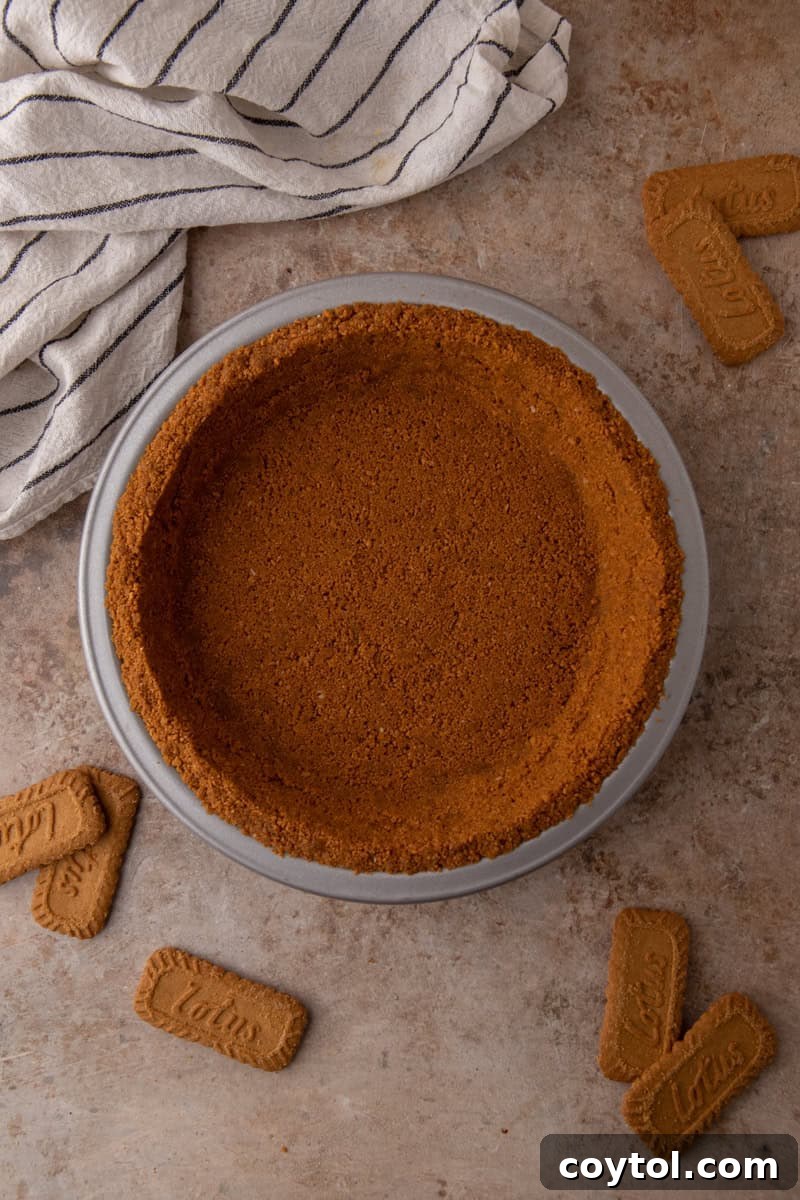
Transform your dessert creations with this incredibly simple yet sensational **Biscoff Pie Crust Recipe**. Crafted from just a handful of ingredients and requiring minimal effort, this crust is a true game-changer, promising to elevate the flavor profile of any pie filling it accompanies. Imagine the rich, caramelized notes reminiscent of that beloved, viral Trader Joe’s cookie butter spread – now as the foundation of your favorite pie. This recipe isn’t just easy; it’s a passport to unforgettable desserts.
For many home bakers, the pie-making journey often begins and ends with the filling. The crust, an equally vital component, frequently gets outsourced to store-bought, pre-made options. And it’s easy to understand why. Crafting a traditional, buttery pie crust from scratch is an art form that demands time, precision, and a fair bit of patience. The delicate balance of cold butter, flour, and ice water can be daunting, and the fear of a tough or crumbly result often pushes bakers towards convenience.
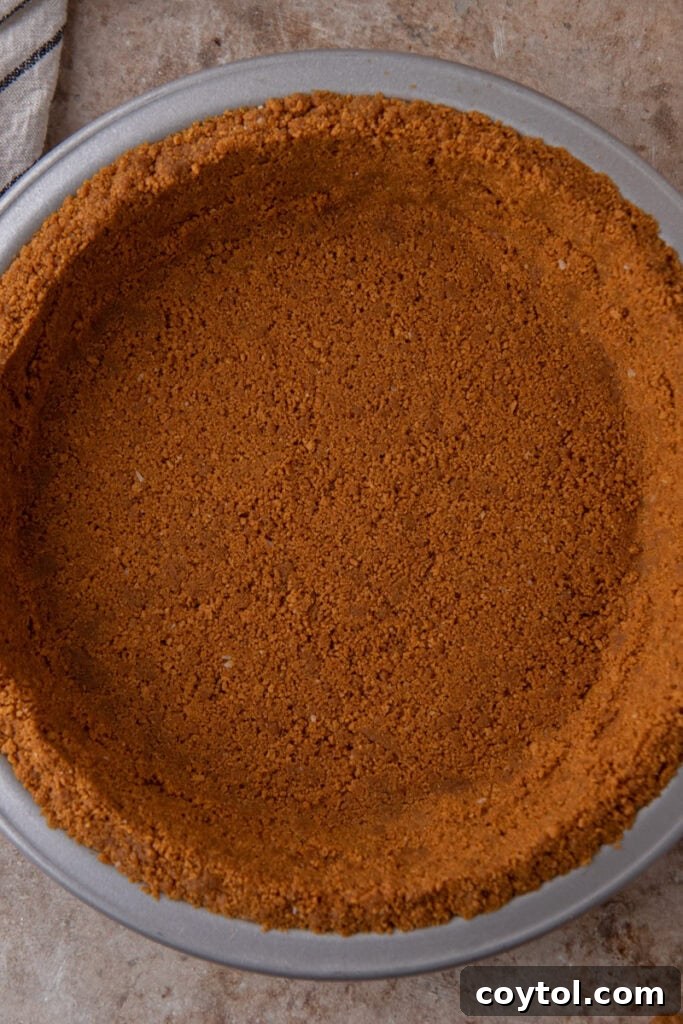
This is precisely where our Biscoff pie crust steps in to rescue your dessert dreams. It’s so refreshingly straightforward, you’ll wonder why this culinary secret wasn’t part of your baking repertoire from day one. Beyond its remarkable ease, this recipe offers unparalleled versatility: choose between a quick **no-bake Biscoff pie crust** or a slightly sturdier **baked Biscoff pie crust**, allowing you to perfectly customize it to suit any pie, tart, or cheesecake you envision.
If you’re a fan of effortless, delicious pie recipes, you’ll also adore this No-Bake Chocolate Pie with Oreo Crust, this delightful 6-inch Biscoff Cheesecake Recipe, or the classic Lemon Pie with Graham Cracker Crust Recipe. Each offers a different take on simple yet impactful dessert bases.
The Irresistible Allure of Biscoff Cookies
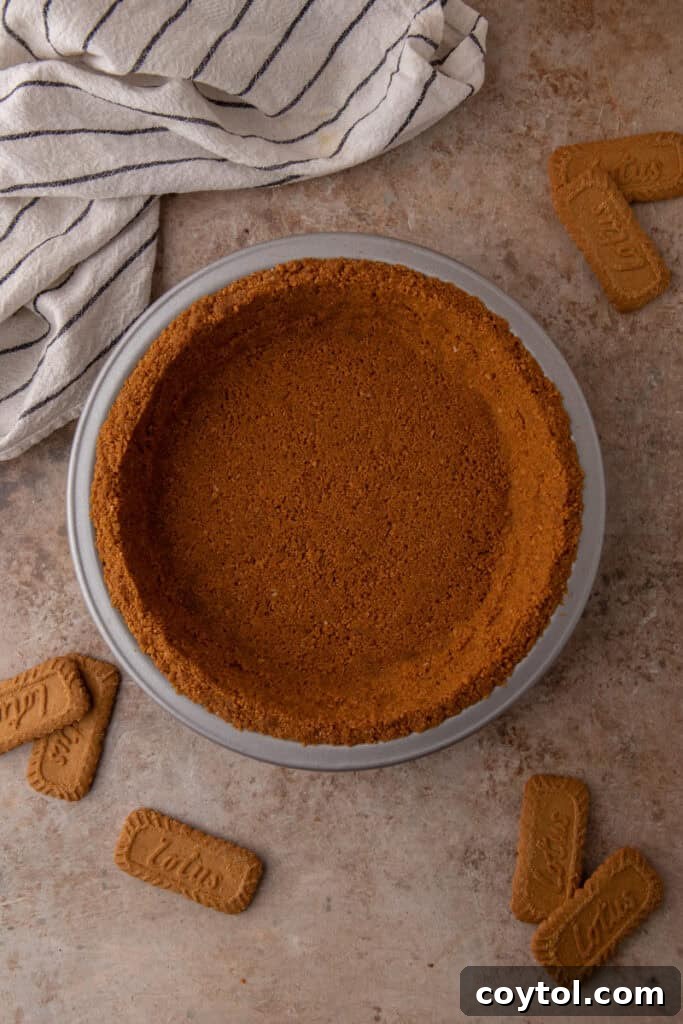
Before diving into the recipe, let’s appreciate the star ingredient: Biscoff cookies. These iconic speculoos biscuits, with their distinct caramelized flavor and hint of warm spices like cinnamon, nutmeg, and ginger, are a European delight that has captivated taste buds worldwide. Their unique taste profile makes them an exceptional base for pie crusts, offering a depth of flavor that traditional graham crackers or vanilla wafers simply can’t match. The buttery crunch of the cookies translates into a firm yet crumbly crust that holds its shape beautifully while delivering an explosion of flavor in every bite. It’s this combination of rich taste and satisfying texture that makes a Biscoff cookie crust truly stand out, turning an ordinary pie into an extraordinary dessert experience.
Ingredients for this Simple Biscoff Pie Crust
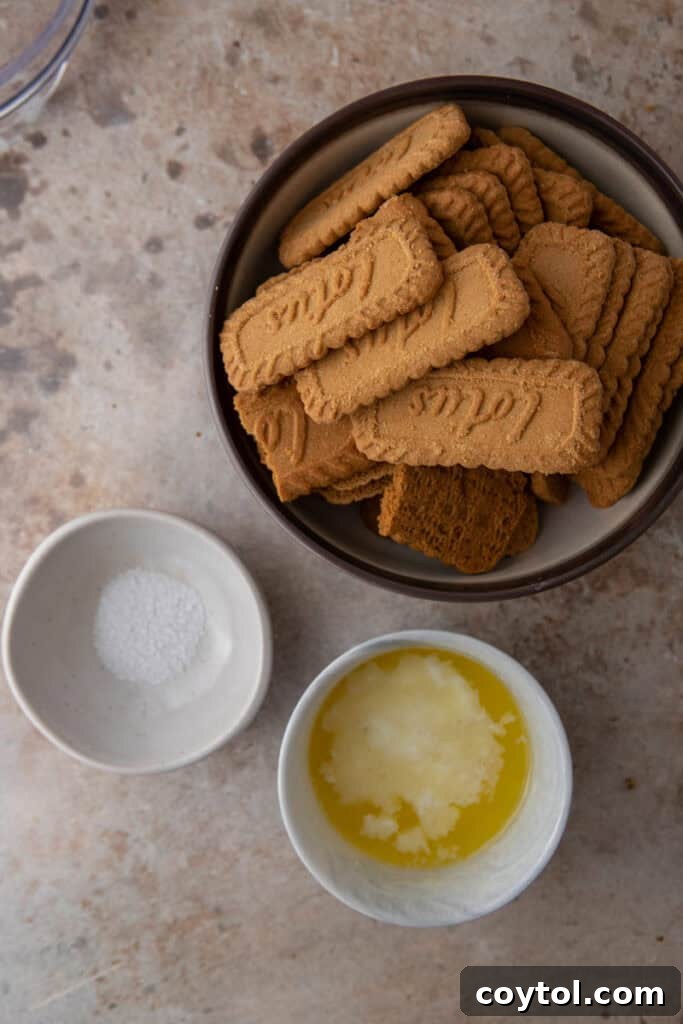
Preparing this exquisite Biscoff pie crust requires only a few essential ingredients, each playing a crucial role in creating the perfect texture and flavor. The beauty lies in their simplicity and accessibility. You’ll find everything you need at your local grocery store. For precise measurements, please refer to the detailed recipe card at the bottom of this page.
- Speculoos (Biscoff) Cookies: These are the heart and soul of our crust. Their unique caramelized flavor and crisp texture form the foundational taste and structure. While Biscoff is the most common brand, any speculoos biscuit will work wonderfully. You’ll need enough to yield about 1 ½ to 2 cups of fine crumbs, typically around 32 standard-sized cookies.
- Unsalted Butter: The unsung hero that binds the cookie crumbs together, transforming them into a cohesive, moldable crust that holds its shape both baked and unbaked. We opt for unsalted butter to give you complete control over the salt content, allowing for a perfectly balanced flavor profile. Melting the butter ensures it thoroughly coats every crumb.
- Pinch of Salt: Initially, I considered this optional, but after extensive testing, I can’t recommend it enough. A small pinch of salt works wonders to enhance the overall flavor, beautifully contrasting and balancing the sweetness of the Biscoff cookies. It truly elevates the crust from good to utterly delicious. Don’t skip it!
If you find yourself with extra Biscoff cookies or just can’t get enough of their captivating flavor, be sure to explore more cookie butter creations! Try making Crumbl Biscoff White Chocolate Chip Cookies or even a refreshing Chilled Crumbl Cookie Butter Ice Cream Cookie for another delightful treat.
How to Make This Easy Biscoff Pie Crust Recipe
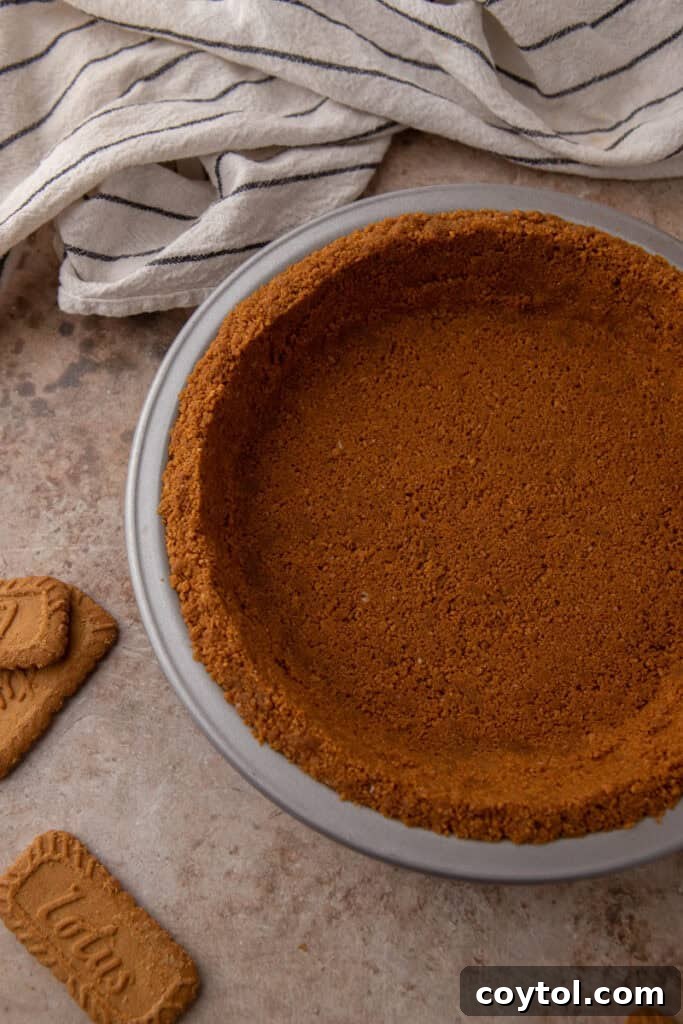
Creating this Biscoff cookie crust is incredibly simple, requiring just a few straightforward steps. Follow these instructions for a perfect crust every time. For the complete, detailed step-by-step guide and ingredient measurements, refer to the full recipe card at the end of this post!
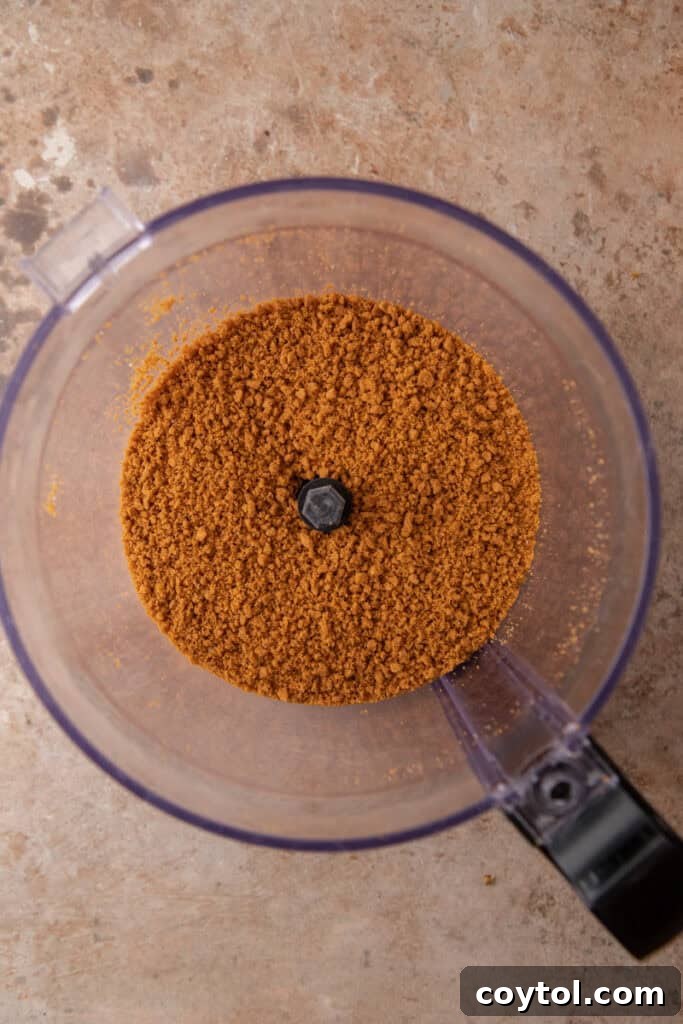
- Prepare the Cookie Crumbs: Begin by transforming your Biscoff biscuits (or any speculoos cookies) into fine crumbs. The easiest method is to use a food processor, pulsing the cookies until they resemble fine sand. If you don’t have a food processor, no problem! Place the cookies in a sturdy sealed Ziploc bag and use a rolling pin or a heavy object to crush them on your kitchen countertop until uniformly finely ground. Ensure there are no large chunks, as this helps the crust bind properly.
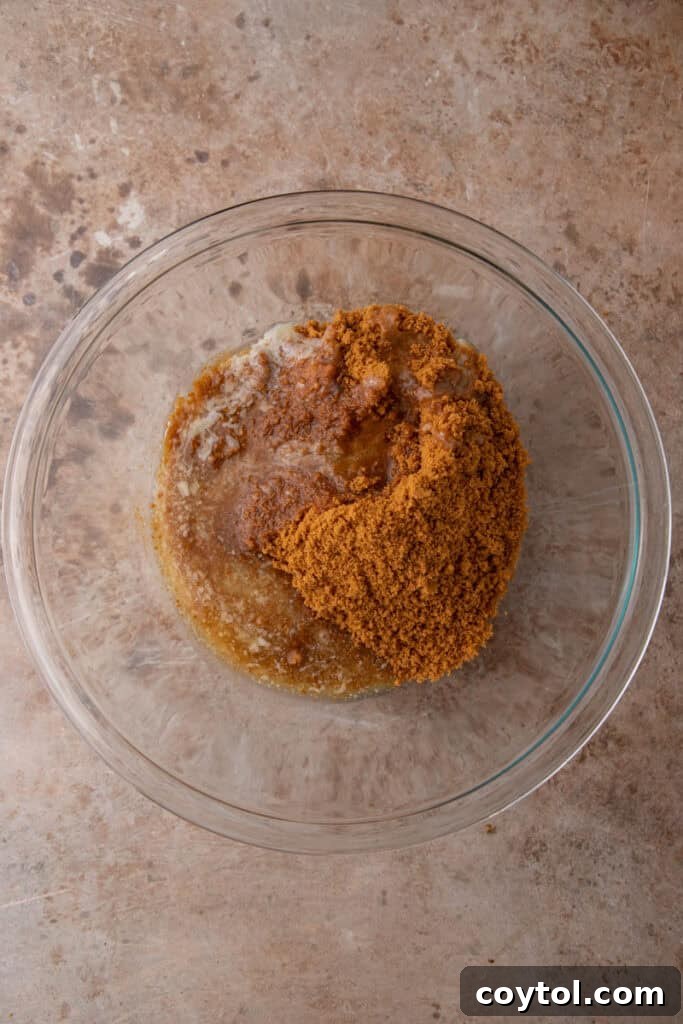
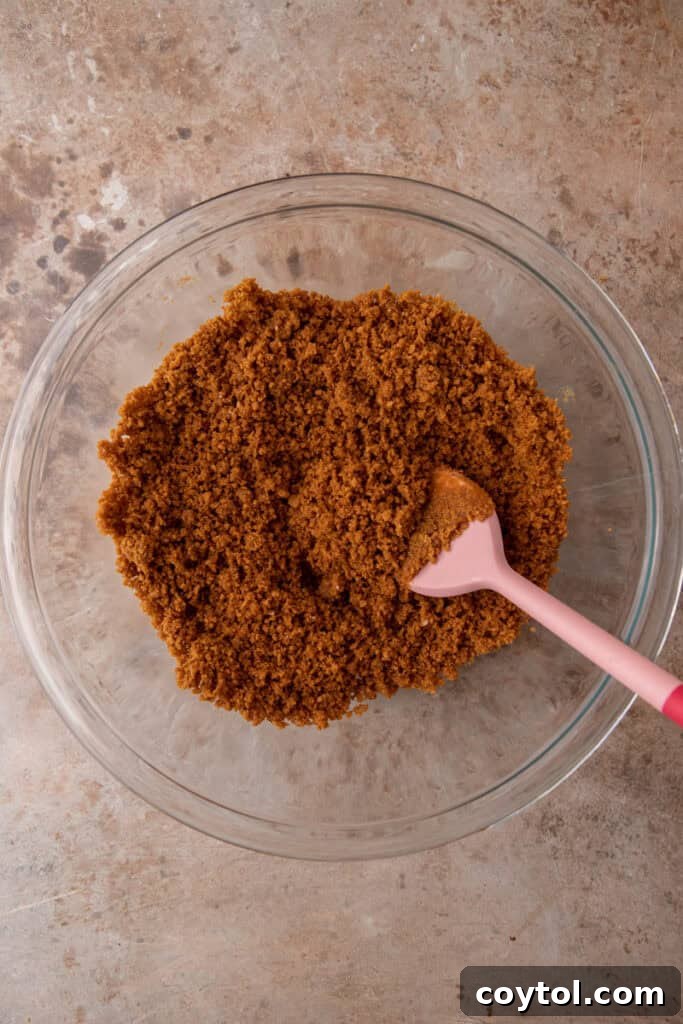
- Combine Ingredients: In a medium-sized mixing bowl, combine your finely crushed Biscoff cookie crumbs with the melted unsalted butter and the crucial pinch of salt. Stir these ingredients thoroughly until everything is evenly coated. The mixture should have a consistent texture, resembling damp, wet sand. This even coating is key for a well-bound crust.
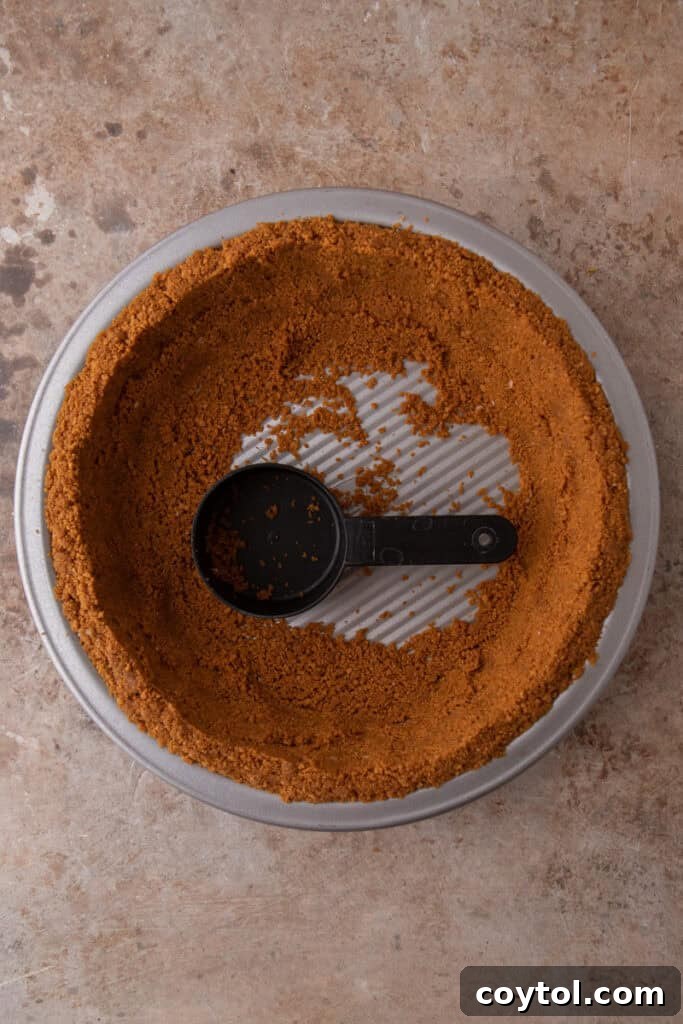
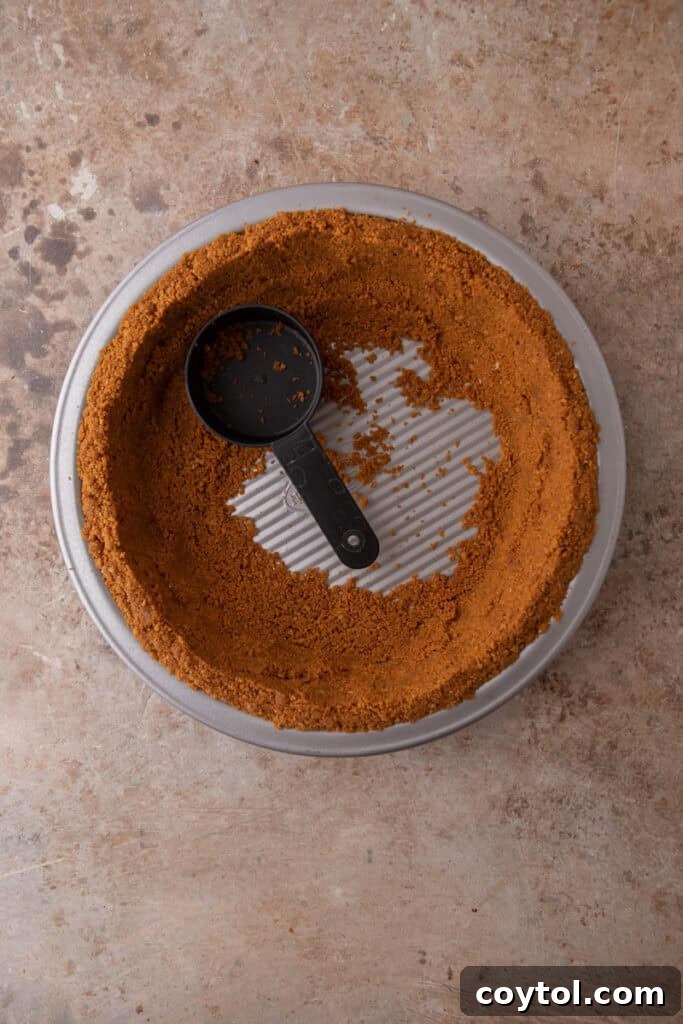
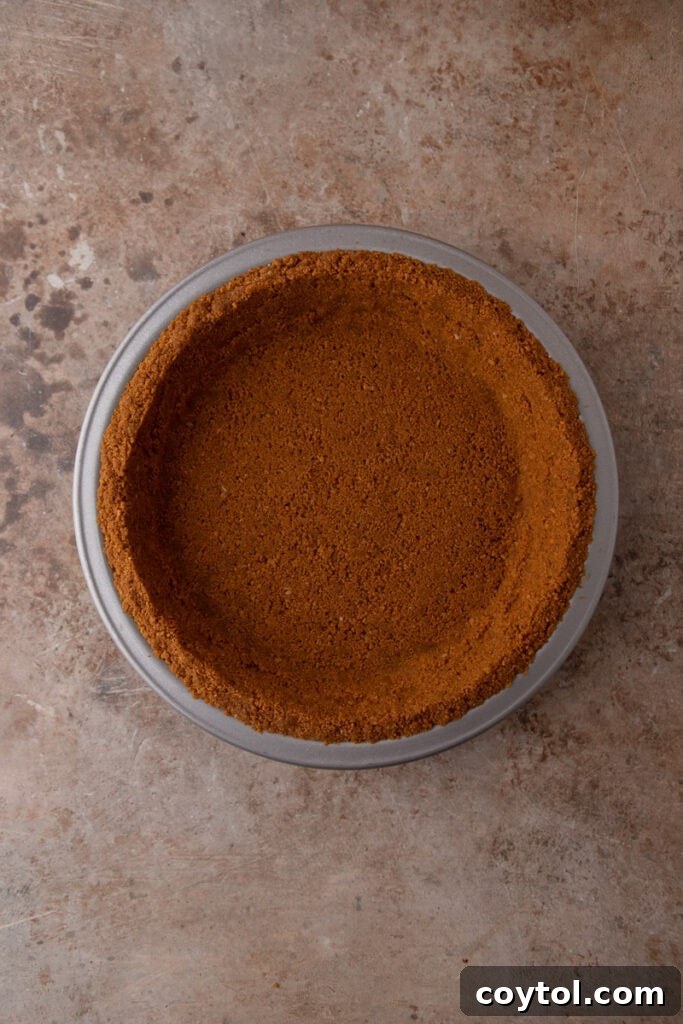
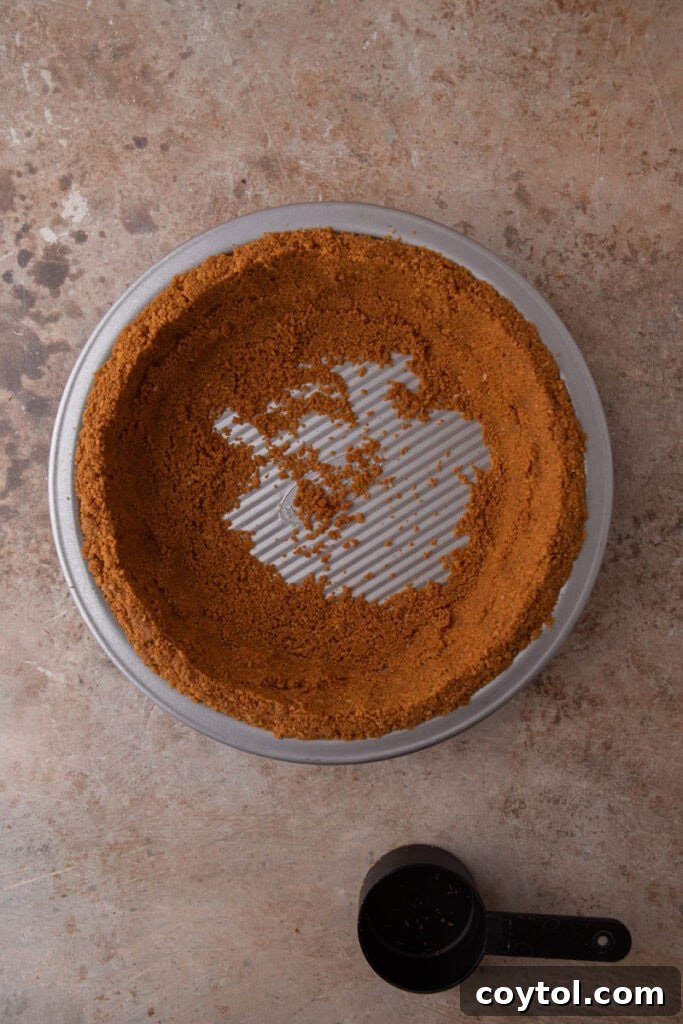
- Press into Pie Plate: Take about two-thirds of your Biscoff crumb mixture and pour it into a standard 9-inch pie plate. Begin by pressing this portion firmly up the sides of the pie plate. Use the back of a spoon, the flat bottom of a measuring cup, or even your clean fingers to create an even, compact layer along the edges. Once the sides are done, add the remaining one-third of the mixture to the base of the pie plate and press it down firmly and evenly. A well-packed crust is crucial for structural integrity, preventing it from crumbling when sliced.
- Set the Crust (Baked or No-Bake Option): Now, you have the flexibility to choose how to set your crust based on your recipe needs.
- For a No-Bake Biscoff Pie Crust: This option is ideal for creamy fillings, mousses, or no-bake cheesecakes. Simply place the assembled 9-inch pie plate into the refrigerator. Chill for at least 30 minutes to an hour, or until the crust is completely firm to the touch. The melted butter will solidify, binding the crumbs together perfectly.
- For a Baked Biscoff Pie Crust (for a Sturdier Texture): If your pie filling requires baking, or if you simply prefer a slightly crisper, more deeply flavored crust, preheat your oven to 350°F (175°C). Bake the crust for 8–10 minutes, or until the edges are lightly golden and the crust smells fragrant. Be careful not to overbake, as the cookies are already cooked. Once baked, allow the crust to cool completely to room temperature before adding your chosen filling. This prevents your filling from melting or becoming watery.
Biscoff Crust Recipe Tips and Tricks
Achieving the perfect Biscoff pie crust is easy with these insider tips:
- Warm Butter is Key: Always ensure your butter is melted and still warm when you mix it with the crumbs. The warmth helps the butter coat the cookie crumbs more efficiently and evenly, leading to a better-bound and more stable crust. Cold butter might solidify too quickly and prevent proper binding.
- Finely Ground Crumbs: The texture of your Biscoff crumbs is paramount. Strive for super fine, sand-like crumbs from your Lotus Biscoff cookies. Any large chunks can disrupt the crust’s integrity, making it crumbly and difficult to press into a cohesive layer. A food processor is ideal for this, but a good old rolling pin can do the trick with a little patience.
- Press Firmly: This cannot be stressed enough! When packing the crumb mixture into your 9-inch pie pan, apply significant pressure. Use the bottom of a flat-bottomed measuring cup, the back of a sturdy spoon, or even your knuckles to really compress the crumbs. A well-packed crust is less likely to crumble when you cut into your finished pie, ensuring clean, beautiful slices.
- Even Distribution: While pressing, pay attention to distributing the crumbs evenly across the bottom and up the sides. Uneven thickness can lead to some parts being too delicate and others too dense.
- Pre-chilling (Even for Baked): Even if you plan to bake your crust, a short 10-15 minute chill in the freezer before baking can help the butter firm up, preventing the crust from slumping down the sides during baking.
Why This Biscoff Pie Crust is a Must-Try
There are countless reasons why this Biscoff pie crust deserves a permanent spot in your recipe collection:
- Unbelievably Easy: With only a couple of simple ingredients and minimal steps, this recipe is perfect for beginners and seasoned bakers alike. Say goodbye to daunting pastry techniques and hello to effortless deliciousness.
- Readily Available Ingredients: All the components, primarily Biscoff cookies and butter, are easily found at your local grocery store, making spontaneous baking sessions entirely possible.
- Cookie Butter Craving Cure: If you’re perpetually craving that unique, spiced cookie butter flavor, this crust is an excellent way to indulge. It infuses your entire dessert with its delightful taste.
- Versatile & Enhancing: This isn’t just a crust; it’s a flavor enhancer. Its basic yet distinct profile is guaranteed to elevate all of your favorite pies, tarts, and cheesecakes, adding a layer of sophisticated sweetness and spice.
- Baked or No-Bake: The flexibility to choose between a chilled or baked crust makes it adaptable for nearly any dessert recipe, from classic fruit pies to intricate no-bake mousse creations.
Frequently Asked Questions (FAQ)
When should I use the Baked Pie Crust?
The baked Biscoff pie crust is ideal when you desire a firmer, crispier base with a deeper, more toasted caramelized flavor. It’s particularly fantastic for pies that will be baked with their filling, such as custard pies, fruit pies, or any recipe where the filling sets up in the oven. The warm spices of this cookie crust add a delightful depth of flavor, offering a more complex experience compared to a plain shortbread or graham cracker crust. It pairs exceptionally well with a tangy key lime pie, a rich peanut butter pie, a festive pumpkin pie, or any classic custard-based dessert like coconut cream or chocolate silk pie.
When should I use the no-bake pie crust?
The no-bake Biscoff pie crust option is your go-to for recipes that don’t require oven time. It’s perfect for desserts with sturdier, chilled fillings like no-bake cheesecakes, ice cream pies, creamy chocolate mousses, or parfaits. The chilling process allows the butter to solidify, creating a firm and delicious base without any baking. However, it’s crucial to avoid using this no-bake option with any fillings that have excessive moisture or require a very long chilling period in a watery environment, as it could potentially lead to a soggy crust. For best results, use it with fillings that set up relatively quickly and have a thick consistency.
How do I store my leftover crust?
To store any leftover Biscoff cookie pie crust, ensure it remains in its original tart or pie pan. Cover it tightly with plastic wrap. Gently press the plastic wrap down onto the surface of the crust, starting from the middle and working your way out towards the sides, then up and over the edges of the dish. This creates an airtight seal that helps preserve its freshness and prevents it from absorbing refrigerator odors. Stored this way, your Biscoff crust will remain fresh in the fridge for up to a week or two, ready for your next dessert creation.
Can I freeze it?
Absolutely, you can freeze this Biscoff pie crust! If you want to prepare it well in advance or have extra, freezing is an excellent option. Follow the same storage steps as mentioned above – keep it in the tart pan and cover it securely with plastic wrap, ensuring it’s airtight. You can then store the frozen crust in the freezer for up to one to two months. When you’re ready to use it, simply transfer it to the refrigerator to thaw overnight, or let it sit at room temperature for about an hour before adding your filling.
How do I prevent the crust from getting soggy?
Preventing a soggy crust is key to a perfect pie. If your pie fillings are particularly wet, there are a few effective strategies:
- Moisture Barrier: Immediately after baking (and cooling slightly), brush the inside of the crust with a thin, even layer of melted chocolate (white or dark, depending on your filling) or a lightly beaten egg white. The chocolate will harden to form a protective barrier against moisture, while the egg white will bake into a thin, waterproof layer.
- Blind Baking: If using a baked crust, ensure it is fully blind-baked and cooled before adding a wet filling. Blind baking creates a crispier initial texture.
- Chill Thoroughly: For no-bake crusts, make sure the crust is thoroughly chilled and firm before adding the filling. This allows the butter to set properly and act as a moisture deterrent.
- Serve Promptly: For very moist pies, it’s often best to assemble and serve within a day or two to minimize moisture absorption over time.
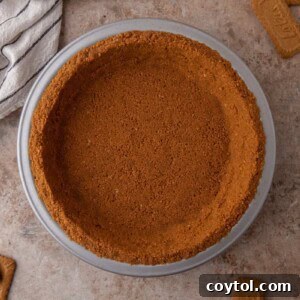
Biscoff Pie Crust Recipe (Baked & No-Bake)
A buttery, spiced Biscoff Pie Crust made from crushed cookies and melted butter. Quick, versatile, and perfect for no-bake or baked pies like cheesecake, key lime, or peanut butter pie. This recipe offers both baked and no-bake options for ultimate flexibility.
Ingredients
- 32 Speculoos (Biscoff) cookies (approximately 1 ½ to 2 cups of fine crumbs)
- 6 tbsp unsalted butter, melted
- ¼ tsp salt (balances sweetness, highly recommended)
Instructions
-
Use a food processor to pulse Speculoos cookies into fine, sand-like crumbs. If you don’t have a food processor, place the cookies in a sturdy sealed bag and crush them thoroughly with a rolling pin until finely ground.
-
In a mixing bowl, combine the Biscoff cookie crumbs, melted butter, and salt. Stir well until the mixture is evenly moistened and has the texture of damp, wet sand.
-
Pour about two-thirds of the mixture into a 9-inch pie plate. Press it firmly up the sides using the back of a spoon or the bottom of a measuring cup. Then, add the rest of the mixture to the base and press it into an even, compact layer.
For a No-Bake Crust:
- Refrigerate the pie plate for at least 30 minutes to 1 hour, or until the crust is firm.
For a Baked Crust:
- Preheat your oven to 350°F (175°C). Bake the crust for 8-10 minutes until lightly golden and fragrant. Allow it to cool completely to room temperature before adding any filling.
Nutrition Information (Approximate)
(Calculated for the entire crust, assuming 10-12 servings for a pie)
- Calories: 2502
- Carbohydrates: 341g
- Protein: 32g
- Fat: 113g
- Saturated Fat: 50g
- Polyunsaturated Fat: 5g
- Monounsaturated Fat: 34g
- Trans Fat: 3g
- Cholesterol: 181mg
- Sodium: 3543mg
- Potassium: 813mg
- Fiber: 15g
- Sugar: 103g
- Vitamin A: 2099 IU
- Calcium: 374mg
- Iron: 19mg
Nutrition information is automatically calculated and should only be used as an approximation. Values may vary based on specific brands and ingredient measurements.
If you loved making this Biscoff Pie Crust, we’d be thrilled to hear about it! Please consider leaving a comment below and sharing your experience. Your feedback helps other bakers and is greatly appreciated!