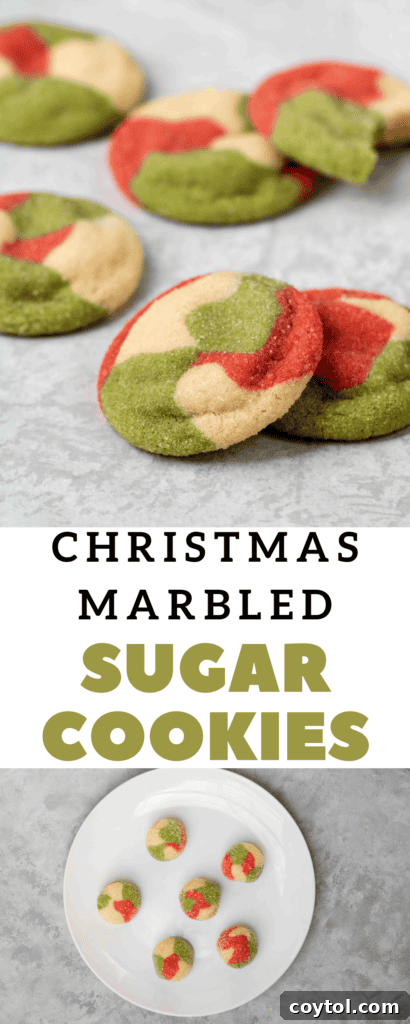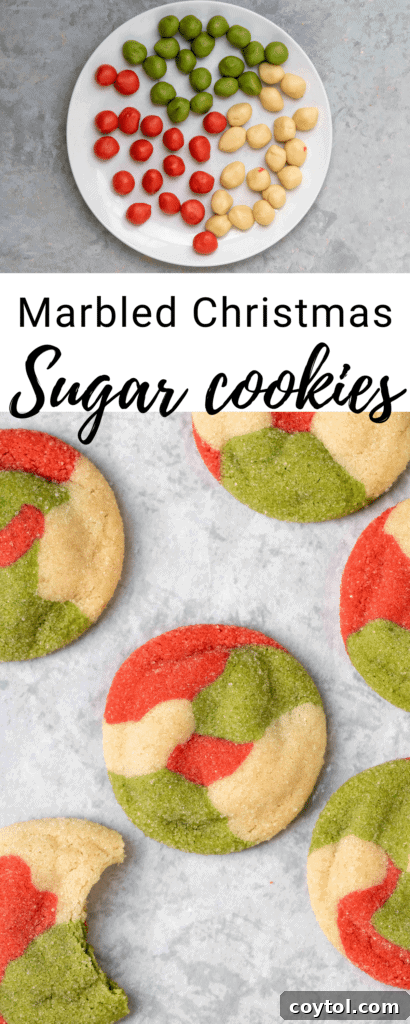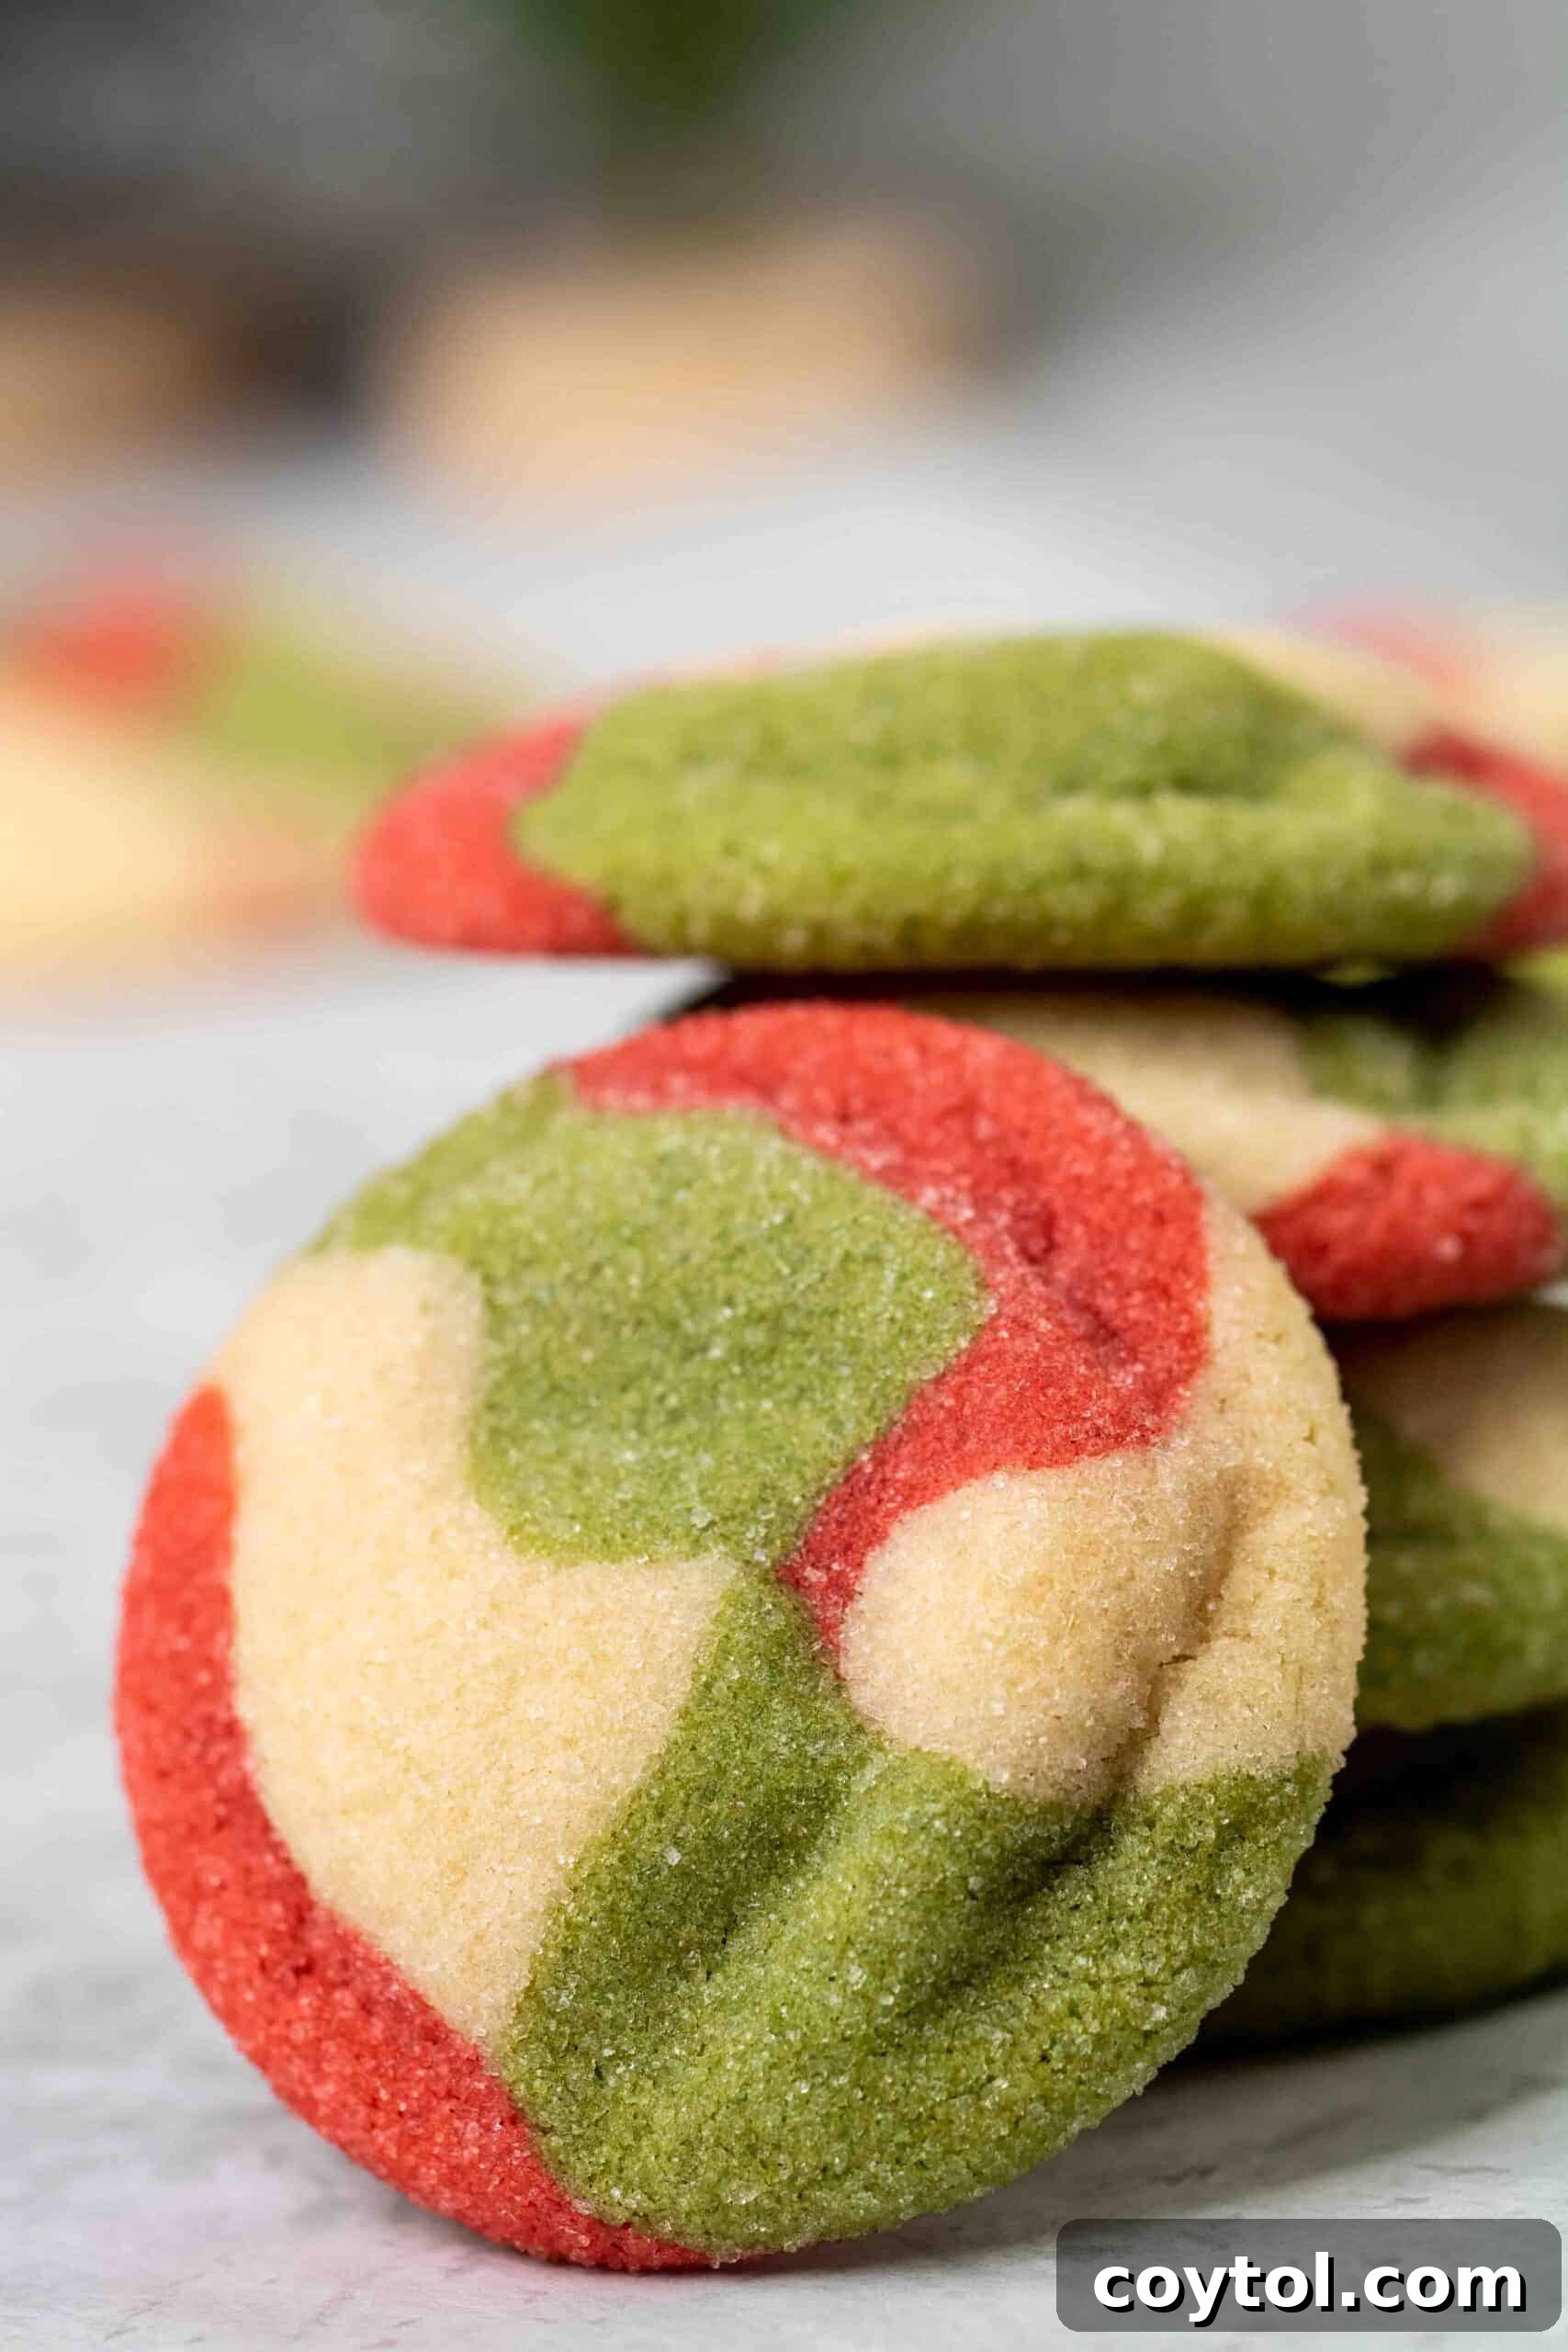
Step into the enchanting world of holiday baking with a recipe that promises to be the star of your festive season: our irresistible Marbled Christmas Sugar Cookies. Forget plain cookies; these soft, chewy, and visually stunning treats feature a vibrant swirl of red, white, and green, instantly evoking the spirit of Christmas. They are not just cookies; they are edible works of art, perfect for filling your Christmas cookie boxes, gifting to loved ones, or simply indulging in with a warm drink by the fire. Best of all, this magical recipe comes together in less than 30 minutes, making it a stress-free addition to your busy holiday schedule.
While you’re here, immersing yourself in festive flavors, you might also adore these no-spread gingerbread cookies, a delightful Crumbl gingerbread cookie with cream cheese frosting, or these incredibly easy chocolate-coated marshmallow treats. These simple yet sensational recipes are designed to add an extra layer of sweetness to your holiday celebrations!
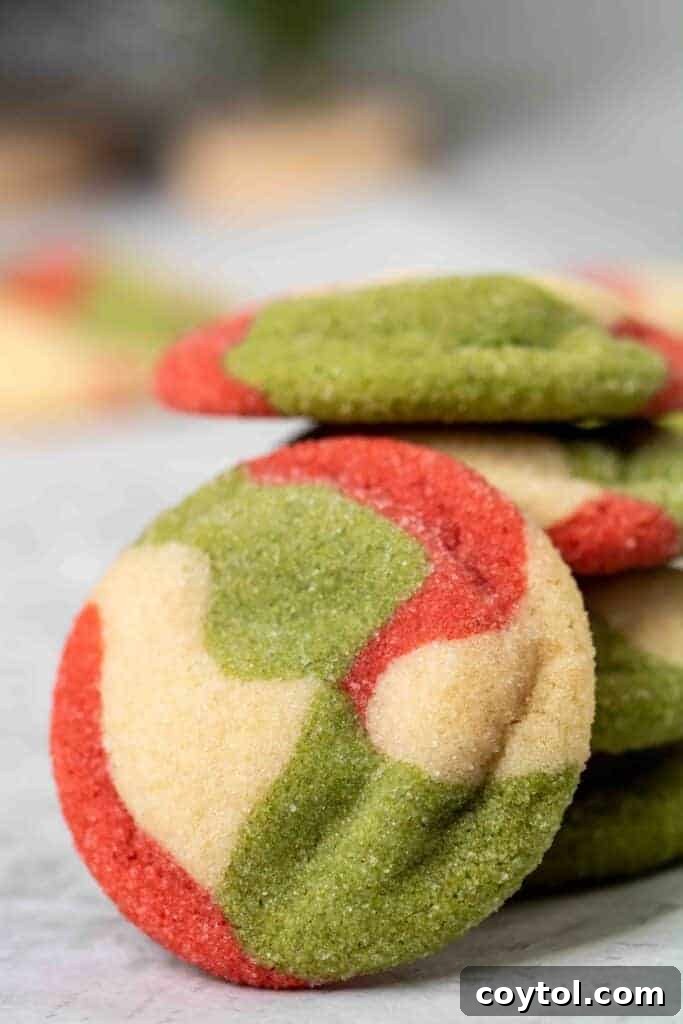
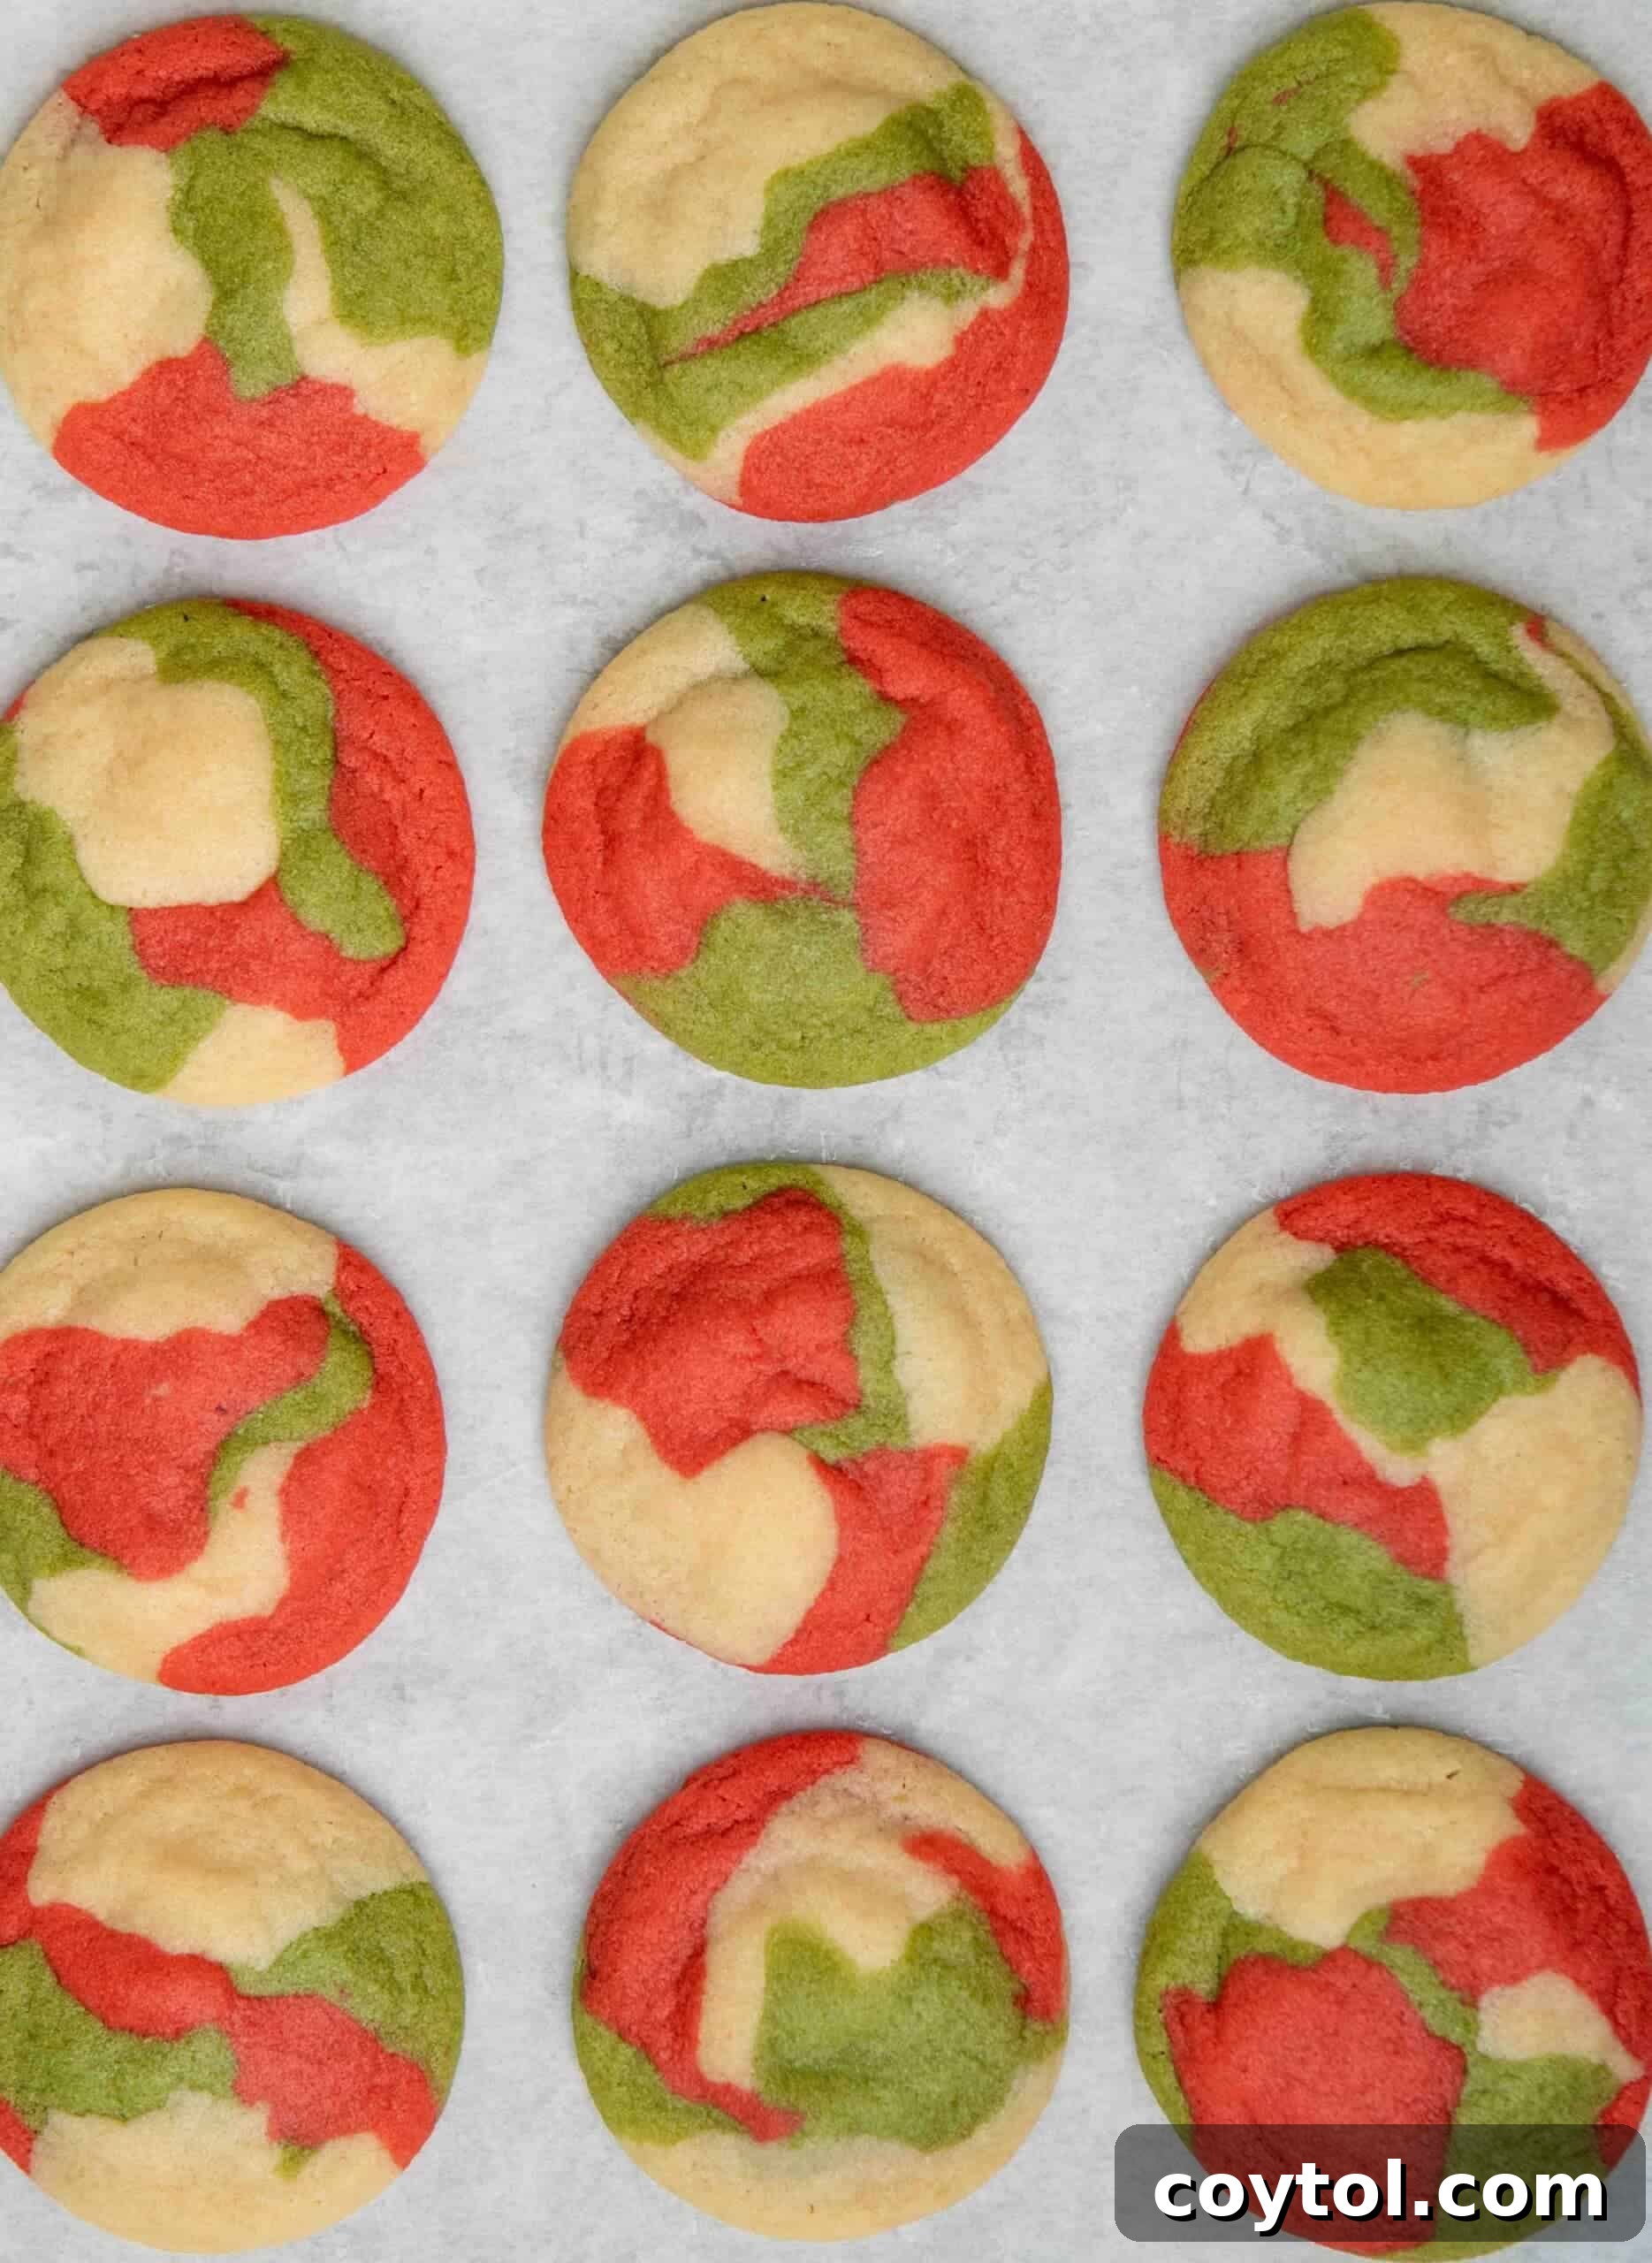
These marbled sugar cookies offer a truly unique and delightful way to embrace the festive mood. Each bite delivers a perfect balance of softness and chewiness, while their striking appearance makes them an instant showstopper. While classic cutout cookies often dominate Christmas baking, these marbled wonders have become an absolute favorite in my home, cherished for their taste and their fun, whimsical look.
The secret to their captivating charm lies in the strategic use of festive colors. We carefully blend rich red and vibrant green dough with plain white, creating an artistic marbled pattern that unmistakably shouts “holidays!” It’s a simple technique that yields spectacular results, making each cookie a unique masterpiece.
This Marbled Christmas Sugar Cookie Recipe: Your Ultimate Holiday Treat!
Beyond their incredible flavor and visual appeal, these marbled sugar cookies offer a wonderful opportunity for family bonding. Baking these cookies is an activity that transcends generations, inviting your little ones to join in the fun and create lasting memories in the kitchen. They can eagerly assist in squishing the colored dough pieces together, marveling as their efforts transform into beautiful, unique marbled patterns. This collaborative effort not only provides a fun holiday activity for the children but also offers you some much-appreciated help during the busy festive season. Imagine the joy of seeing their proud faces as they present their individual “art pieces” to the family!
Once baked and cooled, these delightful cookies can be served with a refreshing glass of skim or whole milk, making for a perfect after-dinner treat or a cozy snack during a holiday movie marathon. The simple pleasure of a homemade cookie, especially one as beautiful as these, is truly what the holidays are all about.
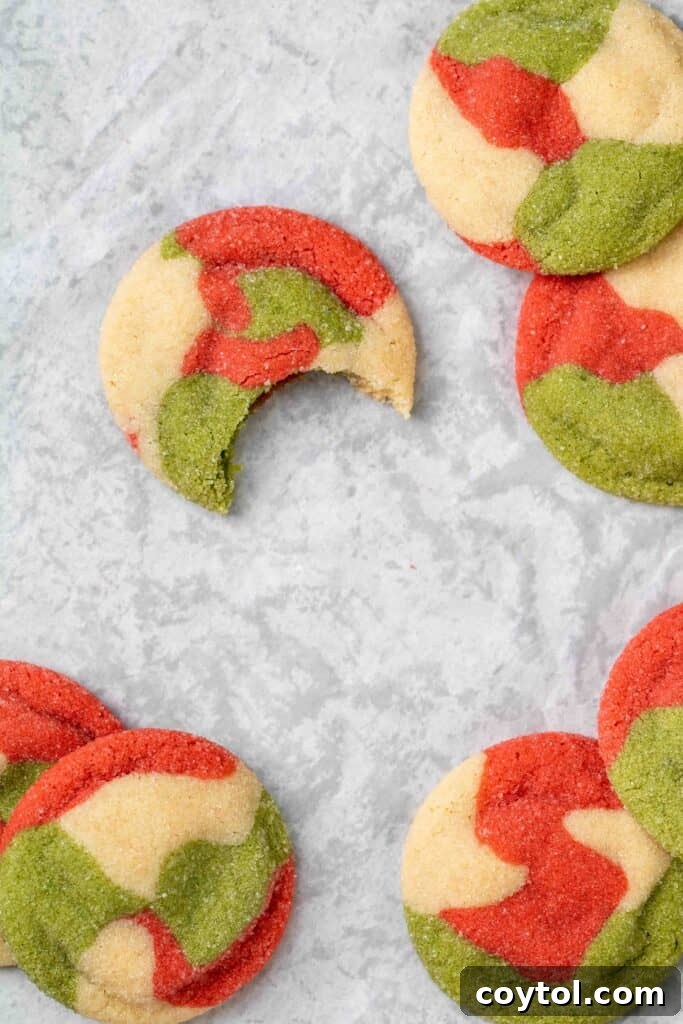
What Makes These Christmas Marbled Sugar Cookies So Special?
- Unbelievably Soft and Chewy Texture: Thanks to our unique ingredient blend, these sugar cookies boast a melt-in-your-mouth texture that will have everyone reaching for more.
- A Joyful Family Activity: This recipe is designed to be fun and engaging, making it a perfect holiday project to share with children and create cherished memories together.
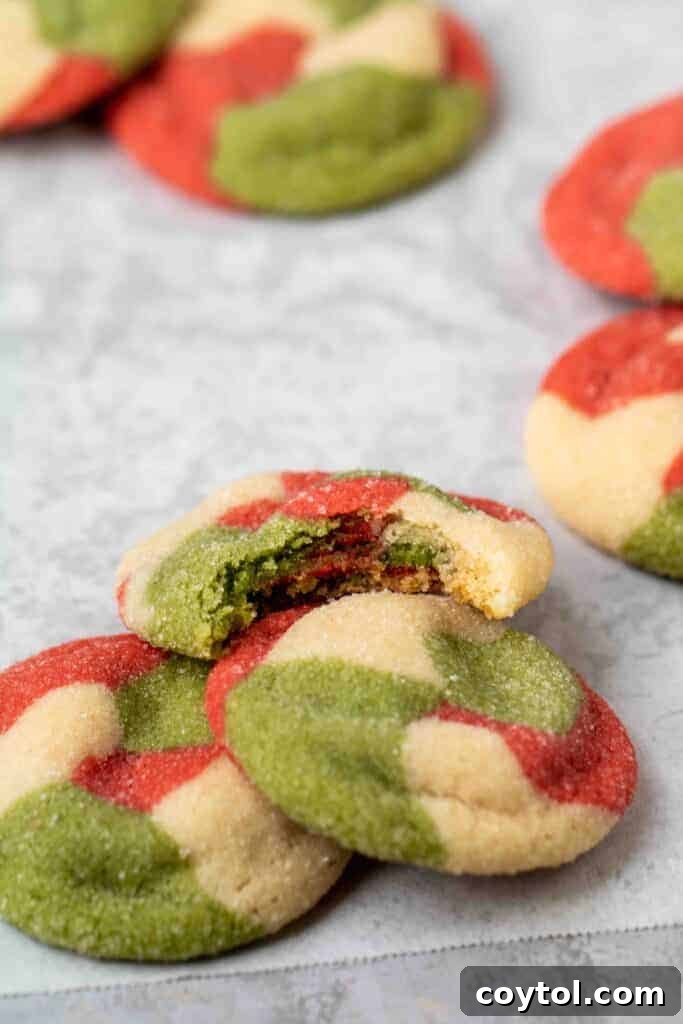
- Visually Stunning Marbled Effect: The beautiful swirl of red, white, and green transforms ordinary cookies into eye-catching festive delights that are almost too pretty to eat.
- Lightning-Fast Preparation: From start to finish, these cookies can be ready in under 30 minutes, allowing you more time to enjoy the holiday festivities.
- Perfect for Gifting: Their exquisite appearance and delicious taste make them an ideal candidate for Christmas cookie boxes, sure to impress friends, family, and neighbors.
- Versatile and Customizable: While we stick to classic Christmas colors, the marbling technique can be adapted for any holiday or occasion, making this a go-to recipe all year round.
- Irresistible Aroma: The scent of freshly baked vanilla sugar cookies filling your home is an instant mood lifter and a hallmark of the holiday season.
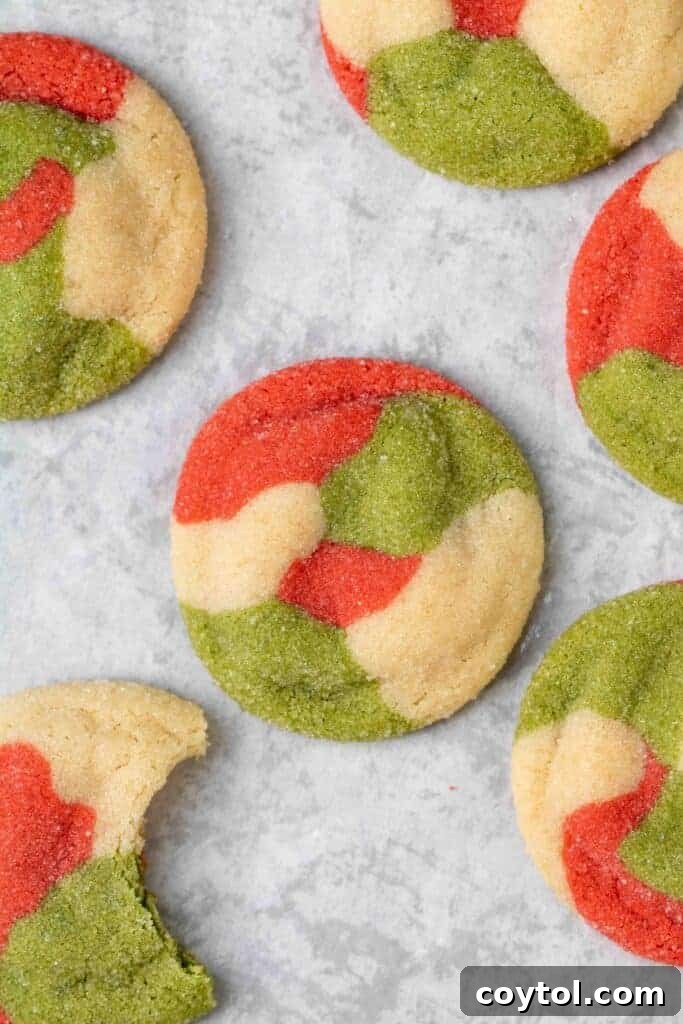
Essential Ingredients for Your Perfect Marbled Sugar Cookies
To embark on your journey of creating these spectacular Christmas sugar cookies, gather the following high-quality ingredients:
- Butter: Start with softened unsalted butter. Softened butter is crucial for creaming properly with sugar, resulting in a light and airy dough that bakes into wonderfully tender cookies.
- Granulated Sugar: This classic white sugar contributes to the cookies’ sweet taste and helps achieve that delightful soft and chewy texture.
- Brown Sugar: Our secret ingredient for an extra level of chewiness and a subtle depth of flavor. Brown sugar adds moisture and a slight caramel note that elevates these cookies beyond a typical sugar cookie.
- Egg White: The egg white acts as a vital binding agent, holding the dough together while contributing to the cookie’s structure and preventing excessive spread.
- Vanilla Extract: Essential for that classic, comforting sugar cookie flavor. For an extra festive twist, consider adding a touch of almond extract alongside or instead of vanilla.
- All-Purpose Flour: The foundation of our cookie dough. All-purpose flour provides the necessary structure without making the cookies tough.
- Baking Soda: This leavening agent helps the cookies rise slightly and contributes to their soft texture.
- Baking Powder: Working in conjunction with baking soda, baking powder adds additional lift and ensures a tender crumb.
- Salt: A pinch of salt is vital for balancing the sweetness and enhancing all the other flavors in the cookie. Don’t skip it!
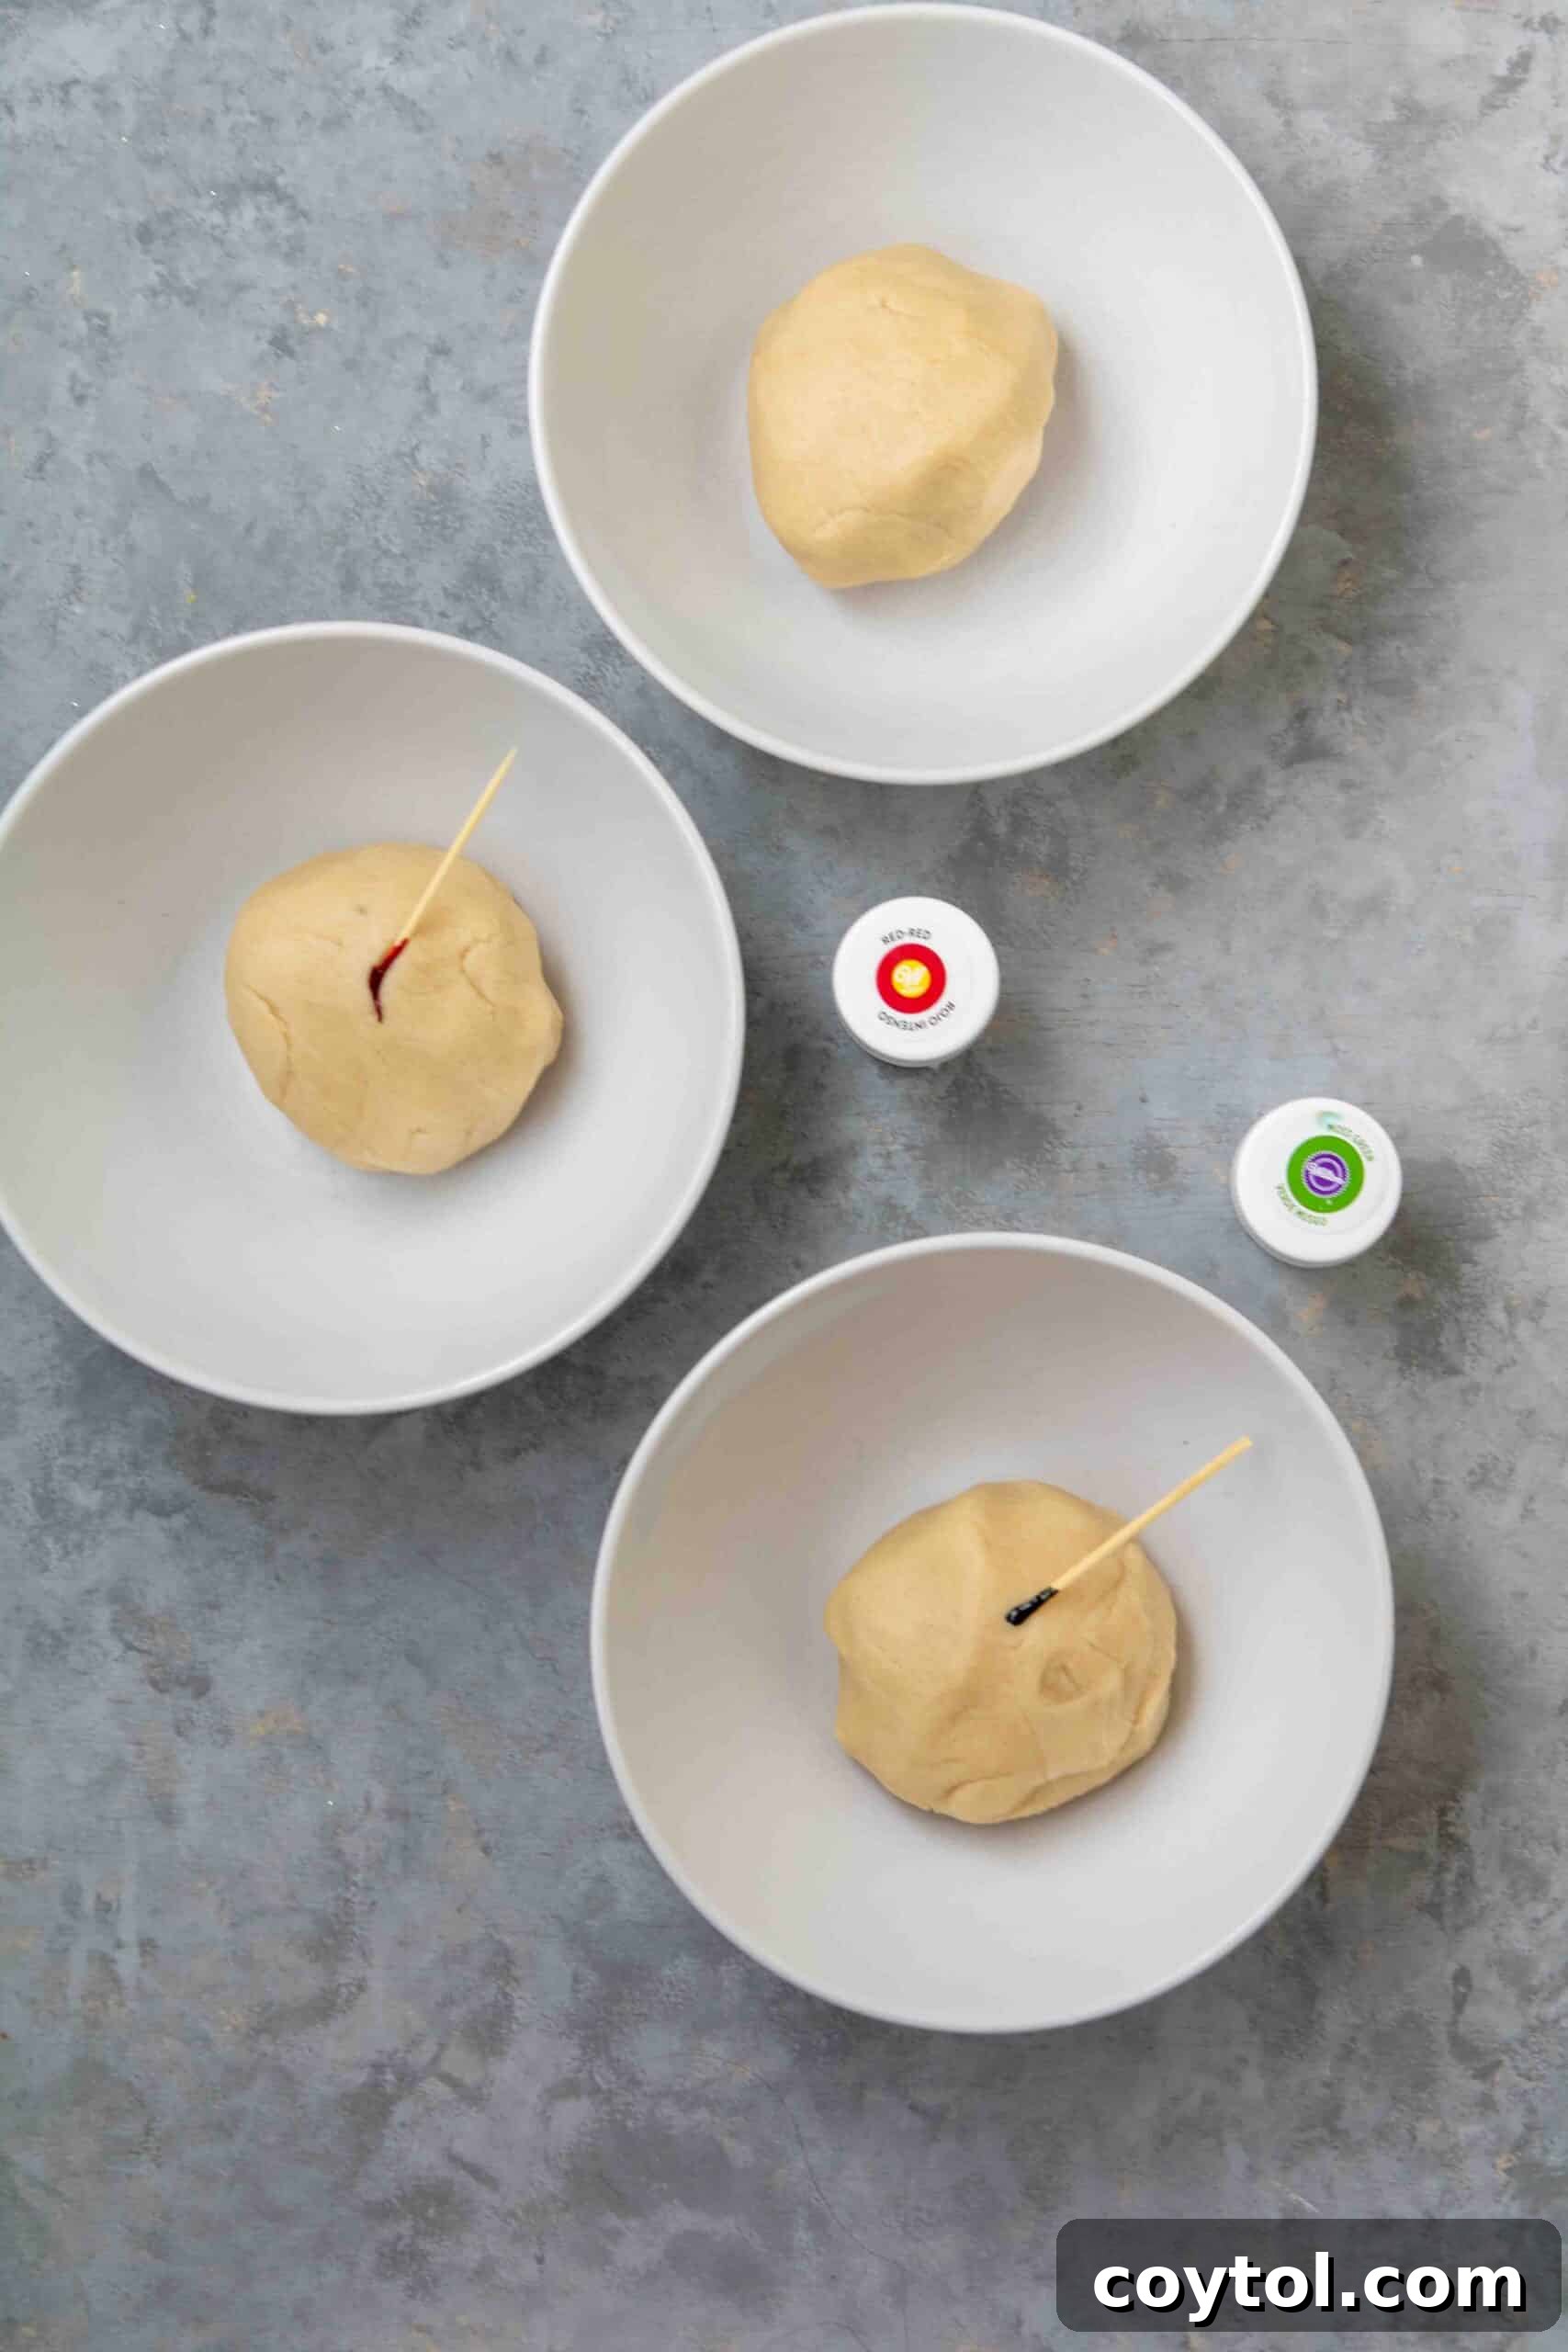
- Red and Green Gel Food Coloring: To achieve that iconic Christmas marbled look, we recommend using high-quality gel food coloring. For a rich red, “red-red” by Wilton is excellent, and for a vibrant green, “moss green” by Wilton works beautifully.
Why Gel Food Coloring is Best for Sugar Cookies
When it comes to coloring cookie dough, gel food coloring is undeniably the superior choice. Unlike liquid food coloring, which can significantly alter the consistency of your dough due to its water content, gel food coloring is highly concentrated. This means you need only a tiny amount to achieve vibrant, rich colors without compromising the delicate texture of your sugar cookies. I typically use about 1/8 teaspoon of each color, but feel free to experiment and adjust based on your desired intensity.
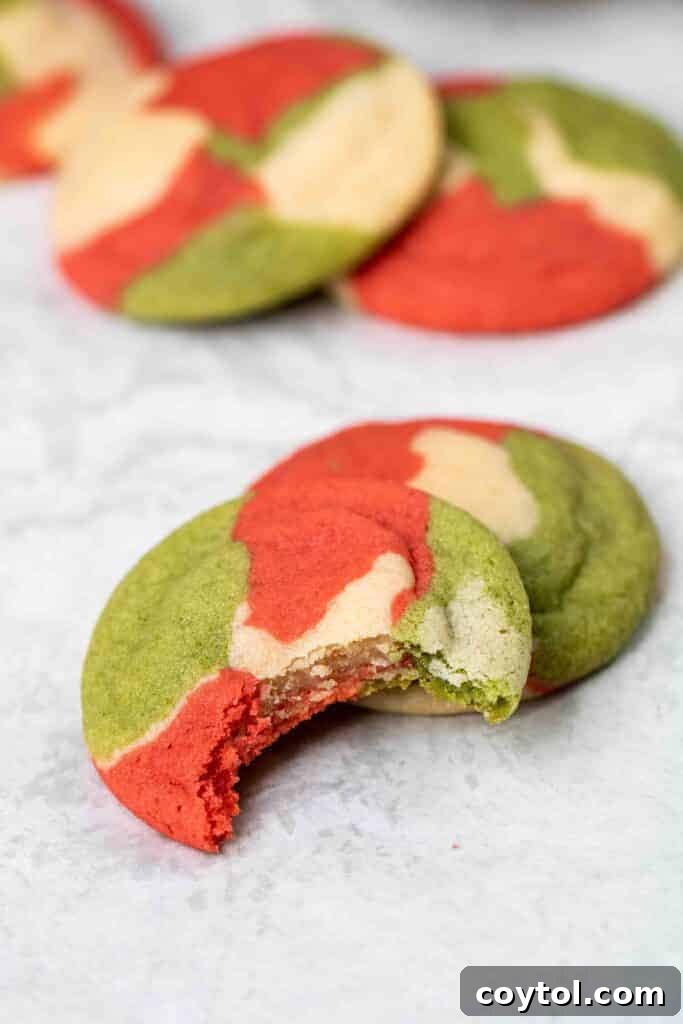
How to Make Christmas Marbled Soft Sugar Cookies: A Step-by-Step Guide
Crafting these exquisite marbled sugar cookies is simpler than you might imagine. Follow this easy guide, and for comprehensive, detailed instructions, be sure to scroll down to the full recipe card below!
- Prepare Your Workspace: Begin by preheating your oven to 350°F (175°C). Line a baking sheet with parchment paper or a silicone baking mat. This step ensures easy removal and prevents sticking, which is crucial for perfect cookies. Set it aside for later.
- Cream the Butter and Sugars: In a large mixing bowl, or the bowl of a stand mixer fitted with the paddle attachment, cream together the softened butter, granulated sugar, and brown sugar. Beat on medium speed until the mixture is light, fluffy, and pale in color, usually about 2-3 minutes. This process incorporates air, contributing to the cookies’ soft texture.
- Incorporate Wet Ingredients: Add the egg white and vanilla extract to the creamed mixture. Mix again on medium speed for about 30 seconds, or until all ingredients are fully combined and smooth. Avoid overmixing at this stage.
- Add Dry Ingredients: Gradually add the all-purpose flour, baking soda, baking powder, and salt to the wet ingredients. Mix on low speed just until the flour mixture disappears and a soft, cohesive dough forms. Be careful not to overmix, as this can lead to tough cookies.
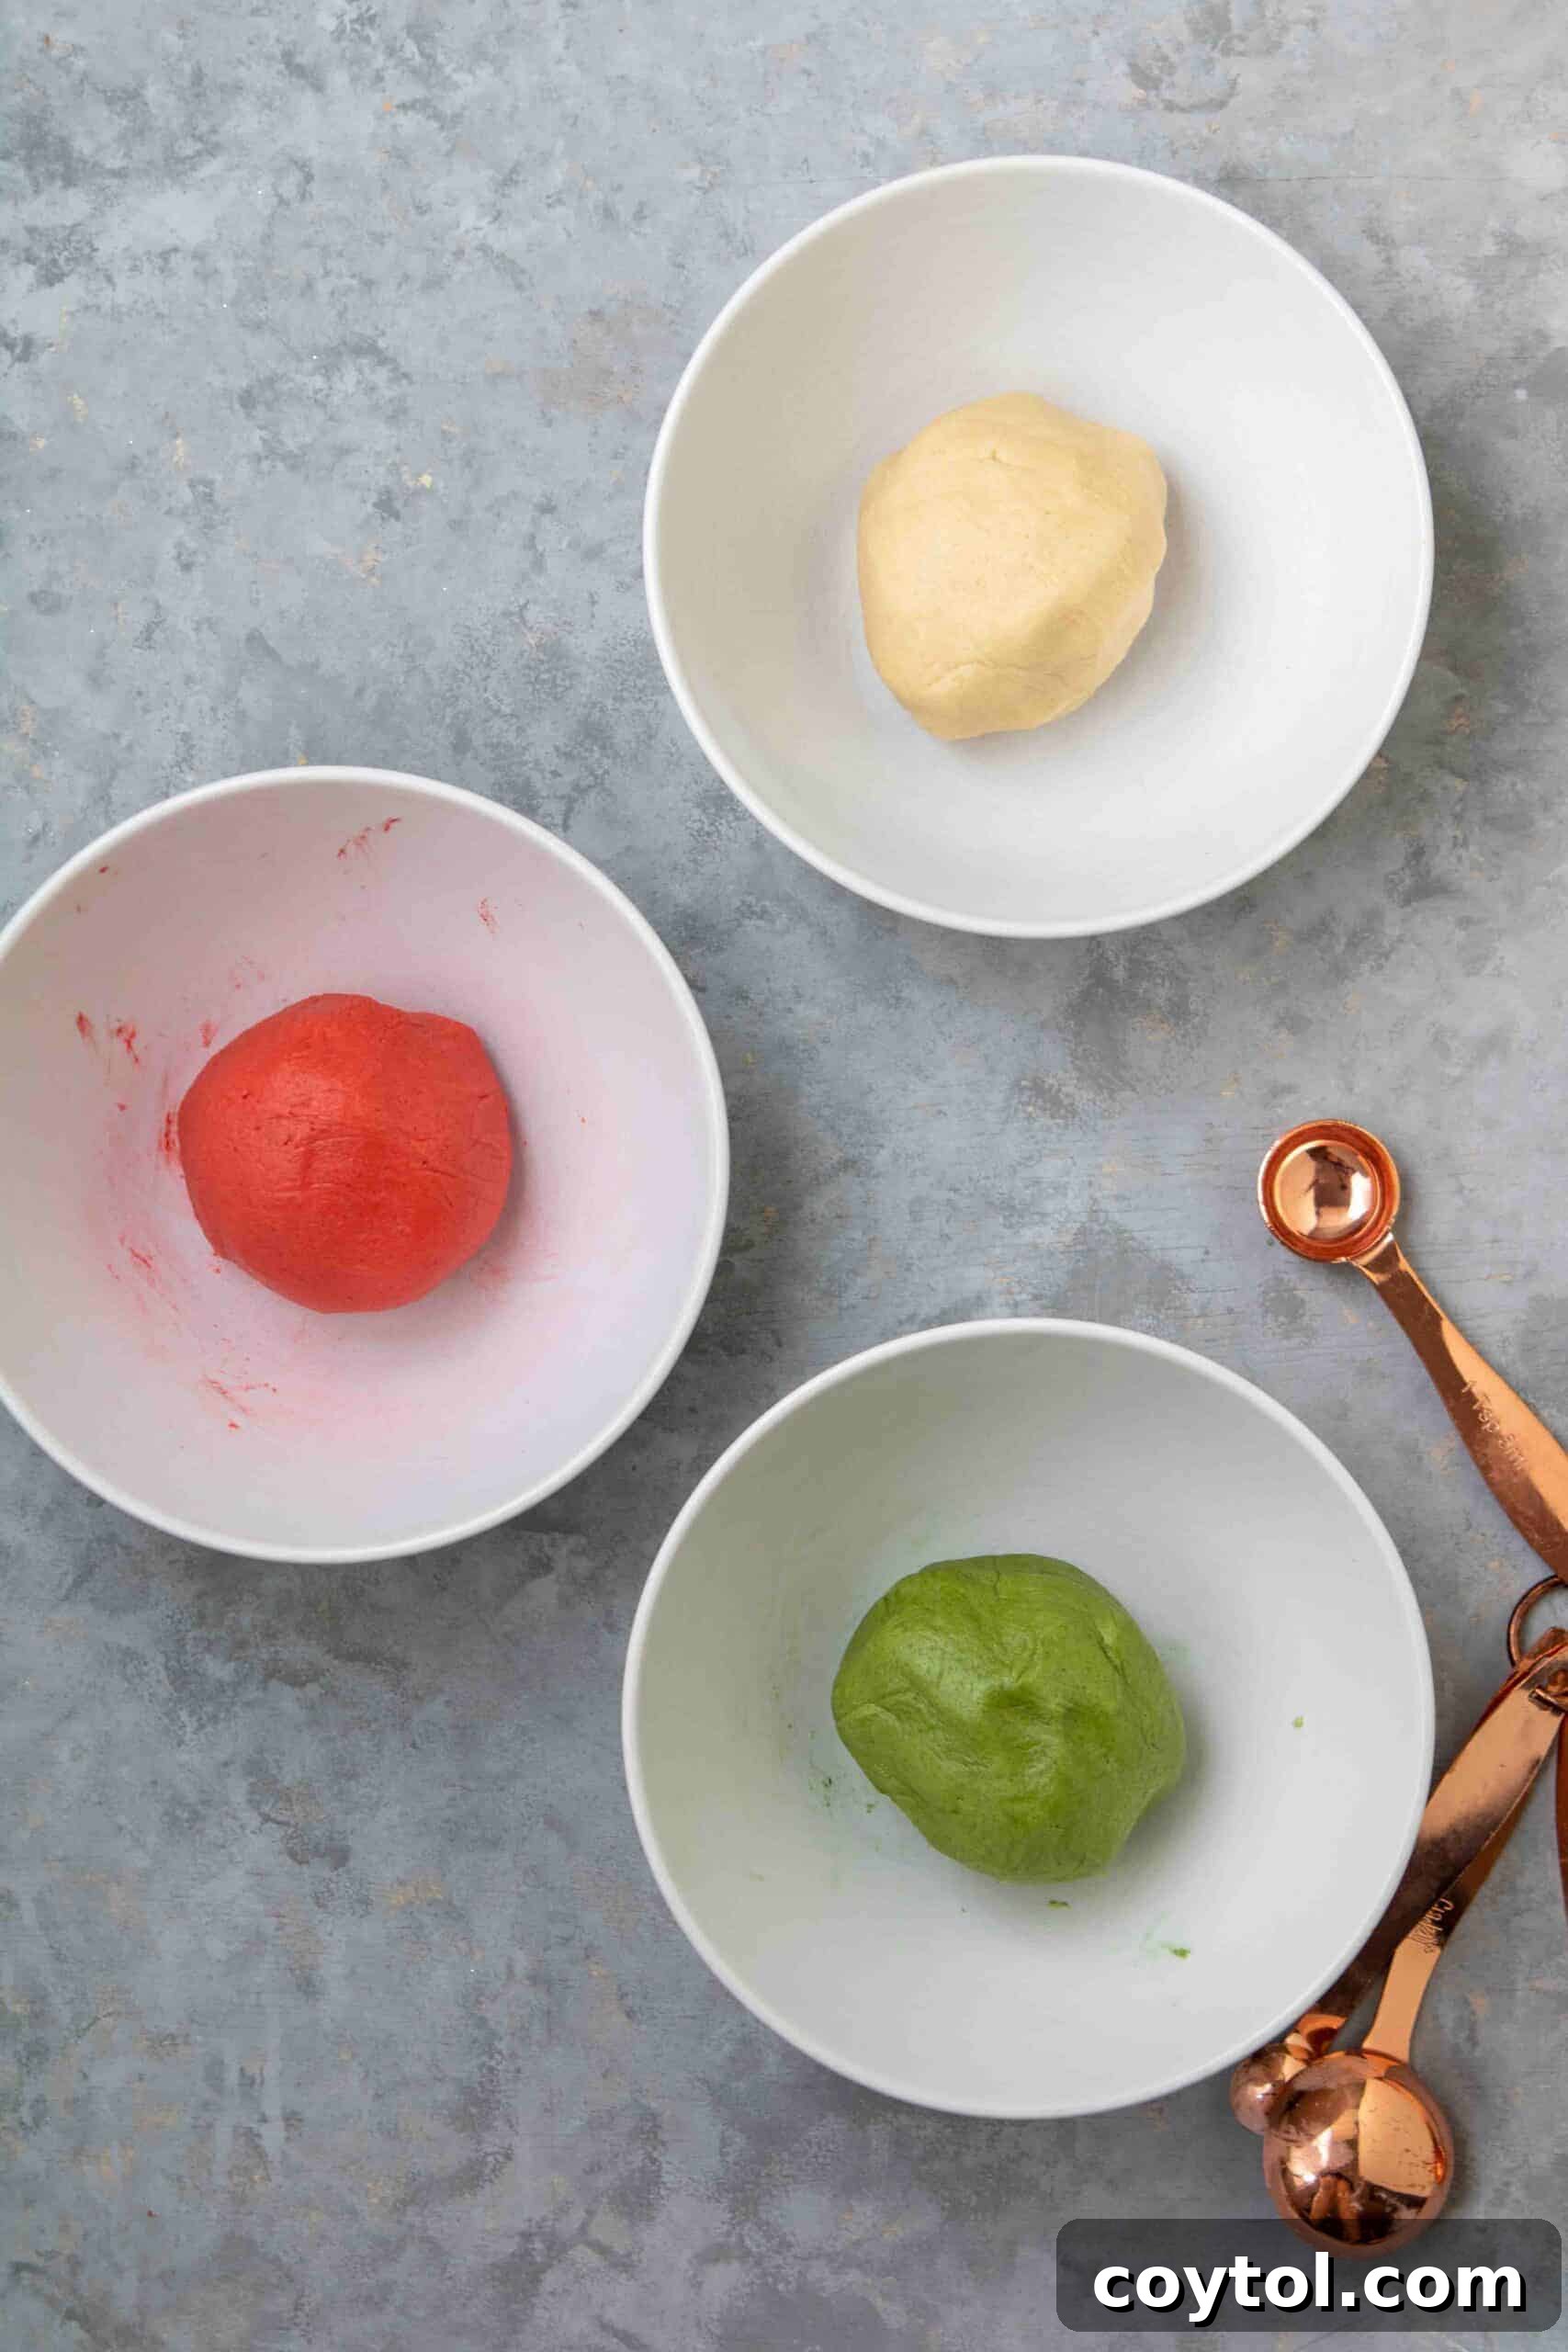
- Divide and Color the Dough: Divide the prepared sugar cookie dough into three equally sized balls. Place each ball into a separate small bowl. Leave one portion plain (this will be your white dough). Dye the second portion red using red gel food coloring, and the third portion green using green gel food coloring. Knead the color into each dough ball until the color is uniform and vibrant. Wearing gloves is recommended to prevent staining your hands, or ensure you wash your hands thoroughly between colors.
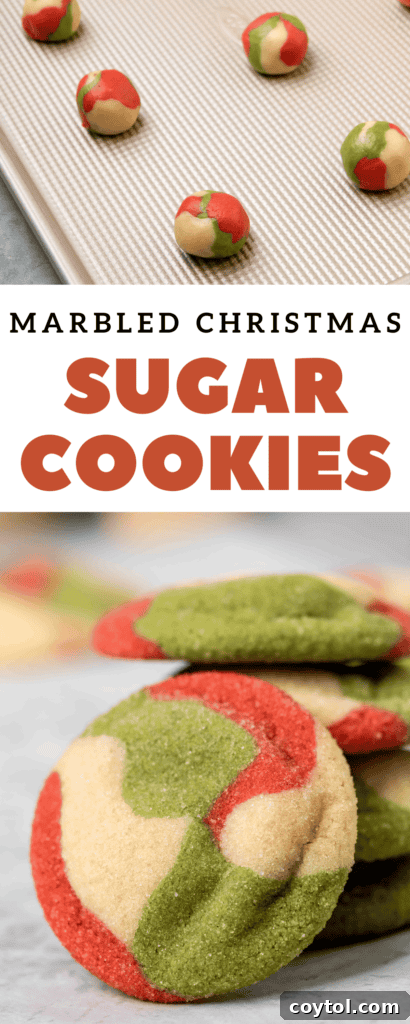
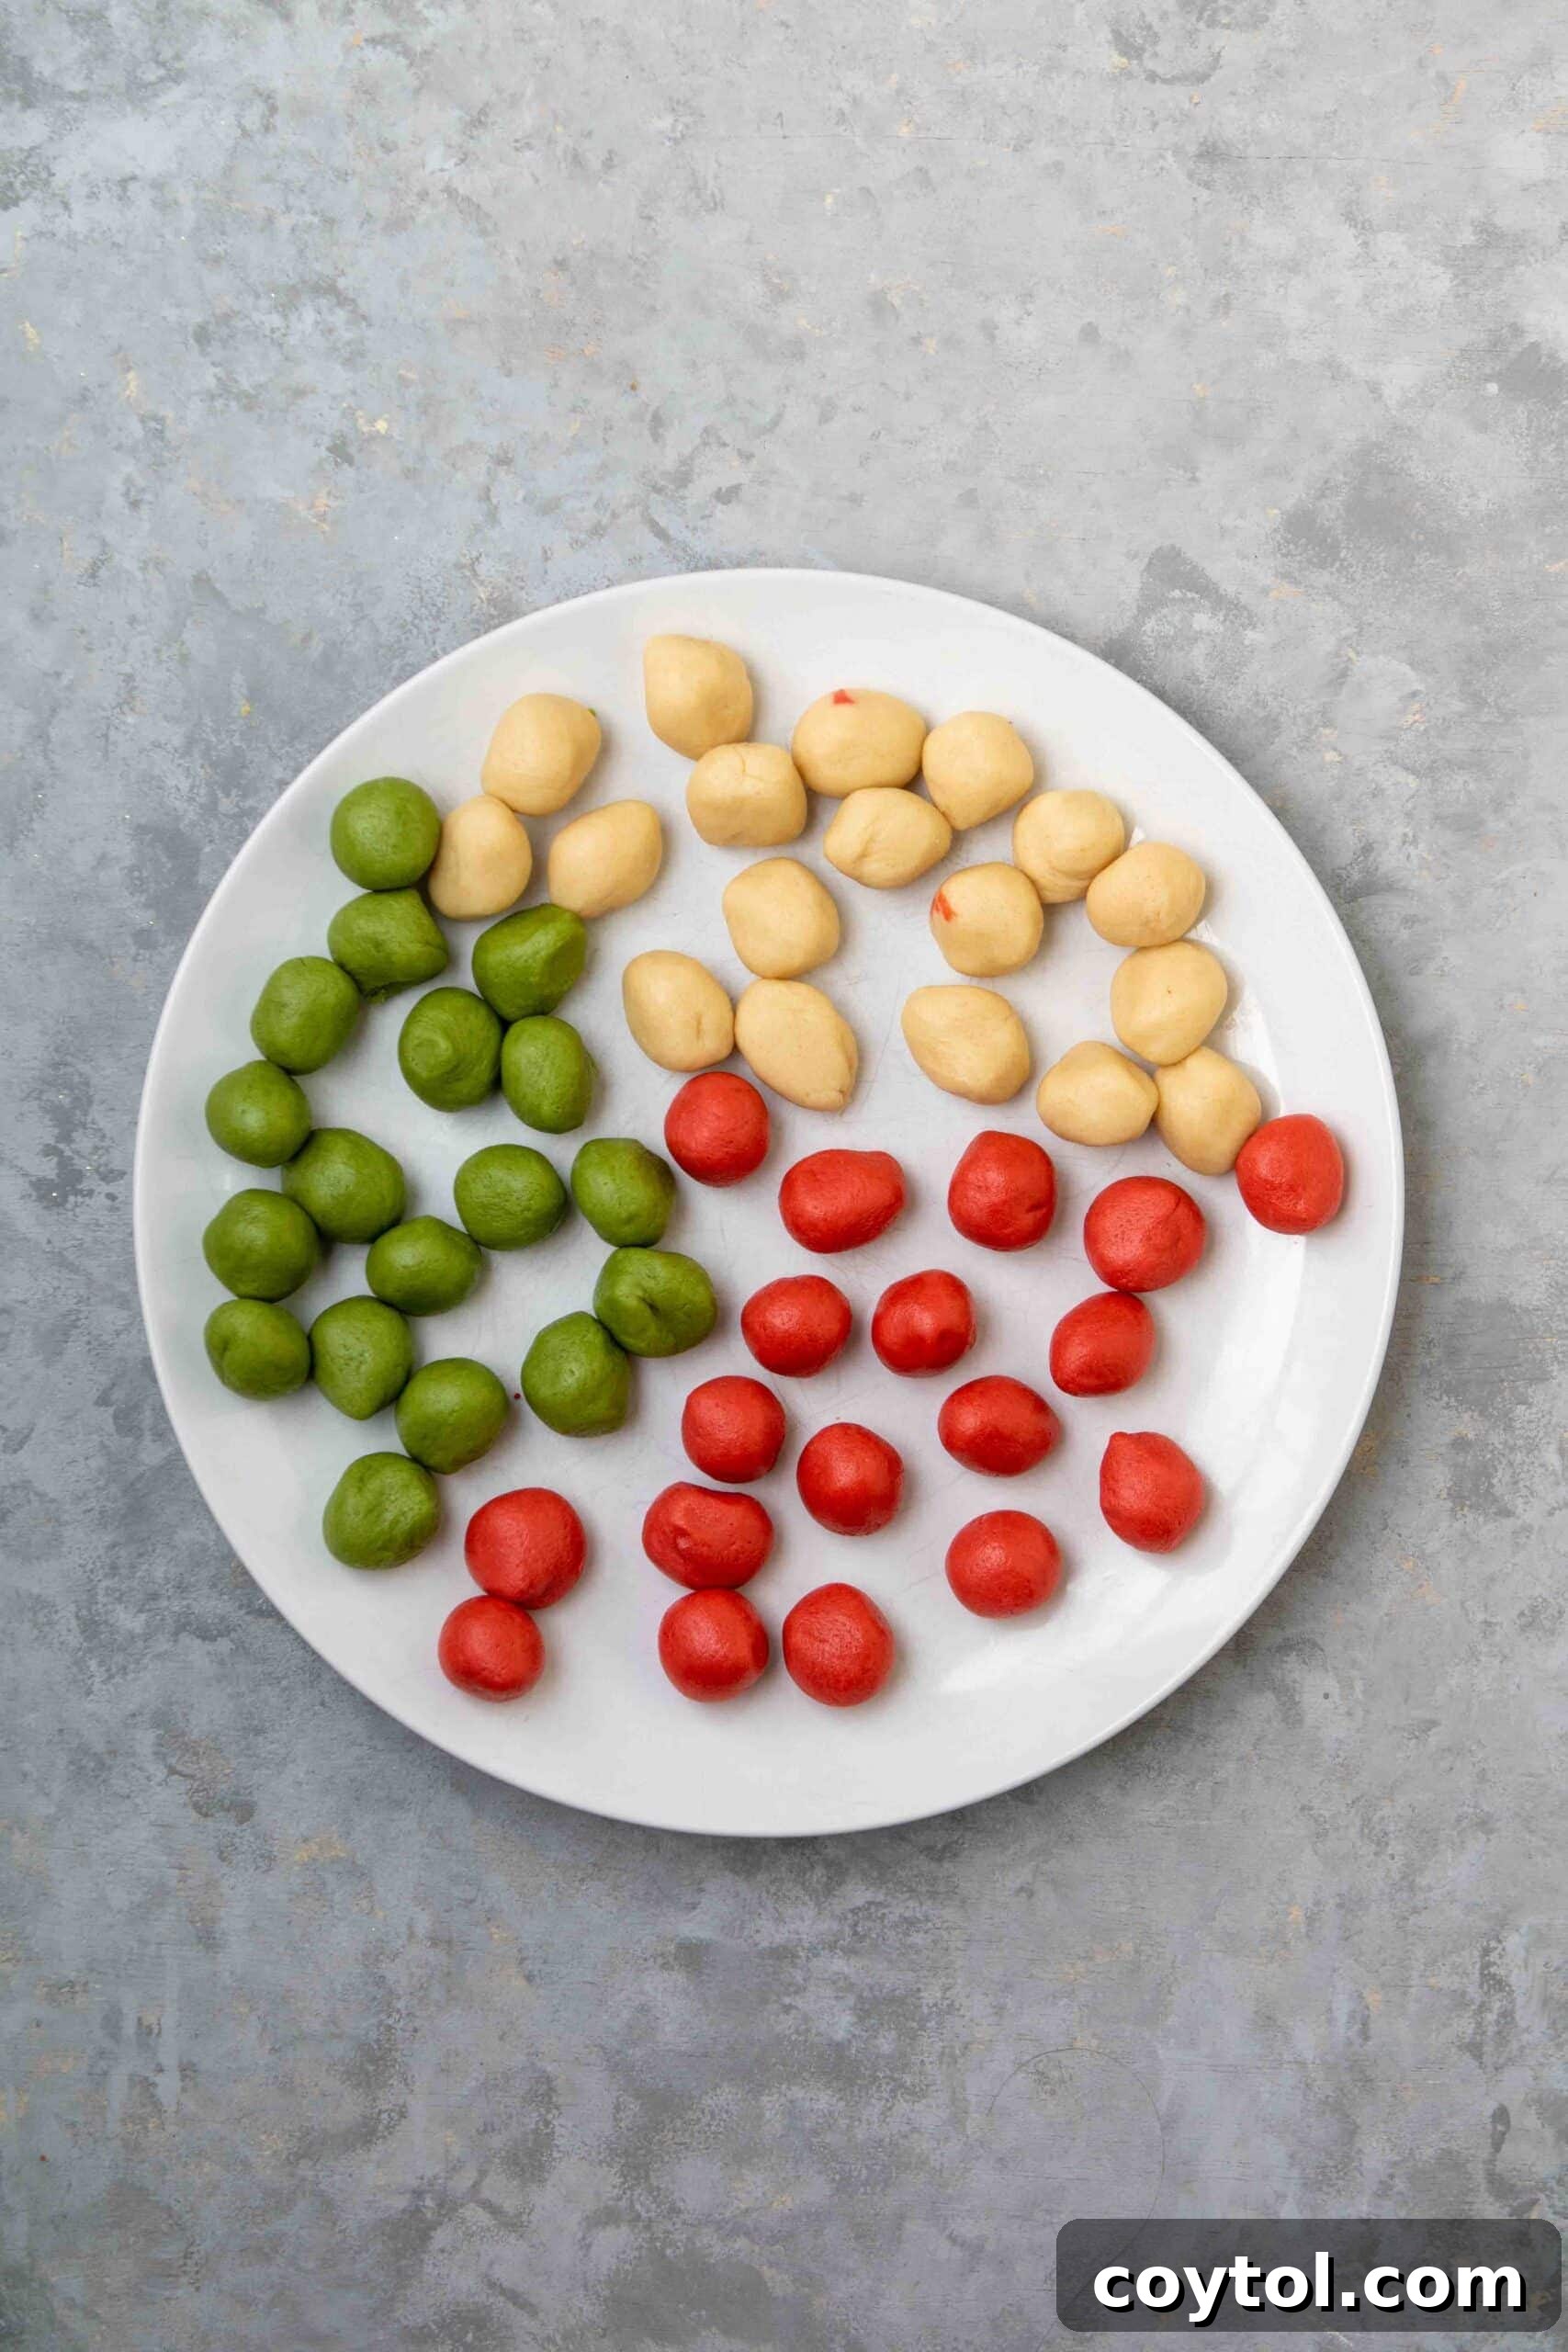
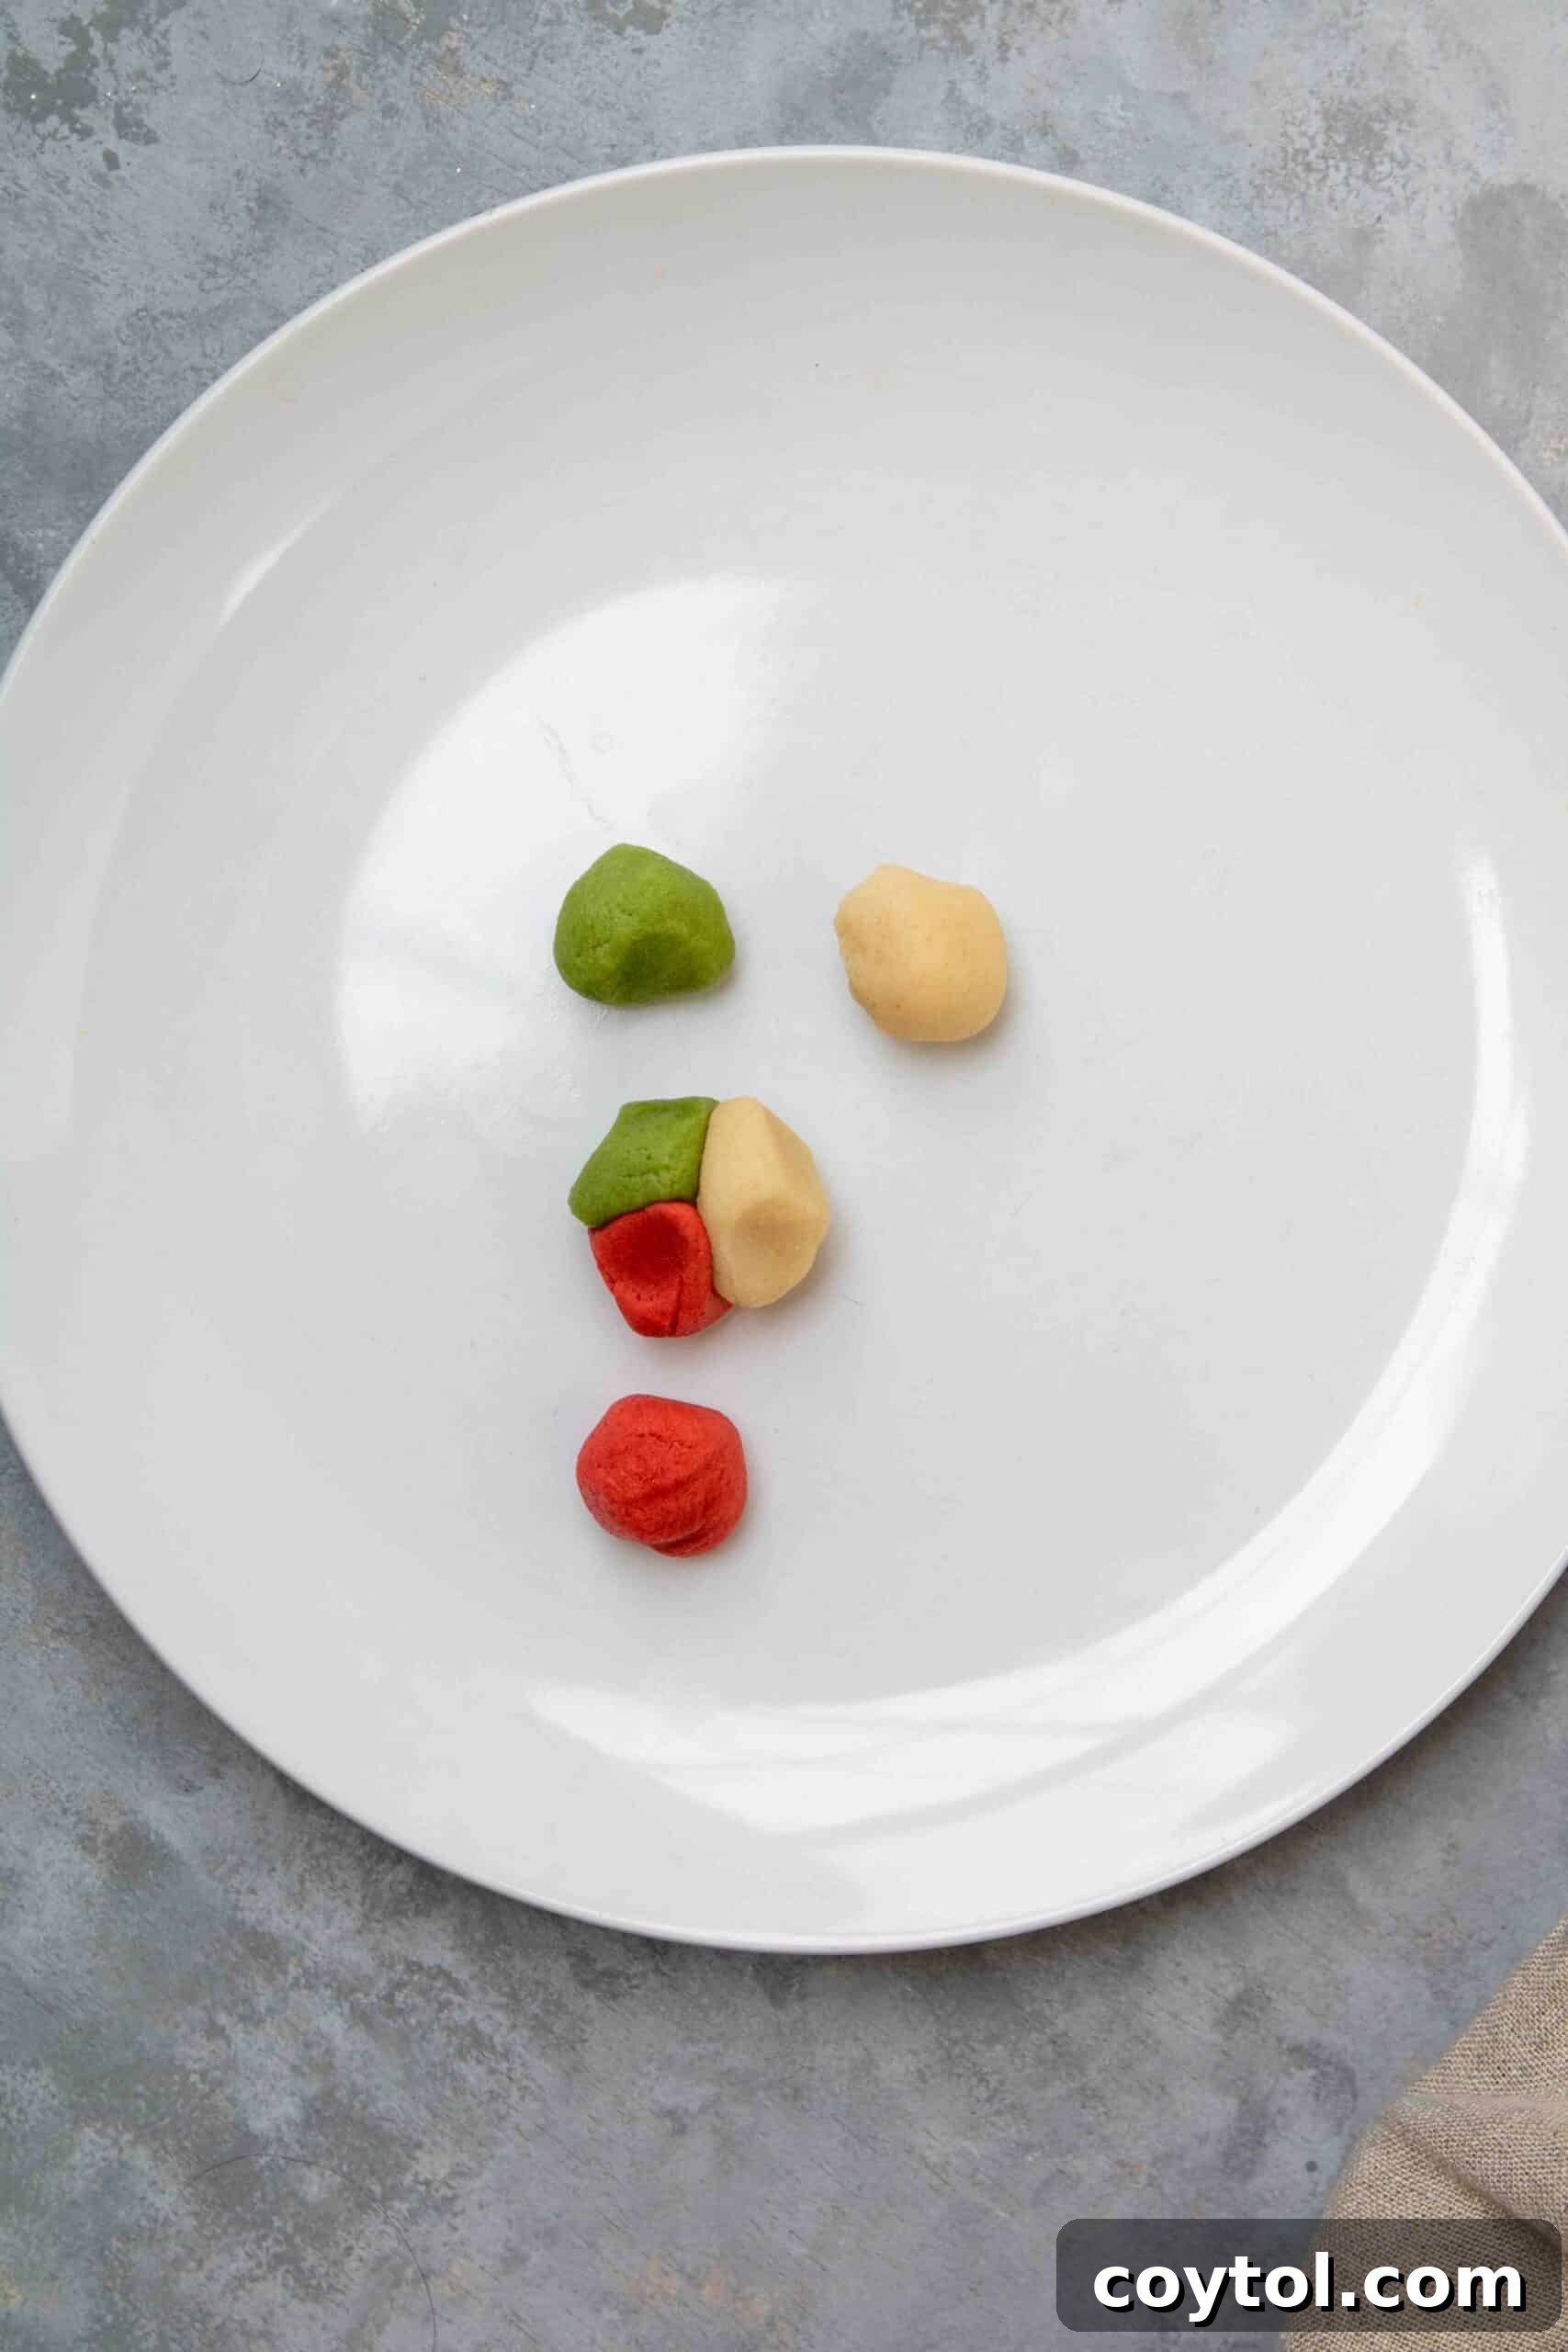
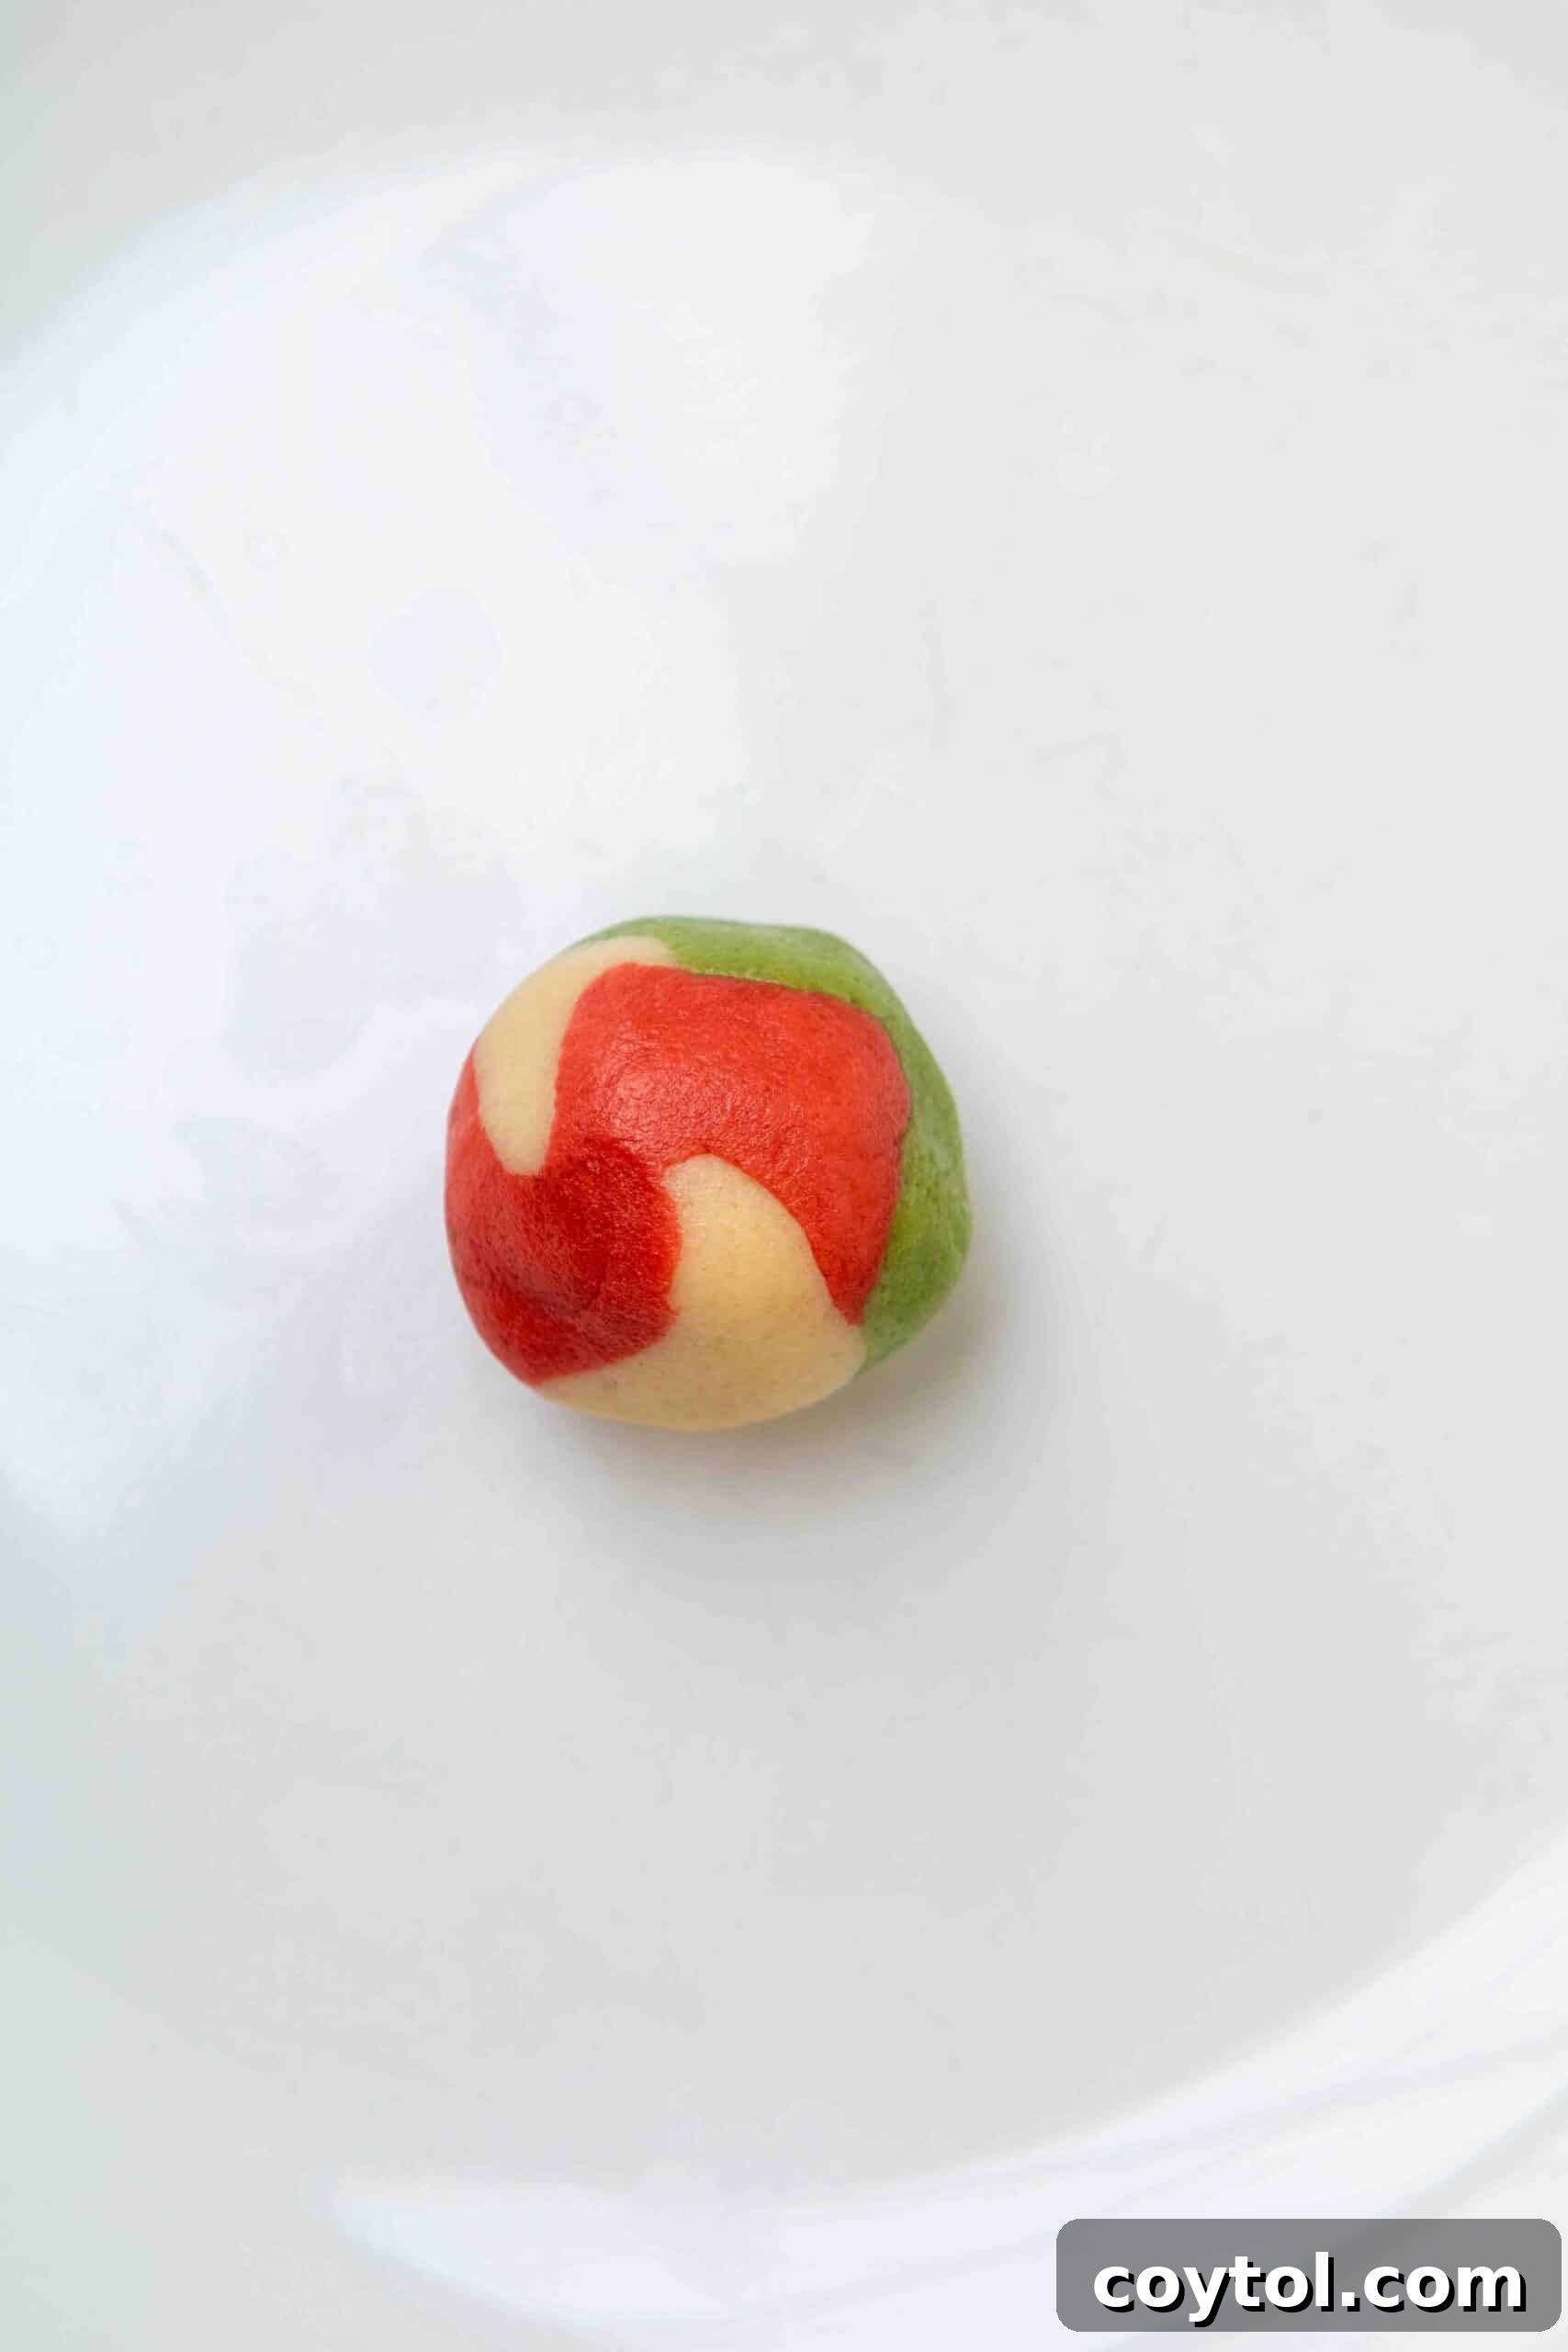
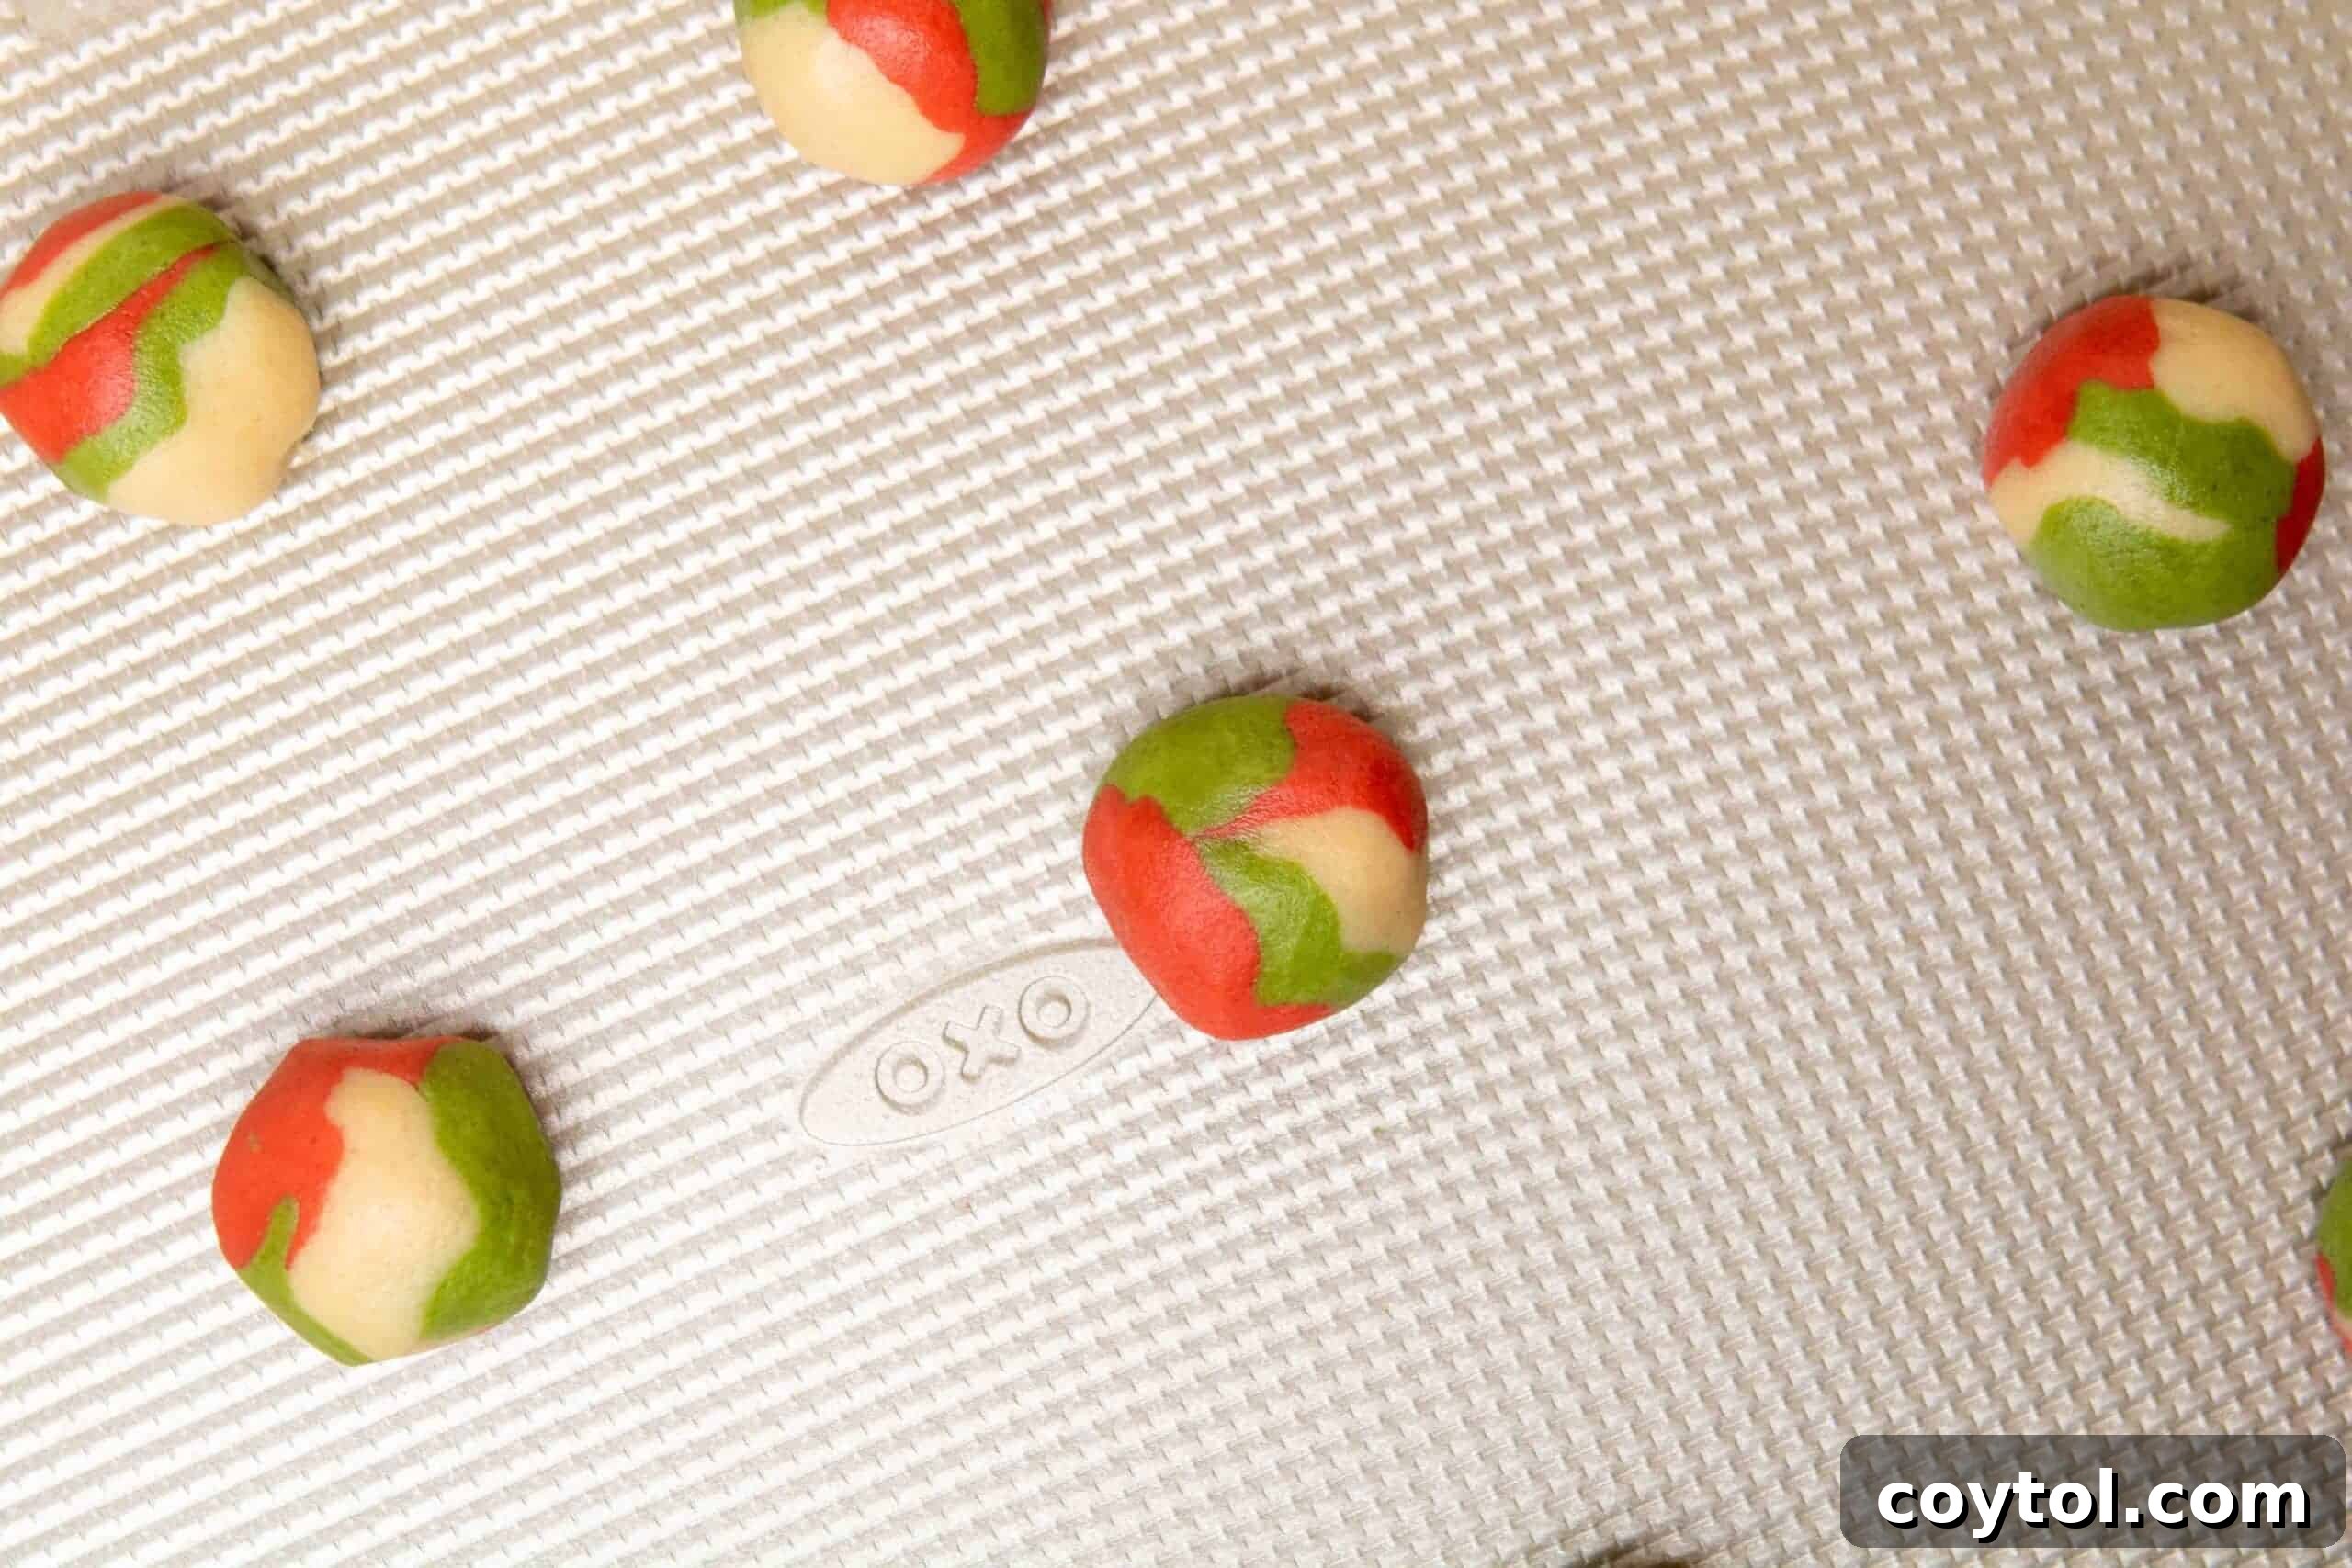
- Create the Marbled Effect: This is where the magic happens! Scoop approximately one teaspoon of dough from each colored bowl (red, green, and white). Gently press these three small pieces of dough together in your hand, then lightly roll them into a ball. You can gently twist or fold them a couple of times to enhance the marbled pattern. Avoid over-rolling or over-mixing, as this will blend the colors rather than marble them. For a more intricate design, you can split each teaspoon of dough into even smaller pieces and randomly place them together before gently rolling.
- Bake to Perfection: Place the marbled cookie dough balls onto your parchment-lined baking sheet, leaving about 2 inches between each cookie to allow for slight spreading. Bake in the preheated oven for exactly 7 minutes. The edges should be set, and the centers should appear slightly soft.
- Cool and Enjoy: Once baked, remove the cookies from the oven and let them cool on the baking sheet for 5 minutes. This allows them to set further without breaking. After 5 minutes, carefully transfer them to a wire rack to cool down completely.
This versatile recipe can be prepared using various methods: a stand mixer with a paddle attachment for effortless mixing, an electric hand mixer for convenience, or even by hand for a more hands-on approach. No matter your method, the result will be consistently delicious and beautiful cookies!
Frequently Asked Questions (FAQ) About Marbled Christmas Sugar Cookies
Should I roll my sugar cookies in sugar?
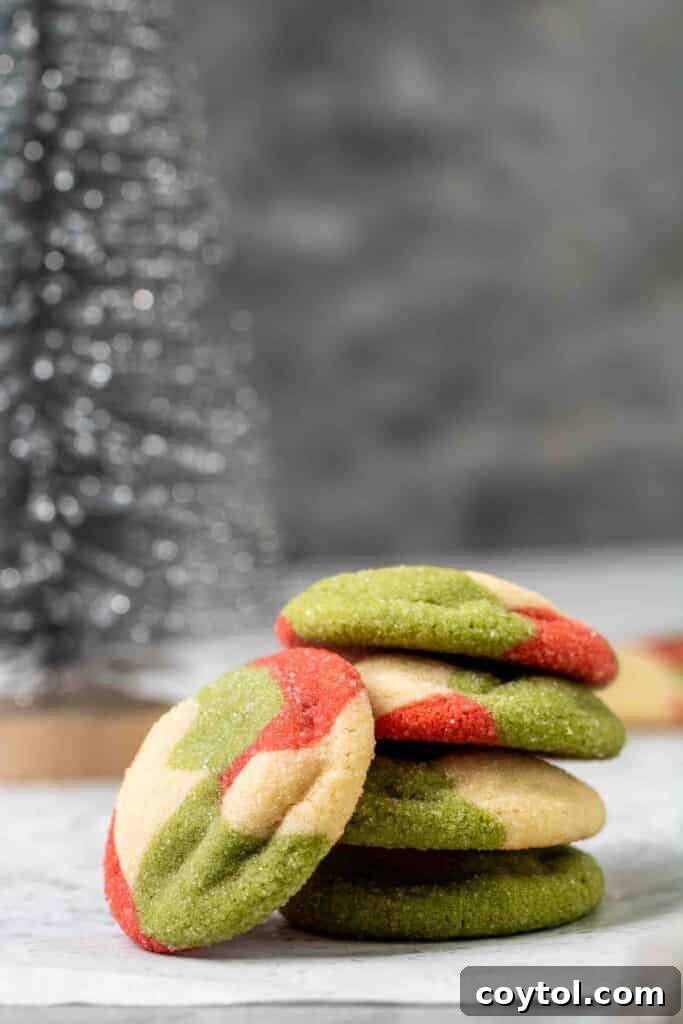
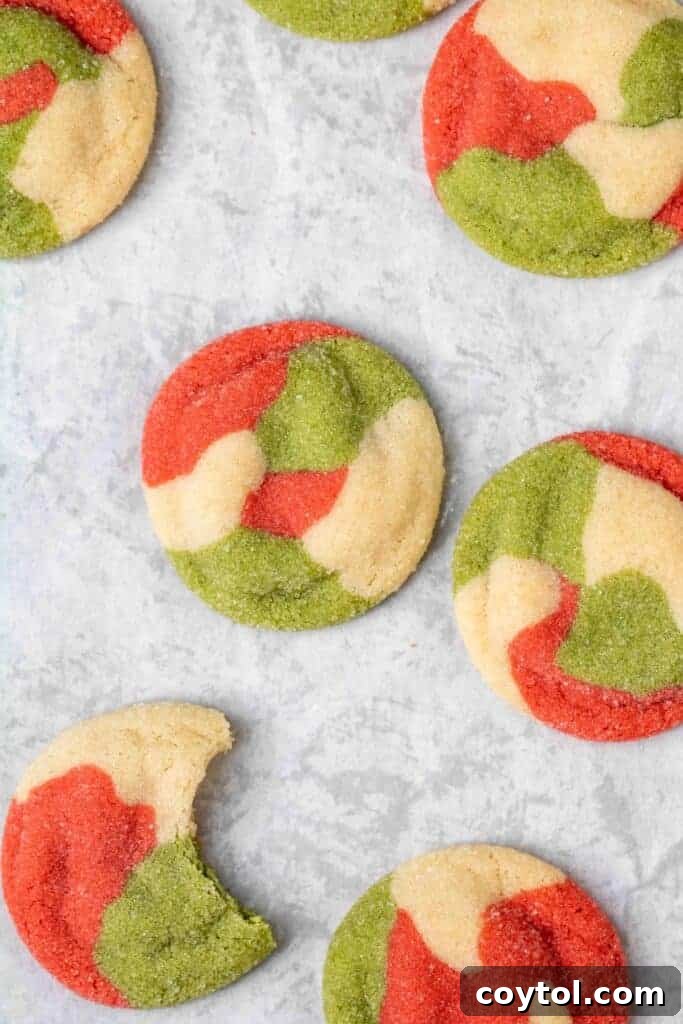
Whether or not to roll your marbled sugar cookies in extra granulated sugar is entirely a matter of personal preference. Some bakers prefer to leave the cookies unsugared, allowing the vibrant red, white, and green marbled pattern to stand out in all its glory without any dilution. The distinct colors truly pop against each other, creating a clean, striking visual. Others, however, love the extra sparkle and subtle crunch that a sugar coating provides. It can add a beautiful crystalline shimmer, enhancing the festive appeal.
To help you decide, below I’ve included a photo showcasing these marbled red, white, and green cookies both with and without the sugar coating. Observe the difference and choose the presentation that best suits your taste and aesthetic vision for your holiday treats!
How to Freeze Christmas Sugar Cookies?
Freezing these Christmas sugar cookies is an excellent way to prepare ahead or preserve leftovers. You have two convenient options:
- Freezing the Dough: Prepare the cookie dough as directed in the recipe, up to the point of forming individual cookie dough balls. Scoop the marbled dough balls onto a parchment-lined baking sheet, ensuring they don’t touch. Place the baking sheet in the freezer until the cookie dough balls are completely solid (this usually takes 1-2 hours). Once frozen, transfer the solid dough balls to an airtight freezer-safe container or a heavy-duty freezer bag. They can be stored in the freezer for up to 3 months. When you’re ready to bake, simply place the frozen dough balls on a baking sheet and bake them in a preheated oven for an extra minute or two beyond the recommended baking time, no thawing required.
- Freezing Baked Cookies: Allow your baked and cooled marbled sugar cookies to cool completely. Arrange them in a single layer on a baking sheet and flash-freeze them until solid. Once frozen, transfer them to an airtight freezer-safe container, separating layers with parchment paper to prevent sticking. They can be frozen for up to 2-3 months. Thaw at room temperature for a few hours before serving.
Expert Tips for the Softest Sugar Cookies
Achieving perfectly soft and chewy sugar cookies is an art, but with these simple tips, your Christmas marbled sugar cookies will turn out absolutely amazing every single time:
- Prevent Color Bleeding: When you’re coloring your red and green cookie dough, it’s highly recommended to wear food-safe gloves. Alternatively, wash your hands very thoroughly between handling each color. This prevents accidental mixing of the vibrant red and green dyes, which could result in a less defined or muddy marbled effect.
- Avoid Over-mixing the Dough: This is a golden rule for soft cookies! Once you’ve added the flour to the wet ingredients, mix only until the dry ingredients are just incorporated and no streaks of flour remain. Over-mixing develops the gluten in the flour, leading to a tough, dense cookie rather than the desired soft and chewy texture.
- Do Not Overbake: Overbaked cookies are often dry and hard, losing their signature softness and chewiness. For these marbled sugar cookies, baking them for precisely 7 minutes at 350°F is key. The cookies might still look slightly underdone in the center when you pull them out, but they will continue to set as they cool on the baking sheet. Trust the process!
- Room Temperature Ingredients: Ensure your butter and egg white are at true room temperature. This allows them to cream together properly, creating a smooth, emulsified mixture that holds air well, resulting in a lighter and more tender cookie.
- Measure Flour Correctly: For precise baking, always scoop your flour into the measuring cup and level it off with a straight edge, rather than scooping directly from the bag (which can compact the flour). Too much flour will make your cookies dry and crumbly.
- Use Parchment Paper or Silicone Mats: Lining your baking sheets with parchment paper or silicone baking mats is essential. It prevents sticking, promotes even baking, and ensures your beautiful marbled cookies lift off the tray easily without breaking.
How Long to Store Christmas Sugar Cookies?
These delightful Christmas sugar cookies are perfect for preparing in advance and sharing generously with friends and family. They store remarkably well, maintaining their irresistible chewiness long after they’ve been baked.
To ensure optimal freshness, place your fully cooled baked sugar cookies in an airtight container. They can be stored at room temperature for up to 3 days, or if you wish to extend their freshness, keep them in the refrigerator for up to 7 days. For longer storage, refer to our freezing instructions above.
Christmas Sugar Cookies Recipe
Marbled Christmas Sugar Cookie Recipe
Print Recipe
Ingredients
- 1 stick butter softened
- 1/2 cup granulated sugar
- 2 tbsp brown sugar
- 1 large egg white
- 1 tsp vanilla
- 1 &. 1/3 cup all purpose flour
- 1/2 tsp baking soda
- 1/4 tsp baking powder
- 1/4 tsp salt
- 1/3 cup granulated sugar for rolling the cookies (optional)
- 1/8 tsp red red food coloring
- 1/8 tsp green moss food coloring
Instructions
-
First, start by preheating your oven to 350°F (175°C), then line a baking sheet with parchment paper or a silicone baking mat and set aside.
-
In a stand mixer, cream the softened butter with the granulated sugar and brown sugar using a paddle attachment until the mixture is light, fluffy, and creamy. Add in the egg white and vanilla extract and mix again for about 30 seconds or until fully incorporated.
-
Add in the flour, baking soda, baking powder, and salt. Mix just until the flour disappears and a soft dough forms. Divide the cookie dough into three equally sized balls and place each one in a separate bowl. Dye one portion red, one green, and leave the third portion uncolored (white).
-
Scoop out one teaspoon of cookie dough from each bowl (red, green, white). You have two options: you can either press these three balls together and roll them gently to get a simple marbled design, or you can split each 1-teaspoon portion into two smaller pieces and randomly place them on top of each other before rolling gently to create a more elaborate design. After rolling all the cookies into marbled balls, bake them at 350°F (175°C) for 7 minutes. Let the cookies cool on the baking sheet for 5 minutes before transferring to a wire rack to cool down fully.
-
Enjoy with a tall glass of milk, or arrange these beautiful cookies on a festive plate to share with Santa!
Nutrition
Nutrition information is automatically calculated, so should only be used as an approximation.
Shop This Recipe
This post may contain affiliate links, meaning that at no additional cost to you, I will earn a small commission on purchases made through my links!
If you enjoyed this red white and green marbled Christmas cookie recipe make sure to pin it for later!