
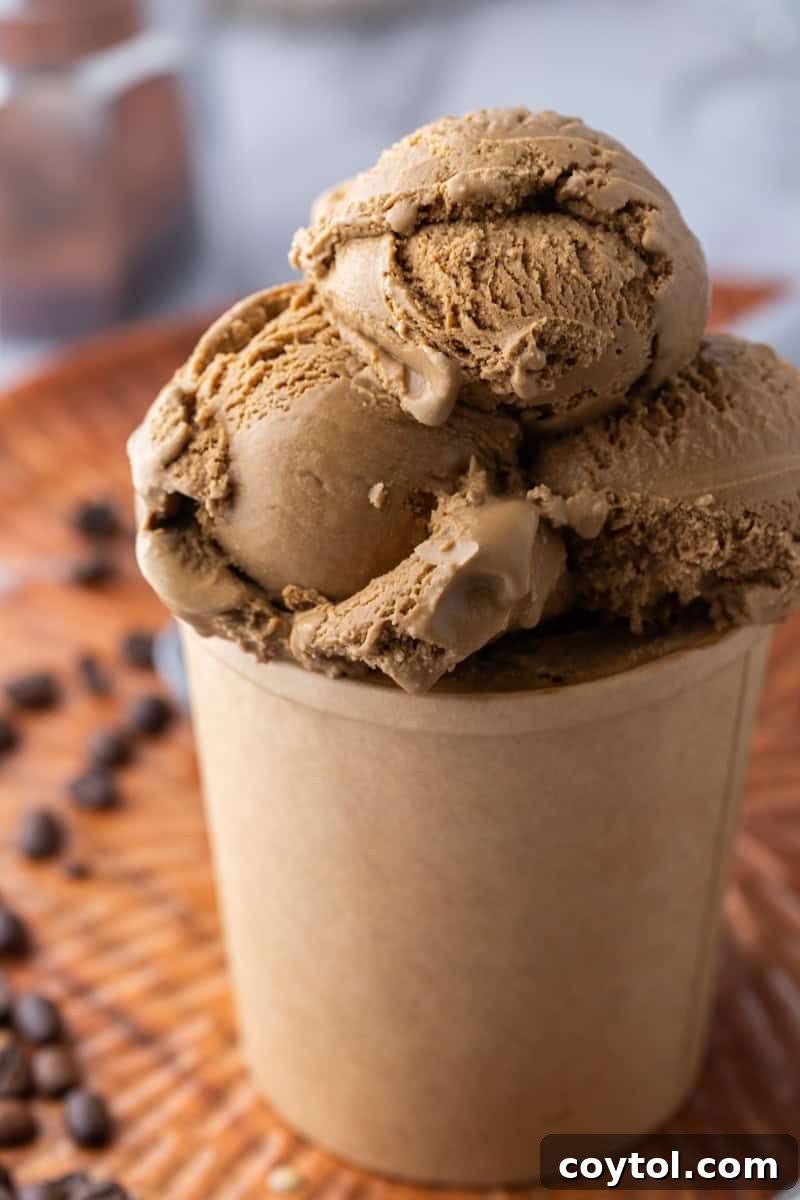
The Ultimate Guide to Making Rich & Creamy Espresso Coffee Ice Cream at Home
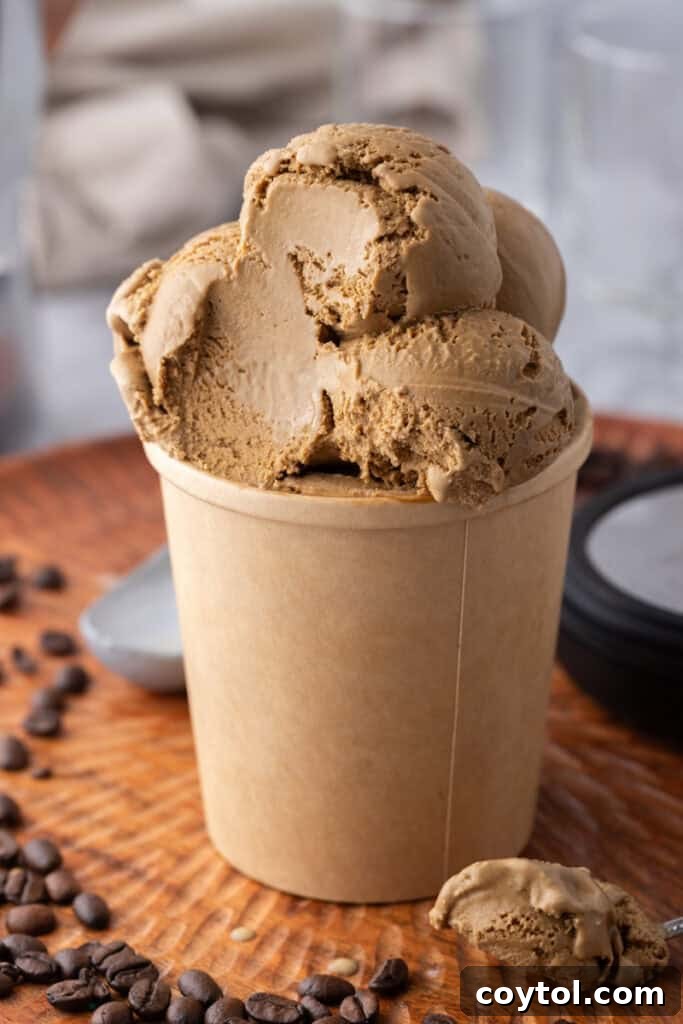
For true coffee aficionados, there’s nothing quite like the robust aroma and intense flavor of freshly brewed espresso. Now, imagine transforming that exhilarating coffee experience into a luxuriously smooth and profoundly rich dessert. This isn’t just any ice cream; it’s a celebration of bold coffee flavor, crafted to perfection. This intensely flavored Espresso Coffee Ice Cream recipe is the quintessential summer treat, offering an incredible depth of flavor and an unbelievably luscious texture that will captivate every coffee lover. Made with a dedicated ice cream maker, this recipe promises a consistency that’s both velvety and decadent, easily making it one of the best homemade ice creams you’ll ever taste.
If your dessert cravings lean towards rich coffee-infused delights like tiramisu, prepare for an unparalleled culinary treat. This straightforward recipe bursts with such potent, aromatic coffee essence that your taste buds will truly come alive. And beyond its incredible flavor, the decadent, custardy texture ensures an utterly satisfying experience that elevates homemade ice cream to gourmet levels. Forget store-bought options; this recipe will guide you through creating a dessert that is far superior in both taste and texture.
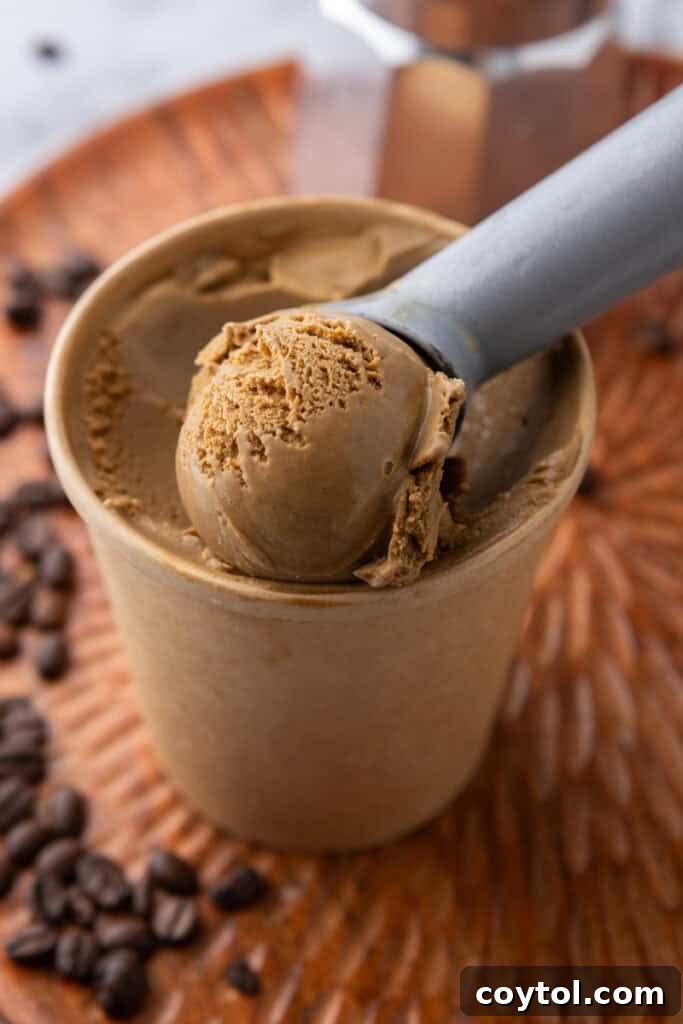
What sets this creamy espresso ice cream apart is its indulgent, custardy base, meticulously enriched with large egg yolks. This creates a foundation that’s as soft as silk and incredibly smooth, melting delightfully on the tongue. The addition of high-quality espresso powder ensures that the coffee flavor is as strong, authentic, and vibrant as your favorite barista-made espresso drink. The synergy between the rich custard and the concentrated coffee is what makes this dessert truly exceptional.
Versatility is another hallmark of this delightful creation. Serve it simply in a crisp cone or a elegant bowl to let its pure flavor shine. For an even more extravagant dessert, pair a scoop (or two!) with a warm, fudgy brownie, a chewy chocolate chip cookie, or a slice of your favorite pie. No matter how you choose to enjoy it, this recipe is destined to become your new go-to homemade ice cream. Despite its gourmet appeal, it’s surprisingly easy to prepare. All you truly need is an ice cream machine, and you’re well on your way to crafting a truly unforgettable dessert experience.
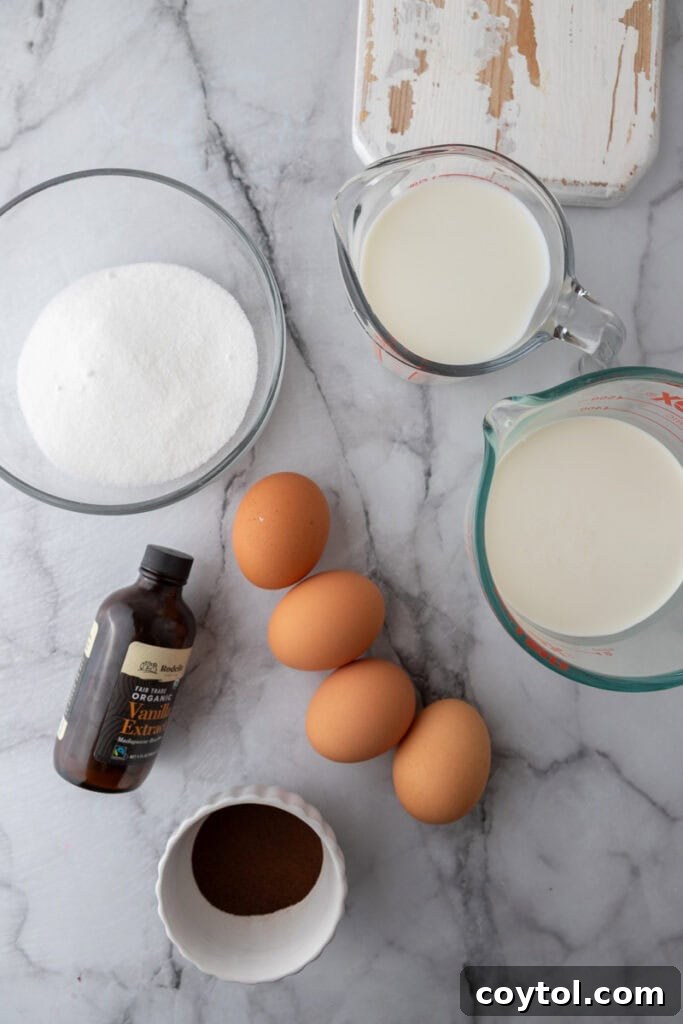
Key Ingredients for Rich & Creamy Homemade Espresso Coffee Ice Cream
Crafting the perfect espresso coffee ice cream begins with selecting high-quality ingredients. Each component plays a vital role in achieving that rich flavor and incredibly smooth, desirable texture. Below are the essential ingredients you’ll need for this homemade coffee ice cream recipe, bursting with a strong espresso flavor. For precise measurements, please refer to the detailed recipe card found towards the end of this article.
- Heavy Cream: This is the cornerstone of any truly rich and creamy ice cream. Its high fat content provides the luxurious mouthfeel and decadent base that defines premium homemade ice cream.
- Whole Milk: Used in conjunction with heavy cream, whole milk helps to balance the richness without sacrificing creaminess, contributing to the overall liquid content necessary for churning.
- Granulated Sugar: Beyond simply sweetening the ice cream, sugar is crucial for lowering the freezing point, which prevents the ice cream from becoming rock-hard and icy. For a subtle molasses note, you can opt for brown sugar instead.
- Large Egg Yolks: These are the secret to a silky, custard-like texture. Egg yolks create a French-style ice cream base, adding unparalleled richness, smoothness, and body. They act as an emulsifier, helping to stabilize the mixture and prevent ice crystal formation.
- Instant Espresso Powder: The star of the show! This concentrated powder infuses the ice cream with a deep, authentic, and intense coffee flavor without adding excess liquid. Choose a high-quality brand for the best results.
- Vanilla Extract: A touch of pure vanilla extract enhances the overall flavor profile, adding warmth and depth that complements the bold espresso beautifully. It’s not just a background note; it brings out the best in the coffee.
- Pinch of Salt: Often overlooked, a small pinch of salt is essential. It acts as a flavor enhancer, balancing the sweetness and intensifying the complex notes of the coffee, preventing the ice cream from tasting one-dimensional.
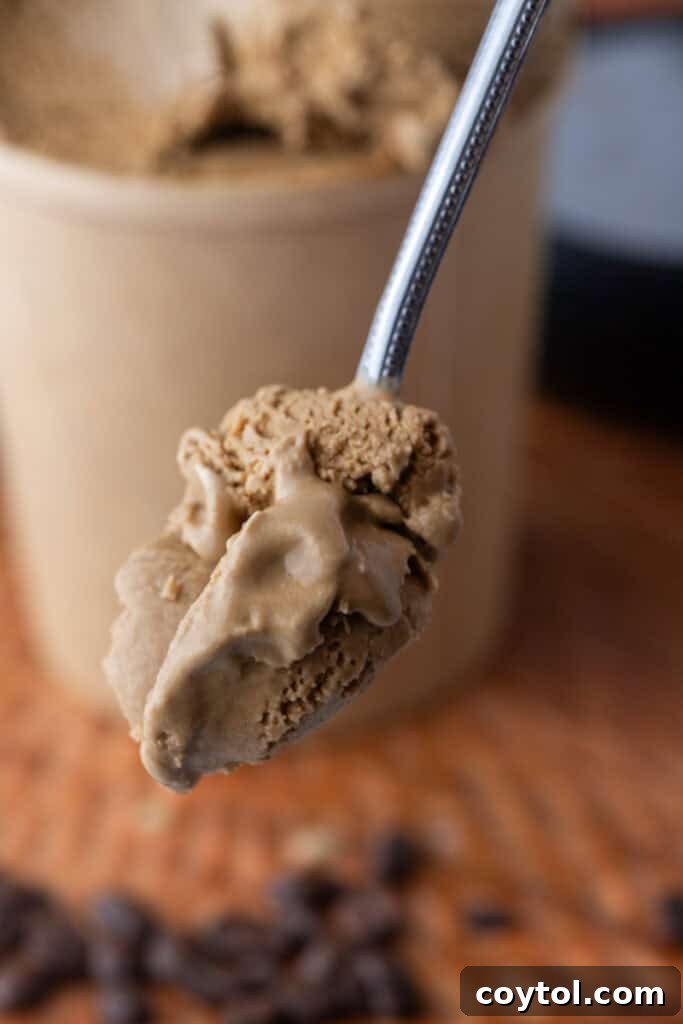
Crafting Your Own Espresso Coffee Ice Cream: A Step-by-Step Guide
Making delicious, restaurant-quality espresso coffee ice cream from scratch is a rewarding process. Follow these detailed steps to achieve the best results. Remember to consult the full recipe card at the very end of this post for precise measurements and comprehensive instructions.
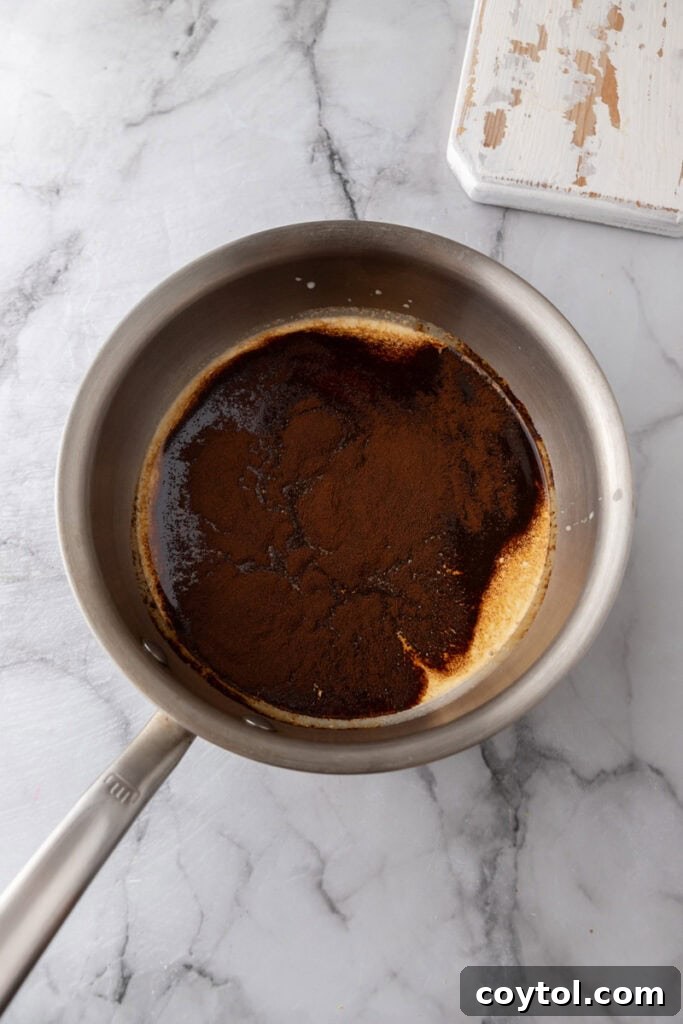
- Prepare the Cream Base: Begin by combining the whole milk, heavy whipping cream, instant espresso powder, and a pinch of salt in a medium saucepan. Place the saucepan over medium heat, allowing the mixture to warm gently until it begins to steam around the edges but does not reach a rolling boil. Stir the mixture occasionally to ensure the espresso powder dissolves completely and evenly infuses the cream with its rich flavor. This step is crucial for developing the foundational coffee essence.
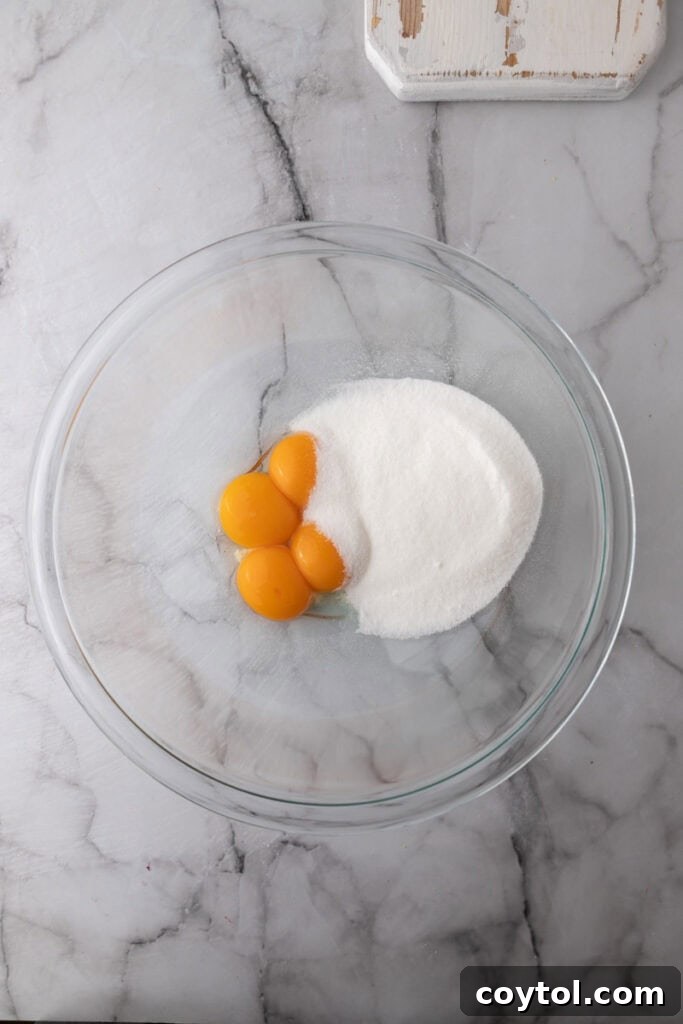
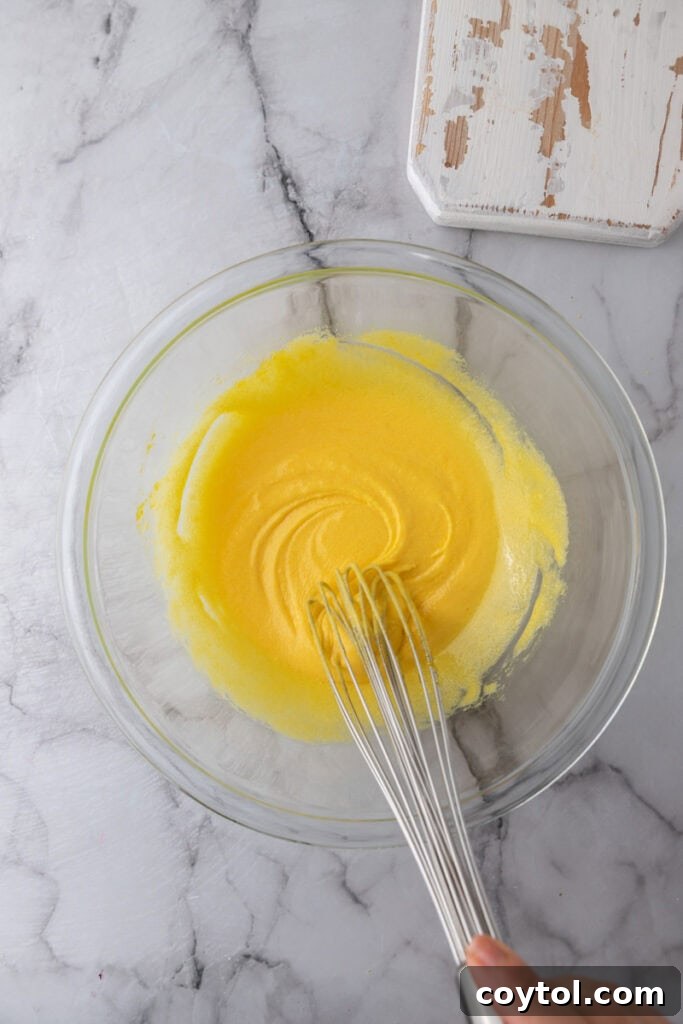
- Whip Egg Yolks and Sugar: In a separate, large mixing bowl, vigorously whisk together the large egg yolks and granulated sugar. Continue whisking until the mixture transforms into a pale yellow color and thickens considerably, almost doubling in volume. This aeration is important for the final texture of your custard.
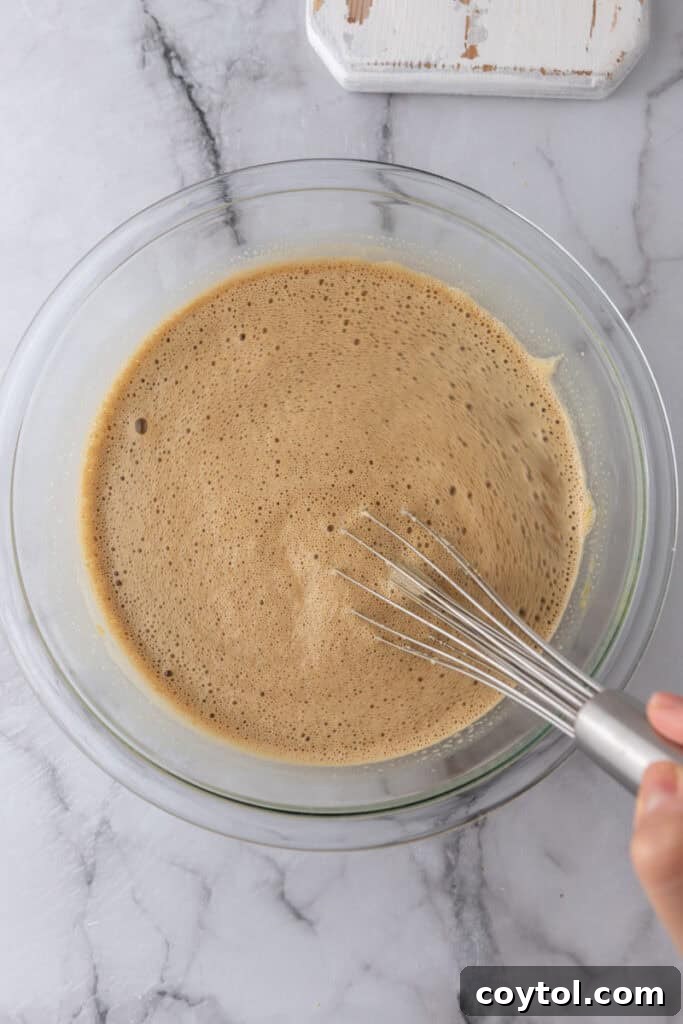
- Temper the Egg Mixture: This is a crucial step to prevent the eggs from scrambling. Slowly, in a steady stream, pour about half a cup of the warm cream mixture into the whisked egg yolks and sugar, whisking constantly and rapidly. This process gently raises the temperature of the egg yolks without cooking them solid. Once tempered, gradually whisk the entire egg yolk mixture back into the saucepan with the remaining warm cream. This ensures a smooth, lump-free custard.
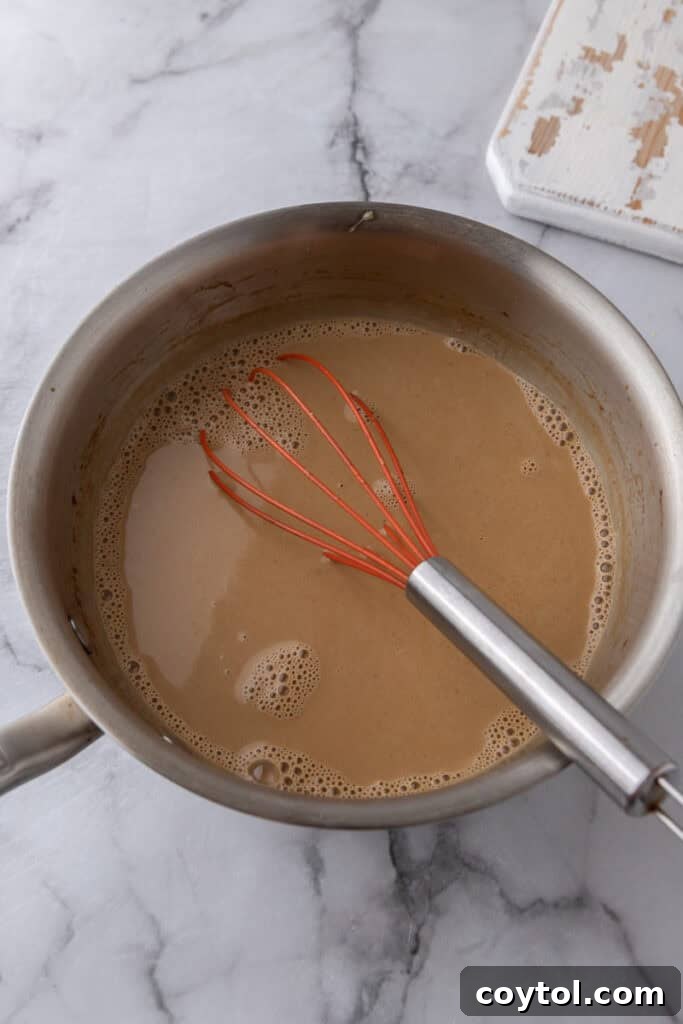
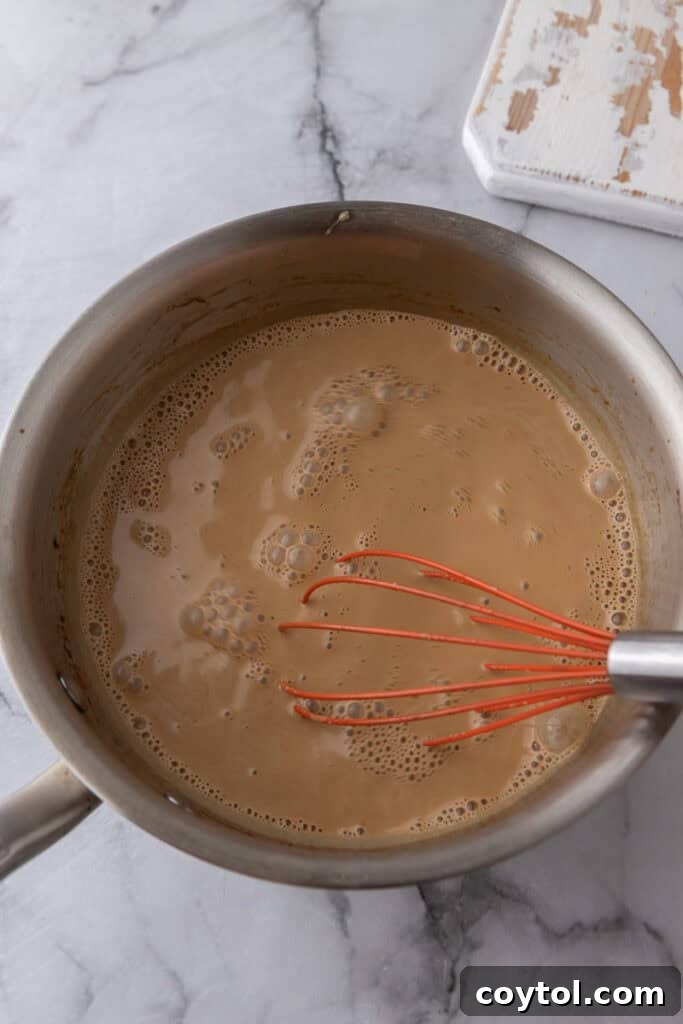
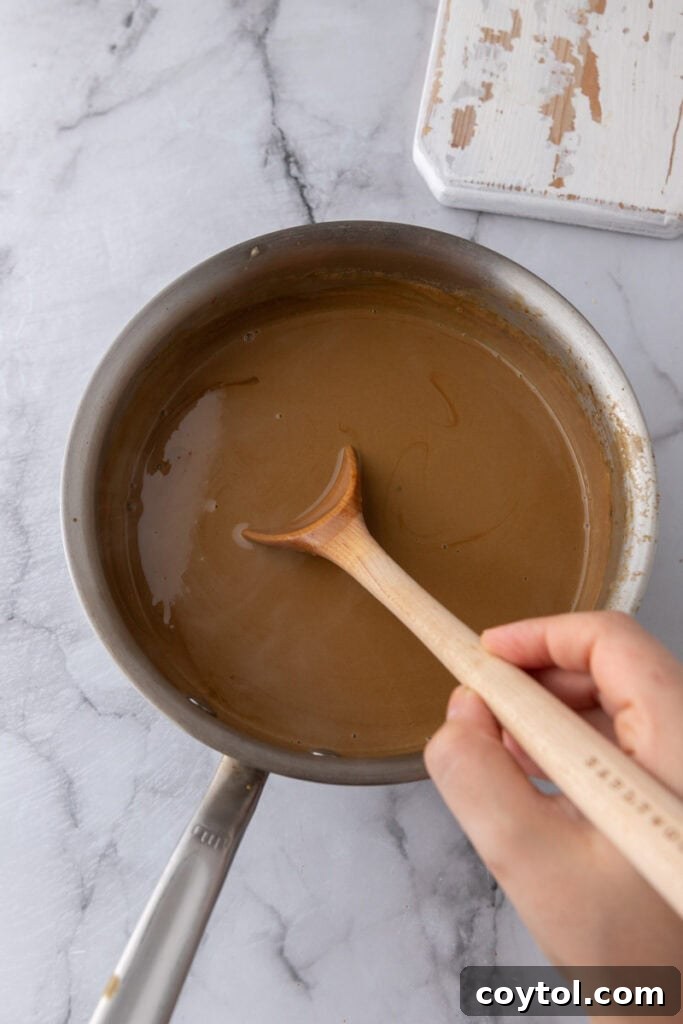
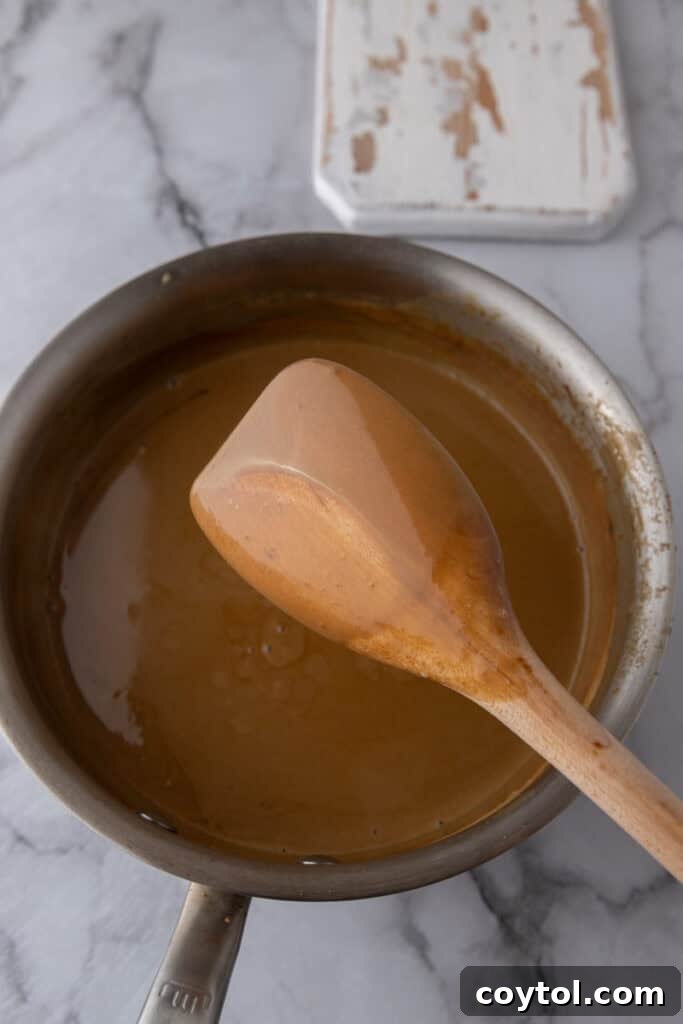
- Cook the Custard: Continue to cook the combined custard mixture over medium-low heat. Stir frequently and consistently with a heatproof spatula or wooden spoon, scraping the bottom and sides of the pan to prevent scorching. Cook until the mixture has noticeably thickened and is capable of coating the back of your spoon, leaving a clear path when you draw your finger across it. It should reach a temperature of approximately 170-175°F (77-80°C). Crucially, do not allow the custard to boil, as this can curdle the eggs.
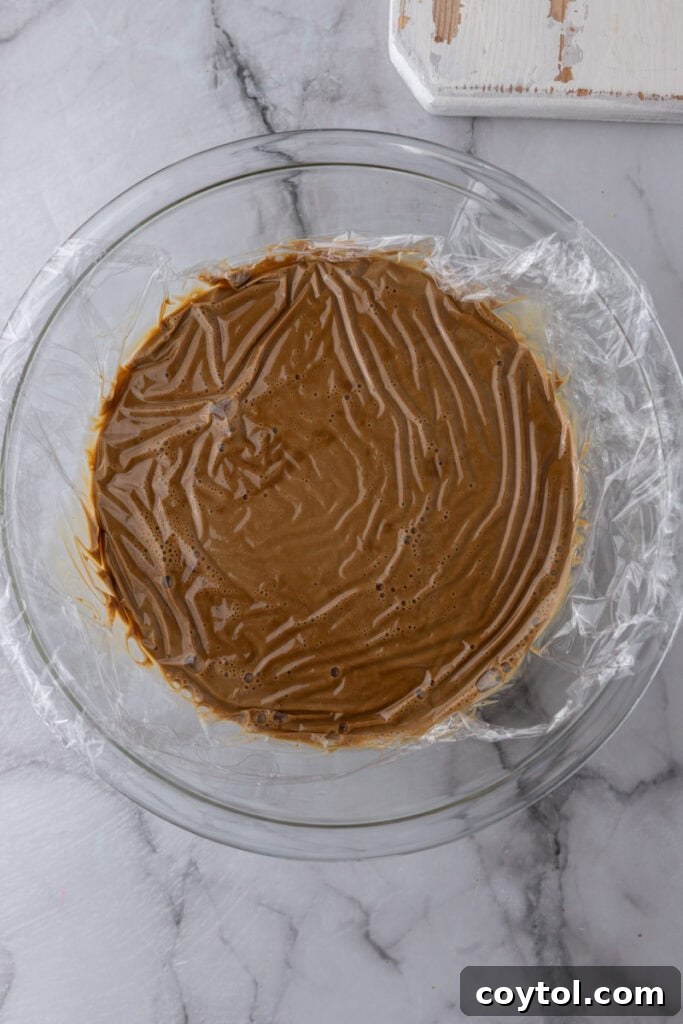
- Chill the Custard Base: Once thickened, remove the pan from the heat. Immediately pour the custard mixture through a fine-mesh strainer into a clean bowl. This step is essential to catch any minuscule bits of cooked egg that may have formed, ensuring an ultra-smooth final product. Stir in the vanilla extract. Allow the custard base to cool completely to room temperature, then cover the bowl tightly with plastic wrap, pressing the wrap directly onto the surface of the custard to prevent a skin from forming. Refrigerate for at least 4 hours, or ideally, overnight. Thorough chilling is critical for achieving optimal ice cream texture and flavor.
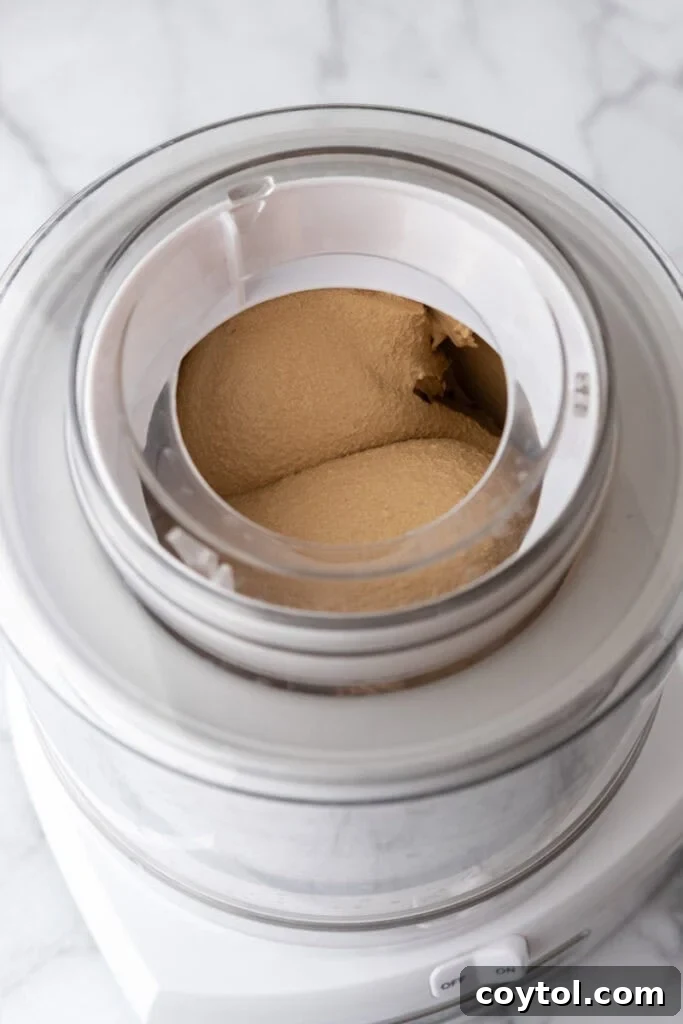
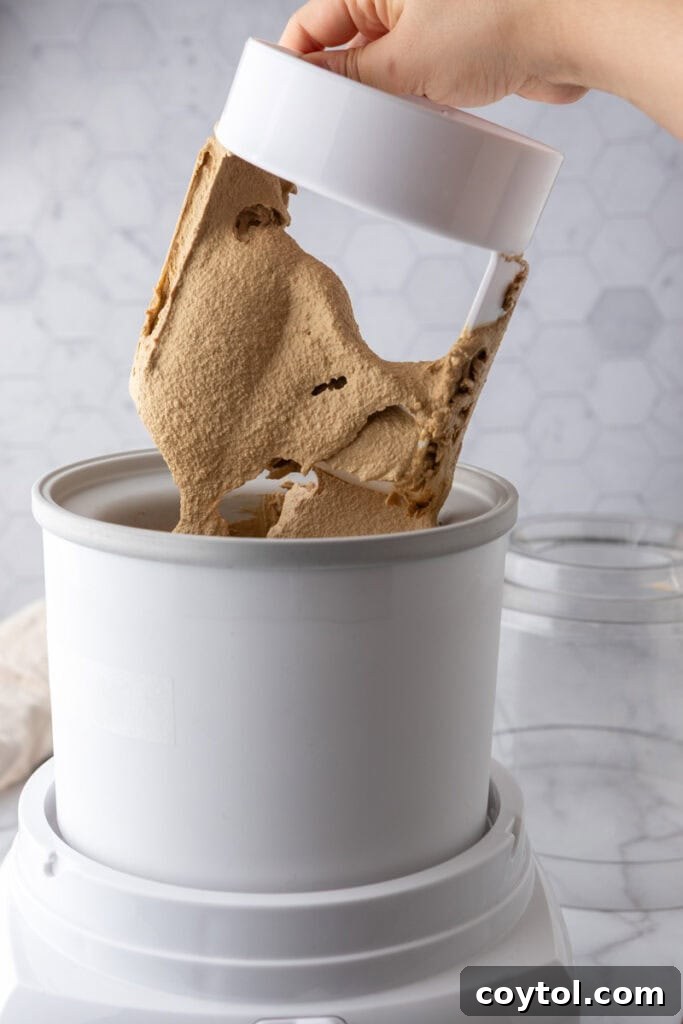
- Churn the Ice Cream: Once your custard is thoroughly chilled, pour the cold mixture into the bowl of your electric ice cream maker. Churn the ice cream according to your manufacturer’s specific instructions. This process typically takes around 20 to 25 minutes, during which the mixture will gradually thicken and expand, reaching a consistency similar to soft-serve ice cream.
- Freeze for Final Firmness: Scoop the freshly churned, soft ice cream into an airtight, freezer-safe container. To prevent ice crystals from forming on the surface and to maintain maximum creaminess, press a piece of parchment paper or plastic wrap directly onto the surface of the ice cream before securing the lid. Transfer the container to the freezer and freeze for a minimum of 4 hours, or until it has firmed up to a scoopable consistency. Then, it’s ready to be served and enjoyed!
Expert Tips & Tricks for the Best Espresso Coffee Ice Cream
- Quality Espresso is Key: Since espresso is the dominant flavor, invest in a higher quality instant espresso powder. The better the quality of the powder, the richer and more authentic your ice cream’s coffee flavor will be. This small investment makes a huge difference.
- Embrace Patience for Chilling: While 4 hours is the minimum, for the absolute best texture and deepest flavor, chill your custard base overnight. This extended chilling time allows the flavors to fully meld and the mixture to become thoroughly cold, which results in a smoother, creamier ice cream when churned.
- Boost Texture with Syrups: For an even more enhanced, incredibly smooth texture that resists ice crystal formation, consider swapping out a tablespoon of granulated sugar for an equal amount of corn syrup or sweetened condensed milk. These ingredients are humectants, meaning they attract and hold onto water, contributing to a wonderfully soft consistency.
- Infuse for Deeper Flavor: To achieve an even more profound coffee flavor, especially if you have whole coffee beans, steep roughly crushed coffee beans directly in the milk and cream mixture while it’s heating. After the mixture has warmed, simply strain out the coffee beans before proceeding to add the eggs. This technique extracts a fresh, natural coffee essence.
- Consider Decaf for Late-Night Indulgence: Since this recipe uses real espresso powder, the finished ice cream will contain a small amount of caffeine. If you plan to enjoy this dessert in the evening or prefer to avoid caffeine, simply use a high-quality decaf espresso powder as a direct substitute. The flavor will still be incredible!
- Pre-Chill Your Ice Cream Maker Bowl: For optimal churning and to help your ice cream set faster, ensure your ice cream maker’s freezer bowl is fully frozen, ideally for 24 hours prior to use. A very cold bowl kickstarts the freezing process more effectively.
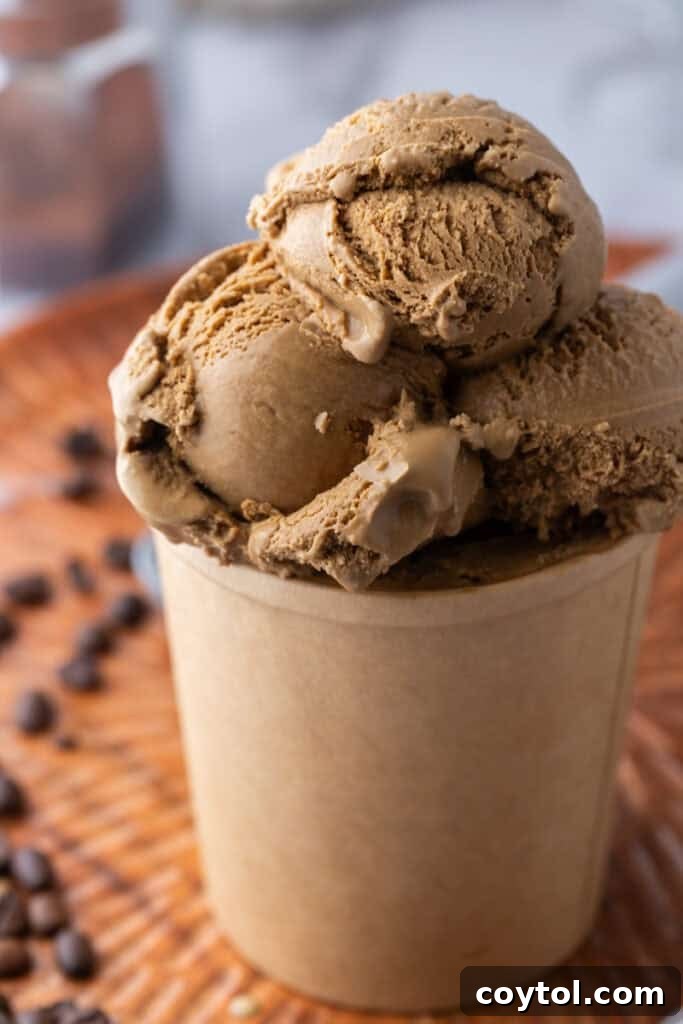
Why This Espresso Coffee Ice Cream Recipe Deserves a Spot in Your Kitchen
- Unrivaled Authenticity: This isn’t just a coffee-flavored ice cream; it’s the best espresso coffee ice cream recipe, made with real, high-quality espresso powder and simple, wholesome ingredients. The difference in taste is truly remarkable.
- Elevated Flavor Experience: The intense, rich flavor of espresso elevates this ice cream far beyond ordinary desserts. It’s a sophisticated and satisfying treat that appeals to adults and coffee enthusiasts alike.
- Perfect for Any Occasion: Whether you’re hosting a dinner party or simply enjoying a quiet evening at home, this ice cream is perfect for impressing a crowd. Prepare for an abundance of compliments!
- Customizable Intensity: You have complete control over the strength of the fresh espresso flavor. Easily adjust the amount of espresso powder to perfectly match your specific taste preferences, from a subtle hint to an intensely bold kick.
- Superior to Store-Bought: Making your own espresso ice cream at home with a custard base will always yield a fresher, creamier, and more flavorful product than anything you can find in a grocery store. The difference in quality and satisfaction is immense.
- A Delightful DIY Project: There’s a special sense of accomplishment in crafting such a delicious dessert from scratch. It’s a fun and rewarding kitchen project that ends with a truly delectable reward.
Frequently Asked Questions (FAQ)
How much does this espresso-flavored homemade coffee ice cream recipe yield?
This recipe is designed to yield approximately 4 cups of decadent ice cream, which is equivalent to about 8 generous servings. This makes it perfect for sharing with family and friends, or for enjoying over several indulgent sessions.
Can I use liquid espresso instead of powder?
While you technically *can* use liquid espresso or brewed coffee, it’s generally not recommended. Liquid espresso introduces additional moisture to the ice cream base, which can disrupt the delicate balance of ingredients and often results in an icier, less creamy texture. The goal is maximum flavor with minimal added water.
If you don’t have instant espresso powder on hand, here are a few superior alternatives:
- Reduce Espresso Shots: If you must use liquid espresso, pull about 4-5 shots of strong espresso and then gently simmer them in a small saucepan until the volume reduces significantly to less than ¼ cup. This concentrates the flavor while minimizing the extra liquid, helping to maintain the desired creamy texture.
- Infuse the Milk: A fantastic option for a deep, natural coffee flavor is to gently simmer some roughly ground coffee beans directly in your milk and heavy cream mixture. Allow them to steep for about 10-15 minutes, then strain out the grounds thoroughly before proceeding to incorporate the milk into your eggs. This method extracts pure coffee essence without watering down your base.
- Instant Coffee (as a last resort): While not ideal for the rich espresso flavor this recipe aims for, instant coffee can work in a pinch. Ensure you choose a strong, dark roast blend and dissolve it completely in a small amount of warm milk before adding it to your main mixture. Be aware that the flavor profile might not be as robust or authentic as with true espresso powder.
Espresso powder remains the easiest and most reliable choice for both flavor depth and achieving the perfect creamy texture, but these tweaks can be lifesavers if you’re in a bind!
What different flavors or mix-ins can I add to enhance the taste?
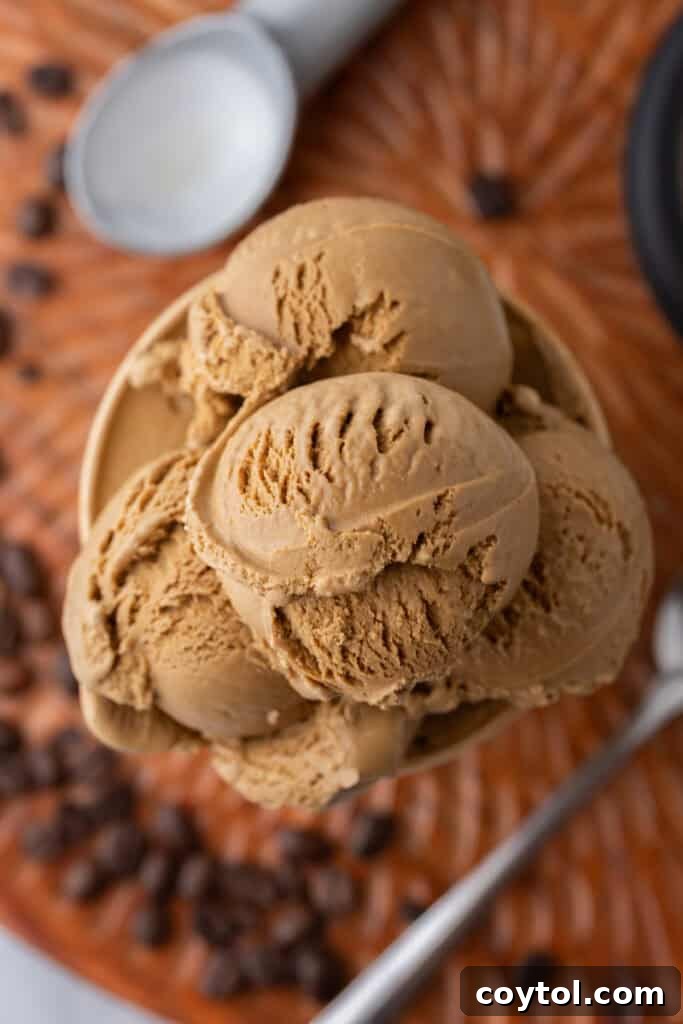
This espresso ice cream base is wonderfully versatile, serving as a perfect canvas for additional flavors and mix-ins. Get creative and customize it to your heart’s content!
- Boozy Boost: Stir in a splash of your favorite coffee liqueur, such as Kahlúa or Tia Maria, for a sophisticated, boozy undertone. Liqueurs also help make the texture smoother and less icy by slightly lowering the freezing point. However, be cautious not to add too much, as excessive alcohol can prevent your ice cream from freezing properly.
- Chocolate Lover’s Dream: For a classic coffee-chocolate fusion, mix in mini chocolate chips, elegant dark chocolate shards, or swirl in rich chocolate fudge sauce during the final stages of churning or layering into the freezer container.
- Caramel and Nutty Swirls: Create irresistible ribbons of warm caramel sauce, creamy melted peanut butter, or rich dulce de leche by swirling them into the soft-serve consistency ice cream before freezing.
- Spiced Twists: Add a pinch of aromatic cinnamon, a dash of cardamom, or crushed speculoos (Biscoff) cookie crumbs for a warm, spiced, and crunchy surprise.
- Extra Coffee Crunch: For an intensified coffee experience and a delightful textural contrast, fold in finely crushed roasted coffee beans after churning. They provide an extra burst of flavor and a pleasant crunch.
- Creamy Toppings: Don’t forget classic toppings! A dollop of fresh whipped cream, a sprinkle of cocoa powder, or a dusting of cinnamon can elevate each serving.
How do I store leftovers?
Proper storage is essential to keep your homemade ice cream fresh and free from ice crystals. While we all know ice cream belongs in the freezer, here’s a crucial tip for maximizing its shelf life and maintaining its perfect texture: Place a layer of plastic wrap or parchment paper directly onto the surface of the ice cream, pressing it gently to eliminate any air pockets, then seal the lid of your freezer-safe container tightly. This prevents ice crystals from forming on the surface. For ultimate convenience and freshness, I highly recommend using dedicated 16oz ice cream containers; they’re perfect for individual portions and easy grabbing!
How do I know when the custard is done cooking?
Your custard is perfectly cooked and ready to be removed from the heat when it reaches a temperature of around 170–175°F (77–80°C). Another reliable indicator is the “back of a spoon” method: dip a wooden spoon into the custard, lift it out, and run your finger across the back of the spoon. If your finger leaves a clean, distinct line and the custard doesn’t immediately flow back into the gap, it has thickened sufficiently. (Refer to the corresponding photo in the instructions above to visualize this consistency!)
Which ice cream machine brand and size should I use?
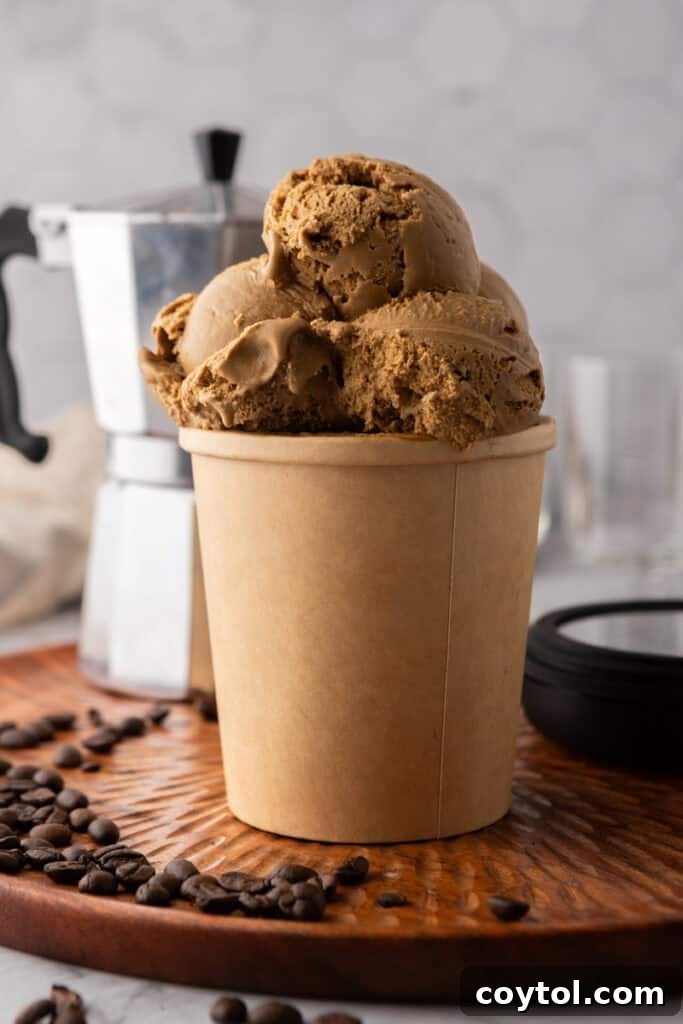
For consistent, high-quality results in my homemade ice cream recipes, I personally rely on the 1.5-quart Cuisinart ice cream maker. Its efficiency and reliability make it an excellent choice for home cooks. However, any high-quality domestic ice cream machine should perform admirably. The Ninja Creami is also a popular option, particularly for those seeking a faster churning method. While it produces a fantastic product, note that it may not achieve quite the same ultra-soft initial texture as traditional churners, and you’ll still need to factor in the 24 hours for the pint to freeze fully for firm, scoopable ice cream.
Can I make a dairy-free coffee ice cream?
Absolutely! This espresso coffee ice cream recipe can certainly be adapted to be dairy-free. For the best texture and richness, I recommend substituting the heavy cream and whole milk with full-fat coconut milk. Its creamy consistency and natural fats will help mimic the decadent mouthfeel of traditional dairy ice cream, while still allowing the espresso flavor to shine.
How long does it take to churn the ice cream?
The churning process for this espresso ice cream typically takes approximately 20 to 25 minutes. However, the exact time can vary slightly depending on your specific ice cream maker model and the initial temperature of your custard base. The ice cream is ready when it reaches a thick, soft-serve consistency.
★
★
★
★
Creamy Espresso Ice Cream Recipe
Print Recipe
Equipment
Ingredients
- 1 ½ cups heavy cream
- 1 ½ cups whole milk
- ¾ cup granulated sugar
- 4 large egg yolks
- 3 tbsp instant espresso powder
- 1 teaspoon vanilla extract
- Pinch salt to balance out the sweetness
Instructions
-
In a medium saucepan, whisk the milk, heavy cream, espresso powder, and salt together. Heat over medium until it’s steaming and almost simmering, don’t let it boil.1 ½ cups heavy cream, 1 ½ cups whole milk, 3 tbsp instant espresso powder, Pinch salt
-
In a separate bowl, whisk the egg yolks and sugar together until the mixture looks pale and slightly thickened. Slowly pour in about half of the hot cream while whisking constantly, this helps gently warm the yolks so they don’t scramble. Then, whisk the tempered yolks back into the saucepan with the rest of the cream.¾ cup granulated sugar, 4 large egg yolks
-
Keep cooking over medium-low heat, stirring constantly with a wooden spoon or heatproof spatula, until the mixture thickens a bit and coats the back of your spoon—like a thin custard. It should reach about 170–175°F (77–80°C), but don’t let it boil.
-
Take the pan off the heat and pour the mixture through a fine mesh sieve into a clean bowl to catch any bits. Stir in the vanilla extract, let it cool for a bit, then cover and chill in the fridge for at least 4 hours, or overnight if you’ve got the time.1 teaspoon vanilla extract
-
Once it’s fully chilled, pour the custard into your ice cream maker and churn it following the machine’s instructions, usually about 20–25 minutes until it’s softer and more thick, like soft serve.
-
Scoop the churned ice cream into an airtight container. Press parchment or plastic wrap right on the surface to keep it smooth and ice-crystal free. Freeze for at least 4 hours until it’s firm and scoopable.
Nutrition
Nutrition information is automatically calculated, so should only be used as an approximation.