
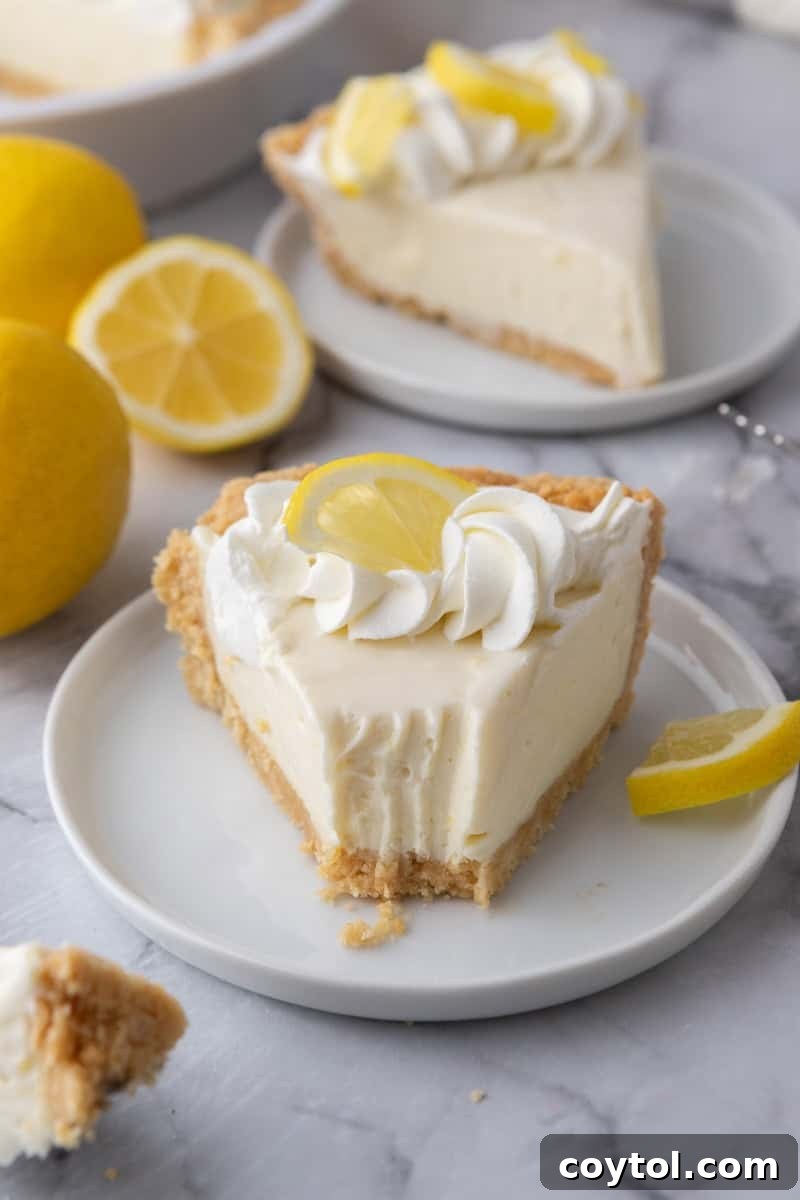
Welcome to the ultimate guide for crafting the most refreshing and effortlessly delicious No-Bake Lemon Pie. This recipe is an absolute must-make for anyone who adores the vibrant, zesty flavor of lemon, especially when combined with a silky-smooth, chilled cream filling. Perfect for a scorching summer day or simply when you’re craving a bright, citrusy treat, this easy dessert embodies the very essence of the lemon season. Forget turning on your oven; this simple pie promises pure delight with minimal fuss.
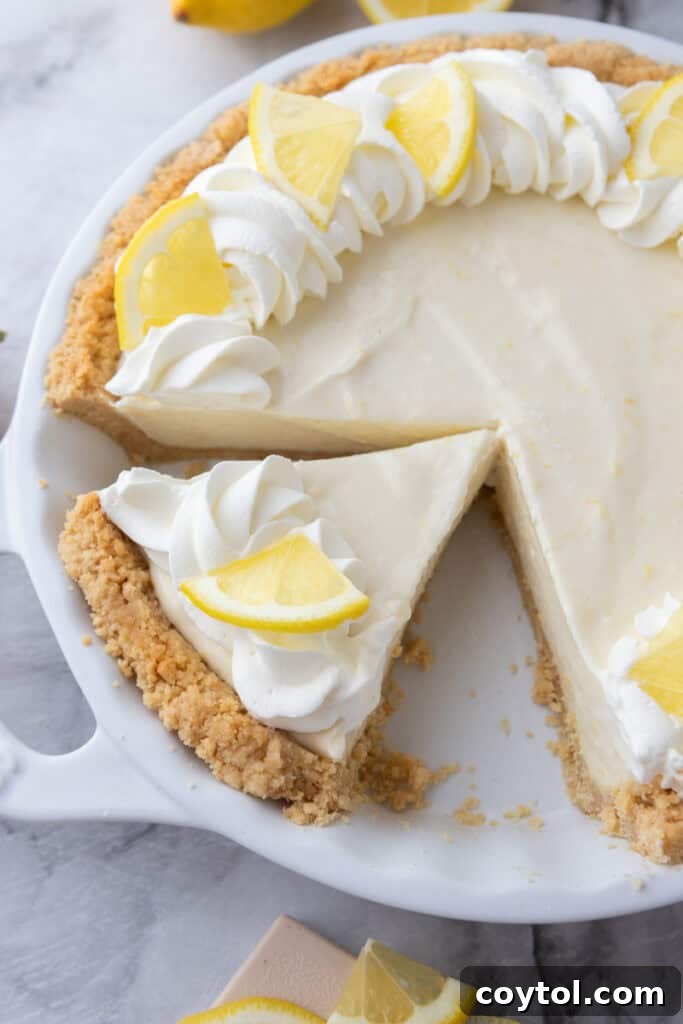
There’s an undeniable magic about an ice-cold, citrus-infused dessert when the weather heats up. Perhaps it evokes cherished childhood memories of sipping frosty pink lemonade after a long day of play, or maybe it’s simply the unparalleled burst of fresh flavor that tantalizes our taste buds. Whatever the reason, if you share my passion for lemon desserts, then this creamy, no-bake lemon pie is an essential addition to your culinary repertoire.
This dessert ticks every box: a perfectly tart yet sweet, pudding-style lemon filling, luxuriantly nestled within a crisp graham cracker crust. Its elegant presentation makes it suitable for any special gathering, yet its simplicity means it can brighten an ordinary weeknight. The greatest challenge you’ll face is resisting the urge to devour the entire pie in one sitting!
If you’re a connoisseur of delightful no-bake pie recipes, don’t miss exploring other fantastic options such as this No-Bake Chocolate Pie with Oreo Crust or this classic Key Lime Pie No-Bake Recipe. These recipes offer similar ease and incredible flavor, making them perfect companions to your new favorite lemon pie.
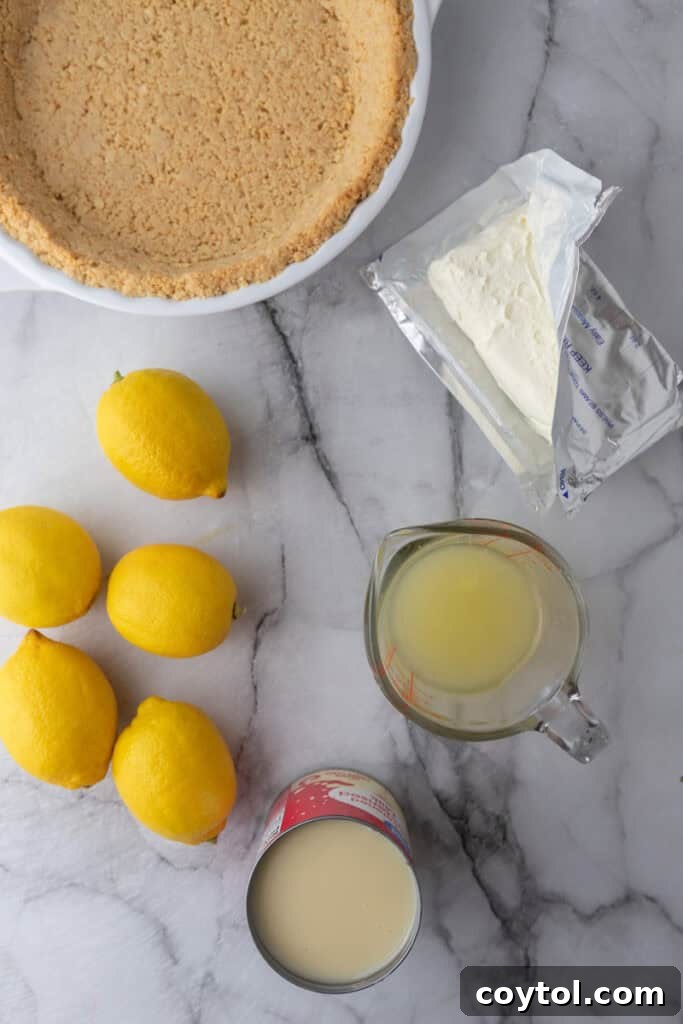
Essential Ingredients for this Easy No-Bake Lemon Pie
Crafting this irresistible no-bake lemon icebox pie requires just a handful of straightforward ingredients, readily available at any grocery store. The key to its phenomenal taste lies in the quality of each component, especially the fresh citrus. Below, you’ll find a detailed list of what you’ll need, with precise measurements located in the recipe card at the bottom of this page.
- Graham Cracker Crumbs: These form the sweet, buttery foundation of your pie crust. For ultimate convenience, you can opt for a pre-made graham cracker crust, which saves significant time and effort. If making from scratch, ensure they are finely crushed for a uniform texture.
- Granulated Sugar: A touch of sugar is added to the crust to enhance its sweetness and perfectly balance the zesty lemon filling. It also contributes to the crust’s delightful crispness.
- Unsalted Butter: Melted unsalted butter is crucial for binding the graham cracker crumbs and sugar together, creating a cohesive and sturdy crust. Using unsalted butter allows you to control the overall saltiness of the dessert.
- Sweetened Condensed Milk: This magical ingredient forms the rich, creamy, and sweet base of our lemon filling. Its thick consistency helps the pie set beautifully without any baking.
- Cream Cheese: Softened full-fat cream cheese is essential for adding a luxurious richness, a delightful tang, and a wonderfully smooth texture to the lemon filling. Ensure it’s at room temperature for effortless blending and to prevent lumps.
- Fresh Lemon Juice: The heart and soul of this pie! Freshly squeezed lemon juice provides that unmistakable bright, tart, and refreshing lemon flavor that defines the dessert. Using fresh lemons makes a significant difference compared to bottled juice.
- Lemon Zest: The finely grated zest of fresh lemons intensifies the aromatic citrus notes, elevating the overall lemon experience and adding depth to the flavor profile. Don’t skip this – it’s where much of the lemon oil and fragrance reside.
- Vanilla Extract: A small amount of vanilla extract enhances the complexity of the filling, adding a subtle warmth and sweetness that complements the tart lemon beautifully. While optional, it’s highly recommended for a well-rounded flavor.
- Whipped Cream: A generous dollop of whipped cream serves as a light, airy garnish, providing a lovely textural contrast to the dense, creamy filling. Store-bought cool whip is a convenient alternative if you’re short on time.
- Fresh Lemon Slices and Extra Lemon Zest: These aren’t just for decoration! They add a vibrant visual appeal to the finished pie, signaling the fresh lemon flavor within, and can offer an extra burst of zest when served.
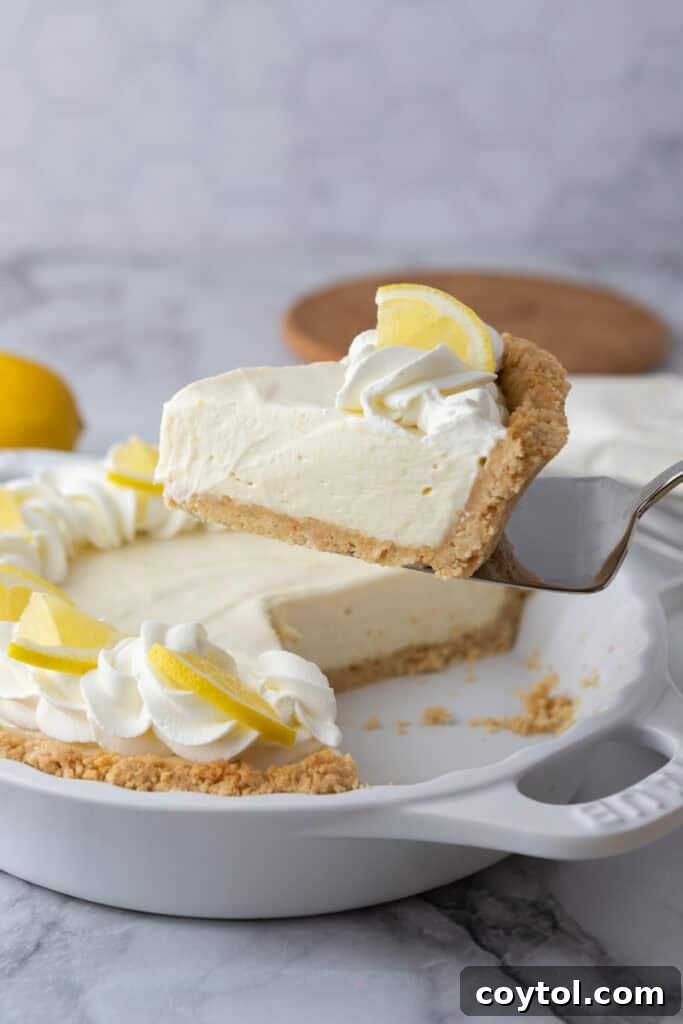
Step-by-Step Guide: How to Make This No-Bake Lemon Pie Recipe
Creating this effortless lemon pie is a joy, requiring no special skills or extensive baking experience. Follow these simple steps to assemble your perfect chilled dessert. Remember to check the recipe card at the bottom of this post for precise total times and full, comprehensive instructions!
- Prepare the Graham Cracker Crust: In a medium mixing bowl, combine the finely crushed graham cracker crumbs, granulated sugar, and melted unsalted butter. Stir these ingredients thoroughly until the crumbs are evenly coated and resemble wet sand. This ensures a consistent and sturdy crust. Feel free to get creative with your crust; a crushed golden Oreo crust also makes a wonderfully delicious base for this pie!
- Form the Pie Crust: Transfer the mixture into a 9-inch pie plate. Using the back of a flat measuring cup or your fingers, firmly press the mixture across the bottom and up the sides of the pie plate. It’s crucial to compact the crumbs tightly to form an even, solid crust that won’t crumble when sliced.
- Chill or Bake the Crust: Place the formed crust in the refrigerator to chill and set while you prepare the luscious lemon filling. For those who prefer a more pronounced crunch and a slightly toasted flavor, you can bake the crust at 350°F (175°C) for about 10 minutes, then let it cool completely before adding the filling. This step is optional but highly recommended for an extra layer of texture.
- Whip the Cream Cheese: In a large mixing bowl, using an electric mixer, whip the softened cream cheese until it is incredibly smooth, light, and completely free of lumps. This creates a fluffy base for your filling and ensures a silky final texture.
- Combine Filling Ingredients: Gradually add the sweetened condensed milk, fresh lemon juice, lemon zest, and vanilla extract (if using) to the whipped cream cheese. Continue to blend with the electric mixer on medium speed until the mixture is perfectly silky, smooth, and thoroughly combined. Scrape down the sides of the bowl as needed to ensure all ingredients are incorporated.
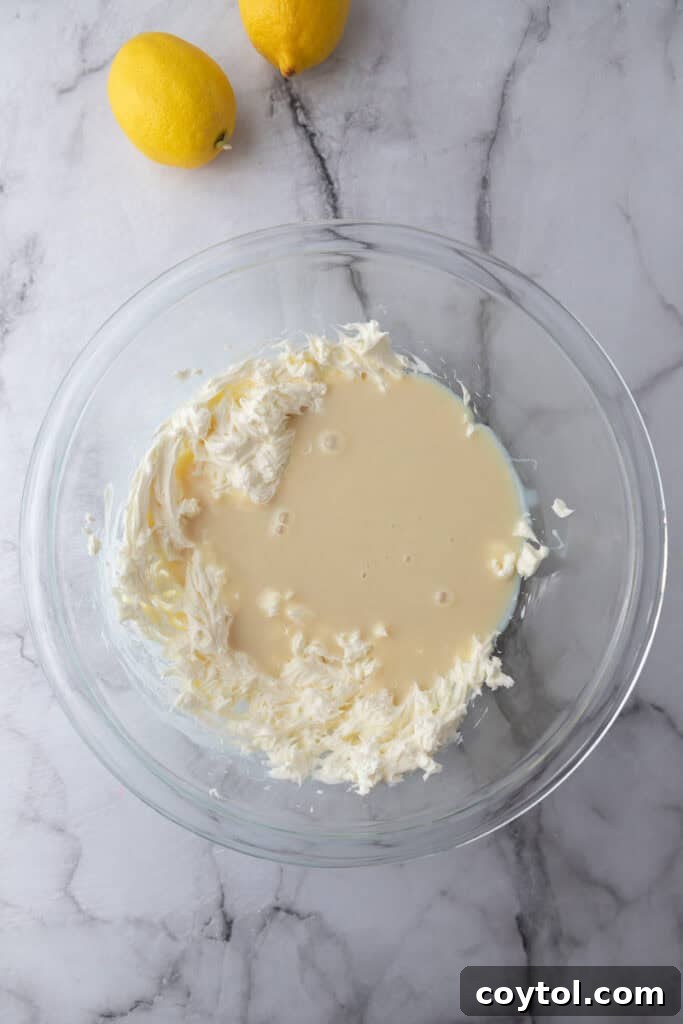
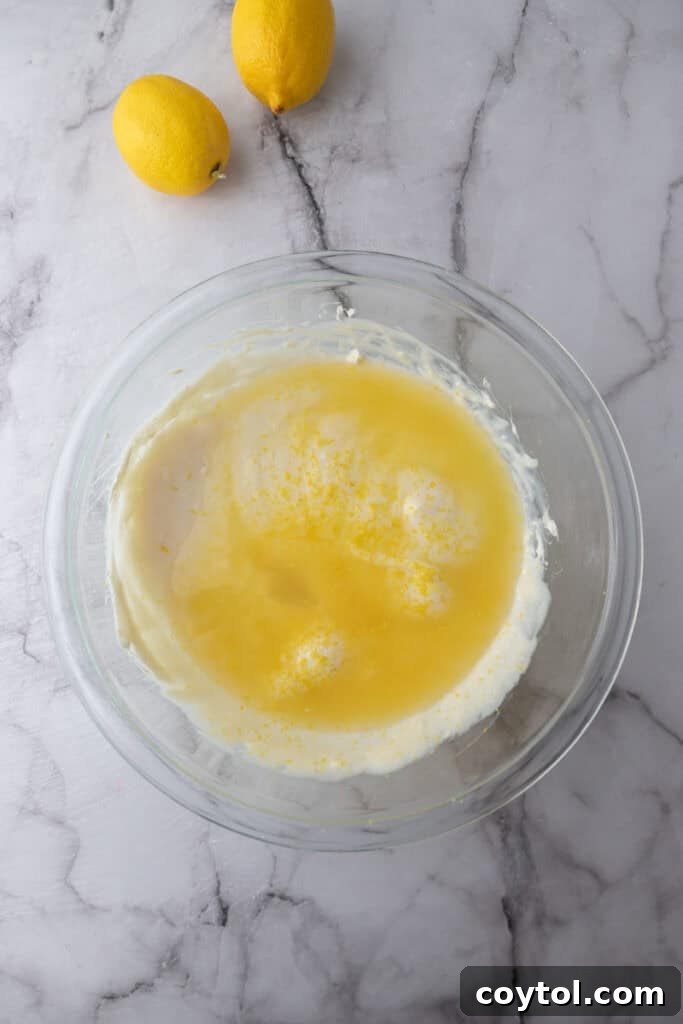
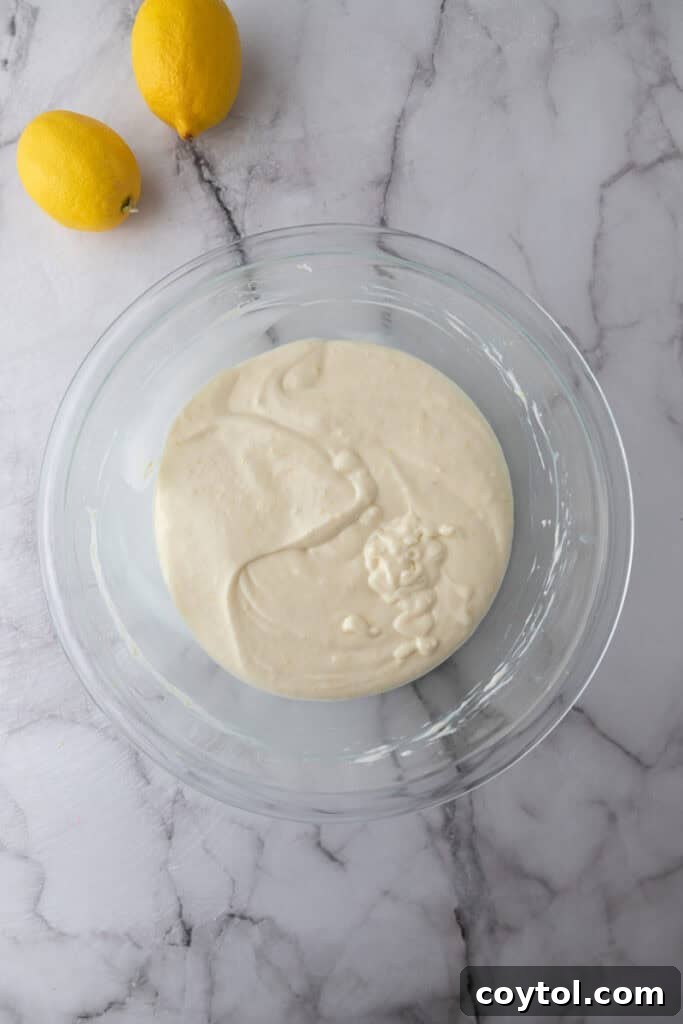
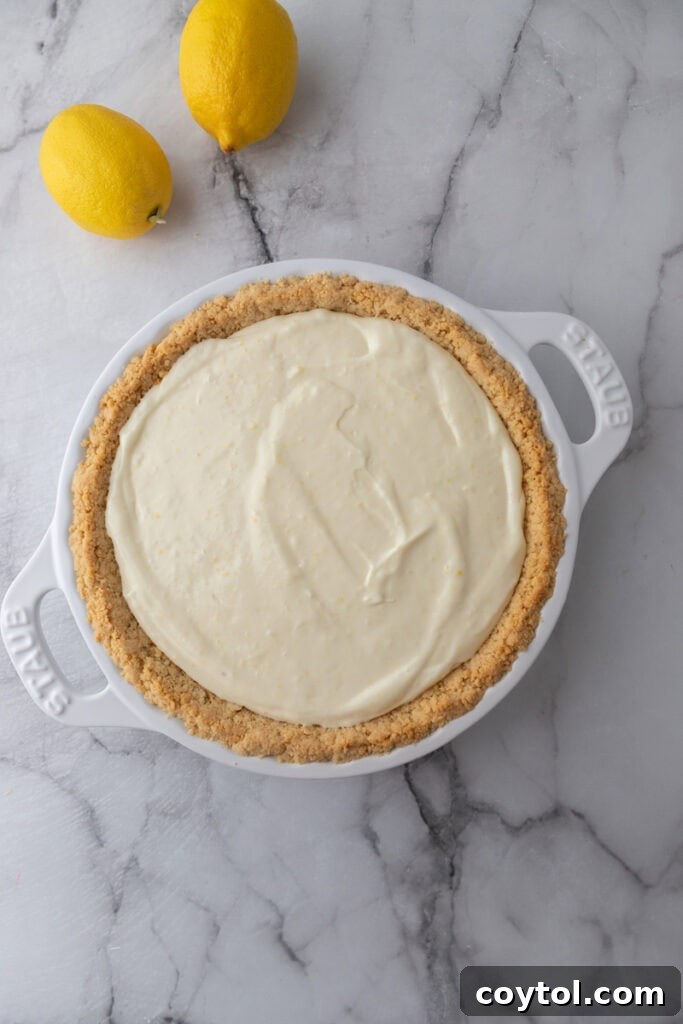
- Fill the Crust: Carefully pour the creamy lemon pie filling into your chilled (or thoroughly cooled, if baked) graham cracker crust. Use a spatula to gently smooth out the top, ensuring an even layer across the entire pie.
- Chill to Set: Cover the pie loosely with plastic wrap, taking care not to let the wrap touch the surface of the filling. Place the pie in the refrigerator and chill for a minimum of 3-4 hours, or ideally, overnight. This crucial chilling period allows the filling to firm up completely and achieve its perfect, sliceable consistency. Patience is key here for the best results!
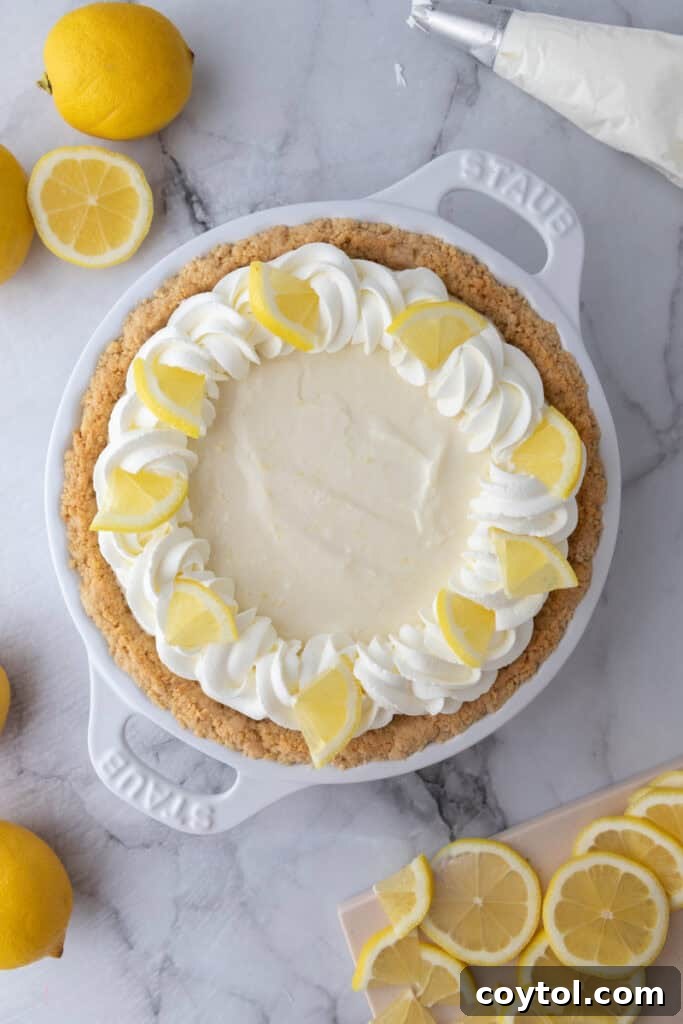
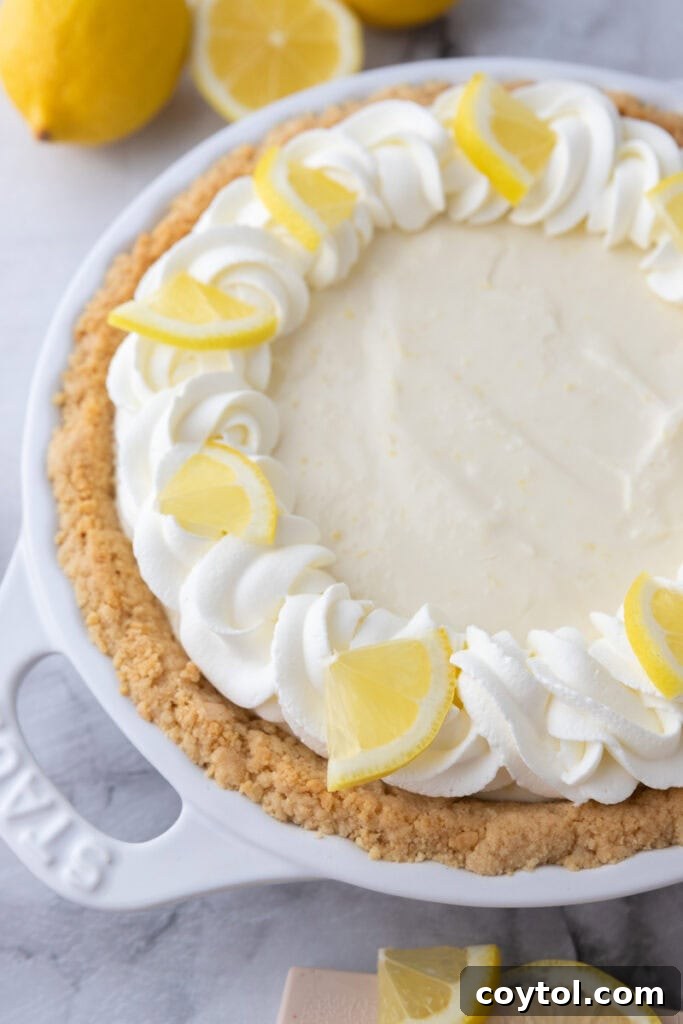
- Garnish and Serve: Once the pie is fully set, it’s time to add the finishing touches. Garnish generously with your favorite whipped topping, arrange delicate fresh lemon slices on top, and sprinkle with a bit of extra lemon zest for a vibrant burst of color and aroma.
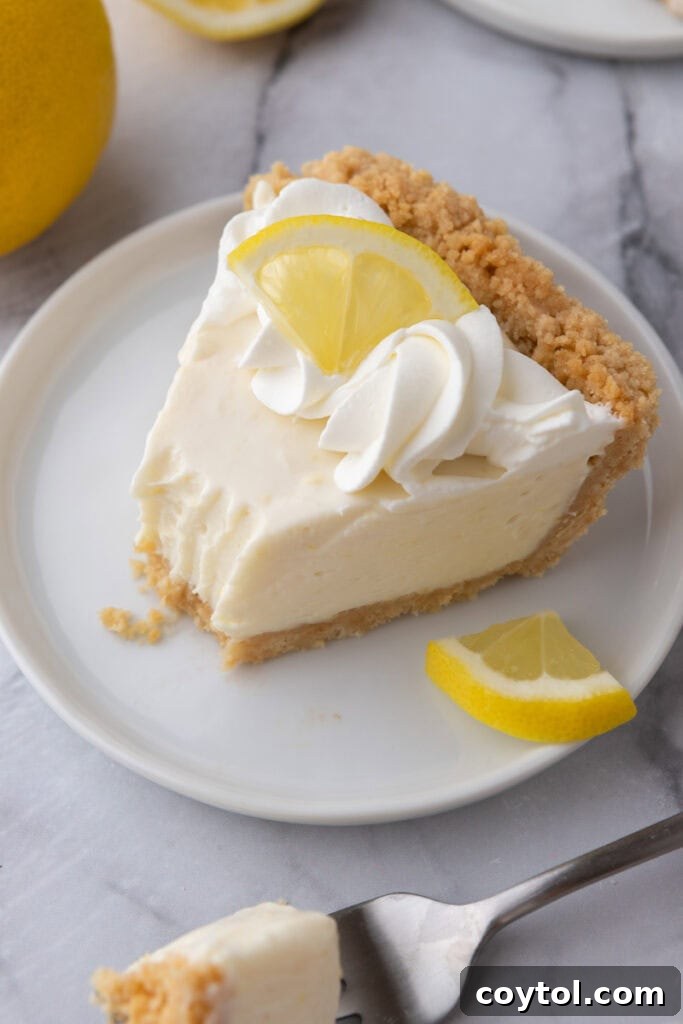
- Slice and Enjoy: With eager anticipation, slice into your beautifully set, cool, and creamy no-bake lemon pie. Serve immediately and savor every delightful, zesty bite!
Expert Tips and Tricks for Achieving the Best No-Bake Lemon Pie
Even though this recipe is incredibly simple, a few expert tips can elevate your no-bake lemon pie from great to absolutely extraordinary. Pay attention to these details for a perfectly set, deliciously flavored, and beautifully presented dessert every time.
- Crust Compression is Key: When forming your graham cracker crust, don’t be shy! Use the bottom of a flat measuring cup or the back of a glass to firmly and evenly press the crumb mixture into the pie pan. This creates a compact, sturdy crust that holds together well when sliced and prevents crumbling. Ensure you press it up the sides as well for a complete look.
- Crunchier Crust Option: For those who appreciate an extra layer of texture, consider baking your graham cracker crust. After pressing the crumbs into the pan, bake it at 350°F (175°C) for just 8-10 minutes. This slight bake will make the crust firmer and wonderfully crisp. Remember to let it cool completely before adding the filling to avoid any melting.
- Room Temperature Cream Cheese: This is a non-negotiable tip for a lump-free, silky-smooth filling. Ensure your cream cheese is softened to room temperature before you begin whipping it. Cold cream cheese will result in a clumpy filling that’s difficult to incorporate smoothly. While reduced-fat cream cheese can be used for fewer calories, full-fat cream cheese will always yield a richer flavor and creamier texture.
- Adjust Lemon Flavor to Your Liking: The beauty of homemade desserts is the ability to customize. Taste your filling mixture before pouring it into the crust. If you desire a more intense, tart lemon flavor, you can carefully add a little more lemon juice or zest. If it’s too tart, a tiny bit more sweetened condensed milk might help, but be careful not to make it too sweet.
- Freshness Matters: Always use fresh lemons for both the juice and zest. Bottled lemon juice simply doesn’t compare in terms of vibrant flavor and aroma. Freshly grated zest contains essential oils that impart a powerful, natural lemon essence that is crucial to this pie’s appeal.
- Creative Toppings Beyond Lemon: While lemon slices and zest are classic, don’t hesitate to experiment with other fresh fruit toppings. Fresh raspberries, blueberries, or sliced strawberries create a beautiful contrast in color and add another layer of fruity deliciousness that pairs wonderfully with lemon.
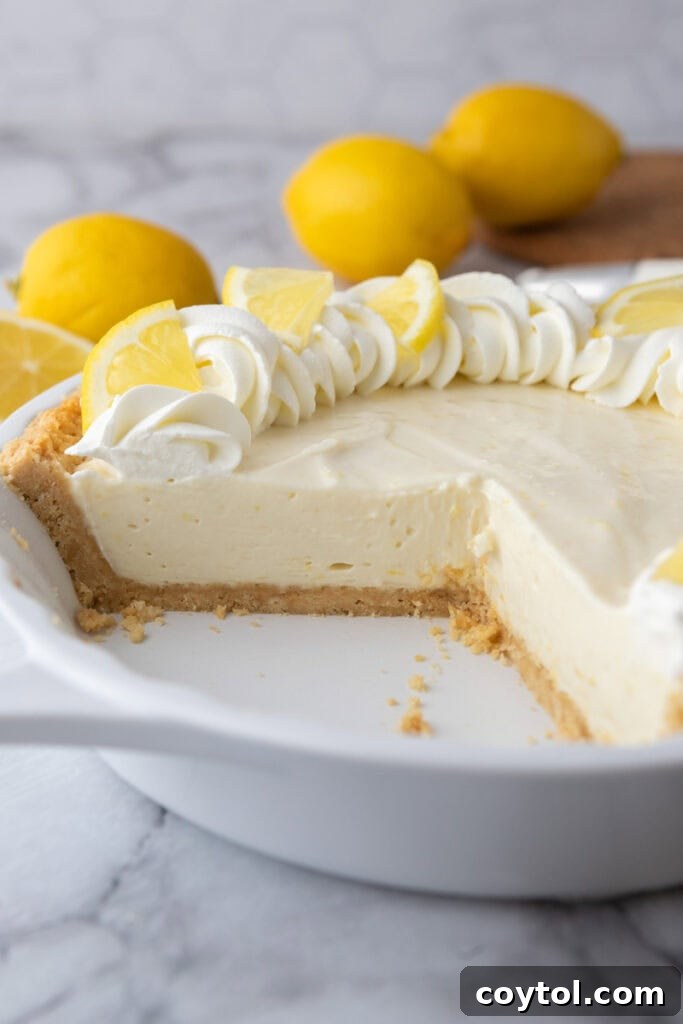
- Proper Chilling for Perfection: Do not rush the chilling process. The minimum 3-4 hours, or ideally overnight, is essential for the pie to set completely. A well-chilled pie will slice cleanly and hold its shape, offering that satisfying creamy texture. If it’s not set enough, it will be a gooey mess.
- Prevent Plastic Wrap Stickage: To prevent plastic wrap from sticking to the surface of your pie while chilling, you can insert a few toothpicks into the pie to create a tent, or simply use an airtight pie carrier with a dome lid.
Why This No-Bake Lemon Pie Recipe is a Must-Try
Still wondering if this no-bake lemon pie is worth your time? Here are compelling reasons why this recipe deserves a prime spot in your dessert rotation:
- Ultimate Summer Refresher: This pie is specifically designed to be chilled and utterly refreshing, making it the perfect antidote to a hot summer day. Its cool, creamy texture and bright lemon flavor offer an instant cool-down.
- Effortless Simplicity: Say goodbye to complicated baking techniques! This easy dessert requires only a handful of simple ingredients and straightforward steps. There’s no oven time for the filling, making it incredibly accessible for cooks of all skill levels.
- Budget-Friendly Ingredients: You won’t need to hunt for exotic items. All the necessary ingredients can be found at any standard grocery store, making this a delicious and economical choice for a crowd-pleasing dessert.
- Perfect for Beginners and Kids: No-bake desserts are fantastic for introducing beginners and children to the joys of the kitchen. Without the need for an oven, it’s a safer and less intimidating way to gain confidence in baking (or rather, no-baking!).
- Citrus Lover’s Dream: For anyone who adores the bold, tangy, and sweet profile of lemons, this pie is pure bliss. The filling boasts a potent and raw lemon flavor that citrus enthusiasts will absolutely rave about.
- Versatile and Adaptable: The recipe is incredibly forgiving and offers plenty of substitutions and variations to suit your taste or dietary needs. From different crusts to varied toppings, you can easily customize it.
- Ideal for Meal Prep: This pie is a fantastic make-ahead dessert. Preparing it in advance allows the flavors to meld beautifully and the pie to set perfectly, making entertaining stress-free.
Frequently Asked Questions (FAQ) About No-Bake Lemon Pie
Can I use a pre-made crust instead of a homemade crust?
Absolutely! Using a store-bought, pre-made graham cracker crust is a fantastic way to save time and effort without significantly compromising the pie’s overall deliciousness. While a homemade crust offers a slightly richer, fresher flavor, a good quality pre-made crust will work perfectly and still deliver a wonderful dessert. Just ensure it’s a 9-inch size to accommodate all the filling.
Can I use a different type of pie crust for this recipe?
Yes, you certainly can get creative with your crust! A traditional shortbread crust would offer a buttery, crumbly texture that pairs beautifully with lemon. For a more adventurous twist, consider a Pretzel Pie Crust Recipe, which introduces a delightful sweet and salty element. You can also swap graham crackers for other sweet crackers or cookies like vanilla wafers, Biscoff cookies, or even gingersnaps for a spiced lemon pie.

Can I use bottled instead of fresh lemon juice?
While you can use bottled lemon juice in a pinch, it’s highly recommended to use freshly squeezed lemon juice for the best results. Bottled juice often lacks the bright, vibrant, and natural zing that fresh lemons provide. The subtle bitterness or artificial taste from bottled juice can noticeably impact the overall flavor profile of your pie, making it less refreshing and authentic.
How do I store my leftover no-bake lemon pie?
Storing your no-bake lemon pie properly is key to maintaining its freshness and creamy texture. For short-term storage, cover the pie tightly with plastic wrap or place it in an airtight container and refrigerate for up to 3-4 days. If you wish to store it for a longer period, you can freeze the pie. Wrap individual slices tightly in plastic wrap, then place them in a freezer-safe zip-top bag or an airtight container. Frozen pie slices can last for at least one to two months, offering a convenient treat whenever a craving strikes. Thaw slices in the refrigerator for a few hours before serving.
How do I make homemade whipped cream for this lemon pie?
Making homemade whipped cream is incredibly simple and adds a fresh, light touch to your pie. To do so, pour 1 cup of very cold heavy cream into a medium bowl. Add 1-2 tablespoons of powdered sugar (also known as confectioners’ sugar) and a half teaspoon of vanilla extract. Using an electric mixer (handheld or stand mixer with a whisk attachment), beat the mixture on high speed until stiff peaks form. Be careful not to overbeat, or it will turn into butter! Serve immediately or chill until ready to use.
How do I turn graham crackers into crumbs?
The quickest and easiest method for transforming graham crackers into fine crumbs is by using a food processor. Simply break the crackers into smaller pieces, place them in the food processor, and pulse until you achieve a fine, uniform crumb consistency. If you don’t own a food processor, a good old-fashioned method works too: place your graham crackers in a sturdy plastic sealable bag, seal it, lay it flat on a kitchen counter, and use a rolling pin or the bottom of a heavy pan to crush them until they form a fine powder. This is a great way to release some stress!

The Best No-Bake Lemon Pie Recipe

No-Bake Lemon Pie Recipe
Print Recipe
Ingredients
For the crust:
- 1 ½ cups graham cracker crumbs (about 10-12 crackers)
- ¼ cup granulated sugar
- 6 tbsp unsalted butter, melted
For the filling:
- 14 oz sweetened condensed milk
- 8 oz cream cheese, softened
- ½ cup fresh lemon juice (about 2-3 lemons)
- 1 tbsp lemon zest
- 1/2 tsp vanilla extract (optional)
For garnish (optional):
- Whipped cream
- Lemon slices
- Extra lemon zest
Instructions
Make the Crust:
- Mix the graham cracker crumbs, sugar, and melted butter in a bowl until well combined.
- Press the mixture firmly into a 9-inch pie dish, ensuring an even layer on the bottom and sides.
- Chill in the refrigerator while making the filling. At this point, you could also bake your crust in a 350°F (175°C) oven for 10 minutes if you prefer a crunchier crust, then let it cool completely.
Prepare the Filling:
- In a large bowl, beat the softened cream cheese until smooth and creamy.
- Add the sweetened condensed milk, lemon juice, lemon zest, and vanilla extract (if using). Mix until fully combined and silky smooth. Pour the filling into the chilled crust (or cooled down crust if baked) and spread evenly.
- Cover and refrigerate for at least 4 hours (or overnight) until set.
- Garnish with whipped cream, lemon slices, and extra zest if desired. Slice and enjoy your refreshing, creamy no-bake lemon pie!
Video
Nutrition
Calories: 429 Calories
Carbohydrates: 48g
Protein: 7g
Fat: 24g
Saturated Fat: 14g
Polyunsaturated Fat: 1g
Monounsaturated Fat: 7g
Trans Fat: 0.3g
Cholesterol: 68mg
Sodium: 257mg
Potassium: 269mg
Fiber: 1g
Sugar: 38g
Vitamin A: 777IU
Vitamin C: 8mg
Calcium: 185mg
Iron: 1mg
Nutrition information is automatically calculated, so should only be used as an approximation.