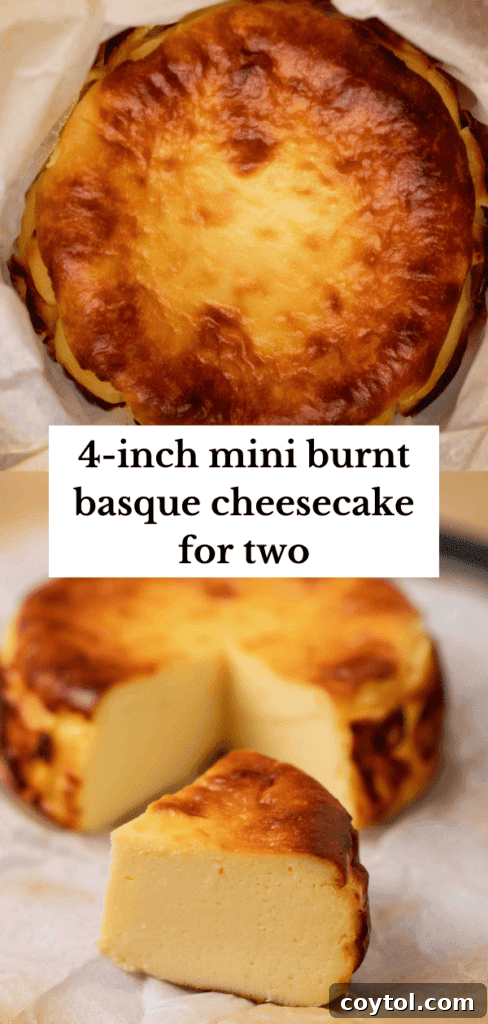
Indulge in the irresistible charm of a small burnt Basque cheesecake, a truly classic recipe that promises rich, creamy perfection every time. This exquisite 4-inch Basque cheesecake is designed as the ultimate dessert for one or two, ensuring no leftovers and the pure joy of a freshly baked treat.
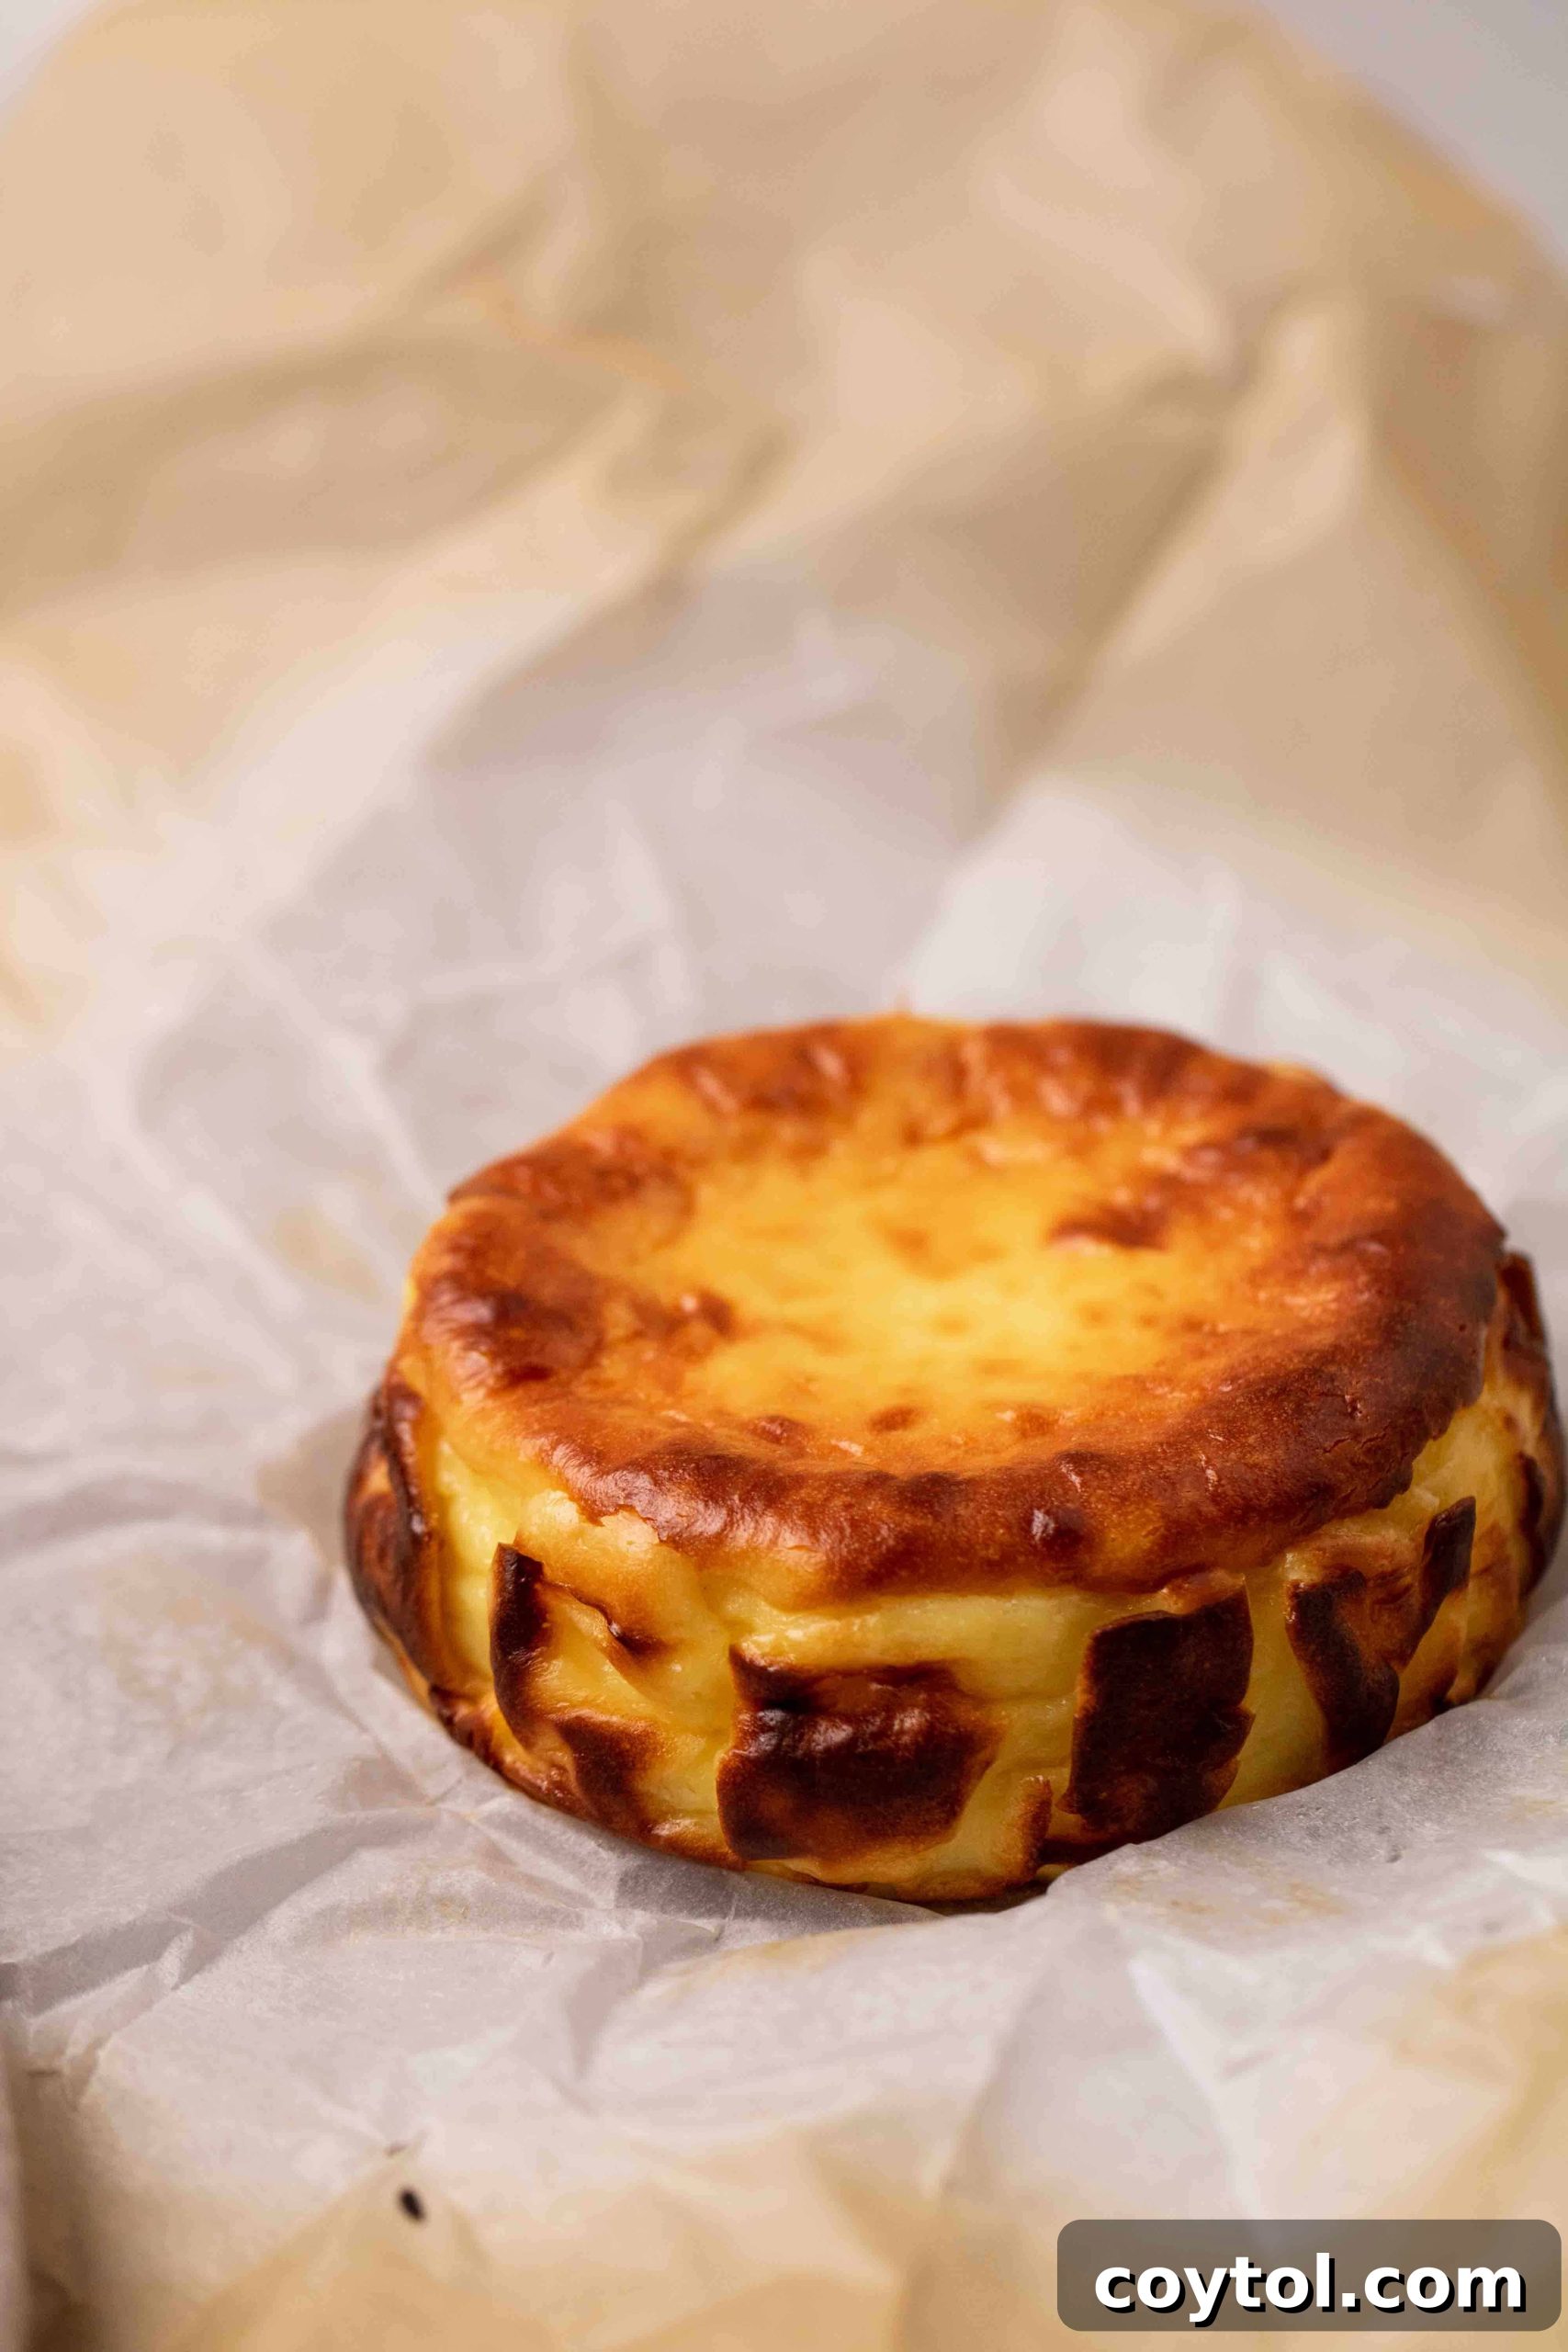
The Ultimate 4-Inch Mini Burnt Basque Cheesecake for Two
Wave goodbye to tedious leftovers and embrace the delight of a perfectly portioned, freshly baked dessert with this exceptional 4-inch burnt Basque cheesecake recipe. Crafted for a single serving or an intimate indulgence for two, this crustless wonder boasts a luxurious creamy texture and an alluring caramelized top. It’s a dessert that redefines simplicity, offering rich flavors and a unique aesthetic with minimal effort.
Imagine savoring each bite of this decadent treat, perhaps alongside a robust cup of coffee or a comforting mug of tea. For an extra touch of sophistication, I’ve found that a classic Irish coffee makes for an absolutely divine pairing, elevating the entire experience.
What Exactly is a Burnt Basque Cheesecake?
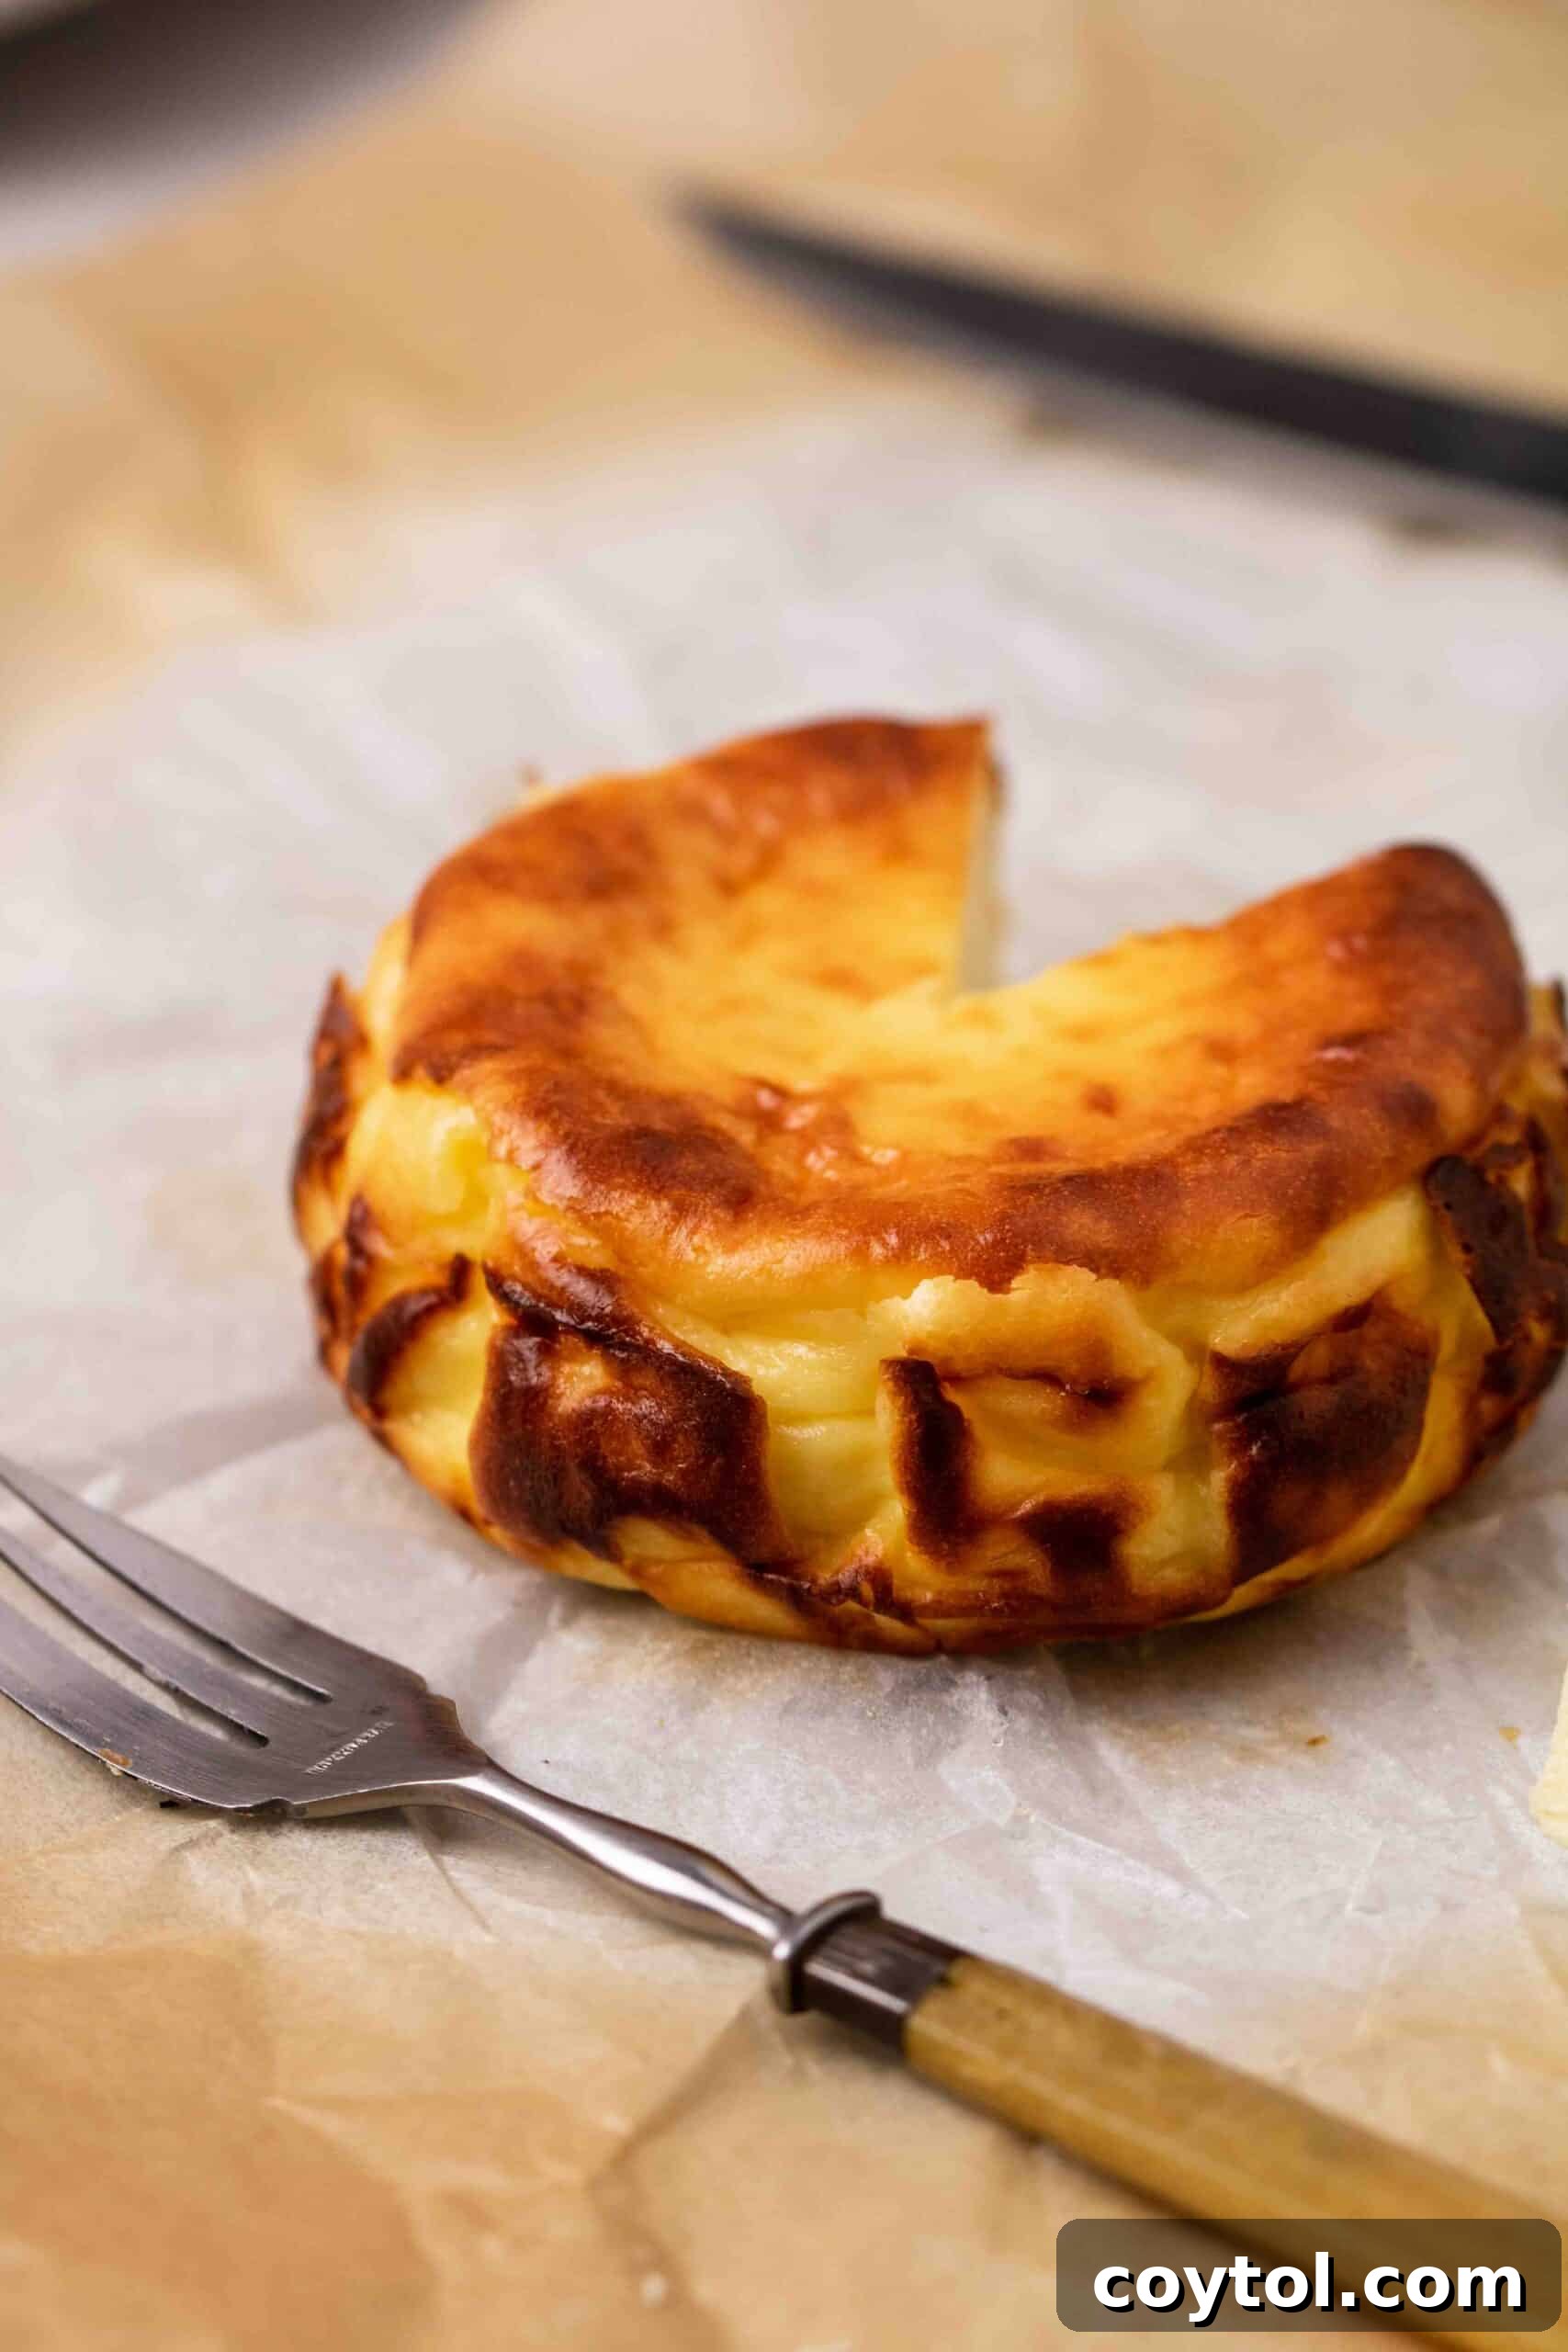
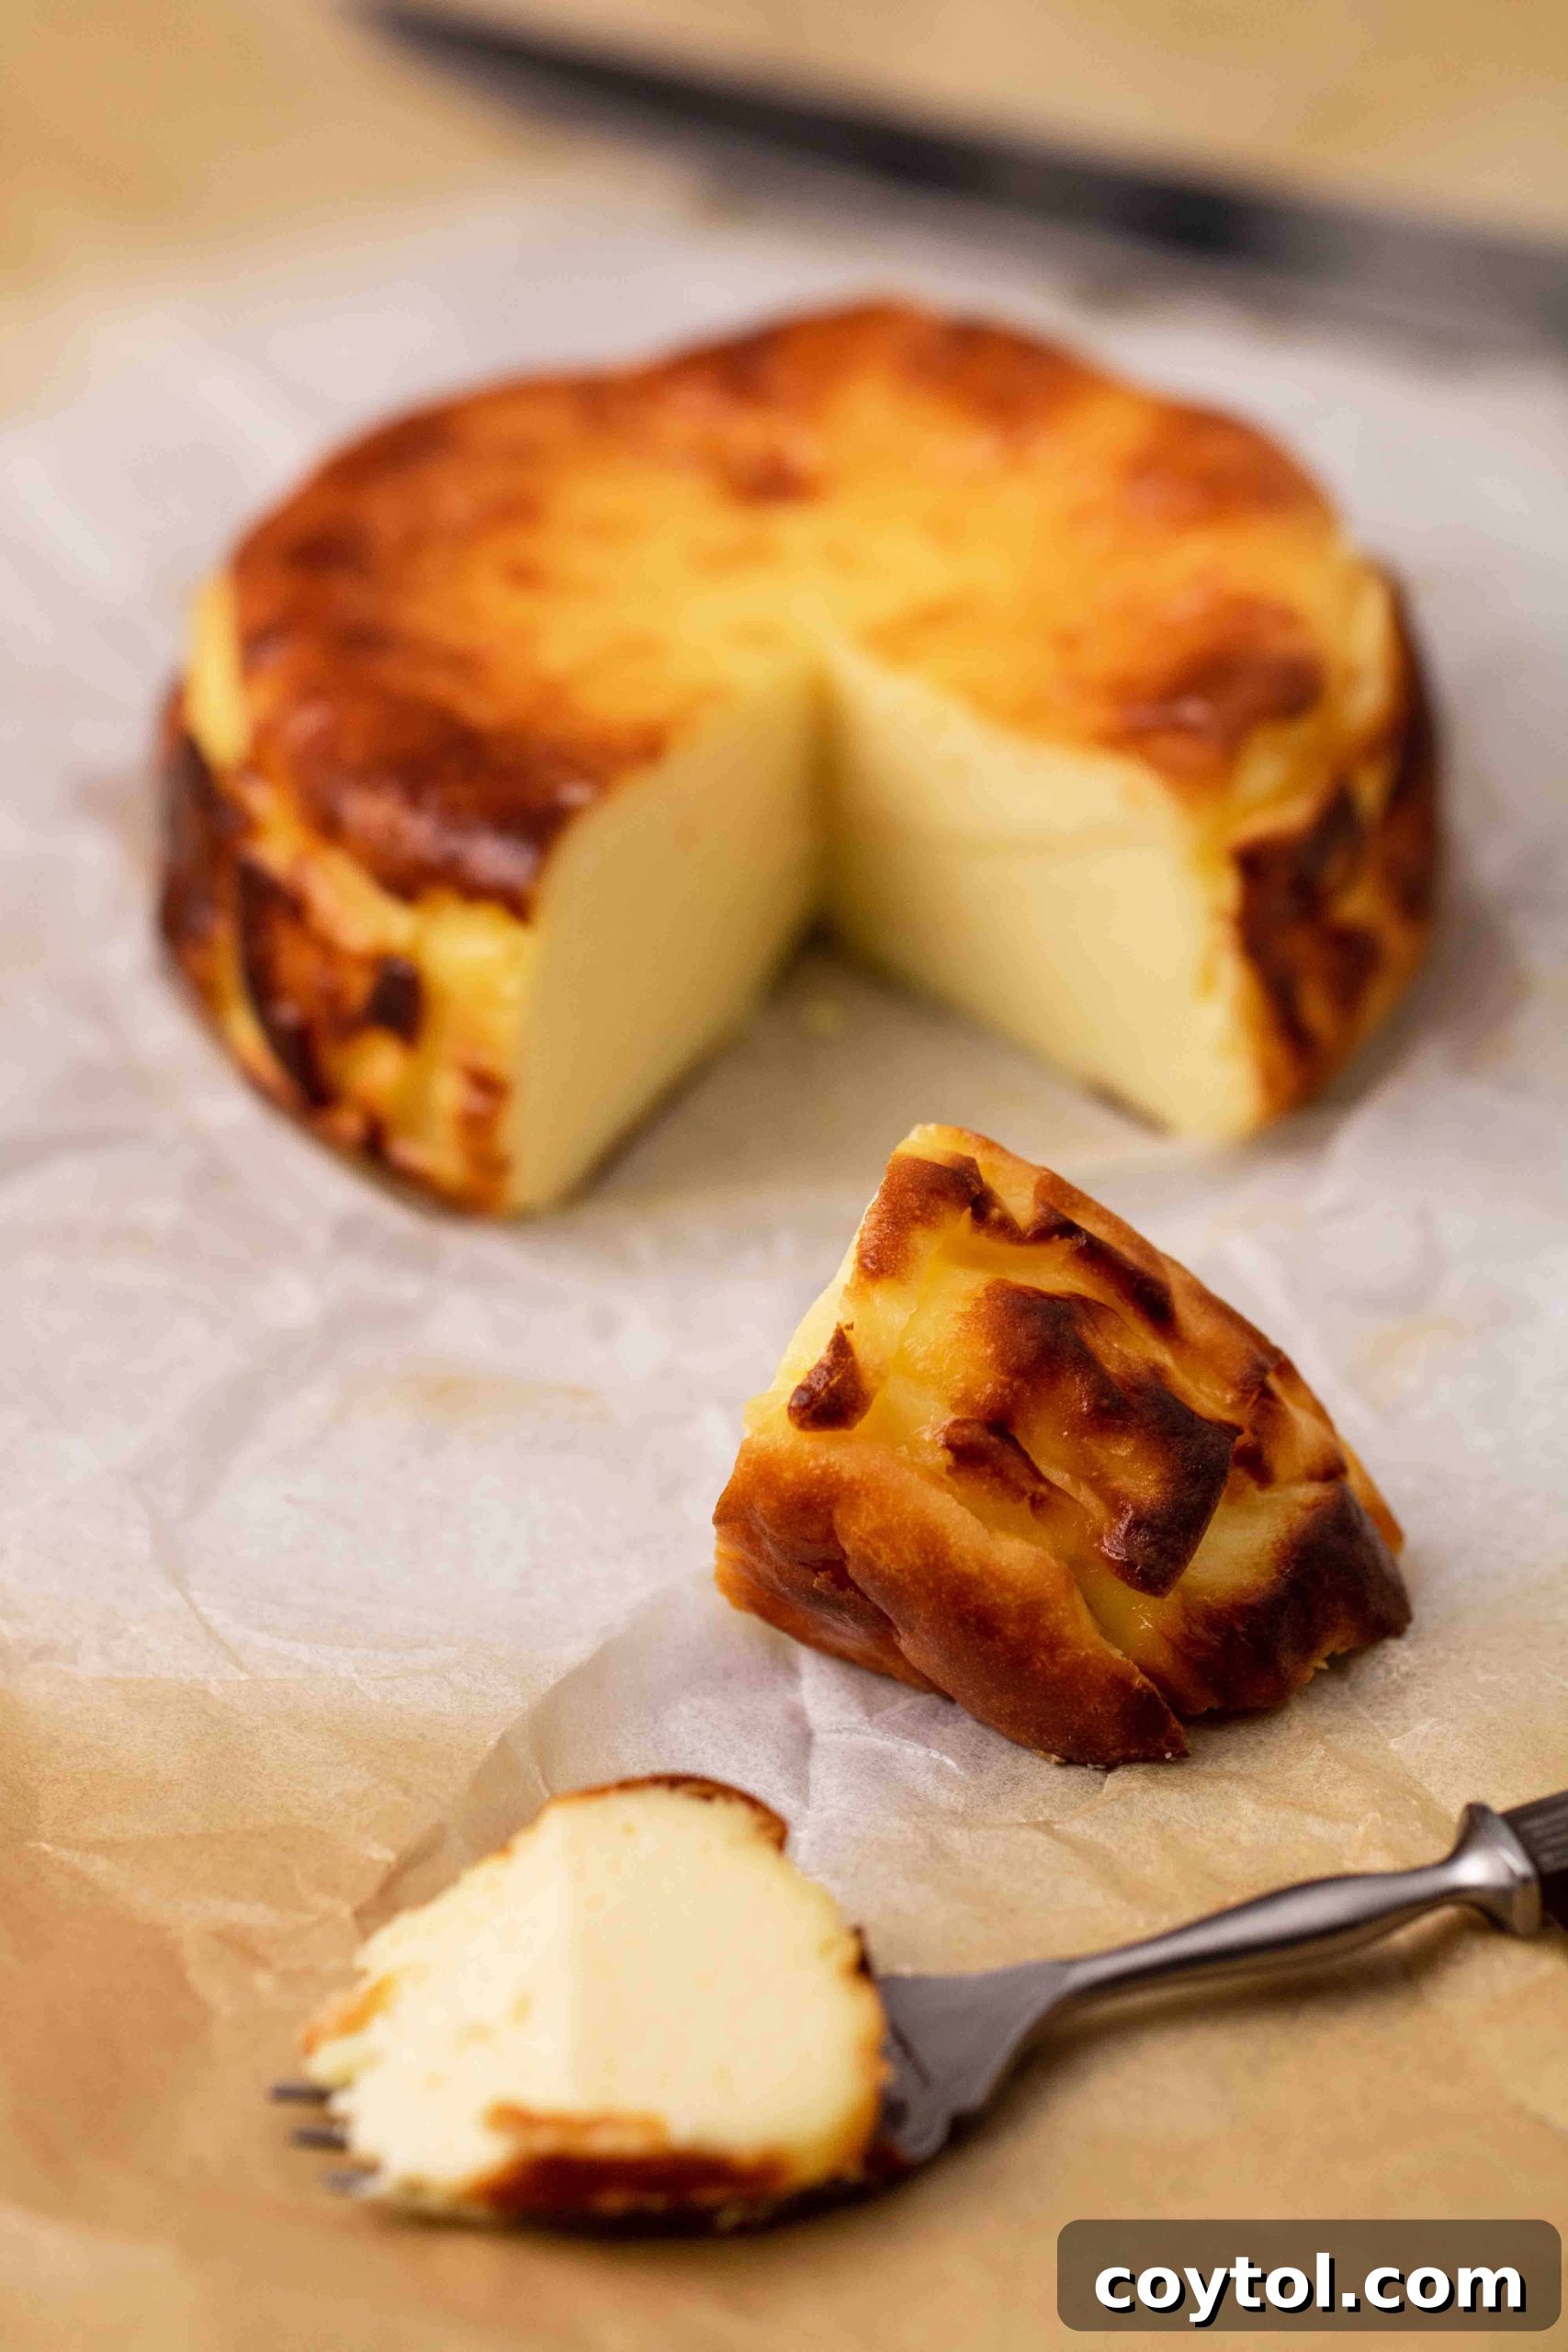
Originating in San Sebastián, Spain, in the early 1990s, the burnt Basque cheesecake – affectionately known as the “impossible to mess up” cheesecake – is a dessert that boldly defies conventional cheesecake norms. Its charm lies in its deliberately “burnt” surface and deeply caramelized sides, which provide a striking textural and flavor contrast to its famously soft, molten center. Unlike its American counterparts, the Basque version proudly stands without a crust, a testament to its singular identity and an undeniable feature you’ll quickly realize it doesn’t need.
The flavor profile of a genuine Basque cheesecake is a captivating blend of subtle sweetness and a distinct tang, underscored by the profound depth that only caramelization can impart. This unique characteristic makes it incredibly difficult to resist. It embodies a rustic elegance, combining simplicity in preparation with a sophisticated appeal that makes it a standout dessert. To delve deeper into the fascinating history and global phenomenon of this glorious dessert, you might enjoy exploring articles from renowned culinary sources like Taste Cooking and Devour San Sebastian.
Decoding the Irresistible Taste of Burnt Basque Cheesecake
The first encounter with a burnt Basque cheesecake is often an unforgettable culinary revelation. My initial tasting immediately brought to mind the caramelized notes of Cannelés. While it doesn’t taste precisely like a Cannelés, there’s a definite kinship in the baking process and the pronounced caramel-ly attribute that develops from the high heat.
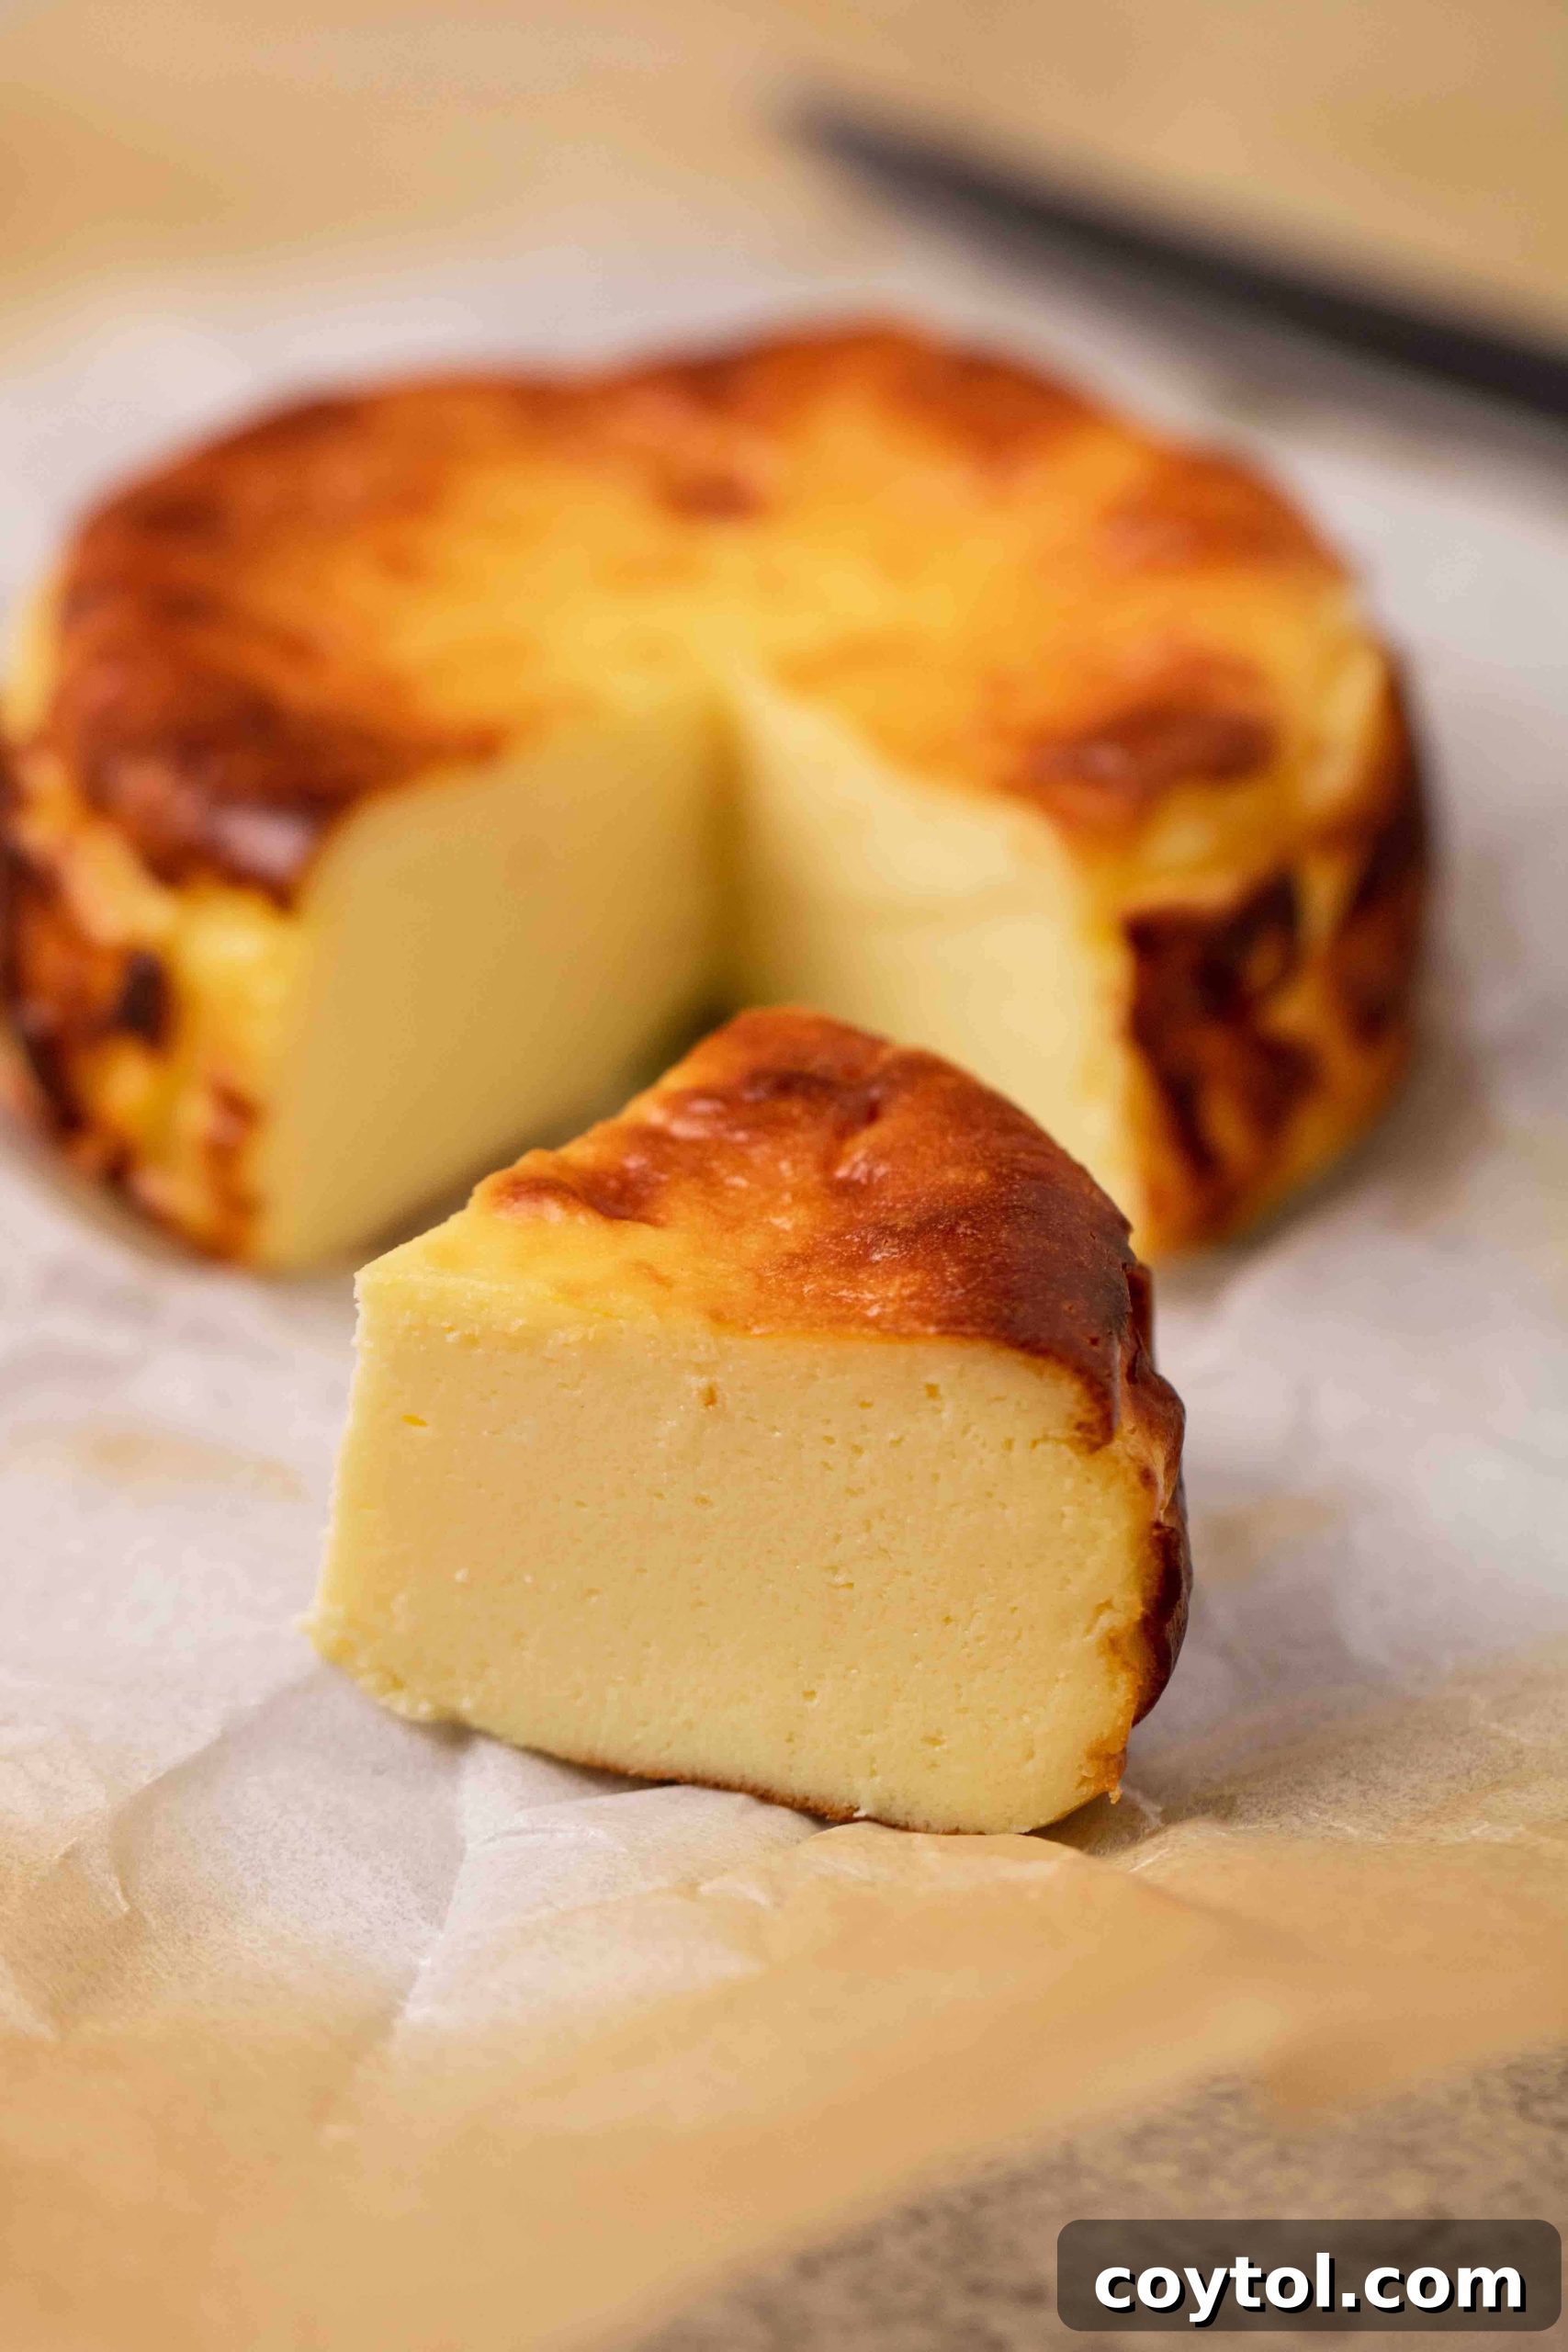
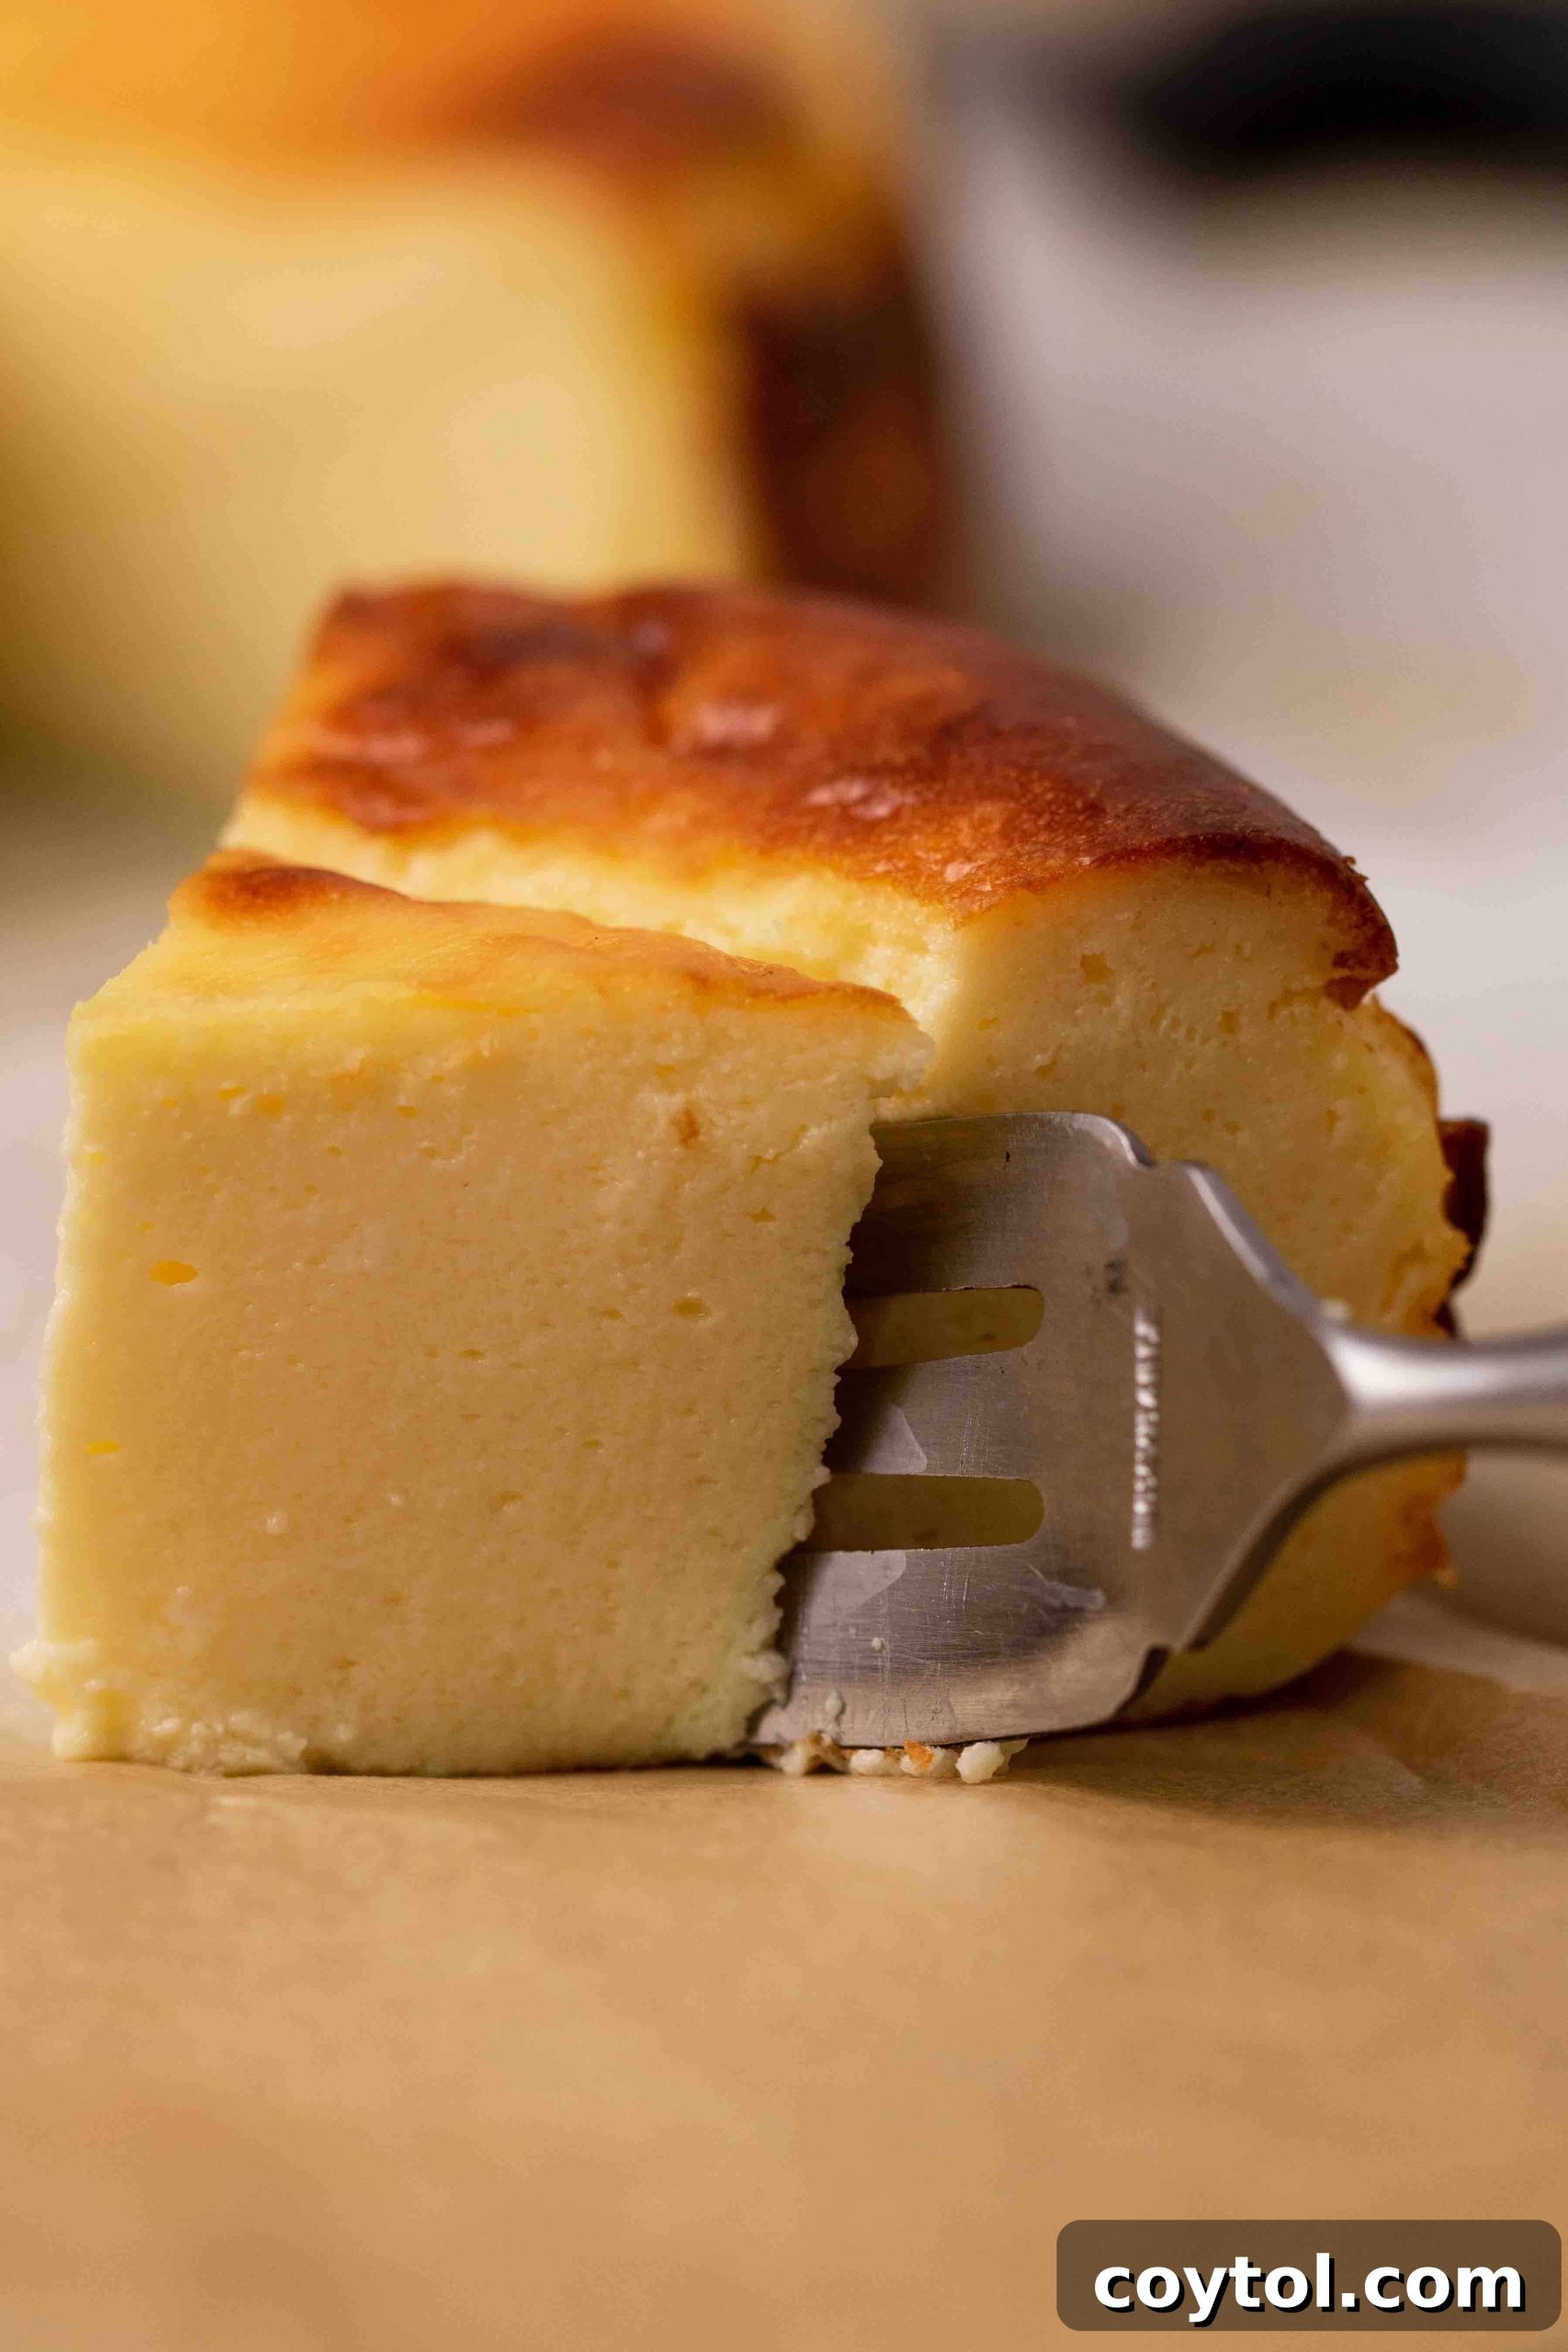
This cheesecake is a creamy, custard-like dessert, distinguished by rich caramel undertones stemming from its deeply browned top and edges. The magic truly happens in the contrast: a silky, almost molten center that yields to a slightly firmer, intensely caramelized exterior. The interplay of these textures and flavors is nothing short of pure enchantment.
The distinctive burnt top, far from being a flaw, introduces a subtle, intriguing bitterness that expertly balances the cheesecake’s inherent richness – much like the charred edges of a perfectly toasted marshmallow. This exquisite caramel-like flavor, achieved without the addition of actual caramel, is truly mind-blowing and might just convince you to abandon traditional cheesecakes forever!
Why You’ll Fall in Love with This Mini Basque Cheesecake Recipe
When it comes to crafting mini cheesecakes, this recipe stands out as a true winner. Here are compelling reasons why this small-batch burnt Basque cheesecake deserves a spot in your baking repertoire:
- The Ideal Size for Two (or One!): Say goodbye to the dilemma of leftover dessert! This perfectly scaled 4-inch cheesecake is designed to serve two people generously, or one very lucky individual. It’s the ultimate solution for satisfying a sweet craving without excess.
- A Truly Foolproof Recipe: This cheesecake is celebrated for its forgiving nature. There’s no fussy crust to prepare, no tricky water bath required, and its “burnt” appearance means perfection is easily achievable. Simply mix, bake, and delight in the results!
- Unrivaled Richness and Creaminess: Each spoonful delivers a melt-in-your-mouth experience. The interior boasts an incredibly smooth, velvety texture that’s beautifully complemented by the subtle bitterness and caramelized crunch of the signature burnt top.
- Remarkably Quick to Make: Featuring a simple list of common ingredients and minimal preparation time, this recipe is incredibly straightforward and efficient. It’s the perfect go-to dessert when you need something impressive yet quick.
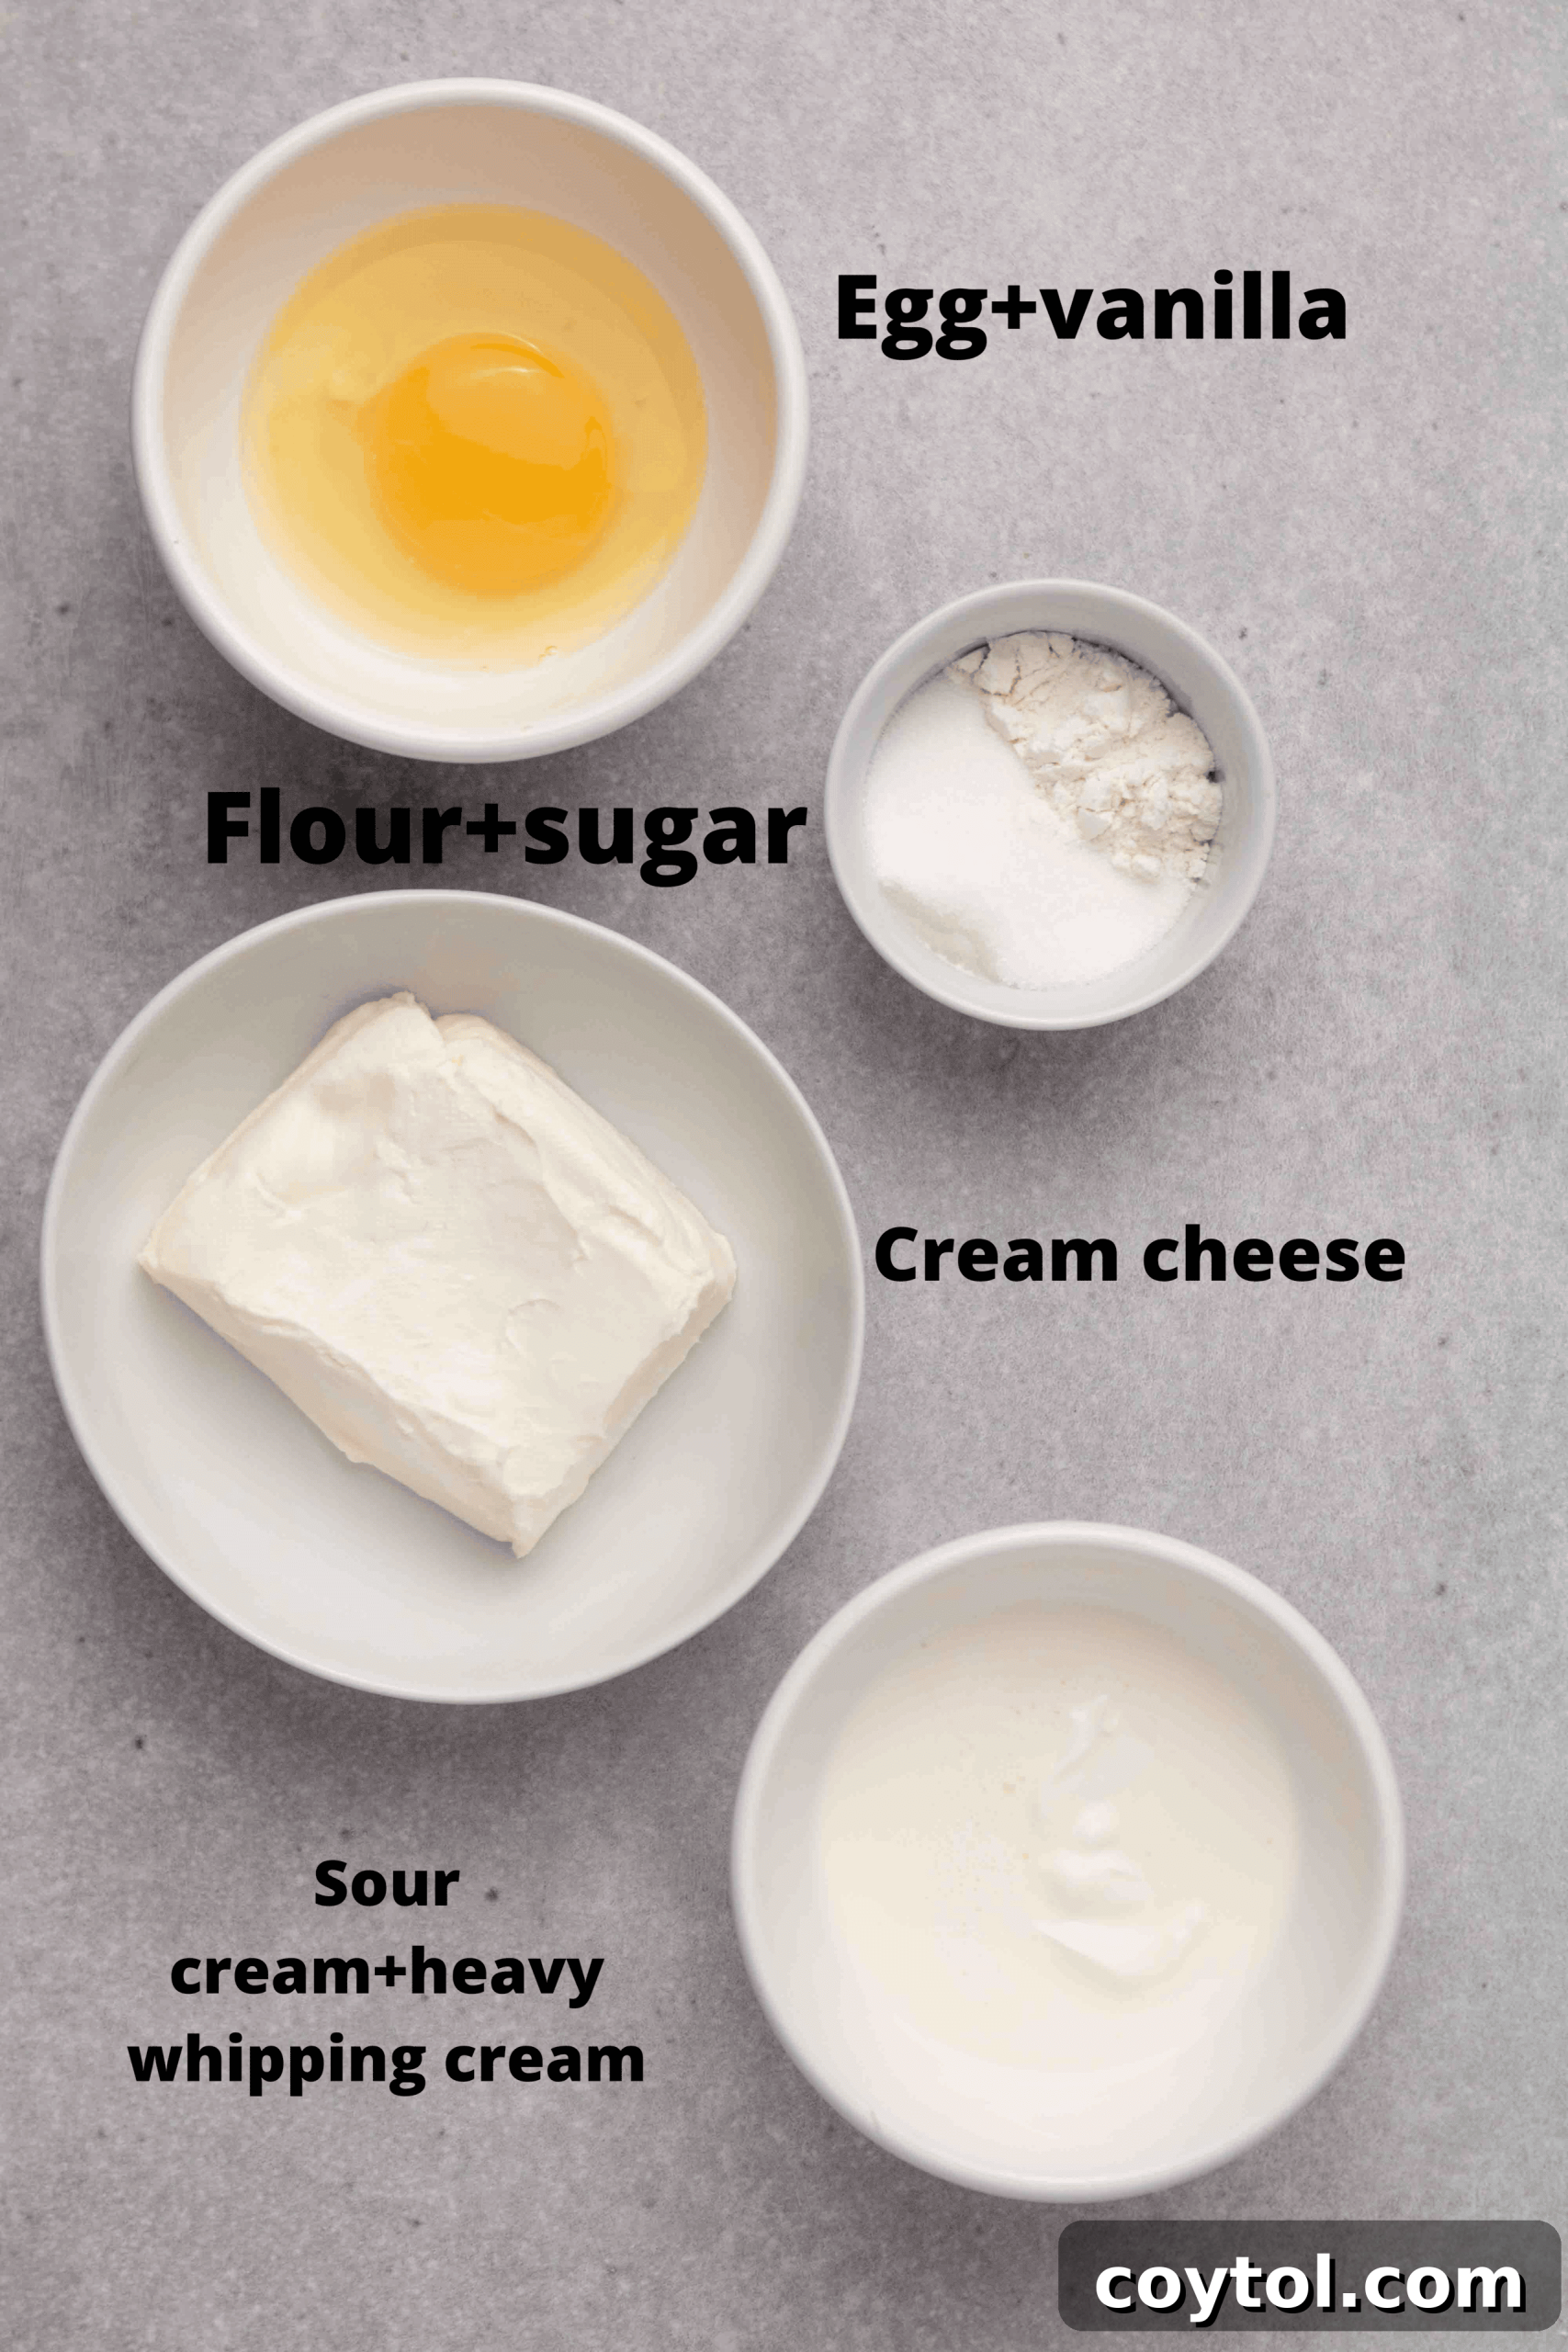
Essential Ingredients for Your Mini Burnt Basque Cheesecake
Crafting this personal-sized burnt Basque cheesecake for one or two requires a few simple, high-quality ingredients. For precise measurements and a detailed step-by-step guide, please refer directly to the recipe card below. Ensure all your dairy and eggs are at room temperature before you begin, as this is crucial for achieving a smooth, lump-free batter.
- Full-Fat Cream Cheese: This is the cornerstone of any great cheesecake. Using full-fat cream cheese is essential for achieving the rich, dense, and creamy texture characteristic of a Basque cheesecake. Any reliable brand will work well.
- Heavy Whipping Cream: Incorporating heavy cream significantly enhances the richness of your burnt cheesecake, contributing to its incredibly soft and velvety consistency. It’s key for that luxurious mouthfeel.
- Sour Cream: Sour cream plays a vital role in keeping the cheesecake wonderfully moist and introduces a subtle, delightful tang that balances the sweetness of the dessert.
- Large Egg: You’ll need just one large egg. Ensure it’s at room temperature; this helps it emulsify perfectly with the other ingredients, resulting in a smooth and uniform batter.
- Granulated Sugar: A modest amount of sugar is all that’s needed to sweeten this cheesecake, allowing the natural flavors of the dairy and the caramelization to shine through.
- Vanilla Extract: A touch of pure vanilla extract brightens the overall flavor profile of your Basque cheesecake. For an even more elevated aroma and a sophisticated appearance, consider using vanilla bean paste.
- All-Purpose Flour: Just a small amount of all-purpose flour is added to provide a bit of structure and stability, ensuring your mini cheesecake sets beautifully without being too fragile.
Remember, the success of this recipe largely hinges on using room temperature ingredients. This ensures that everything blends together seamlessly, creating that perfectly smooth and creamy cheesecake batter before it even enters the oven.
Effortless Guide: How to Make a Burnt Basque Cheesecake for Two
Making your very own homemade small burnt Basque cheesecake is surprisingly simple. Follow these steps for a delightful dessert experience:
- Prepare Your Oven: Begin by positioning your oven rack at the highest level. Preheat your oven to a scorching 500°F (260°C). This extremely high initial temperature is vital for achieving that iconic, deeply caramelized, and “burnt” top. If your oven doesn’t reach 500°F, 450°F will suffice, though the caramelization may be slightly lighter and baking time might vary.
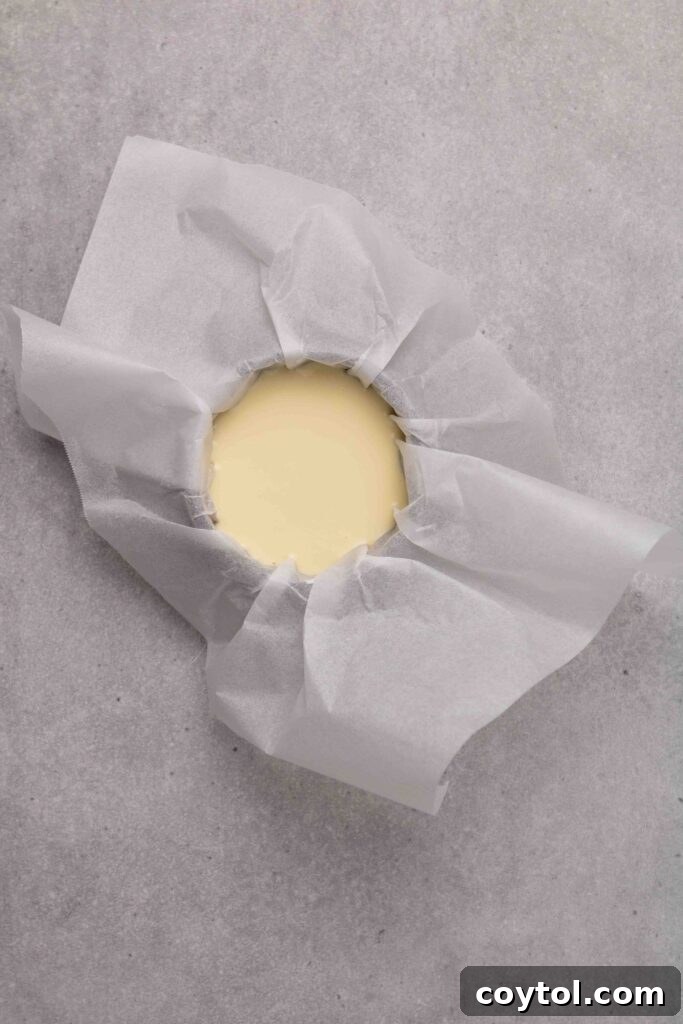
- Line the Pan: Take a 4-inch round cheesecake pan or springform pan and line it generously with parchment paper. Ensure the paper extends well above the edges of the pan. This ingenious trick not only makes it incredibly easy to remove the finished cheesecake but also gives it those characteristic crinkled sides.
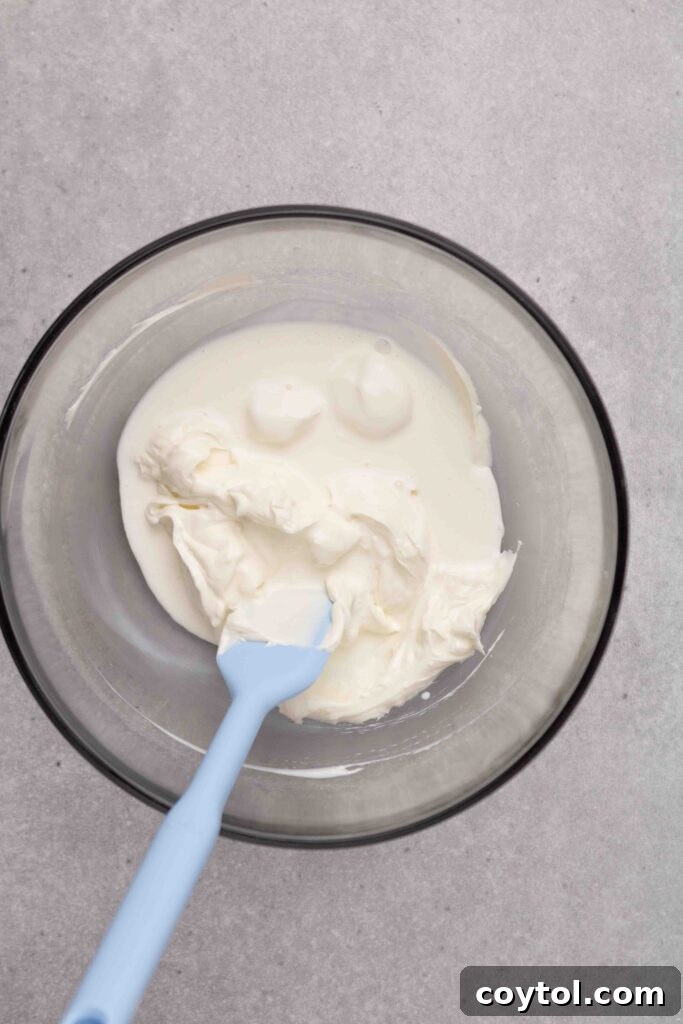
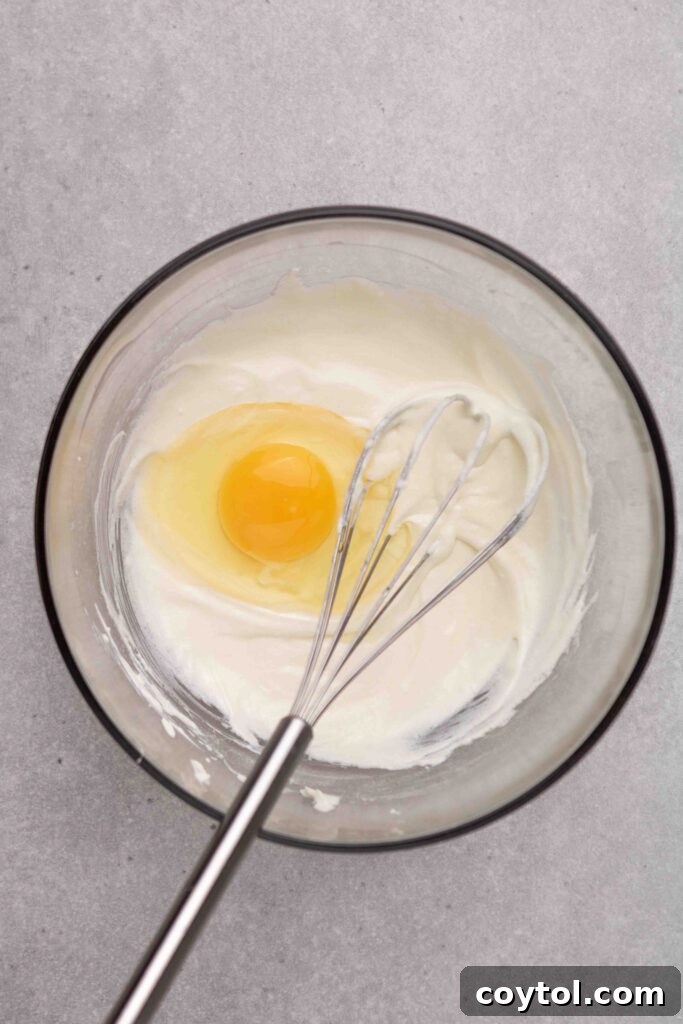
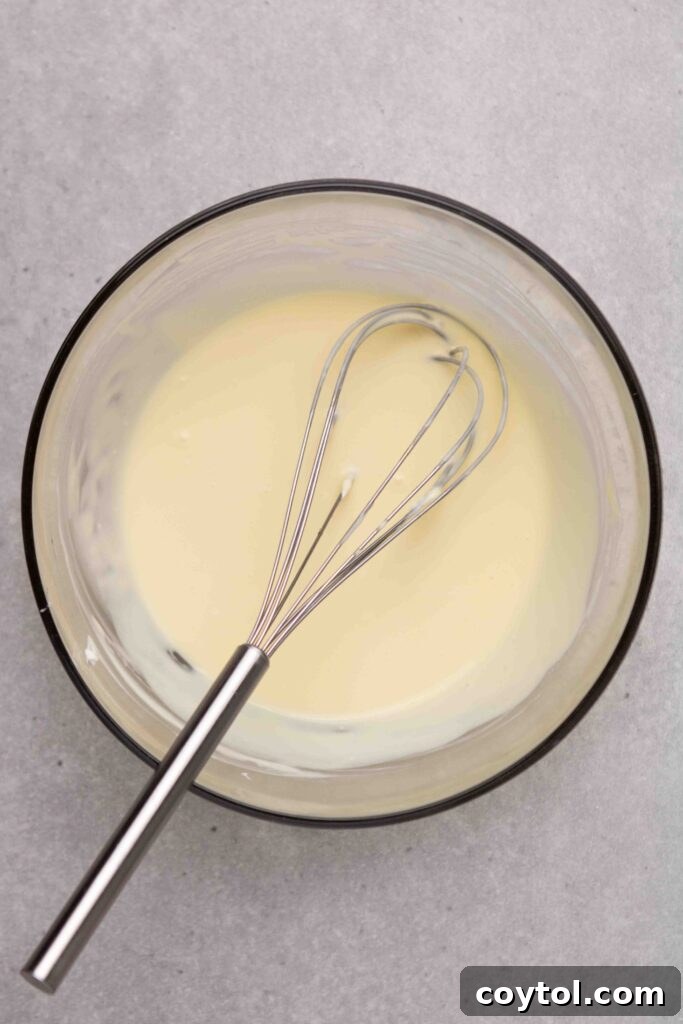
- Combine the Wet Ingredients: In a mixing bowl, combine your room temperature cream cheese, heavy whipping cream, sour cream, egg, vanilla extract, and sugar. Mix everything together until the batter is smooth and completely free of lumps. You can use a hand mixer on low speed or simply whisk by hand with a rubber spatula – for this small batch, a stand mixer might not be as effective. Don’t forget to scrape down the sides of the bowl to ensure everything is fully incorporated.
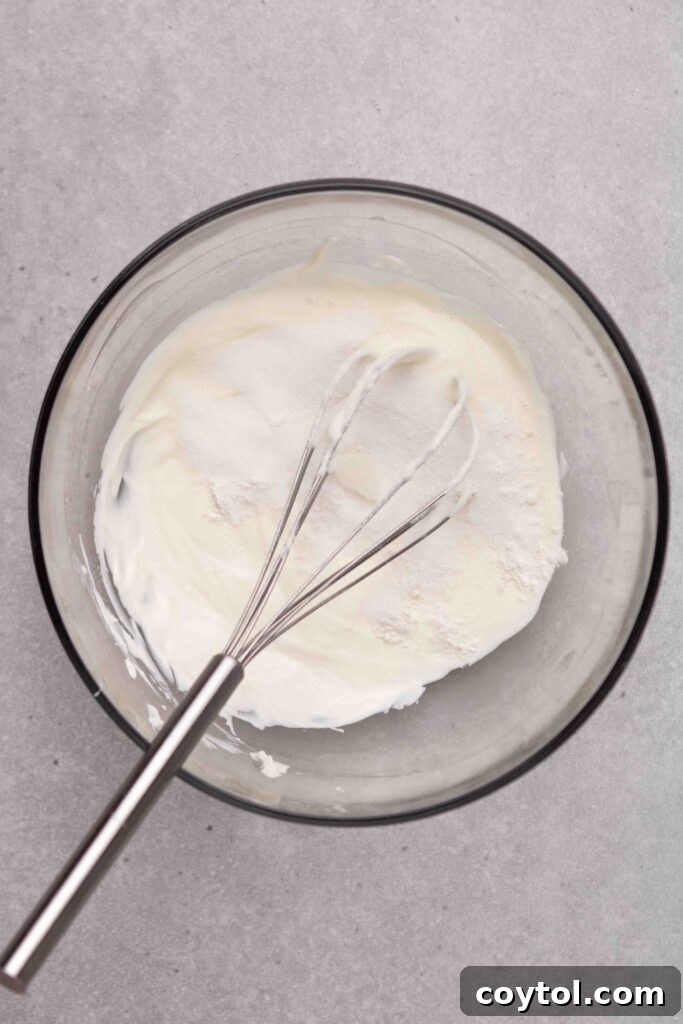
- Add Flour and Mix: Gently fold in the all-purpose flour. Mix just until it’s combined, being careful not to overmix. The goal is a smooth, homogenous batter.
- Pour and Bake: Pour the creamy cheesecake batter into your prepared, parchment-lined baking pan. Quickly place the pan into your preheated oven, making sure to position it on the top rack, towards the back, where the heat is typically most intense. Immediately reduce the oven temperature to 450°F (230°C) and bake for 20 minutes.
- Cool and Enjoy: Once baked, the center should still have a slight wobble. Carefully remove your mini burnt cheesecake from the oven and allow it to cool in the pan for about 20 minutes. Then, gently lift it out by the parchment paper and transfer it to a wire cooling rack to cool completely to room temperature before slicing. For an even firmer texture, you can chill it in the refrigerator.
Expert Tips for Perfect Burnt Basque Cheesecake Every Time
Achieving that signature burnt top and creamy center is simpler than you think with these crucial tips:
- Bring Ingredients to Room Temperature: This is paramount for a smooth, lump-free batter. Cold cream cheese will result in a clumpy mixture, impacting the final texture. Allow cream cheese, heavy cream, sour cream, and eggs to sit out for at least 30-60 minutes before mixing.
- Your Oven Needs to Be Very Hot: The extremely high initial oven temperature (500°F/260°C) is not a suggestion, it’s a requirement. This intense heat is what rapidly caramelizes the surface of the cheesecake, creating that iconic “burnt” crust without overcooking the interior. Place the cheesecake in quickly to minimize heat loss.
- Optimal Oven Rack Position: Always place your baking rack in the highest position in your oven. This ensures the cheesecake’s top is closest to the heating element, maximizing exposure to the most intense heat for optimal browning.
- Position the Pan Deep in the Oven: Once the cheesecake is in, try to position it slightly towards the back of the oven. Ovens often have hot spots, and the back is typically hotter, which further aids in achieving that desirable dark caramelization. Adjust this based on your oven’s known heat distribution.
- The Parchment Paper Hack: For effortless lining and those beautiful rustic crinkled sides, crumple your parchment paper first before smoothing it out to line the pan. This makes it more pliable and easier to fit snugly into the contours of your cheesecake pan.
- Mastering the Bake Time: Overbaking is the enemy of a creamy Basque cheesecake. You want the center to still be significantly wobbly when you pull it out of the oven. It will continue to set as it cools, transforming into that perfect custardy texture. Trust the wobble!
- Cooling Process is Key: Resist the urge to slice into your cheesecake immediately. Allowing it to cool gradually, first in the pan and then on a wire rack, helps it set properly and ensures a uniform texture.
By following these expert tips, you’re well on your way to achieving a perfectly creamy, intensely caramelized, and absolutely delicious mini burnt Basque cheesecake every single time!
Frequently Asked Questions – FAQs About Mini Burnt Basque Cheesecake
Is lining the mini cheesecake tin with parchment really important?
Absolutely, lining the tin with parchment paper is non-negotiable for this recipe! It serves two crucial purposes. Firstly, it allows you to effortlessly lift and remove your delicate cheesecake from the pan once it’s cooled, preventing any sticking or breakage. Secondly, and equally importantly, the crinkled parchment paper creates those iconic, rustic folds and burnt edges on the sides of your Basque cheesecake, which are part of its unique charm and aesthetic appeal.
Can I make this cheesecake ahead of time?
Yes, you certainly can! This mini burnt cheesecake recipe is actually wonderful when prepared in advance. Many find its flavors deepen and its texture becomes even more delightful after being chilled in the refrigerator overnight. Store your cooled cheesecake in an airtight container in the fridge, and it will remain fresh and delicious for up to 3 days. This makes it an ideal dessert for entertaining or for simply having a treat ready to enjoy!
Why is preheating the oven to 500°F so important?
The intensely high preheat temperature of 500°F (260°C) is fundamental to creating the signature characteristics of a burnt Basque cheesecake. This initial burst of extreme heat rapidly caramelizes the sugars on the surface of the cheesecake, developing that deep, dark “burnt” top and caramelized sides without overcooking the custardy center. It’s a quick, high-heat bake that results in a unique flavor and texture profile. Once the cheesecake is in, reducing the heat to 450°F (230°C) allows the interior to finish baking gently. Having experimented numerous times, this precise temperature strategy consistently yields the best results for that perfect balance of burnt exterior and creamy interior.
Can I double this recipe to make a larger cheesecake?
While this specific recipe is carefully calibrated for a 4-inch mini cheesecake, I generally don’t recommend simply doubling it for a larger size. Scaling up cheesecake recipes often requires more than just multiplying ingredients; baking times, temperatures, and pan sizes can significantly impact the outcome. If you’re looking to feed a larger crowd or prefer a bigger cheesecake, I highly recommend trying a dedicated 6-inch or 8-inch burnt Basque cheesecake recipe. It’s just as delicious and ensures perfect results for a crowd!
What are the best accompaniments for a Basque cheesecake?
This magnificent cheesecake is a star all on its own, yet it also welcomes a variety of delightful companions. For a fresh and vibrant contrast, serve it with a handful of fresh seasonal berries or a delicate drizzle of honey. A dollop of lightly whipped cream adds a touch of classic elegance and extra creaminess. If you’re aiming for that picture-perfect, Instagram-worthy presentation, slice the cheesecake, gently lay it on its side, and cascade a warm, silky chocolate ganache over it just before serving. The combination of rich chocolate and caramelized cheesecake is simply divine!
How should I store leftover burnt Basque cheesecake?
To keep your burnt Basque cheesecake at its best, place it in an airtight container and store it in the refrigerator. When properly stored, it will maintain its delicious flavor and creamy texture for up to 3 days. This makes it an excellent dessert to prepare a day or two in advance!
Can you freeze burnt Basque cheesecake?
Yes, absolutely! Burnt Basque cheesecake freezes beautifully. You have two main options for freezing: you can either pre-slice the cheesecake and wrap each individual slice tightly in plastic wrap, or you can freeze the entire cheesecake in an airtight container. It will keep well in the freezer for up to one month.
When you’re ready to enjoy a slice, simply transfer it from the freezer to the refrigerator to thaw overnight. For the ultimate texture and flavor experience, allow the cheesecake to come to room temperature for about 20-30 minutes before serving. This gentle thawing process restores its creamy consistency.
Is Basque cheesecake best enjoyed cold or at room temperature?
Traditionally, burnt Basque cheesecake is meant to be savored at room temperature. If you’ve stored it in the refrigerator, I recommend pulling it out approximately 20-30 minutes before you plan to indulge. This brief period allows the cheesecake to soften slightly, bringing out its full creamy texture and complex flavors for the ultimate culinary experience.
However, personal preference plays a big role! I, for one, enjoy my cheesecake on the firmer, denser side, so I often eat it straight from the fridge. My sister, on the other hand, prefers it about 30 minutes to an hour after baking, describing its warm, custard-like consistency as similar to a rich flan dessert. Don’t hesitate to experiment with different serving temperatures to discover your own perfect way to enjoy this delightful treat!
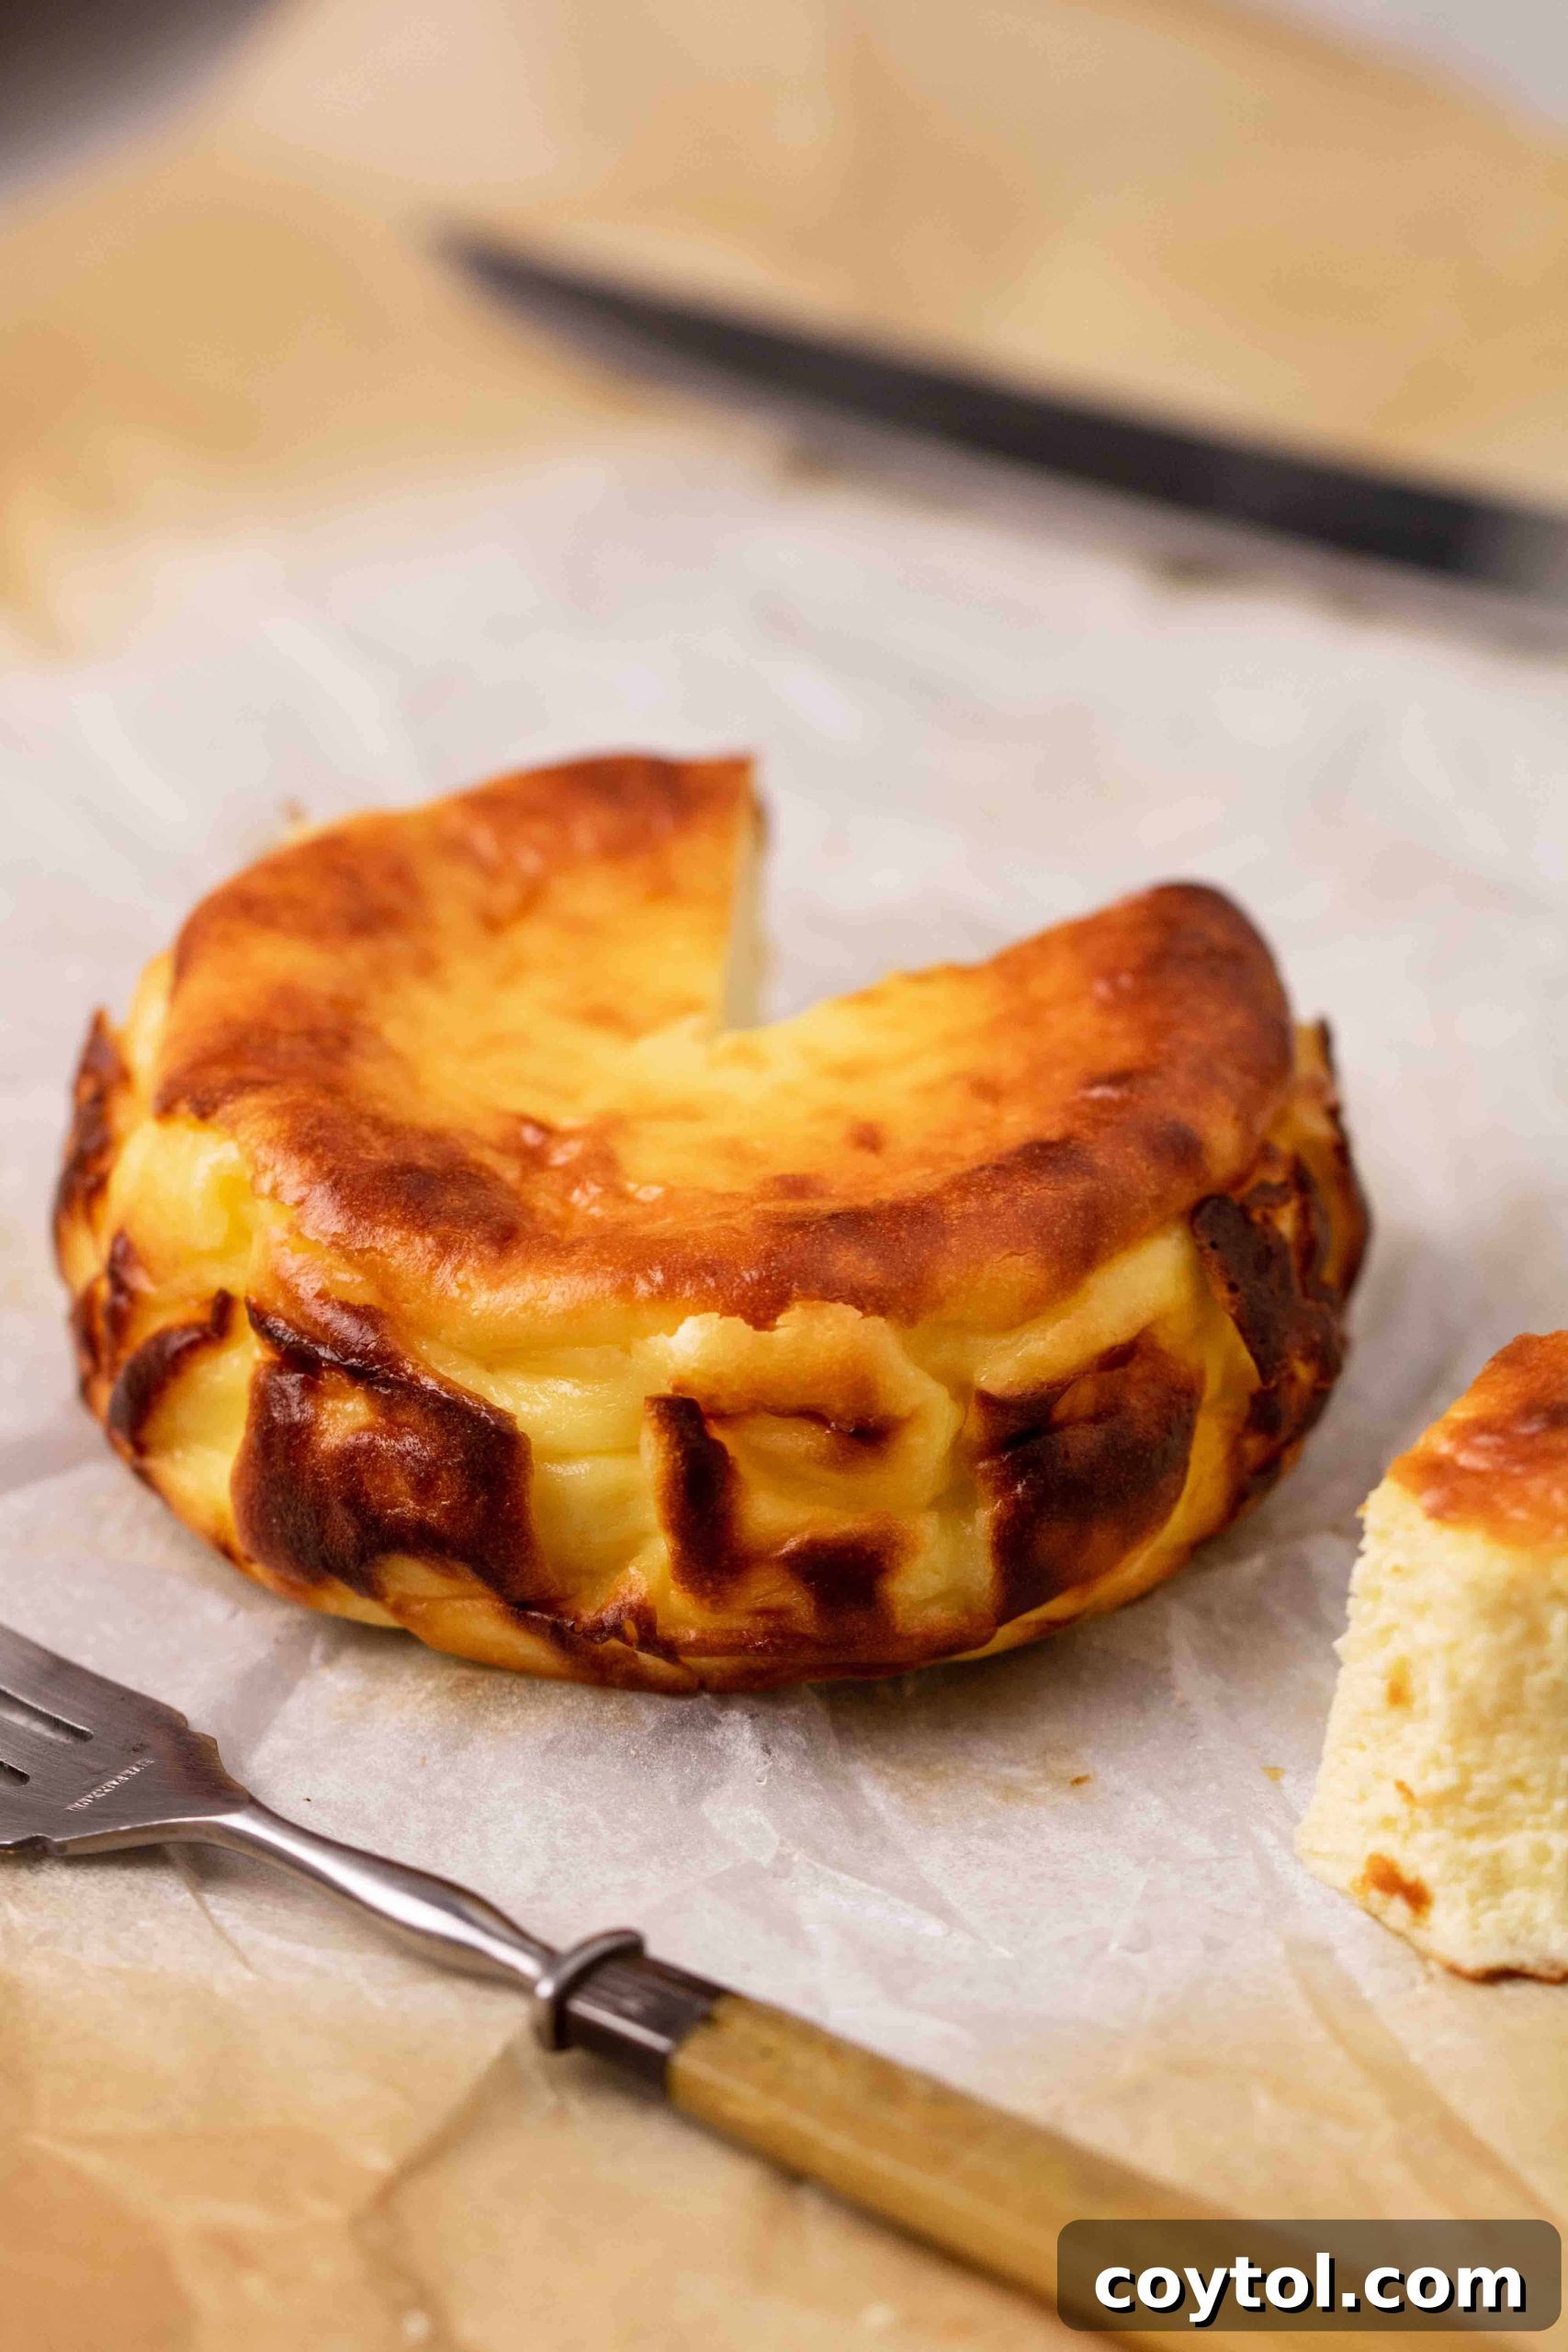
Mini 4-Inch Burnt Basque Cheesecake Recipe
4-inch Mini Burnt Basque Cheesecake for One/Two
This creamy 4-inch burnt Basque cheesecake is an unexpected delight! It’s the perfect dessert for those seeking an adventurous yet comforting cheesecake experience.
Print Recipe
Equipment
- 4-inch cheesecake pan
Ingredients
- 4 oz cream cheese, at room temperature
- 3 tbsp heavy whipping cream, at room temperature
- 1 tbsp sour cream, at room temperature
- 1 large egg, at room temperature
- 1/4 tsp vanilla extract
- 2 tbsp granulated sugar
- 1.5 tsp all-purpose flour
Instructions
- First, adjust your oven rack to the top position and preheat your oven to 500°F (260°C) for at least 15 minutes. Line the inside of your 4-inch cheesecake pan with parchment paper, ensuring it extends well above the pan edges. (Refer to the Notes section for a detailed guide on how to perfectly line your pan).
- In a medium bowl, combine the softened cream cheese, heavy whipping cream, and sour cream. Mix until thoroughly combined and smooth. Add in the egg, vanilla extract, and sugar, whisking again until everything is well incorporated and the batter is homogeneous. Finally, gently mix in the all-purpose flour until just combined.
- Pour the cheesecake batter into your prepared parchment-lined cheesecake pan. Place it into the preheated oven, making sure it’s on the top rack and towards the back of the oven where temperatures are typically highest for optimal burning. Immediately reduce the oven temperature to 450°F (230°C) and bake for 20 minutes.
- Carefully remove the cheesecake from the oven. The center should still have a noticeable wobble. Let it cool in the pan for about 20 minutes before gently lifting it out by the parchment paper and transferring it to a wire cooling rack. Enjoy your cheesecake once it has cooled to room temperature, or chill it in the refrigerator for a firmer, more set texture, according to your preference.
Notes
Master the Art of Lining Your Cheesecake Pan
- To perfectly line your 4-inch cheesecake pan, first remove the removable bottom of the pan. Place this bottom piece onto your precut sheet of parchment paper.
- Carefully press the removable bottom and the parchment paper back into the cheesecake pan ring. Tighten the ring securely, and then press the excess parchment paper around the sides of the pan to fit it snugly.
- Temporarily re-open the cheesecake pan ring, and gently remove both the bottom part and the parchment paper. Place the removable bottom back into the 4-inch cheesecake pan, tighten the ring again, and then carefully place your pre-formed parchment paper mold into the cake pan, pressing it down to fit perfectly. This method ensures a neat and secure lining for your cheesecake.
Nutrition
Carbohydrates: 17g |
Protein: 4g |
Fat: 28g |
Saturated Fat: 17g |
Cholesterol: 95mg |
Sodium: 195mg |
Potassium: 78mg |
Sugar: 14g |
Vitamin A: 1092IU |
Calcium: 79mg |
Iron: 1mg
Nutrition information is automatically calculated and should only be used as an approximation.
Like this? Leave a comment below!
If you enjoyed this 4-inch Basque cheesecake recipe for one or two, don’t forget to save it for later!