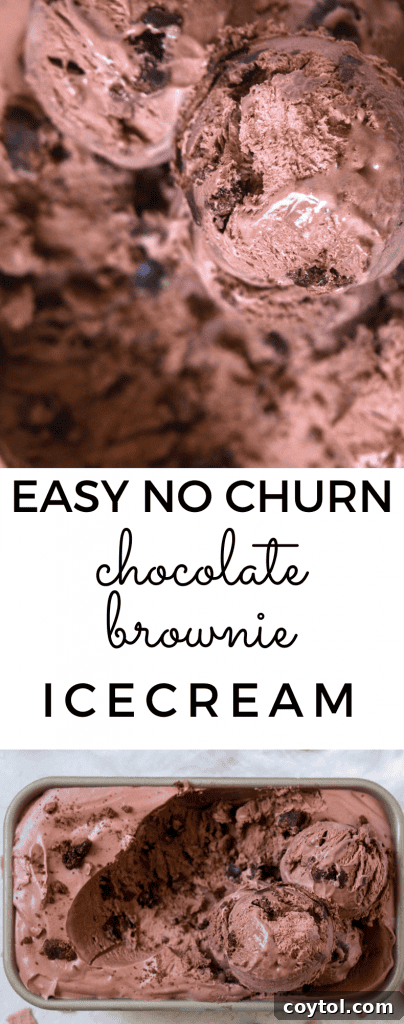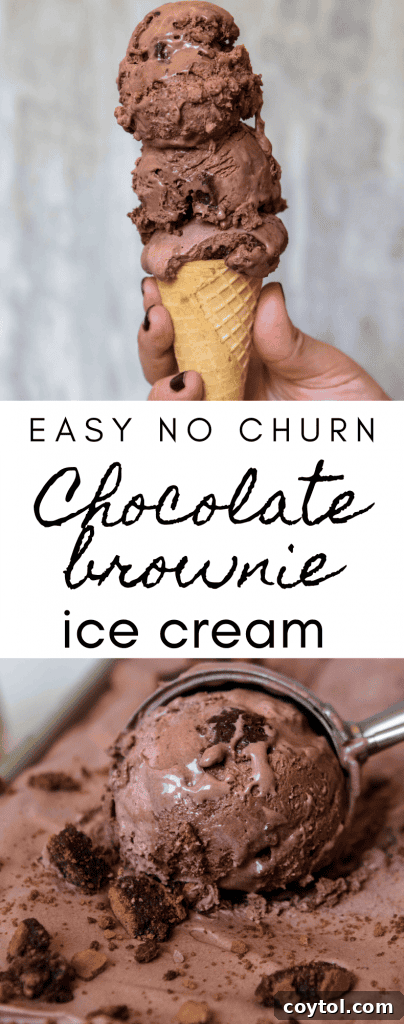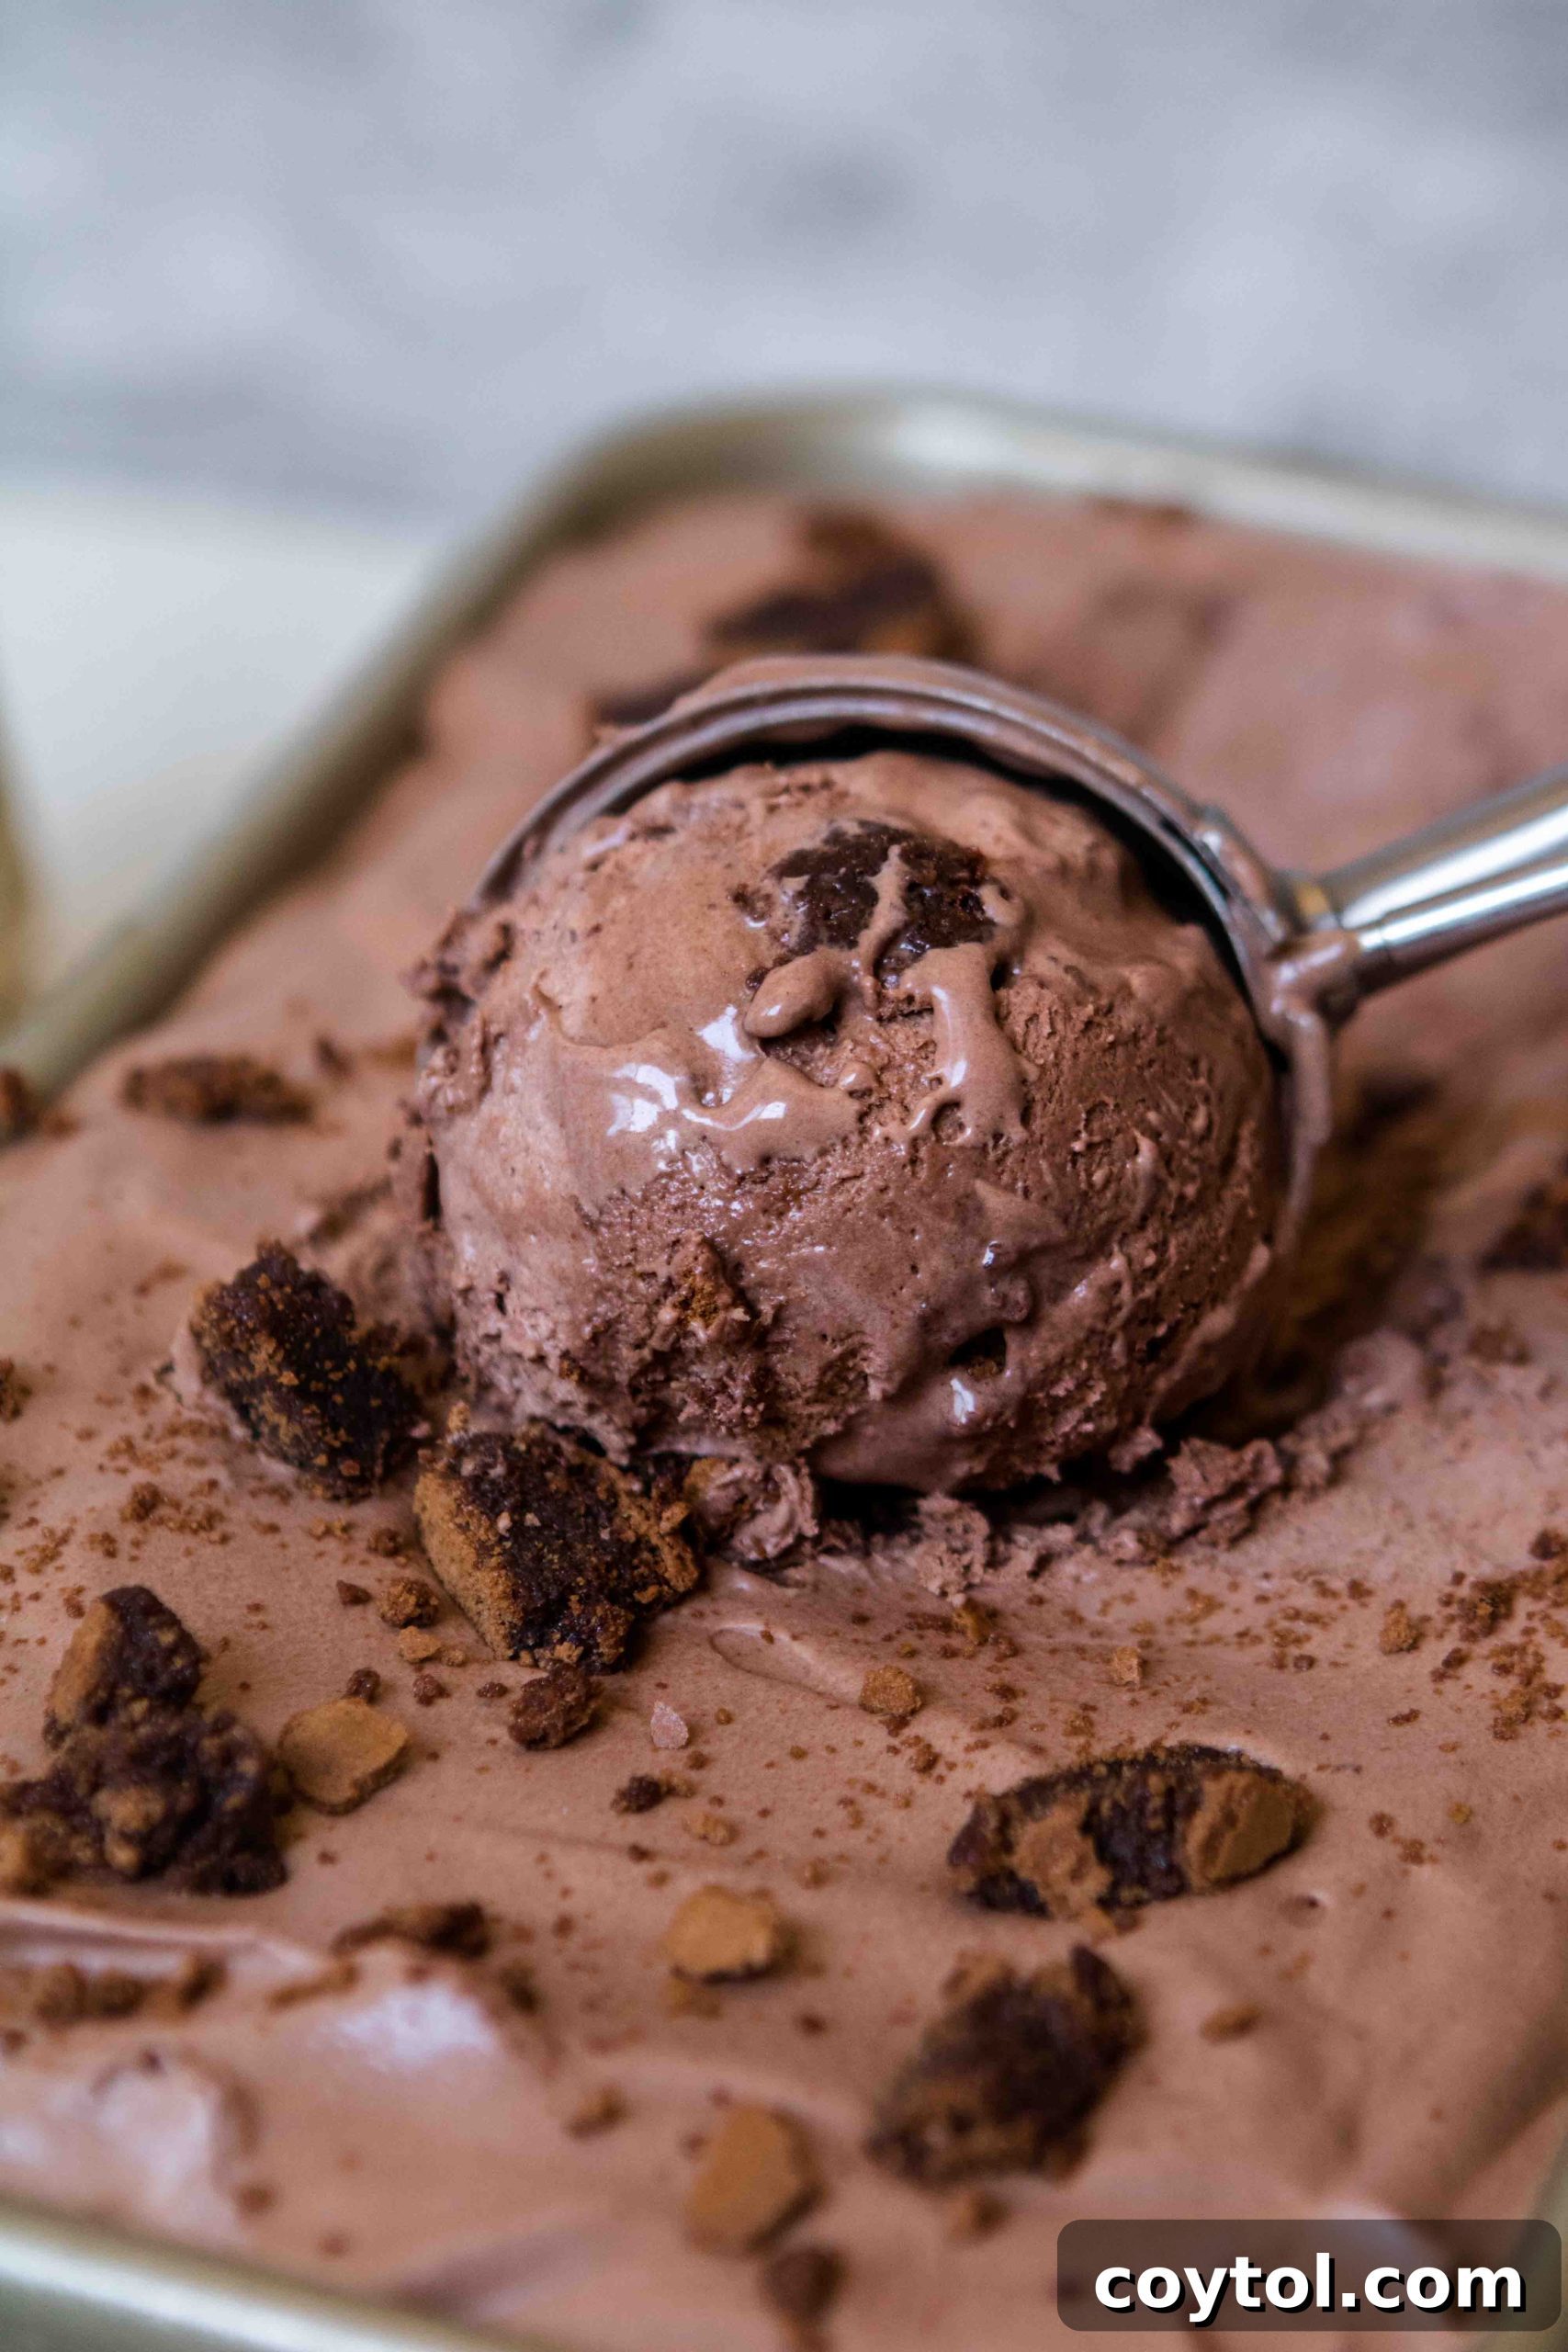
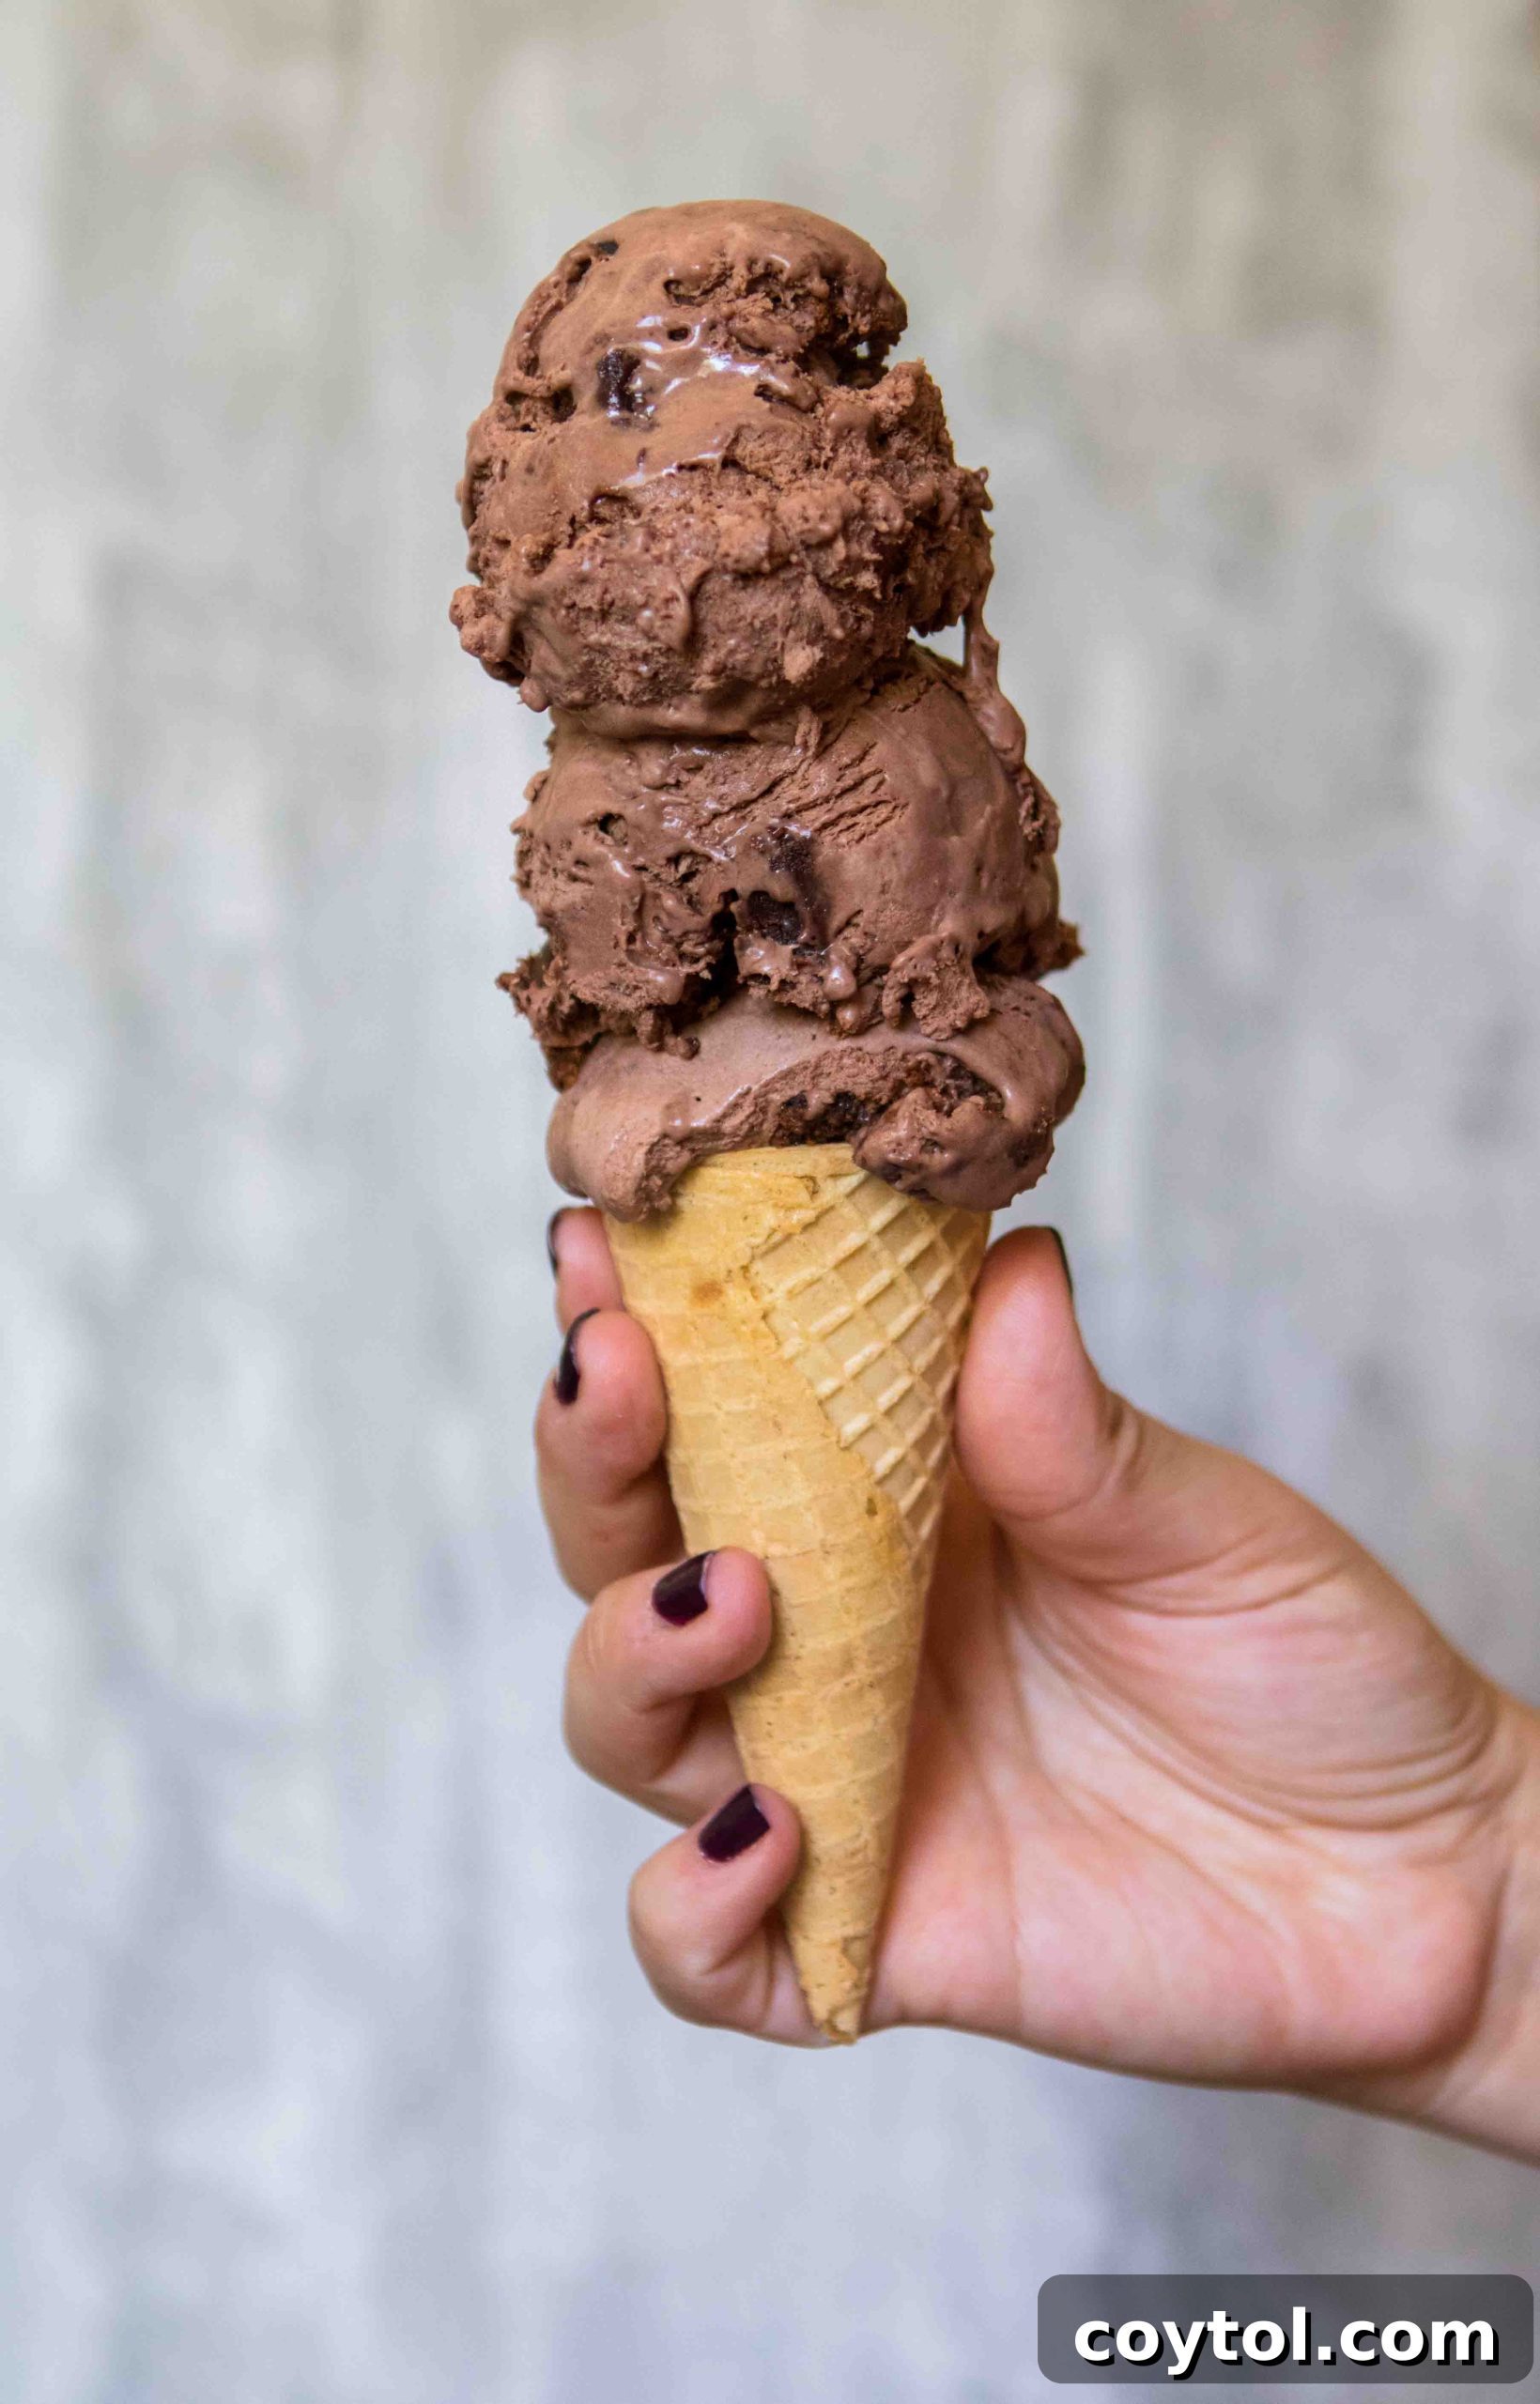
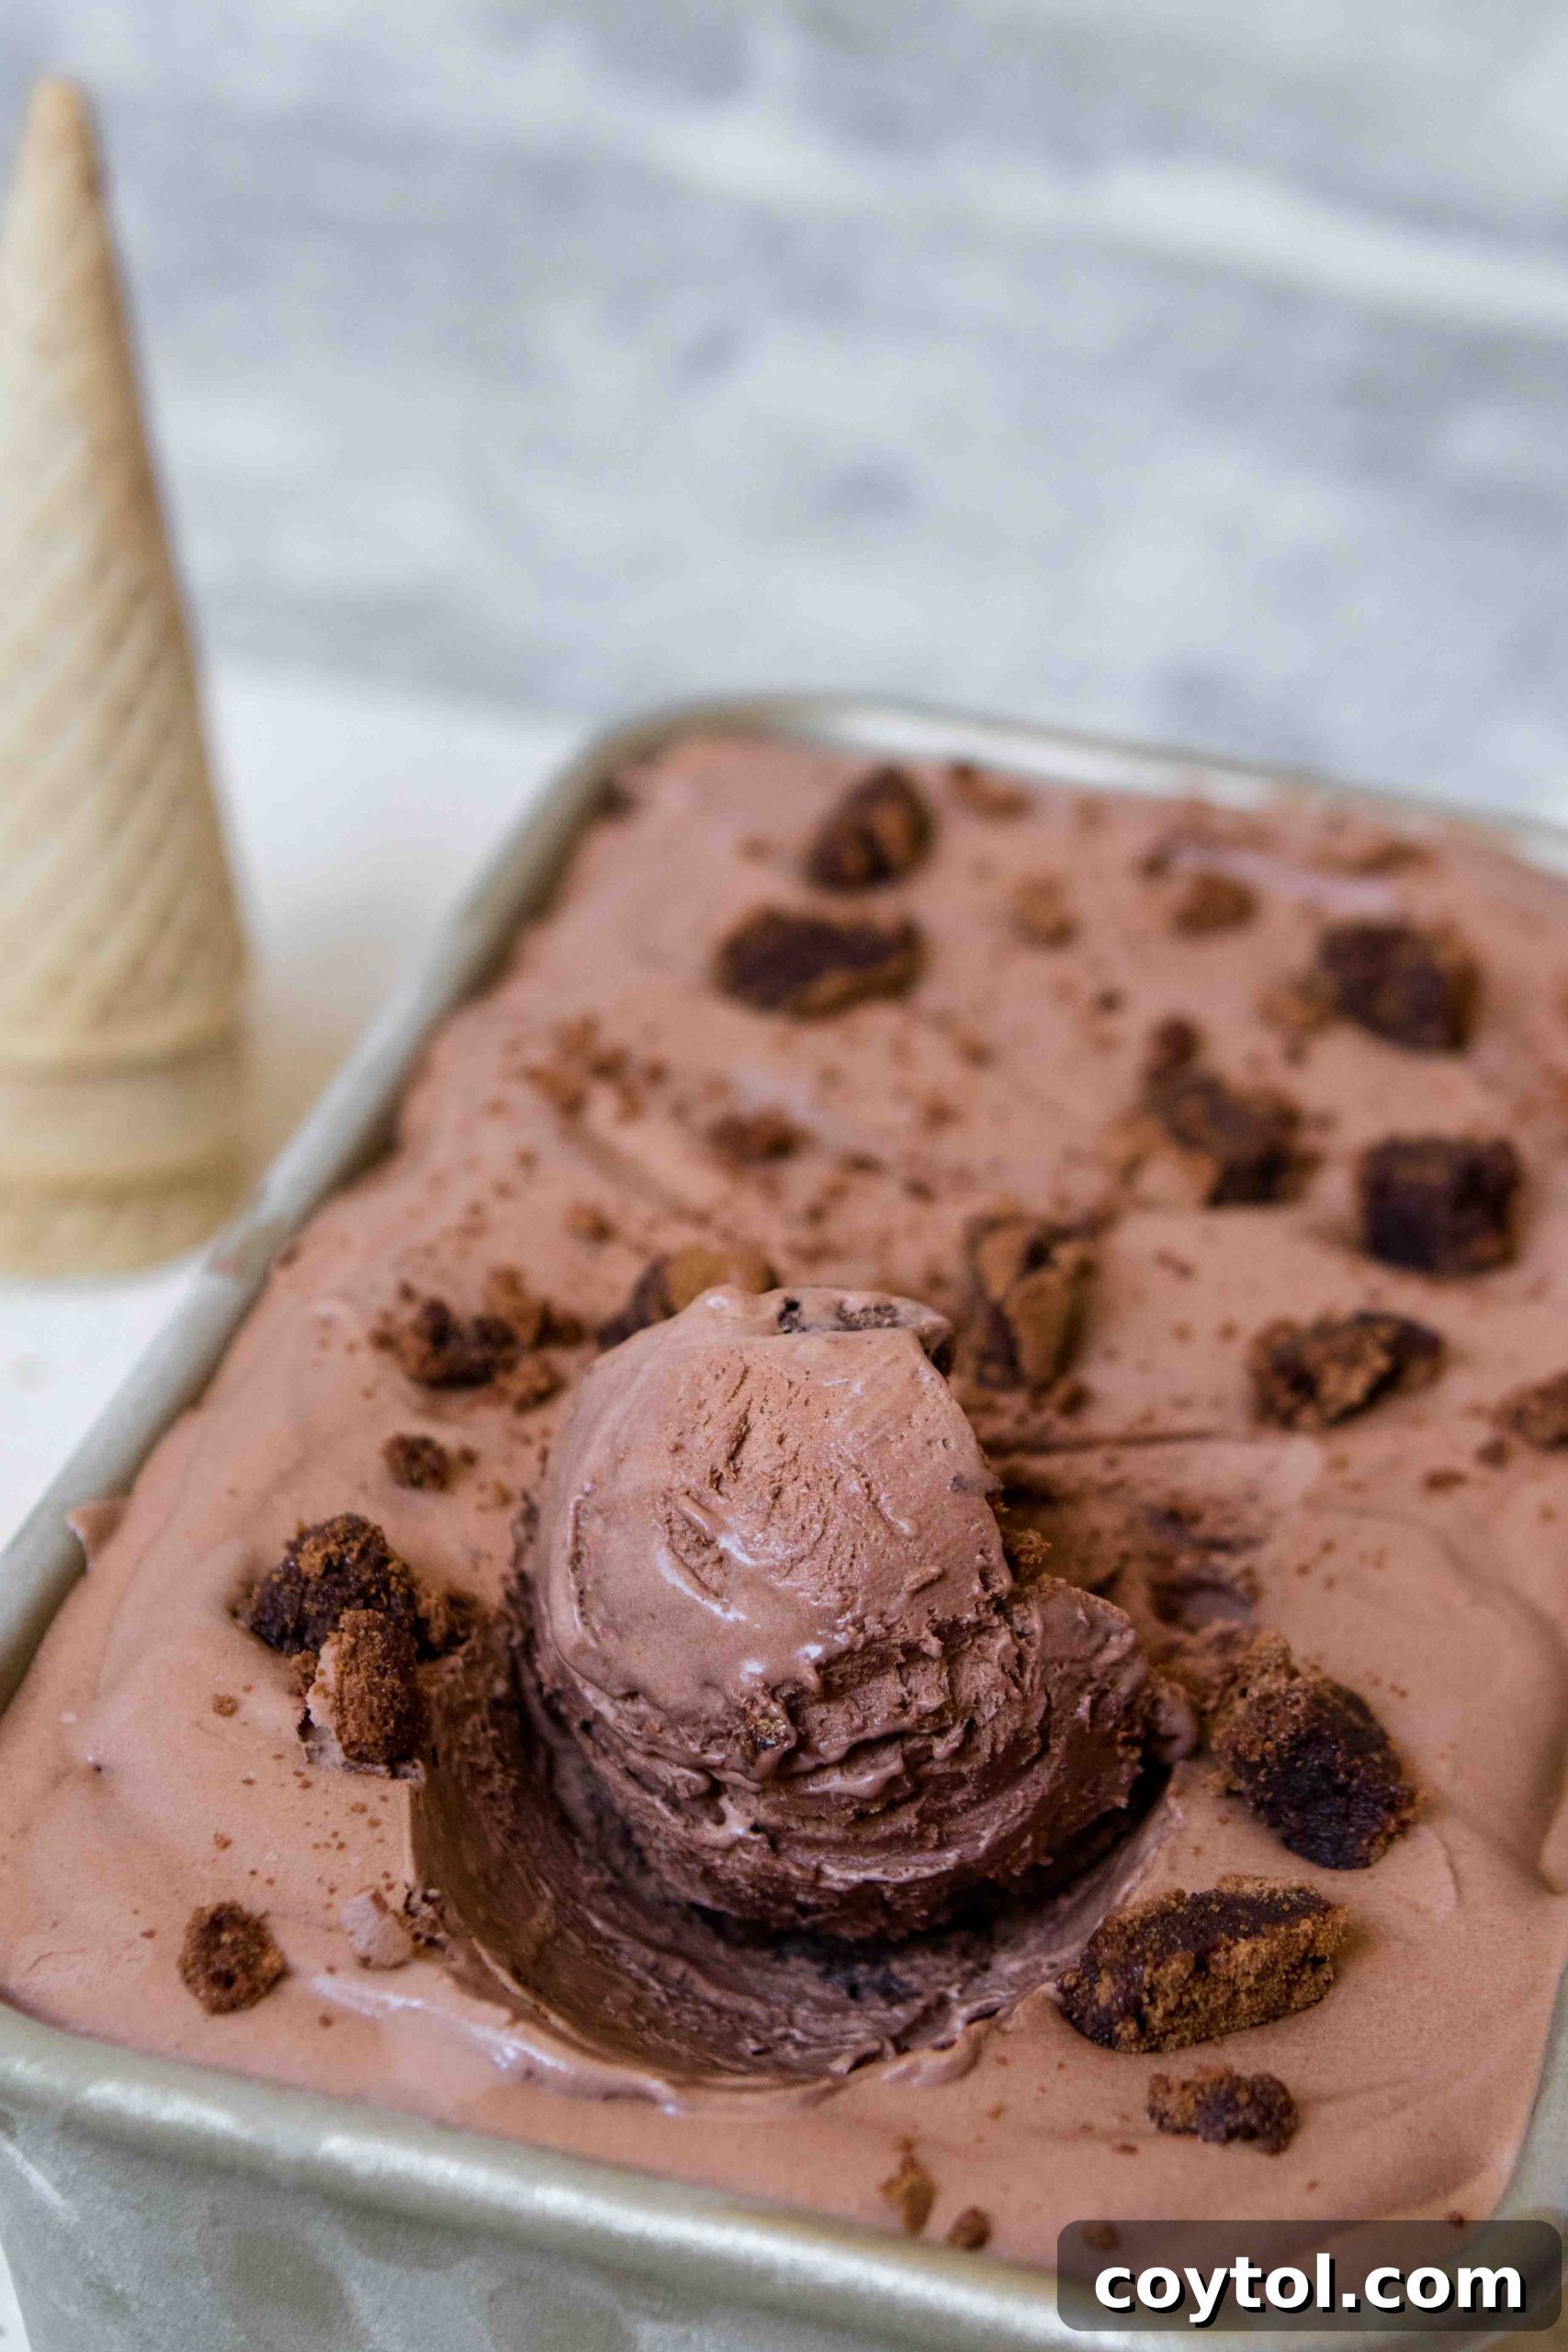
Imagine a scoop of incredibly creamy, intensely chocolatey ice cream, generously studded with chunks of fudgy brownie, all made right in your own kitchen without a single fancy gadget. Yes, you read that right – forget the ice cream maker! This homemade no-churn chocolate brownie ice cream is not just easy; it’s a dream come true for anyone craving a truly indulgent dessert that tastes far superior to anything you’d buy from the store. Get ready to satisfy every single one of your sweet summer cravings with this effortless recipe.
Hello fellow dessert lovers!
As the days grow longer and the sun shines brighter, summer truly beckons. While this year has presented its unique set of challenges, reminding us of the importance of simple pleasures and connection, there’s one thing that consistently brings comfort and joy: a decadent frozen treat. For me, and countless others, chocolate ice cream holds a special place. It’s more than just a dessert; it’s a spoonful of pure bliss, a moment of sweet escape. And when you can create that magic at home, effortlessly, it tastes even better.
This recipe for chocolate brownie no-churn ice cream was born out of a desire for ultimate comfort and convenience. Originally, I planned a straightforward no-churn chocolate ice cream, but then I had a brilliant idea. After filming a video for my famous no-cocoa-powder brownies, I found myself with a delightful stash of leftovers. What better way to elevate an already fantastic dessert than by folding in rich, fudgy brownie chunks? It’s like a sophisticated cousin to cookie dough ice cream, offering deep chocolate flavor and irresistible chewy bits in every bite. This ice cream is incredibly rich, so a small scoop or two usually does the trick – but no judgment here if you decide to indulge a little more!
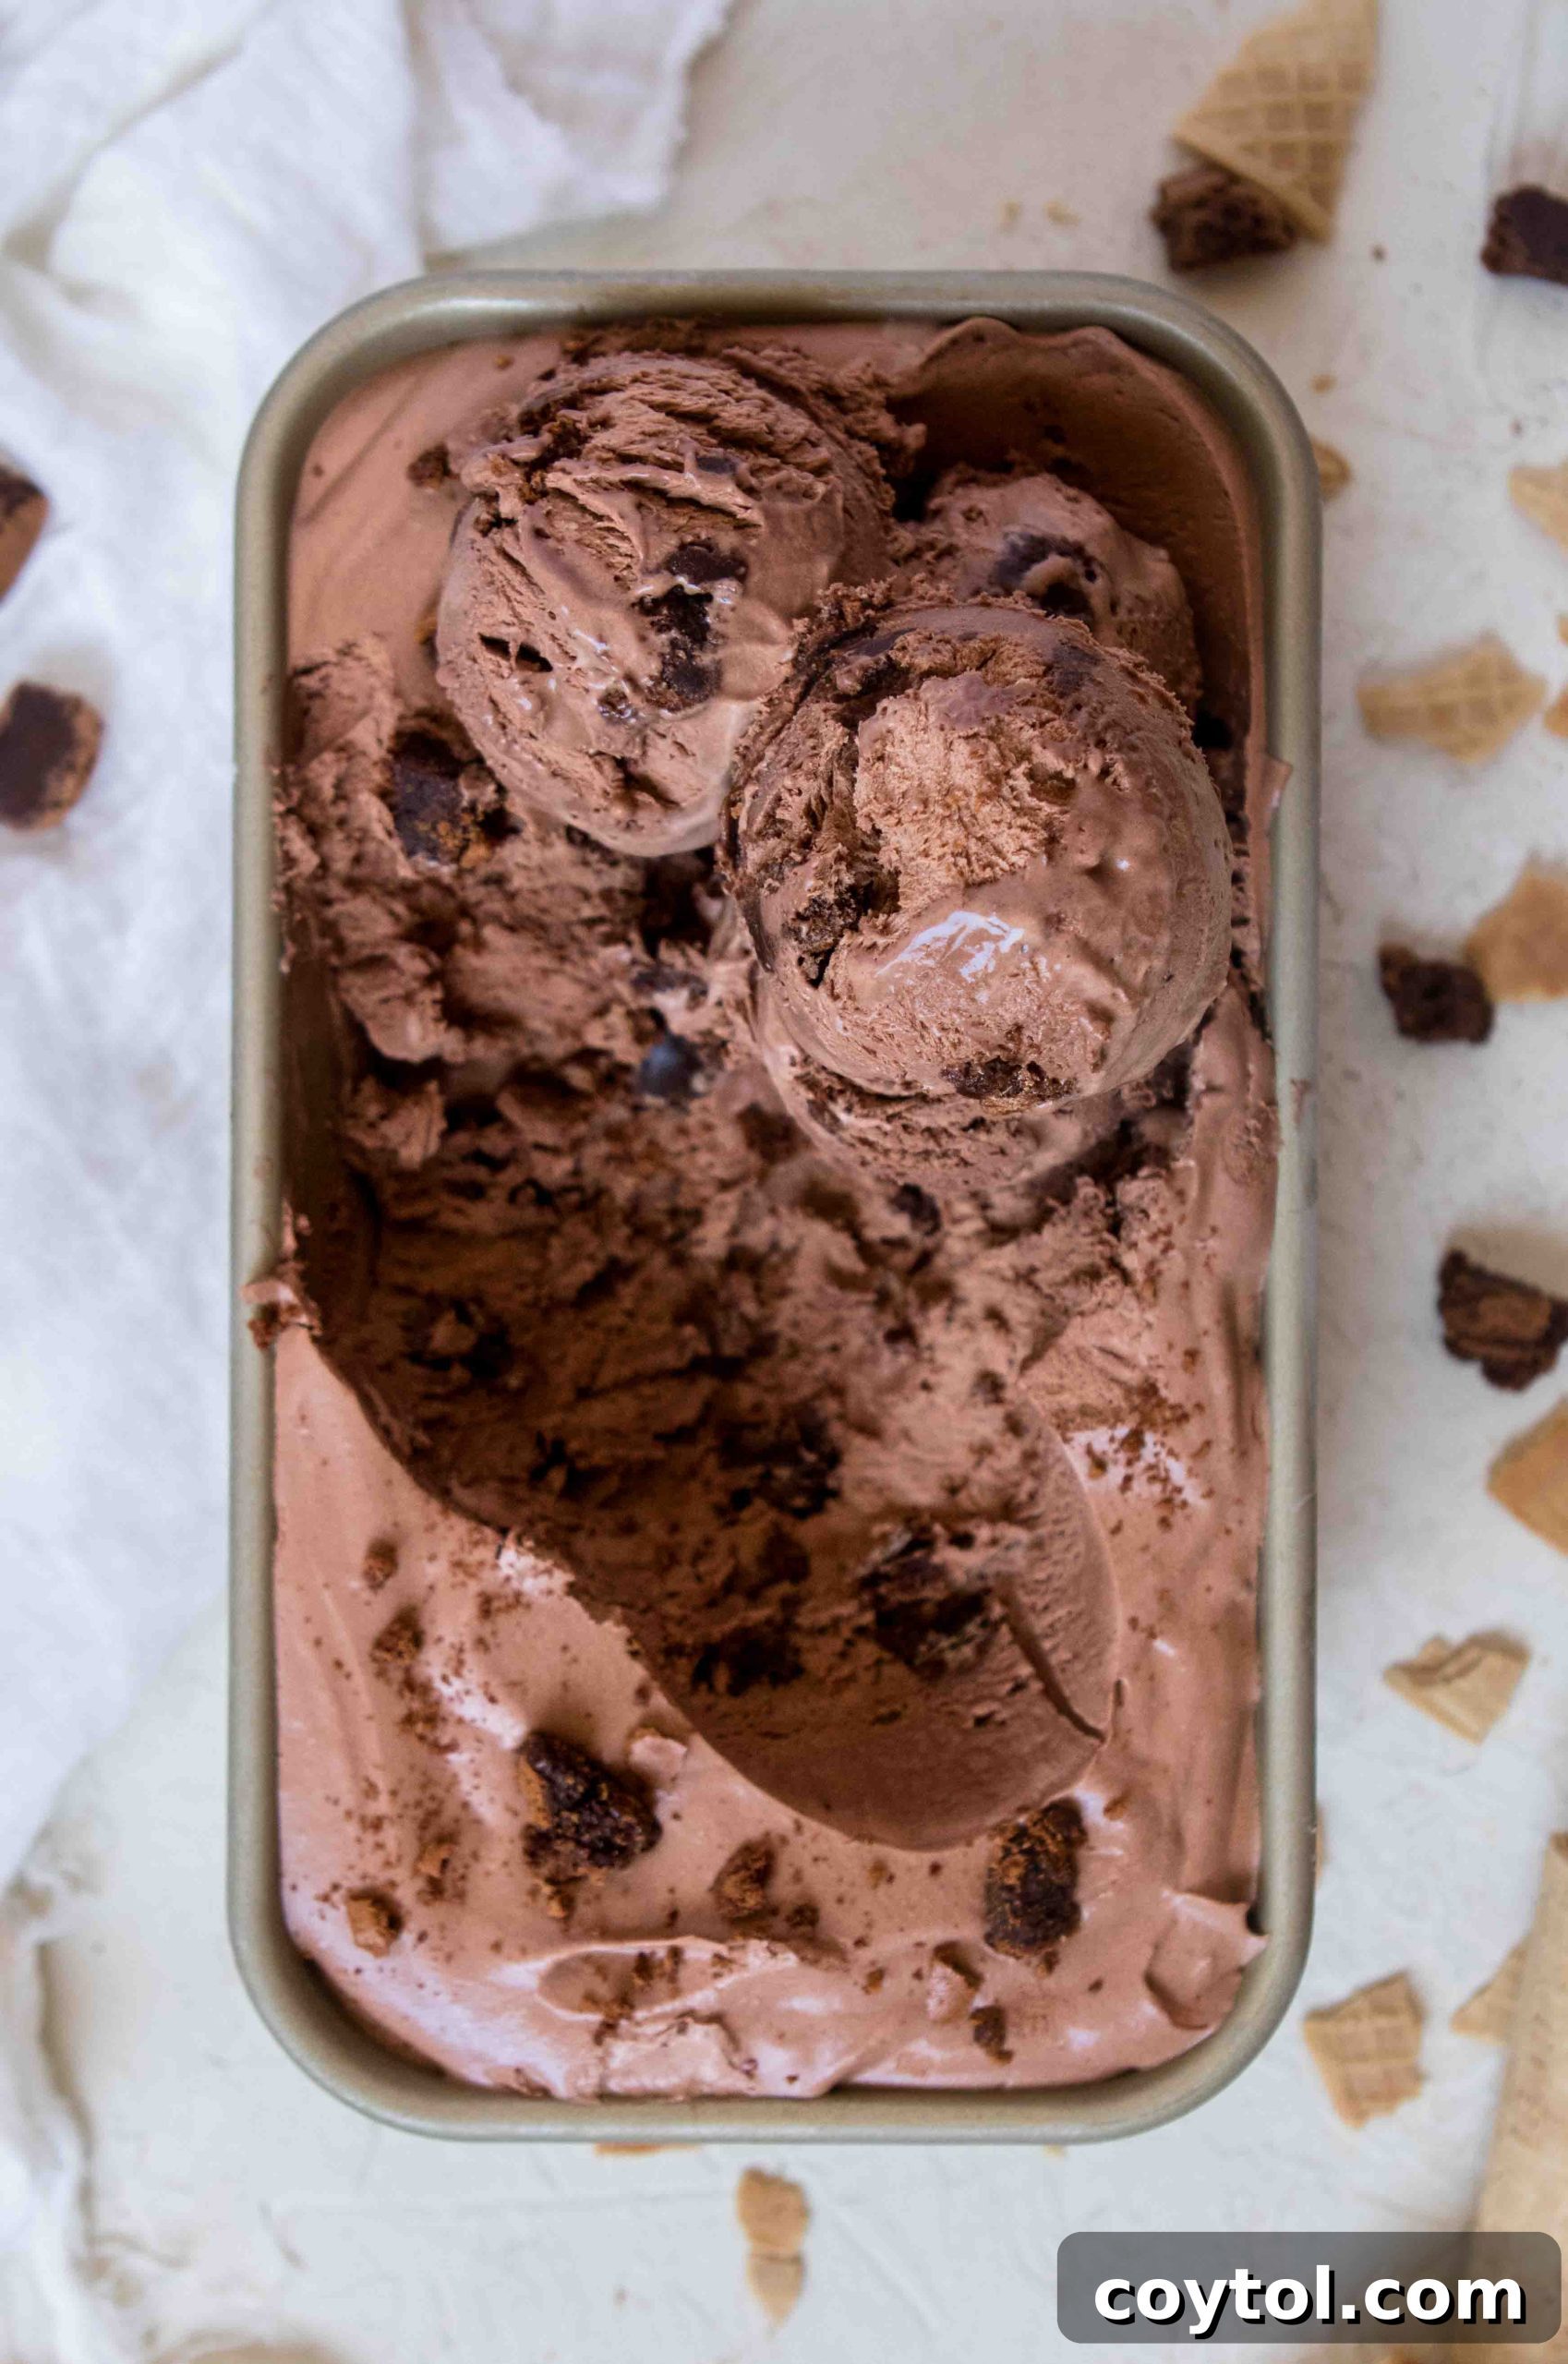
Why This No-Churn Chocolate Ice Cream Will Be Your New Favorite
When I set out to create this recipe, my goal was ambitious: to craft a homemade no-churn ice cream that not only rivaled but surpassed the quality of premium store-bought versions. I’m thrilled to report that this recipe hits all the marks, offering an experience that’s truly extraordinary. Here’s what makes it so special:
- Unbelievably Creamy Texture: Achieving a luxuriously smooth and creamy consistency without an ice cream machine is the hallmark of a great no-churn recipe, and this one delivers perfectly.
- Intense Chocolate Flavor: We’re talking rich, deep, and satisfying chocolate. This isn’t just sweet; it’s bursting with authentic cocoa goodness from both melted chocolate and cocoa powder.
- Chunks of Fudgy Brownie: Every spoonful is a delightful surprise, with soft, chewy pieces of homemade brownie adding incredible texture and an extra layer of chocolatey indulgence.
- Effortless Preparation: This recipe is designed for simplicity. With minimal hands-on time and no complex equipment, it’s perfect for even the most novice home cook.
- No Ice Cream Machine Required: Free up valuable kitchen counter space! All you need are a few basic tools to create this frozen masterpiece.
- Impressive Results Every Time: Whether you’re making it for a family treat or to share with guests, this ice cream is guaranteed to garner rave reviews and leave everyone asking for the recipe.
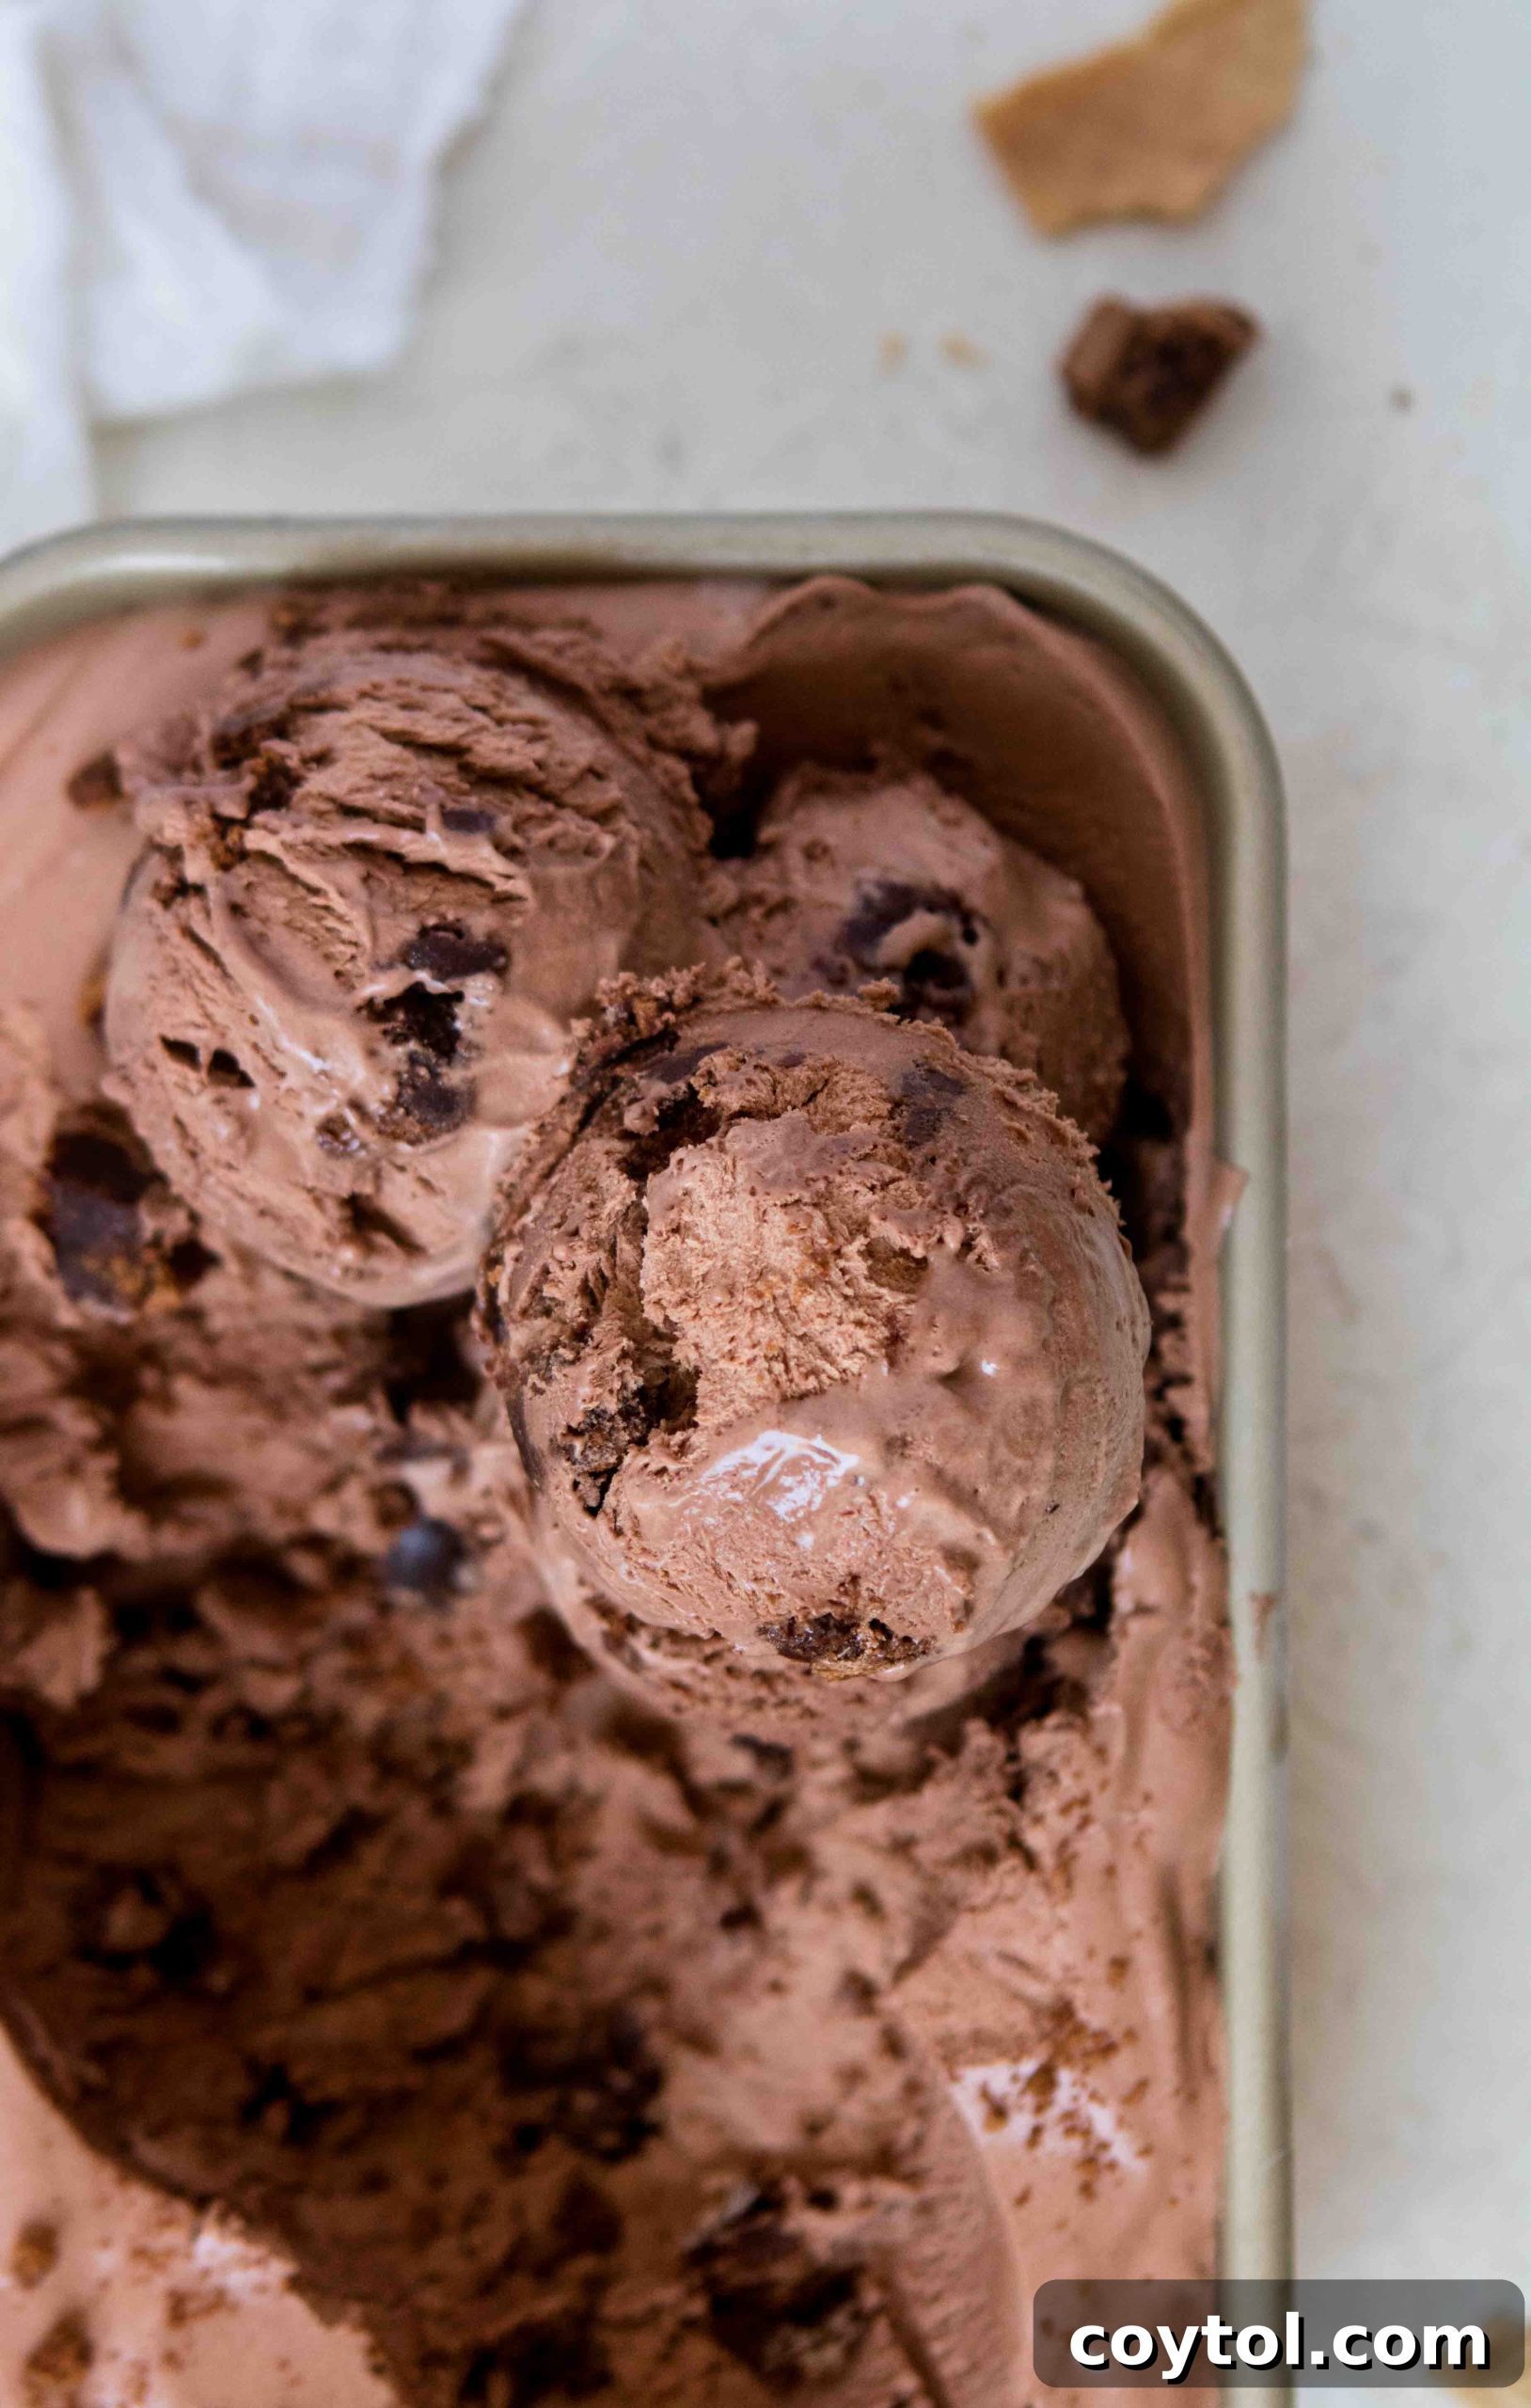
Understanding No-Churn Ice Cream: The Magic Without a Machine
The concept of “no-churn” ice cream might sound like culinary sorcery, but it’s actually a brilliant, straightforward technique that allows you to create incredibly delicious frozen desserts without the need for an expensive, bulky ice cream maker. Traditional ice cream making typically involves crafting a custard base, chilling it thoroughly, and then churning it in a specialized machine for a significant period (often 25-40 minutes) to incorporate air and prevent large ice crystals from forming. The result is undeniably fantastic, but the equipment can be a barrier for many, especially those with limited kitchen space.
This is where the magic of no-churn steps in. Instead of churning, we leverage the power of whipped heavy cream combined with sweetened condensed milk. The heavy cream, when whipped to stiff peaks, provides the necessary airy, light base that mimics the texture created by churning. This aeration is crucial for a soft, creamy mouthfeel. The sweetened condensed milk serves multiple crucial roles: it adds the perfect amount of sweetness, contributes to the creamy consistency due to its rich fat content, and, importantly, its high sugar content helps to lower the freezing point of the mixture. This lower freezing point prevents the formation of large, icy crystals, ensuring your homemade ice cream remains wonderfully smooth and scoopable, just like its churned counterparts. It’s an ingenious workaround that proves you don’t need specialized equipment to achieve gourmet results right in your own kitchen.
Essential Ingredients for Your Perfect No-Churn Ice Cream
Crafting this rich and creamy no-churn chocolate brownie ice cream requires just a handful of quality ingredients, each playing a vital role in achieving that perfect taste and texture. Here’s a closer look at what you’ll need and why:
- Heavy Whipping Cream: This is the backbone of any no-churn ice cream. You’ll need a cream with at least 30-36% milk fat. The higher the fat content, the richer and creamier your ice cream will be, as it whips up to create the light, airy structure that defines no-churn desserts. Ensure it’s very cold for optimal whipping – chilling your bowl and whisk beforehand can also help immensely.
- Dark Chocolate Chips: To achieve a truly deep and complex chocolate flavor, this recipe utilizes both melted dark chocolate and cocoa powder. Dark chocolate chips melt smoothly and contribute a luxurious texture to the base, intensifying the overall chocolate profile without making it overly sweet.
- Sweetened Condensed Milk: This is your primary sweetener and a key component for creaminess. Its thick, viscous nature and high sugar content are essential for both flavor and preventing ice crystal formation, ensuring a smooth, scoopable texture even without churning. Make sure it’s at room temperature for easy mixing.
- Dutch Processed Cocoa Powder: For an even more profound chocolate experience, Dutch-processed cocoa powder is highly recommended. It has a darker color and a smoother, less bitter, and more intensely chocolatey flavor compared to natural cocoa powder. This contributes significantly to the “double chocolate” aspect of this recipe.
- Salt: A pinch of salt is crucial. It doesn’t make the ice cream salty; instead, it acts as a flavor enhancer, deepening and balancing all the other flavors, especially the rich chocolate, and preventing the dessert from tasting flat.
- Vanilla Extract: A classic pairing with chocolate, vanilla extract brightens and rounds out the chocolate flavors, adding a subtle warmth, aromatic complexity, and a hint of classic ice cream parlor taste.
- Brownie Bits: The star mix-in! I highly recommend using fudgy brownies, whether homemade (my no-cocoa-powder brownie recipe is perfect for this) or high-quality store-bought. Ensure they are cut into small, bite-sized pieces for even distribution and an enjoyable chewy texture in every spoonful.
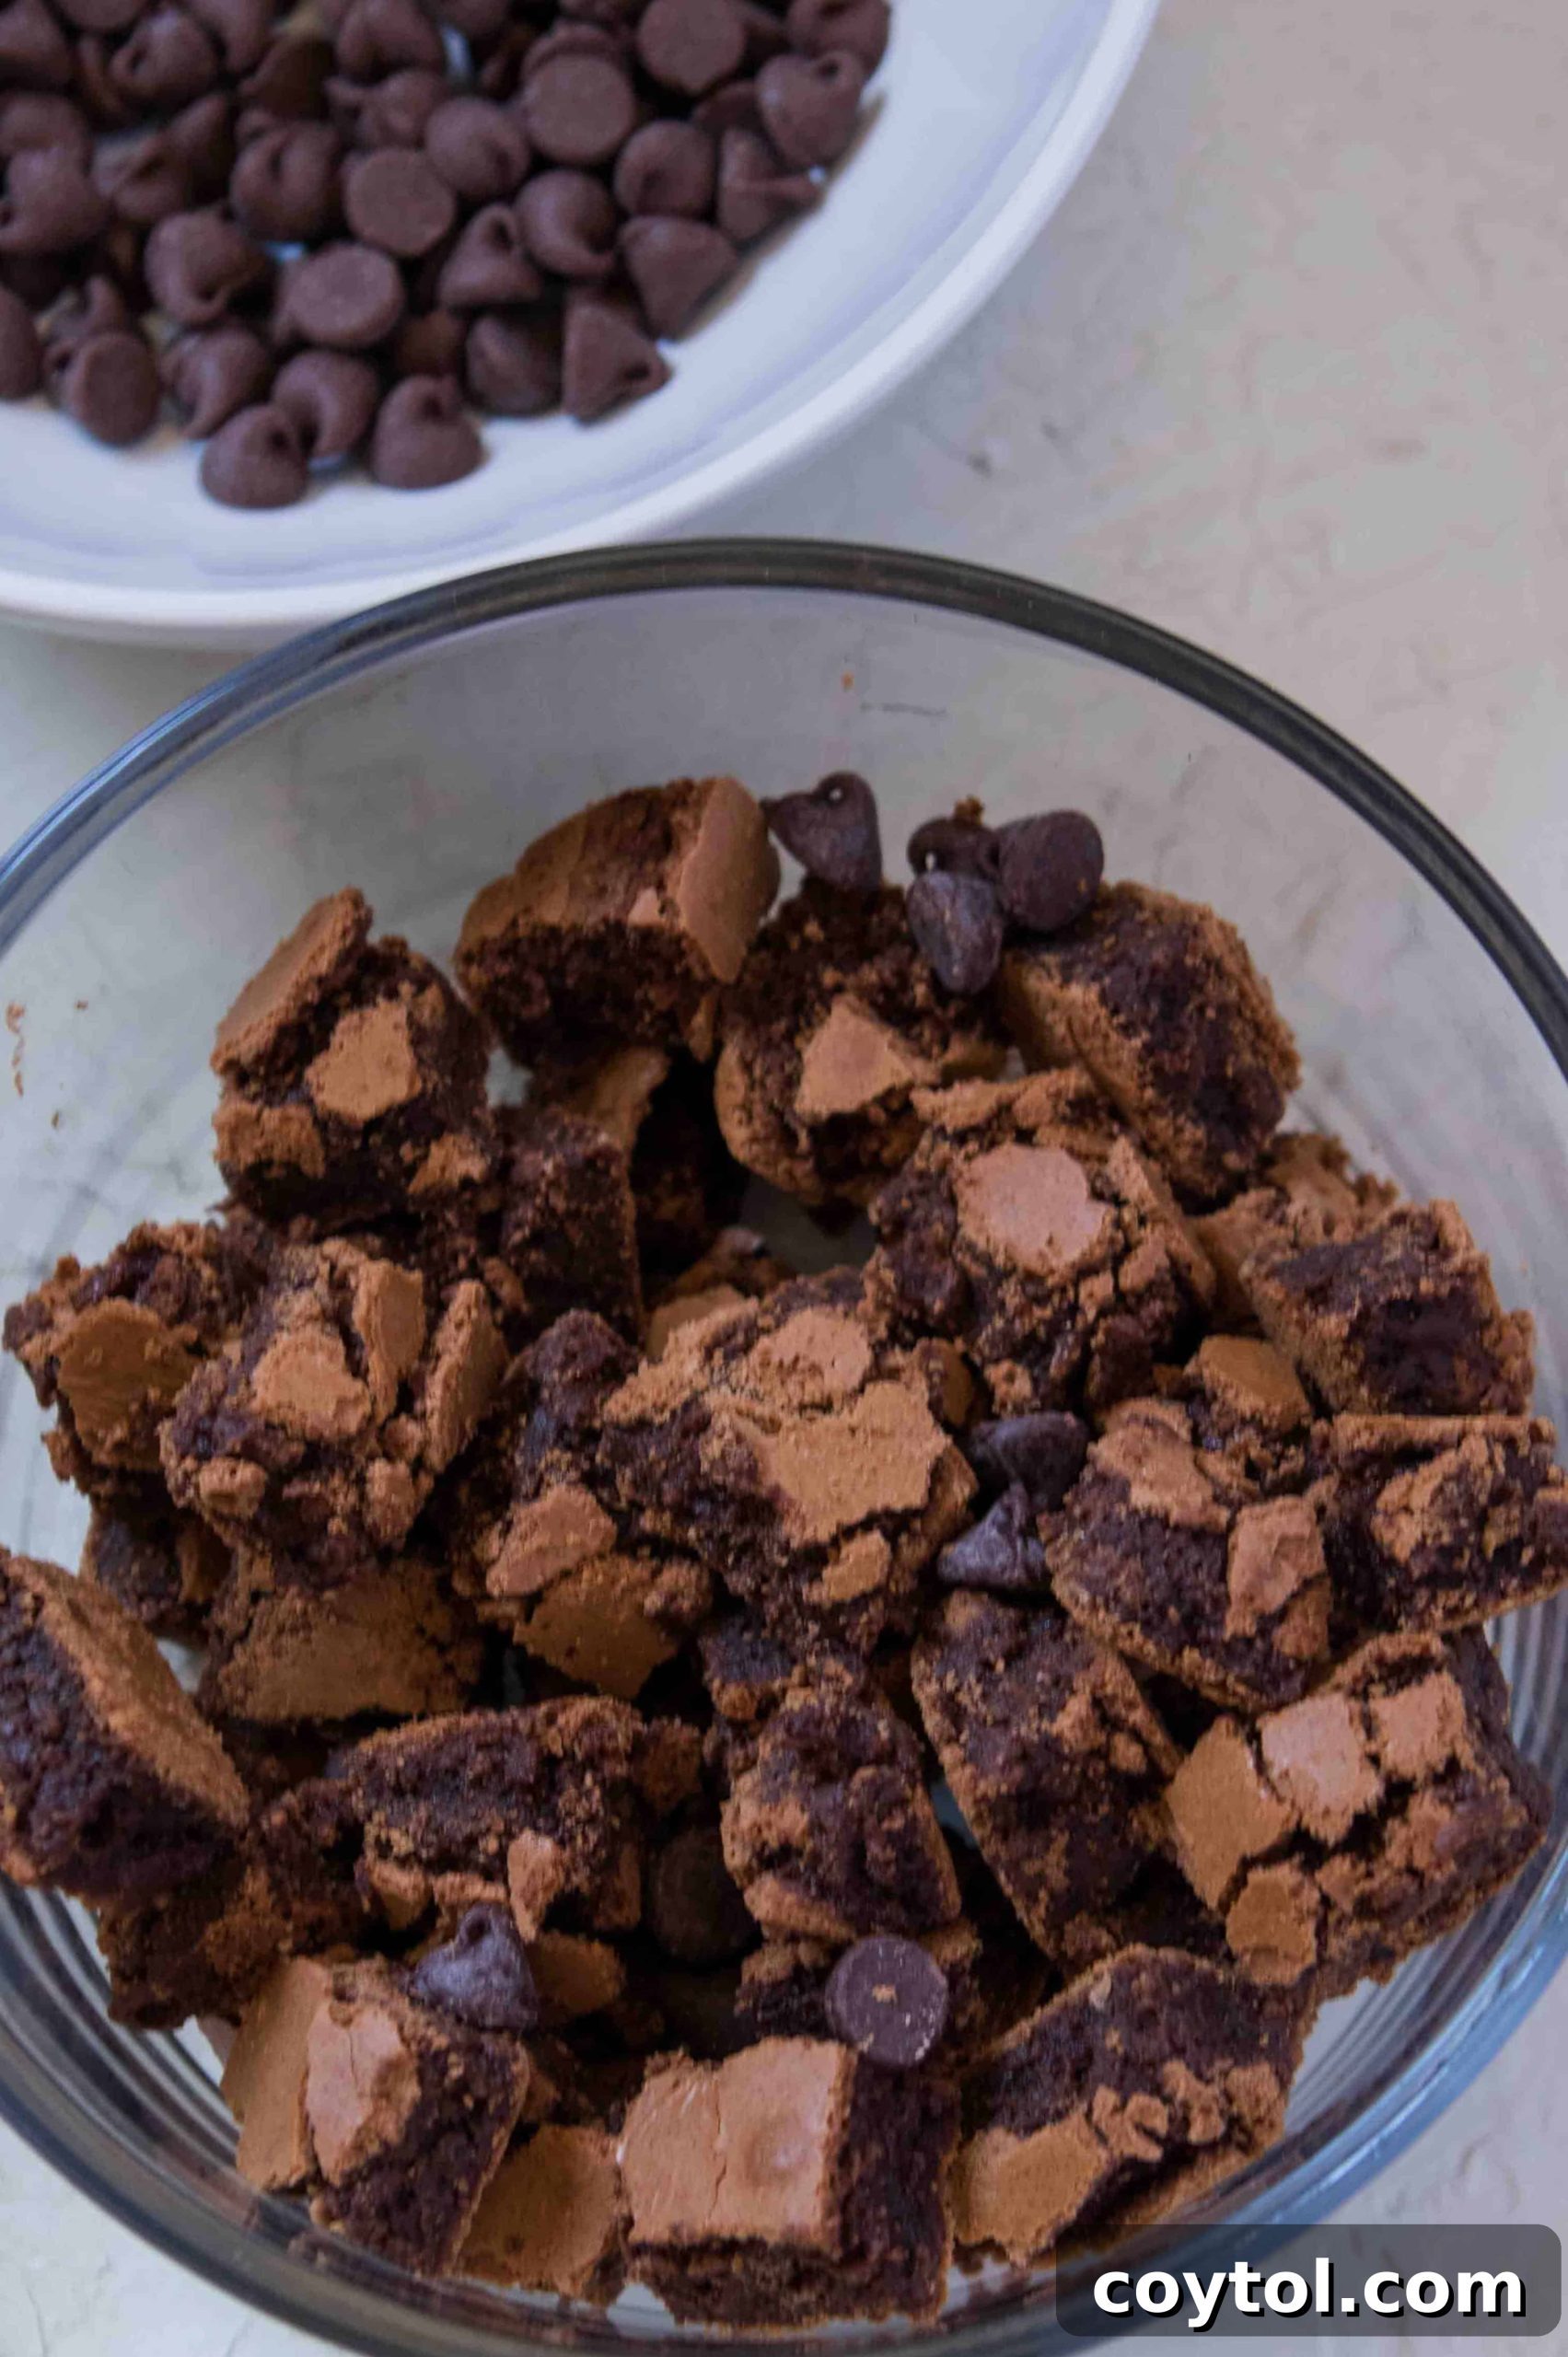
More Decadent Chocolate Treats You’ll Love
- Hemp Seed Chocolate Bliss Balls
- Velvety Aquafaba Chocolate Mousse
- Irresistible Espresso Chocolate Chip Cookies
Step-by-Step: How to Make Chocolate No-Churn Ice Cream
Creating this rich and creamy ice cream is surprisingly simple. Follow these steps for a perfect frozen treat every time:
- Prepare the Chocolate Base: Begin by melting your dark chocolate chips. You can do this easily in the microwave in 30-second intervals, stirring between each, until completely smooth. Alternatively, use a double boiler for a gentler, more controlled melt. Once smooth, remove from heat and let it cool slightly.
- Combine Wet Ingredients: Into the melted chocolate, whisk in the sweetened condensed milk, cocoa powder, and salt. Stir vigorously until the mixture is completely smooth and uniform, with no lumps of cocoa powder remaining. Set aside.
- Whip the Cream: In a separate, large mixing bowl (preferably chilled), using either a hand mixer or a stand mixer fitted with the whisk attachment, whip the very cold heavy cream and vanilla extract on medium-high speed. Continue whipping until the cream holds stiff peaks. This should take approximately 3-4 minutes, but keep a close eye on it to avoid overmixing, which can turn it into butter.
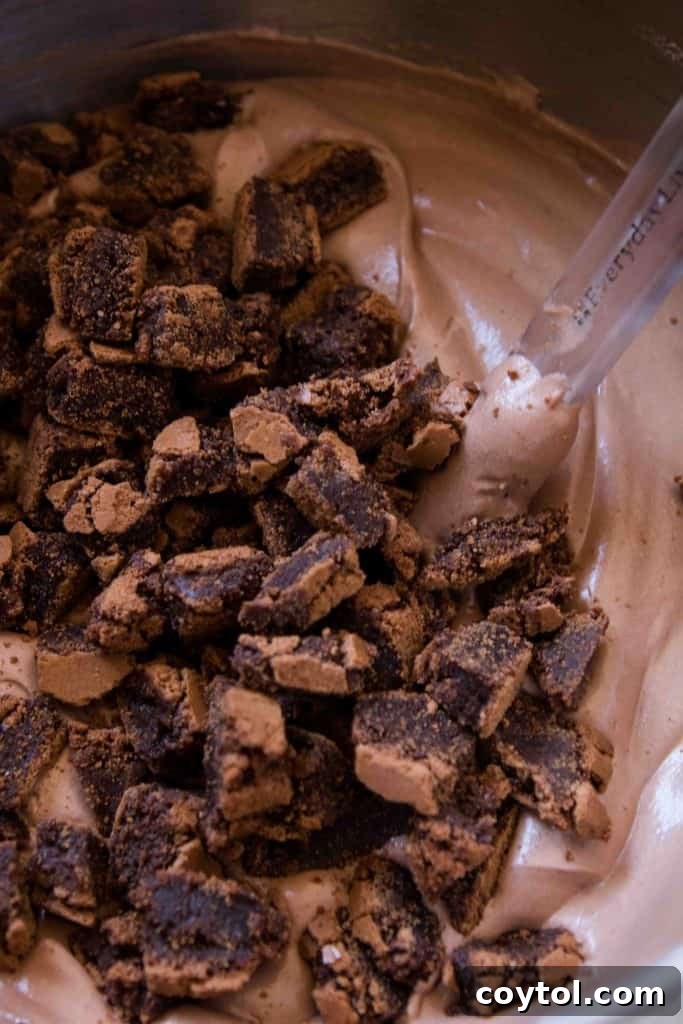
- Fold the Mixtures: Gently scoop about a third of the whipped cream into your chocolate mixture. Mix it in carefully with a spatula until just combined. This step lightens the chocolate base, making it easier to fold in the remaining whipped cream without deflating the airy structure.
- Incorporate Remaining Cream: Add the rest of the whipped cream to the chocolate mixture. Using a spatula, gently fold the two together. The key here is to be delicate and use a “cut and fold” motion to maintain the airiness of the whipped cream. Stop folding as soon as no streaks of white remain; avoid overmixing.
- Add Brownie Bits: Finally, sprinkle in your prepared brownie bits. Gently fold them into the ice cream mixture, ensuring they are evenly distributed throughout. This adds incredible texture and boosts the chocolate flavor.
- Freeze: Pour the entire mixture into an 8-inch loaf pan or a similar freezer-safe container. Smooth the top with your spatula. Cover it tightly with plastic wrap, pressing the wrap directly onto the surface of the ice cream to prevent any ice crystals from forming. Freeze for a minimum of 5 hours, or ideally, overnight, until completely firm.
- Serve and Enjoy: When you’re ready to indulge, remove the ice cream from the freezer and let it sit at room temperature for 5-10 minutes. This allows it to soften slightly, making it perfectly scoopable. Scoop generously into bowls or cones and savor every delightful bite!
Looking for another no-churn sensation? Don’t miss this Vanilla Bean and Dulce de Leche No-Churn Ice Cream recipe!
FAQs About Your Homemade No-Churn Ice Cream
Can I make this double chocolate brownie ice cream ahead of time?
Absolutely! In fact, making your ice cream ahead of time is highly recommended. This allows it ample time to freeze completely and set into the perfect scoopable consistency. Prepare it the day before your event or craving strikes, and you’ll have a perfectly chilled dessert ready to go with minimal fuss.
How long will no-churn ice cream last?
This delectable chocolate ice cream will maintain its quality and freshness in the freezer for up to two weeks. To ensure it stays as fresh and free from ice crystals as possible, always store it in an airtight container. If using a loaf pan, make sure to press plastic wrap directly onto the surface of the ice cream before covering the pan itself. This double layer of protection is key to preserving its creamy, smooth texture and preventing freezer burn.
Can I add other mix-ins to this ice cream?
Absolutely! The beauty of homemade ice cream, especially no-churn, is its versatility. Feel free to experiment with other additions like chopped nuts (walnuts, pecans), mini chocolate chips, a swirl of caramel or fudge sauce, or even a sprinkle of sea salt flakes just before freezing for a salted chocolate effect. Just ensure any wet mix-ins are cool and any solid mix-ins are relatively small.
Why is my no-churn ice cream icy?
Several factors can lead to an icy texture. The most common reasons include not whipping the heavy cream to stiff enough peaks, using a lower fat cream, or not covering the ice cream tightly enough during freezing, allowing moisture to condense and form ice crystals. Ensure your cream is very cold, whipped well, and the ice cream is properly sealed in an airtight container with plastic wrap pressed directly on the surface.
Expert Tips for Crafting the Best No-Churn Ice Cream
While this no-churn ice cream recipe is incredibly forgiving and easy to follow, a few simple tips can elevate your creation from great to absolutely unforgettable. Pay attention to these details for an irresistible, restaurant-quality dessert that you’ll be proud to serve:
- Prioritize High-Fat Heavy Whipping Cream: This is perhaps the most crucial tip for any successful no-churn ice cream. Always opt for heavy whipping cream with a minimum of 36% milk fat (sometimes labeled simply as “heavy cream” or “heavy whipping cream”). The higher fat content is what allows the cream to whip up into a stable, airy foam, which is essential for achieving that smooth, churned-like texture without an ice cream machine. Lower fat creams (like “light cream” or “half-and-half”) will not whip sufficiently and will result in a much icier, less creamy final product.
- Embrace Dark Chocolate for Depth: For the richest, most balanced chocolate flavor, dark chocolate is your best friend in this recipe. I’ve found that using dark chocolate chips (60-70% cacao) prevents the ice cream from becoming overly sweet, especially when combined with the sweetened condensed milk. Dark chocolate provides a complex bitterness that complements the sweetness beautifully. If you only have semi-sweet chocolate chips on hand, don’t despair! You can still use them, but I highly recommend slightly reducing the amount of sweetened condensed milk in the recipe (perhaps by 1/4 to 1/2 cup) to balance the overall sweetness. A little taste test of the base mixture before folding in the cream can help you adjust.
- Cut Brownies into Small, Manageable Pieces: The brownie bits are a delightful addition, but their size matters significantly. For the best eating experience, cut your brownies into small, uniform, bite-sized pieces, roughly ½ inch to ¾ inch. This ensures that every spoonful gets a good distribution of chocolatey goodness and chewy texture without being overwhelmed by a single large chunk. Smaller pieces also blend more seamlessly into the creamy ice cream base, creating a harmonious texture contrast throughout the dessert.
- Don’t Overmix the Whipped Cream: Once your heavy cream reaches stiff peaks, stop whipping immediately. Overmixing can cause the cream to separate and become grainy, ultimately affecting the smooth, velvety texture of your finished ice cream. Look for peaks that hold their shape firmly when you lift the whisk, but are not clumpy or curdled.
- Chill Your Bowl and Whisk: For even faster and more efficient whipping, place your mixing bowl and whisk attachment in the freezer for 10-15 minutes before you begin whipping the heavy cream. Cold equipment helps the heavy cream whip up quicker and maintain its stability, which is especially helpful on warm days.
- Ensure Room Temperature Condensed Milk: While the heavy cream should be very cold, ensure your sweetened condensed milk is at room temperature. Cold condensed milk can cause the melted chocolate to seize and become lumpy when combined, making it difficult to achieve a smooth chocolate base. Let the can sit on the counter for at least an hour before you start, or gently warm it in a bowl of warm water for a few minutes.
- Cover Tightly for Freezing: Preventing ice crystals is key to creamy ice cream. After pouring the mixture into your loaf pan or freezer-safe container, press a layer of plastic wrap directly onto the surface of the ice cream. Then, cover the entire pan with its lid or another layer of plastic wrap. This creates a double barrier against air and moisture, significantly reducing ice crystal formation and keeping your ice cream wonderfully smooth.
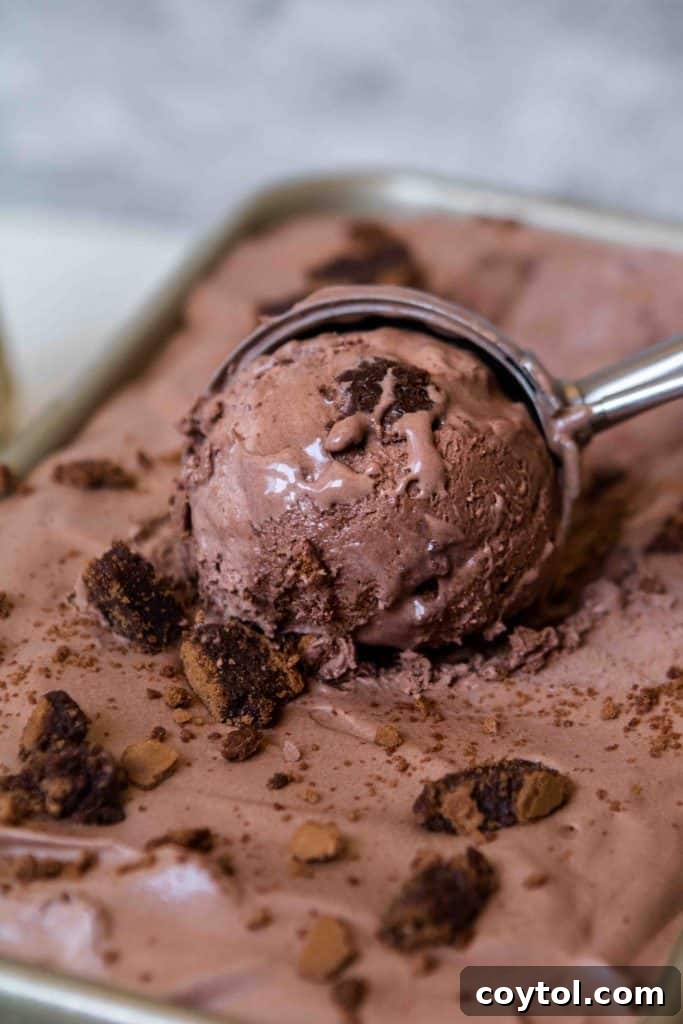
Chocolate No-Churn Ice Cream with Fudgy Brownies
Indulge in the ultimate summer dessert: a rich, velvety chocolate no-churn ice cream, luxuriously infused with chunks of real fudgy brownies. This easy, machine-free recipe delivers exceptional creaminess and intense chocolate flavor that will impress every palate.
Chocolate No-Churn Ice Cream with Brownies
Print Recipe
Ingredients
- 2 cups heavy whipping cream (Very cold, at least 36% fat)
- 1/4 tsp vanilla extract
- 1/2 cup dark chocolate chips
- 1 can sweetened condensed milk (At room temperature)
- 1/3 cup dutch processed cocoa powder
- 1/4 tsp salt
- 2 cups brownie bits (Homemade or high-quality store-bought, cut into small pieces)
Instructions
- Start by melting the chocolate chips in the microwave or over a double boiler until smooth. Let cool slightly.
- When the chocolate is melted, add in the sweetened condensed milk, cocoa powder, and the salt and whisk until smooth and well combined.
- Using a hand mixer or a stand mixer, whip up the very cold heavy cream and vanilla extract on medium-high speed until the cream holds stiff peaks, about 3-4 minutes. Be careful not to overmix.
- Scoop about a third of the whipped cream into the chocolate mixture and gently mix it in to lighten the base.
- Add the rest of the whipped cream and gently fold the two mixtures together with a spatula until just combined, being careful not to deflate the mixture.
- Add in the brownie bits and gently fold them into the ice cream mixture.
- Spread the mixture evenly into an 8-inch loaf pan or a similar freezer-safe container. Cover tightly with plastic wrap, pressing it directly onto the surface of the ice cream, then cover the pan. Freeze for at least 5 hours or, for best results, overnight until firm.
- When ready to serve, pull the ice cream out of the freezer and let it sit at room temperature for 5-10 minutes to soften slightly. Scoop and enjoy your delicious homemade treat!
Nutrition information is automatically calculated, so should only be used as an approximation.
Thank you for joining me on this delicious journey! I truly hope you enjoy making and savoring this perfect summer treat. If you give this chocolate brownie ice cream a try, I would absolutely love to hear how yours turned out in the comments below. Your feedback and creations always inspire me!

Shop Essential Tools & Ingredients for This Recipe
This post may contain affiliate links, meaning that at no additional cost to you, I will earn a small commission if you make a purchase through these links. Your support helps keep this blog running!
If you enjoyed this chocolate no-churn ice cream with brownie bits, make sure to pin it for later!