
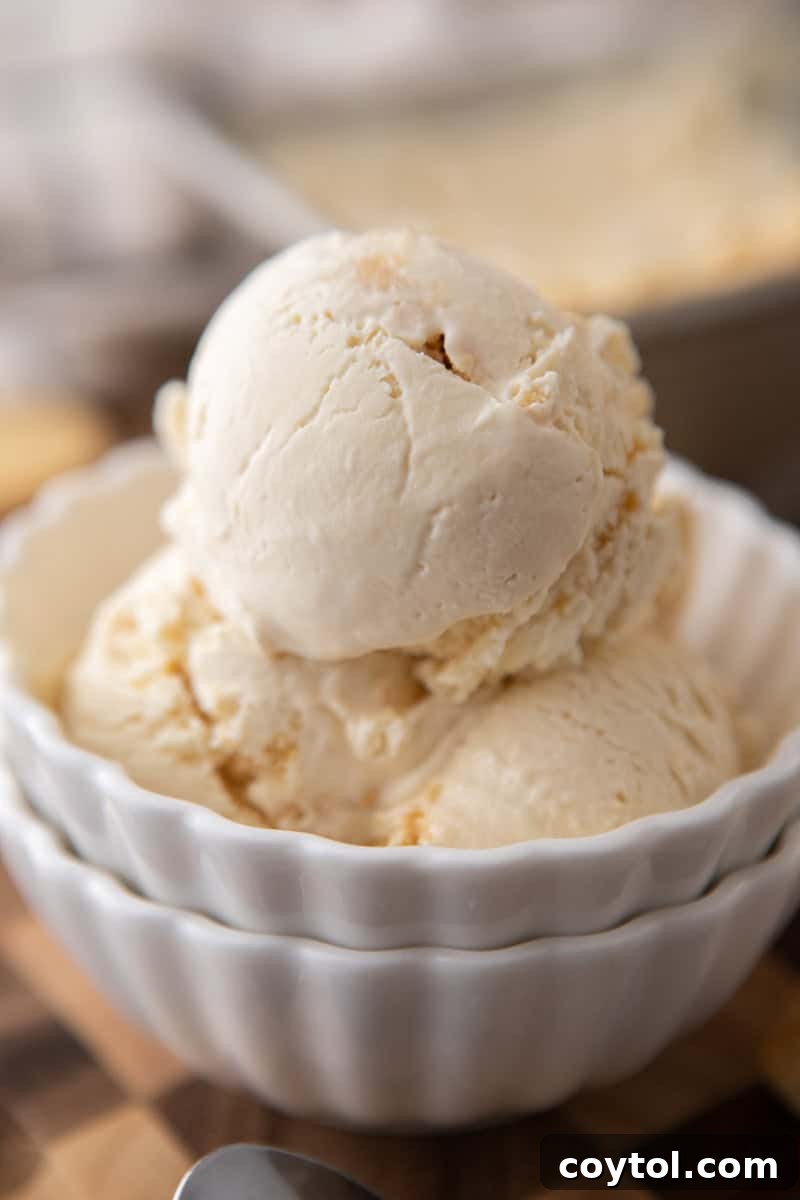
Indulge in Homemade Bliss: The Ultimate No-Churn Cream Cheese Ice Cream Recipe
Craving a luxurious, rich dessert without the fuss of an ice cream machine? Look no further than this incredible No-Churn Cream Cheese Ice Cream recipe. This isn’t just any ice cream; it’s a sublime blend of creamy, tangy, and sweet, reminiscent of your favorite cheesecake but in a delightfully frozen form. Prepare to create a gourmet treat that requires no specialized equipment, just a few simple ingredients and a freezer. It’s truly a dream come true for anyone who loves the decadent taste of cheesecake and the refreshing coolness of homemade ice cream.
Imagine the smooth, velvety texture of classic ice cream elevated by the distinct, slightly tangy flavor of cream cheese. This recipe delivers precisely that – a sophisticated dessert that feels incredibly indulgent yet astonishingly easy to prepare. Whether you’re a seasoned baker or a kitchen novice, this no-churn method makes homemade ice cream accessible to everyone. It’s the perfect solution for satisfying a sweet tooth, impressing guests, or simply enjoying a moment of pure culinary delight.
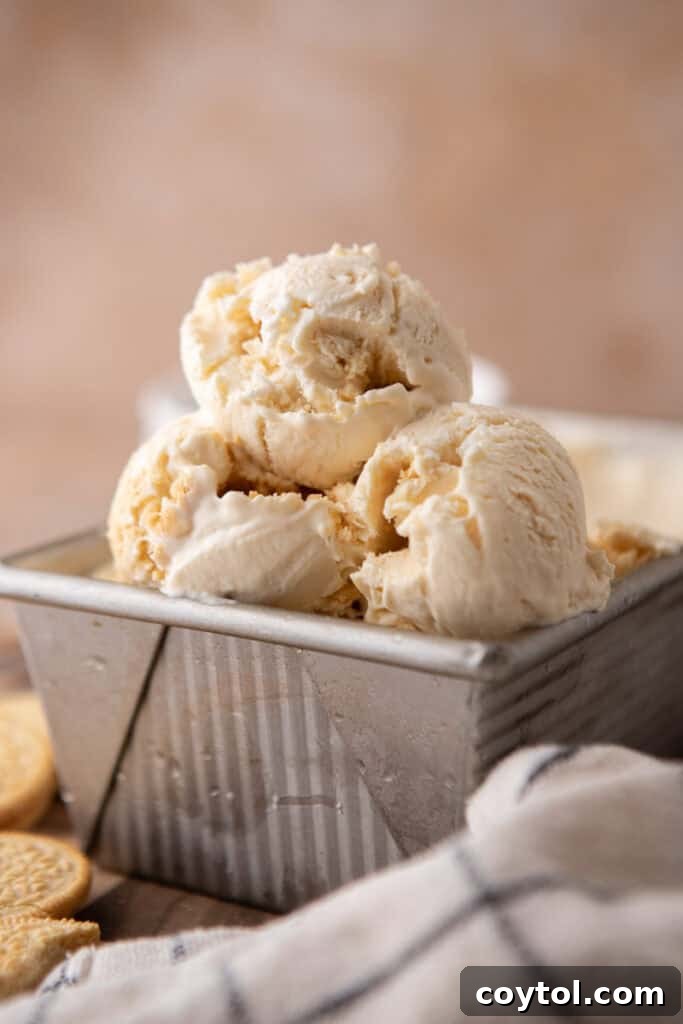
The beauty of this cream cheese ice cream lies in its simplicity and versatility. The unique combination of a rich cream cheese base and airy whipped cream creates a texture that is both dense and light, offering a mouthfeel distinct from traditional ice creams. This isn’t merely a dessert; it’s an experience. The sweet and tangy notes dance on your palate, offering a refreshing twist on conventional flavors. And the best part? You just whip the ingredients together, pour them into a container, and let your freezer do the rest. It’s homemade goodness without the complexity, truly a win-win for any dessert enthusiast.
If you enjoy easy-to-make, no-churn desserts, you might also love these other delightful treats: No-Bake Cheesecake Bars, Cream Cheese Cheesecake Brownies, Crumbl Cookie Dough Cookies with Ice Cream Frosting, Pretzel Brownies, or this Starbucks Sugar Cookie Latte with Almond Milk.
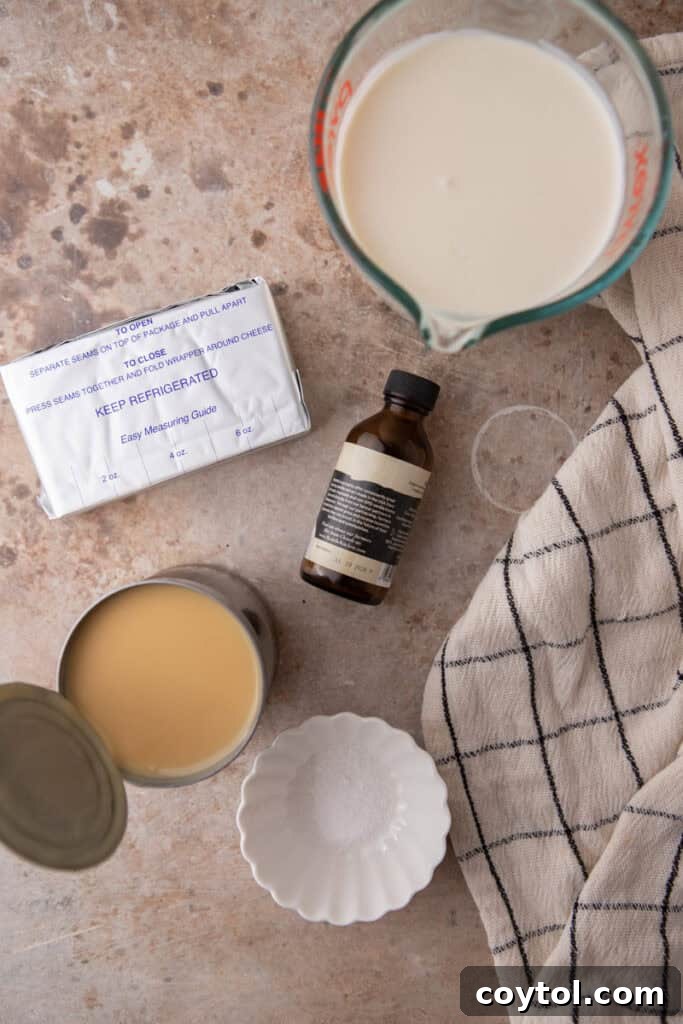
Essential Ingredients for Your Easy No-Churn Cream Cheese Ice Cream
Crafting this homemade ice cream requires a handful of common ingredients that, when combined, create magic. The key to its signature texture and flavor profile lies in the quality and proper preparation of each component. Here’s what you’ll need to gather:
- Softened Full-Fat Cream Cheese: This is the undeniable star of our recipe, providing that iconic tangy, rich, and dense cheesecake-like flavor and texture. Ensure it’s full-fat for the best, creamiest results and softened to room temperature for seamless blending.
- Sweetened Condensed Milk: More than just a sweetener, this ingredient plays a crucial role in the no-churn process. Its high sugar content helps prevent large ice crystals from forming, ensuring your ice cream remains wonderfully smooth and scoopable without an ice cream machine.
- Pure Vanilla Extract: A splash of high-quality vanilla extract enhances the overall sweetness and provides a warm, aromatic complement to the tangy cream cheese. For an even more intense flavor, consider using vanilla bean paste, which also adds beautiful specks of vanilla bean.
- Pinch of Fine Salt: Don’t underestimate the power of a tiny pinch of salt! It’s a flavor enhancer that balances the sweetness of the condensed milk and brightens the tangy notes of the cream cheese, making all the flavors truly sing.
- Cold Heavy Whipping Cream: When whipped, this cream incorporates air into the mixture, giving our no-churn ice cream its light, airy structure and incredible volume. It also thins out the dense cream cheese base, contributing to the perfect, fluffy texture. Always ensure it’s thoroughly chilled before whipping for optimal results.
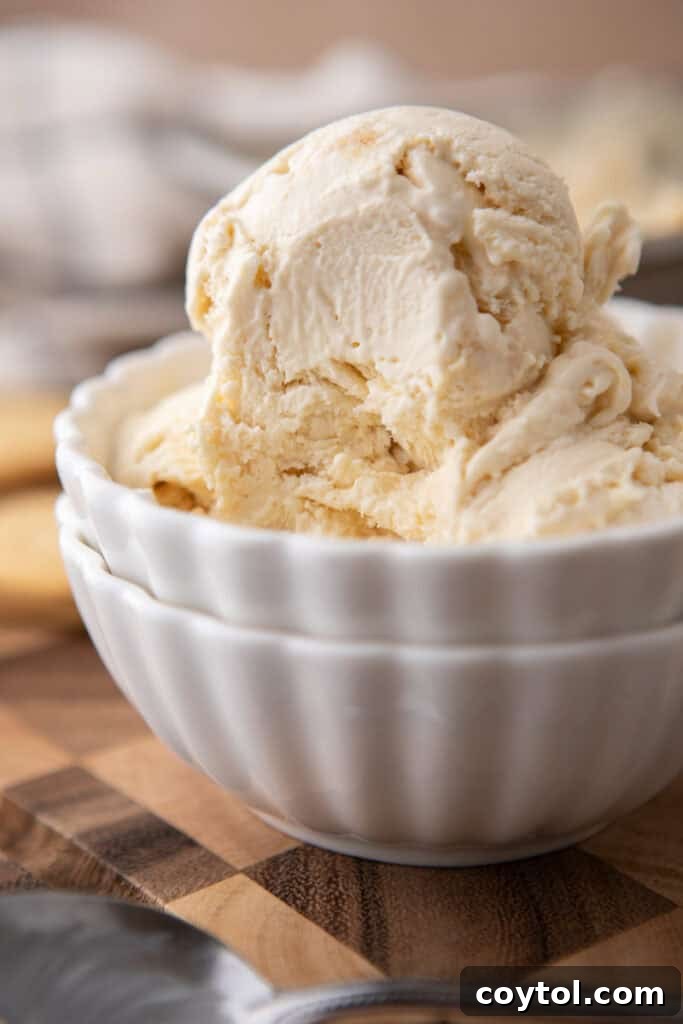
Step-by-Step Guide: How to Make Homemade No-Churn Cream Cheese Ice Cream
Creating this delightful dessert is incredibly straightforward. Follow these steps to achieve a perfectly creamy, tangy, and sweet homemade ice cream. For detailed measurements, please refer to the complete recipe card below.
- Prepare the Cream Cheese Base: Begin by placing your thoroughly softened cream cheese into a large mixing bowl. Using an electric hand mixer or a stand mixer fitted with the paddle attachment, beat the cream cheese on medium speed until it is entirely smooth, light, and wonderfully creamy. This step is crucial for preventing any lumps in your final ice cream.
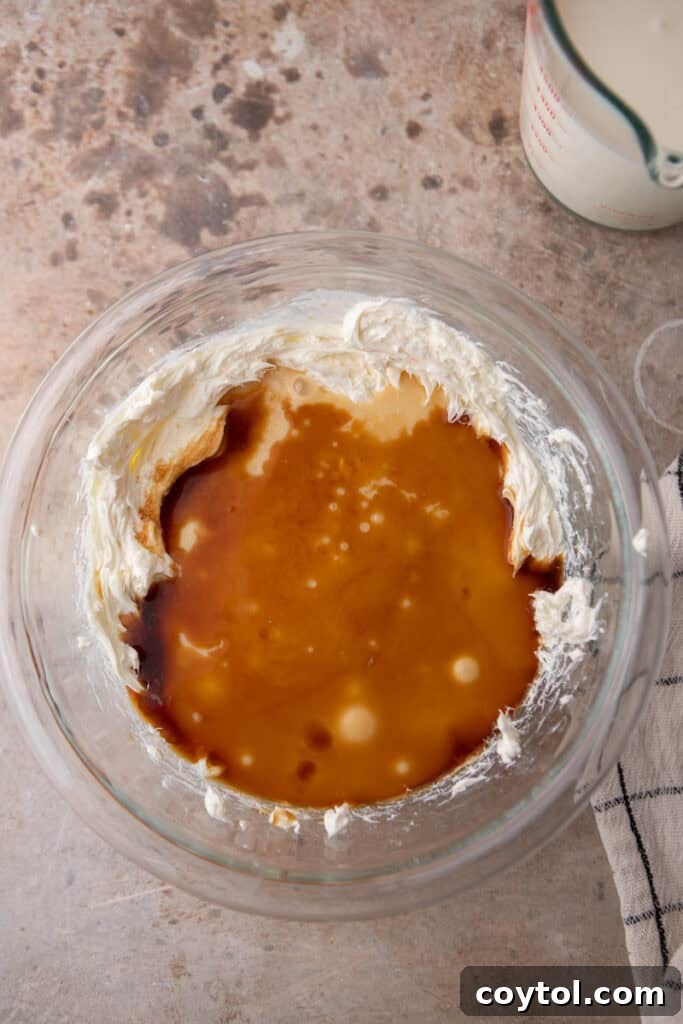
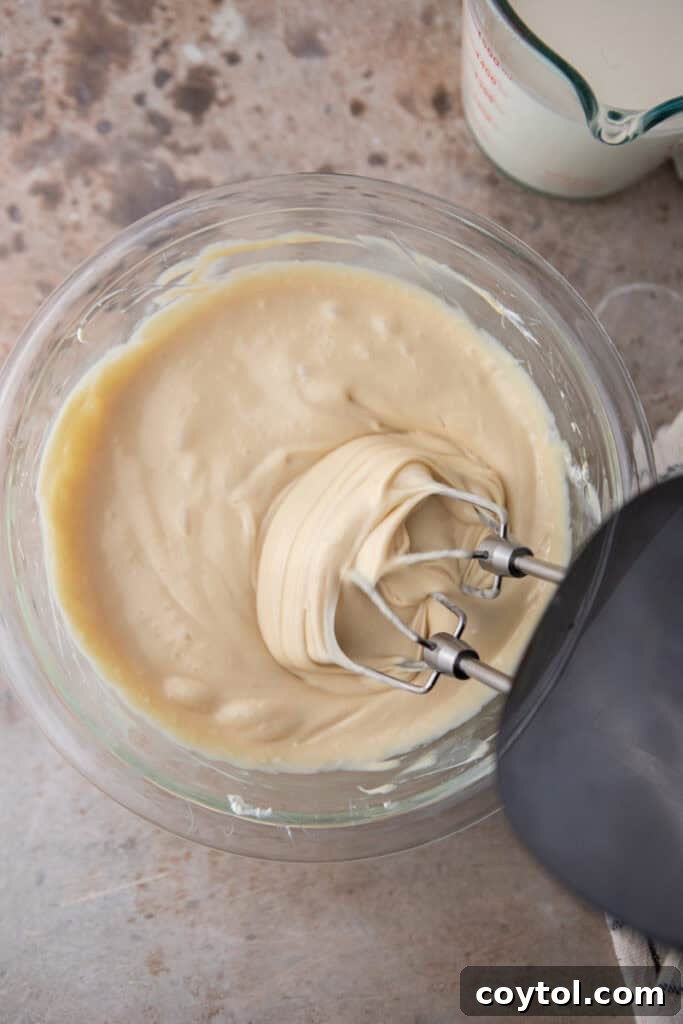
- Combine Sweet and Tangy Flavors: To the smooth cream cheese, add the sweetened condensed milk, pure vanilla extract (or vanilla bean paste), and the pinch of salt. Continue mixing on low to medium speed until all ingredients are thoroughly combined and the mixture achieves a silky, uniform consistency. Scrape down the sides of the bowl as needed to ensure everything is well incorporated.
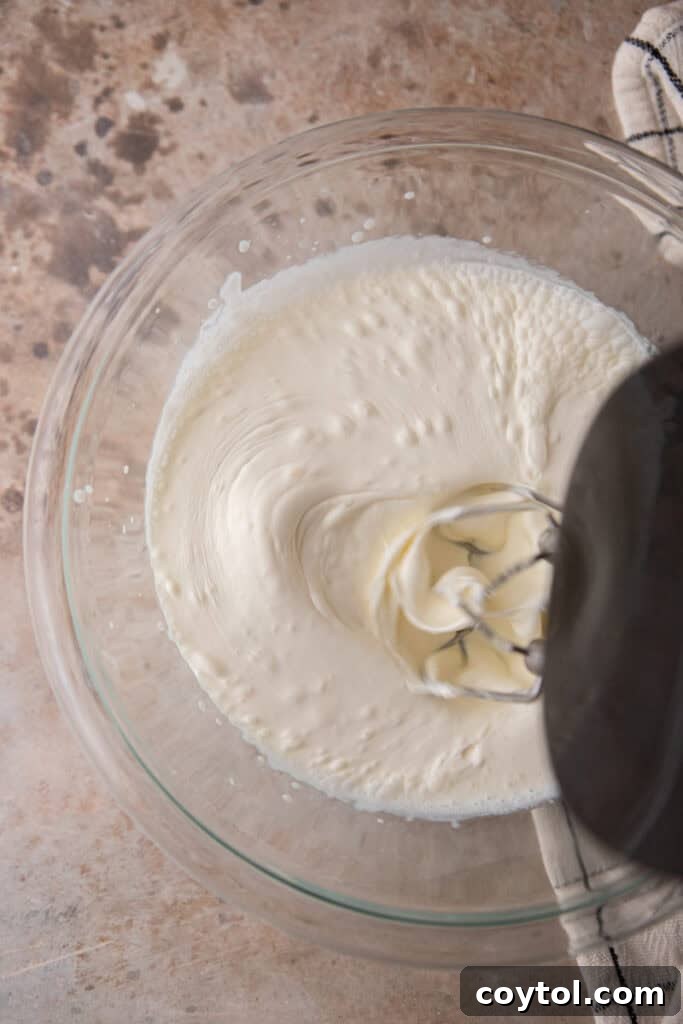
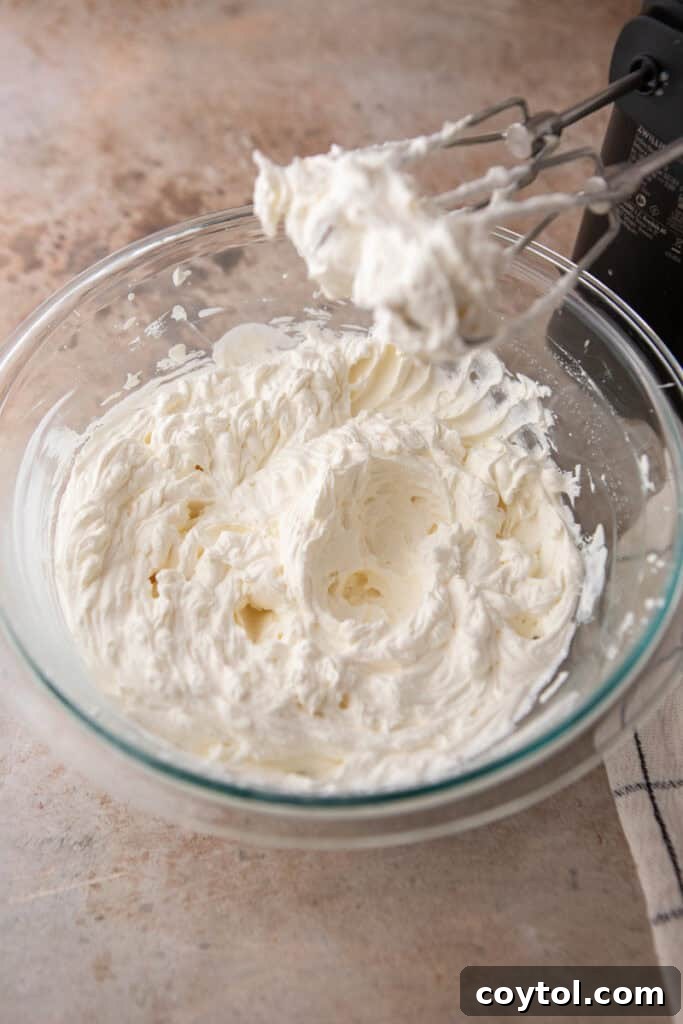
- Whip the Heavy Cream: In a separate, chilled large mixing bowl, pour the cold heavy whipping cream. Using clean beaters, whip the cream on high speed until stiff peaks form. The cream should be thick and hold its shape when you lift the beaters. Be careful not to over-whip, as it can turn grainy.
- Gently Fold for Airiness: This step is critical for a light, airy ice cream. Carefully scoop about a third of the whipped cream into the cream cheese mixture. Using a rubber spatula, gently fold it in until just combined. Repeat this process with the remaining whipped cream, adding it in two more parts. The goal is to incorporate the whipped cream without deflating the air you’ve just whipped into it, maintaining a light and fluffy consistency.
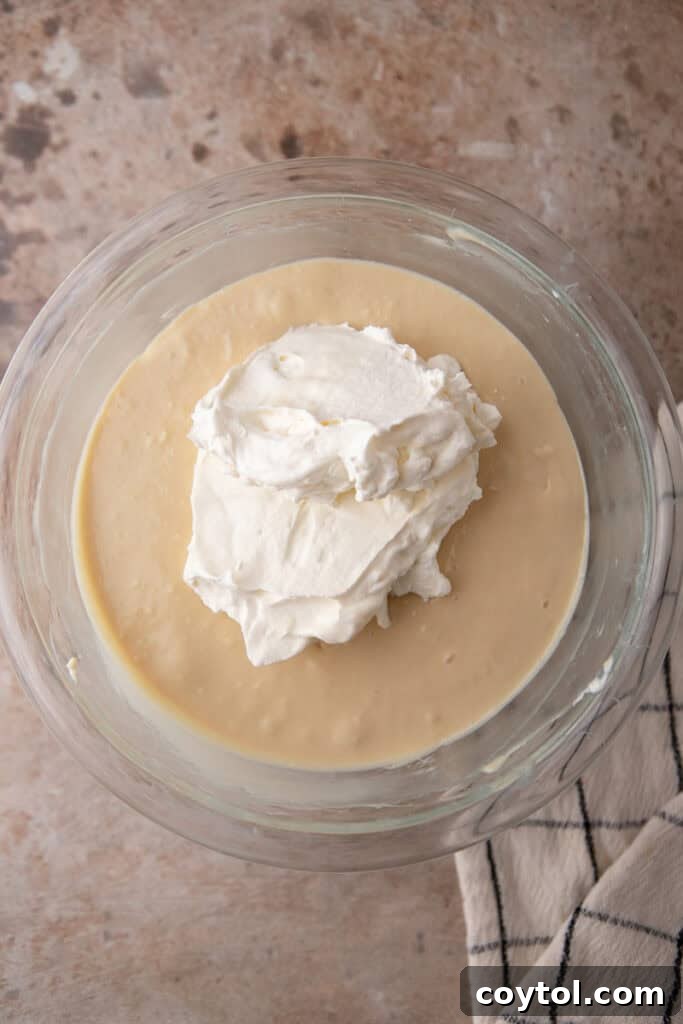
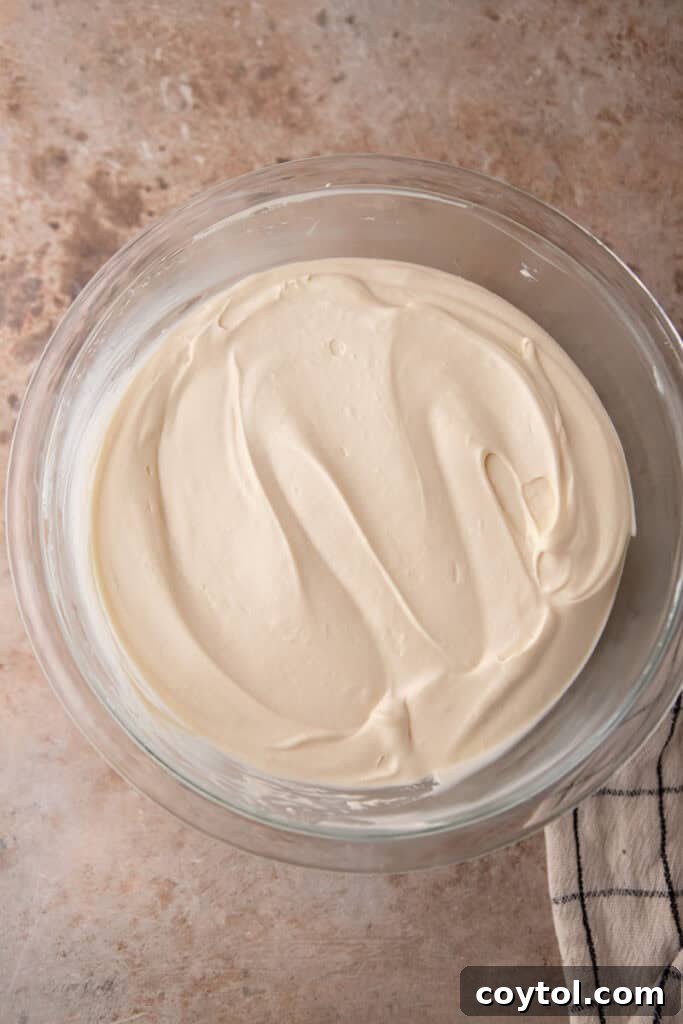
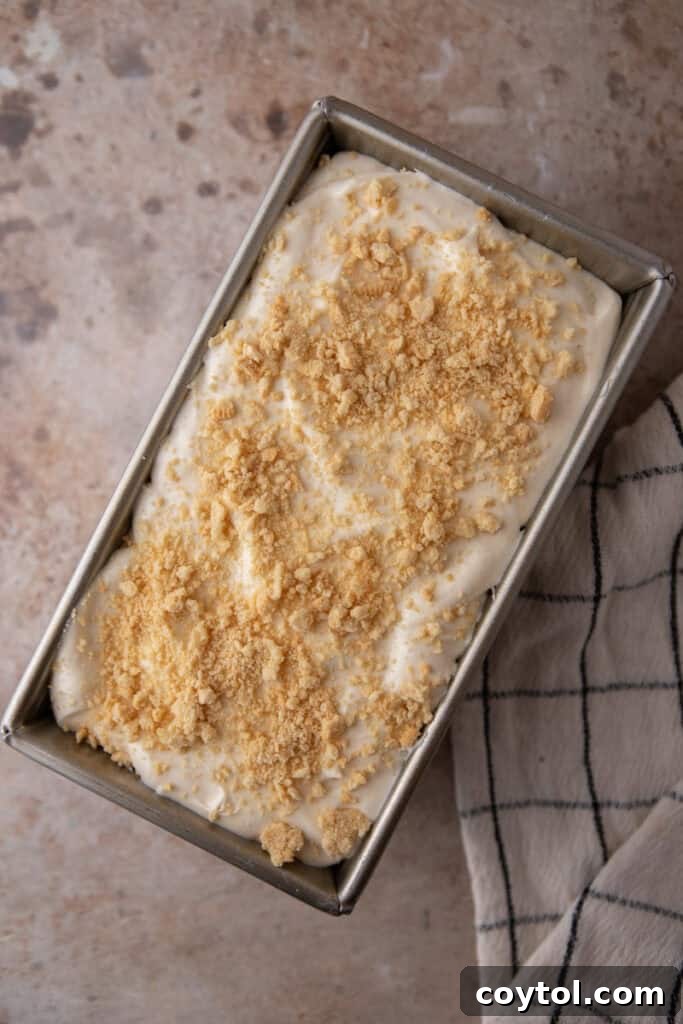
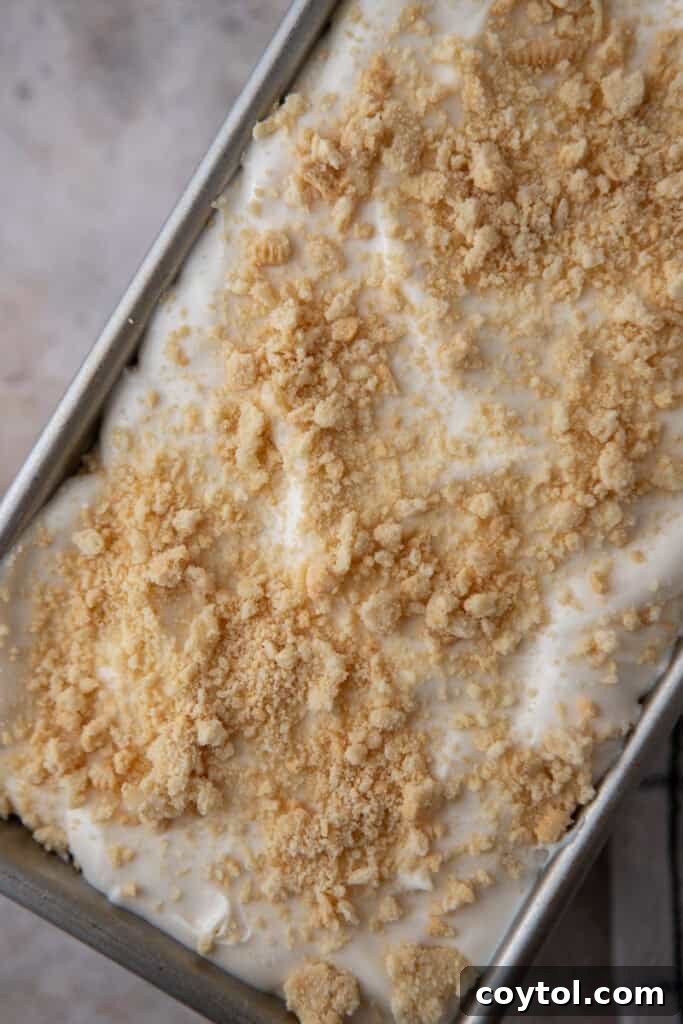
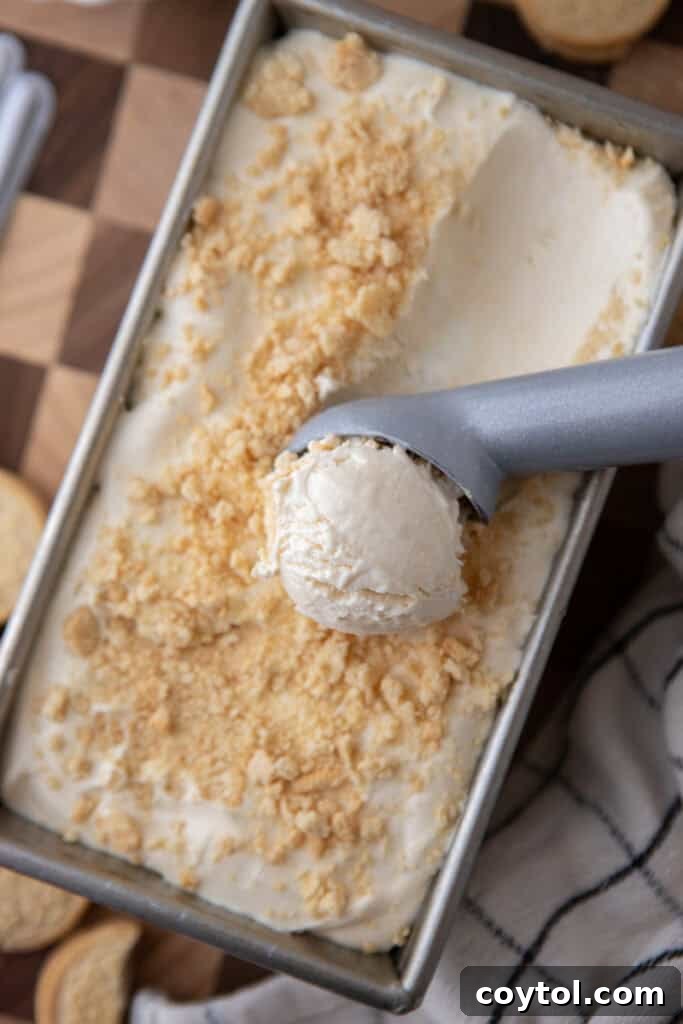
- Transfer and Customize: Once the mixture is light and uniform, transfer it to a loaf pan (a standard 9×5 inch pan works wonderfully) or any other freezer-safe container. Smooth the top with your spatula. This is the perfect moment to gently fold in any desired mix-ins or create beautiful swirls with sauces or jams.
- Freeze Until Set: Cover the container tightly with plastic wrap, pressing it directly onto the surface of the ice cream to minimize air exposure, or use an airtight lid. This helps prevent ice crystal formation. Place it in the freezer for a minimum of 6 hours, or ideally, overnight, until the ice cream is thoroughly firm and set.
Expert Tips and Tricks for the Best No-Churn Ice Cream
Achieving perfectly creamy and delicious no-churn cream cheese ice cream is easy with these helpful tips:
- Choose Full-Fat Cream Cheese: For the most luxurious and authentic cheesecake-like texture, always opt for full-fat cream cheese. Low-fat varieties may result in a thinner consistency and a less rich flavor.
- Ensure Room Temperature Cream Cheese: Pull your cream cheese out of the refrigerator at least an hour before you plan to start mixing. Softened cream cheese blends smoothly and incorporates seamlessly with other ingredients, preventing lumps and ensuring a velvety base.
- Don’t Over-Whip the Cream Cheese: While you want the cream cheese to be smooth, avoid over-beating it, which can sometimes lead to a slightly grainy texture. Beat just until creamy and uniform.
- Chill Your Equipment for Whipping Cream: For faster and firmer whipped cream, place your mixing bowl and beater attachments in the freezer for 10-15 minutes before whipping the heavy cream. Cold equipment helps the cream whip up more efficiently and hold its stiff peaks better.
- Whip Heavy Cream to Stiff Peaks: Ensure your heavy cream is whipped until it forms firm, distinct peaks. This incorporated air is what gives no-churn ice cream its light, airy texture and prevents it from becoming a solid block of ice.
- Fold Gently and Gradually: When combining the whipped cream with the cream cheese mixture, use a gentle folding technique. Add the whipped cream in several additions (2-3 parts) and fold carefully with a spatula. This prevents deflating the air bubbles, which are essential for the ice cream’s light consistency.
- Tight Seal for Freezing: Before freezing, cover your container with plastic wrap, pressing it directly onto the surface of the ice cream. Then, add an airtight lid. This dual protection minimizes exposure to air, which is the primary cause of ice crystal formation, keeping your ice cream smooth.
Why This Simple Cream Cheese Ice Cream Recipe is a Must-Try
If you’re still wondering if this recipe is worth your time, here are compelling reasons why this no-churn cream cheese ice cream should be next on your dessert agenda:
- A Canvas for Culinary Creativity: This recipe provides an incredibly versatile and delicious ice cream base that’s perfect for customization. It’s a fantastic foundation to experiment with an abundance of different textures and flavors, limited only by your imagination. Think endless possibilities for mix-ins and swirls!
- Uniquely Delightful Texture: The inclusion of cream cheese gives this ice cream a distinctive, slightly chewier, and incredibly creamy texture that sets it apart from traditional ice creams. It’s a more substantial and satisfying scoop that offers a fun and exciting twist on what you might be used to.
- Beginner-Friendly & Effortless: Because there’s absolutely no need for an expensive or bulky ice cream maker, this recipe is an ideal entry point for beginners wanting to venture into homemade desserts. It’s an easy, low-stress way to enjoy the satisfaction of creating an extravagant-tasting treat from scratch.
- Impressive Yet Simple: This ice cream is elegant and delicious enough to serve to guests at a dinner party, making it seem like you spent hours in the kitchen. Yet, it’s remarkably simple and quick to prepare, perfect for when you have a sudden craving and want to whip up something special just for yourself. It truly bridges the gap between everyday indulgence and special occasion dessert.
Frequently Asked Questions (FAQ)
Why don’t we need to use an ice cream maker for this recipe?
Traditional ice cream makers churn a chilled mixture to incorporate air and prevent large ice crystals from forming, which results in a smooth texture. In this no-churn recipe, the act of whipping heavy cream to stiff peaks already incorporates a significant amount of air into the mixture. This aerated base, combined with the sugar from the sweetened condensed milk, naturally achieves a soft-serve-like texture without any churning. The sweetened condensed milk also helps lower the freezing point, contributing to a smoother, scoopable consistency. For the best scooping experience, let your ice cream sit out at room temperature for 5-10 minutes before serving to soften slightly.
What exciting flavor variations can I try with this base?
This cream cheese ice cream base is incredibly versatile! Here are some fantastic ideas to customize your dessert:
- Fruity Swirls: Recreate classic cheesecake toppings by swirling in ½ cup of your favorite fruit jams or sauces. Think vibrant raspberry sauce, sweet blueberry jam, tangy strawberry sauce, or even a unique rhubarb sauce. These add a beautiful marble effect and bursts of fruity flavor.
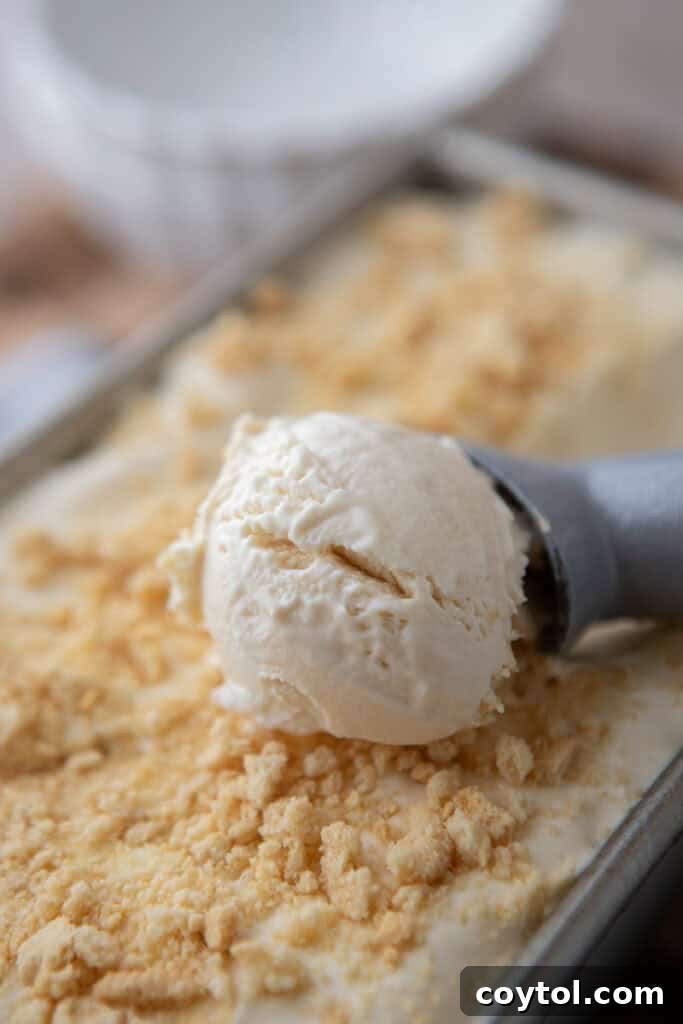
- Crust-Like Crunch: Introduce a delightful textural contrast by folding in crushed graham cracker crumbs, crumbled Oreos, or even chunks of your favorite brownie. This mimics the crust of a cheesecake and adds an appealing crunch.
- Decadent Ribbons: Drizzle and swirl rich sauces like caramel sauce, butterscotch, golden honey, or pure maple syrup throughout the mixture for an extra layer of sweetness and depth of flavor.
- Flavorful Extracts: Beyond vanilla, explore other extracts to enhance the flavor profile. A few drops of almond extract can add a subtle nuttiness, while lemon extract will amplify the tangy notes of the cream cheese for a brighter, more zesty ice cream.
- Solid Mix-Ins: For exciting bites in every spoonful, fold in solid mix-ins such as fresh raspberries or blackberries, candied nuts (like pecans or walnuts), mini chocolate chips, or delightful cookie dough bits. Ensure mix-ins are added gently during the transfer to the pan.
How long does this cream cheese ice cream last in the freezer?
When stored properly, your homemade cream cheese ice cream should remain delicious for at least one to two weeks. The key to maintaining its quality and preventing ice crystal formation is to minimize air exposure. Always store it in an airtight container, and for extra protection, press a layer of plastic wrap directly onto the surface of the ice cream before securing the lid. This barrier prevents freezer burn and keeps your ice cream smooth and fresh.
Can I use light cream cheese instead of full-fat?
While you certainly can substitute light cream cheese if you’re looking to reduce calories or fat content, be aware that it will impact the final product. Light cream cheese contains more water and less fat, which will likely result in an ice cream that is less rich, has a slightly thinner consistency, and may develop more ice crystals. The ultra-smooth, dense mouthfeel that full-fat cream cheese provides will not be as prominent. For the best results and a truly decadent experience, full-fat cream cheese is highly recommended.
What kind of equipment do I need for this recipe?
One of the best aspects of this no-churn recipe is its minimal equipment requirements. You’ll primarily need:
- A large mixing bowl (or two, one for cream cheese mixture, one for whipping cream)
- An electric hand mixer or a stand mixer with a whisk attachment
- A rubber spatula for folding
- A loaf pan (9×5 inch) or any freezer-safe container for freezing
How can I make my no-churn ice cream firmer or softer?
The firmness of your no-churn ice cream largely depends on freezing time and temperature. For a firmer scoop, ensure it freezes for at least 8 hours or overnight. If you prefer a softer, more scoopable texture, let the ice cream sit at room temperature for about 10-15 minutes before serving. The sweetened condensed milk helps keep it relatively soft, but individual freezer temperatures can vary.
Can I make this ice cream ahead of time for an event?
Absolutely! This no-churn cream cheese ice cream is an excellent make-ahead dessert. You can prepare it up to a week or two in advance, provided it’s stored correctly in an airtight container with plastic wrap pressed directly against the surface to prevent ice crystals. This makes it a perfect choice for entertaining, allowing you to enjoy your guests without last-minute kitchen stress.
No-Churn Cream Cheese Ice Cream Recipe
Print Recipe
Ingredients
Ingredients:
- 8 oz cream cheese softened, full-fat recommended
- 14 oz sweetened condensed milk
- 1 tbsp pure vanilla extract (or vanilla bean paste)
- 1 pinch fine salt
- 2 cups cold heavy whipping cream
Optional Add-ins:
- Swirl in ½ cup fruit jam or lemon curd
- Fold in crushed graham crackers Oreos, or brownie chunks
- Fresh berries chocolate chips, or cookie dough bits
Instructions
-
In a large bowl, beat the softened cream cheese until smooth and creamy.
-
Add in the sweetened condensed milk, vanilla extract, and salt. Mix until fully combined and silky.
-
In a separate, chilled bowl, whip the cold heavy cream to stiff peaks.
-
Gently fold the whipped cream into the cream cheese mixture in 2-3 additions, being careful not to deflate the mixture.
-
Pour into a loaf pan or freezer-safe container. Smooth the top.
-
Add any swirls or mix-ins if desired, then cover tightly with plastic wrap (pressed to surface) and a lid.
-
Freeze for at least 6 hours or overnight until firm before serving.
Nutrition information is automatically calculated, so should only be used as an approximation.