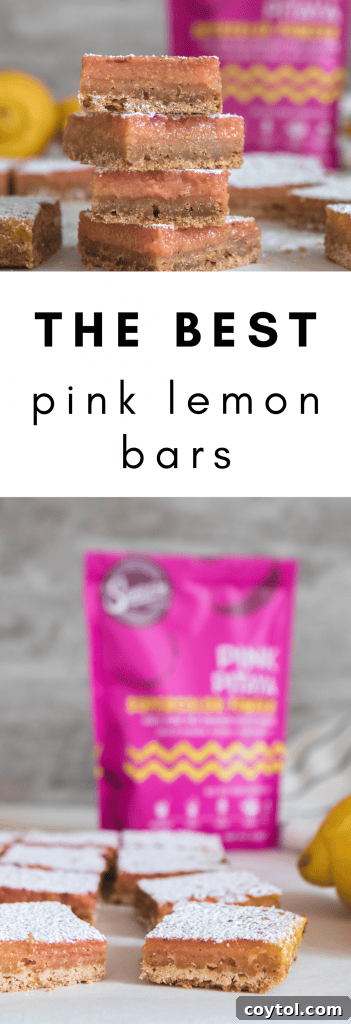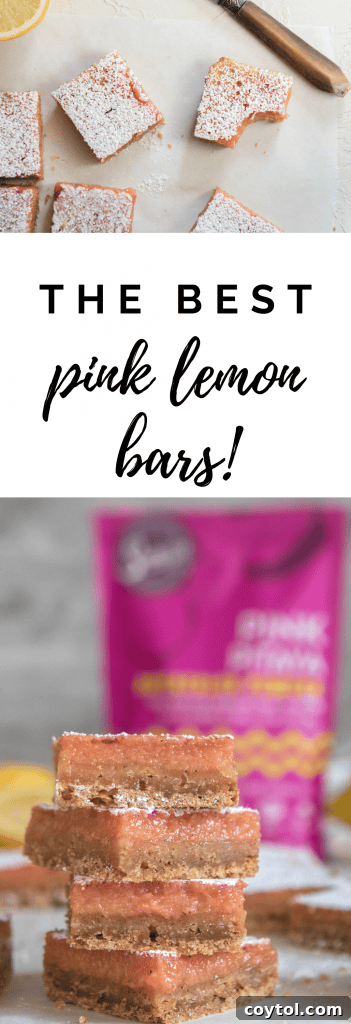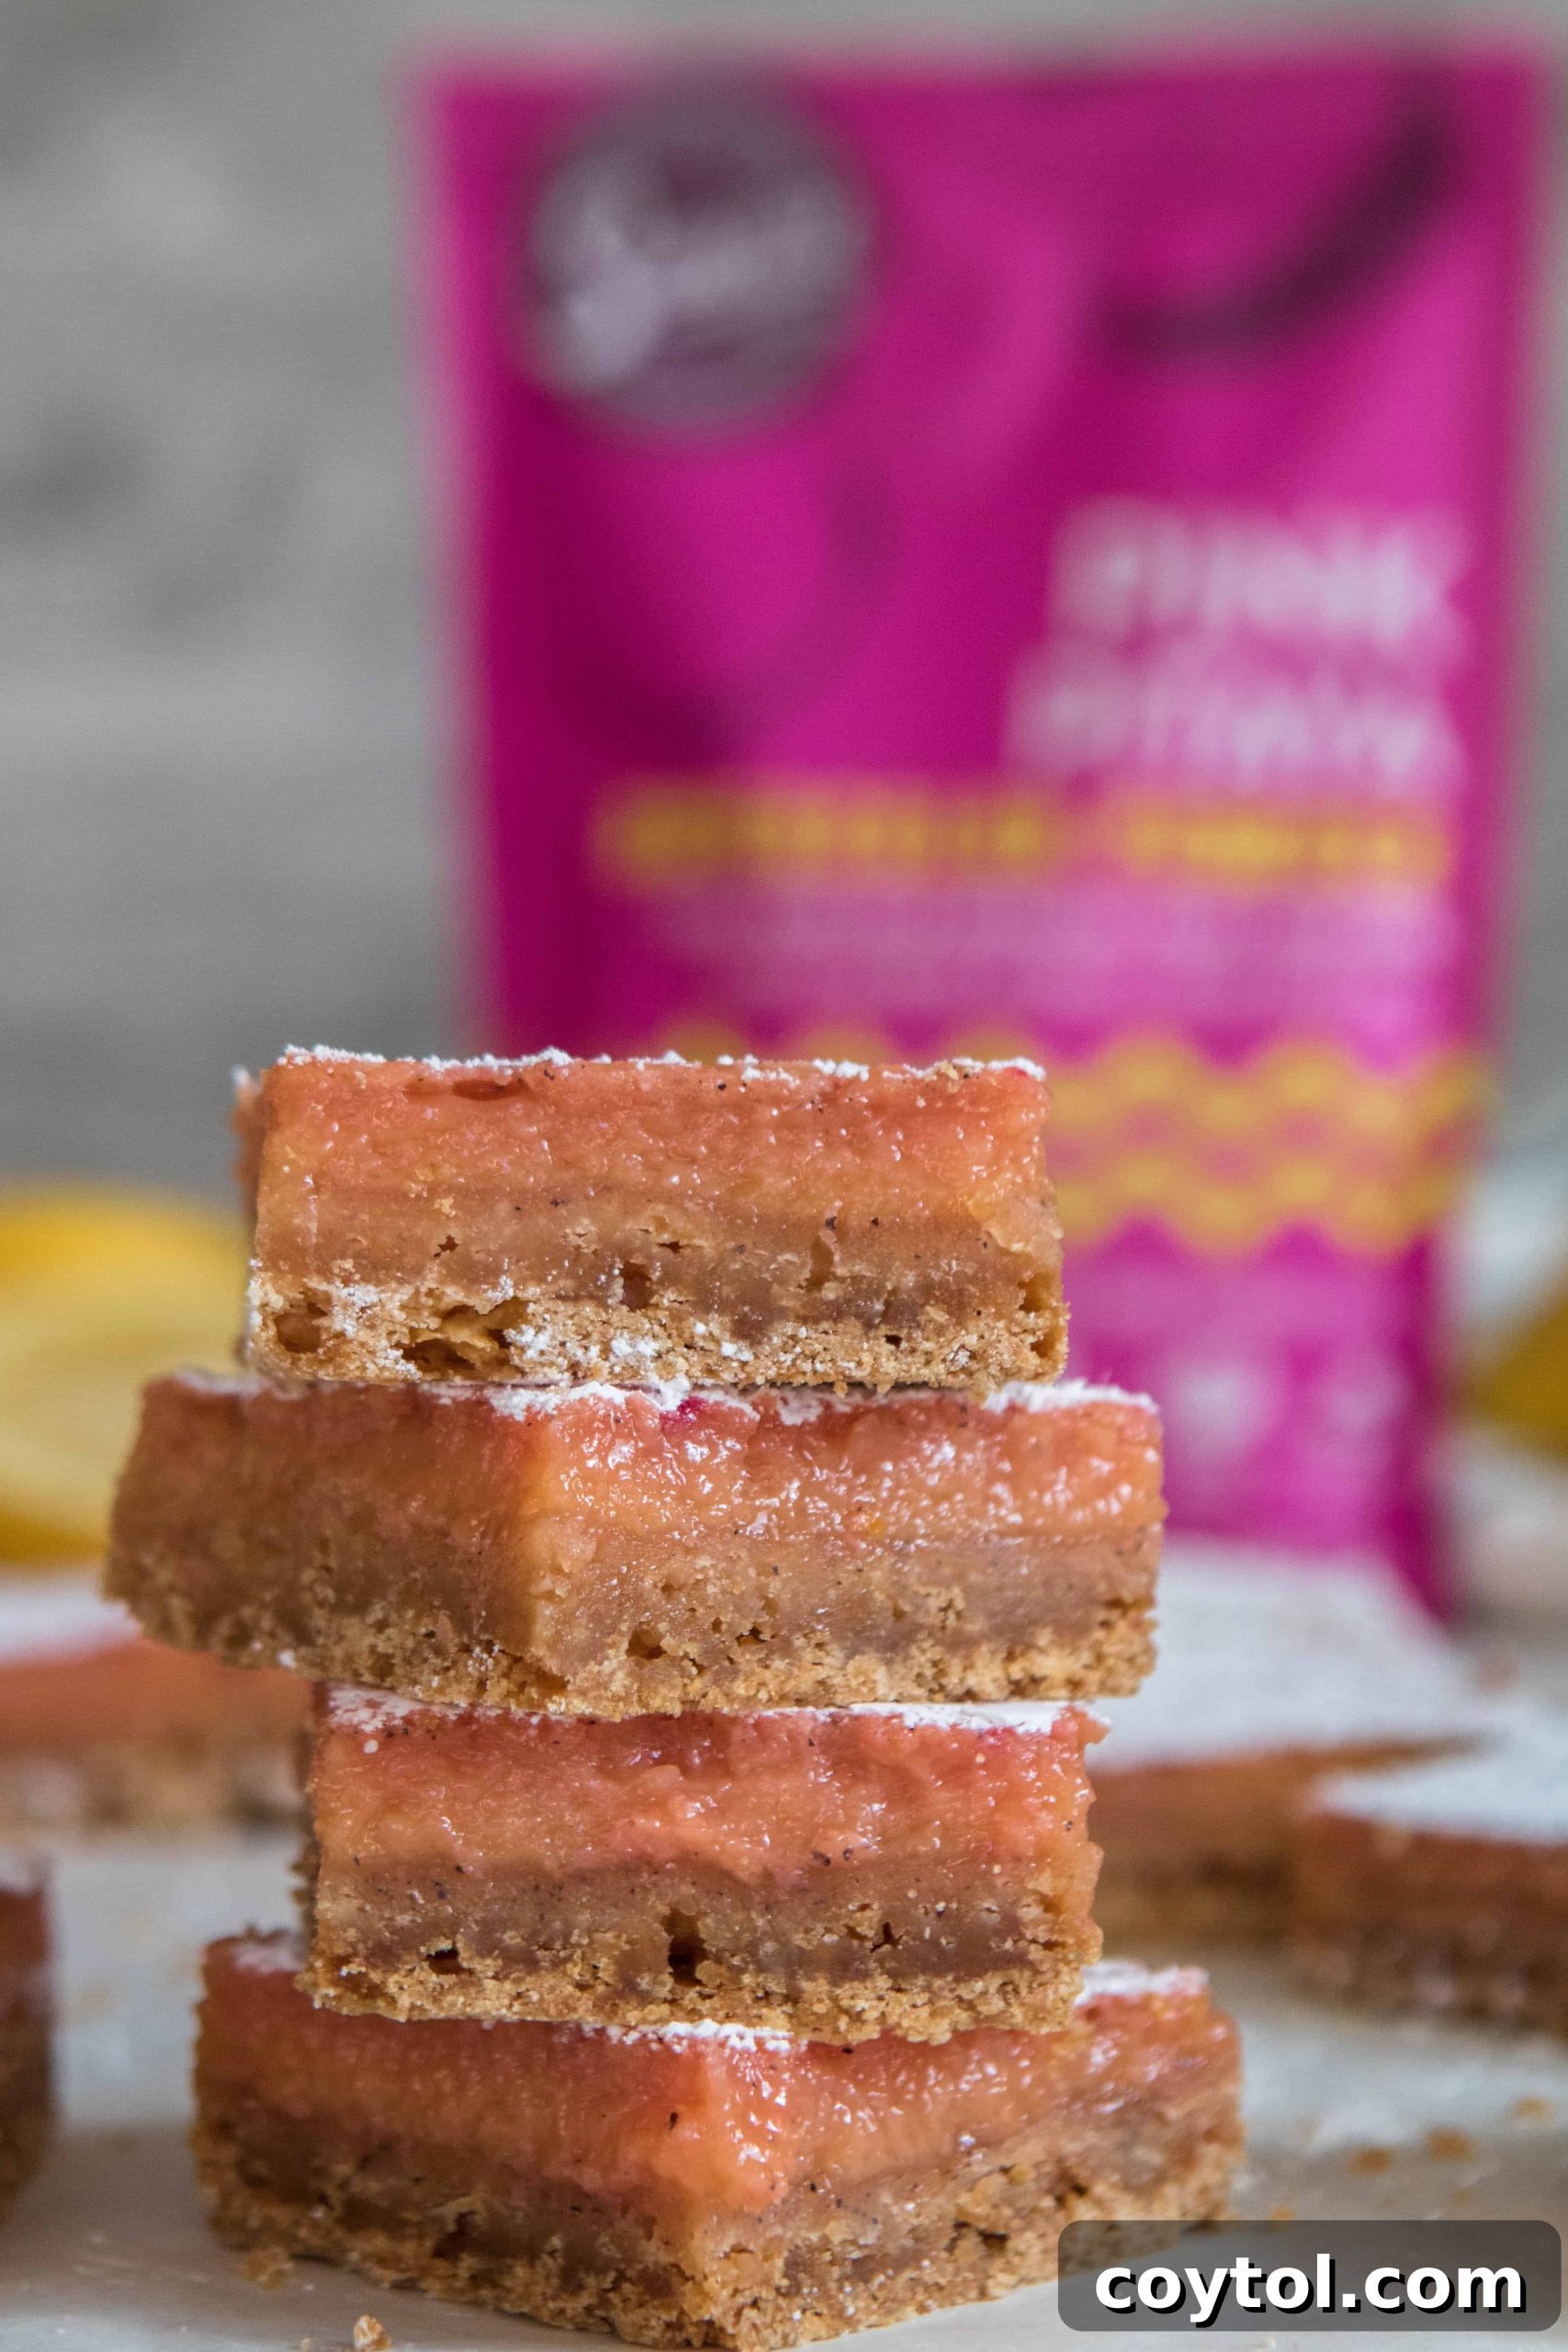
Get ready to infuse your spring celebrations with a burst of vibrant color and irresistible flavor! These Pink Lemon Bars are not just another dessert; they’re a delightful twist on a classic, offering the perfect harmony of tangy and sweet, all dressed in a stunning natural pink hue. Forget artificial colors – our secret ingredient, pitaya (dragon fruit) powder, gives these easy lemon bars their enchanting rosy glow. Prepare to impress your taste buds and your guests with this beautifully balanced, naturally colored treat!
Welcome Spring with a Pop of Pink and Zesty Flavor!
Hello, fellow food enthusiasts! Can you believe how quickly spring has sprung? It truly feels like time flies by faster each year. As the world reawakens with vibrant colors and renewed energy, it’s the perfect moment to brighten our kitchens and tables with desserts that are as cheerful as the season itself. And what could be more fitting than a batch of sunshine-inspired, yet distinctly pink, lemon bars?
In these times, finding small joys and ways to lift our spirits is more important than ever. While we prioritize health and hygiene, sometimes a little indulgence is exactly what the heart needs. These pink lemon bars might not be a health food, but they are guaranteed to bring a smile to your face and a dance to your taste buds. With their ideal balance of tart lemon and comforting sweetness, plus that captivating pink shade (you know my weakness for anything pink!), they are a genuine mood booster.
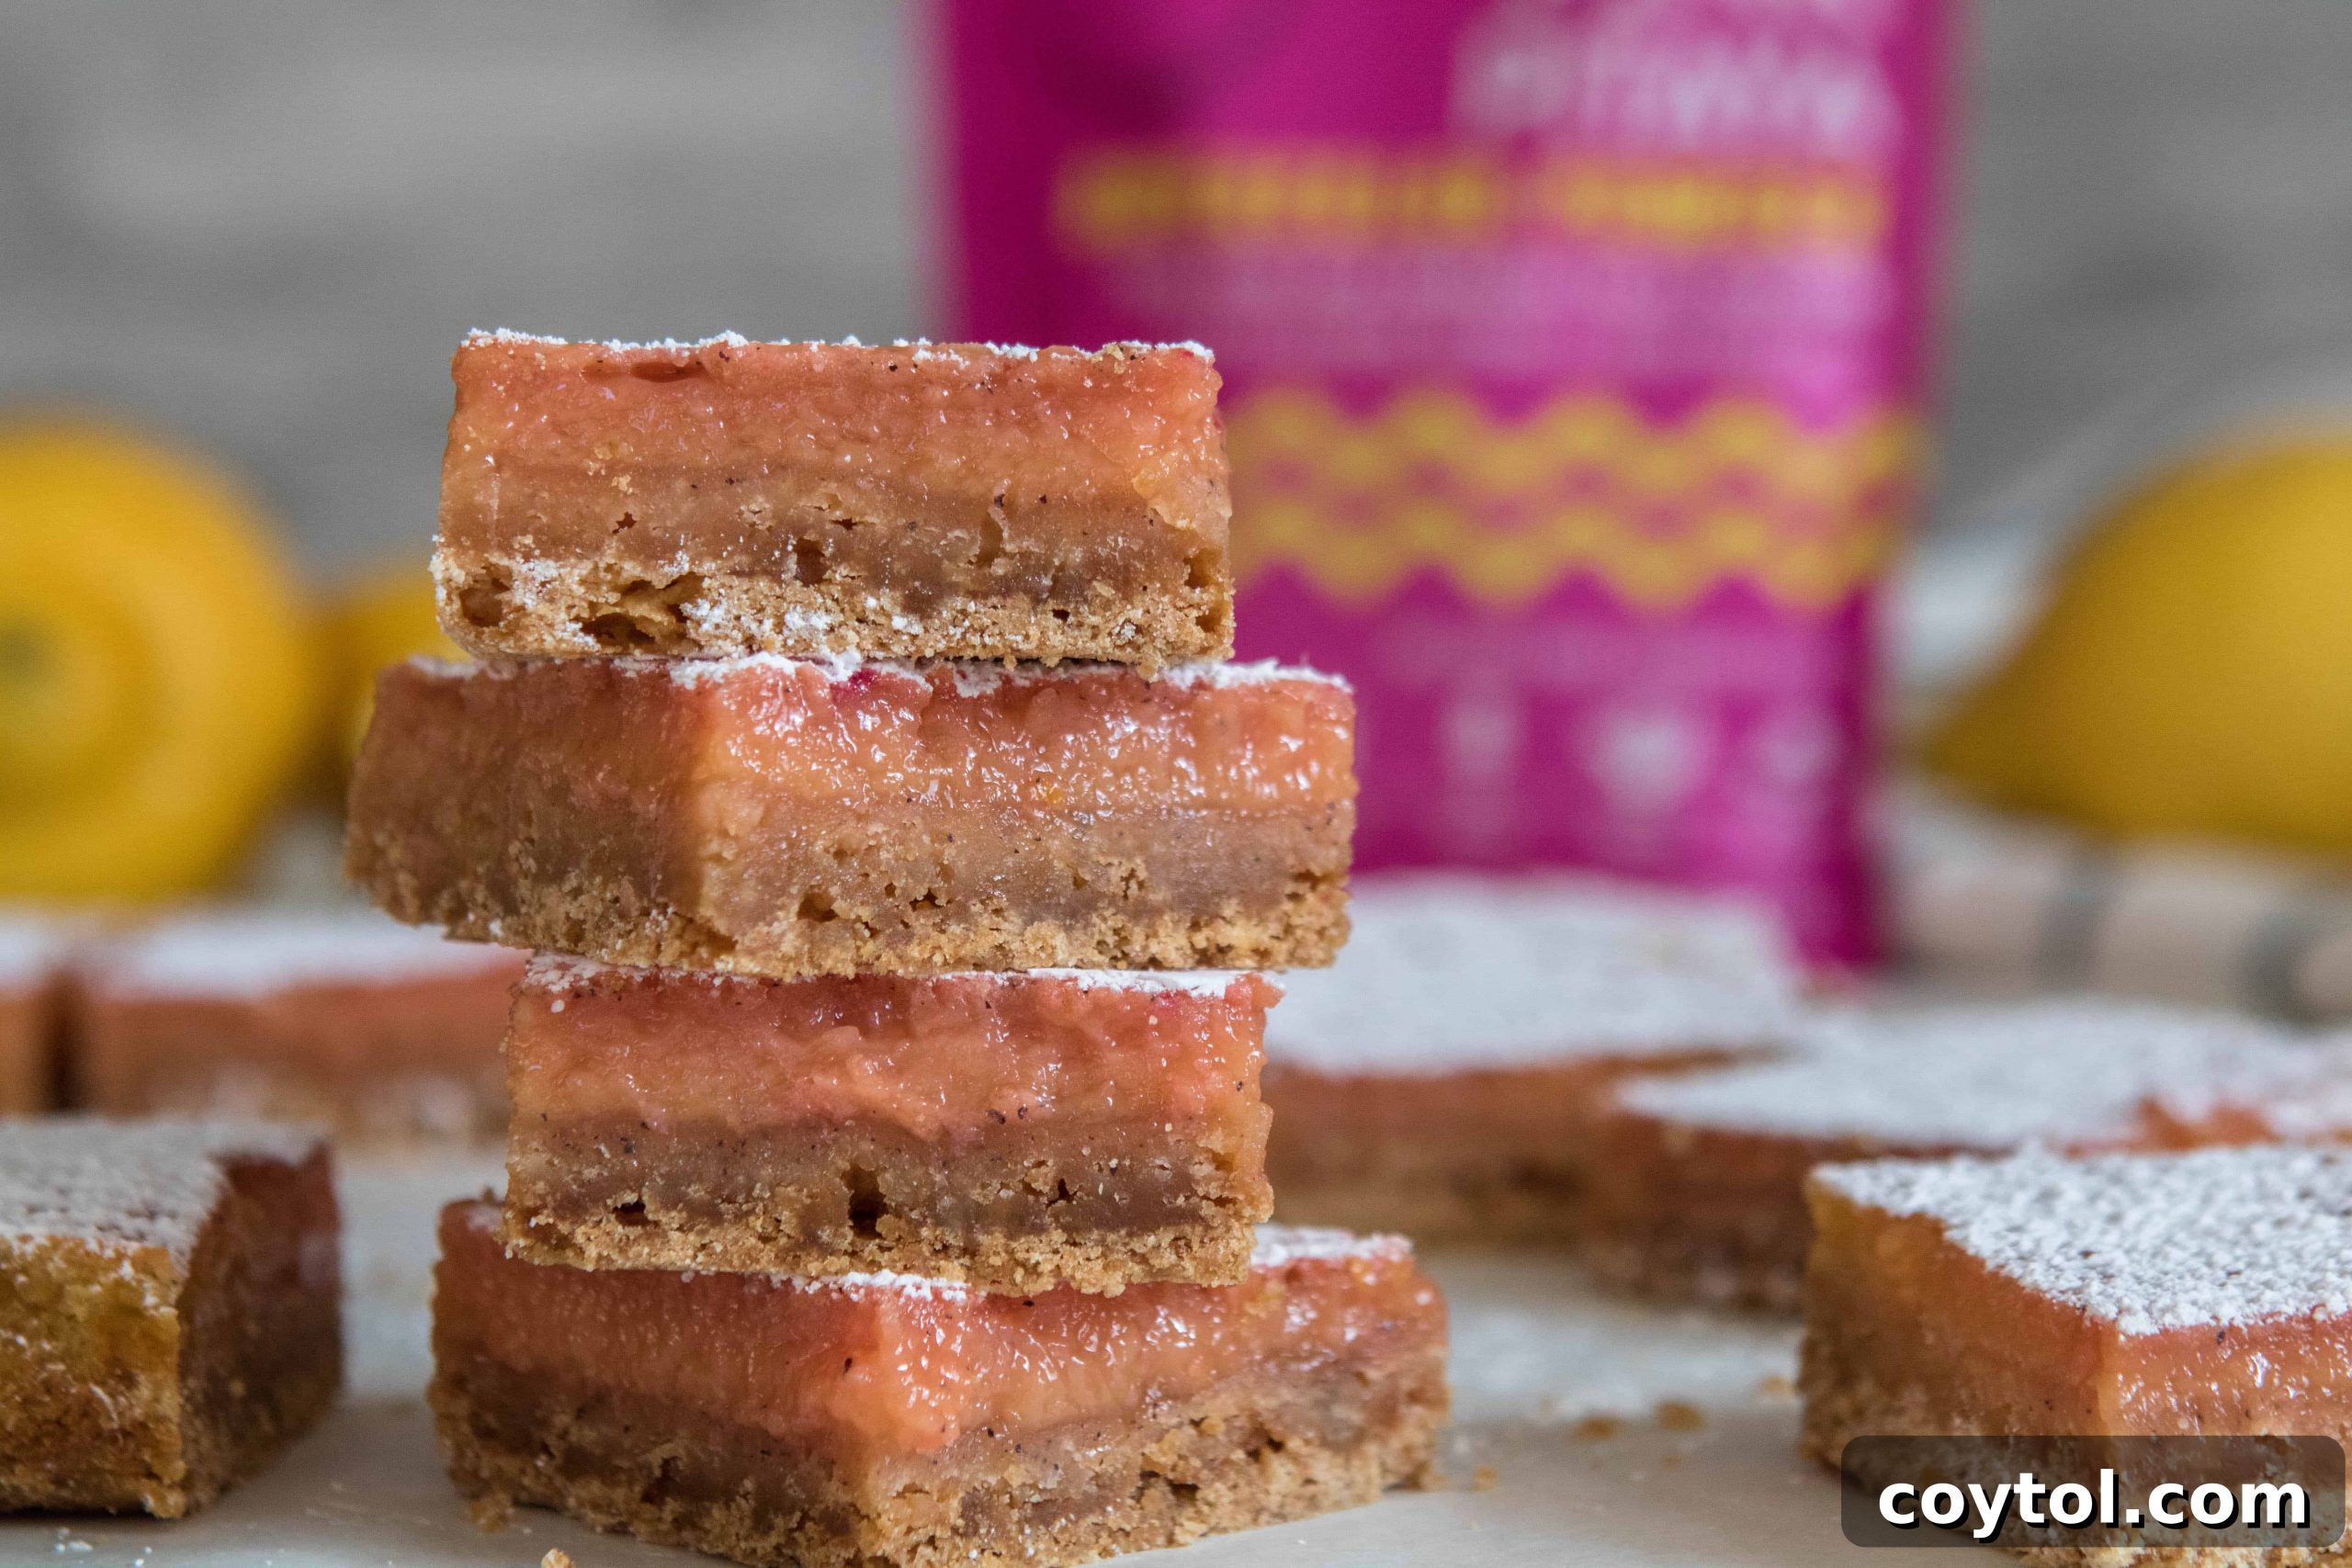
This recipe takes the beloved classic lemon bar to an entirely new level, both visually and in terms of unique flavor complexity. The rich, buttery shortbread crust perfectly complements the silky-smooth, naturally pink lemon filling. It’s a dessert that’s elegant enough for a special occasion, yet simple enough for a casual spring gathering or just a treat for yourself. Let’s dive into creating these beautiful and utterly delicious bars!
The Enchantment of Pitaya: Unveiling the Natural Pink Hue
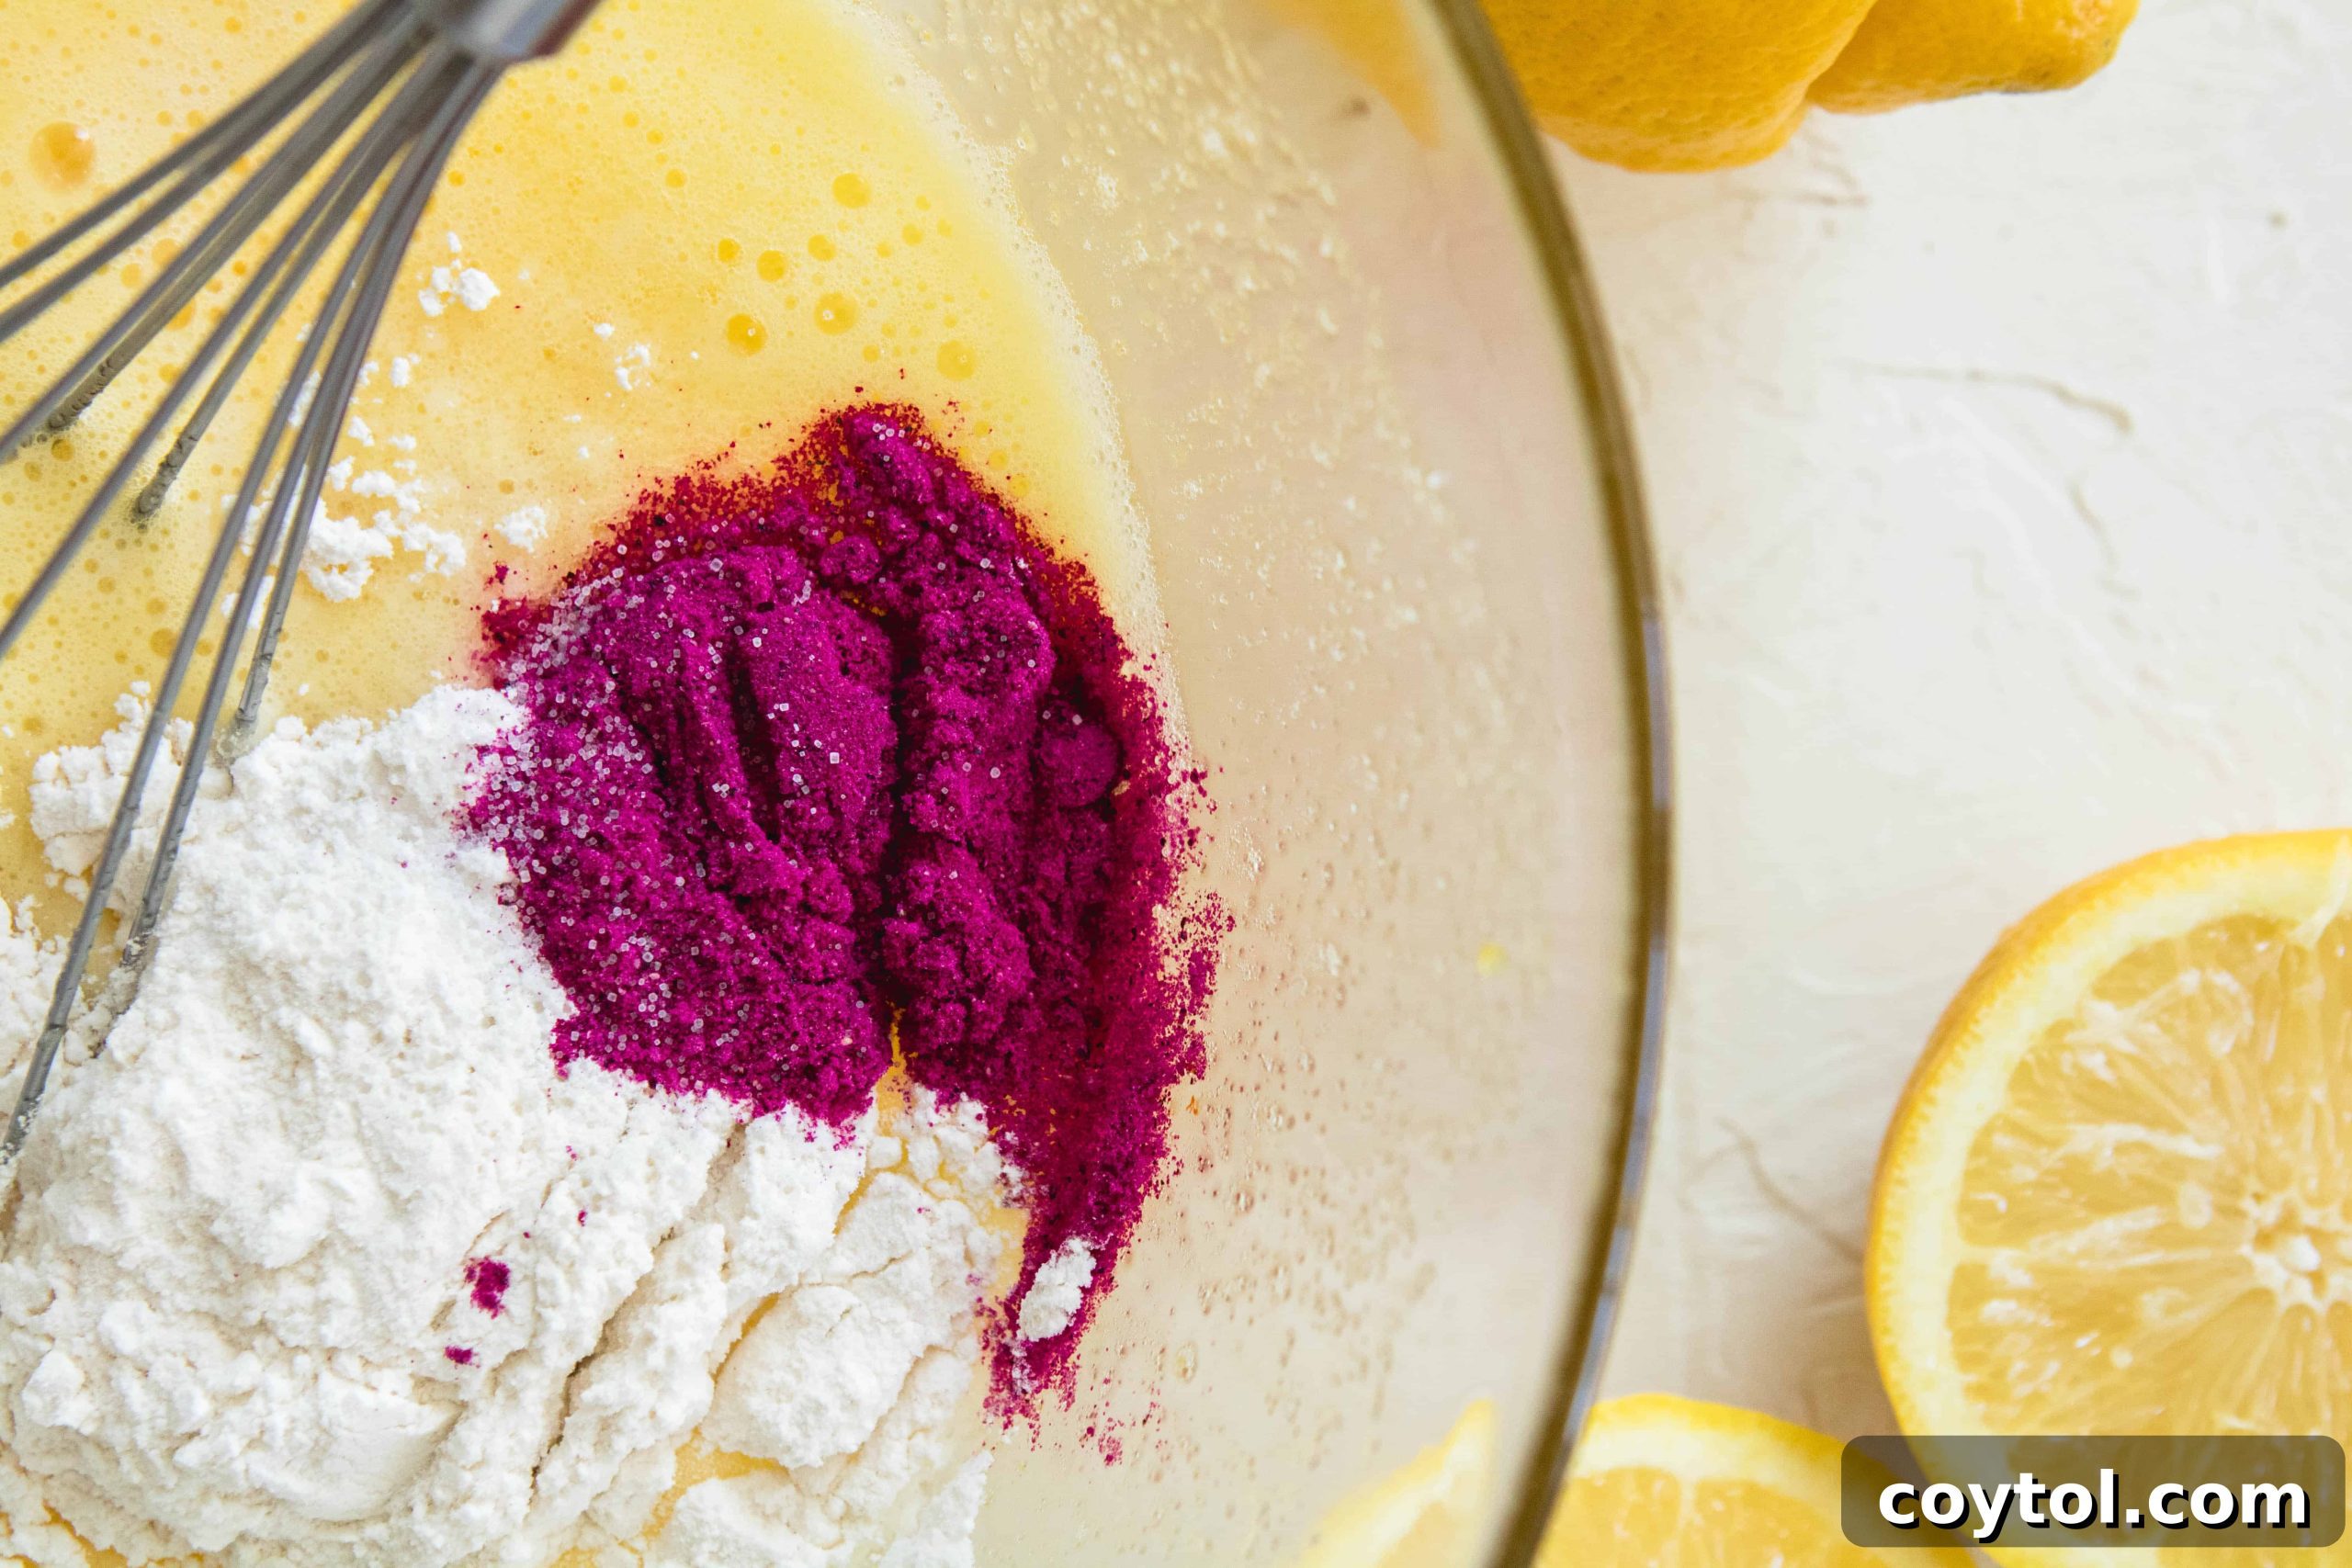
Before we dive into the recipe, let’s talk about the star ingredient responsible for these bars’ stunning color: pitaya powder. For those unfamiliar, pitaya is more commonly known as dragon fruit. This exotic tropical fruit is celebrated not only for its striking appearance but also for its mild, subtly sweet flavor. Inside, dragon fruit can be either white or a vibrant magenta, dotted with tiny black seeds much like a kiwi.
Pitaya powder, on the other hand, is simply freeze-dried dragon fruit. This process concentrates its natural pigments, resulting in a potent, beautifully colored powder. While it can be a bit pricier than other natural colorings due to the high water content of the fresh fruit (it takes a lot of fruit to make a little powder!), its benefits extend beyond just aesthetics. Dragon fruit is considered a superfood, packed with antioxidants, fiber, and essential vitamins like C and B. Incorporating pitaya powder into your smoothies, yogurts, or even baked goods like these lemon bars is a wonderful way to boost their nutritional value naturally.
For this recipe, I specifically chose Suncore Foods pitaya powder, which I find delivers a gorgeous and delicious result. It allows us to achieve that captivating pink without relying on any artificial dyes or chemical additives. It’s a clean, natural way to add a touch of magic to your baking.
Essential Tools for Baking the Easiest Lemon Bars Ever
Making these delightful pink lemon bars is straightforward, especially when you have the right tools at your disposal. Here’s a list of essential items that will make your baking process smooth and enjoyable:
- Mixing Bowls and Whisk: You’ll need these for combining your dry and wet ingredients, particularly for the lemon filling. A good whisk ensures everything is smoothly incorporated.
- Parchment Paper: A true lifesaver for easy removal and cleanup! Lining your baking pan with parchment paper ensures your bars won’t stick and can be lifted out effortlessly for slicing.
- Food Processor or Pastry Blender: For creating that perfect crumbly shortbread crust. A food processor makes quick work of incorporating the butter into the flour mixture, but a pastry blender (or even your fingertips!) will also do the trick for a more rustic approach.
- 9×9 inch Baking Pan: This size is ideal for achieving the perfect thickness for your lemon bars. Ensure it’s sturdy and conducts heat evenly.
- Citrus Juicer: Fresh lemon juice is non-negotiable for superior flavor. A manual or electric citrus juicer will efficiently extract every drop of that tangy goodness.
Having these tools ready will make your baking experience not only easier but also more enjoyable, allowing you to focus on the delicious outcome.
Ingredients for Your Irresistible Pink Lemon Bars
Each ingredient in this recipe plays a crucial role in creating the ultimate pink lemon bar experience. Here’s a closer look at what you’ll need and why:
- Butter: The foundation of our delicious shortbread crust. Using high-quality, unsalted butter is key to achieving that rich, tender, and melt-in-your-mouth texture that perfectly complements the tart lemon filling. It binds the crust ingredients and adds incomparable flavor.
- Granulated Sugar: This recipe utilizes granulated sugar in both the crust and the filling. In the crust, it provides sweetness and contributes to its crispness. In the filling, it balances the intense tartness of the lemon, creating that signature sweet-and-sour profile that makes lemon bars so addictive. The precise ratio is what makes these bars truly exceptional.
- All-Purpose Flour: Essential for both the structure of the shortbread crust and as a thickening agent for the lemon filling. In the crust, it provides body, while in the filling, it helps achieve that custardy, sliceable consistency.
- Vanilla Extract: A touch of vanilla in the shortbread crust adds a warm, aromatic depth that subtly enhances the overall flavor profile without overpowering the star citrus notes. It’s a classic pairing that always works wonders.
- Salt: Often underestimated in sweet recipes, salt is vital! It acts as a flavor enhancer, bringing out the sweetness in the sugar and the brightness in the lemon. More importantly, it helps balance the richness of the butter and prevents the dessert from tasting overly sweet, creating a more complex and satisfying flavor.
- Eggs and an Egg Yolk: These are critical for the lemon filling. The eggs provide structure and help the filling set into a smooth, creamy custard. The addition of an extra egg yolk contributes to a richer flavor and a more luxurious, velvety texture, preventing the filling from being too firm or rubbery.
- Fresh Lemon Juice: The undisputed star of lemon bars! There’s no substitute for freshly squeezed lemon juice to deliver that bright, zesty, and utterly refreshing tang. It provides the signature flavor that defines this dessert.
- Lemon Zest: As if the juice wasn’t enough, lemon zest intensifies the lemony aroma and flavor. The oils in the zest carry a profound citrus essence that elevates the bars, adding a fragrant, bright note that fresh juice alone cannot achieve. Make sure to use zest from unwaxed lemons for the best, most natural flavor.
- Pitaya Powder: Our magical ingredient for that captivating pink hue! Freeze-dried dragon fruit powder naturally colors the lemon filling, replacing artificial food dyes. It imparts a very subtle, almost imperceptible sweetness and a delicate, earthy note that doesn’t interfere with the classic lemon flavor.
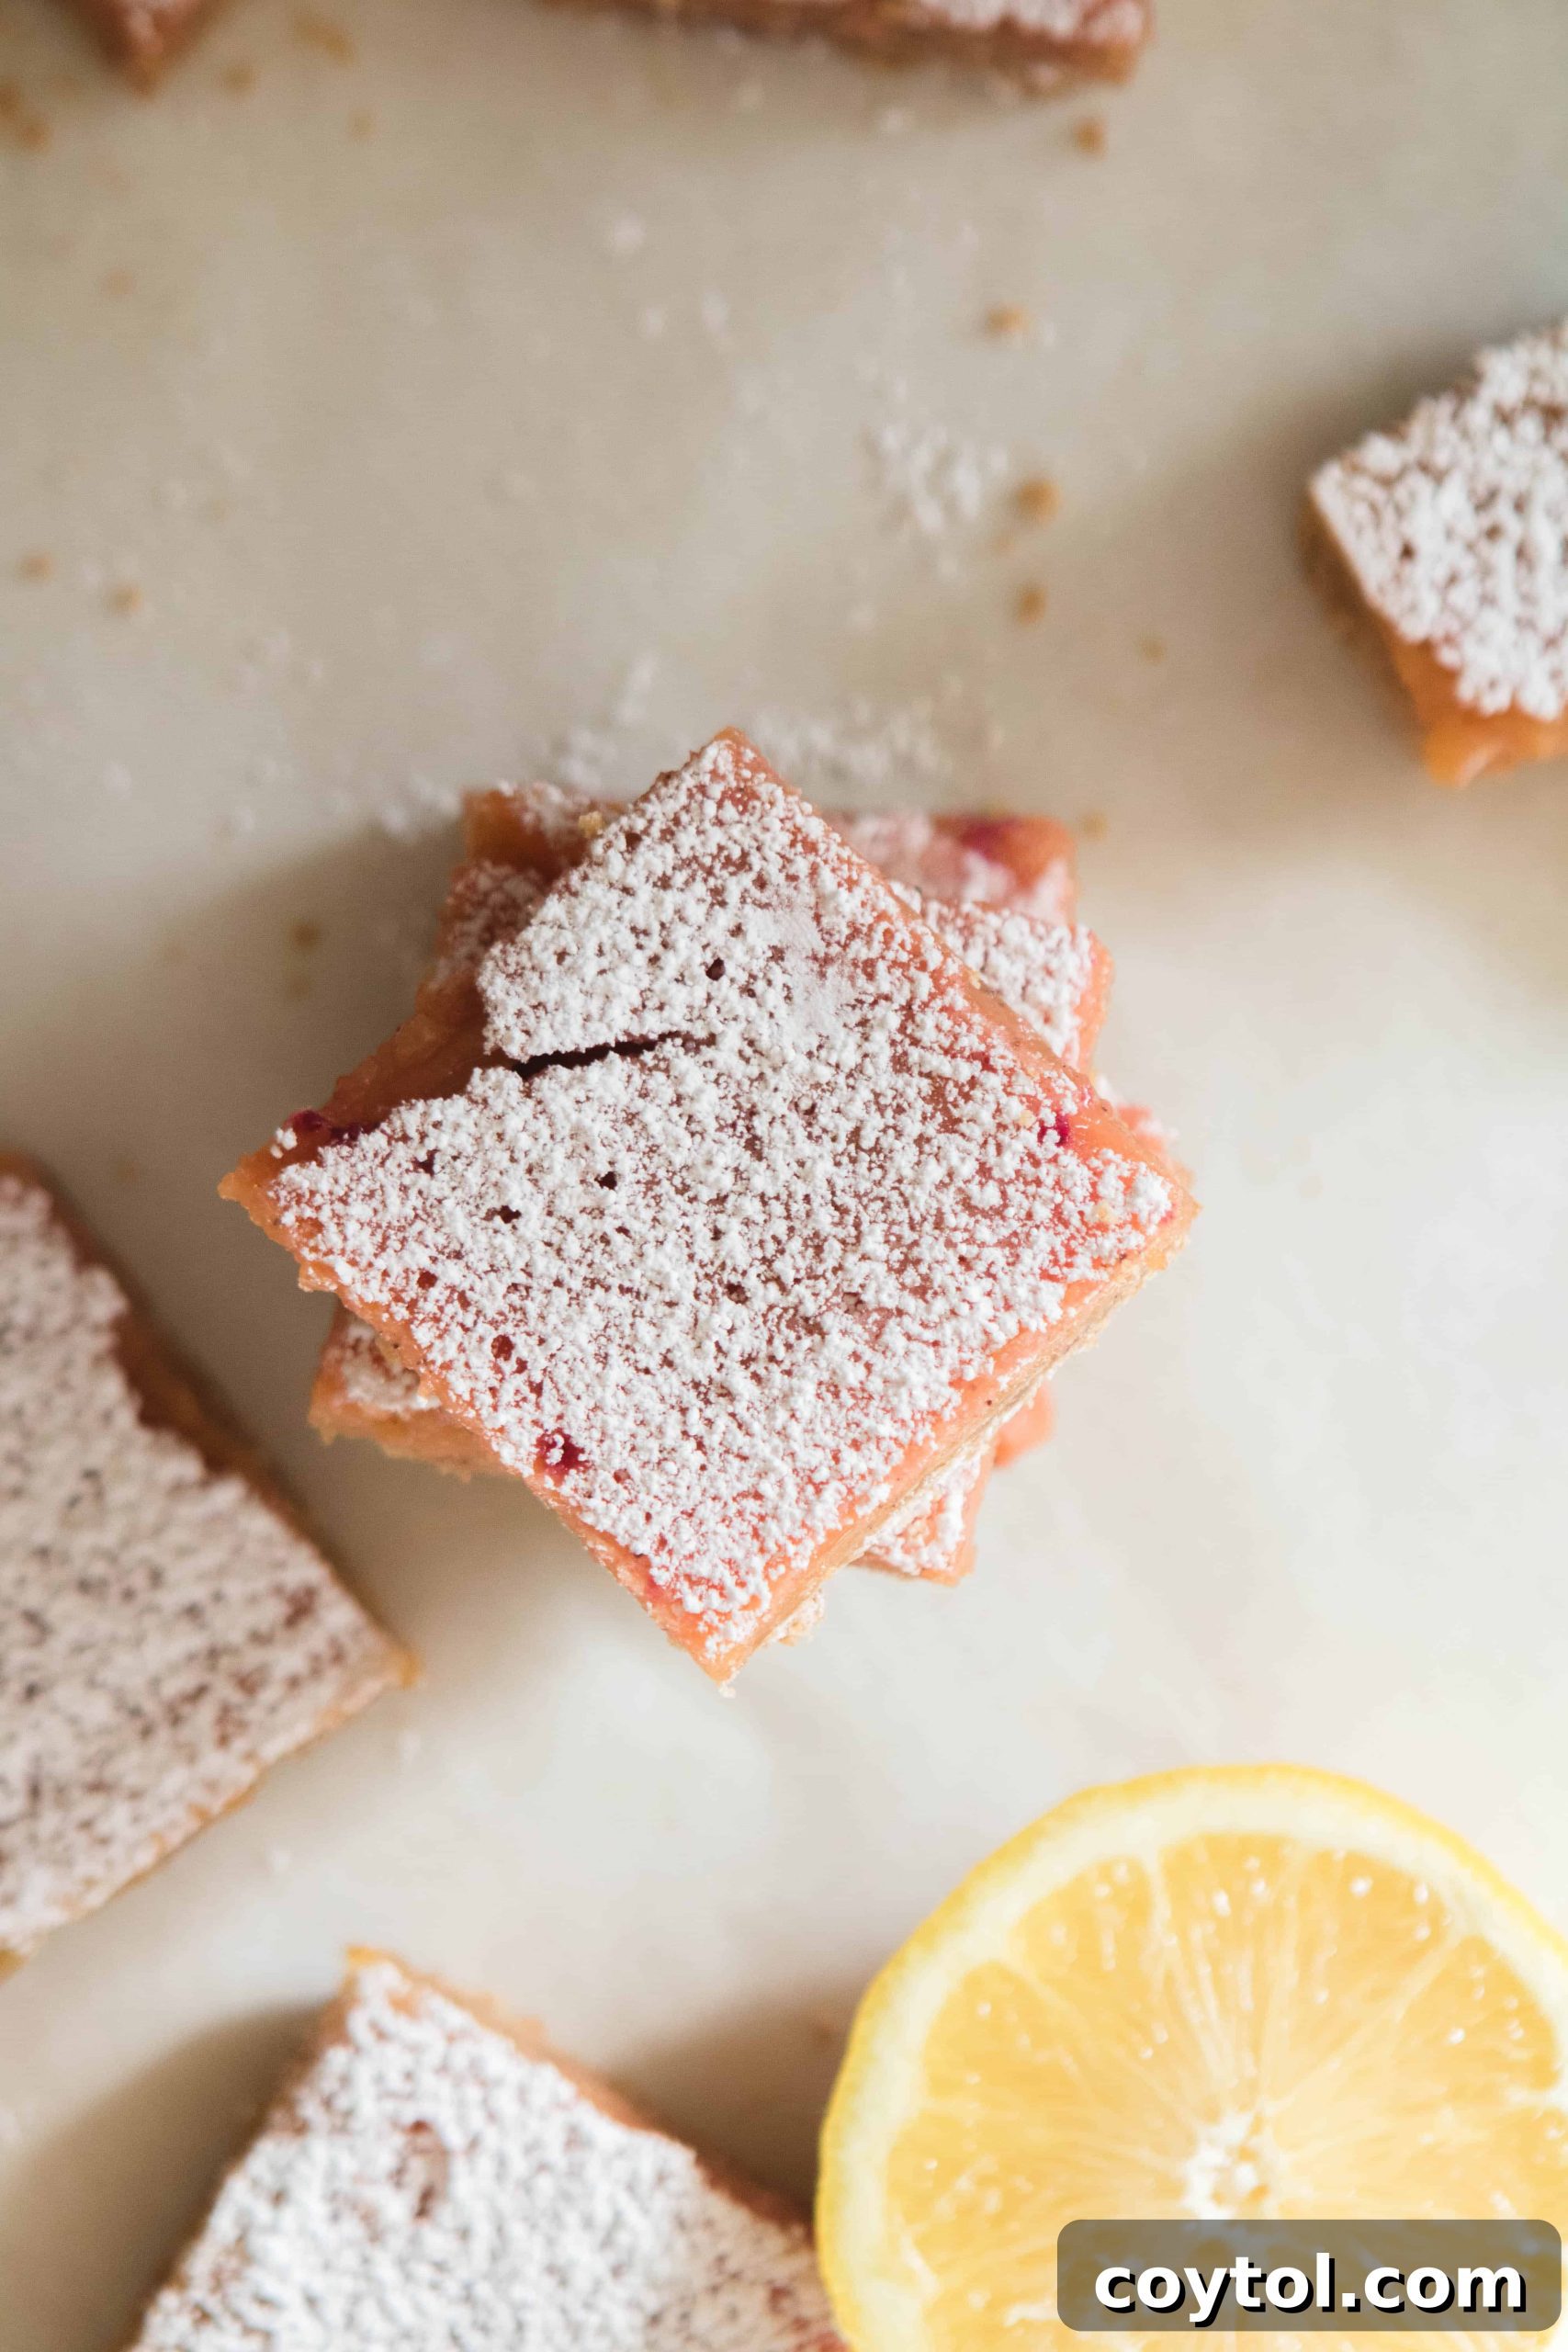
- Powdered Sugar (Confectioners’ Sugar): The elegant finishing touch! A generous dusting of powdered sugar makes these bars look incredibly elegant and appetizing. For a professional touch, consider using “snow white” non-melting topping sugar, which holds its pristine appearance longer than regular confectioners’ sugar, even when refrigerated.
Crafting Your Pink Lemon Bars: A Step-by-Step Guide
Making these gorgeous pink lemon bars is a truly rewarding experience. Follow these detailed steps to achieve perfect results every time:
- Prepare Your Pan and Oven: Begin by lightly spraying your 9×9 inch baking pan with a non-stick cooking spray, then line it generously with parchment paper, leaving an overhang on two sides. This “sling” will make it incredibly easy to lift the baked and cooled bars out of the pan. Preheat your oven to 350°F (175°C).
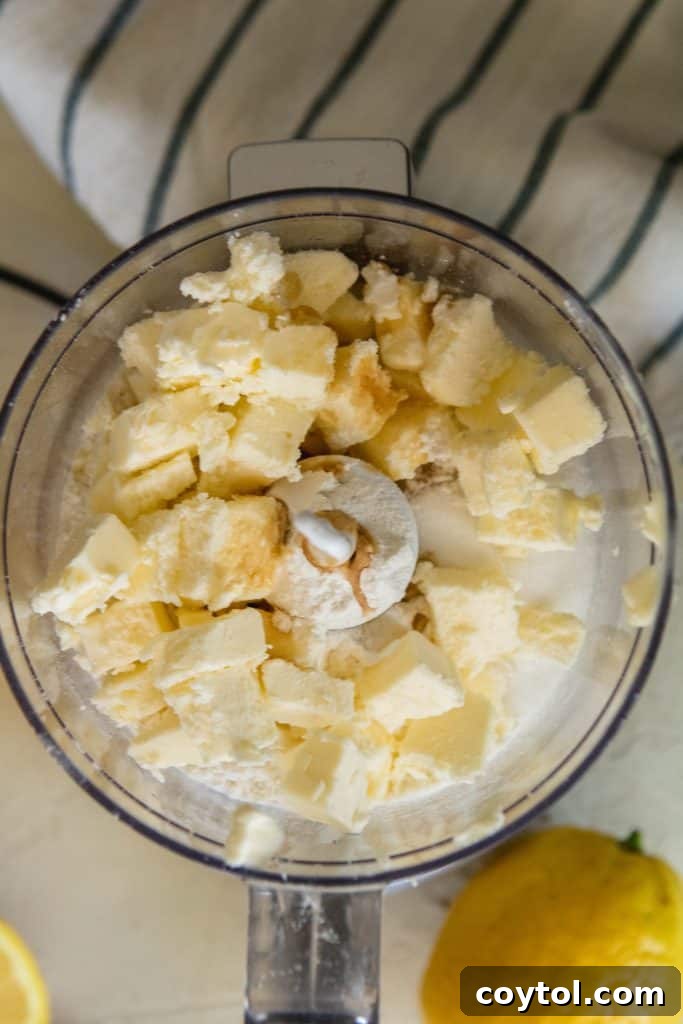
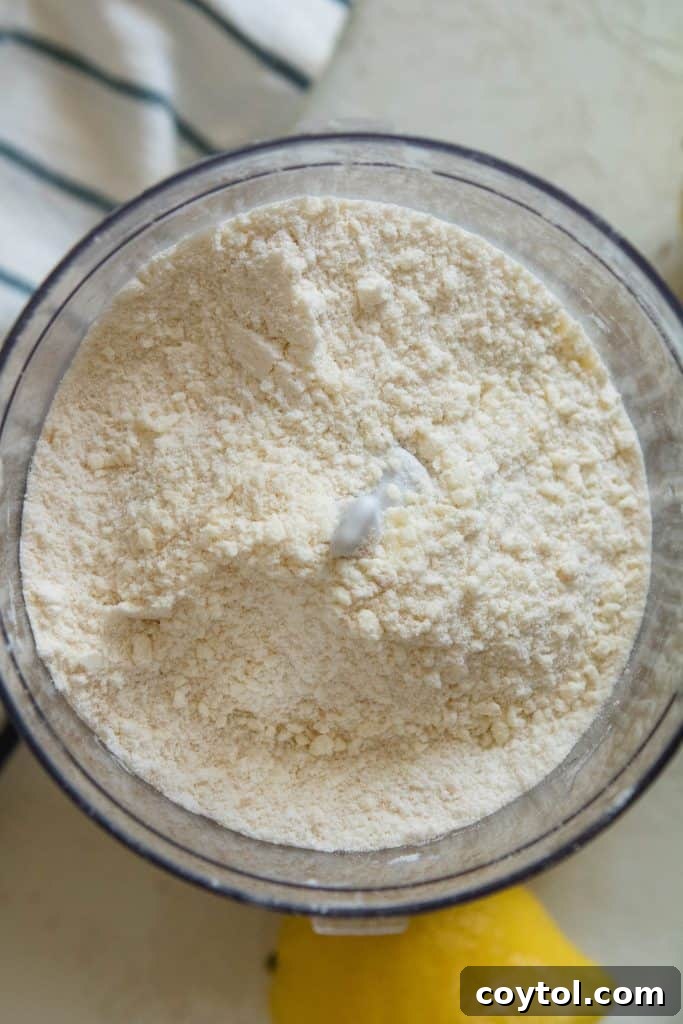
- Create the Perfect Shortbread Crust: In your food processor, combine the cold butter (cut into cubes), granulated sugar, all-purpose flour, vanilla extract, and salt. Pulse the mixture in short bursts for about 20-30 seconds, or until the butter is fully incorporated and the mixture resembles coarse sand with a few slightly larger, pea-sized crumbs. Avoid over-processing, as this can make the crust tough.
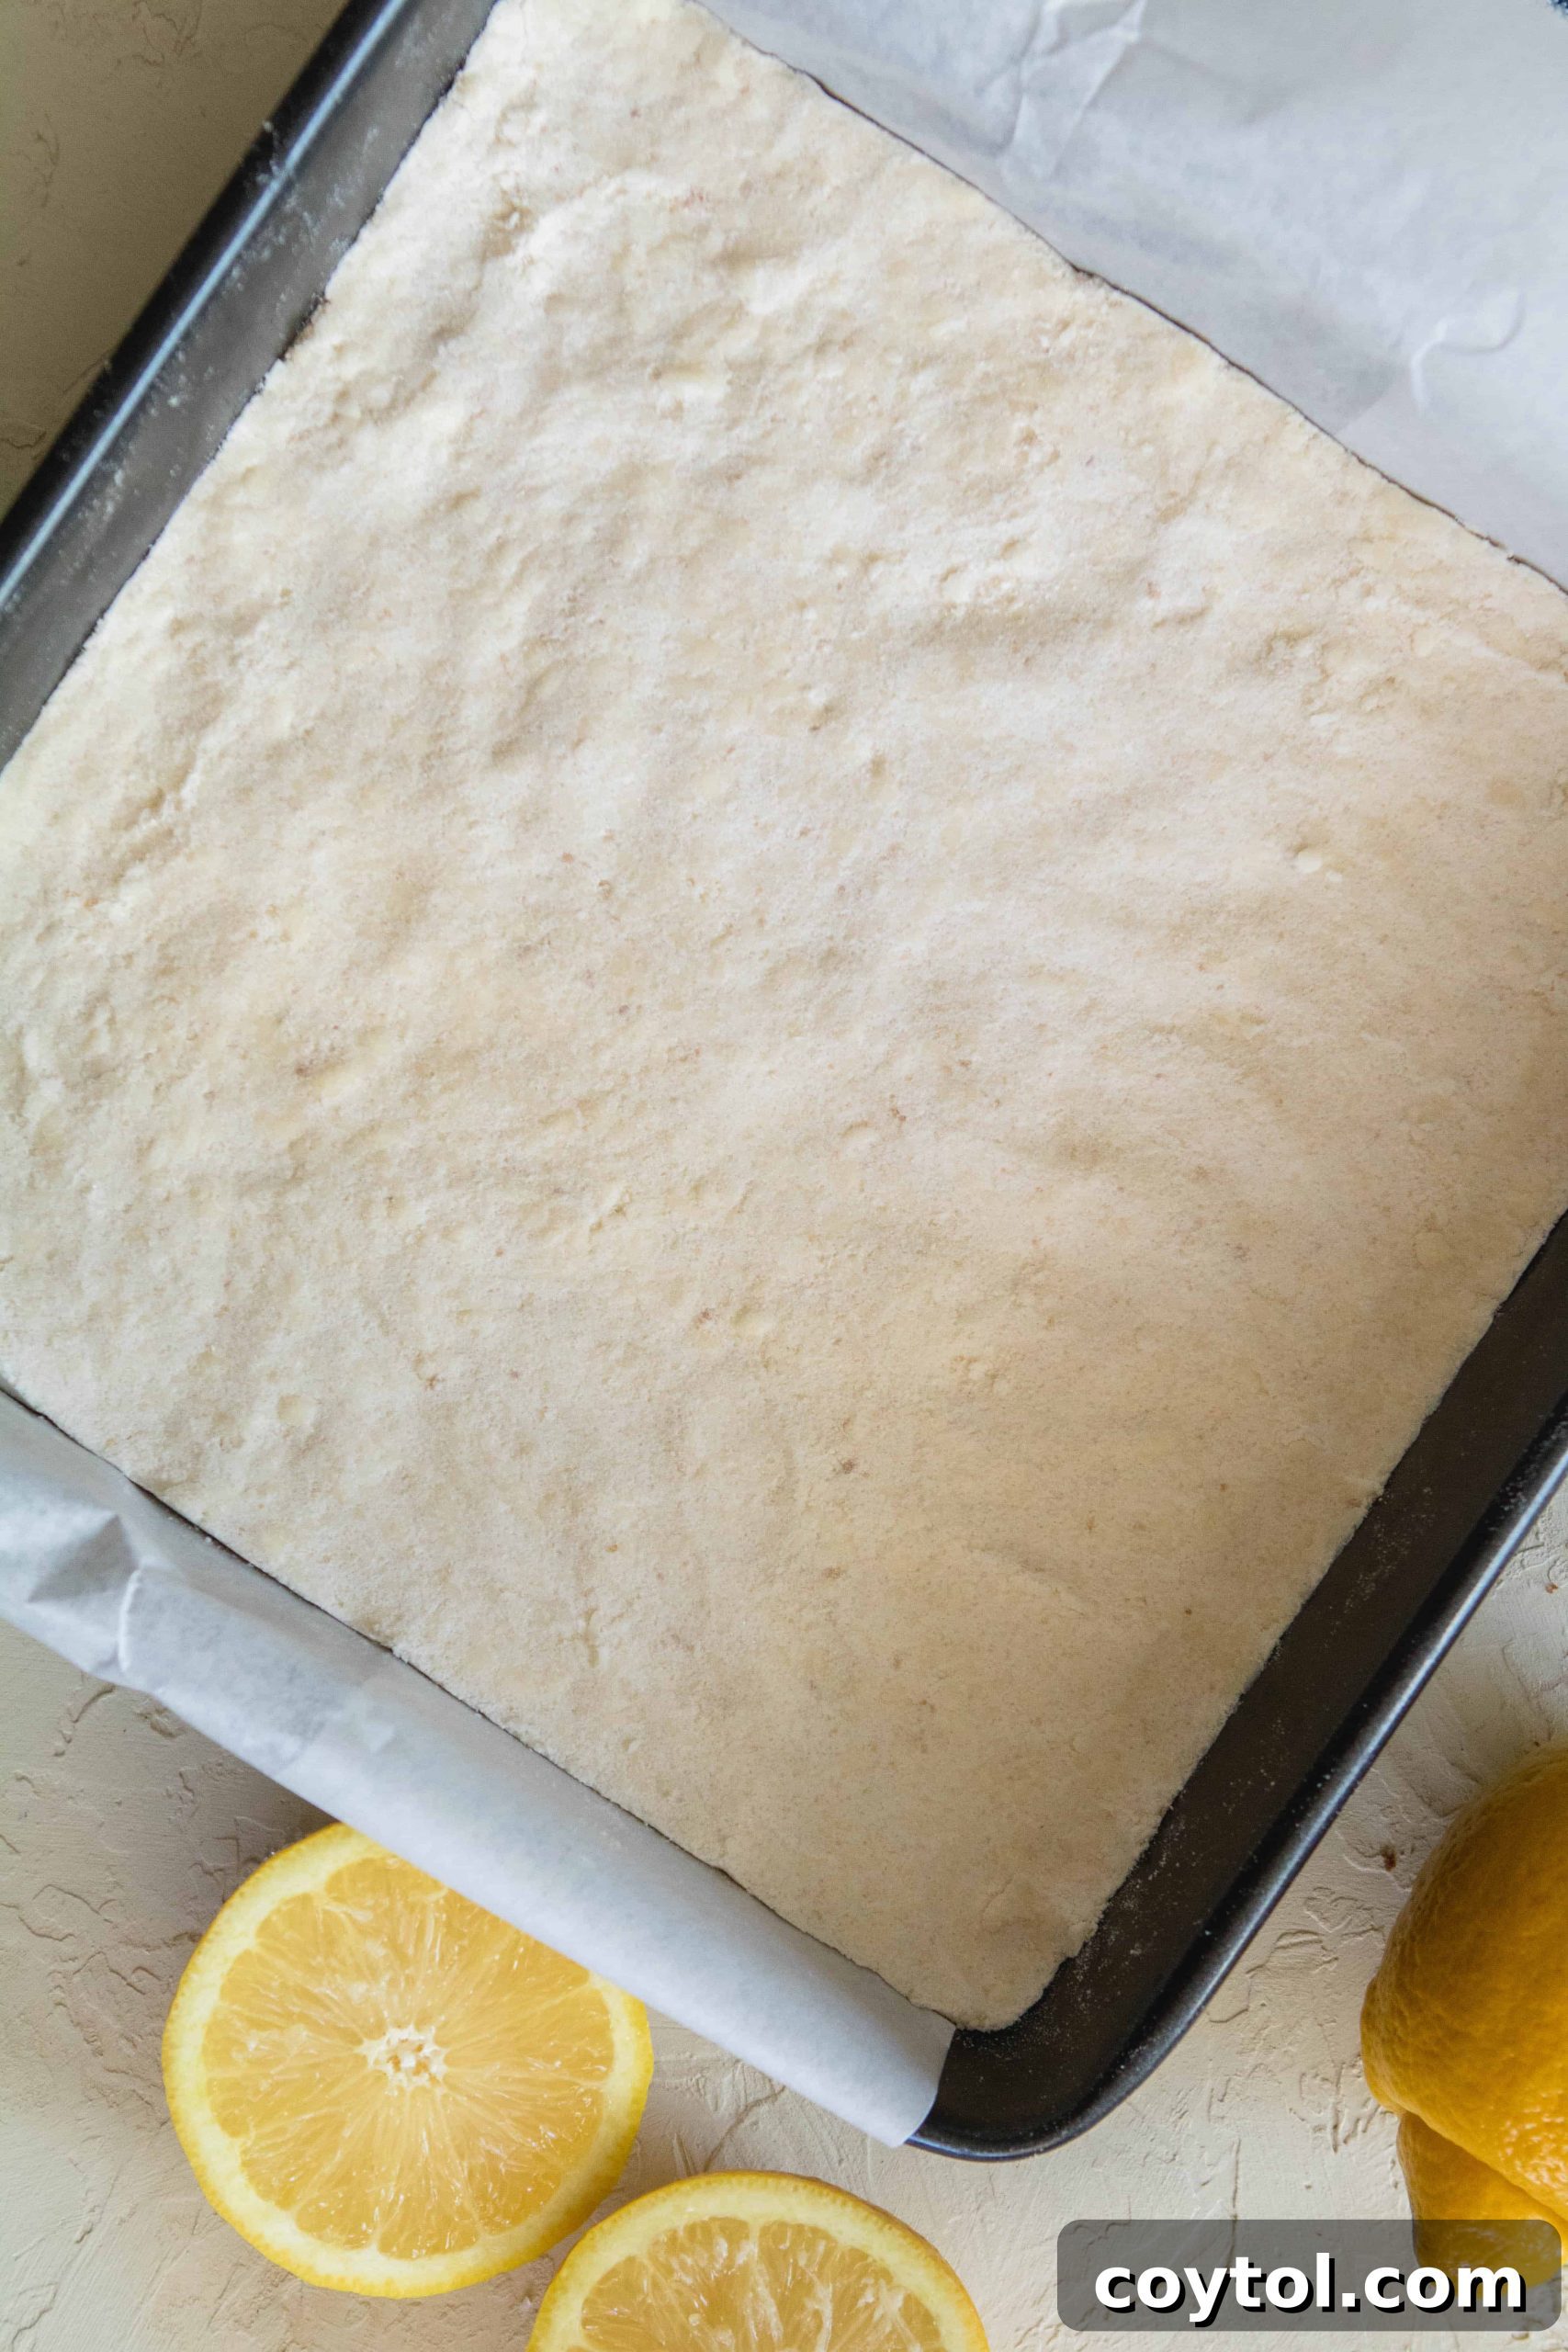
- Press the Crust: Pour the sandy mixture into your prepared baking pan. Using the bottom of a flat-bottomed cup or a rubber spatula, firmly and evenly press the mixture across the bottom of the pan, extending into all corners. Ensure the crust is compact and uniform for even baking.
- Bake the Crust: Place the pan in the preheated oven and bake for 20-30 minutes, or until the edges are lightly golden brown and the crust smells fragrant. While the crust is baking, reduce your oven temperature to 325°F (160°C) for the next step.
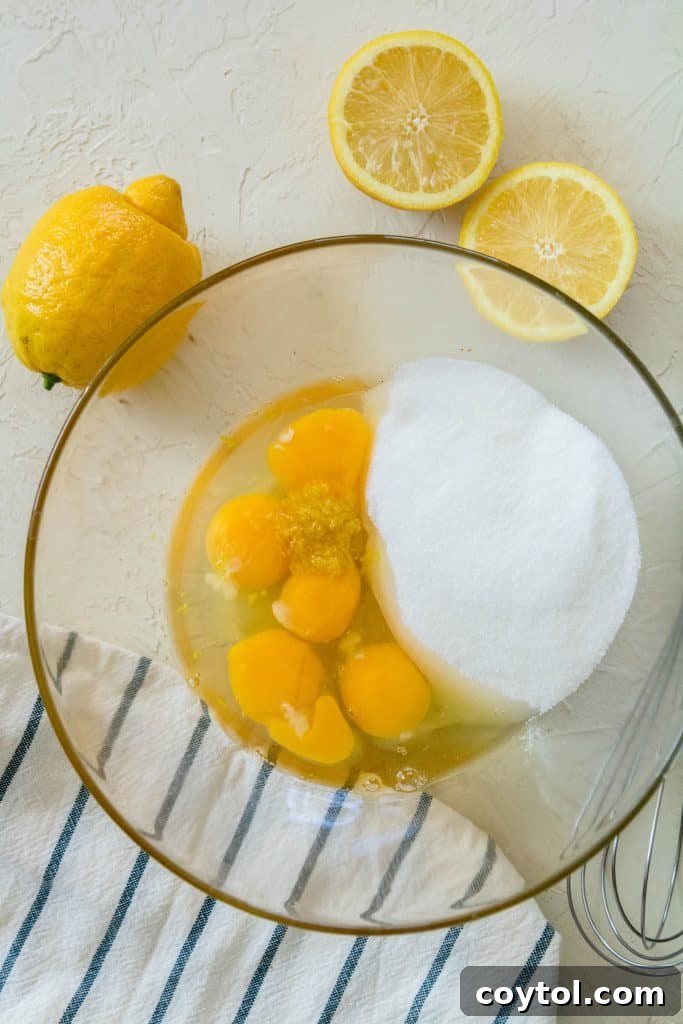
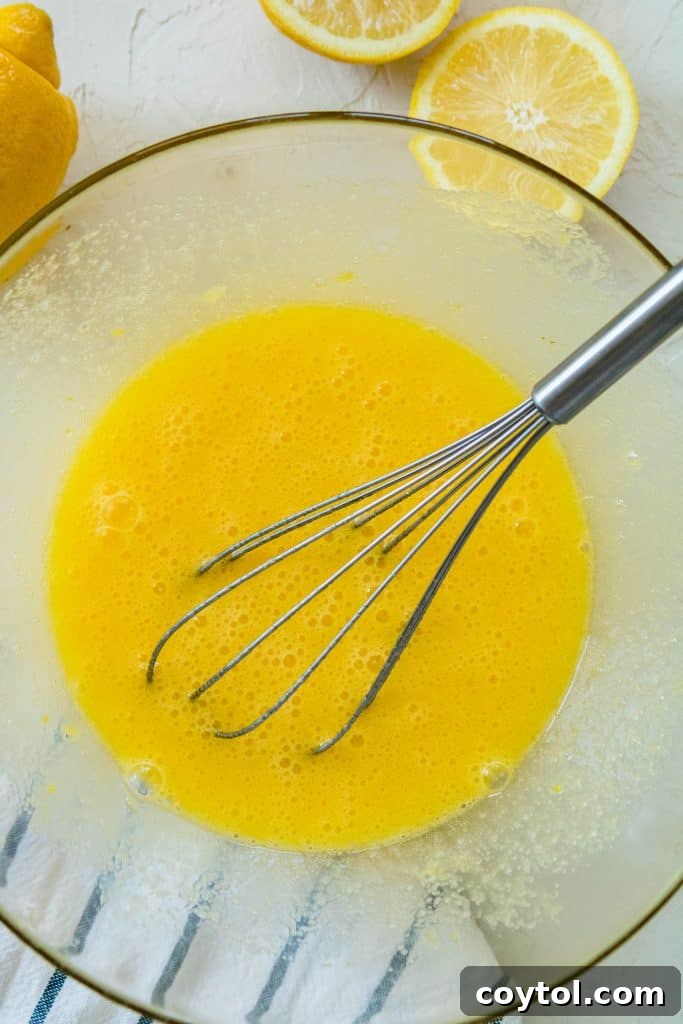
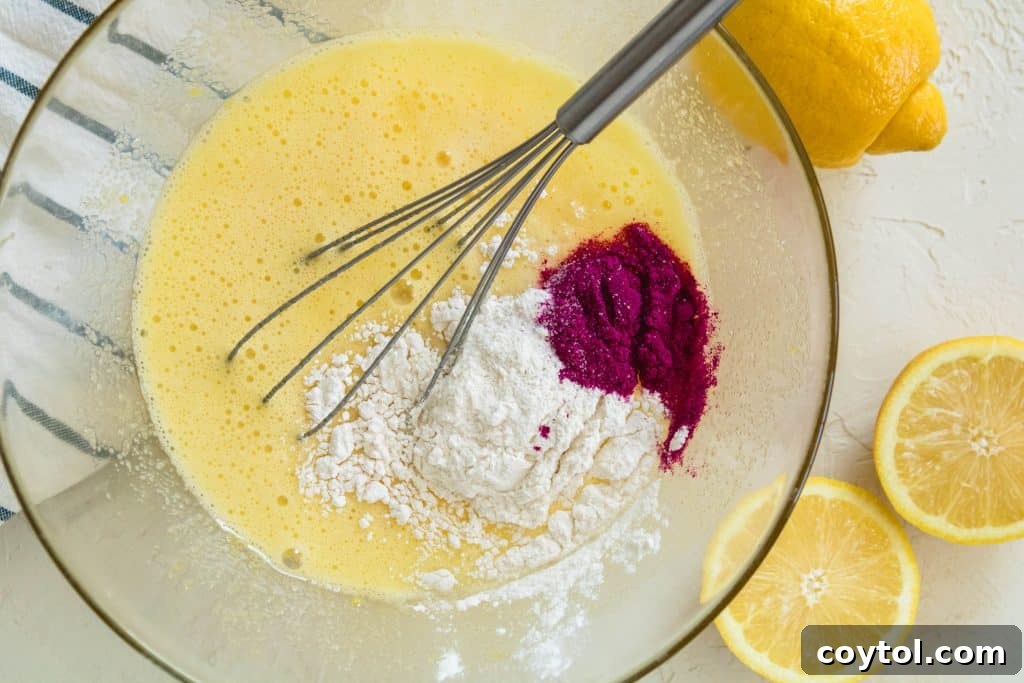
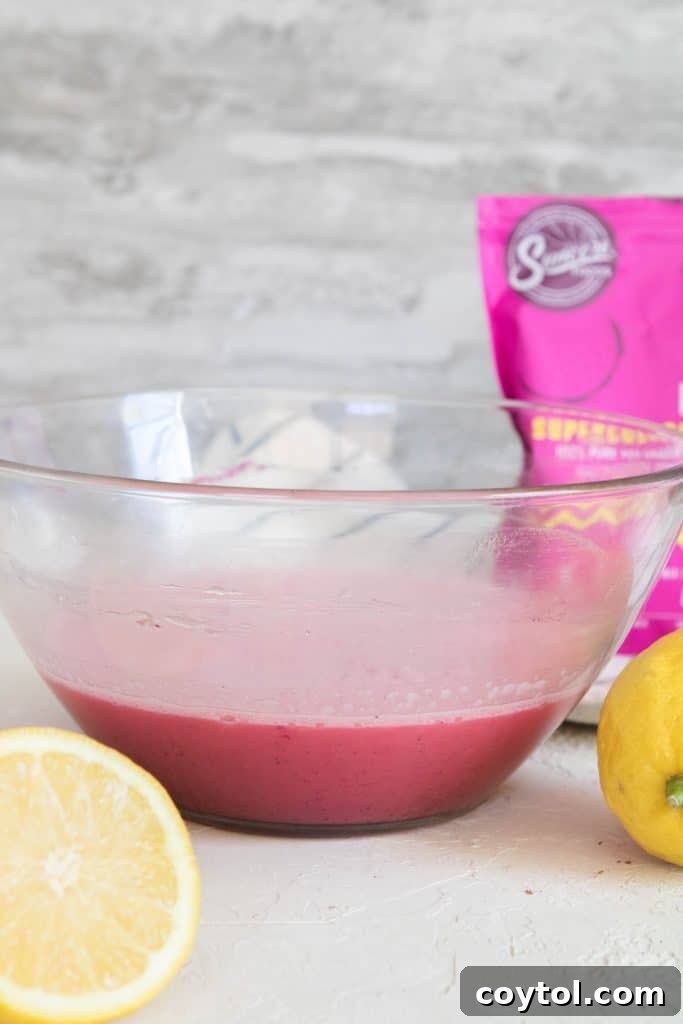
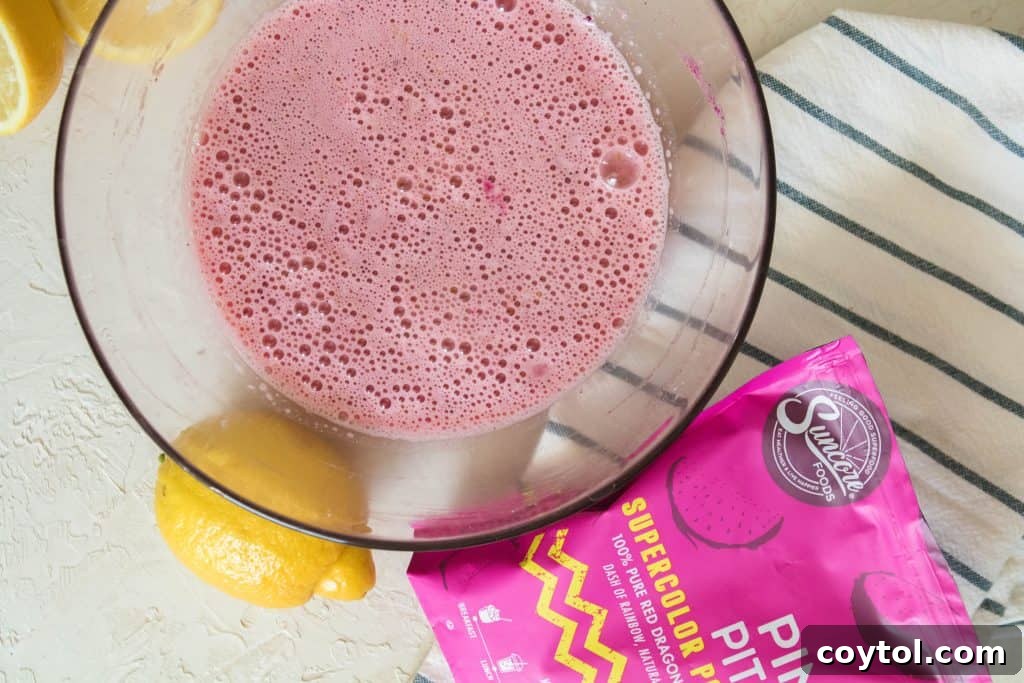
- Prepare the Pink Lemon Filling: While the crust bakes, it’s time to assemble your vibrant lemon filling. In a large mixing bowl, combine the granulated sugar, whole eggs, and the extra egg yolk. Whisk vigorously until the mixture is completely smooth and well-combined. Then, add the all-purpose flour, freshly squeezed lemon juice, fragrant lemon zest, and the star ingredient – pitaya powder. Continue whisking until all ingredients are thoroughly incorporated and the mixture is a beautiful, uniform pink.
- Allow Filling to Rest (for fewer bubbles): Let the prepared lemon filling sit at room temperature for 15-20 minutes. This resting period allows any tiny air bubbles that formed during whisking to dissipate, leading to a smoother, more professional-looking finish on your bars.
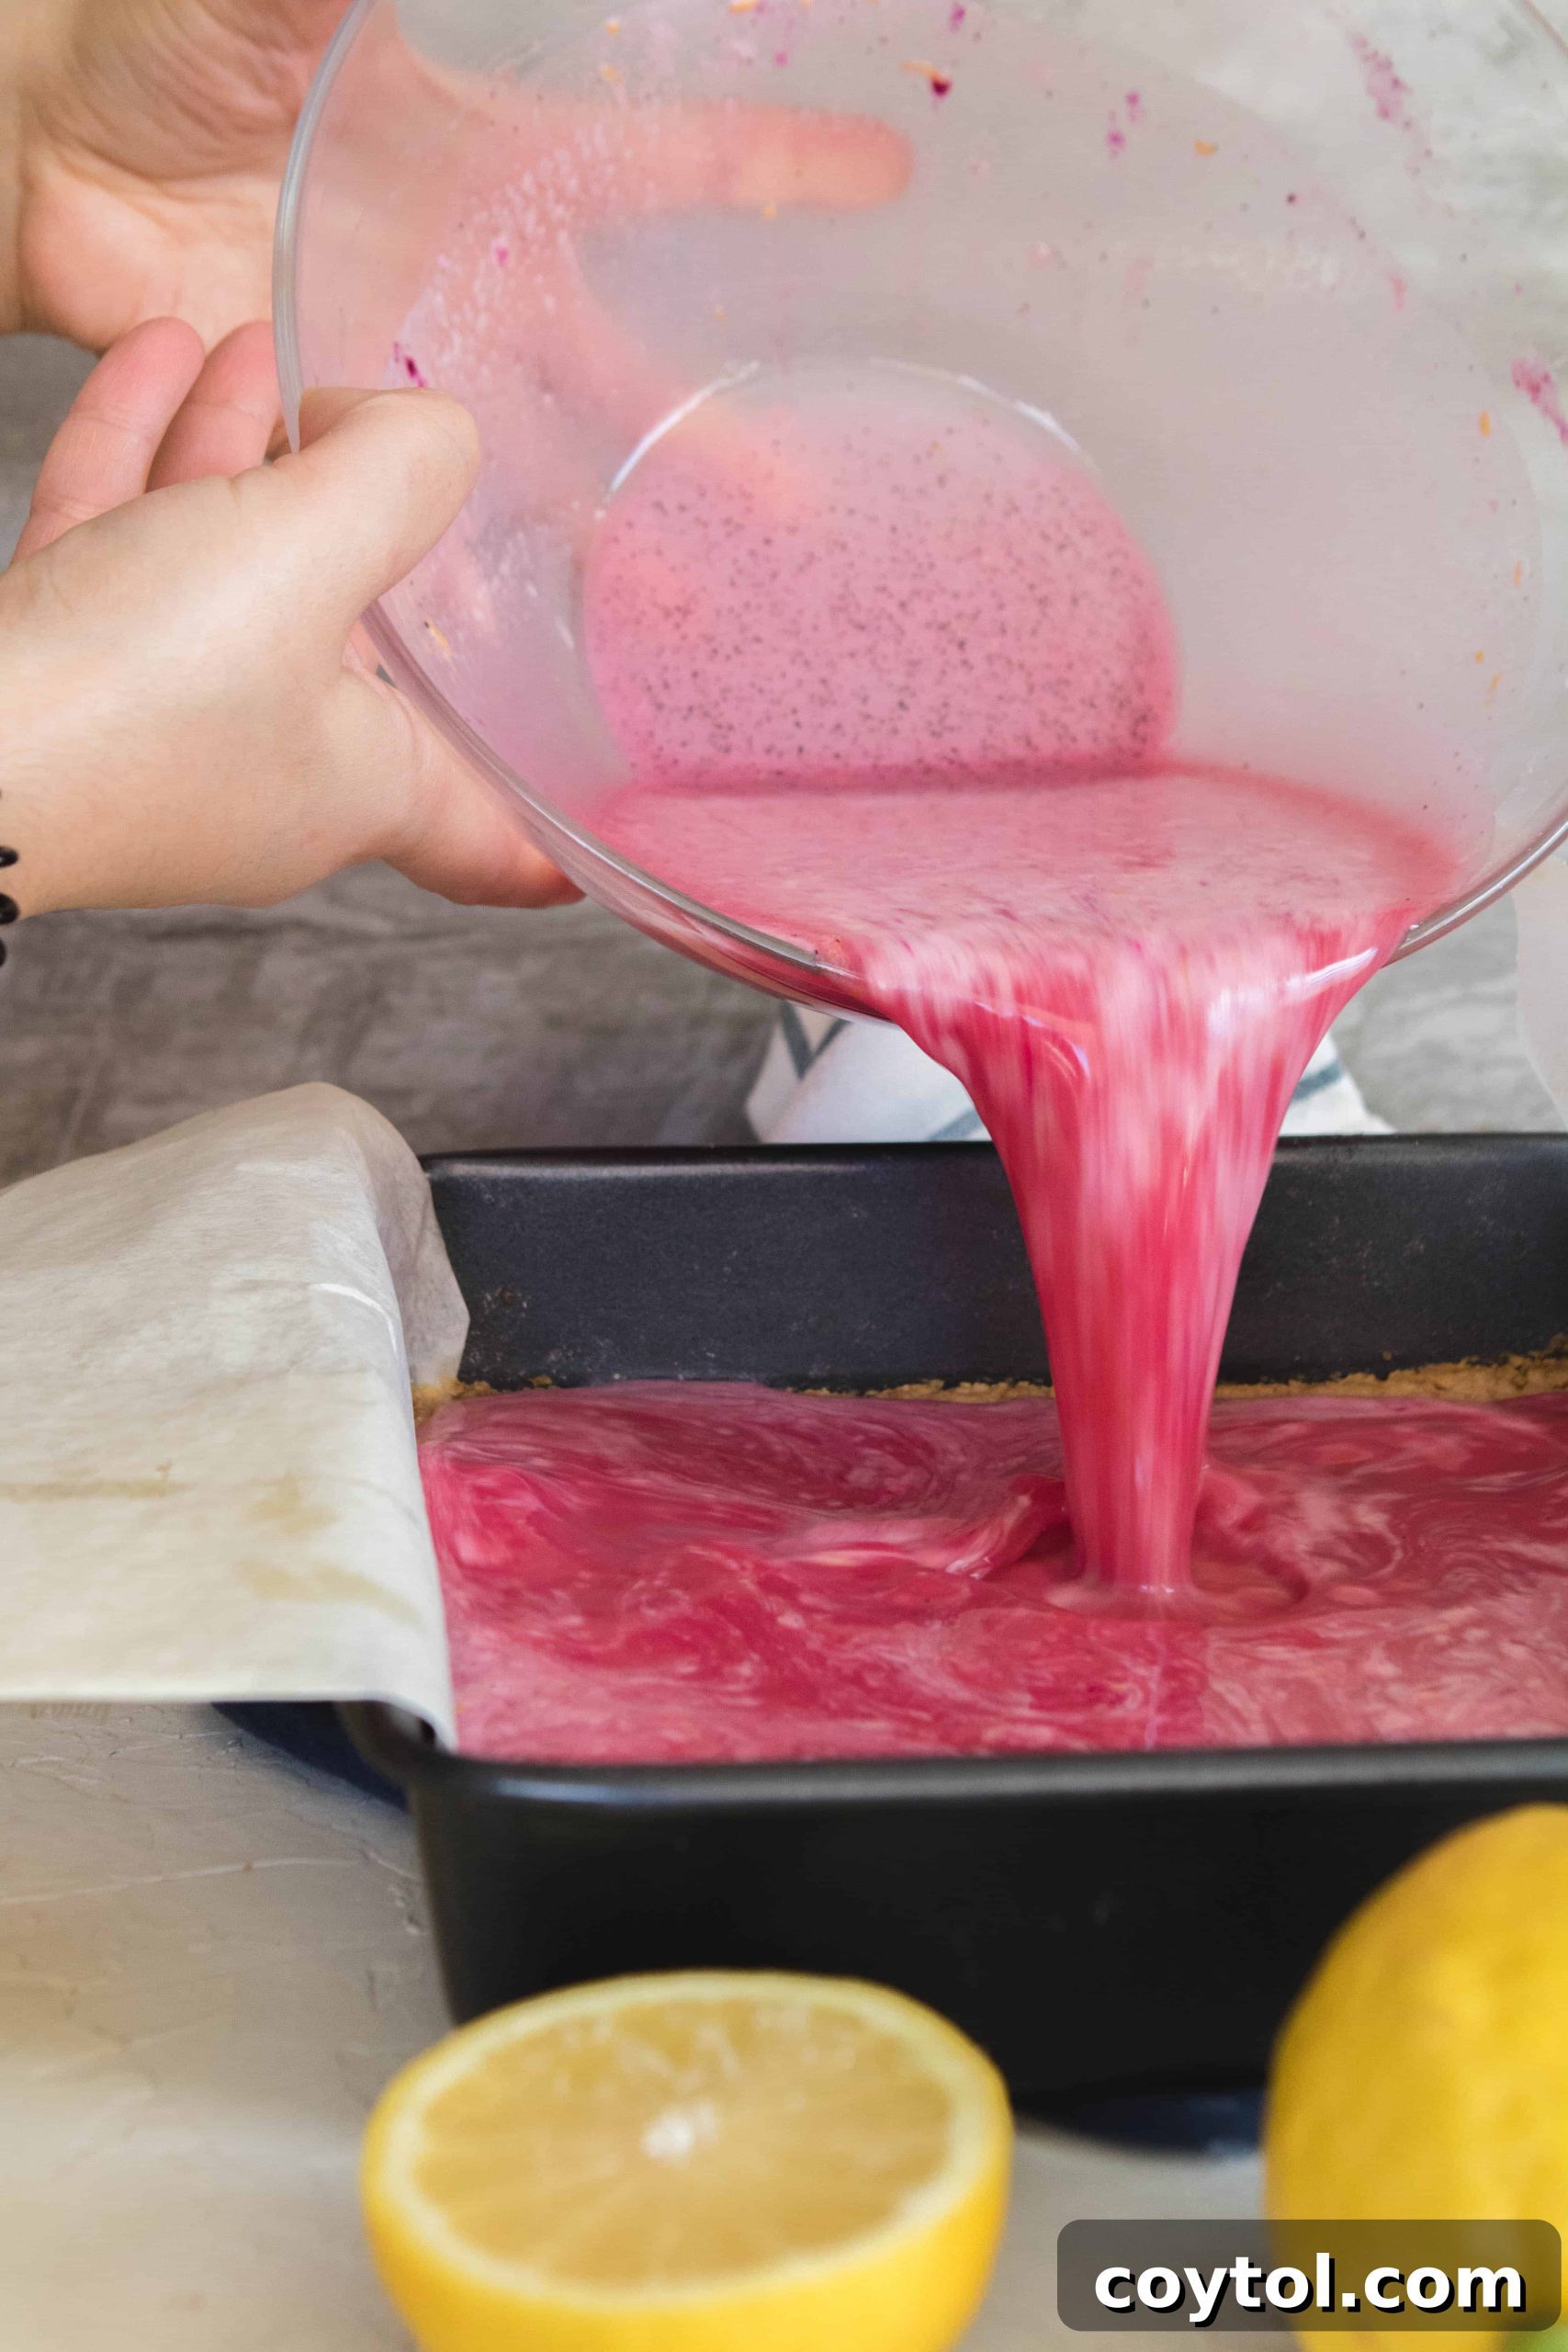
- Combine and Bake: Once the crust is baked and removed from the oven, immediately and carefully pour the rested pink lemon filling directly over the hot crust. Gently return the pan to the oven (which should now be at 325°F/160°C). Bake for another 25-30 minutes, or until the center of the lemon filling is set and no longer appears liquid when the pan is gently jiggled. The edges may be slightly firmer.
- Cool Completely: This step is crucial for perfectly set bars! Remove the pink lemon bars from the oven and allow them to cool completely at room temperature on a wire rack. This can take several hours. Do not attempt to slice them while warm, as the filling will not be fully set.
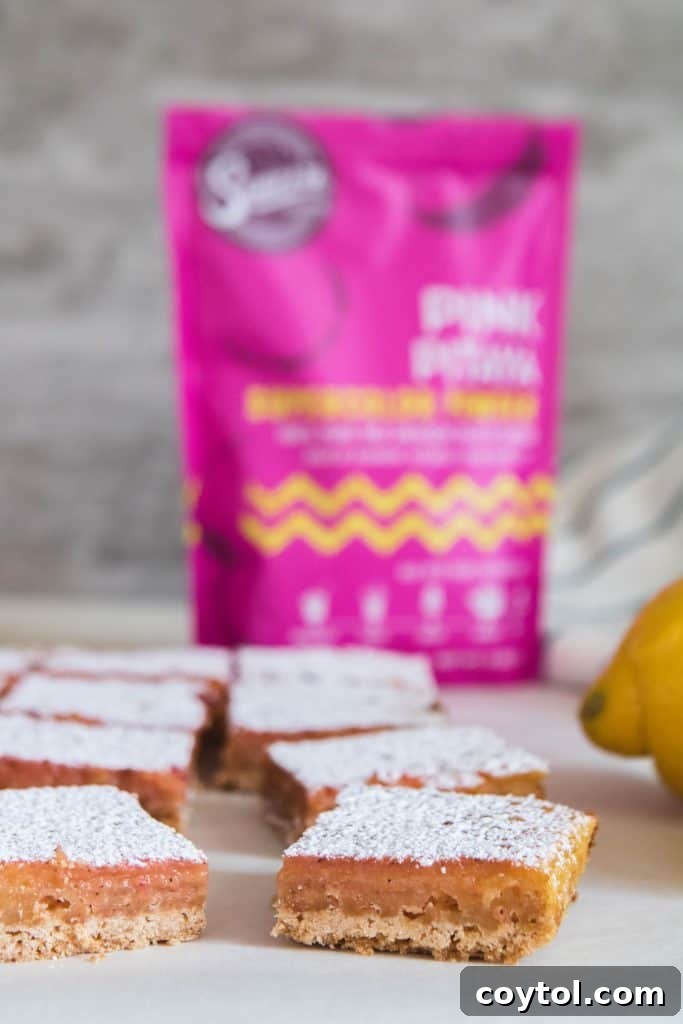
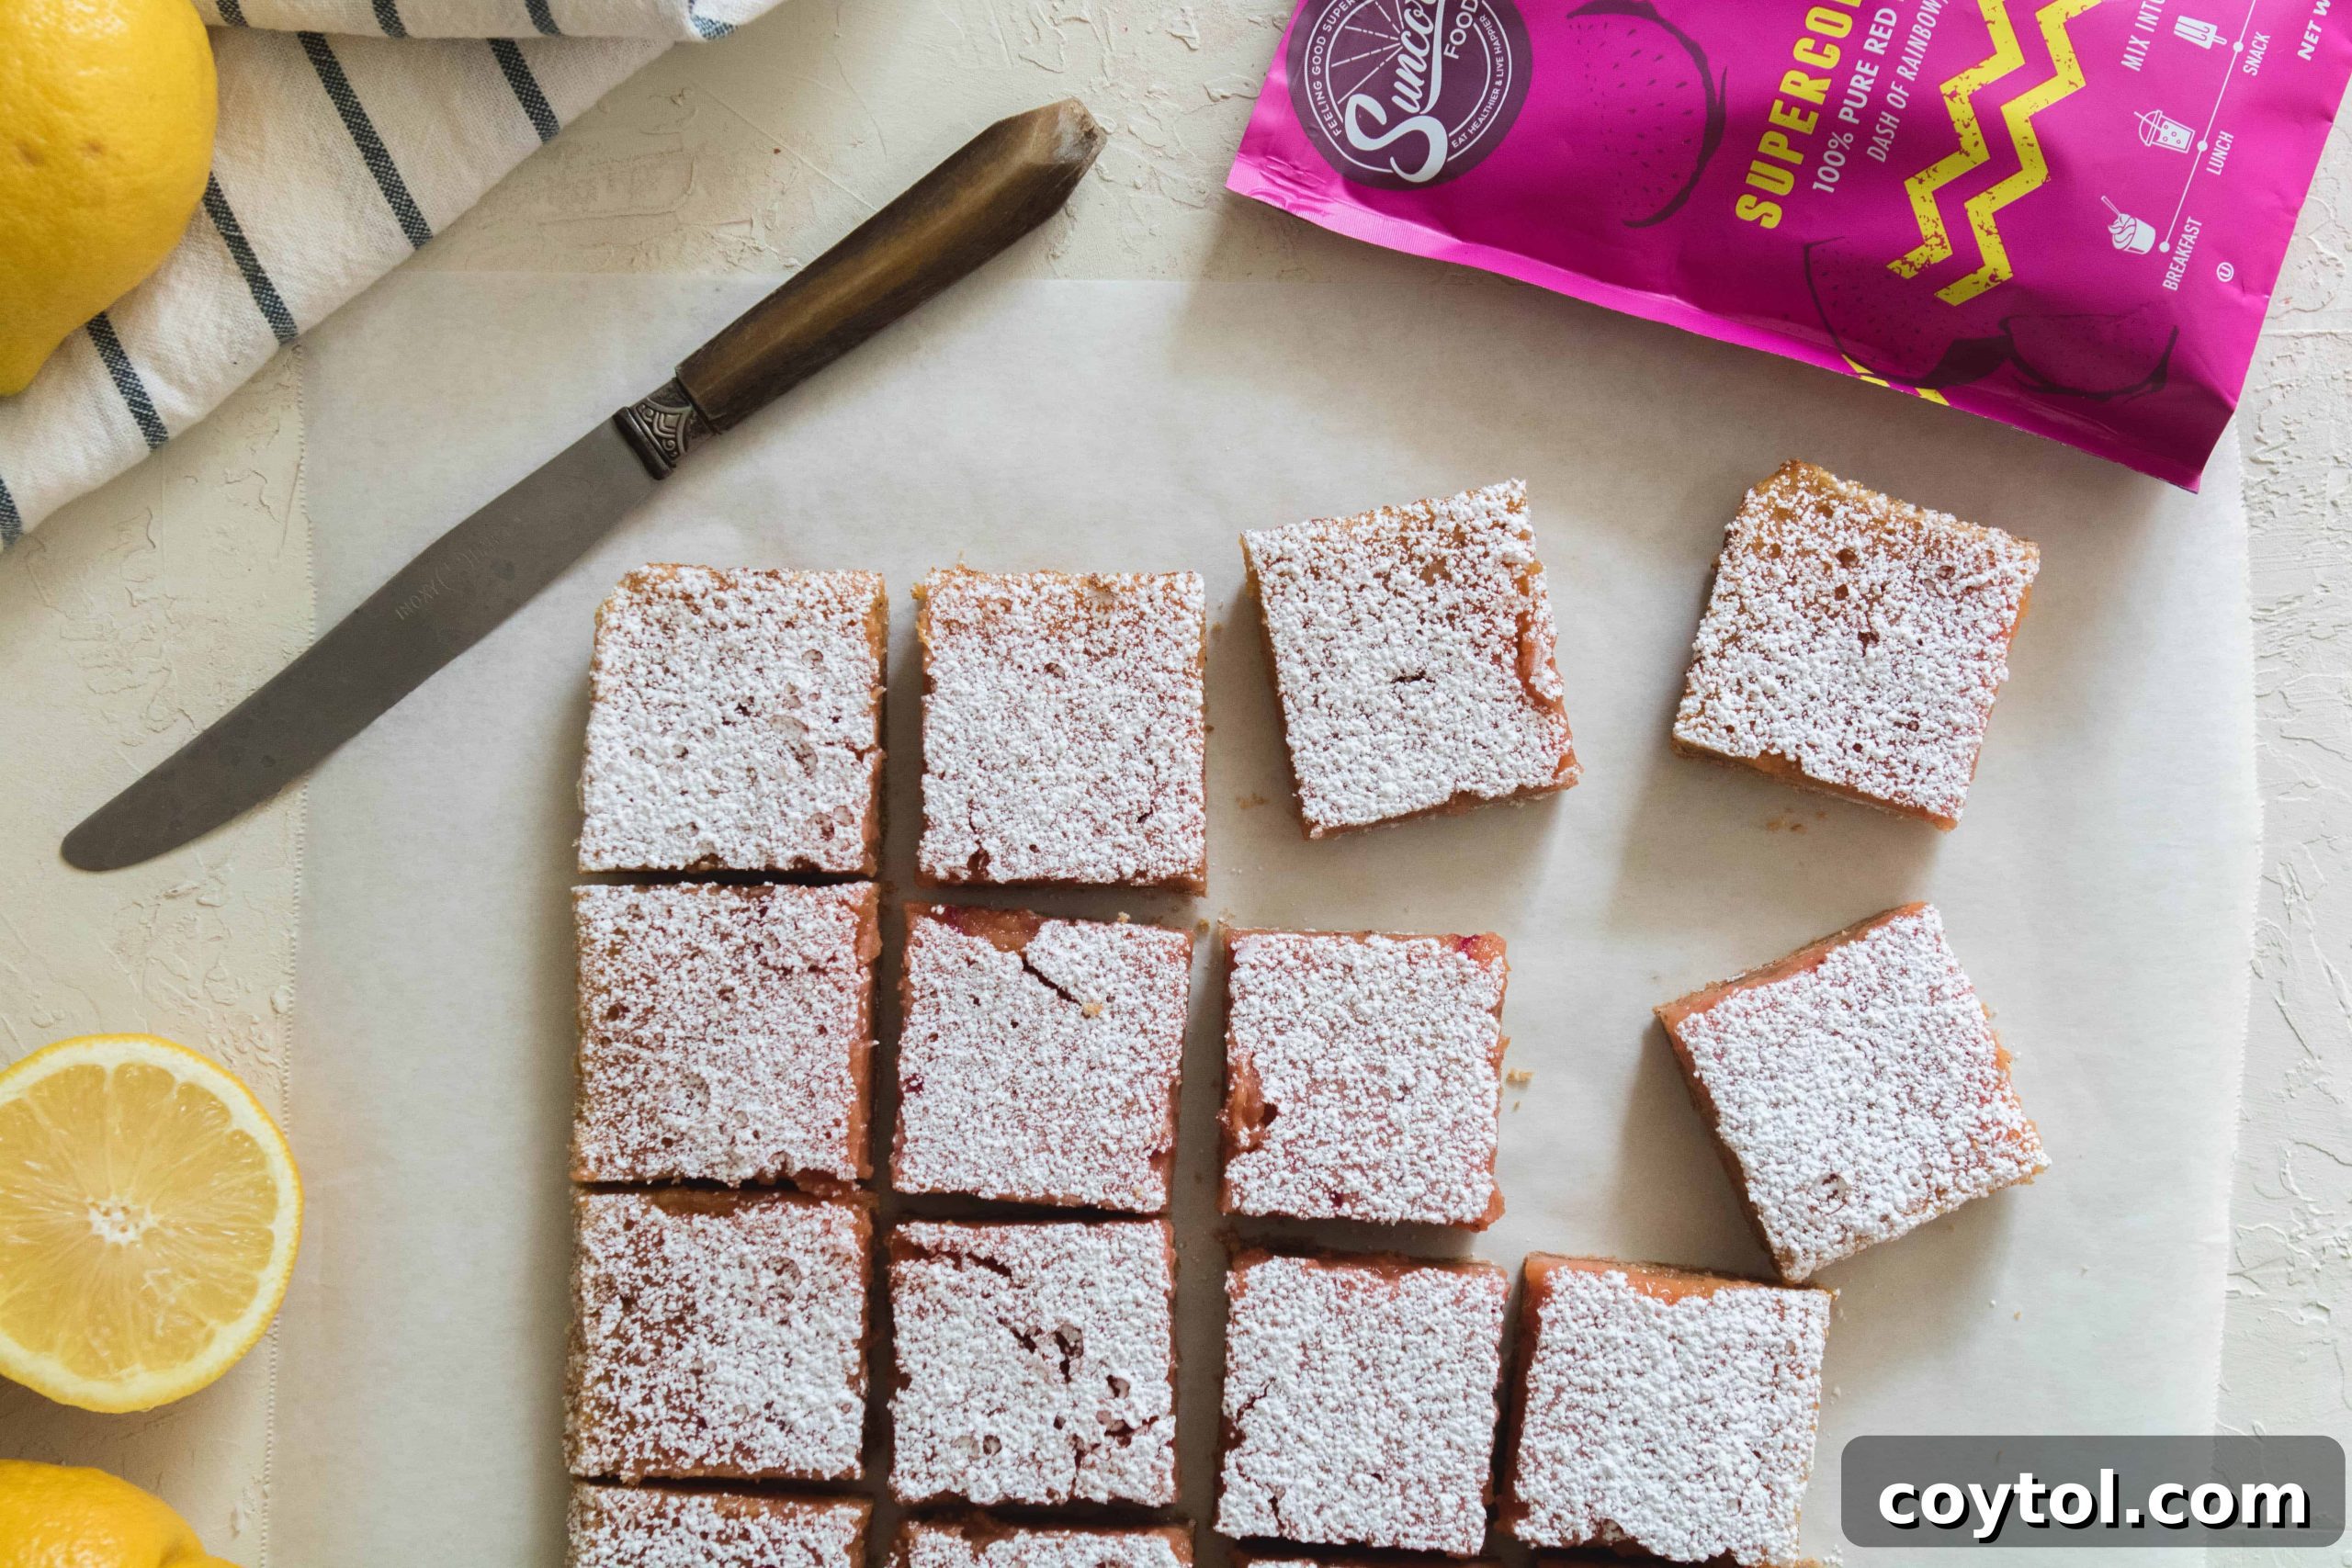
- Slice and Serve: Once completely cooled, use the parchment paper overhangs to carefully lift the entire slab of lemon bars out of the pan. Place them on a cutting board. Using a sharp, clean knife, slice the bars into your desired squares or rectangles. For the best presentation, wipe the knife clean between each cut. Just before serving, dust generously with powdered sugar for an elegant finish. Enjoy your naturally beautiful and tangy-sweet pink lemon bars!
Expert Tips for Flawless Pink Lemon Bars Every Time
Achieving perfectly set, beautifully colored, and utterly delicious lemon bars is simple with a few insider tricks. Here are my top tips to ensure your pink lemon bars are nothing short of spectacular:
- Always Use Freshly Squeezed Lemon Juice: This cannot be emphasized enough. Bottled lemon juice, while convenient, simply doesn’t compare in terms of vibrant flavor and aroma. The fresh juice provides that bright, zesty tang that defines a great lemon bar. A good citrus juicer is a worthwhile investment and will last for years, making squeezing lemons a breeze.
- Minimize Air Bubbles in the Filling: Those tiny white specks or a foamy layer on top of your lemon bars are caused by air bubbles in the filling. To prevent this, after whisking your lemon filling, let it rest for at least 15-20 minutes before pouring it over the crust. This allows the air bubbles to rise to the surface and dissipate naturally, resulting in a perfectly smooth, clear pink finish.
- Dealing with Stubborn Bubbles Using a Torch: If you’re still left with a few persistent bubbles after resting the filling, here’s a professional trick I learned during my bakery internship: once you’ve poured the filling onto the baked crust, gently glide a kitchen blow torch (the kind used for crème brûlée) just over the surface of the liquid. The heat will cause any remaining bubbles to pop and disappear, leaving a pristine surface.
- How Many Lemons Do You Need?: This is a common question, and the answer varies depending on the size and juiciness of your lemons. On average, one medium lemon yields about 2-3 tablespoons of juice. For this recipe, which calls for 2/3 cup of lemon juice, you’ll likely need between 4 to 6 good-sized lemons. I always recommend buying a couple extra just in case, ensuring you have enough fresh juice for that ultimate tangy flavor.
- Don’t Overbake the Filling: The lemon filling should be just set. It should wiggle slightly in the center when gently shaken but not be liquid. Overbaking can lead to a tough, rubbery texture instead of a smooth, custardy one. Keep an eye on it!
- Cooling is Non-Negotiable: Patience is a virtue, especially with lemon bars. They must cool completely, preferably for several hours or even in the refrigerator, before slicing. This allows the custard to fully set and firm up, preventing a messy, unset center.
Storing Your Pink Lemon Bars: Keeping Them Fresh and Delicious
You’ve put effort into baking these beautiful pink lemon bars, so ensuring they stay fresh and flavorful is key! A frequently asked question is, “Are lemon bars supposed to be refrigerated or stored at room temperature?” The unequivocal answer is: **refrigerate them, always!**
Since the lemon filling is essentially a custard, made with eggs, it requires refrigeration to maintain its quality, texture, and food safety for a longer period. While it’s perfectly fine to leave them out at room temperature for a few hours if you’re serving them immediately at a gathering, for any longer-term storage, the fridge is your best friend.
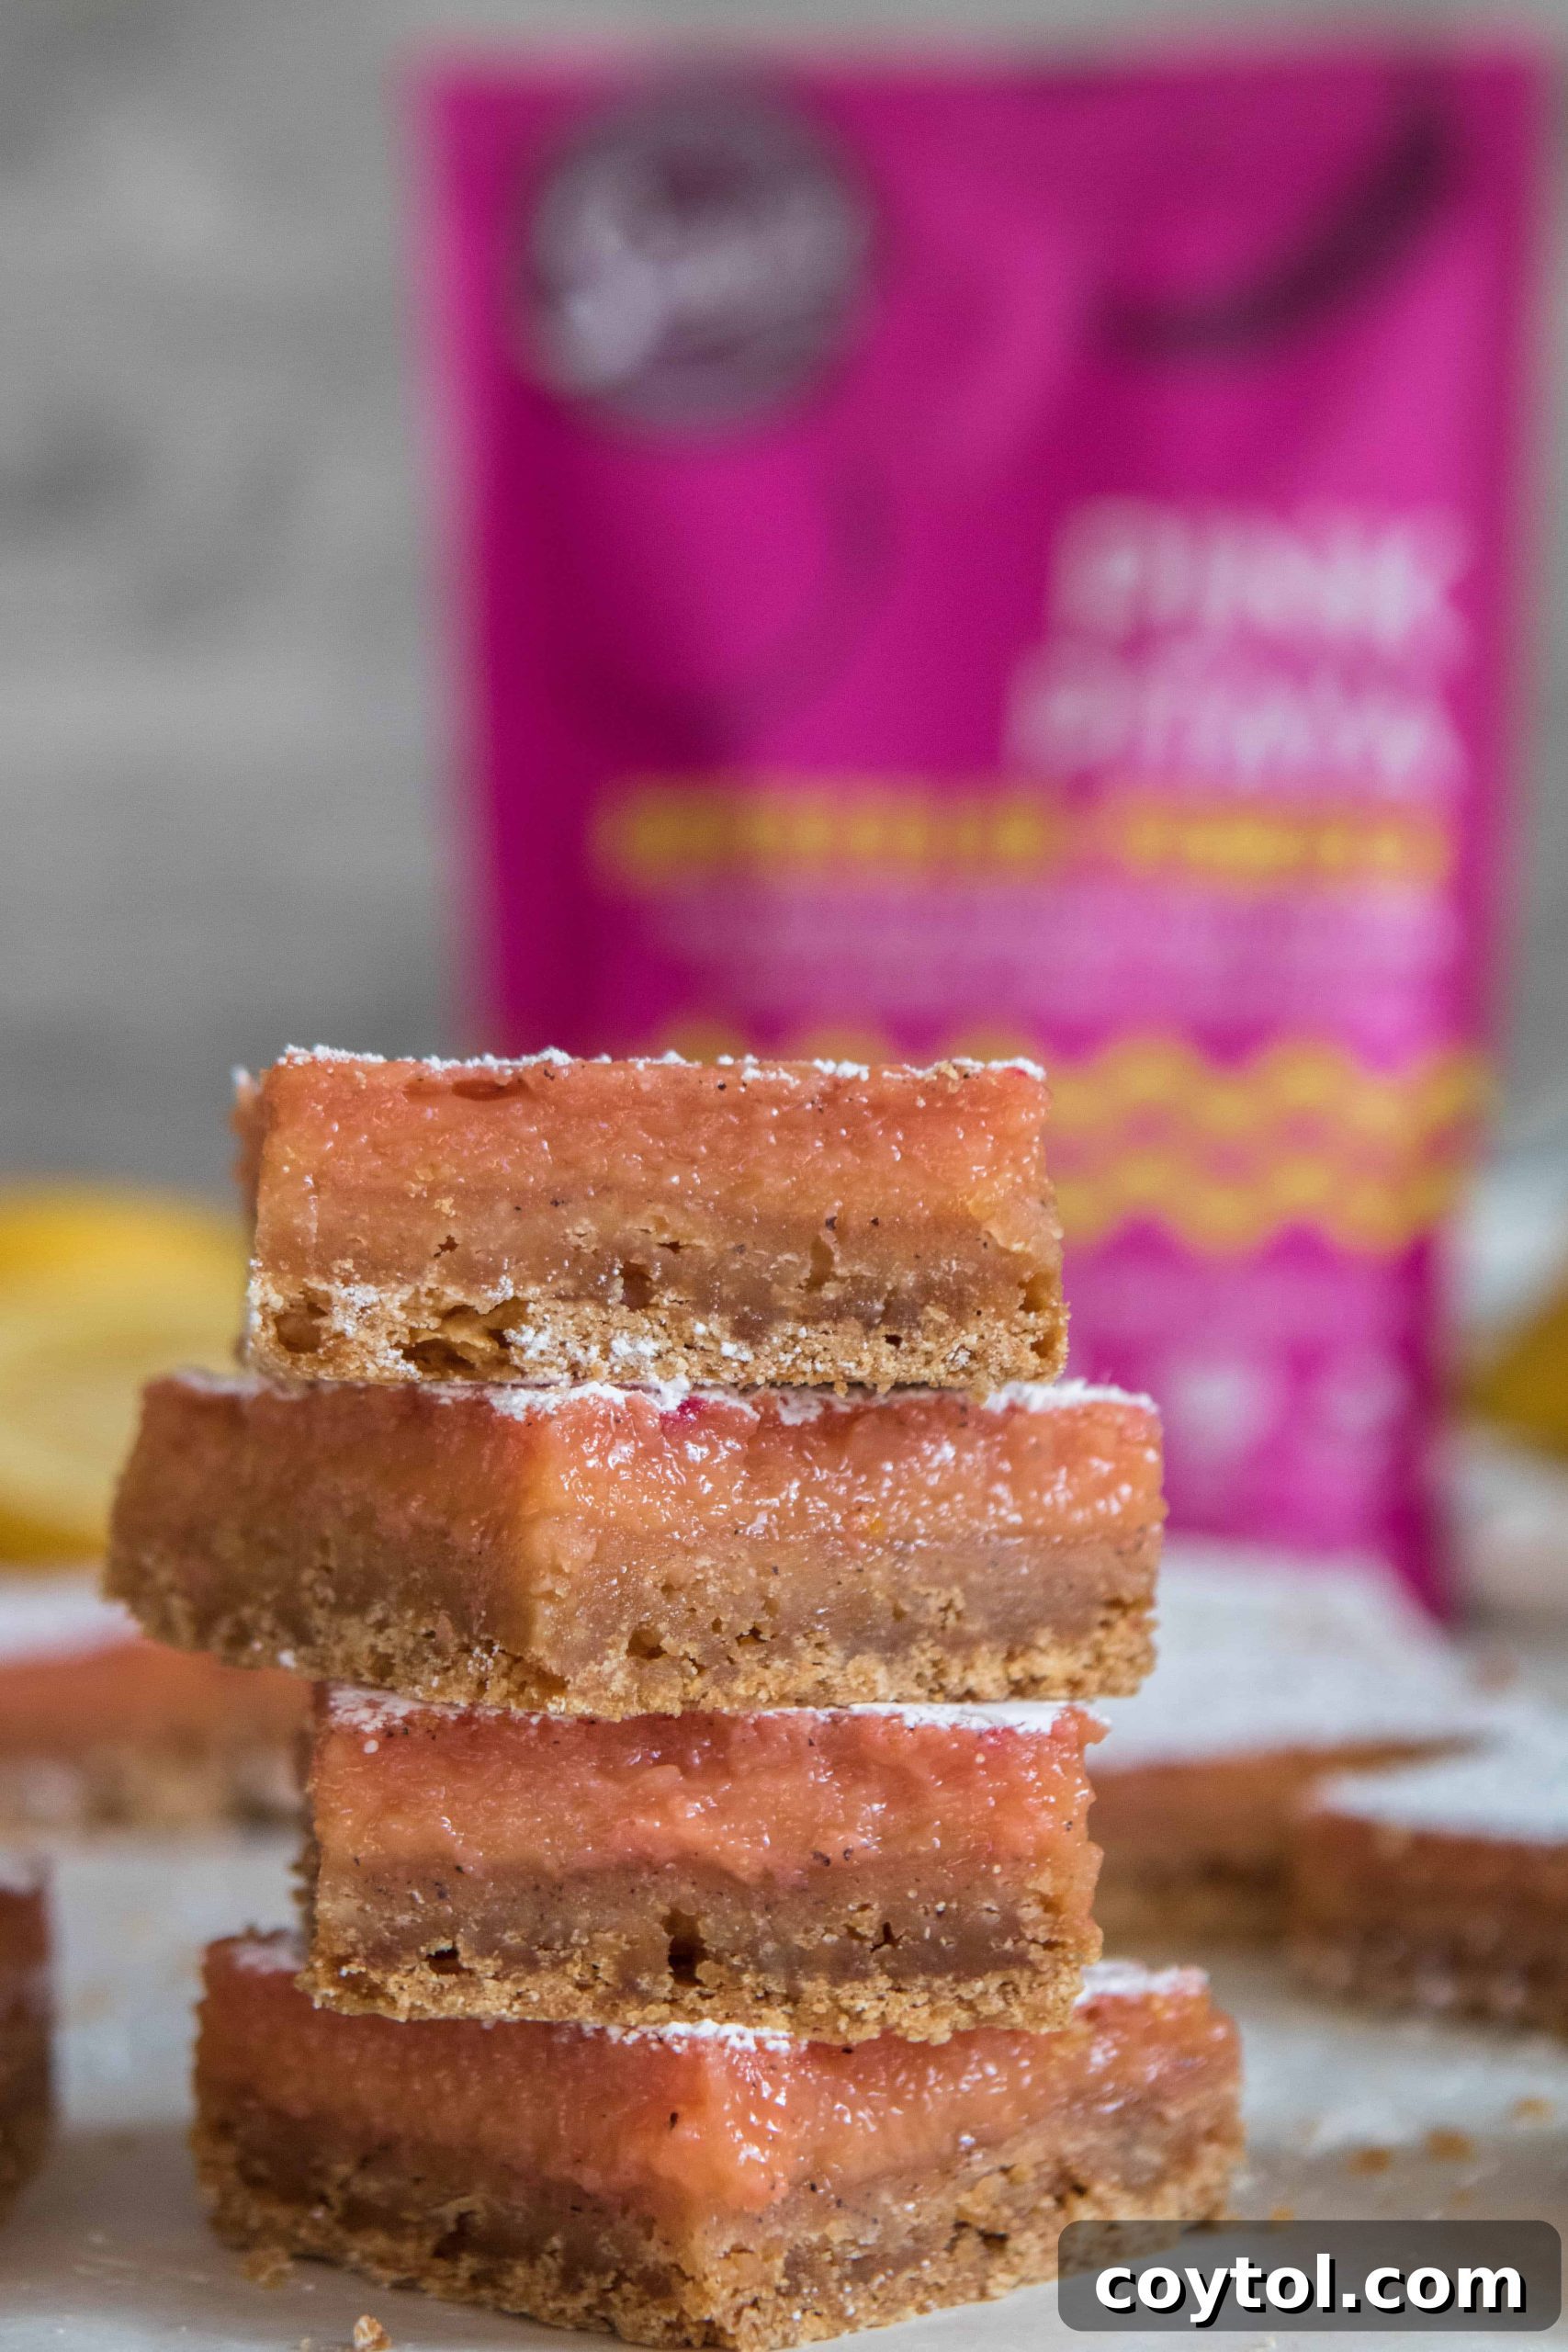
How to Store Lemon Bars in the Refrigerator
To keep your lemon bars tasting as good as freshly baked, follow these simple steps for refrigeration:
- Cool Completely: Ensure your lemon bars are entirely cool before attempting to store them. Placing warm bars in the fridge will create condensation, leading to a soggy crust and a wet top.
- Choose Your Storage Method:
- Whole Slab: If you’re not planning to serve them all at once, you can leave the entire cooled slab of bars in the baking pan. Simply wrap the pan tightly with plastic wrap, ensuring no air can get in.
- Individual Slices: For easier access and serving, slice the cooled bars into individual squares or rectangles. Arrange them in a single layer (if possible) within an airtight container. If you need to stack them, place a piece of parchment paper between layers to prevent sticking.
- Refrigerate: Place the wrapped pan or airtight container in the refrigerator. Your pink lemon bars will stay fresh and delicious for up to 3-4 days.
- Serving from the Fridge: When it’s time to enjoy a bar, pull it out of the fridge. You might notice some condensation on top. Gently blot the surface with a paper towel to remove any moisture. This step is crucial if you plan to re-dust them with powdered sugar. If you sprinkle powdered sugar onto a damp surface, it will dissolve and create a sticky mess. Once blotted, a fresh dusting of confectioners’ sugar will look perfect!
Can Pink Lemon Bars Be Made Ahead of Time?
Absolutely, yes! Pink lemon bars are an excellent make-ahead dessert, perfect for busy schedules or entertaining. You can prepare them up to one day in advance without compromising their taste or texture. Any earlier than that, and while still edible, they might not have that peak freshness and ideal consistency you get from making them closer to serving time. Follow the same storage instructions mentioned above to keep them pristine until your event.
Freezing Pink Lemon Bars for Extended Enjoyment
Yes, you can freeze lemon bars! Freezing is a fantastic option if you want to prepare a batch well in advance, or if you have leftovers you want to save for a rainy day. Properly frozen lemon bars can last for up to 2 months in the freezer, allowing you to enjoy a taste of spring whenever you desire.
To freeze your pink lemon bars while maintaining their quality, follow these steps:
- Bake and Cool Completely: As with refrigeration, it’s paramount that your lemon bars are fully baked and completely cooled before freezing. This prevents ice crystals from forming excessively and preserves the texture.
- Slice the Bars: Once cooled, slice the entire slab of lemon bars into individual portions. This makes thawing and serving much easier later on.
- Initial Freeze (Flash Freezing): Arrange the sliced lemon bars in a single layer on a cooling rack or a rimmed baking sheet. Ensure there’s a little space between each bar so they don’t stick together. Place the baking sheet in the freezer for about 2 hours, or until the bars are firm and completely frozen. This “flash freezing” step prevents them from sticking together when stored in a larger container.
- Individual Wrapping: Once flash-frozen, remove the bars from the freezer. Individually wrap each bar tightly in plastic wrap. The tighter the wrap, the less air exposure, which helps prevent freezer burn.
- Final Storage: Place the individually wrapped bars into a heavy-duty, freezer-safe airtight container or a large plastic resealable freezer bag. Remove as much air as possible from the bag before sealing.
- Freeze: Store the container or bag in the freezer for up to 2 months.
To Thaw and Serve: When you’re ready to enjoy a frozen pink lemon bar, simply remove it from the freezer and unwrap it. Place it on a plate and let it thaw at room temperature for about 30-60 minutes, or overnight in the refrigerator. Once thawed, dust with fresh powdered sugar if desired, and savor that delightful tangy-sweet treat!
Pink Lemon Bars Recipe Card
Pink Lemon Bars Recipe
These stunning pink lemon bars are a delightful twist on the classic, featuring a buttery shortbread crust and a vibrant, tangy-sweet lemon filling naturally colored with pitaya (dragon fruit) powder. Perfect for spring gatherings or a cheerful treat any time!
- Prep Time: 15 minutes
- Cook Time: 1 hour
- Total Time: 1 hour 15 minutes
- Yields: 16 bars
Ingredients
For the Cookie Crust
- 1/2 cup (113g) unsalted butter, cold and cubed
- 1/4 cup (50g) granulated sugar
- 1 cup (120g) all-purpose flour
- 1 tsp vanilla extract
- 1/4 tsp salt
For the Pink Lemon Layer
- 1 cup (200g) granulated sugar
- 4 large eggs
- 1 large egg yolk
- 1/4 cup (30g) all-purpose flour
- 2/3 cup (160ml) fresh lemon juice (from 4-6 lemons)
- 1 tsp lemon zest
- 1 tbsp pitaya powder (dragon fruit powder)
- Powdered sugar, for dusting
Instructions
- Prepare Oven & Pan: Preheat your oven to 350°F (175°C). Lightly grease a 9×9 inch (23×23 cm) baking pan and line it with parchment paper, leaving an overhang on two sides for easy removal.
- Make the Crust: In a food processor, combine the cold butter, 1/4 cup granulated sugar, 1 cup flour, vanilla extract, and salt. Pulse for 20-30 seconds until the mixture resembles coarse sand with some pea-sized butter crumbs. Alternatively, use a pastry blender or your fingertips to cut the butter into the dry ingredients.
- Press the Crust: Pour the crust mixture into the prepared baking pan. Press it firmly and evenly across the bottom, ensuring it’s compact and flat.
- Bake the Crust: Bake the crust for 20-30 minutes, or until it’s lightly golden brown. While the crust is baking, reduce your oven temperature to 325°F (160°C). Remove the baked crust from the oven and set aside.
- Prepare the Pink Lemon Filling: In a large mixing bowl, whisk together the 1 cup granulated sugar, 4 eggs, and 1 egg yolk until completely smooth. Stir in the 1/4 cup flour, fresh lemon juice, lemon zest, and pitaya powder. Whisk until thoroughly combined and the mixture is uniformly pink.
- Rest the Filling: Let the lemon filling sit at room temperature for 15-20 minutes. This helps dissipate air bubbles, resulting in a smoother finished product.
- Bake the Bars: Immediately pour the rested pink lemon filling over the hot, baked crust in the pan. Return the pan to the oven (at 325°F/160°C). Bake for another 25-30 minutes, or until the center of the filling is set and no longer jiggly.
- Cool Completely: Remove the bars from the oven and let them cool completely at room temperature on a wire rack. This is crucial for the filling to set properly. Once cooled, you can refrigerate them for an hour or two to firm up even more.
- Slice and Serve: Using the parchment paper overhangs, carefully lift the cooled slab of bars from the pan. Place on a cutting board and slice into 16 squares or desired shapes. Just before serving, dust generously with powdered sugar. Enjoy!
Notes
To store these pink lemon bars, place them in an airtight container and keep them refrigerated for up to 3-4 days. For longer storage, see freezing instructions in the main post.
Nutrition information provided is an approximation and should be used as a general guide.
If you’ve whipped up a batch of these beautiful Pink Lemon Bars, I would absolutely love to hear about your experience! Please share your thoughts and creations by leaving a comment below. Your feedback and photos inspire me and our entire community. Don’t forget to connect with us and stay updated on our latest delicious recipes by following us on Instagram, Pinterest, and Facebook.
Shop Our Recommended Baking Essentials
This post may contain affiliate links, meaning that at no cost to you I will get a small percentage of every purchase you make!
Suncore Foods Pitaya (Dragon Fruit) Powder
Cuisinart Food Processor
OXO Good Grips Stainless Steel Pastry Blender