
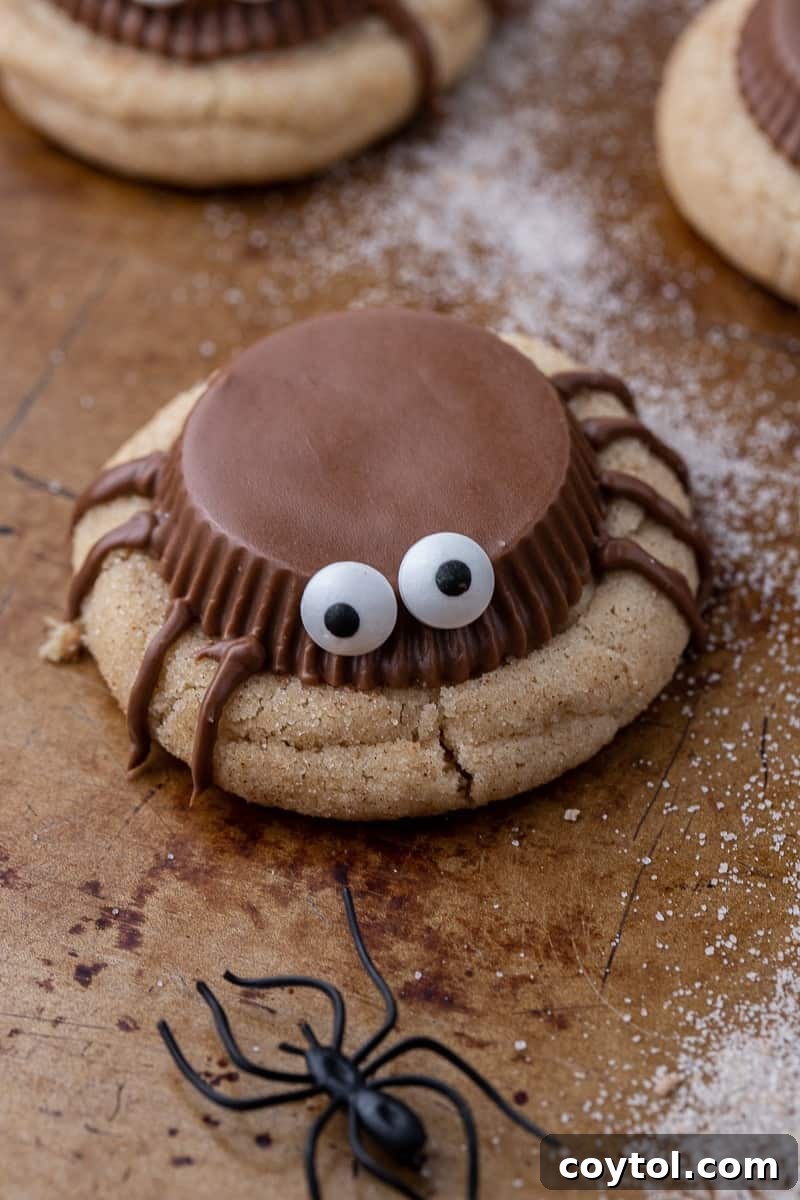
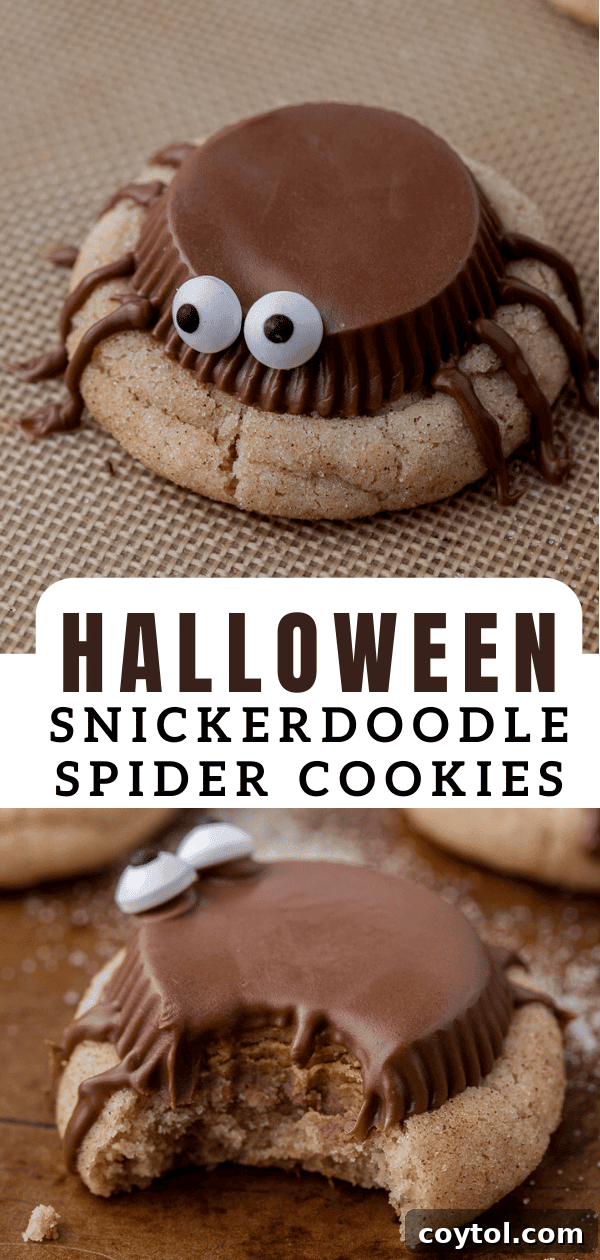
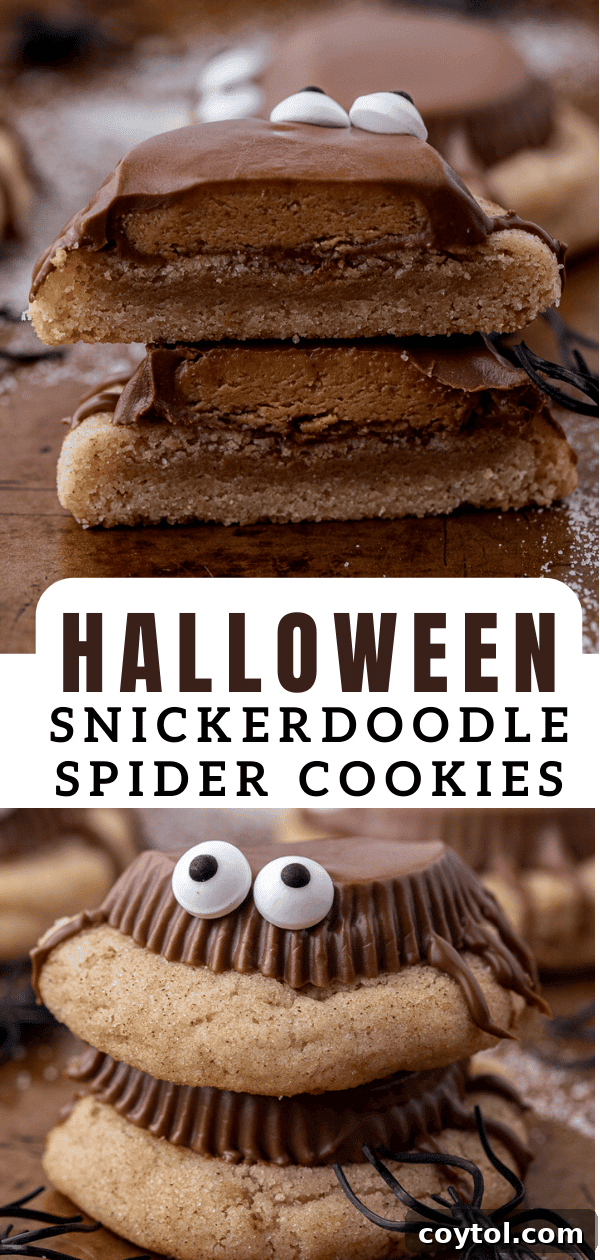
Get ready to elevate your Halloween baking game with these irresistibly soft and chewy Snickerdoodle Halloween Spider Cookies! Far from your average spooky treat, these delightful cookies feature a classic snickerdoodle base, perfectly spiced with cinnamon and sugar. Each cookie is then crowned with a creamy Reese’s peanut butter cup, adorned with playful candy eyeballs or festive sprinkles, and given eight chocolatey legs for a truly eerie-sistible finish. They’re a fantastic centerpiece for any Halloween party and a fun project for bakers of all ages.
If you’re delving into the world of festive Halloween baking, you’ll also adore our Spooky Black Halloween Monster Cookies, and for those who love a rich, dark twist, don’t miss these Halloween Monster Cupcakes | Black Velvet!
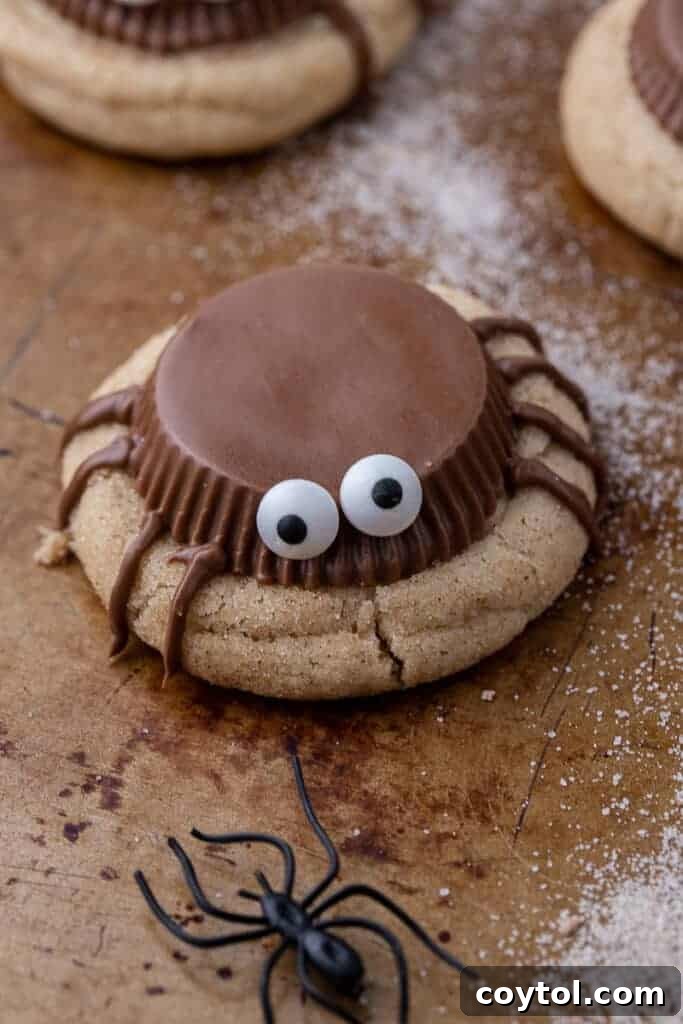
As the leaves begin to turn and a crisp chill fills the air, we know Halloween is just around the corner. It’s the perfect season to embrace all things scary and spooky, especially when it comes to delicious desserts! While some holiday treats can be a bit intimidating, these Snickerdoodle Halloween Spider Cookies are designed to be a delightful and manageable baking adventure, even if they require just a touch of artistic flair.
Today, we’re putting a unique spin on a classic Halloween favorite. You might be accustomed to seeing peanut butter cookies as the base for spider treats, but here, we’re breaking the mold! Our recipe elevates the traditional concept by using a soft, cinnamon-sugar coated snickerdoodle cookie, offering an unexpected burst of flavor that truly sets these spider cookies apart from the rest. It’s a delightful surprise for anyone who takes a bite, combining the comforting taste of snickerdoodle with the rich, familiar goodness of peanut butter and chocolate.
The Ultimate Snickerdoodle Halloween Spider Cookie Recipe!
Prepare to take your Halloween dessert table to the next level with these incredibly creative and delicious spider cookies. The harmonious blend of warm cinnamon from the snickerdoodle, the smooth chocolate, and the creamy peanut butter creates a flavor profile that’s simply irresistible. These cookies are not just tasty; they’re also visually stunning, making them the perfect show-stopper for all your Halloween gatherings and parties. Imagine the gasps and smiles when your guests encounter these adorable yet spooky treats!
Unlike some of the colossal cookies you might find, these snickerdoodle spider cookies are perfectly portioned for easy enjoyment, yet they still pack a punch in terms of flavor and festive appeal. Each bite delivers a wonderful combination of textures – the tender chewiness of the cookie, the melt-in-your-mouth peanut butter cup, and the subtle crunch of the chocolate legs. We are confident that once you try this recipe, it will become a cherished tradition in your annual Halloween baking repertoire. Don’t forget to share your experience and thoughts in the comments below; we love hearing from you!
Why These Halloween Spider Cookies Are a Must-Make!
- Effortless One-Bowl Wonder: Say goodbye to mountains of dirty dishes! This recipe is designed to be made in a single bowl, minimizing cleanup and maximizing your baking enjoyment. Less time scrubbing means more time savoring these delightful treats.
- A Fun Family Activity: These cookies are ideal for involving your little ones in the kitchen. The decorating phase, especially adding the Reese’s cups, candy eyeballs, and drawing the spider legs, is incredibly kid-friendly. It’s a fantastic opportunity to create lasting Halloween memories together. Just remember to ensure adult supervision when handling warm baking sheets.
- Unbelievably Chewy Texture: Prepare to be amazed by the delightful chewiness of these snickerdoodle cookies. The secret lies in the precise balance of ingredients and the addition of cream of tartar, which creates that signature soft, tangy, and chewy snickerdoodle experience that everyone loves.
- Perfect for Gifting and Sharing: Pack these adorable spider cookies into small, Halloween-themed bags or boxes. They make charming and thoughtful gifts for friends, family, teachers, or neighbors, spreading a little bit of spooky joy wherever they go. They’re also fantastic for school parties or bake sales!
- A Unique Flavor Combination: Move beyond the standard chocolate chip! The cinnamon-sugar coating of the snickerdoodle base offers a warm, inviting counterpoint to the rich peanut butter and chocolate, creating a truly memorable dessert.
- Visually Striking: These cookies aren’t just delicious; they’re miniature works of edible art! Their playful, spooky appearance is guaranteed to grab attention and spark conversations at any Halloween gathering.
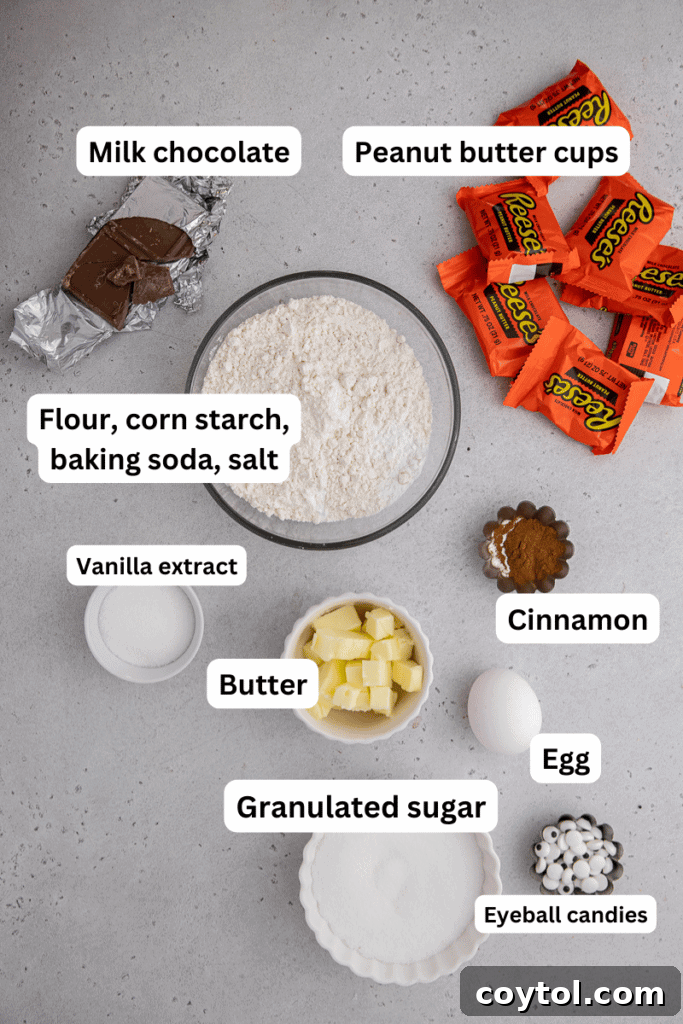
Essential Ingredients for These Spooky Snickerdoodle Halloween Spider Cookies
Gathering your ingredients is the first step to creating these enchanting Halloween treats. Below is a list of what you’ll need, along with a few tips to ensure the best results. For the precise, detailed measurements, please refer to the complete recipe card further down.
- All-Purpose Flour: Standard all-purpose flour works perfectly for these cookies, providing the ideal structure and tenderness. Make sure to measure it accurately by spooning it into your measuring cup and leveling it off.
- Cream of Tartar: This is the secret ingredient that gives snickerdoodles their distinctive tangy flavor and characteristic chewy texture. Do not skip it! It also prevents the sugar from crystallizing, resulting in a softer cookie.
- Baking Soda: Our primary leavening agent, baking soda, reacts with the cream of tartar to give the cookies a beautiful rise and a tender crumb.
- Ground Cinnamon: Essential for that classic snickerdoodle flavor, cinnamon is used both in the cookie dough and for the outer sugar coating. Use a fresh, good-quality cinnamon for the best aromatic experience.
- Salt: A touch of salt is crucial in baking; it balances the sweetness and enhances all the other flavors in the cookie.
- Unsalted Butter: Ensure your butter is softened to room temperature. This allows it to cream properly with the sugar, incorporating air for a light and fluffy cookie dough. If you only have salted butter, omit the added salt in the recipe.
- Granulated Sugar: Simple white granulated sugar provides the sweetness for both the cookie dough and the cinnamon-sugar coating.
- Egg: One large egg acts as a binder, adding moisture and richness to the dough, contributing to the chewy texture. Make sure it’s at room temperature for better incorporation.
- Vanilla Extract: A good quality vanilla extract enhances the overall flavor profile of the cookies.
- Reese’s Peanut Butter Cups: These are the “bodies” of our spiders! Regular-sized Reese’s work best for a prominent spider shape. Feel free to use your favorite brand of peanut butter cups, or even experiment with different chocolate varieties if you dare.
- Milk Chocolate Chips or Chunks: Used for drawing the spider legs, milk chocolate melts smoothly and provides a rich, dark contrast. You can use dark chocolate if you prefer a less sweet option, ensuring it melts well for piping.
- Eyeball Candies or Sprinkles: These edible decorations bring our spiders to life! You can easily find them at most grocery stores, craft stores, or online, especially during the Halloween season.
Crafting These Spooky Snickerdoodle Halloween Cookies: A Step-by-Step Guide
Creating these fun and festive cookies is simpler than you might think. Follow these detailed instructions to bring your snickerdoodle spiders to life. Remember to consult the full recipe card below for precise measurements and baking times.
- Prepare Your Workspace: Begin by preheating your oven to 350°F (175°C). Line a large baking sheet with parchment paper or a silicone baking mat. This prevents sticking and makes for easy cleanup. Unwrap all your Reese’s peanut butter cups ahead of time to streamline the decorating process.
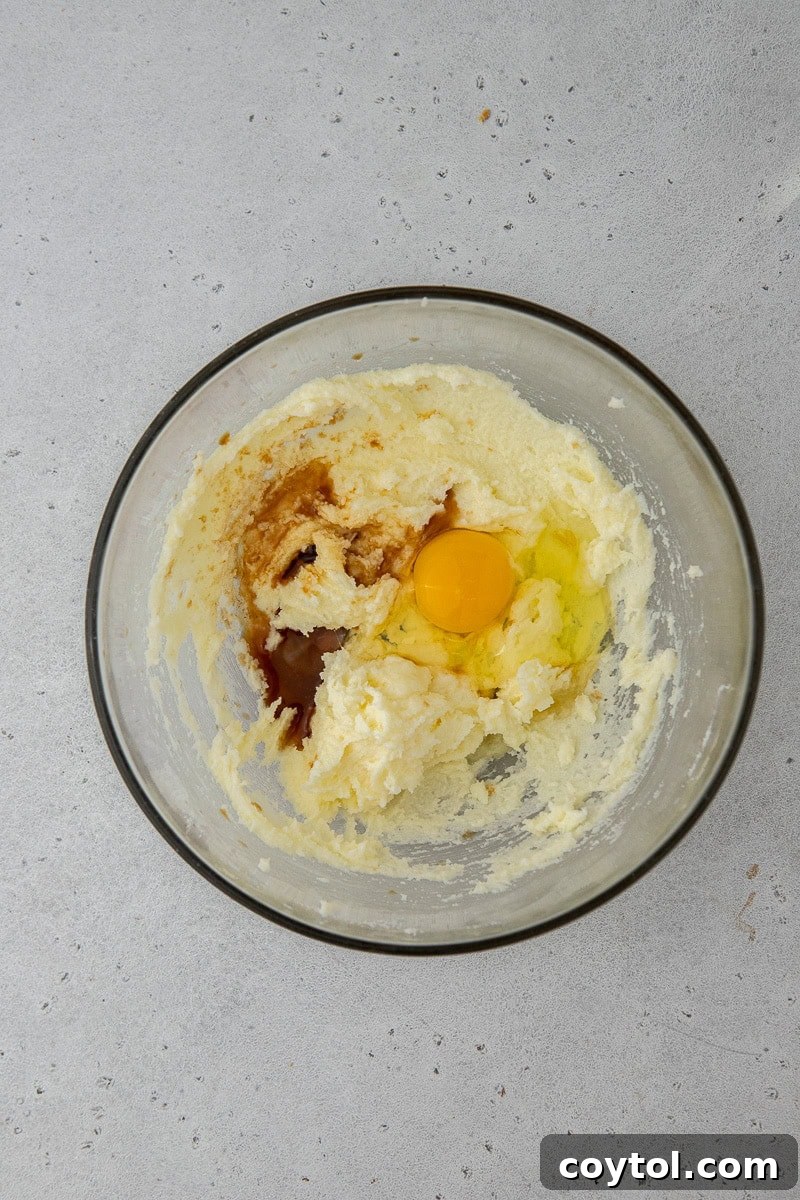
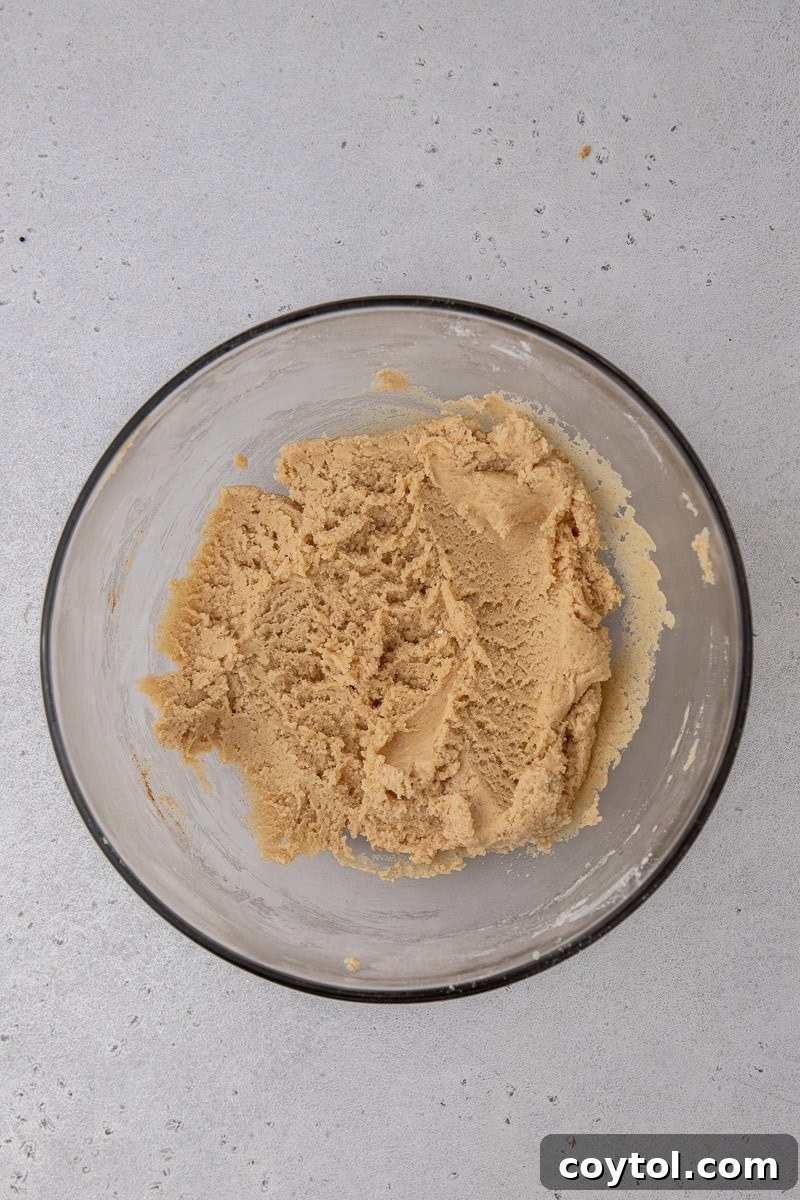
- Cream Butter and Sugar: In a large mixing bowl, using either a stand mixer fitted with the paddle attachment or a hand mixer, cream together the softened butter and granulated sugar on medium speed until the mixture is light, pale, and fluffy. This step is crucial for incorporating air, which contributes to the cookies’ soft texture.
- Add Wet Ingredients: Beat in the egg and vanilla extract until they are well combined with the butter and sugar mixture. Make sure to scrape down the sides of the bowl with a spatula to ensure all ingredients are thoroughly incorporated.
- Combine Dry Ingredients: In a separate small bowl, whisk together the all-purpose flour, baking soda, cream of tartar, salt, and cinnamon. Gradually add this dry mixture to the wet ingredients, mixing on low speed until just combined. Be careful not to overmix, as this can lead to tough cookies.
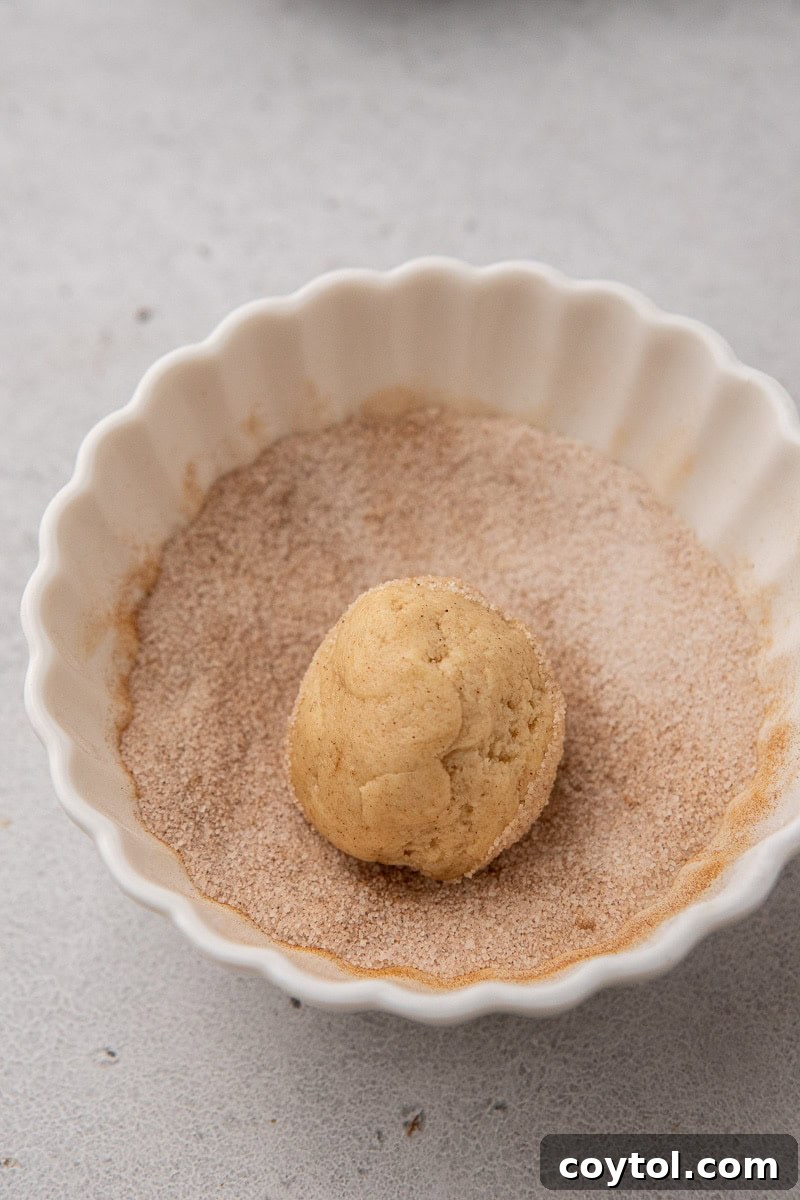
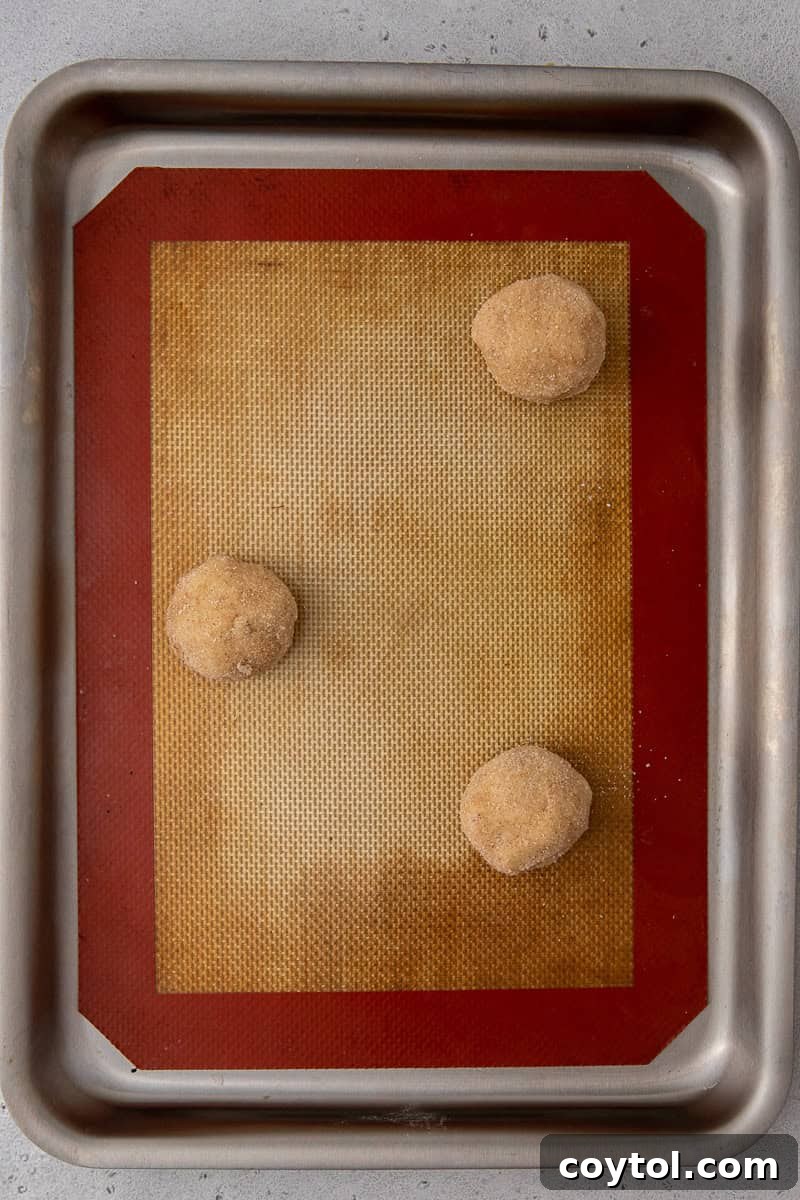
- Shape and Coat the Cookies: In a shallow bowl, prepare your cinnamon-sugar coating by mixing 2 tablespoons of sugar and 1/2 teaspoon of cinnamon. Using a small cookie scoop (about 1.5 tablespoons), portion out 14 equally sized cookie dough balls. Roll each ball gently between your palms to smooth it, then generously roll it in the cinnamon-sugar mixture. Place the coated cookie dough balls on the prepared baking sheet, ensuring you leave about 2-3 inches of space between each to allow for spreading.
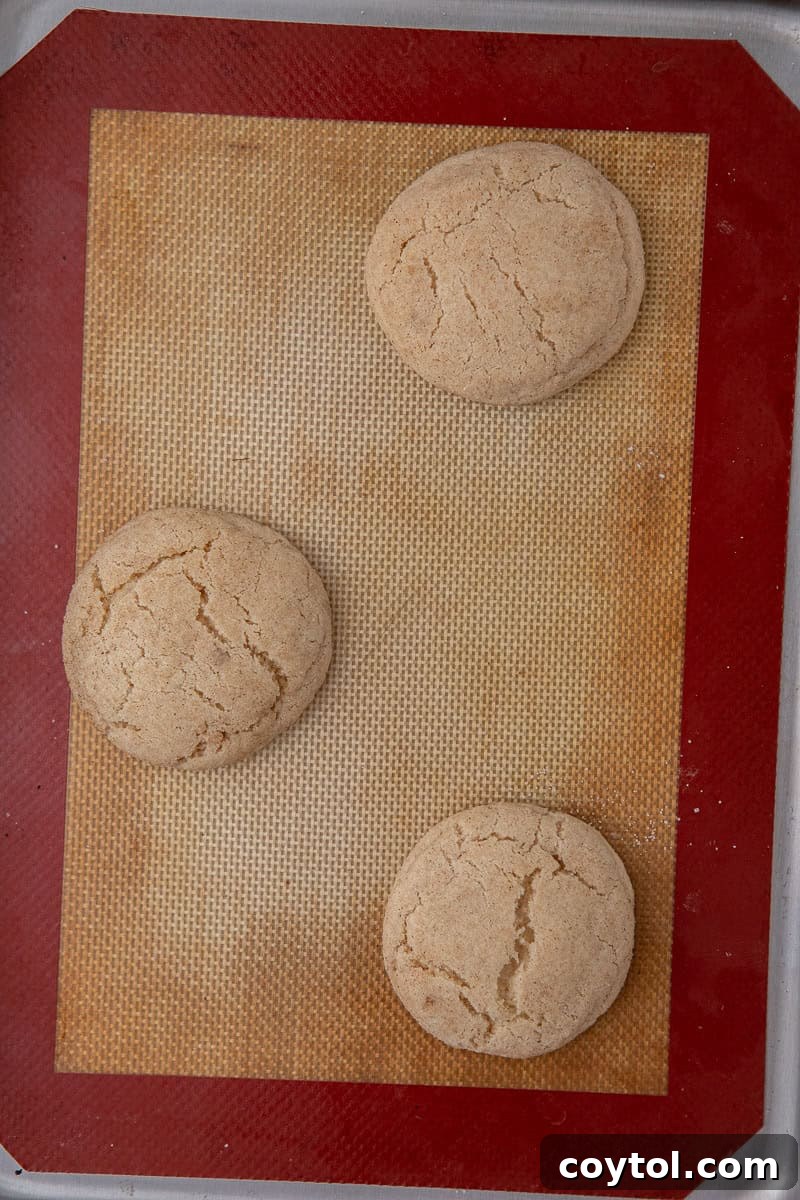
- Bake to Perfection: Bake the cookies for 9-10 minutes. The edges should be lightly set, but the centers will still appear soft and slightly puffy. This is perfectly normal; they will continue to set as they cool. Overbaking will result in dry cookies.
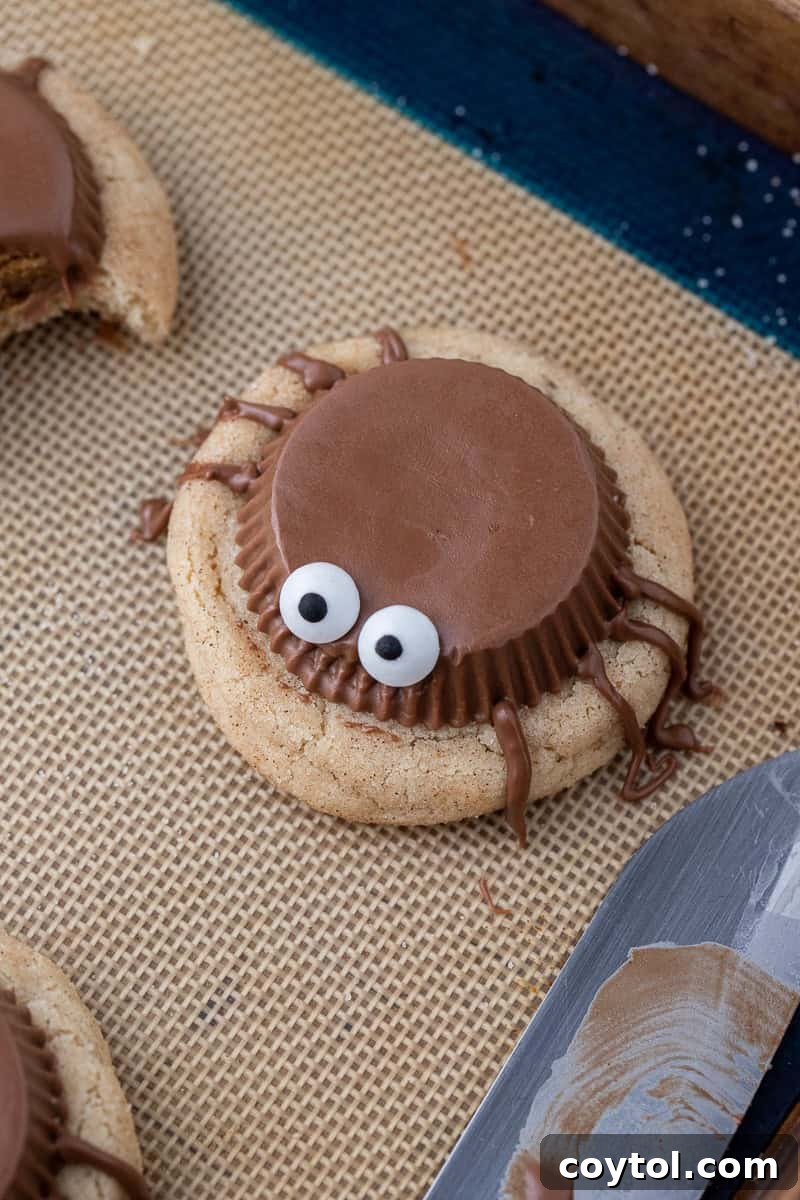
- Add the Spider Bodies: As soon as the cookies come out of the oven, while they are still warm, gently press an unwrapped Reese’s peanut butter cup upside down onto the center of each cookie. The residual heat from the cookie will slightly soften the peanut butter cup, helping it adhere.
- Bring Your Spiders to Life: Allow the cookies to cool for about 5 minutes on the baking sheet to let the Reese’s set slightly. Once the peanut butter cup has slightly melted and adhered, carefully place two eyeball candies on each Reese’s cup to create the spider’s eyes.
- Pipe the Legs: Melt the milk chocolate chips or chunks in a microwave-safe bowl in 20-second intervals, stirring between each, until smooth. Transfer the melted chocolate to a small zip-top bag. Snip a tiny piece off one corner of the bag to create a piping tip. Carefully pipe four spider legs on each side of the Reese’s cup, extending onto the cookie, to complete your spooky creations.
- Set and Enjoy: Allow the chocolate legs to set completely at room temperature or by chilling the cookies in the refrigerator for a few minutes. Once set, your Snickerdoodle Halloween Spider Cookies are ready to be devoured!
Frequently Asked Questions (FAQ)
How to properly store these Snickerdoodle spider cookies?
To keep these delightful spider cookies fresh and looking their best, store them in an airtight container at room temperature. They will maintain their quality and spooky charm for up to 5 days. For optimal presentation, place a piece of parchment or wax paper between each layer of cookies to prevent them from sticking together or the chocolate legs from smudging.
Can I freeze Halloween spider cookies?
Absolutely! These Halloween spider cookies are freezer-friendly, making them perfect for preparing ahead of time. Place them in an airtight container or a freezer-safe bag, ensuring they are separated by parchment paper, and they will keep well in the freezer for up to 2 months. When you’re ready to enjoy them, simply transfer them to the refrigerator overnight or let them thaw on the countertop for about an hour. This makes holiday entertaining incredibly convenient!
Can I make the cookie dough ahead of time?
Yes, you can! Prepare the cookie dough as instructed, roll the balls in cinnamon sugar, and then place them on a baking sheet. Freeze them until solid, then transfer to an airtight freezer bag. They can be baked directly from frozen, adding a couple of minutes to the baking time.
What if my Reese’s peanut butter cups don’t melt enough?
If your cookies have cooled too much before you add the Reese’s, they might not soften sufficiently. You can gently place the cookies back in the warm oven (turned off, with residual heat) for just 1-2 minutes after adding the Reese’s. Alternatively, slightly warm the Reese’s in the microwave for a few seconds before placing them on the cookies (be very careful not to overheat).

Can I use different types of Reese’s Peanut Butter Cups?
You certainly don’t have to stick to the original Reese’s Peanut Butter Cups! This recipe is incredibly versatile, allowing you to customize your spider cookies to your taste. Feel free to use your favorite variety of peanut butter cups. You could opt for white chocolate peanut butter cups for a different aesthetic and flavor pairing with the snickerdoodle, though they might not look as “spooky” in the traditional sense. Dark chocolate peanut butter cups would also be a fantastic choice for a richer flavor. If you’re feeling adventurous with white chocolate, you could even transform them into adorable little ghost cookies instead of spiders by adjusting the decoration!
Expert Tips and Tricks for Perfect Snickerdoodle Halloween Spider Cookies
While this recipe is quite straightforward, keeping a few key tips in mind will ensure your spooky spider cookies turn out perfectly every time. These small details can make a big difference in the final result!
- Prep Ahead: Before you even start mixing, unwrap all the Reese’s peanut butter cups. This saves valuable time and avoids frantic unwrapping when the cookies are hot and ready for topping. Having everything ready to go makes the process much smoother and more enjoyable.
- Temperature is Key for Topping: The timing for placing the Reese’s cups is crucial. You want the cookies to be warm enough to slightly soften the peanut butter cups so they adhere nicely, but not so hot that they melt into a gooey mess. Let the cookies cool on the baking sheet for about 5 minutes after coming out of the oven. This brief cooling period creates the perfect surface for the Reese’s and subsequently, the candy eyeballs.
- Chill for Setting: After decorating with the Reese’s and piping the chocolate legs, if you find the chocolate is taking too long to set, you can gently transfer the baking sheet of cookies to the refrigerator for 5-10 minutes. This will quickly firm up the chocolate. However, for the best flavor and texture, always serve these cookies at room temperature. Cold cookies tend to be firmer and less flavorful.
- Don’t Overbake: Snickerdoodles are best when they are soft and chewy. Bake just until the edges are set and the centers look slightly underdone. They will continue to bake slightly as they cool on the hot baking sheet.
- Cinnamon-Sugar Coating: Don’t be shy with the cinnamon-sugar coating! A generous roll ensures that iconic snickerdoodle crunch and flavor.

Spooky Snickerdoodle Halloween Spider Cookies Recipe
Snickerdoodle Halloween Spider Cookies
Print Recipe
Ingredients
- 1 & 1/2 cup all purpose flour
- 1 tsp cream of tartar
- 1/2 tsp baking soda
- 3/4 tsp cinnamon
- 1/2 tsp salt
- 1/2 cup butter
- 2/3 cup sugar
- 1 egg
- 1 tsp vanilla extract
For the Cinnamon Sugar Coating
- 2 tbsp granulated sugar
- 1/2 tsp ground cinnamon
Spider Toppings
- 14 Reese’s Peanut Butter Cups (regular size, unwrapped)
- 3 tbsp milk chocolate chips (or baking chocolate chunks)
- edible candy eyeballs (or desired sprinkles)
Instructions
-
Preheat your oven to 350°F (175°C) and line a baking sheet with parchment paper.
-
In a large bowl, cream together the softened butter and granulated sugar until light and fluffy. Use the paddle attachment of your stand mixer or a hand mixer for best results.
-
Add the egg and vanilla extract to the creamed mixture, mixing until fully combined. Scrape down the sides of the bowl as needed to ensure everything is incorporated.
-
In a separate bowl, whisk together the all-purpose flour, baking soda, cream of tartar, salt, and cinnamon. Gradually add this dry mixture to the wet ingredients, mixing on low speed until just incorporated. Do not overmix.
-
In a shallow dish, combine 2 tablespoons of sugar with 1/2 teaspoon of cinnamon for the coating. Scoop out 14 equally sized cookie dough balls using a small cookie scoop. Roll each ball between your palms, then roll them generously in the cinnamon-sugar mixture. Place the coated cookies on the prepared baking sheet, leaving about 2-3 inches of space between each.
-
Bake for 9-10 minutes. The cookies will look puffy and may still be soft in the center; they will firm up as they cool. Allow the cookies to cool on the baking sheet for 5 minutes before carefully pressing an unwrapped Reese’s peanut butter cup, upside down, onto the center of each warm cookie.
-
Once the peanut butter cup has slightly melted and adhered, place two edible candy eyeballs on top of each Reese’s cup. Melt the milk chocolate chips in a microwave-safe bowl until smooth. Transfer the melted chocolate to a small zip-top bag, snip a tiny piece off one corner, and pipe four spider legs on each side of the Reese’s cup, extending onto the cookie. Allow the chocolate to set completely before serving.
Nutrition
Nutrition information is automatically calculated and should only be used as an approximation.
If you’re looking for even more delightful recipes, consider subscribing to our newsletter for weekly updates and exclusive content!

Shop Our Recommended Baking Essentials
This post may contain affiliate links, meaning that at no cost to you, I will earn a small commission from qualifying purchases you make. Your support helps keep this blog running!
Loved this Halloween Snickerdoodle Spider Cookies Recipe? Pin it for Later!
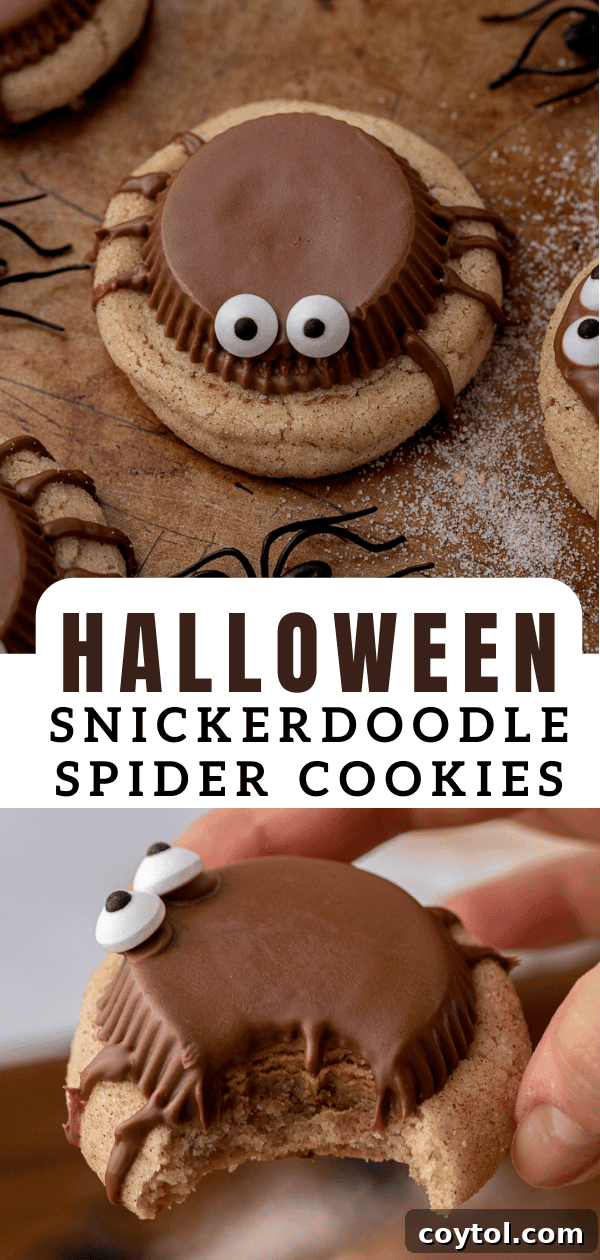
These Snickerdoodle Halloween Spider Cookies are more than just a dessert; they’re an experience waiting to happen! Whether you’re planning a spooky soirée, a family baking day, or simply craving a unique holiday treat, these cookies promise to deliver on both flavor and fun. Their soft, chewy snickerdoodle base perfectly complements the rich peanut butter and chocolate, making them an instant favorite. Don’t let Halloween pass by without whipping up a batch of these enchanting, edible spiders!