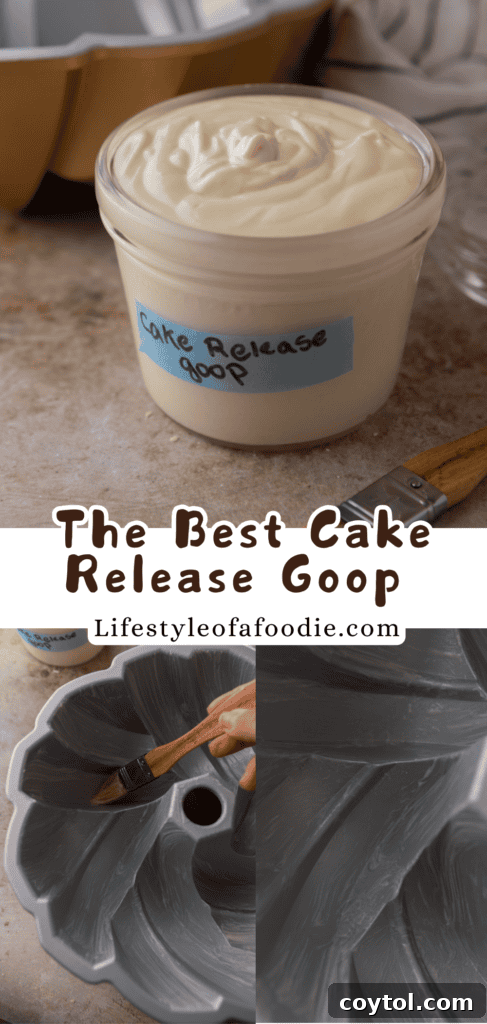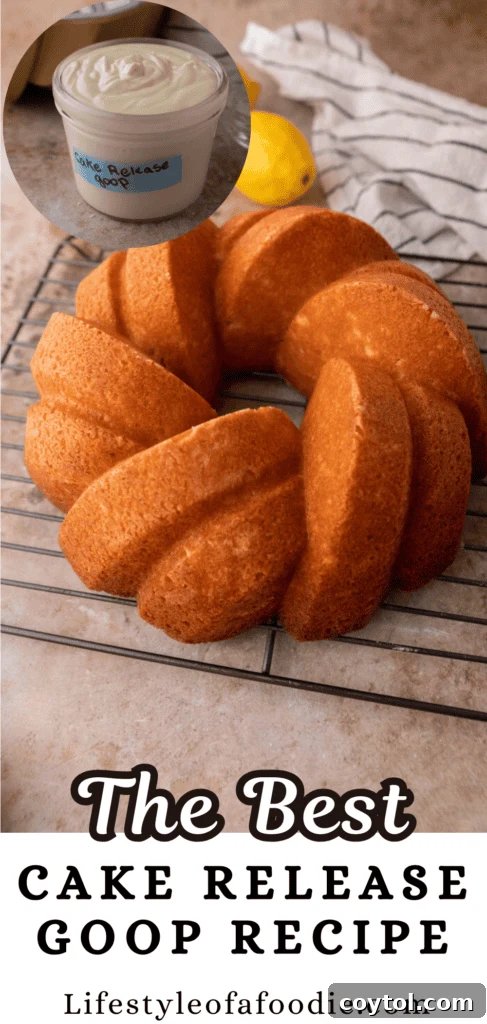
Welcome to the ultimate baking game-changer: homemade cake release! This ingenious recipe is a must-have hack for every baker, ensuring your cakes slide effortlessly out of the pan every single time. Forget the frustration of broken edges, torn bottoms, or cakes clinging stubbornly to intricate designs. With just three simple, readily available ingredients, you can create a non-stick solution that performs like magic, making your baking experience smoother and far more enjoyable. This isn’t just a recipe; it’s your secret weapon for flawless results and consistently perfect bakes, from simple loaf cakes to magnificent Bundt creations.
“Works great, used up 1 batch and made another to share with a friend. Love it, nothing sticks.”
– Jody
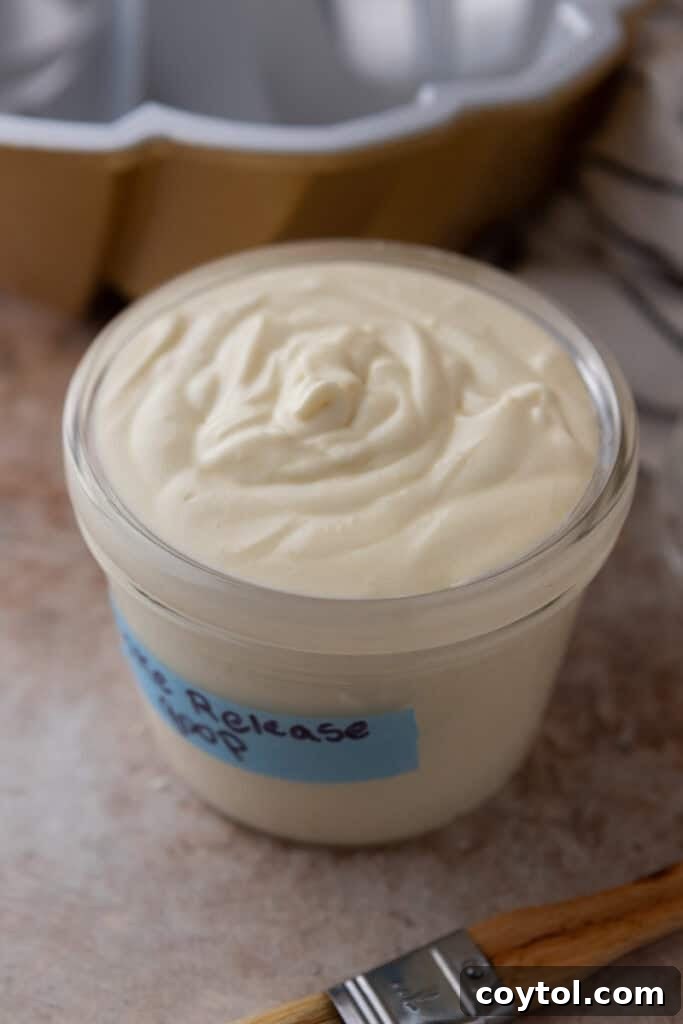
If you’ve ever battled with cakes sticking to the pan, leading to disheartening messes and wasted effort, then this homemade cake release – affectionately known as “goop” by many seasoned bakers – is about to become your new best friend in the kitchen. No more dealing with frustrating pan mishaps, delicate cake edges tearing, or your beautiful creations breaking apart just as you attempt to unmold them. This simple, yet incredibly effective, mixture guarantees a clean release every single time, giving you confidence and consistent success in all your baking endeavors.
This remarkable pan release works wonders on everything from basic loaf pans to the most intricate Bundt cake pans, ensuring every nook and cranny is coated for a perfect release. The greatest advantage of making your own is its all-natural composition. You can confidently leave out the artificial ingredients and propellants often found in store-bought non-stick sprays, opting for a purer, more wholesome approach to baking. Crafting your own homemade cake release truly is an absolute game-changer; once you experience its effectiveness, you’ll wonder how you ever baked without it. Beyond the superior results, you’ll also enjoy significant cost savings, making it a win-win for both your baking quality and your budget!
Since you’re here and clearly share a passion for delectable cake recipes, why not explore some other favorites? Be sure to check out our Best Banana Cake Recipe, our rich Almond Cake Recipe, the refreshing Lemon Bundt Cake Recipe, or the classic comfort of our Chocolate Pound Cake Recipe. Each offers a unique flavor profile perfect for showcasing your newly mastered cake release technique.
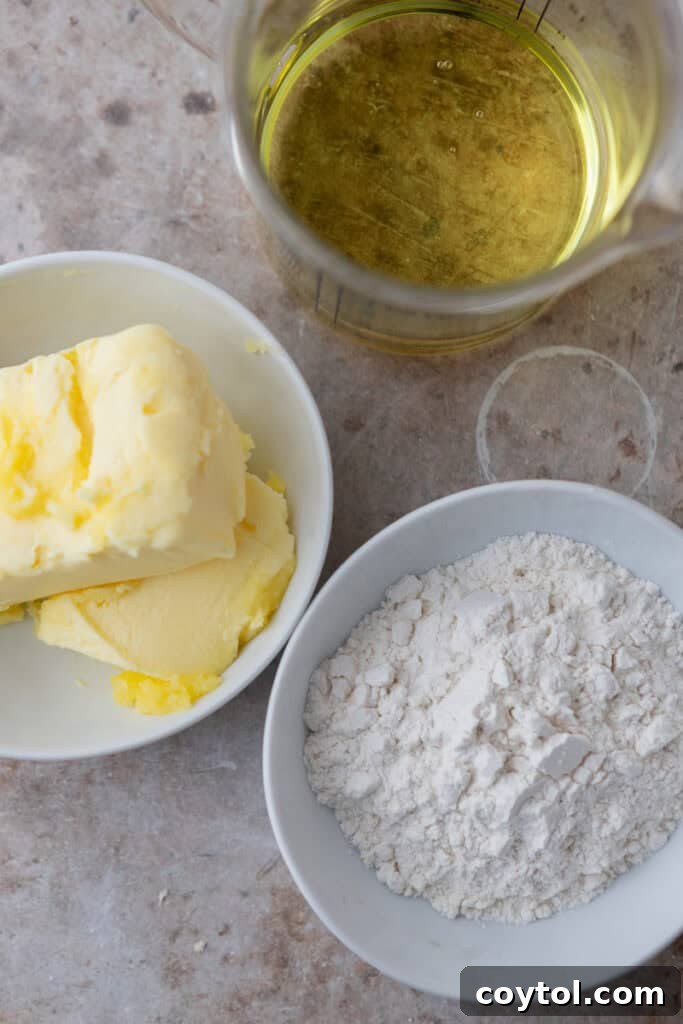
Essential Ingredients for Your DIY Cake Release Recipe
Creating this incredibly effective and easy pan release requires just three fundamental ingredients that you likely already have in your pantry. Their combination forms a powerful non-stick barrier that ensures flawless cake removal. You’ll find the detailed ingredient measurements in the recipe card located at the bottom of this page, but here’s a closer look at what each component brings to the mix:
- All-purpose Flour: The flour acts as the primary non-stick barrier. When baked, it lightly toasts and forms a thin, protective layer between the cake batter and the pan’s surface. This barrier effectively prevents the cake from adhering to the metal, allowing it to release in the easiest way possible without any breakage or sticking.
- Vegetable Oil: The vegetable oil plays a crucial role in providing moisture and facilitating the smooth, even spread of the mixture. It helps to lubricate the pan’s surface and also binds the flour and shortening together, creating a consistent “goop” that coats every contour of your baking pan. Any neutral-flavored vegetable oil will work perfectly.
- Vegetable Shortening: Shortening is the foundational element that gives this goop its stable, creamy texture. It ensures the mixture adheres effectively to the bottom and sides of the pan, forming a robust non-stick layer. Unlike butter, shortening has a higher melting point and remains solid longer, contributing to the mixture’s stability at room temperature. I opted for butter-flavored shortening because that’s what I had on hand, and it adds a subtle, pleasant aroma, but regular vegetable shortening works just as well.
Crafting Your Perfect Cake Release: A Simple Step-by-Step Guide
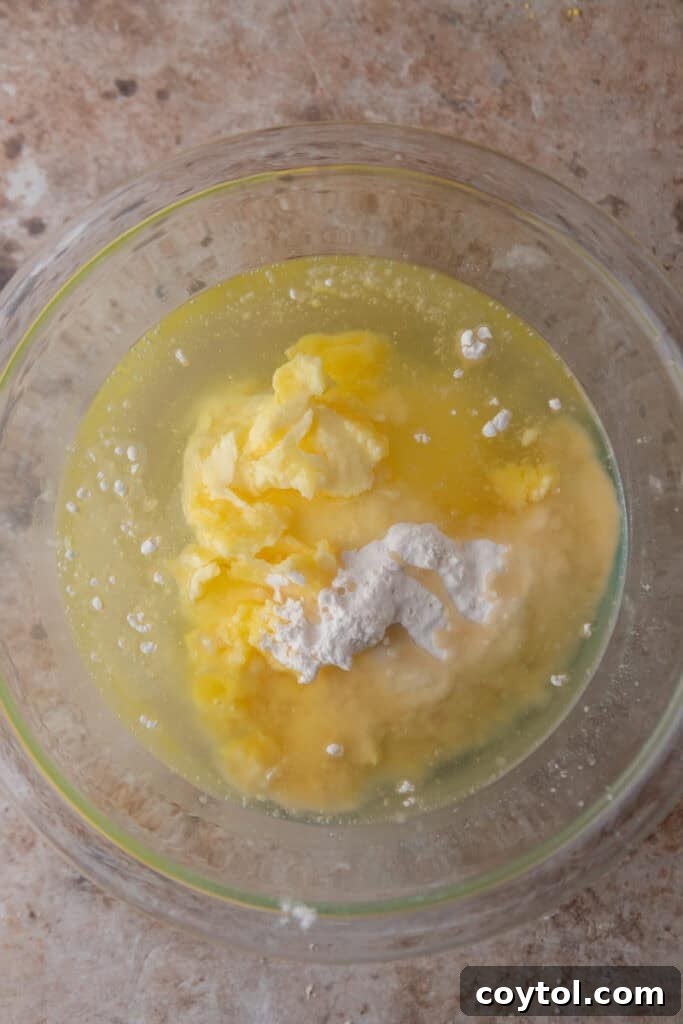
Making this homemade pan release is astonishingly simple and takes mere minutes. The process is straightforward, yielding a smooth, spreadable mixture that will revolutionize your baking. For the complete step-by-step instructions, including precise measurements, be sure to scroll down to the comprehensive recipe card at the end of this post!
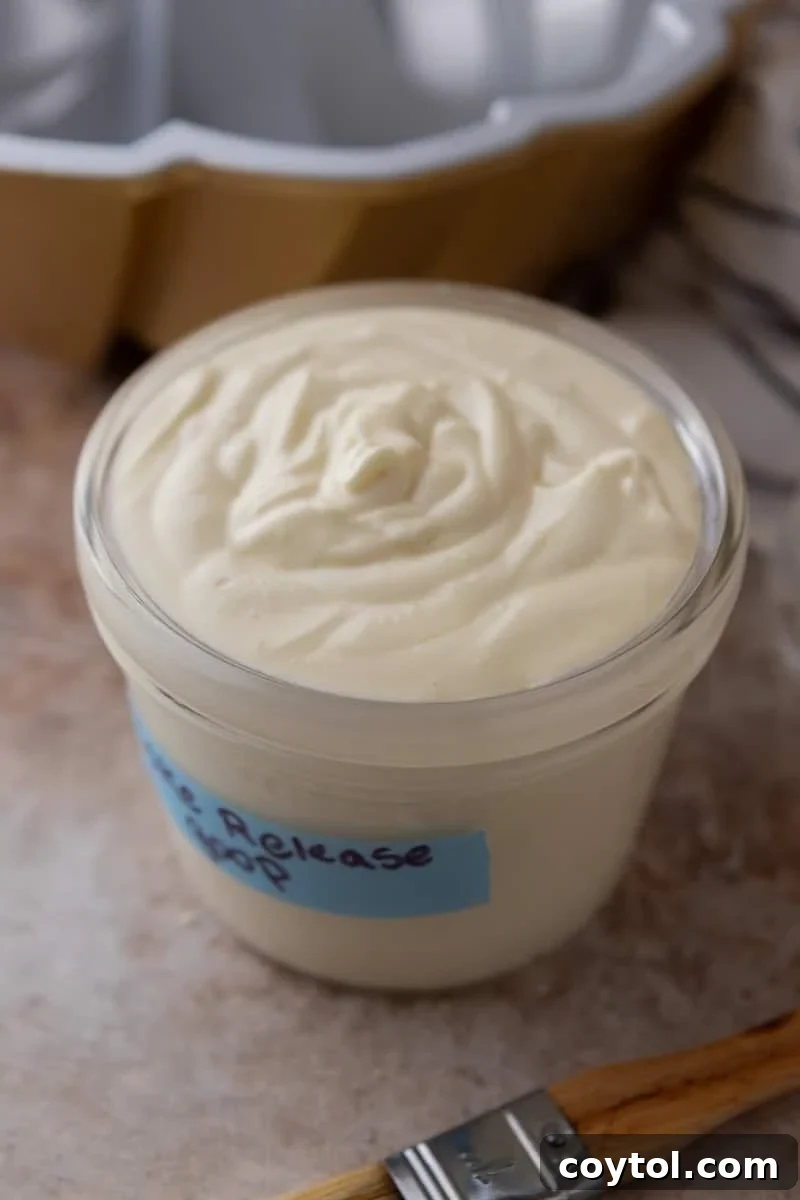
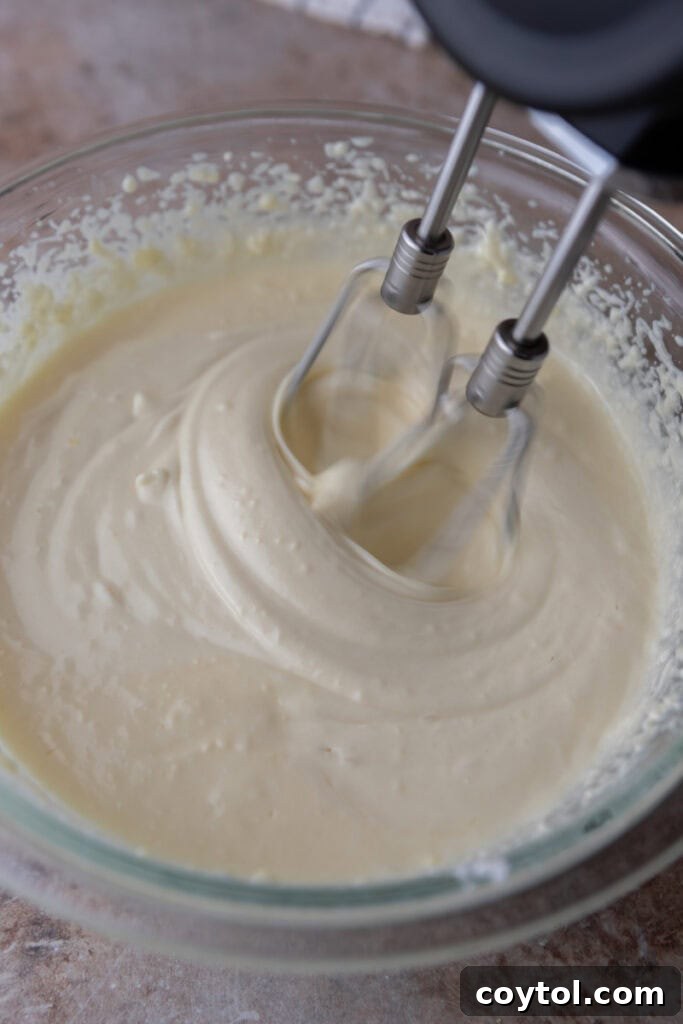
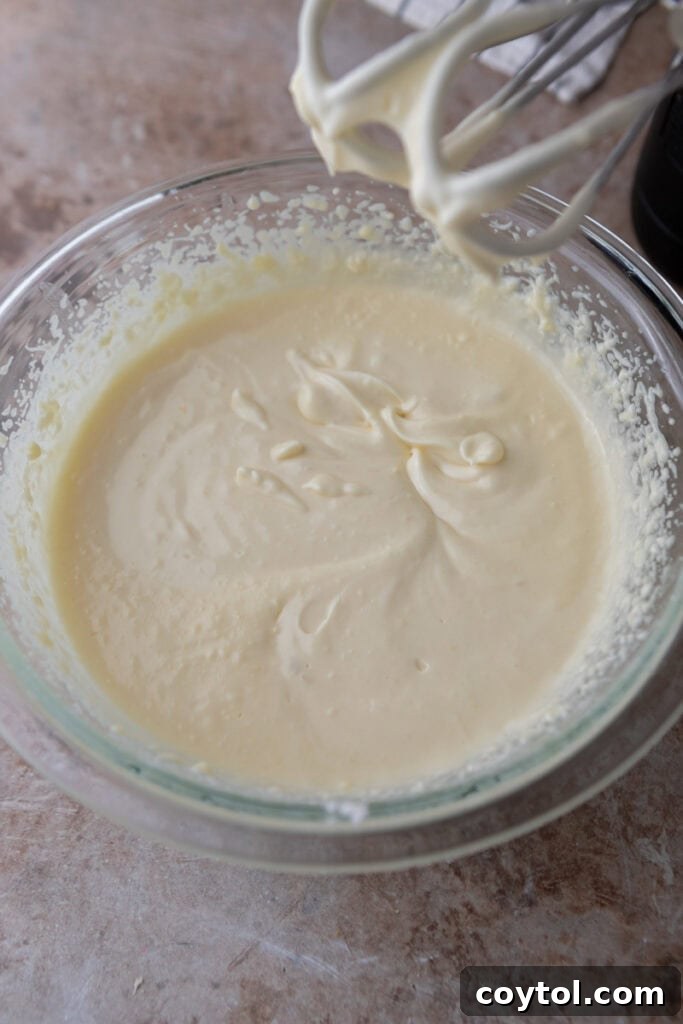
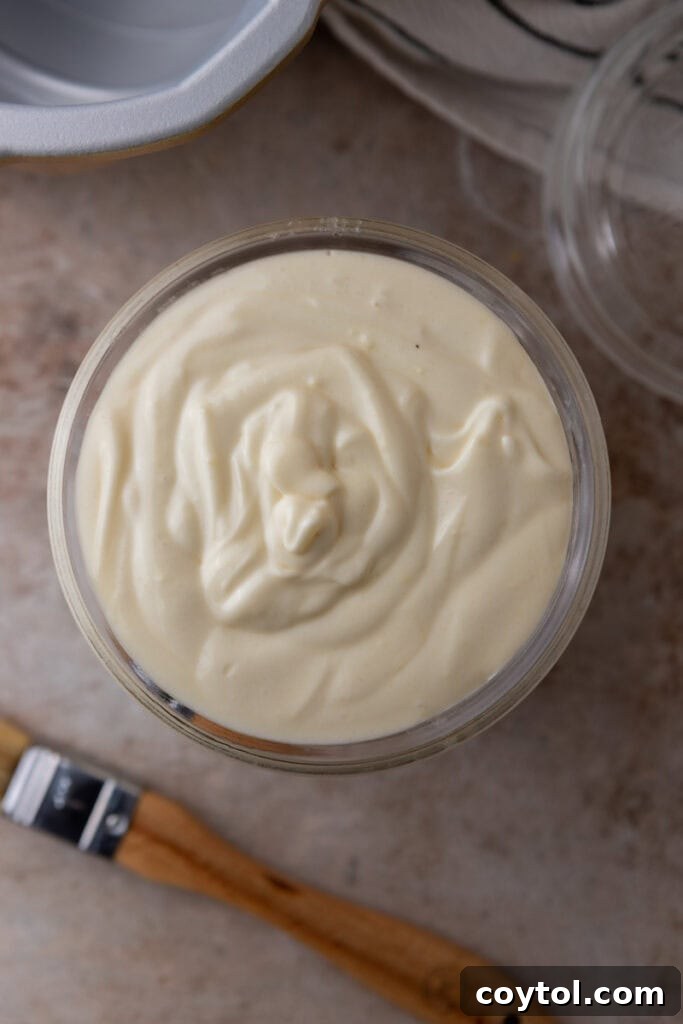
- Combine Ingredients: In a medium-sized mixing bowl, simply combine equal parts of all-purpose flour, vegetable oil, and softened vegetable shortening. Using a sturdy whisk or a spatula, vigorously mix these three ingredients together. Continue whisking until the mixture is completely smooth, lump-free, and thoroughly blended. The ideal consistency should be similar to a thick paste or a soft buttercream, easy to spread but not runny.
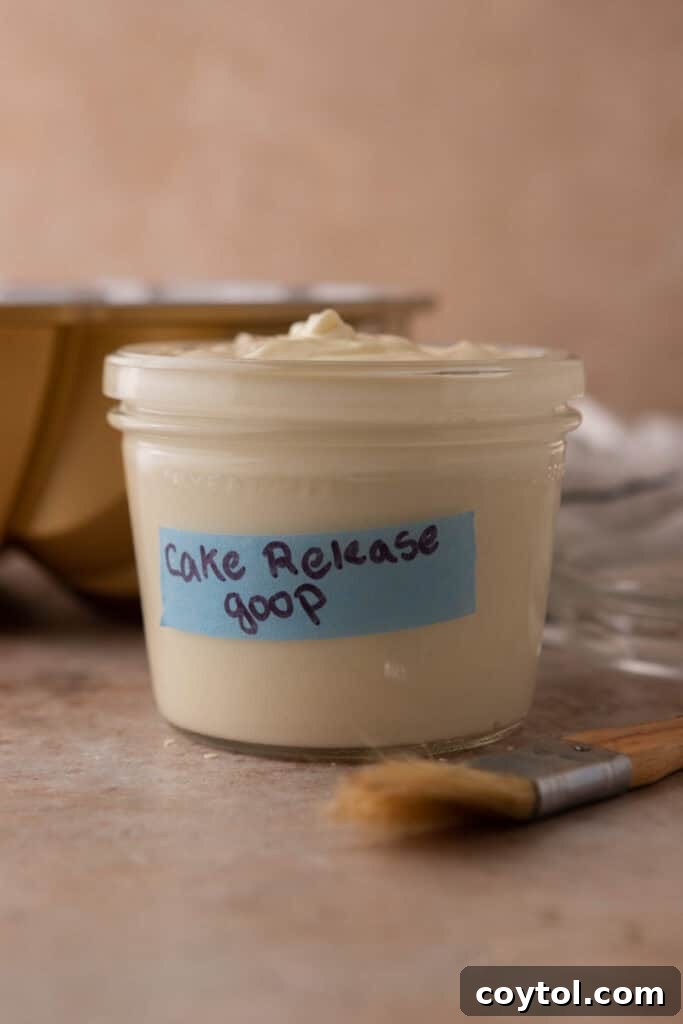
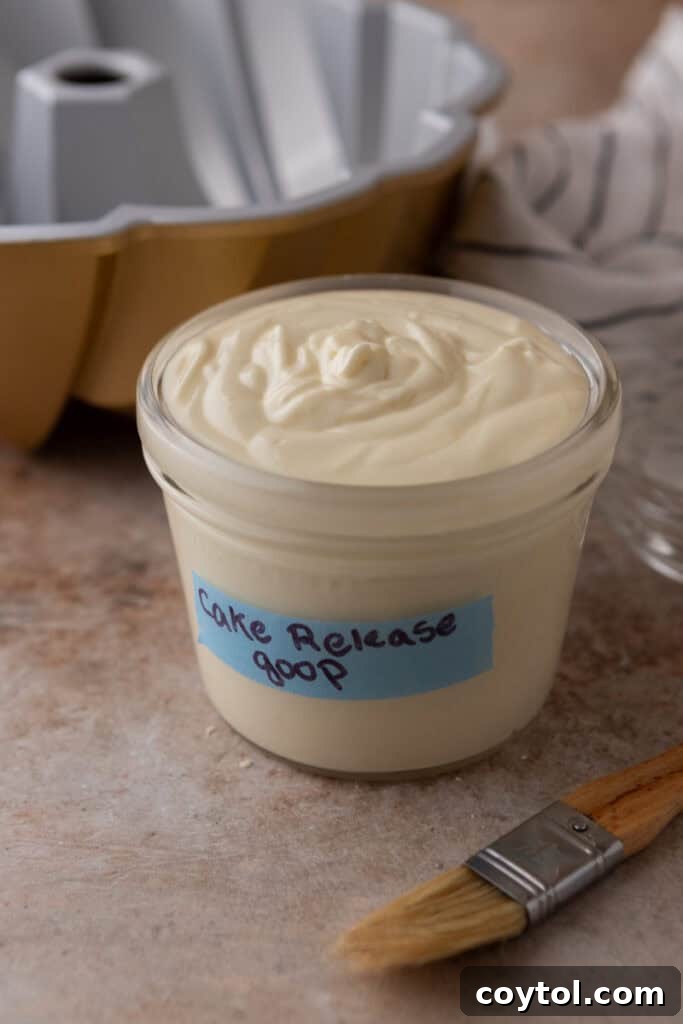
- Store for Future Use: Once your goop has reached the desired smooth consistency, transfer it to an airtight container. A mason jar or a reusable plastic container with a tight-fitting lid works perfectly. For convenient application, some bakers prefer to store it in a squeeze bottle. Store this magical mixture at room temperature, away from direct sunlight, for up to 3 months. If you wish to extend its shelf life even further, you can refrigerate it for up to 6 months. Remember, if stored in the fridge, it may firm up, so allow it to come to room temperature or give it a quick stir before use.
Mastering Application: How to Use Your Homemade Cake Release for Flawless Results
Using your homemade cake release is incredibly simple, yet it’s the key to achieving perfectly unmolded cakes every time. This method not only guarantees a clean release but also eliminates the need for parchment paper in most baking situations, saving you time and effort. Here’s how to apply it for the best results:
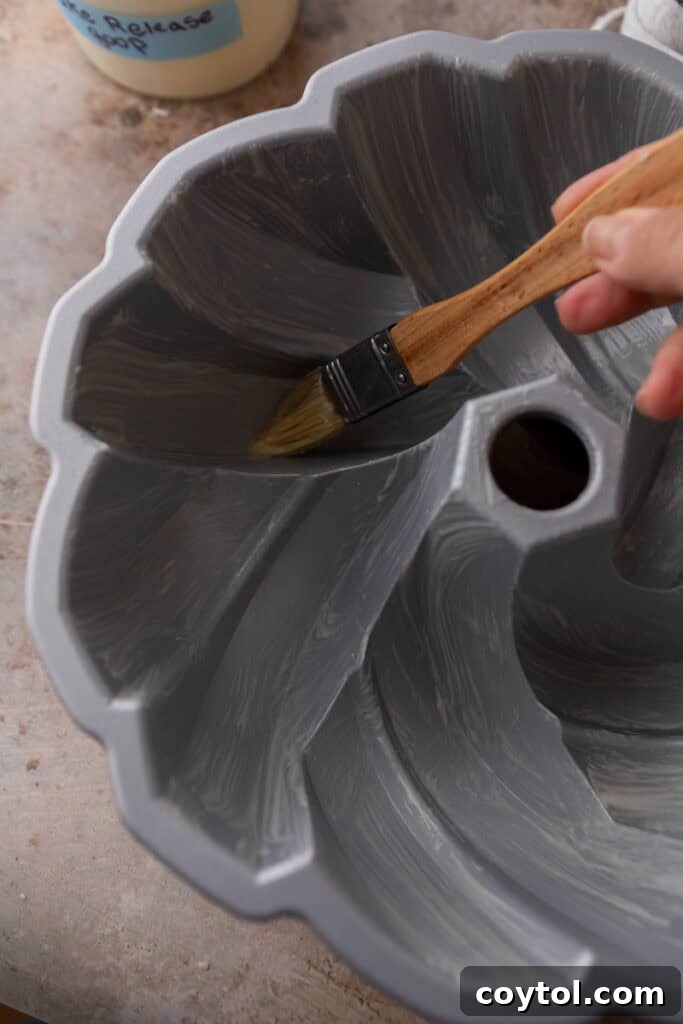
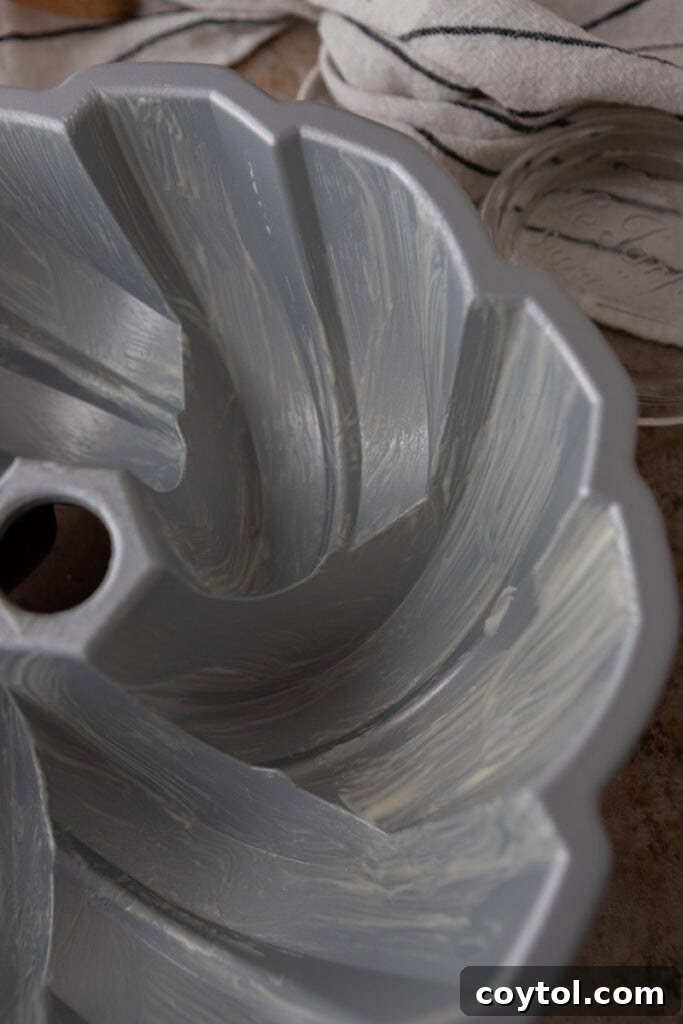
- Prepare Your Pan: Before adding any batter, take a pastry brush or even a folded paper towel. Dip it into your homemade cake release mixture, ensuring you pick up a generous, but not excessive, amount.
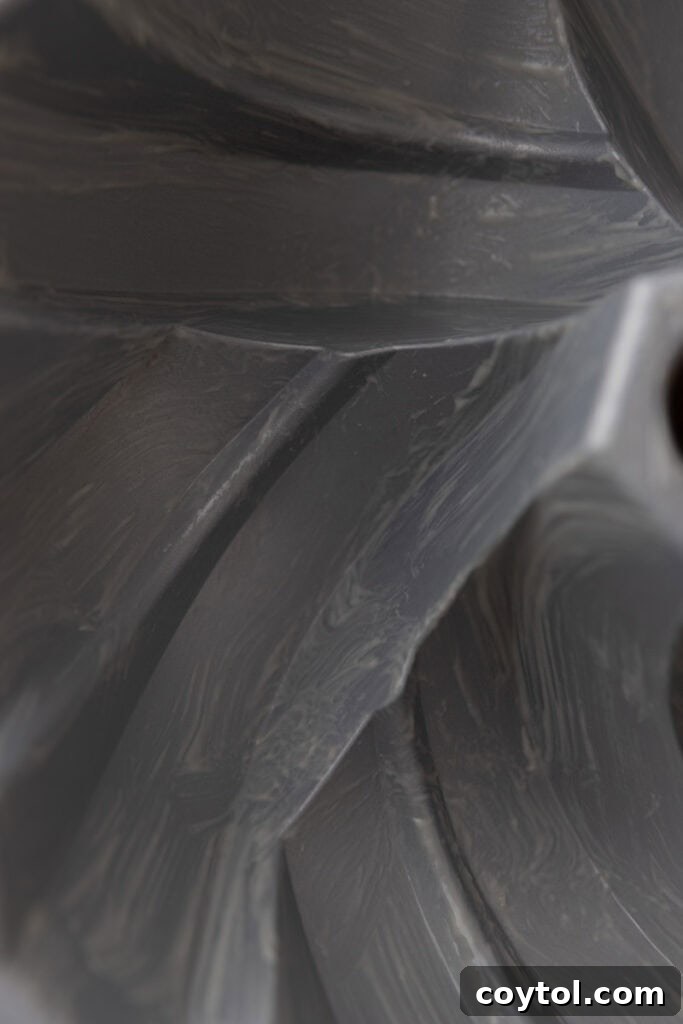
- Apply a Thin, Even Layer: With your pastry brush or paper towel, meticulously apply a thin and even layer of the goop to every interior surface of your baking pan. This includes the entire bottom, all the sides, and paying special attention to every edge, corner, and intricate detail – especially important for Bundt pans or decorative molds. Ensure there are no bare spots. The goal is complete, uniform coverage, forming an invisible protective shield. There’s no need to apply an overly thick layer; a thin, consistent coat is sufficient.
- Add Batter and Bake: Once your pan is thoroughly coated, you are ready to pour in your cake batter. Proceed with your recipe and bake as directed. You’ll find that with this reliable homemade cake release, there’s absolutely no need for parchment paper in most recipes, simplifying your prep and cleanup! Enjoy the anticipation of a perfectly released cake.
Pro Tips & Troubleshooting for Your Homemade Cake Goop
To ensure your homemade cake release performs at its absolute best, consider these expert tips and tricks. They’ll help you maximize its effectiveness, enhance your baking workflow, and achieve consistently perfect results every single time:
- Achieve Ultra-Smooth Consistency: While whisking by hand works perfectly well, for an exceptionally smooth, uniform consistency, consider using an electric mixer. A hand mixer or stand mixer will quickly blend the ingredients into a perfectly emulsified, lump-free goop that spreads like a dream. This is especially helpful if your shortening is quite firm.
- Optimize Storage for Easy Application: While a mason jar is great for storage, a squeeze bottle can significantly simplify the application process. Transferring your cake goop into a clean, reusable squeeze bottle allows for precise and mess-free dispensing, particularly useful for smaller pans or quick greasing.
- Master Intricate Pan Coverage: When dealing with highly detailed pans, such as Bundt pans with their numerous grooves and patterns, don’t be shy with your application. Apply a slightly more generous amount of the mixture. Furthermore, use a flexible silicone pastry brush to work the goop meticulously into every single nook, cranny, and crevice of the pan. Ensure every part of the baking surface is covered to prevent any sticking.
- Maintain Optimal Texture: If you choose to store your homemade cake release in the refrigerator, it will naturally firm up. To ensure it’s easily spreadable and performs effectively, always allow it to come to room temperature for about 15-30 minutes before use. Alternatively, give it a quick, vigorous stir with a spoon or whisk to restore its smooth, spreadable texture.
- For Heavily Sugared Cakes: If your recipe calls for dusting the pan with sugar after greasing (common for certain Bundt cakes), this cake release still works wonderfully. The sugar will adhere perfectly to the goop, creating an additional non-stick layer and a beautiful crisp exterior.
- Check for Evenness in Dark Pans: Darker metal pans tend to bake hotter and can sometimes be more prone to sticking. While this goop is highly effective, always double-check for complete, even coverage when using dark bakeware to ensure maximum non-stick performance.
The Unbeatable Benefits of DIY Cake Release: Why You Need This Baking Hack
Once you try this homemade cake release, you’ll quickly understand why it’s heralded as an indispensable baking hack. Its benefits extend far beyond simply preventing sticking, offering a multitude of advantages that enhance your entire baking journey:
- Effortless and Time-Saving Preparation: Making your own pan release is incredibly simple and surprisingly quick, taking only a few minutes from start to finish. This makes it perfect for both novice bakers looking for foolproof methods and professional bakers seeking efficient, reliable solutions. No more fussing with elaborate greasing methods or struggling with sticky pans.
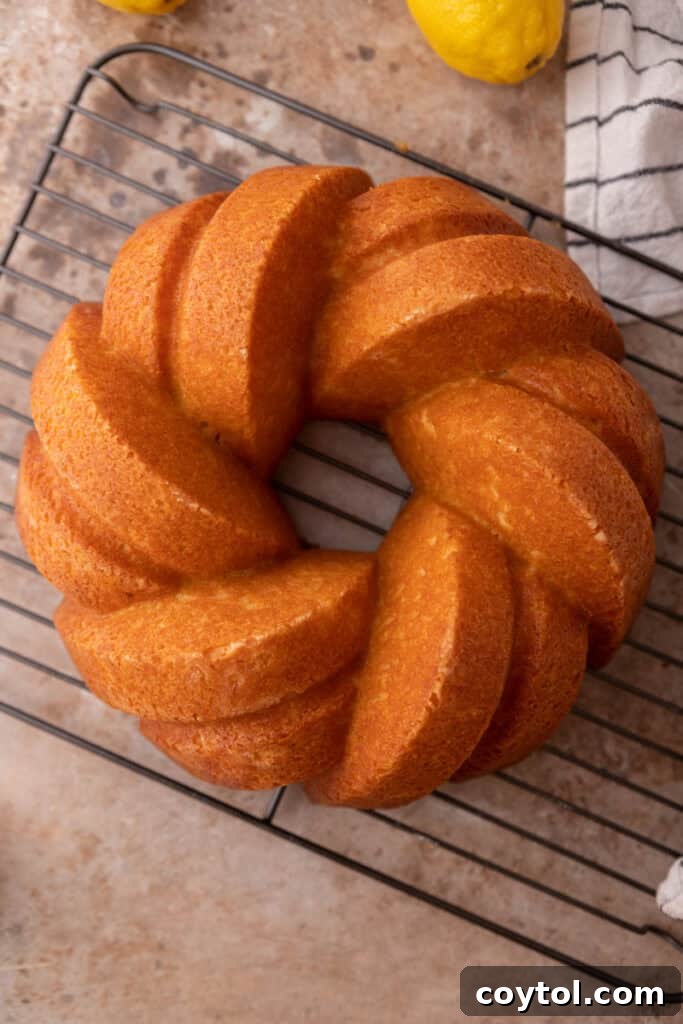
- Guaranteed Flawless Release Every Time: Say goodbye to the anxiety of unmolding cakes. This magic mixture virtually eliminates the worry of a cake getting stuck, especially from notoriously tricky pans like intricate Bundt molds. You’ll consistently achieve beautifully intact, perfectly shaped cakes that look as good as they taste.
- Unmatched Versatility for All Your Baking Needs: This goop isn’t just for Bundt cakes. Its incredible non-stick properties make it ideal for a wide array of baking pans. Use it confidently for muffin tins, cupcake liners, loaf pans, square baking dishes, and even for greasing griddles when making pancakes, waffles, or crepes. It’s a true multi-purpose kitchen essential.
- Clean Baking Without Sticky Residue: Unlike many commercial non-stick sprays that can leave behind a gummy, sticky residue on your pans over time, this homemade cake release offers superior performance without the unwanted side effects. Your pans will be easier to clean, and your baked goods will have a pristine finish, free from any strange film or stickiness.
- Cost-Effective and All-Natural: By making your own, you’ll save a significant amount of money compared to repeatedly purchasing commercial sprays. Furthermore, you gain complete control over the ingredients, ensuring an all-natural product free from propellants, artificial flavors, and other additives often found in store-bought options. It’s a healthier, more economical choice.
Frequently Asked Questions (FAQ) About Homemade Cake Release
Got questions about this baking game-changer? We’ve got answers! Here are some of the most common inquiries about making and using your own homemade cake release:
Can I make this cake goop gluten-free?
Absolutely, you can! This recipe is incredibly adaptable. There should be no issue whatsoever in substituting the all-purpose flour with a high-quality gluten-free flour blend (ensure it contains xanthan gum for best texture) to create a perfectly effective gluten-free version of this cake release. The functionality of the flour as a barrier remains the same.
Will this change the taste of my cake?
No, rest assured! The homemade cake release recipe has a remarkably neutral flavor profile. When applied correctly in a thin layer, it will not impart any noticeable taste or alter the delicate texture of your baked goods. Your cakes will taste exactly as intended, just beautifully unmolded.
Can I add flavors to this DIY cake release?
You absolutely can, and it’s a fun way to customize your goop! For instance, if you’re baking a chocolate cake, you could stir in a little unsweetened cocoa powder to create a chocolate-flavored cake goop. This can enhance the visual appeal (no white residue on a dark cake) and subtly complement the cake’s flavor. Just ensure the added flavor doesn’t significantly change the consistency.
Does this work for savory bakes?
Yes, it’s wonderfully versatile! This cake release works just as effectively for savory applications as it does for sweet treats. It’s excellent for greasing pans for cornbread, biscuits, savory tarts, casseroles, or even quiches, ensuring they release cleanly without sticking to the pan.
Can I use butter instead of shortening?
While butter can technically be used as a substitute for shortening, it’s generally not recommended for this particular recipe. Butter has a lower melting point and a higher water content than shortening, which can affect both the storage life and the overall consistency of the cake release. Shortening is crucial for creating that stable, smooth, and easily spreadable texture, and it helps the mixture remain shelf-stable longer without separating or going rancid as quickly. For best results, stick with vegetable shortening.
How long does homemade cake release last?
When stored properly in an airtight container, such as a glass jar or a squeeze bottle, your homemade cake release has an impressive shelf life. It will last perfectly well for up to 3 months when stored at room temperature, away from direct heat and light. If you prefer to extend its freshness, you can store it in the refrigerator for up to 6 months. Should it separate slightly over time (which can sometimes happen), simply give it a good stir or shake to restore its smooth consistency before use.
The Ultimate Homemade Cake Pan Release Recipe (Goop)
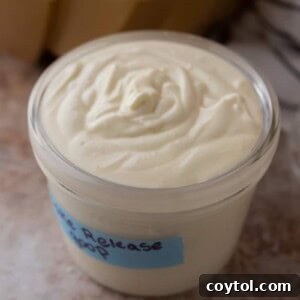
Homemade Cake Release (Goop)
Ingredients
- ½ cup all-purpose flour
- ½ cup vegetable oil
- ½ cup vegetable shortening, softened (regular or butter-flavored)
Instructions
-
In a medium bowl, whisk together the flour, vegetable oil, and softened shortening until the mixture is completely smooth and well combined. The texture should be thick and easy to spread.
-
Transfer the cake release mixture to an airtight container. Store it at room temperature for up to 3 months, or in the refrigerator for up to 6 months. If stored in the fridge, let it come to room temperature or stir well before use.
-
To use, simply apply a thin, even layer onto the bottom and sides of your cake pans using a pastry brush or a paper towel. Ensure all edges and corners are thoroughly coated.
-
Pour in your cake batter and bake as directed by your recipe. No parchment paper needed! This method keeps cakes from sticking without leaving a greasy residue like sprays sometimes do, and works perfectly for even the most intricate Bundt pans.
Nutrition information is automatically calculated, so should only be used as an approximation.
Don’t Miss Out! Pin This Perfect Cake Release Recipe for Your Next Baking Adventure!
We hope you’ve found this guide to homemade cake release incredibly useful and inspiring for your baking. This simple yet powerful hack is truly transformative, guaranteeing perfect results and making every baking session a joy. If you enjoyed discovering this essential baking secret and found the tips helpful, we’d be thrilled if you shared the love!
Pin this ultimate homemade cake release recipe to your favorite baking boards on Pinterest. By pinning, you’ll not only save this invaluable tip for your next baking adventure but also help other enthusiastic bakers discover the secret to perfectly unmolded cakes every single time. Happy baking!