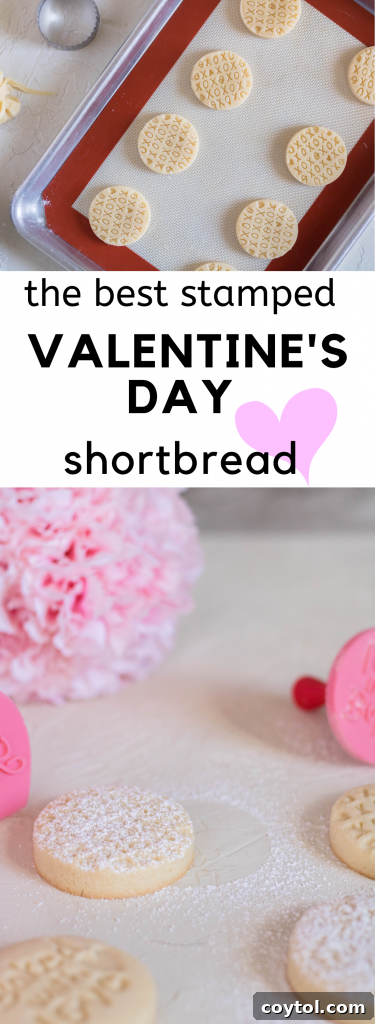
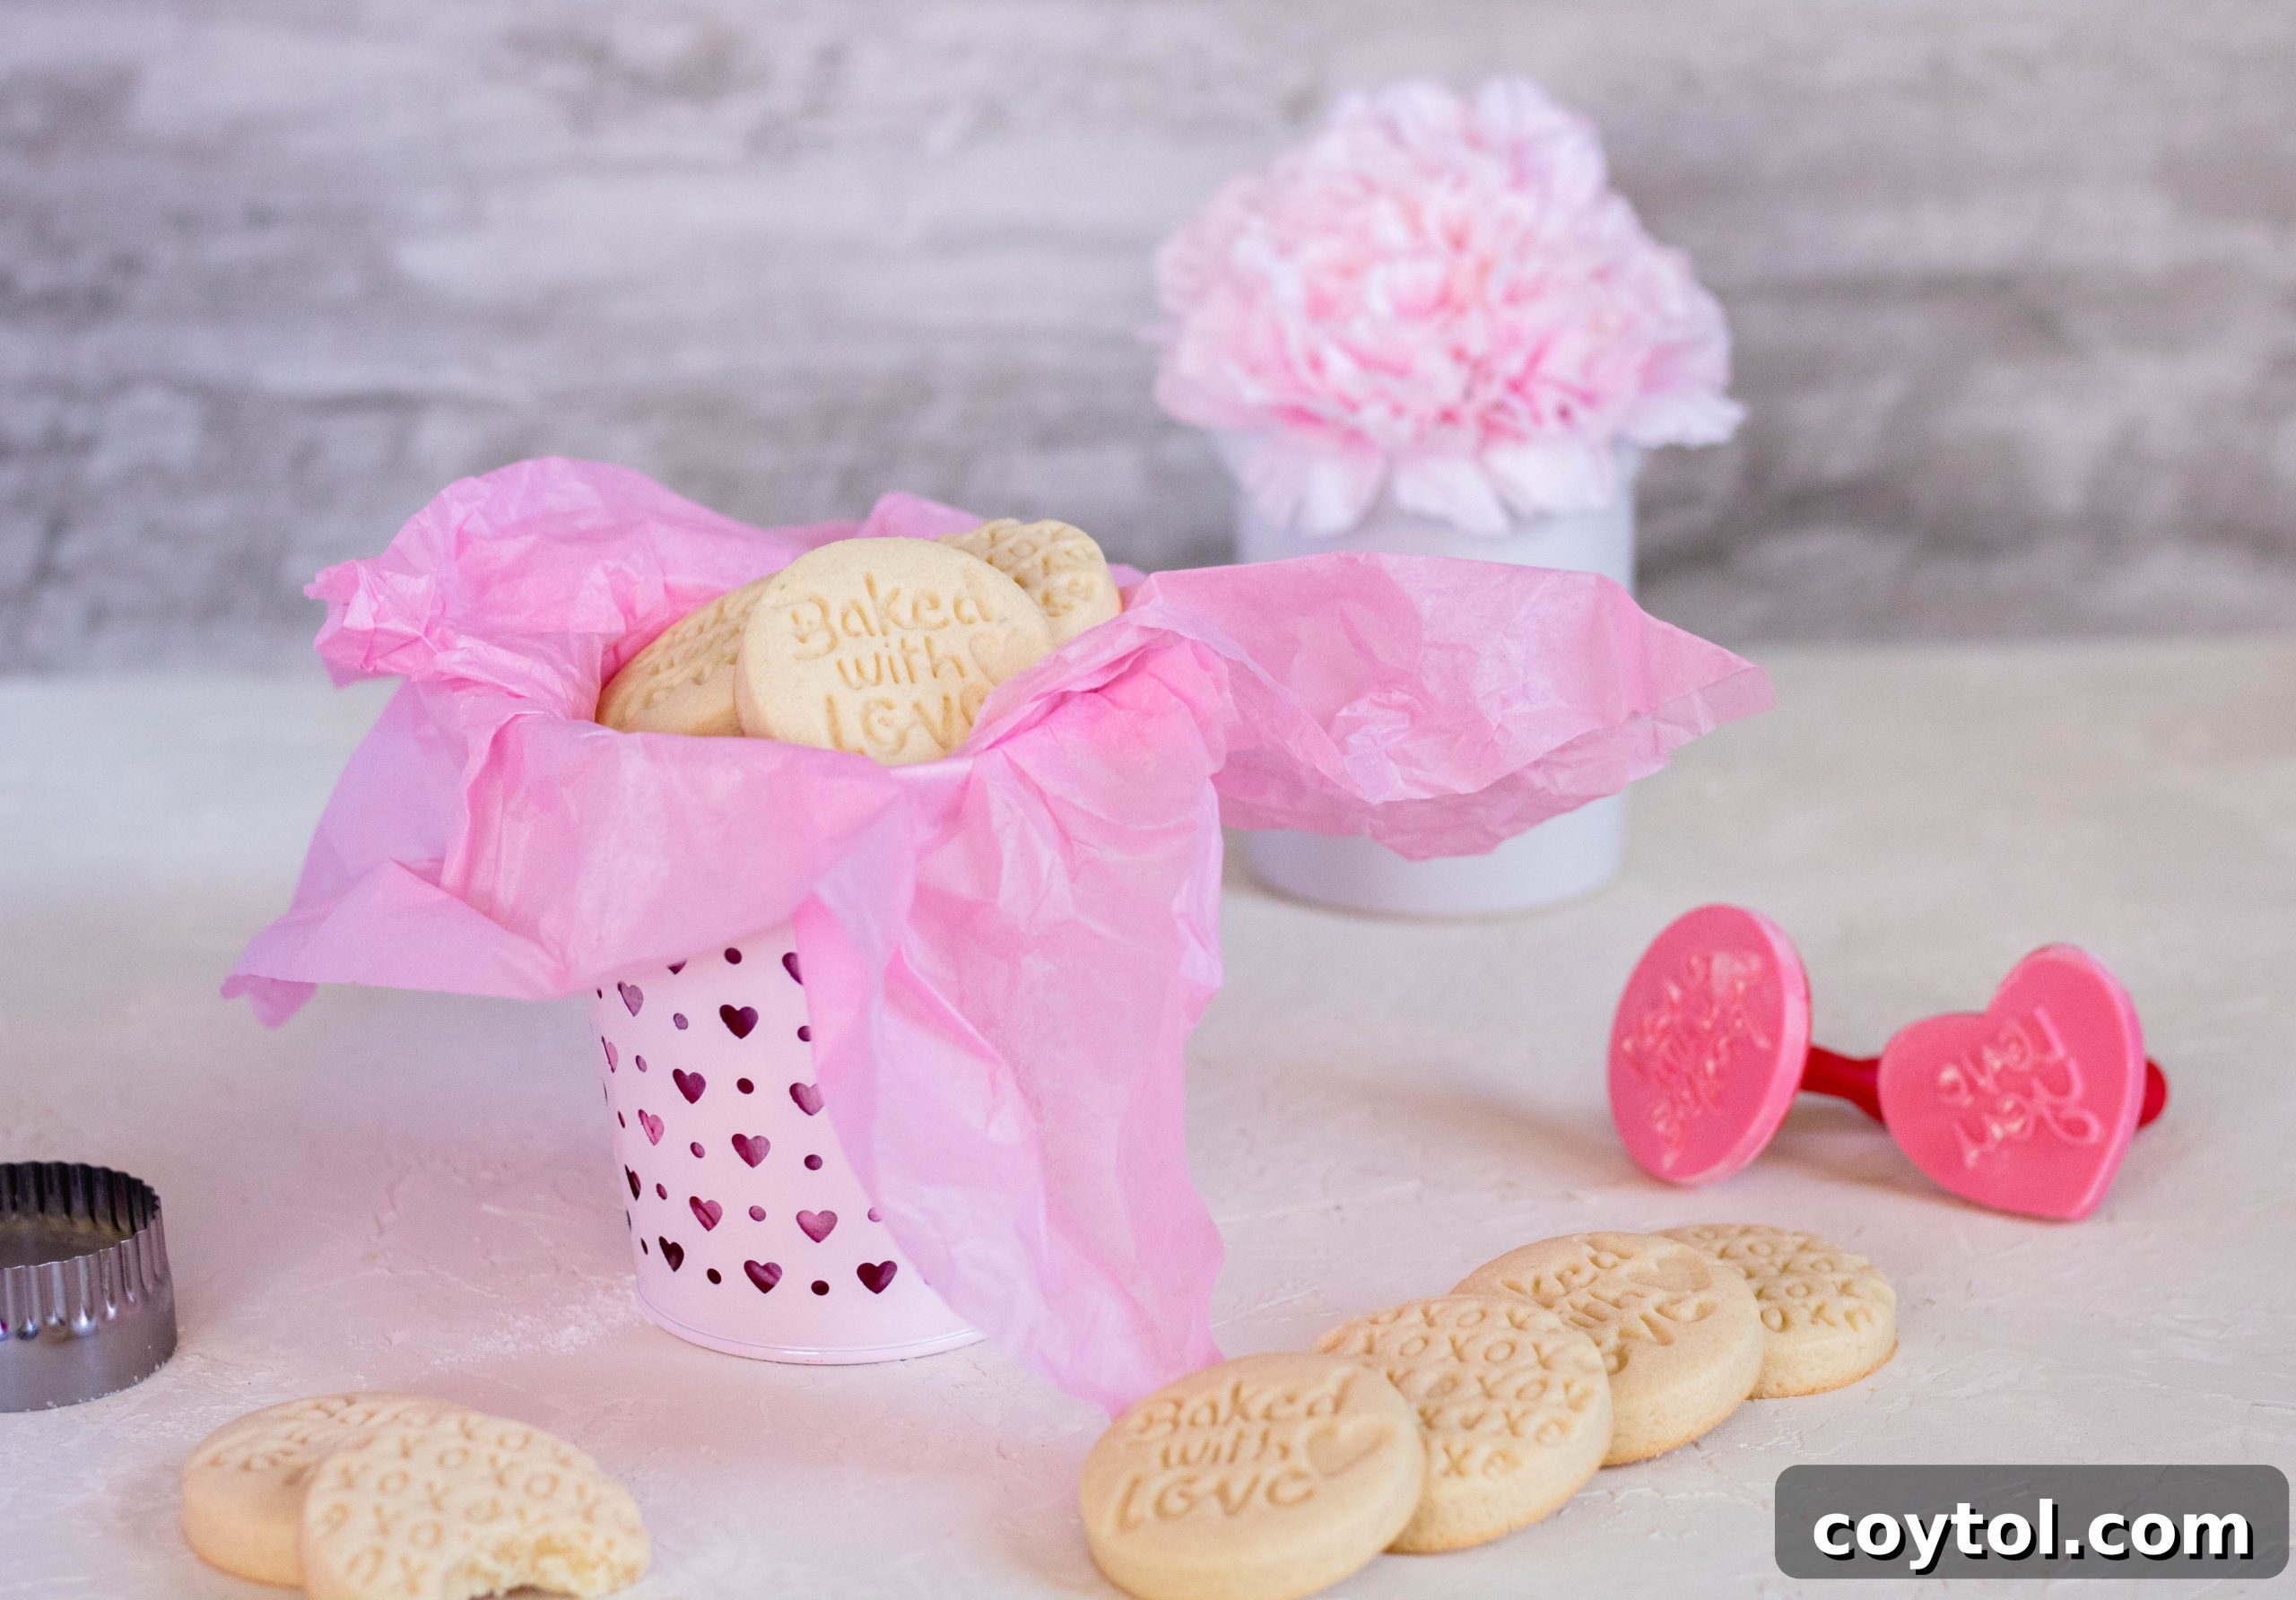
Welcome, fellow baking enthusiasts! As Valentine’s Day draws near, my thoughts turn to one of my favorite annual traditions: crafting these utterly delightful stamped shortbread cookies. Imagine perfectly buttery, melt-in-your-mouth treats, each adorned with a sweet message. These aren’t just cookies; they’re tiny expressions of love, making them the ideal homemade gift for your special someone, friends, or even as a fun baking project with the kids. They embody everything a Valentine’s Day treat should be: charming, delicious, and made with heart.
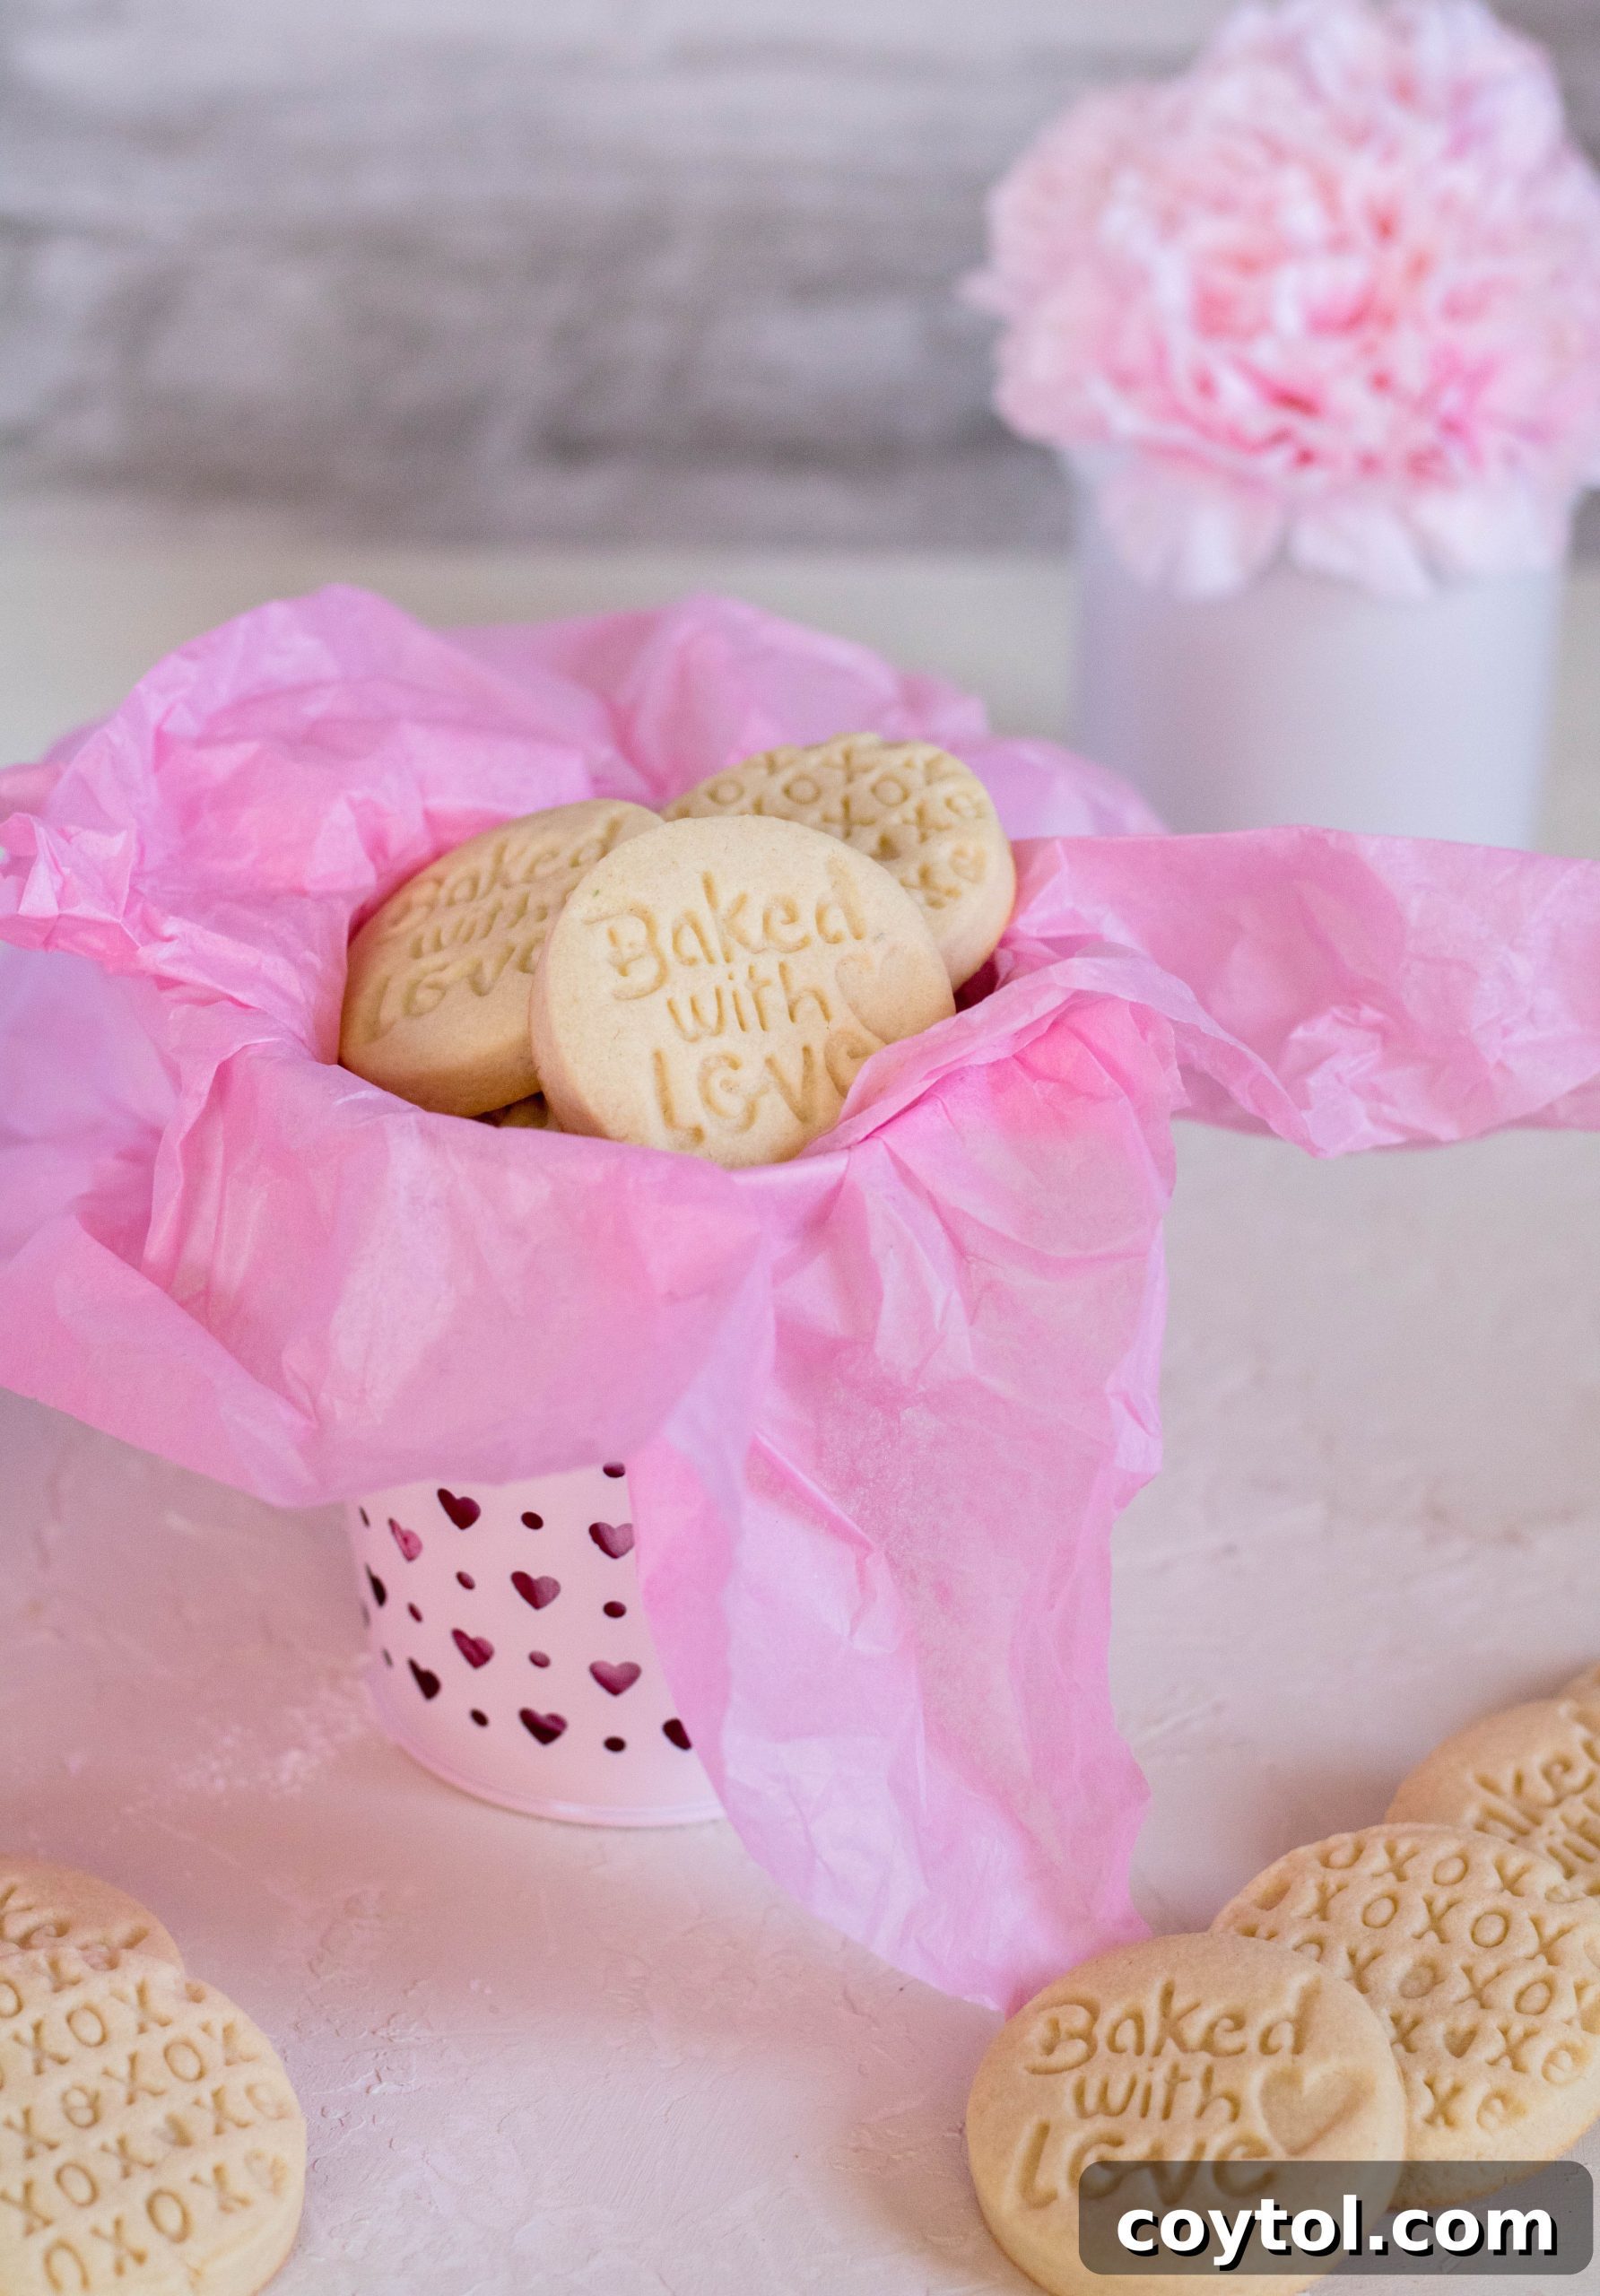
Embracing the Sweetness of Stamped Shortbread
Valentine’s Day is a time for heartfelt gestures, and what could be more genuine than a batch of homemade cookies? While many of us might be striving for healthier eating habits, these shortbread cookies offer a balanced approach to indulgence. This recipe yields a modest batch, perfect for sharing without overdoing it, and crucially, it’s designed to be perfectly sweet without being cloyingly so. If you’re like me, you appreciate desserts that allow the natural flavors of the ingredients to shine through, rather than being overpowered by sugar. Most store-bought goodies often miss this delicate balance, which is precisely why I love creating my own recipes.
The Charm of Cookie Stamps: A Personal Discovery
Just a few days ago, I found myself on an impromptu stroll through Target—a ritual I adore. There’s something magical about that store, perhaps it’s the warm lighting, the iconic red accents, or the inviting scent of Starbucks that makes time melt away. I can easily spend hours browsing, finding inspiration around every corner. Am I the only one who feels this way, or do you also have a favorite store where you lose yourself?
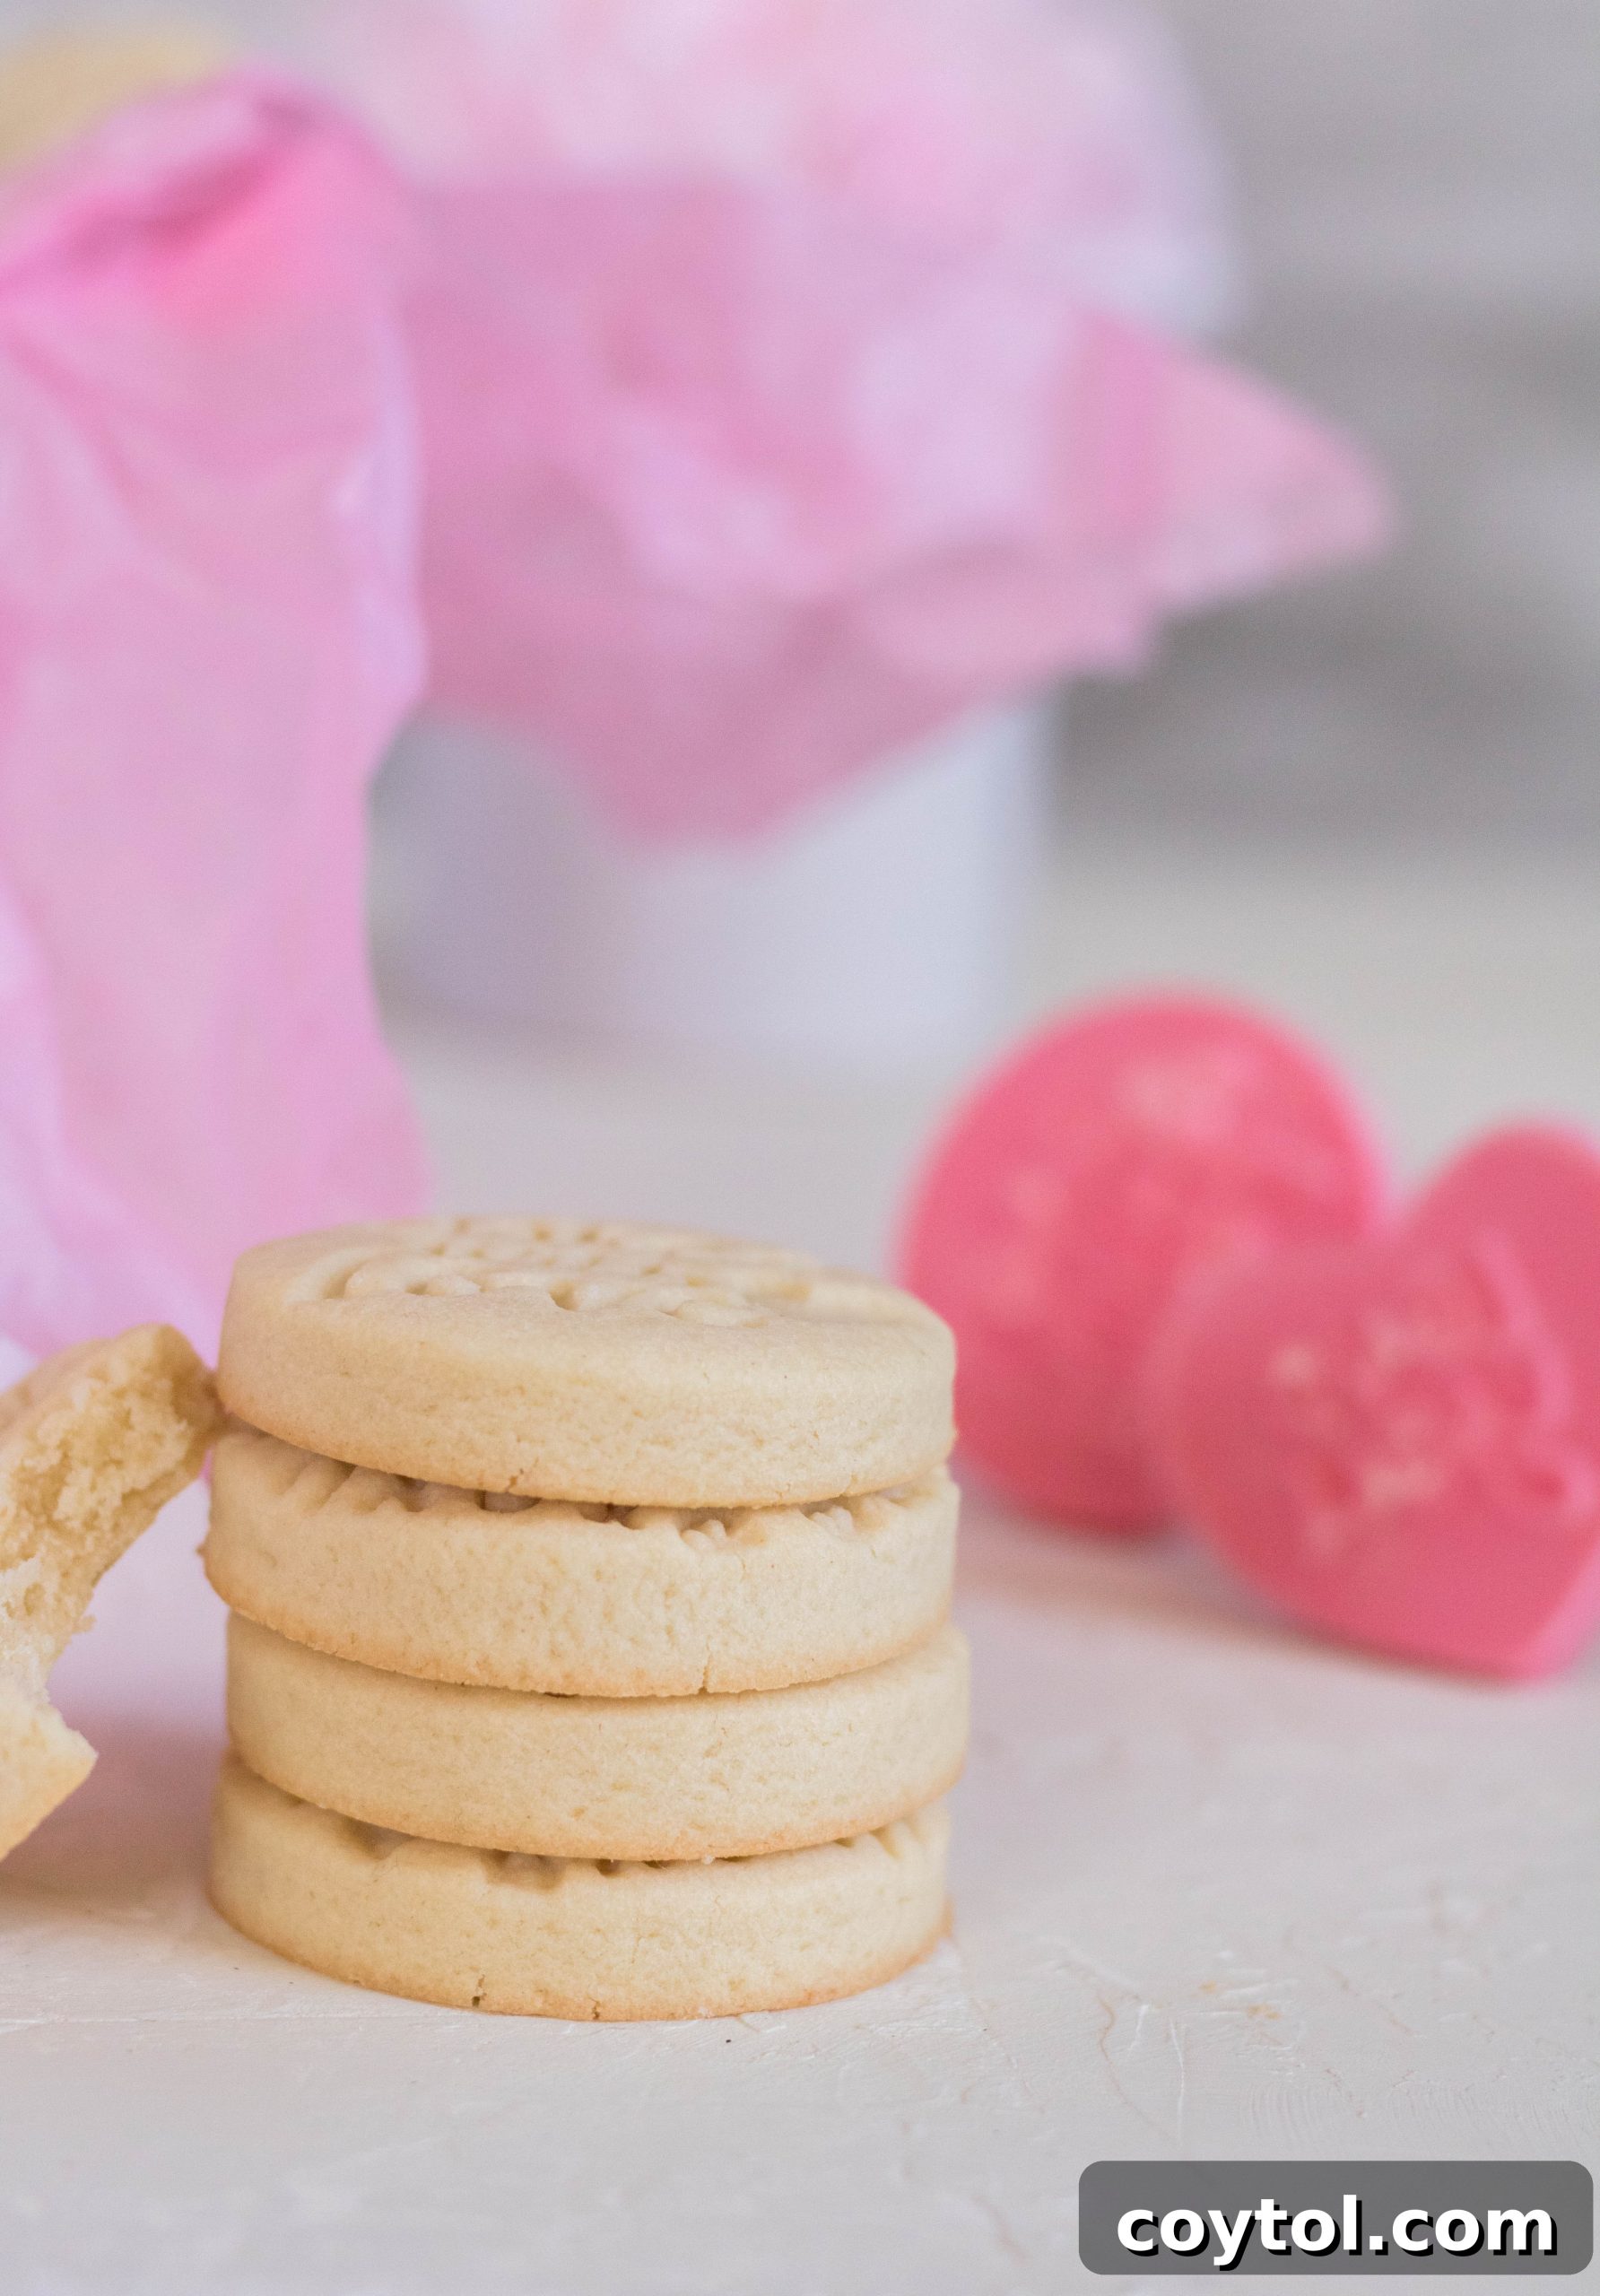
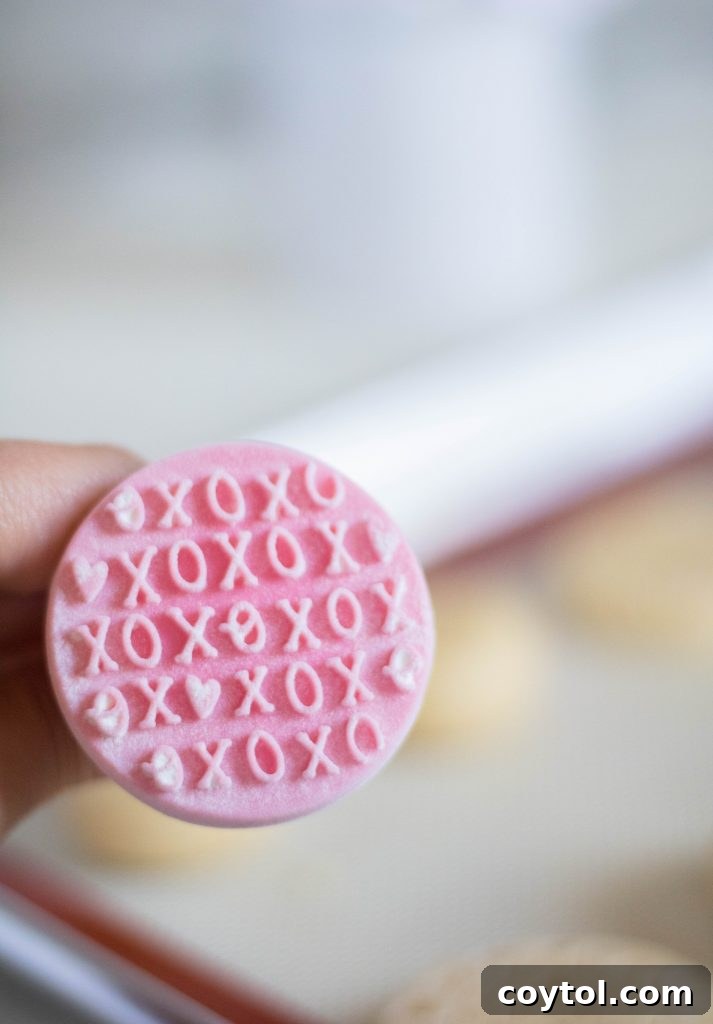
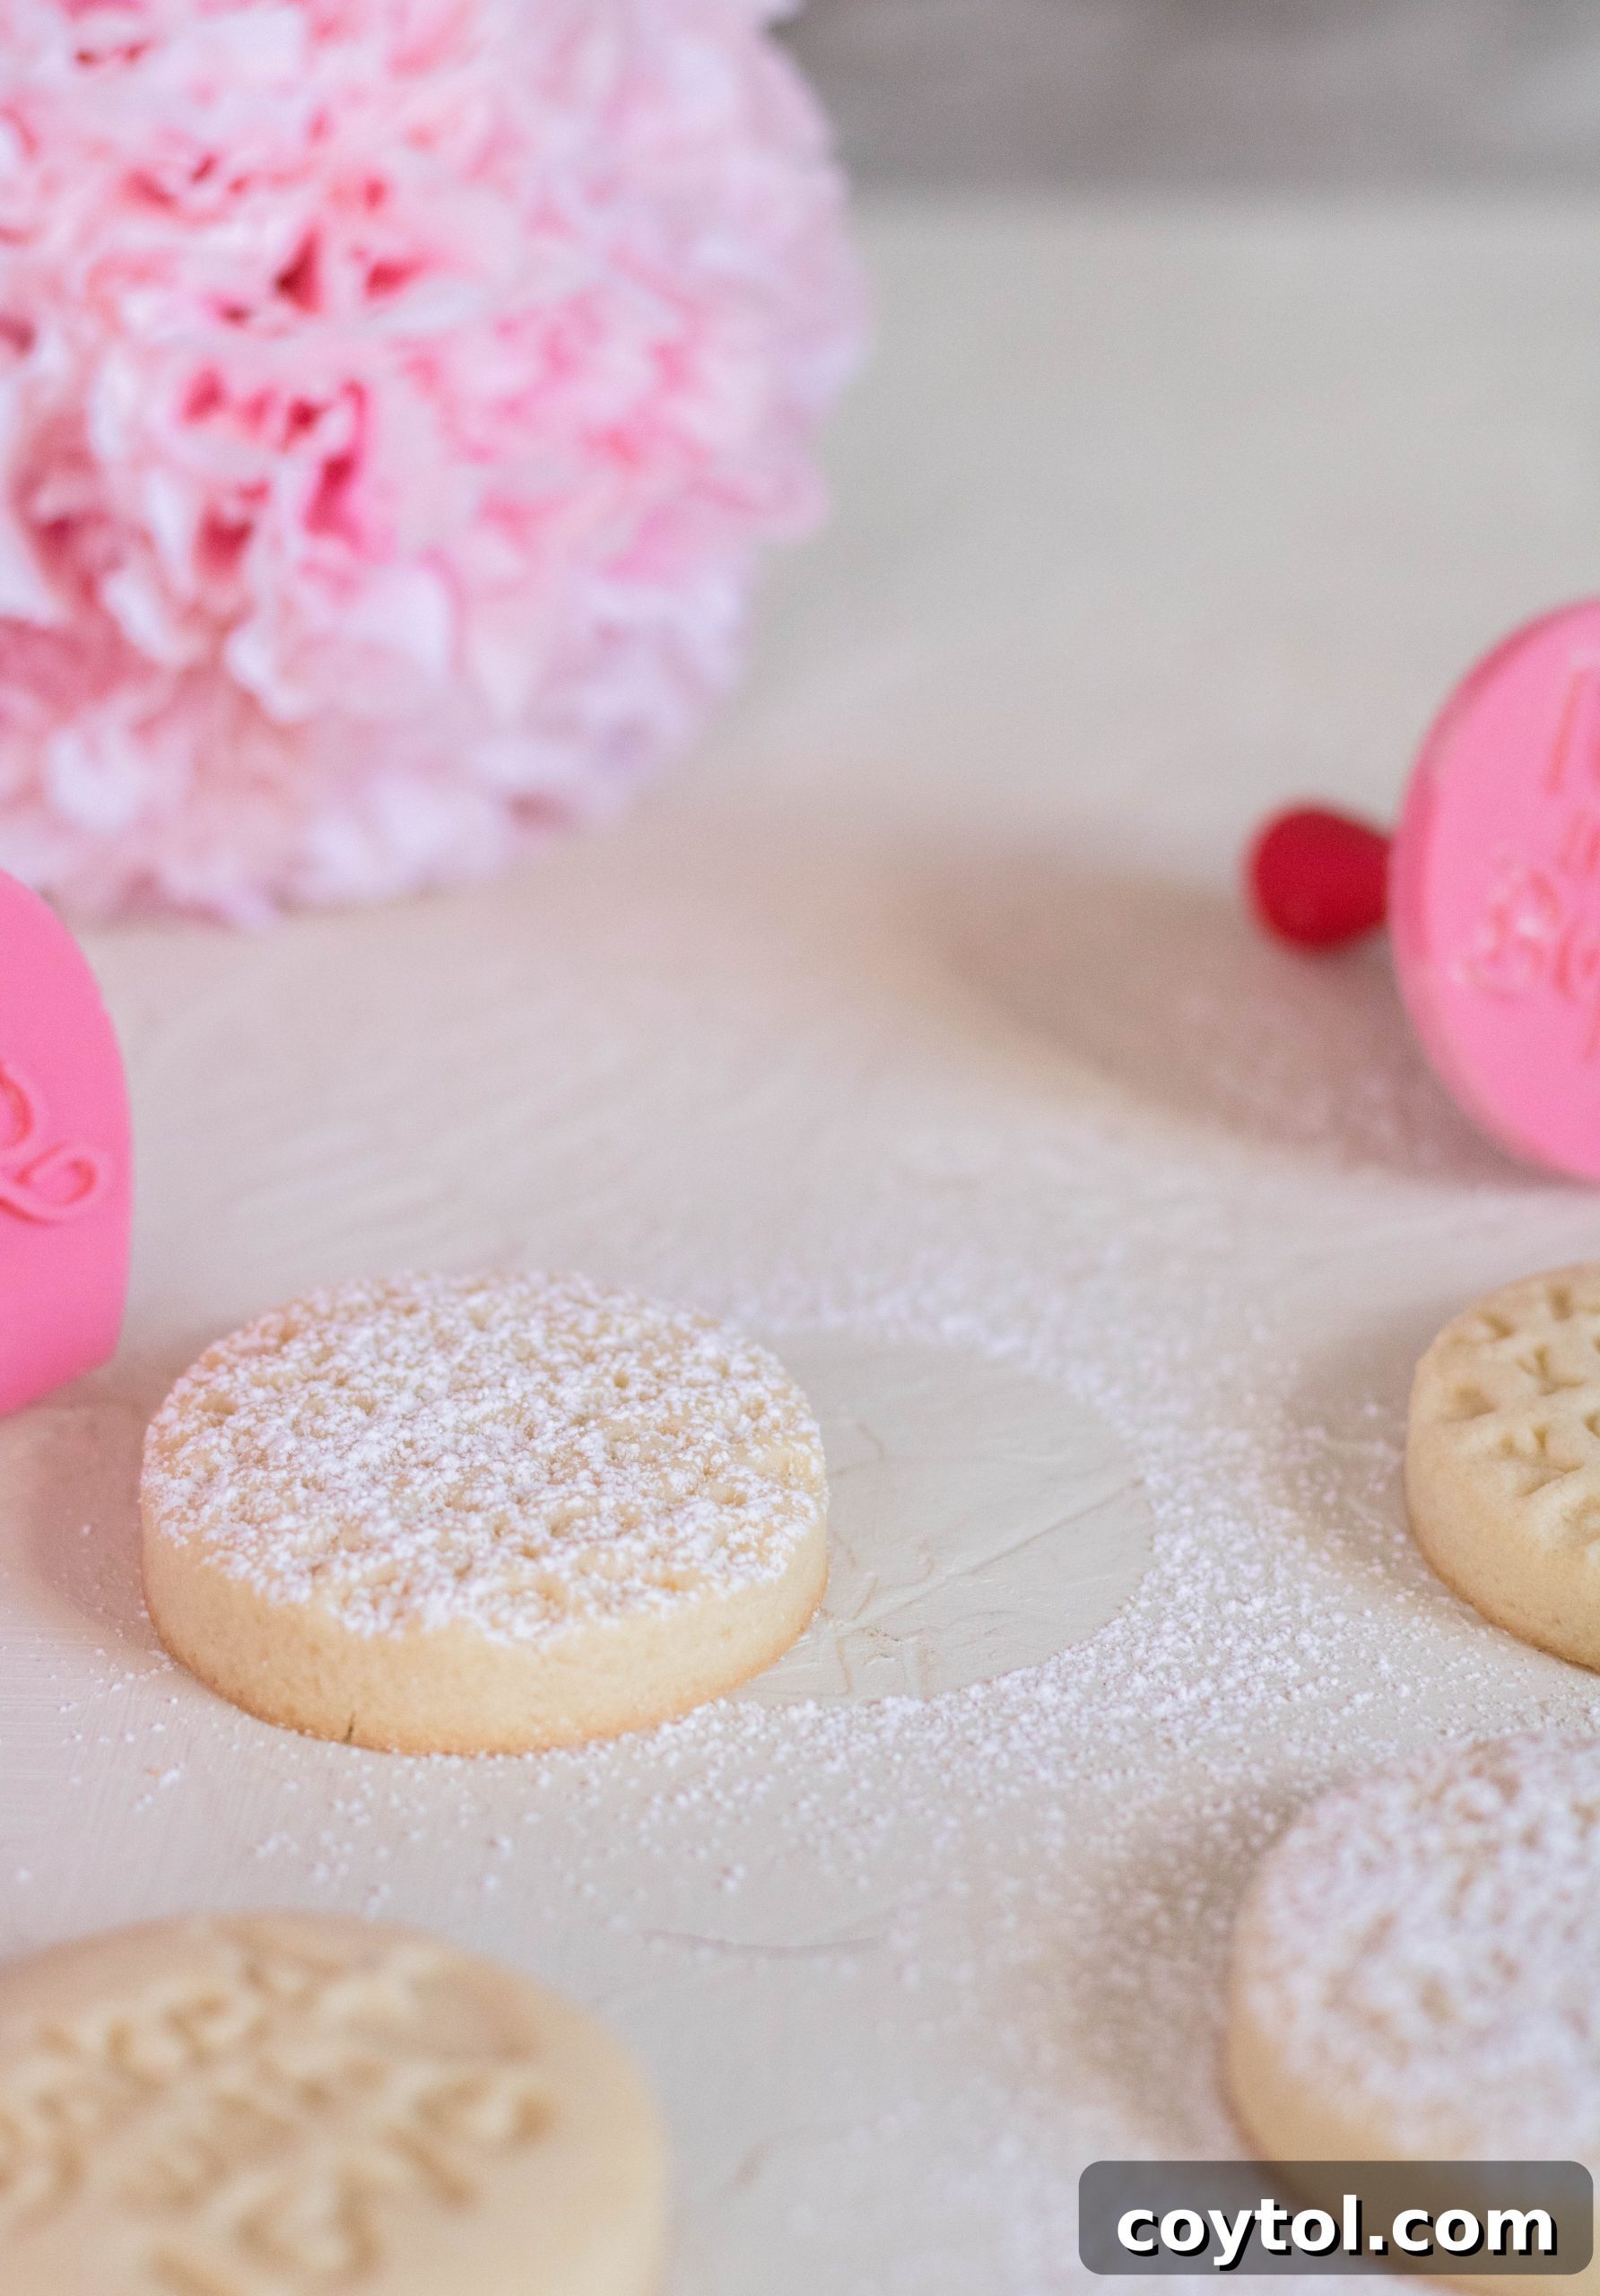
During my latest visit, I naturally gravitated towards their charming Valentine’s Day section. That’s where I discovered these adorable cookie stamps. They were an irresistible blend of pink and red, made from durable plastic, and incredibly affordable at just $1 each! Naturally, my indecisive self couldn’t pick just one, so I bought both. I knew they’d inspire something wonderful.
Upon returning home, my mind raced with ideas. What kind of cookie would best showcase these delightful stamps? It had to be a dough that holds its shape beautifully and provides a smooth canvas for imprints. Shortbread immediately came to mind. Its simple elegance and firm texture make it the perfect candidate for stamping, and thus, the idea for these Valentine’s Day stamped shortbread cookies was born.
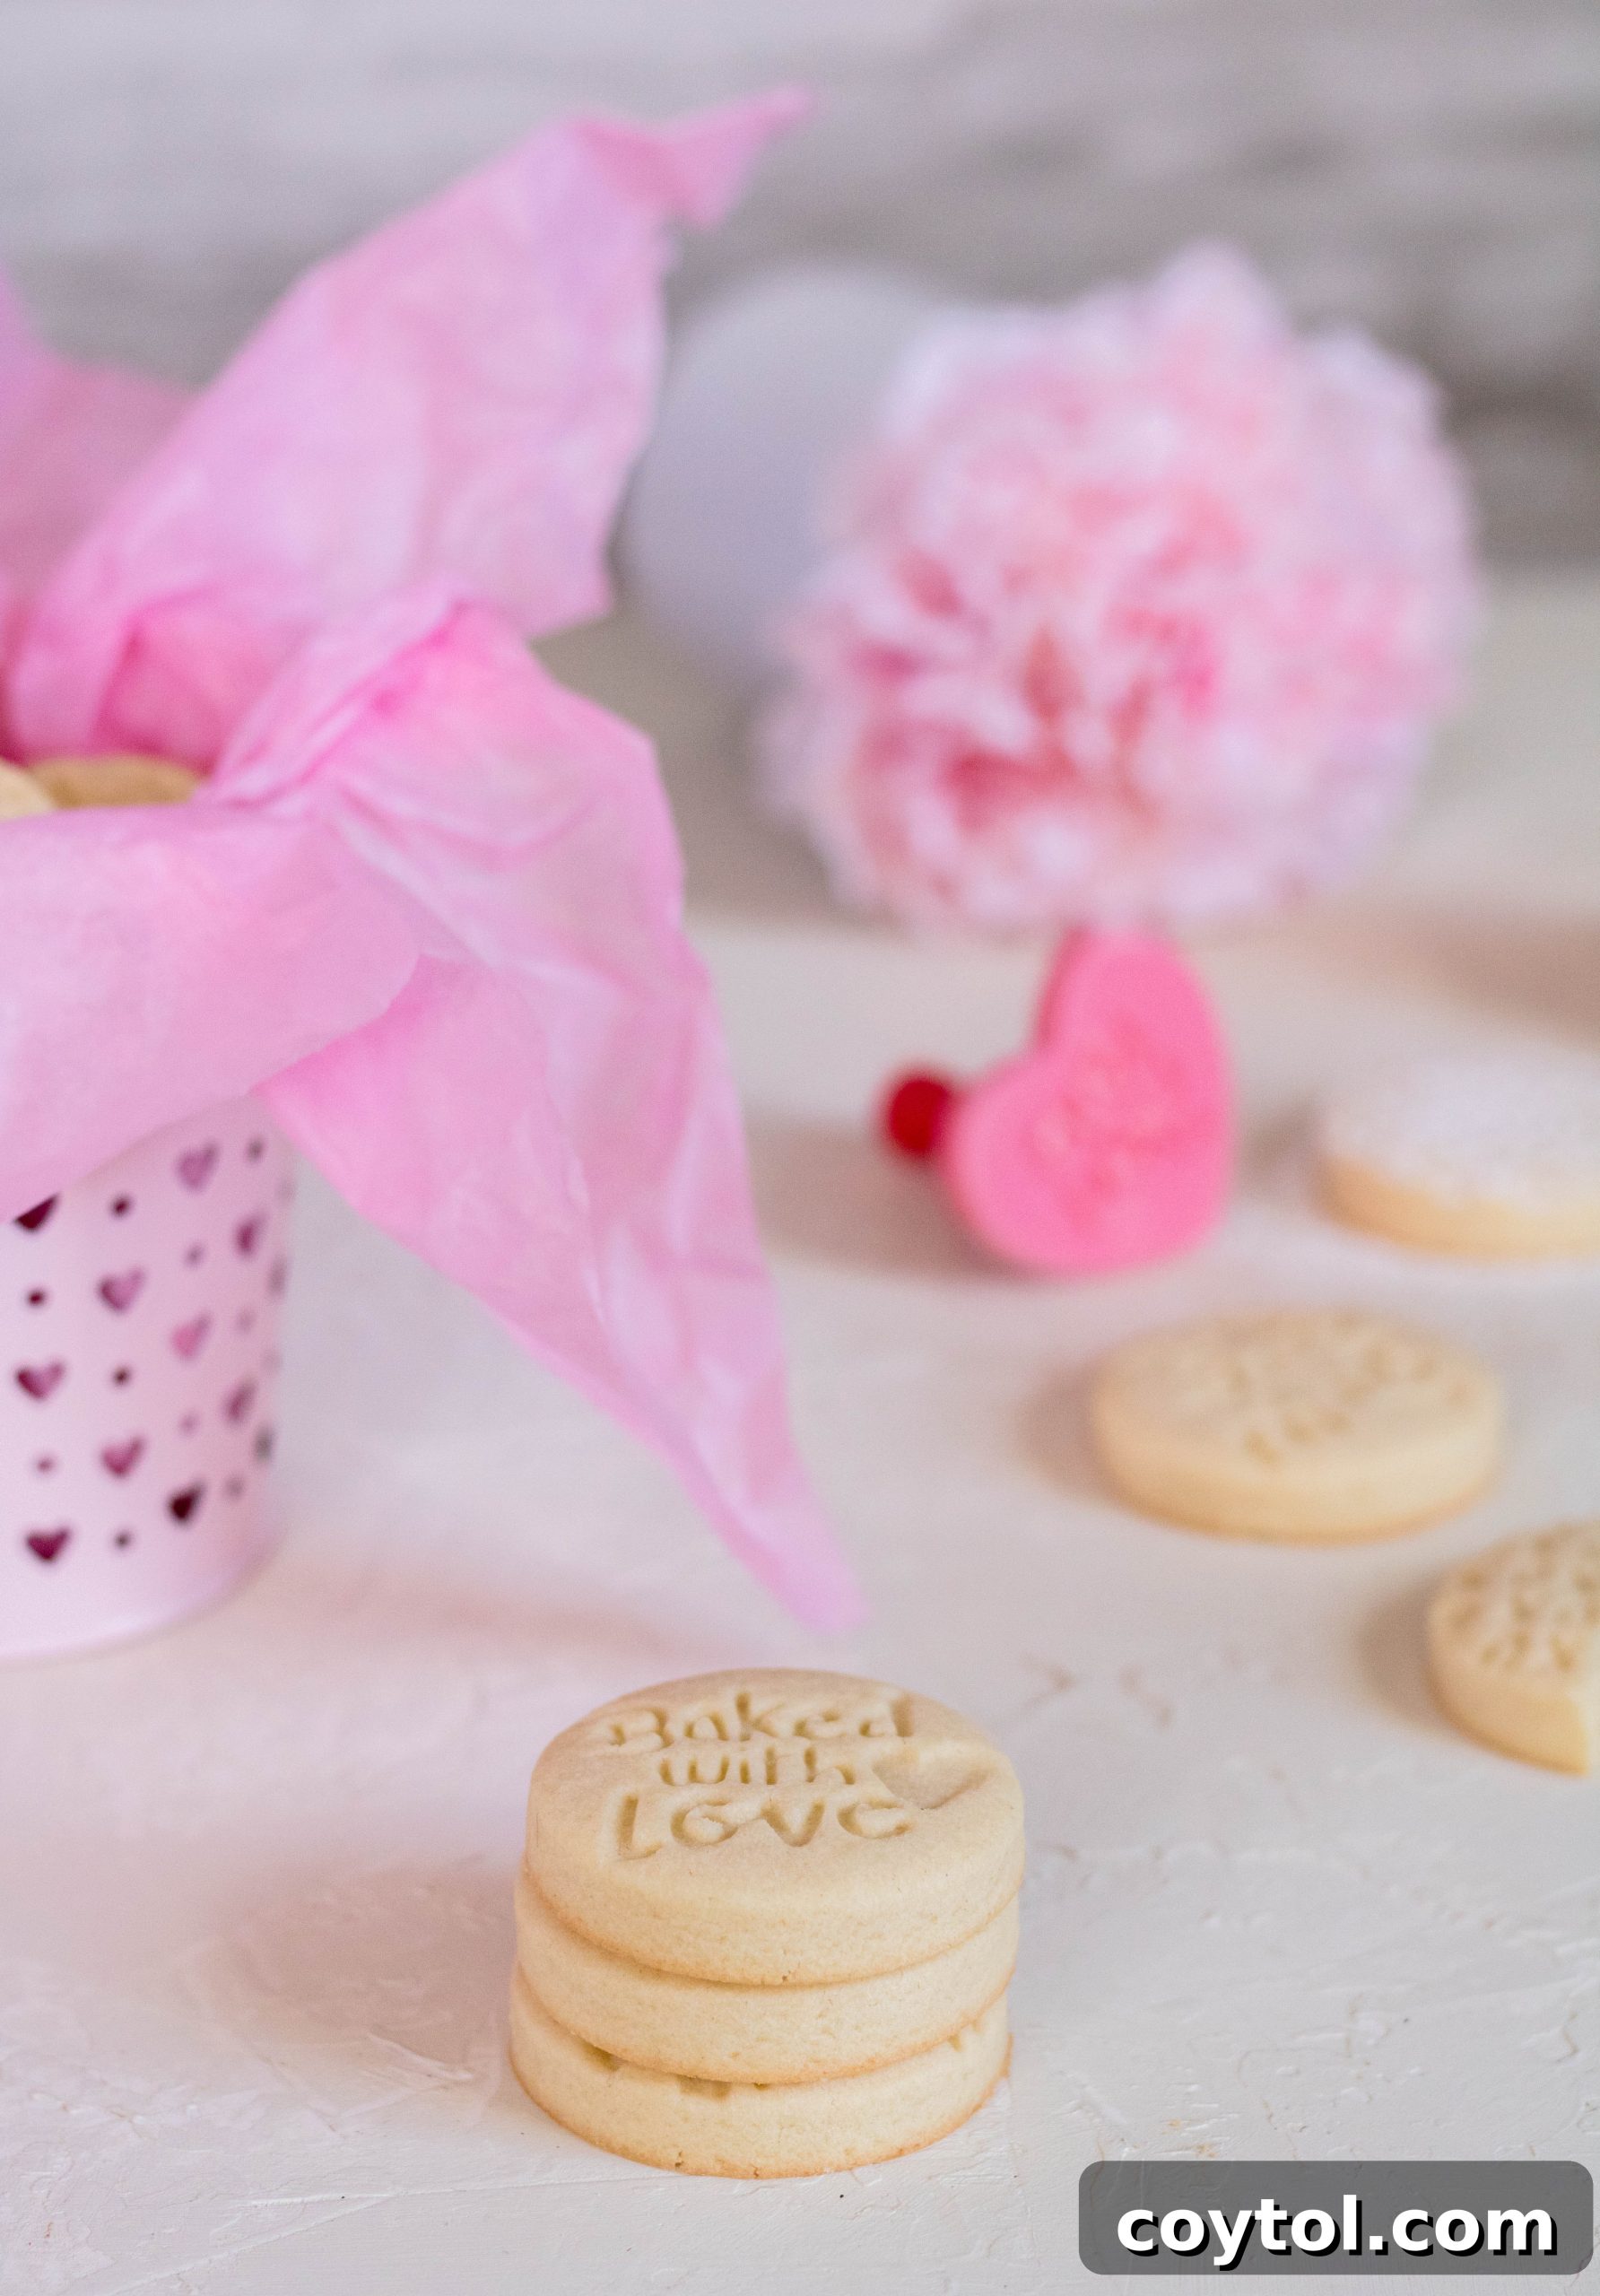
Finding Your Own Valentine’s Day Cookie Stamps
Even if you don’t have a Target nearby, don’t fret! The world of cookie stamps is vast and wonderful. You can find an incredible variety online, making it easy to discover the perfect designs to personalize your Valentine’s Day treats. Look for stamps made from wood, silicone, or durable plastic, featuring charming messages, intricate patterns, or classic symbols of love like hearts and XOXO. Investing in a few quality cookie stamps can elevate your baking and add a professional, artisanal touch to your homemade creations. They’re not just for shortbread; imagine them on sugar cookies, gingerbread, or even pie crusts!
More Valentine’s Day Recipes to Fall in Love With!
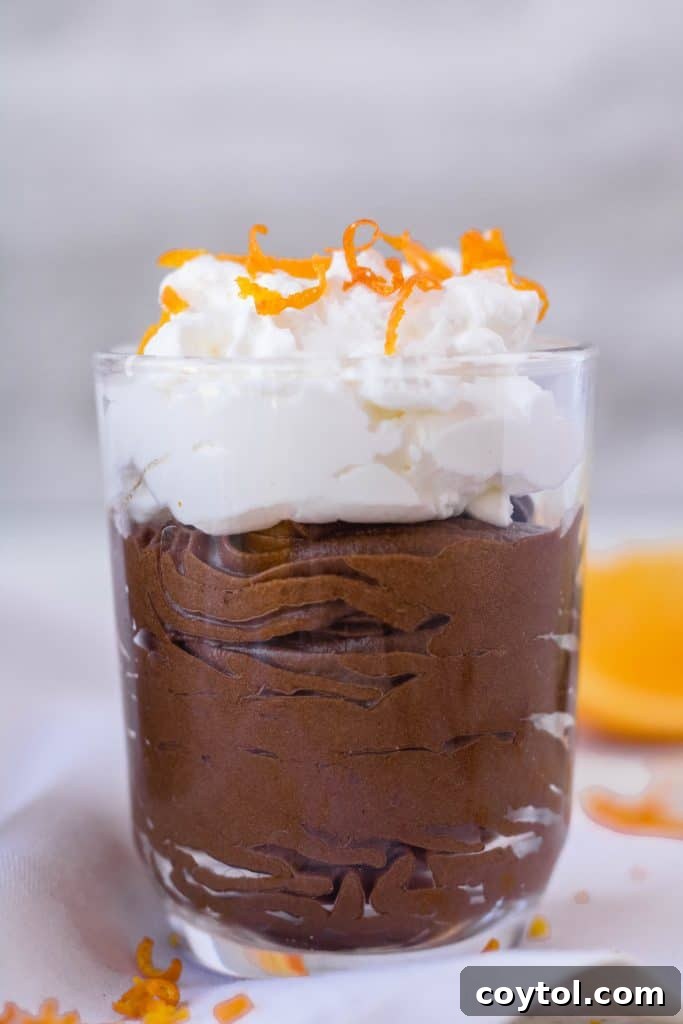
- Vegan Chocolate Orange Avocado Mousse for Two
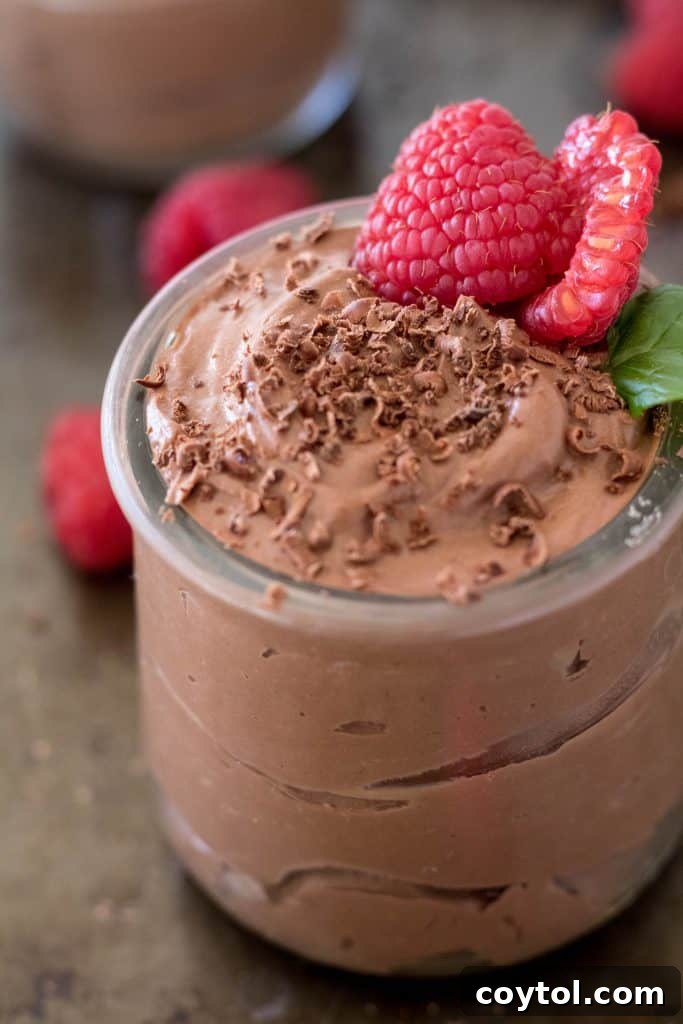
- 3-Ingredient Silken Tofu Chocolate Mousse
Why These Valentine’s Day Stamped Shortbread Cookies Are So Special
These shortbread cookies stand out for several reasons, making them a must-bake for Valentine’s Day and beyond:
- **Perfectly Balanced Sweetness:** As I mentioned, these aren’t overly sweet. They offer just the right amount of sugary bliss, allowing the rich, buttery flavor to truly shine. This makes them an ideal companion for your afternoon tea or coffee, providing a comforting treat without overwhelming your palate.
- **Effortlessly Easy to Make:** Shortbread is renowned for its simplicity, and this recipe is no exception. With just a few basic ingredients and straightforward steps, even novice bakers can achieve impressive results. It’s the kind of recipe that builds confidence in the kitchen.
- **Kid-Friendly Fun:** Involving children in the baking process is a joy, and these cookies are perfect for little hands. From mixing the dough to stamping out fun shapes, it’s an activity that creates cherished memories and delicious rewards.
- **Versatile and Customizable:** While we’re celebrating Valentine’s Day, the beauty of these shortbread cookies is that they can be adapted for any occasion. Simply swap out the stamps for different holidays or events, or even use cookie cutters for classic shapes.
- **Irresistible Texture:** Expect a delightful crispness on the outside, giving way to a tender, melt-in-your-mouth interior. This characteristic texture is what makes traditional shortbread so beloved, and it’s perfectly captured in this recipe.
Even those who aren’t typically “cookie lovers” find themselves reaching for a second (or third!) of these because of their elegant simplicity and superior texture. Don’t just take my word for it—give them a try!
Unpacking the Ingredients: What Makes These Shortbread Cookies So Delicious?
This recipe relies on a handful of high-quality, basic ingredients to create its signature buttery, crumbly perfection. Each component plays a vital role in achieving the ideal texture and flavor profile:
- Butter: This is the star of any shortbread recipe, lending its rich, creamy flavor and tender texture. For the best results, always opt for high-quality, unsalted butter. Ensure it’s at room temperature for optimal creaming.
- Granulated Sugar: While many shortbread recipes call for powdered sugar, we’re using granulated sugar here to achieve a slight crispiness and a delicate crunch that beautifully contrasts with the buttery interior.
- Brown Sugar: A touch of brown sugar introduces a subtle hint of molasses flavor, adding depth and a slight chewiness that keeps the cookies from being too dry. It contributes to that perfect balance of sweetness and texture.
- Salt: Essential in almost any baked good, salt isn’t just for savory dishes. It enhances and balances the sweetness, making all the other flavors “pop” and preventing the cookies from tasting bland.
- Egg Yolk: The egg yolk acts as a binding agent, enriching the dough and contributing to its tender, almost custardy texture. Using just the yolk (or a very small whole egg) provides moisture without making the cookies too cake-like.
- Vanilla Extract: With so few ingredients, the quality of your vanilla truly matters. Use a good quality pure vanilla extract to infuse these cookies with a warm, aromatic flavor that defines classic shortbread.
- All-Purpose Flour: The foundation of our cookie structure. All-purpose flour provides the necessary body without making the cookies tough. Measure it correctly by spooning it into your measuring cup and leveling it off.
- Corn Starch: This secret ingredient is key to achieving that wonderfully crisp yet tender, melt-in-your-mouth texture. Corn starch inhibits gluten development, resulting in a more delicate crumb that truly sets these shortbread cookies apart.
Frequently Asked Questions
Can I use salted butter for this recipe?
Yes, absolutely! If you only have salted butter on hand, you can certainly use it for this stamped shortbread recipe. However, be sure to omit the additional 1/2 teaspoon of salt specified in the ingredient list. Salted butter already contains sodium, so adding more could make your cookies too salty. The goal is a balanced flavor profile, so adjust accordingly.
Can I add other flavorings to the shortbread dough?
Yes, shortbread is incredibly versatile! You can easily customize the flavor. Consider adding citrus zest (lemon, orange, or lime) for a bright note, a pinch of almond extract alongside or instead of vanilla for a nutty aroma, or even finely chopped pistachios or dried lavender for a gourmet touch. Remember that a little goes a long way with strong extracts or spices.
How can I prevent my cookies from spreading too much?
Several factors help prevent spreading. First, ensure your butter is at room temperature but not melted, as this can lead to a greasy dough. Second, chilling the dough (and the stamped cookies, as instructed in the recipe) is crucial. Cold dough spreads less in the oven. Finally, make sure your oven temperature is accurate. If your oven runs too cool, cookies might spread before they set. Using parchment paper or a silicone mat also helps maintain shape.
What’s the best way to store these shortbread cookies?
Once completely cooled, store your Valentine’s Day stamped shortbread cookies in an airtight container at room temperature for up to 5 days. For longer storage, they freeze beautifully! Place them in a single layer on a baking sheet to freeze, then transfer them to a freezer-safe bag or container for up to 3 months. Thaw at room temperature before serving.
More Delicious Cookie Recipes You’ll Adore
- Classic Chocolate Chip Walnut Cookies
- Small Batch Chocolate Chip Cookies
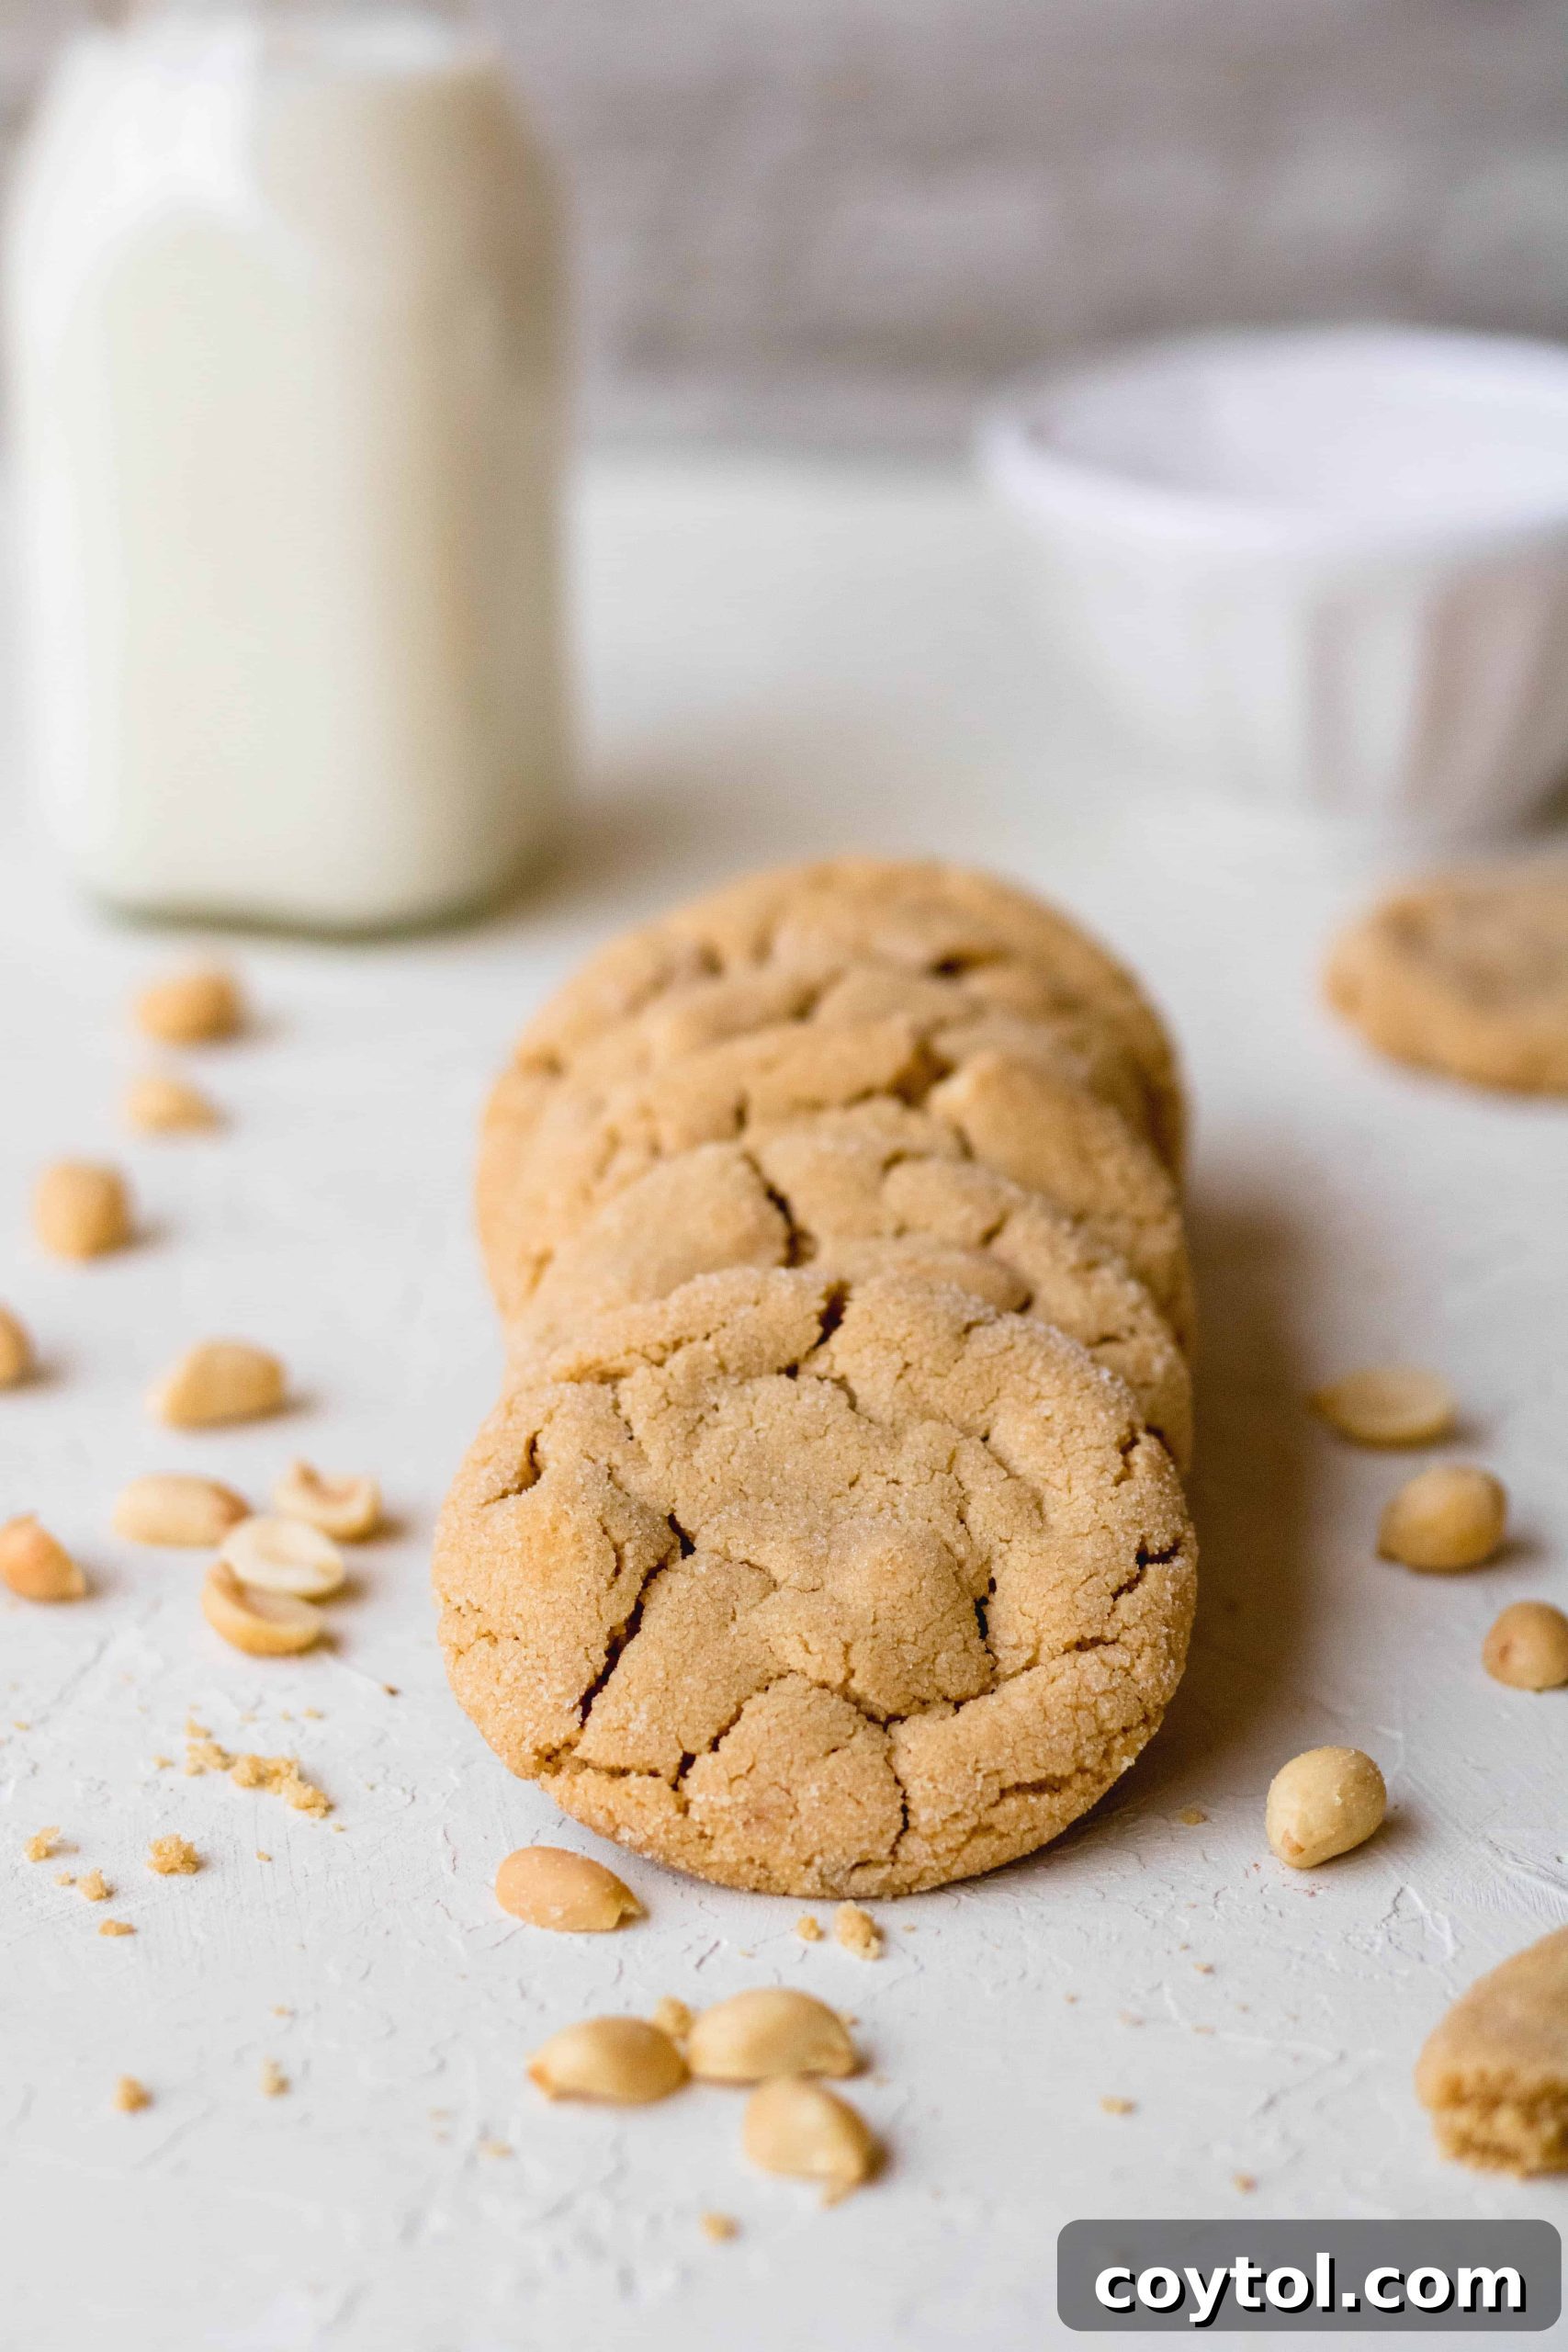
- Small Batch Peanut Butter Cookies
How to Make Valentine’s Day Stamped Shortbread Cookies: A Step-by-Step Guide
Step 1: Prepare Your Baking Sheet. Begin by lining a baking sheet with parchment paper or a silicone mat. This prevents sticking and ensures even baking. Set aside.
Step 2: Cream Butter and Sugars. In a large mixing bowl, beat together the softened butter, granulated sugar, brown sugar, and salt until the mixture is light, fluffy, and creamy. This can take a few minutes. Scrape down the sides of the bowl as needed.
Step 3: Add Egg Yolk and Vanilla. Incorporate the egg yolk (or very small whole egg) and vanilla extract into the creamed mixture. Continue beating for about another minute until everything is well combined and smooth.
Step 4: Fold in Dry Ingredients. Gently add the all-purpose flour and corn starch to the wet mixture. Using a spatula, fold the ingredients together until just combined. Be careful not to overmix, as this can develop gluten and lead to tough cookies.
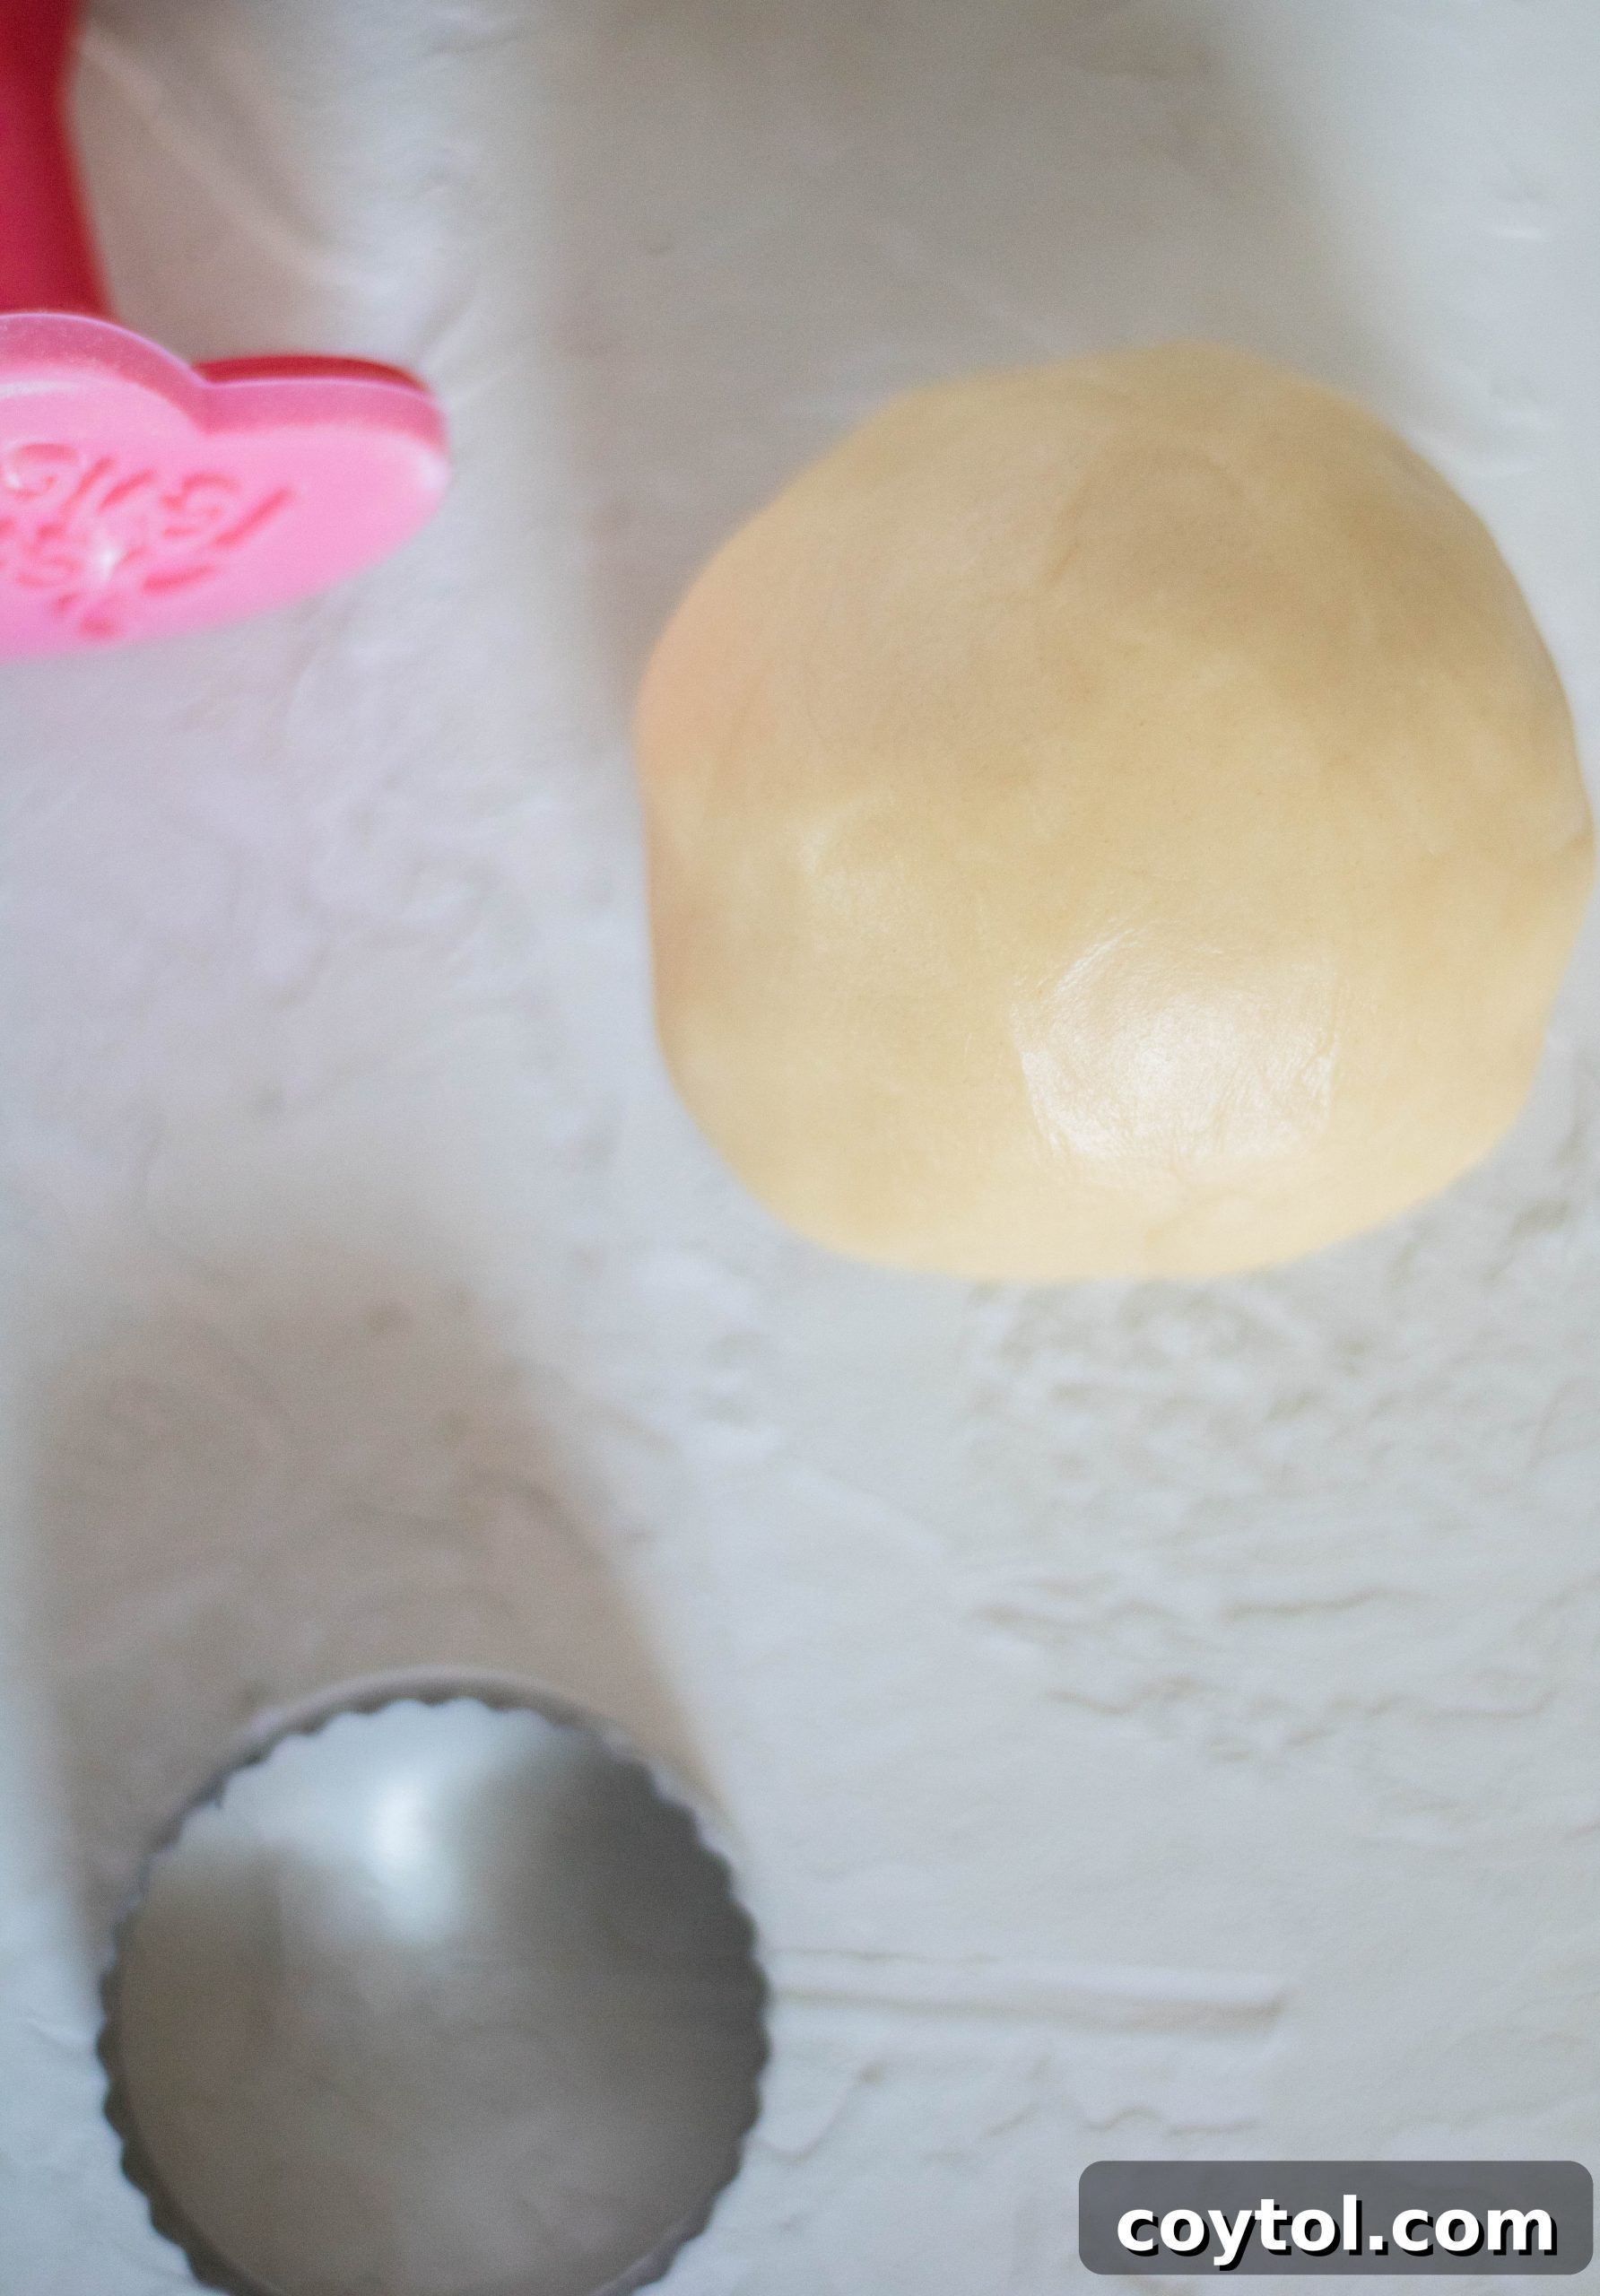
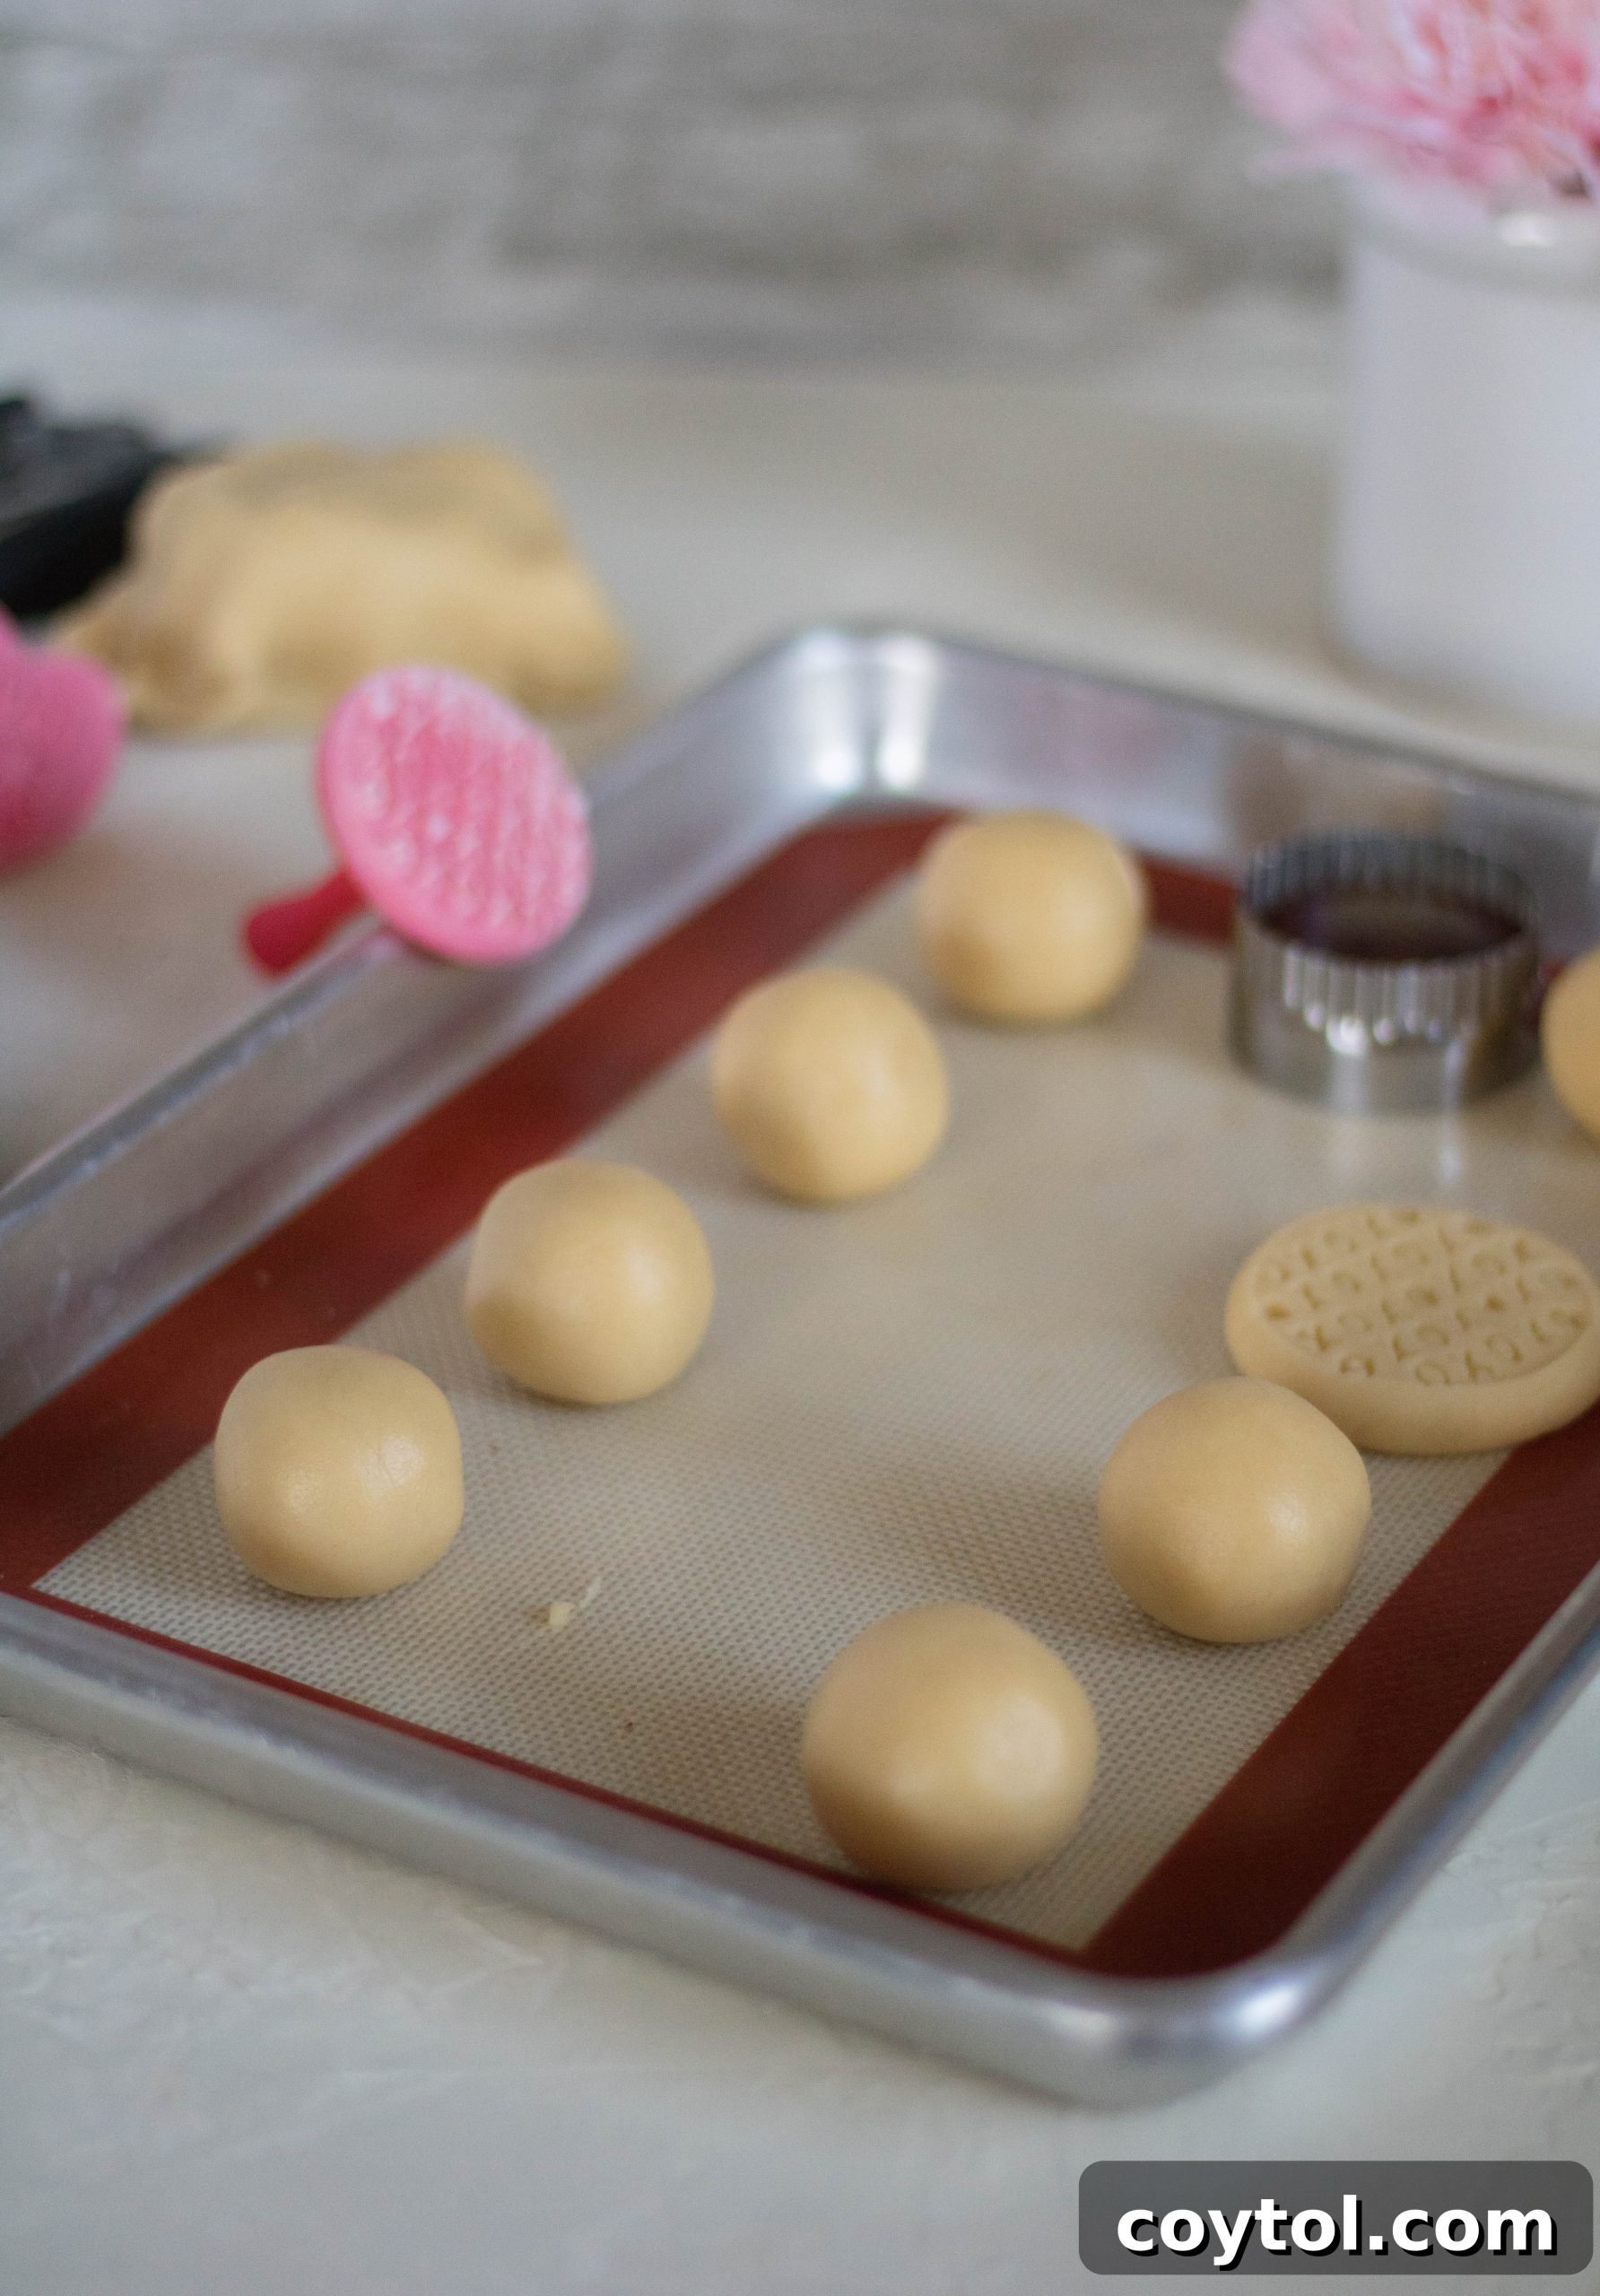
Step 5: Form and Stamp the Cookies. Once the dough comes together, divide it into 18 equal-sized balls, roughly the size of a golf ball. A small cookie scoop can help with consistency. Place them onto your prepared baking sheet.
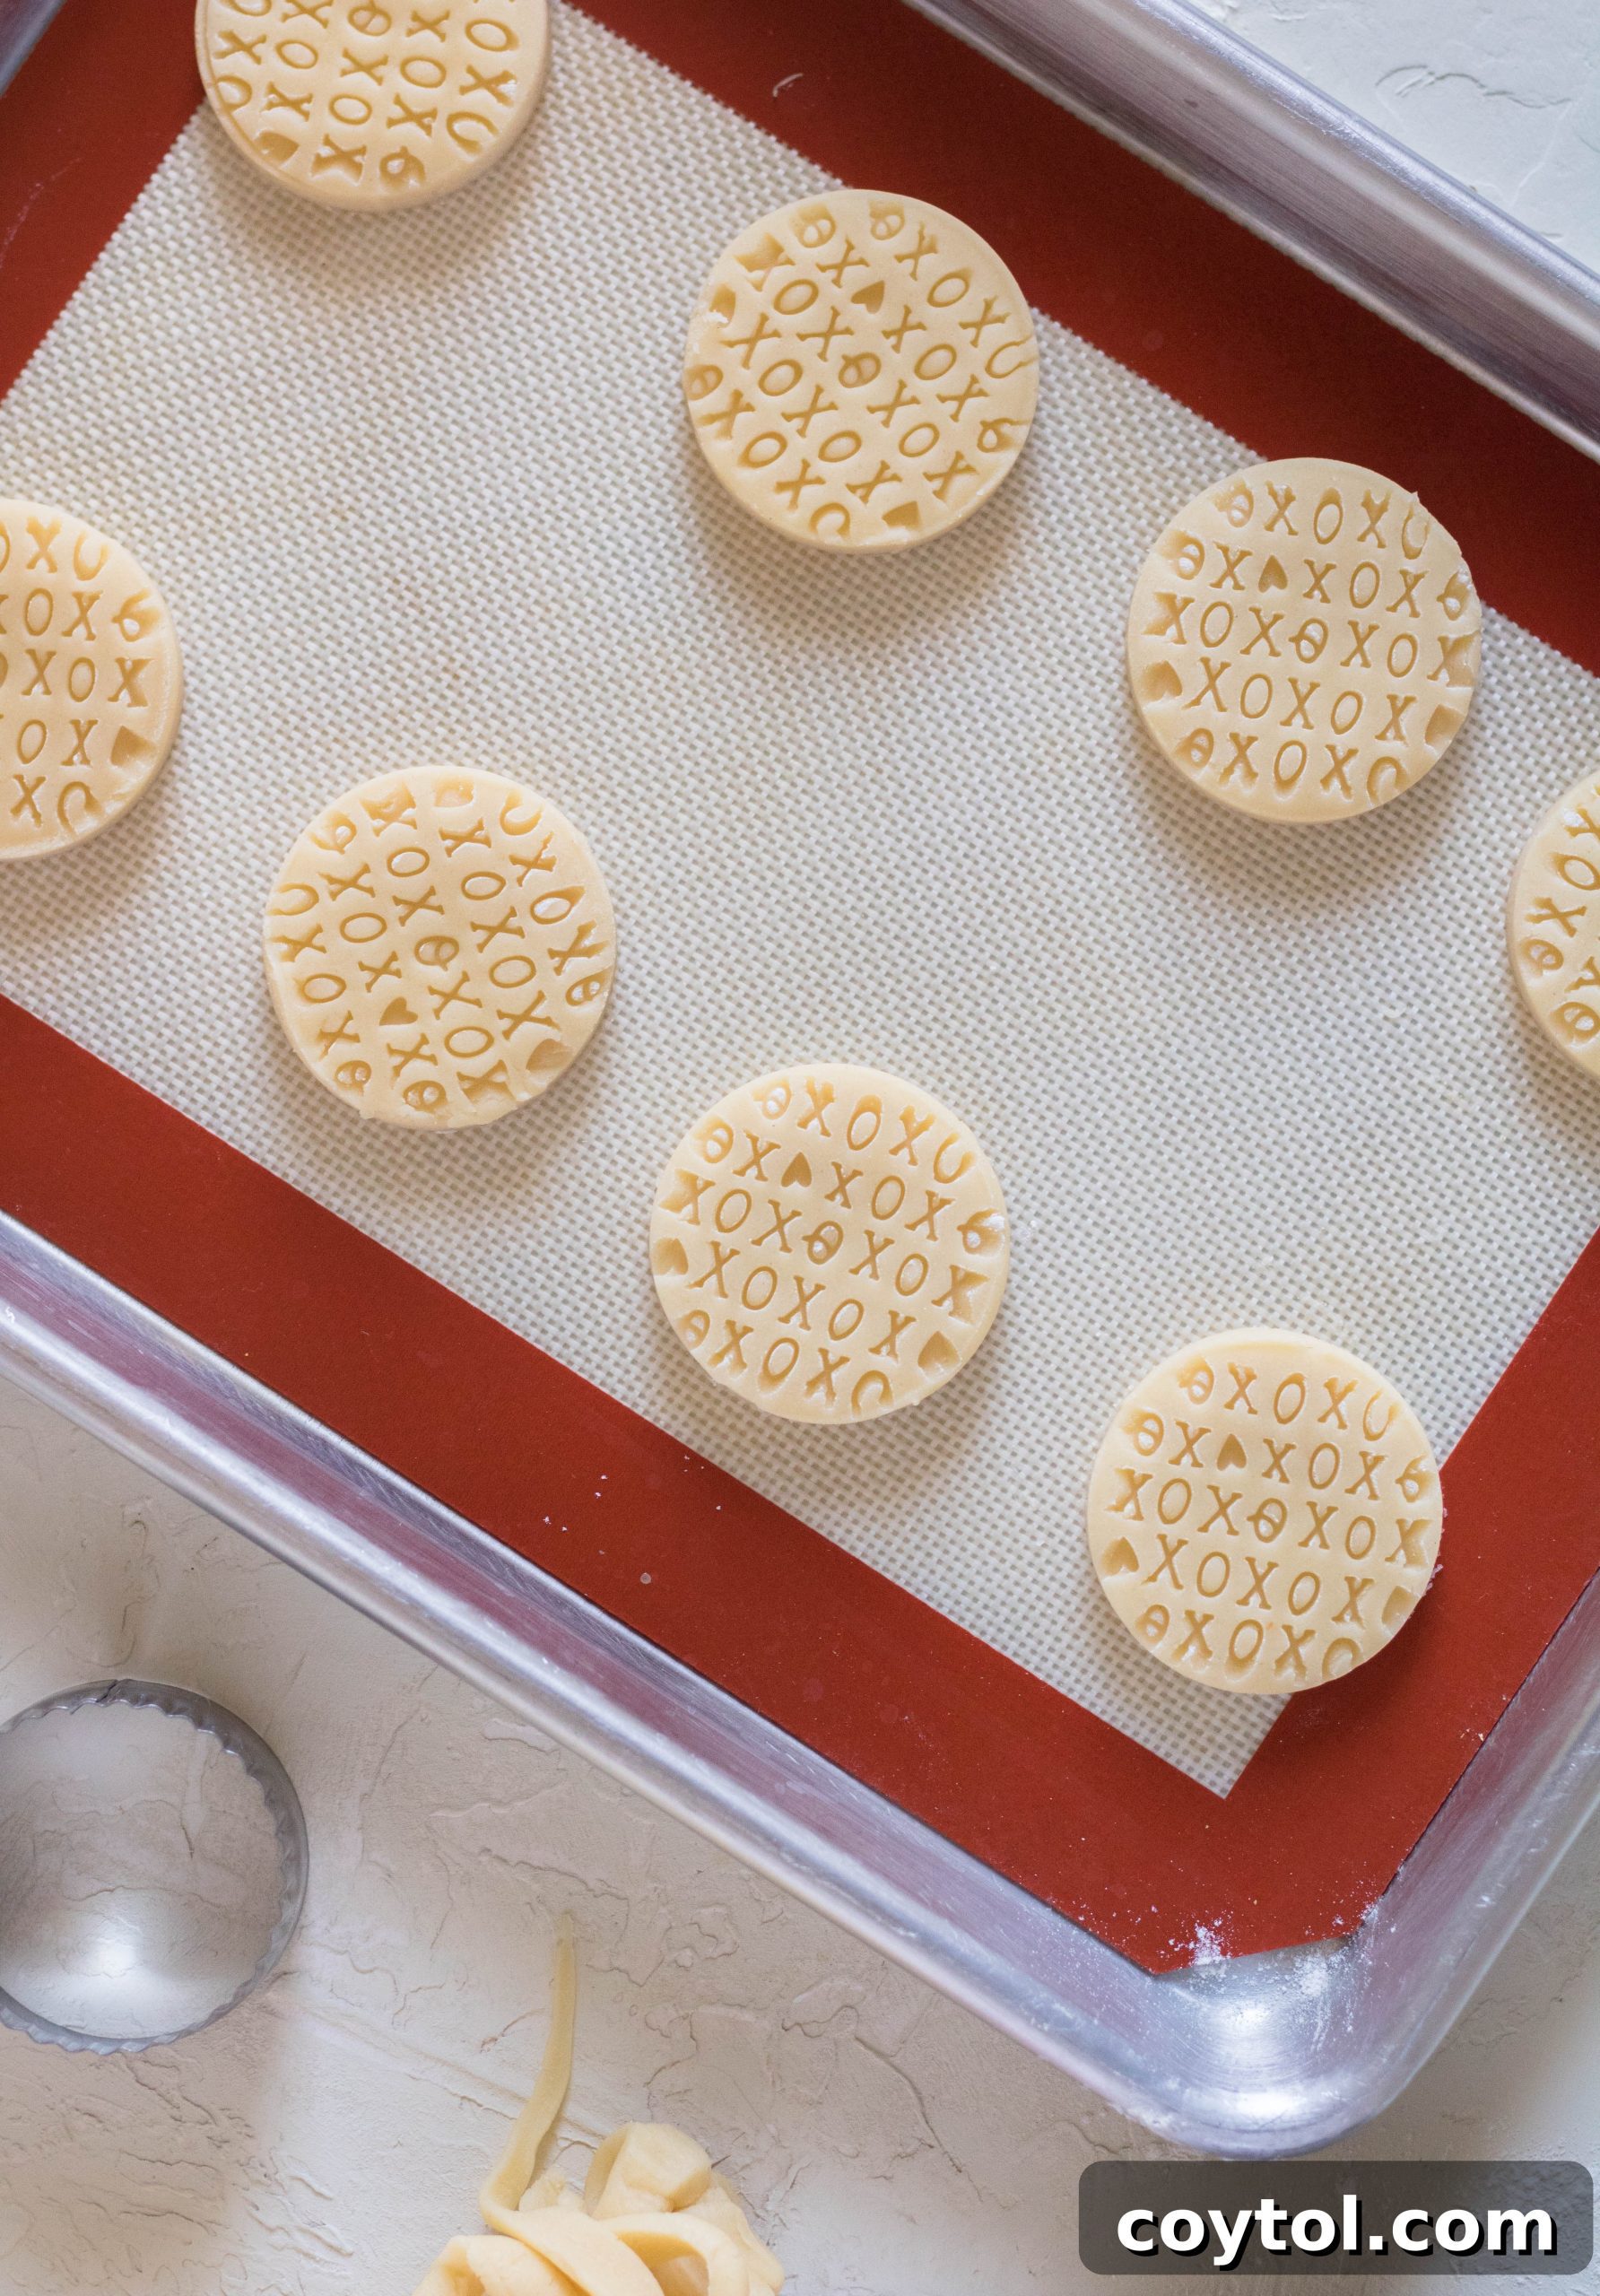
Slightly flatten each dough ball. Lightly dust your cookie stamp with flour, tap off any excess, and press it firmly and evenly onto each flattened dough ball until it’s about 1 cm thick. For a perfectly clean edge, you can use a circular cookie cutter to trim around the stamped design. This step is optional but creates a polished finish.
Step 6: Chill the Cookies. Place the baking sheet with the stamped cookies into the freezer for 30 minutes. This crucial step helps the cookies retain their beautiful stamped shape and prevents them from spreading excessively during baking. While they chill, preheat your oven to 400°F (200°C) about 20 minutes before the chilling time is up.
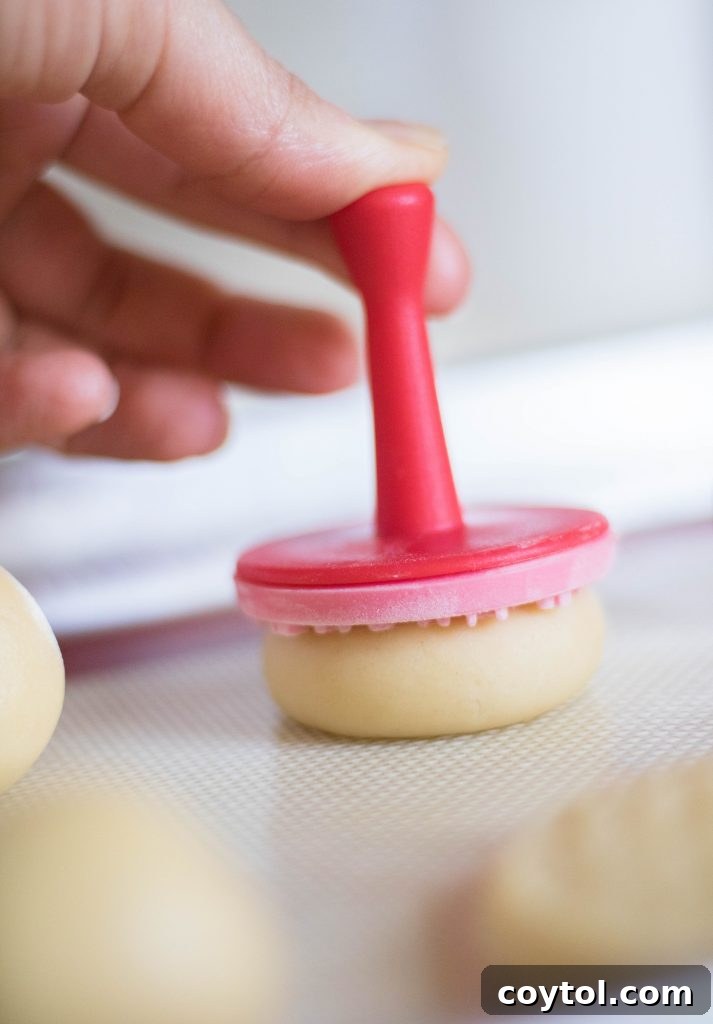
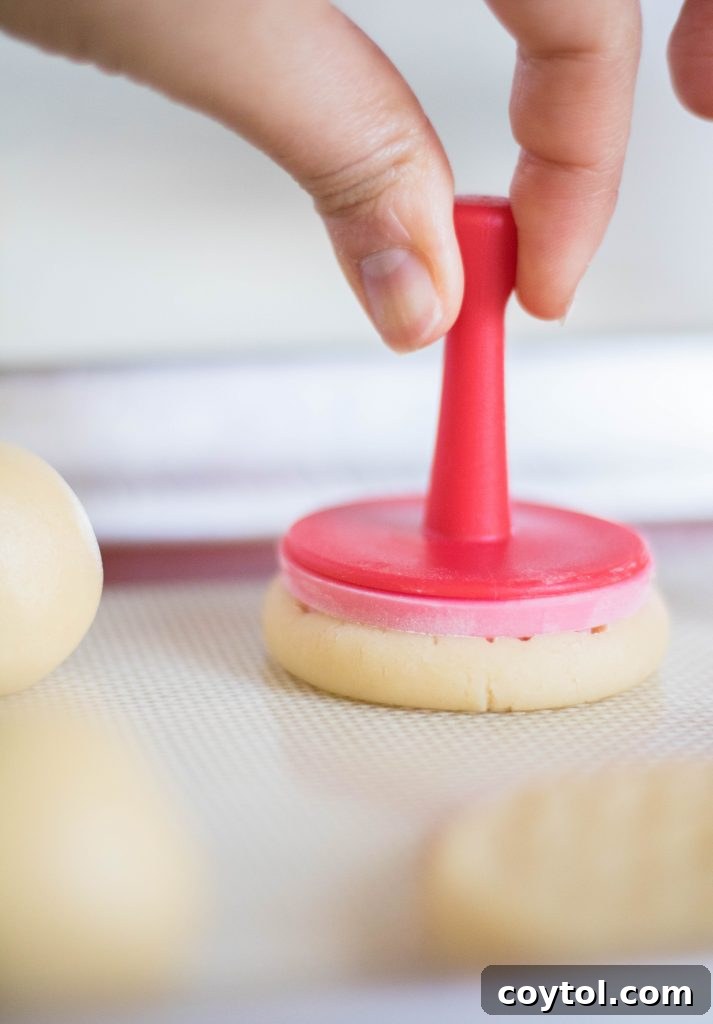
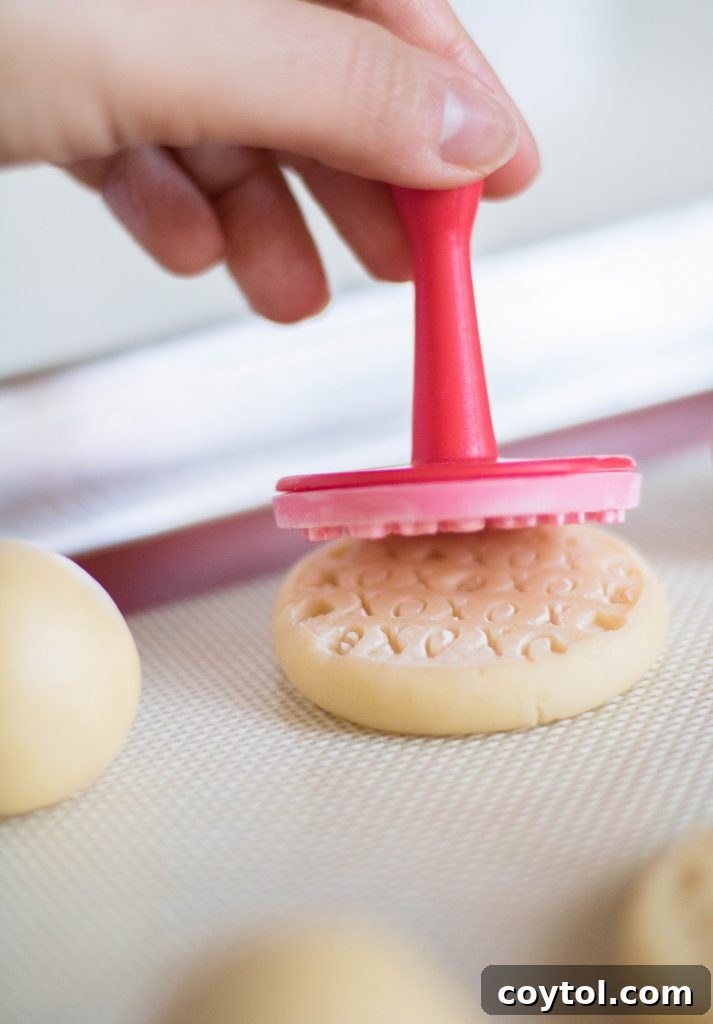
Step 7: Bake to Golden Perfection. After chilling for 30 minutes, transfer the cold baking sheet directly to the preheated oven. Bake for approximately 11 minutes, rotating the baking sheet halfway through to ensure even browning. The cookies are done when their edges are lightly golden. The centers may still appear soft, but they will firm up as they cool.
Step 8: Cool and Enjoy. Carefully remove the baking sheet from the oven and allow the cookies to cool completely on the sheet before transferring them to a wire rack. This helps them firm up and prevents breakage. Once cooled, your beautiful Valentine’s Day stamped shortbread cookies are ready to be savored!
Expert Tips for Making the Best Stamped Cookies Every Time!
Achieving perfectly stamped shortbread cookies is easy with a few simple tricks. Follow these tips to ensure your batch is always a success:
- Keep Your Stamp Lightly Floured: This is arguably the most critical step. Before each press, gently dip your cookie stamp into a bowl of flour, then tap off any excess. This thin layer of flour creates a barrier, preventing the dough from sticking to the stamp and ensuring a clean, crisp impression. Re-flour as needed.
- Don’t Skip the Chilling Time: The freezer chilling time is non-negotiable. Cold dough is stable dough. It helps the shortbread maintain its shape and intricate stamped details in the heat of the oven, preventing excessive spreading. Ensure your baking sheet is cold before baking for the best results.
- Adjust Baking Time for Thinner Cookies: If you prefer a thinner cookie, they will bake faster. Start checking them at around 8 minutes. Look for the edges to turn a light golden color – that’s your cue that they’re ready. Always keep a close eye on them to prevent over-browning.
- Use Room Temperature Butter: While the cookies need to be chilled, starting with properly softened (but not melted) butter is essential for a smooth, homogenous dough that creams beautifully with the sugars. This creates the perfect base for your shortbread.
- Avoid Overworking the Dough: Shortbread is best when handled minimally. Overmixing develops gluten, which can lead to a tougher, less tender cookie. Mix just until the ingredients are combined and no dry streaks of flour remain.
- Even Dough Balls for Uniformity: For consistent baking and appearance, try to make your dough balls as uniform in size as possible. A cookie scoop is an excellent tool for this, or you can eyeball it for a more rustic charm.
- Preheat Your Oven Accurately: An accurately preheated oven is key to consistent baking. Consider using an oven thermometer to ensure your oven is truly at 400°F (200°C) before putting your cookies in.
IF YOU MADE SOMETHING FROM LIFESTYLEOFAFOODIE, I WOULD LOVE TO SEE ALL YOUR CREATIONS AND KNOW HOW EVERYTHING TURNED OUT! SO DON’T FORGET TO LEAVE A COMMENT BELOW AND FOLLOW ALONG WITH ME ON INSTAGRAM, PINTEREST, AND FACEBOOK.
Valentine’s Day Stamped Shortbread Cookies Recipe
Recipe Summary
These Valentine’s Day cookies are utterly adorable and require only a handful of ingredients you likely already have in your pantry. Treat your loved ones to these delicious, buttery shortbread cookies today!
Prep time: 20 minutes
Cook time: 11 minutes
Total time: 40 minutes
Servings: 18 cookies
Rating: 5 out of 5 stars (from 2 votes)
Equipment
- Cookie stamps
- Baking sheet
- Parchment paper or silicone mat
- Mixing bowls
- Electric mixer (handheld or stand mixer)
- Spatula
- Optional: Small cookie scoop, circular cookie cutter
Ingredients
- 1 stick (1/2 cup) unsalted butter, softened
- 1/4 cup granulated sugar
- 1 tablespoon brown sugar
- 1/2 teaspoon salt (omit if using salted butter)
- 1 egg yolk (from a large egg) or 1 very small whole egg
- 1 teaspoon vanilla extract
- 1 1/4 cups all-purpose flour
- 1/4 cup + 1 tablespoon corn starch
Instructions
- First, prepare a baking sheet by lining it with parchment paper or a silicone mat. Set aside.
- In a large bowl, beat together the softened butter, granulated sugar, brown sugar, and salt until the mixture is light and creamy.
- Add in the egg yolk (or a very small whole egg) and vanilla extract. Beat for another minute or so until well incorporated.
- Add the all-purpose flour and corn starch to the wet ingredients. Gently fold with a spatula until the dough just comes together, being careful not to overmix.
- Once the dough forms, divide it into 18 equal, golf-ball-sized portions. Place them on the prepared baking sheet. (A small cookie scoop can help with consistency). Slightly flatten each dough ball. Lightly dust your cookie stamp with flour, tap off any excess, and press it firmly onto each flattened dough ball until it is about 1 cm thick. For a cleaner finish, you can use a circular cookie cutter to trim the edges around the stamped design.
- Place the baking sheet with the stamped cookies in the freezer for 30 minutes. Approximately 20 minutes into the chilling time, begin preheating your oven to 400°F (200°C).
- After the cookies have chilled for 30 minutes, remove them from the freezer and place the cold baking sheet into the preheated oven. Bake for 11 minutes, rotating the baking sheet halfway through for even baking. Ensure the baking sheet is cold before it goes into the oven, as this helps prevent the cookies from spreading. The cookies are done when the edges are lightly golden.
- Remove the cookies from the oven and let them cool completely on the baking sheet before transferring to a wire rack.
Notes
Store these shortbread cookies in an airtight container at room temperature for up to 5 days. For longer preservation, they can be frozen for up to 3 months. Ensure they are fully cooled before storing.
Nutrition information is automatically calculated, so should only be used as an approximation.
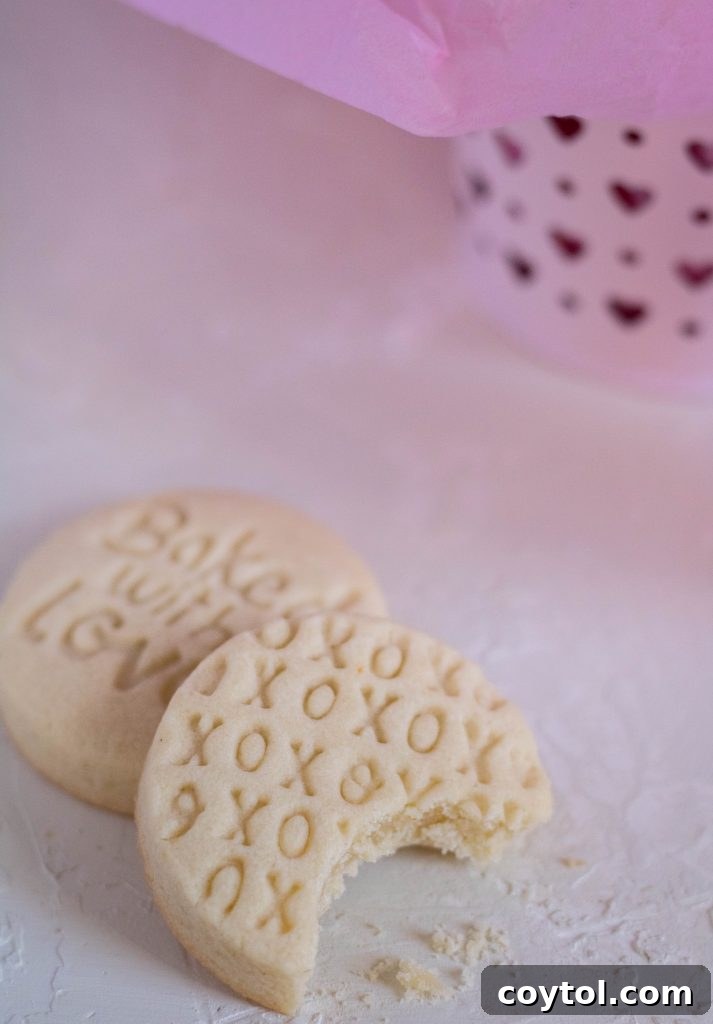
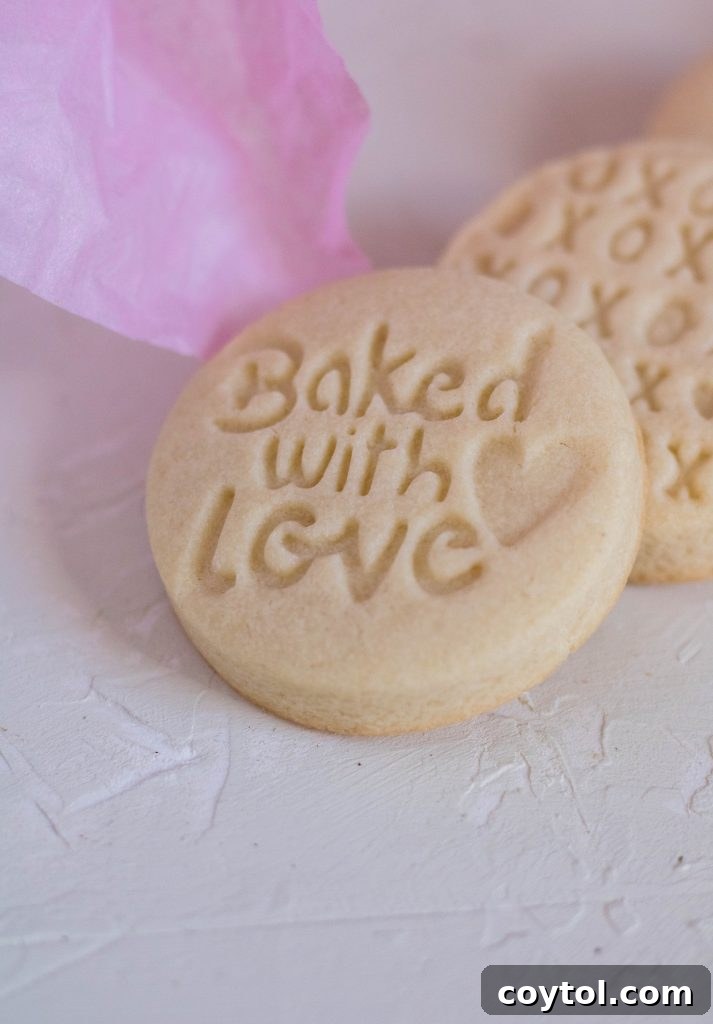
While we’ve focused on Valentine’s Day themes, remember you can technically use any cookie stamps you desire. These simple vanilla shortbread cookies provide the perfect base for showcasing any design, turning out amazing regardless of the occasion!
Shop This Recipe: Essential Tools and Ingredients
This article may contain some affiliate links, meaning, at no additional cost to you, I will earn a commission if you click through and make a purchase. Your support helps keep this blog running!