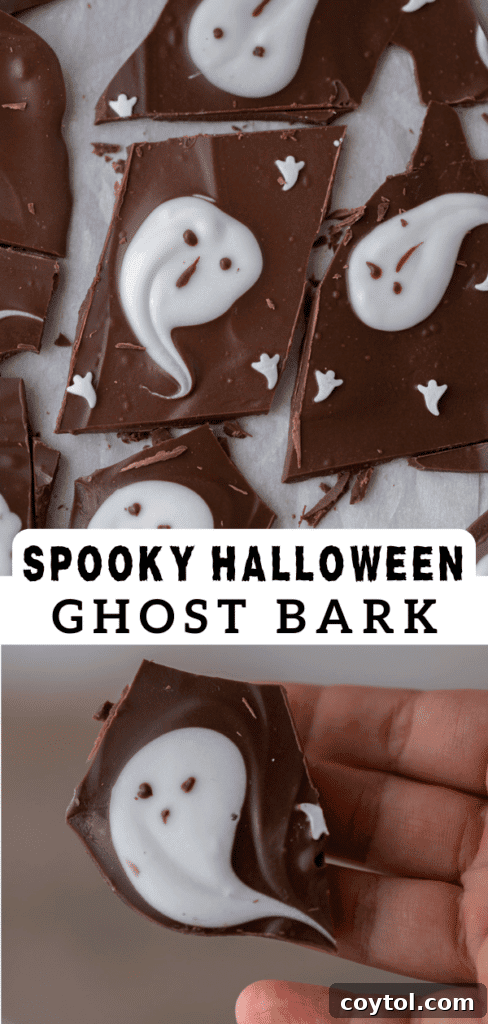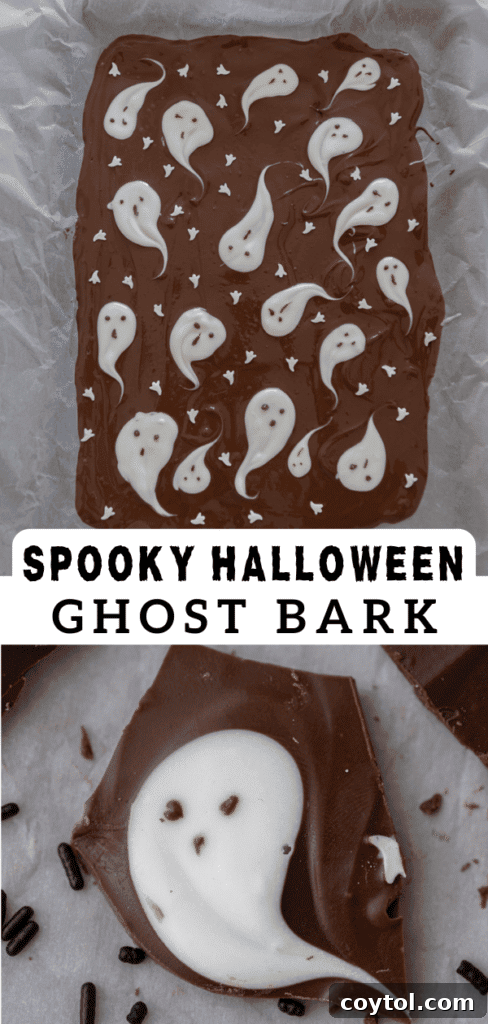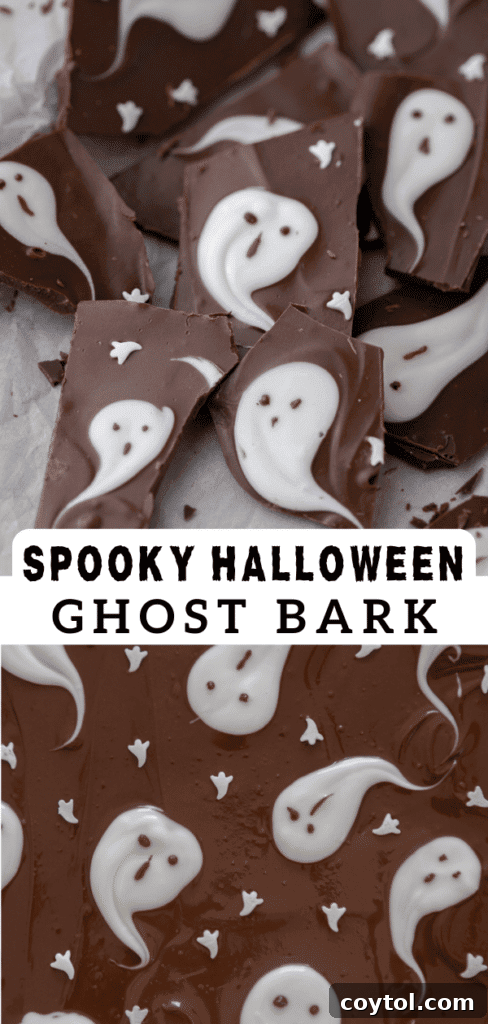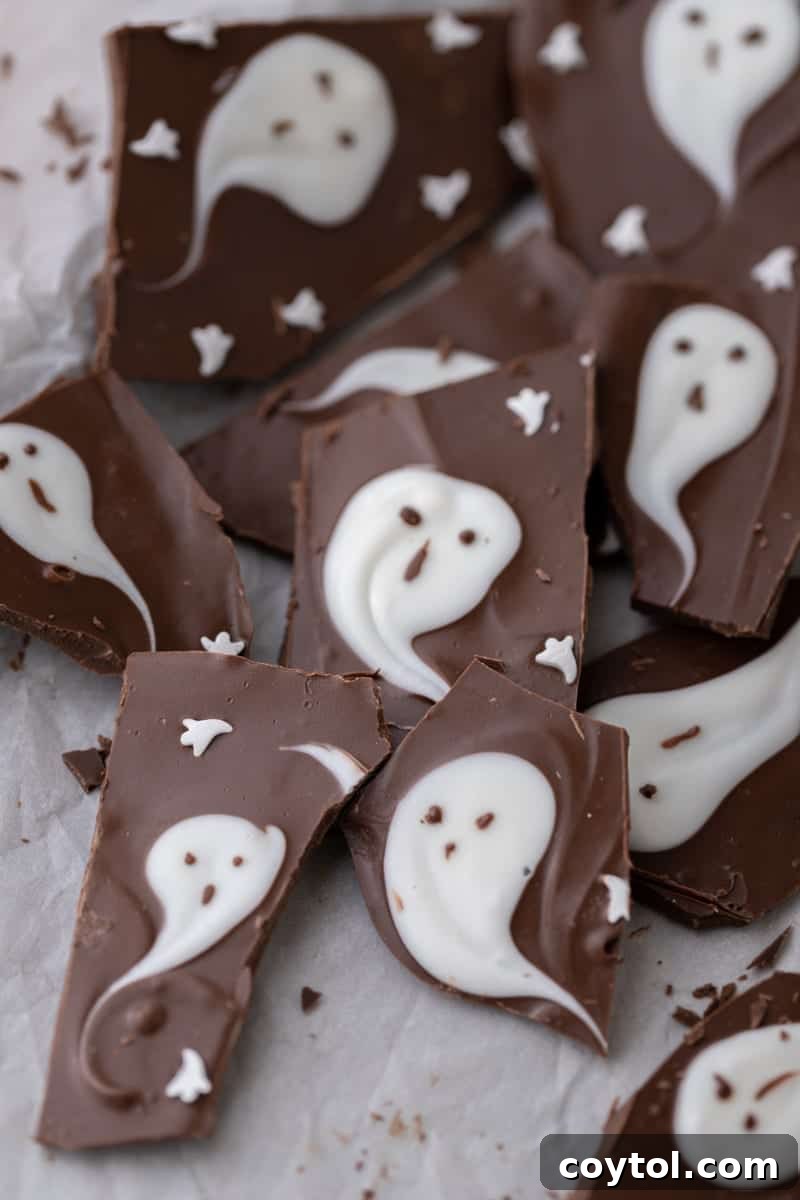
Get ready for the spookiest time of the year with the easiest, most delightful treat imaginable! This 3-ingredient Halloween Ghost Bark recipe is your secret weapon for any Halloween celebration, from lively parties to cozy movie marathons. It’s the kind of delicious sweet treat that brings smiles, creates a warm, festive atmosphere, and makes bonding over holiday fun even better.
While you’re here gathering inspiration for frightfully good treats, be sure to explore our other fantastic Halloween delights: discover these easy Oreo cookies Halloween bark, indulge in Halloween Oreo brownies, sink your teeth into Halloween black velvet cupcakes, and don’t miss out on these adorable Halloween Spider cookies!
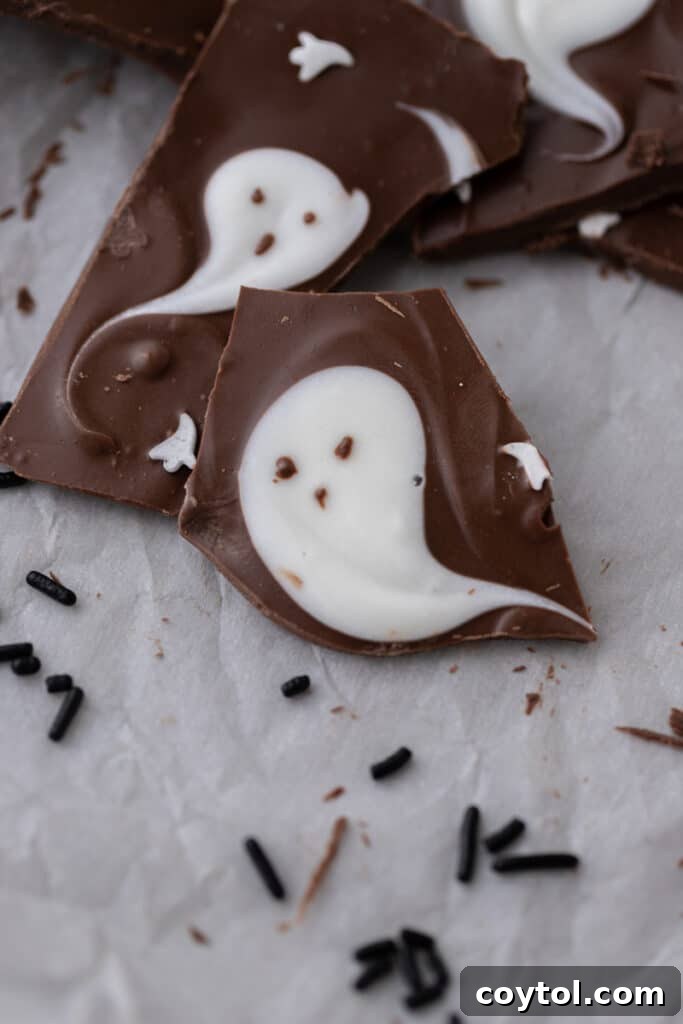
The Ultimate Easy Halloween Ghost Bark Recipe
The air is crisp, the leaves are falling, and spooky season is officially upon us! This time of year calls for all things cute, creepy, and, most importantly, effortless in the kitchen. We believe in maximizing fun and minimizing stress, which is exactly what this incredible Halloween bark recipe delivers. Forget spending hours slaving over complicated desserts; these delightful ghost treats come together in mere minutes, leaving you more time to enjoy the festivities.
Made with just three simple ingredients, this ghost bark is a fantastic project to involve your little monsters in. Their tiny hands will love helping to create the adorable ghost shapes and scattering colorful sprinkles, making it a memorable family activity. And for an extra touch of Halloween magic, portion them into festive baggies and hand them out as unique, homemade trick-or-treat favors. Imagine the joy on their faces when they receive a treat that truly stands out from the candy crowd!
Why This Ghost Chocolate Bark is a Must-Make
If you’re looking for a dessert that perfectly encapsulates the spirit of Halloween without the fuss, look no further. This ghost chocolate bark offers a multitude of reasons why it should be at the top of your spooky season baking list:
- Effortlessly Adorable: It’s undeniably the cutest treat you can whip up this Halloween season. The charming ghost designs are incredibly simple to achieve, making this bark look impressive with minimal effort.
- Perfect for Little Hands: This is an ideal DIY Halloween recipe to get children involved in the kitchen. They can help spread the chocolate, add the dollops of white chocolate, and, with a little guidance, even try creating their own ghost shapes. Consider making mini barks so each child can personalize their own sweet creation.
- Trick-or-Treat Superpower: Want to be the most popular house on the block? Prepare a generous batch of this ghost bark, wrap individual pieces in cute Halloween baggies, and hand them out to trick-or-treaters. Your unique, homemade treat will definitely make a lasting impression!
- Last-Minute Lifesaver: Hosting a spontaneous Halloween gathering or need a quick dish to bring to a party? This bark is your go-to. It requires no baking, minimal ingredients, and chills quickly, making it the ultimate last-minute dessert solution.
- Versatile & Customizable: While we stick to a classic look, this recipe is incredibly adaptable. You can easily switch up chocolate types, colors, and sprinkles to match any Halloween theme or personal preference.
- Cozy Movie Night Essential: Nothing beats snuggling up for an annual Halloween movie marathon with a bowl of homemade treats. This ghost bark adds an extra layer of comfort and sweetness, enhancing the cozy vibe and providing a delightful snack to share.
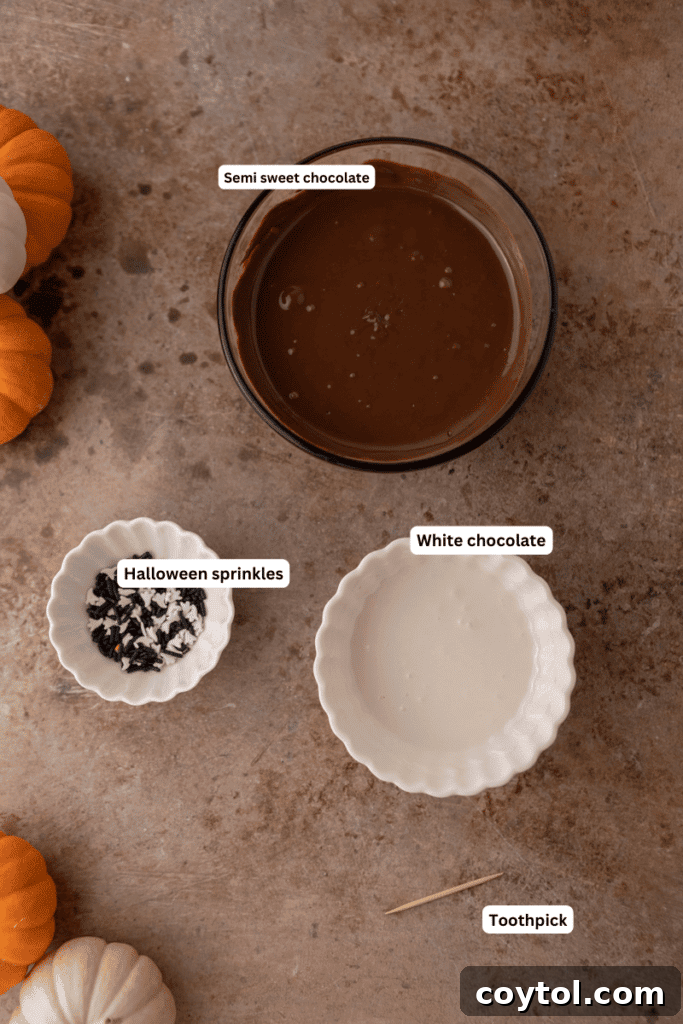
Essential Ingredients for Your Easy Halloween Ghost Bark Dessert
One of the best features of this recipe is its simplicity, relying on just three key ingredients to create a show-stopping treat. You likely have some of these on hand already, making it even easier to get started. Below, we detail what you’ll need, along with some helpful tips for selection. For precise measurements, please refer to the comprehensive recipe card located further down the page.
- Milk, Dark, or Semi-Sweet Chocolate Bars or Chips: This will form the base of your delicious bark. You have several options here! High-quality chocolate chips work wonderfully, but you can also use chocolate bars chopped into smaller pieces for easier melting. For a richer flavor, opt for dark chocolate. Milk chocolate provides a sweeter, creamier base, while semi-sweet is a versatile middle ground. Alternatively, you can use melted almond bark (often found in the baking aisle) or dark candy melts for a super smooth, easy-to-work-with base that doesn’t require tempering. The key is to choose a chocolate you enjoy eating on its own.
- White Chocolate Bars or White Chocolate Chips: These are essential for creating our adorable ghost shapes. Similar to the base chocolate, you can use good quality white chocolate chips or finely chopped white chocolate bars. White candy melts are another excellent option, as they melt very smoothly and maintain their color and texture beautifully without any fuss, making them ideal for detailed designs. Ensure your white chocolate is fresh for optimal melting and flavor.
- Halloween Sprinkles: This is where you can truly personalize your bark! We recommend using small ghost-shaped sprinkles to complement the overall theme, but feel free to get creative. Look for festive mixes that include bats, pumpkins, eyeballs, or a combination of classic Halloween colors like orange, black, and purple. Sprinkles add both visual appeal and a delightful crunch. Check your local grocery store’s baking aisle or specialty craft stores for a wide selection.
How to Make Halloween Candy Bark: A Simple Step-by-Step Guide
Creating these fun and spooky Halloween treats is incredibly straightforward. Follow these simple instructions to achieve perfect ghost bark every time. Remember to scroll down to the recipe card for the full, detailed instructions and ingredient list!
- Melt the Base Chocolate: The quickest and easiest method is to place your chosen milk, dark, or semi-sweet chocolate chips (or chopped bars) in a microwave-safe bowl. Heat them in 30-second intervals, stirring thoroughly after each interval, until the chocolate is completely smooth and melted. Be careful not to overheat, as chocolate can seize and become unusable. Alternatively, you can use a double boiler on the stovetop for a more gentle and controlled melting process if you prefer or don’t have a microwave.
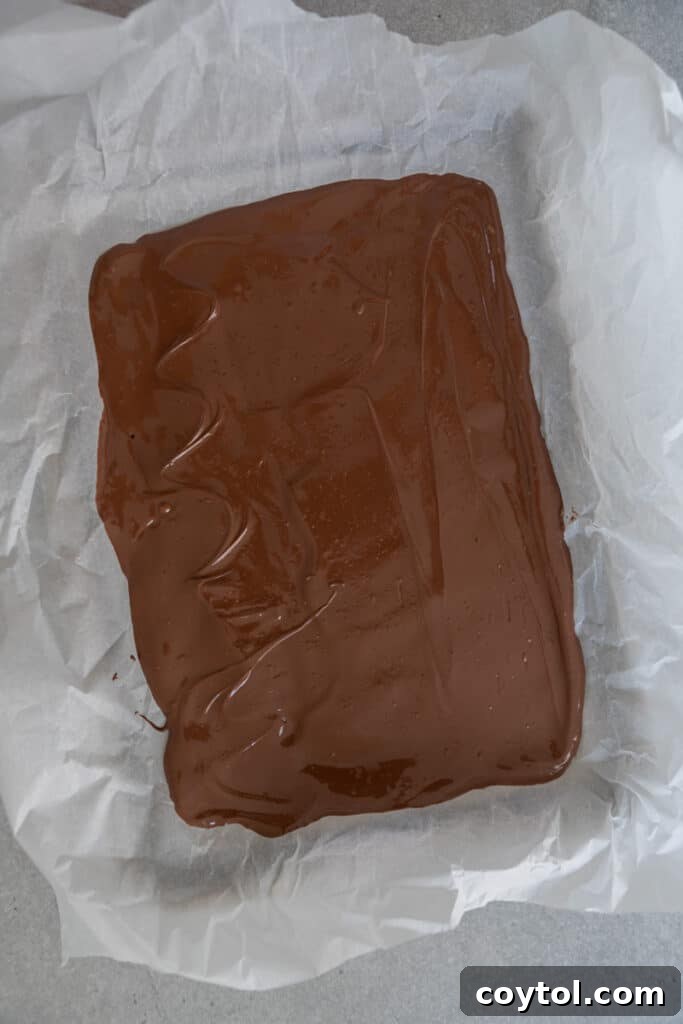
- Prepare Your Baking Sheet: Line a standard baking sheet with parchment paper. This crucial step prevents the chocolate from sticking and makes for easy removal once hardened.
- Spread the Chocolate Base: Pour the melted chocolate onto the parchment-lined baking sheet. Using an offset spatula or the back of a spoon, spread the chocolate evenly across the paper to your desired thickness. Aim for about a 1/4 to 1/2 inch thickness. Ensure the layer is consistent for even hardening and a good bite.
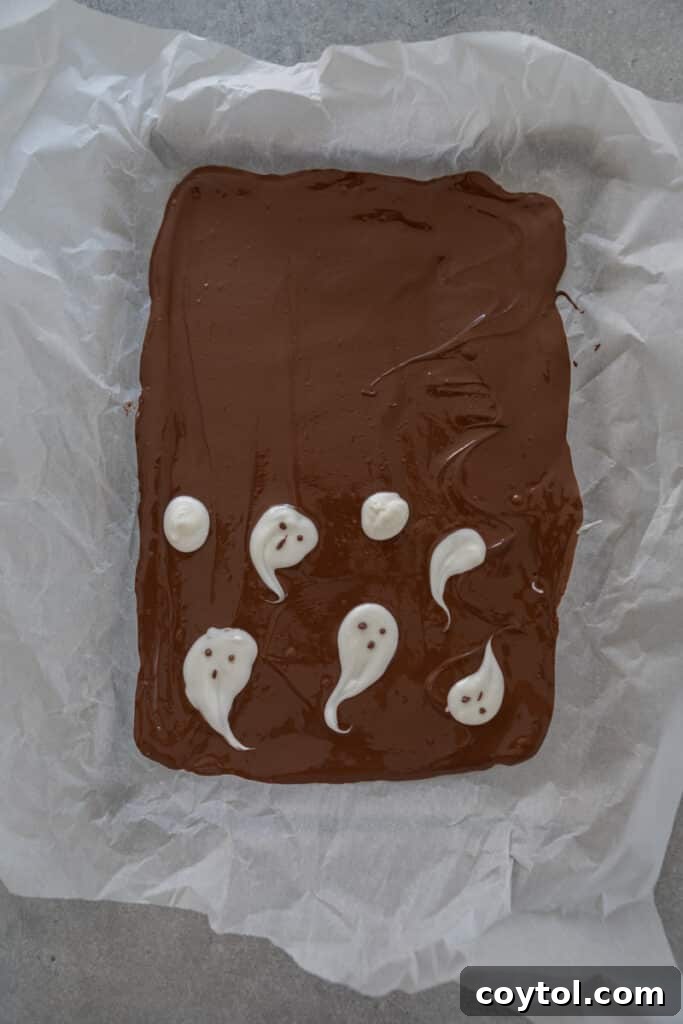
- Add White Chocolate Dollops: Melt your white chocolate using the same microwave or double boiler method. Once melted and smooth, use a spoon or a piping bag with the tip snipped off to create small, round dollops of white chocolate on top of the still-wet darker chocolate base. Space them out slightly to allow room for the ghost tails.
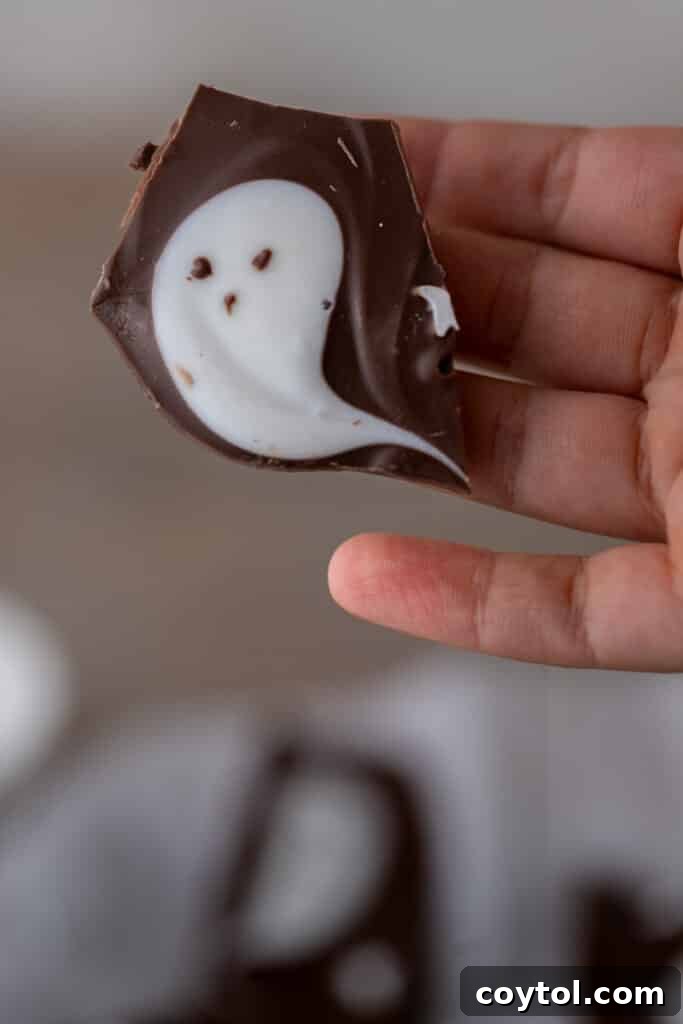
- Form the Ghost Shapes: This is the fun part! While the chocolate is still soft, take a clean toothpick or the tip of a sharp knife. Gently drag the white chocolate dollops downwards to create the elongated “tail” or body of your ghost shapes. You can make them long and wispy or short and plump – whatever ghostly style you prefer! Clean your toothpick or knife often for crisp lines.
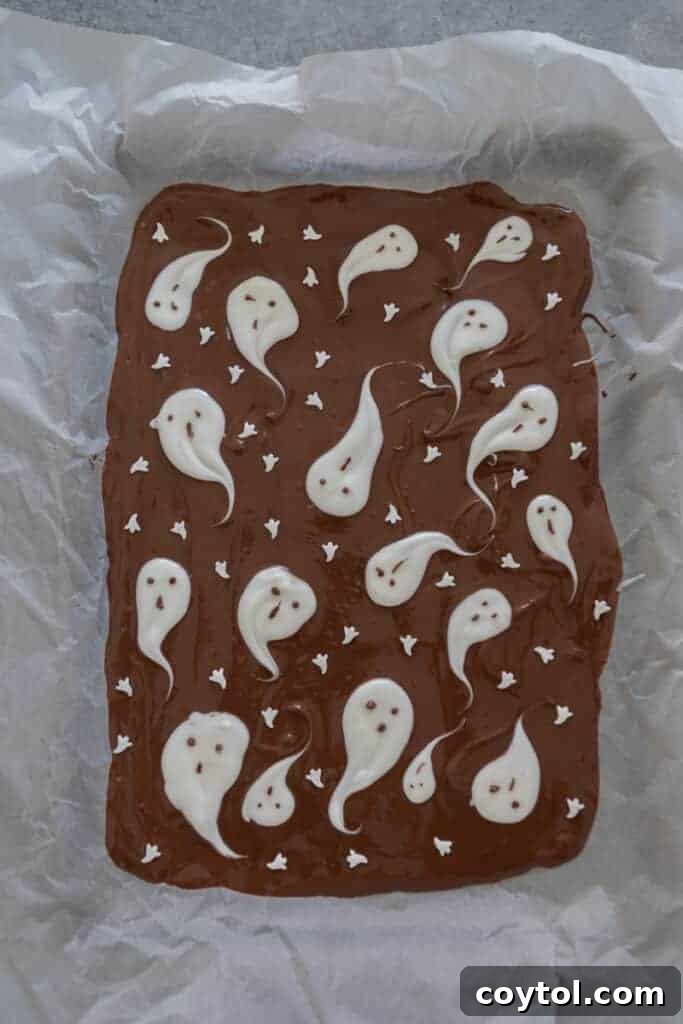
- Create Ghost Faces: Dip a clean toothpick into a small amount of the leftover dark chocolate (or whatever chocolate you used for the base). Carefully dab two small dots for the eyes and a slightly larger dot or short line for the mouth onto each white chocolate ghost. This step truly brings your spooky friends to life.
- Repeat and Refine: Continue creating ghosts and their faces until your bark is covered to your satisfaction. Don’t worry if they’re not all perfect; handmade charm is part of their appeal!
- Add Sprinkles & Chill: Immediately after forming the ghosts and their faces, sprinkle your chosen Halloween sprinkles generously over the entire bark while the chocolate is still wet. This ensures they adhere properly. Once sprinkled, transfer the baking sheet to the refrigerator and chill for at least one hour, or until the chocolate is completely solidified and firm.
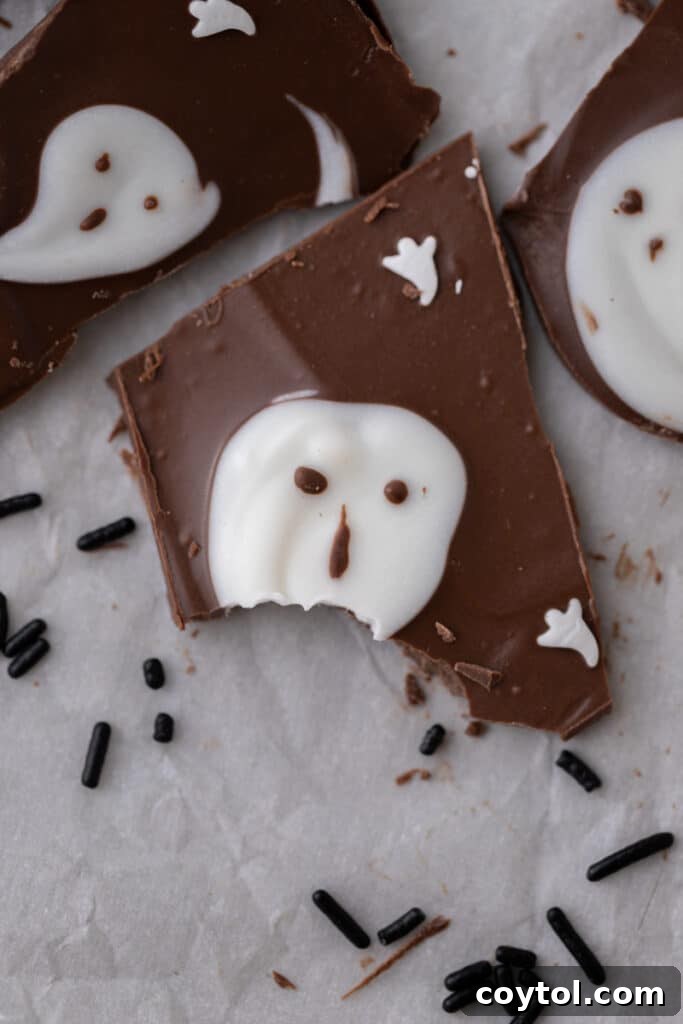
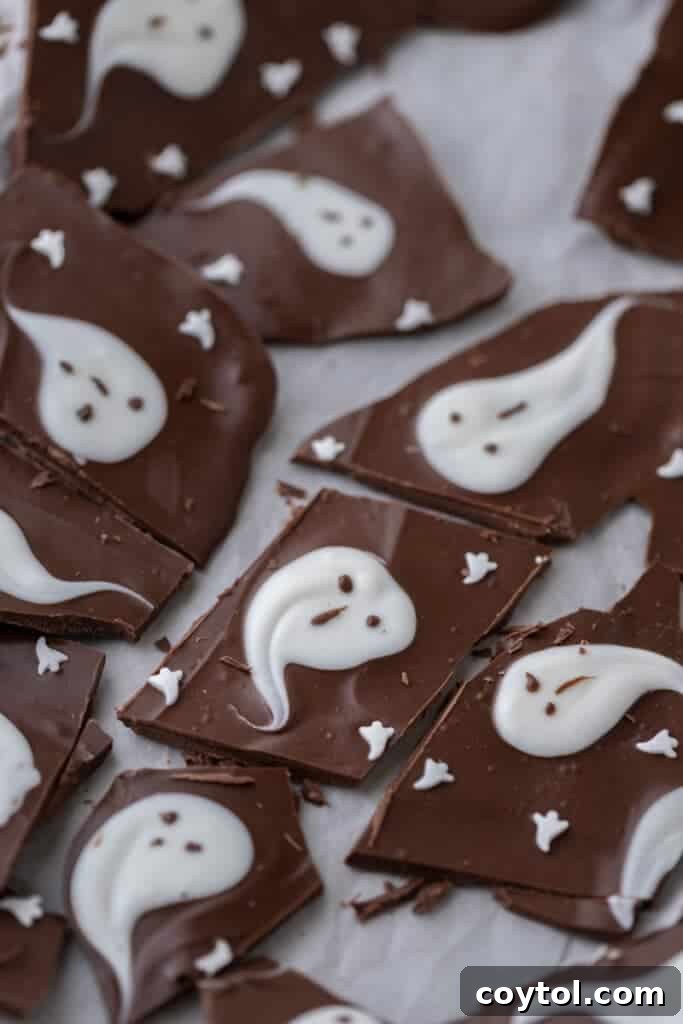
- Slice and Enjoy: Once fully chilled and hardened, remove the bark from the fridge. Carefully peel it off the parchment paper. For the best presentation, especially with your cute ghost designs, use a sharp knife to slice the bark into pieces of your desired size, trying to keep the ghosts intact. Then, it’s time to enjoy your delightful, spooky creation!
Remember, if you don’t have a microwave, melting your chocolate in a double boiler is a perfectly good alternative and ensures a smooth, even melt.
Frequently Asked Questions About Halloween Ghost Bark
How to store these easy Halloween treats?
To keep your Halloween Ghost Bark fresh and delicious, store it in an airtight container. At room temperature, it will last for up to a week. However, to minimize the risk of melting, especially if your kitchen is warm, or to extend its shelf life, I highly recommend storing it in the refrigerator. When refrigerated, it will stay fresh for up to two weeks, ensuring you can enjoy your spooky treats for longer.
Can I freeze this bark?
Absolutely! This bark freezes beautifully. To freeze, place the Halloween Ghost Bark in an airtight, freezer-safe container or a heavy-duty freezer bag. It can be stored in the freezer for up to two months. When you’re ready to enjoy it, simply transfer it to the refrigerator for a few hours or let it come to room temperature on the counter for about 15-20 minutes before serving.
What is the best way to break Halloween ghost bark?
Breaking Halloween Ghost Bark can be a little tricky because we’ve put in the effort to create those adorable ghost shapes, and we want to preserve them! If it were just regular chocolate bark, I’d suggest simply breaking it by hand – it’s satisfying to hear the snap and crackle! However, with our cute little ghosts, a more precise approach is better. Use a sharp knife to carefully slice the bark into pieces. This allows you to cut around the ghosts or divide them cleanly, ensuring your hard work remains intact and each serving looks perfect. You can create large shards or smaller, more uniform squares, depending on your preference.
Can I use different colored chocolate for the base?
Yes, absolutely! This recipe is wonderfully versatile and can be tweaked to your heart’s content. While a dark or milk chocolate base provides excellent contrast for white ghosts, you could experiment with other colors. For instance, consider using orange-colored candy melts for a vibrant base, or even a spooky green. You could also swirl different colored chocolates together for a marbled effect before adding your white ghost dollops. Don’t be afraid to get creative and use whatever colors you have on hand or that best fit your desired Halloween aesthetic. Let your imagination run wild!
If you try any fun variations or have questions, please don’t hesitate to share your results and thoughts in the comments below! We love hearing how you make these recipes your own.
The Best 3-Ingredient Halloween Ghost Bark Recipe
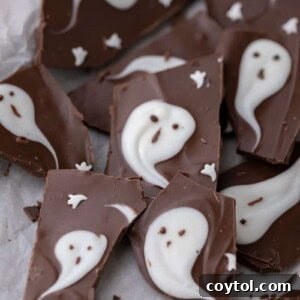
Halloween 3-Ingredient Ghost Bark Recipe
This 3-ingredient Halloween Ghost Bark recipe is the perfect dessert to make for your next Halloween party! It’s also fantastic for an annual Halloween movie marathon, adding a cozy vibe and a delicious sweet treat for everyone to bond over.
Print Recipe
Ingredients
- 12 oz semi-sweet chocolate chips (or milk/dark chocolate bars)
- 4 oz white chocolate (or white candy melts)
- Halloween sprinkles
Instructions
- The easiest way to make this is to melt the milk, dark, or semi-sweet chocolate in a microwave-safe bowl in 30-second intervals, stirring until smooth.
- Pour the melted chocolate over a parchment paper-lined baking sheet. Leave about a teaspoon aside for ghost eyes.
- Spread evenly until you reach your desired thickness (about 1/4 to 1/2 inch).
- Melt the white chocolate the same way you did the semi-sweet chocolate, then add dollops of white chocolate to the bark.
- Using a toothpick or a sharp knife’s tip, drag the white chocolate down to make the tail of your ghost shapes.
- Using a toothpick again, dip it in the leftover semi-sweet chocolate (or whatever chocolate you are using for the base) and add the eyes and the mouth to each ghost.
- Clean and repeat this process until you are satisfied with how your bark looks.
- Add the Halloween sprinkles generously over the wet chocolate, then chill in the fridge for an hour or until it solidifies completely.
- Slice into pieces with a sharp knife, being careful to preserve the ghost shapes, and enjoy!
Nutrition
Calories: 258kcal | Carbohydrates: 25g | Protein: 3g | Fat: 17g | Saturated Fat: 10g | Polyunsaturated Fat: 1g | Monounsaturated Fat: 5g | Trans Fat: 0.03g | Cholesterol: 4mg | Sodium: 14mg | Potassium: 225mg | Fiber: 3g | Sugar: 19g | Vitamin A: 20IU | Vitamin C: 0.1mg | Calcium: 44mg | Iron: 2mg
Nutrition information is automatically calculated and should only be used as an approximation.
Enjoyed this recipe? Leave a comment below and share your spooky creations!
Shop This Recipe
This post may contain affiliate links, meaning that at no additional cost to you, I will earn a small commission from qualifying purchases you make through these links. This helps support our content creation and allows us to continue bringing you delicious recipes. Thank you for your support!
High-Quality Chocolate Chips
Fun Halloween Sprinkles
If you enjoyed this 3-ingredient Halloween Ghost Bark recipe, make sure to pin it for later!