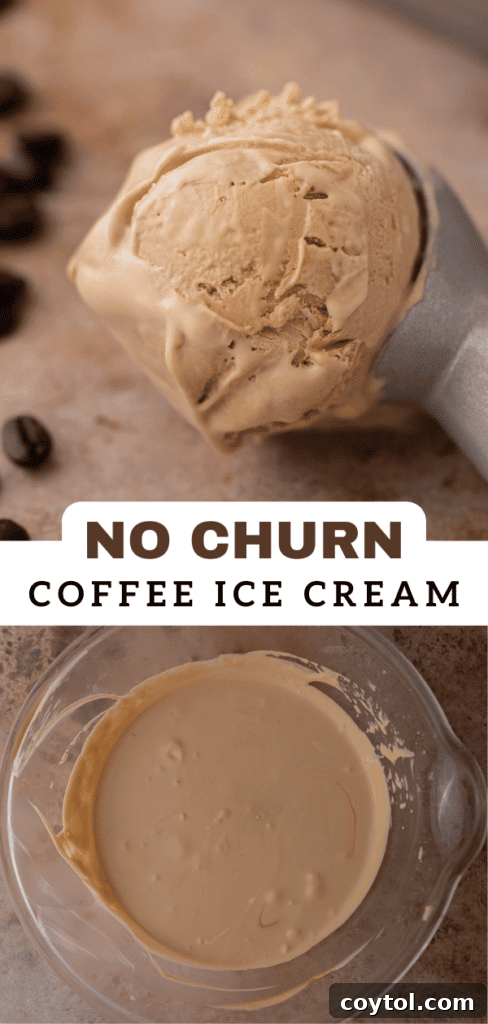
Craving a rich, creamy, and intensely flavorful coffee ice cream without the hassle of a specialized machine? Look no further! This remarkable no-churn coffee ice cream recipe delivers an unbelievably smooth texture and robust coffee punch, making it one of the easiest and most satisfying homemade dessert experiences you’ll ever create. With just a handful of readily available ingredients like whipped cream, vanilla extract, sweetened condensed milk, and instant coffee, you can whip up a batch that will delight every coffee aficionado in your life.
If you love simple, homemade frozen treats, be sure to explore our other fantastic no-churn ice cream creations. Try our delightful no-churn Oreo ice cream for a cookie lover’s dream, indulge in the decadent Ninja Creami chocolate ice cream (if you happen to have the machine), or enjoy the ultimate comfort of this no-churn chocolate brownie ice cream recipe. But for now, let’s dive into the sensational world of homemade coffee ice cream!
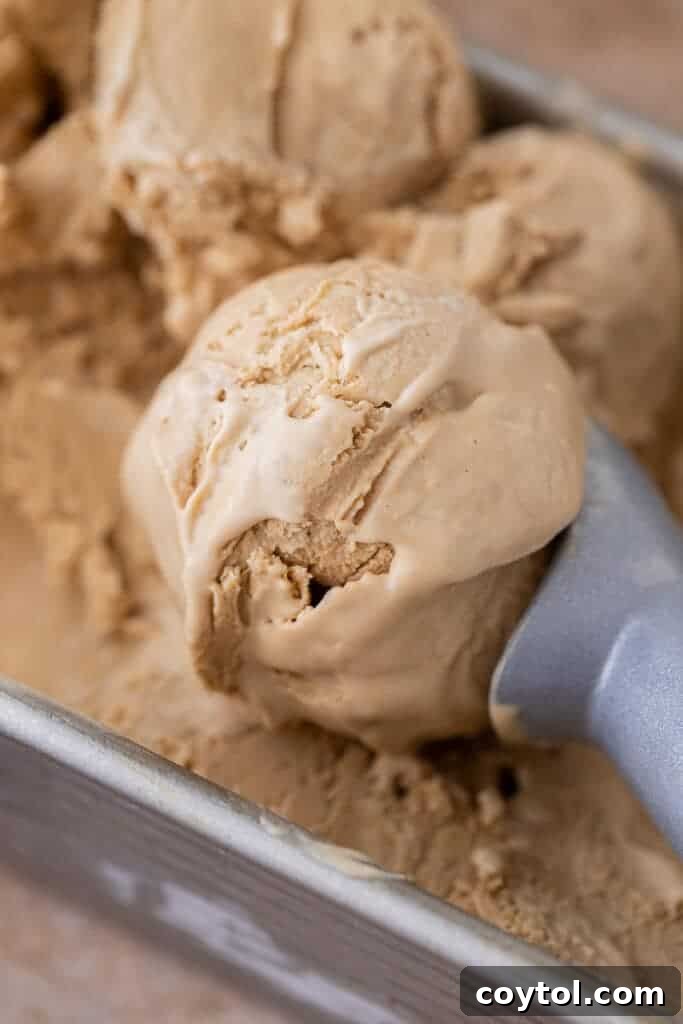
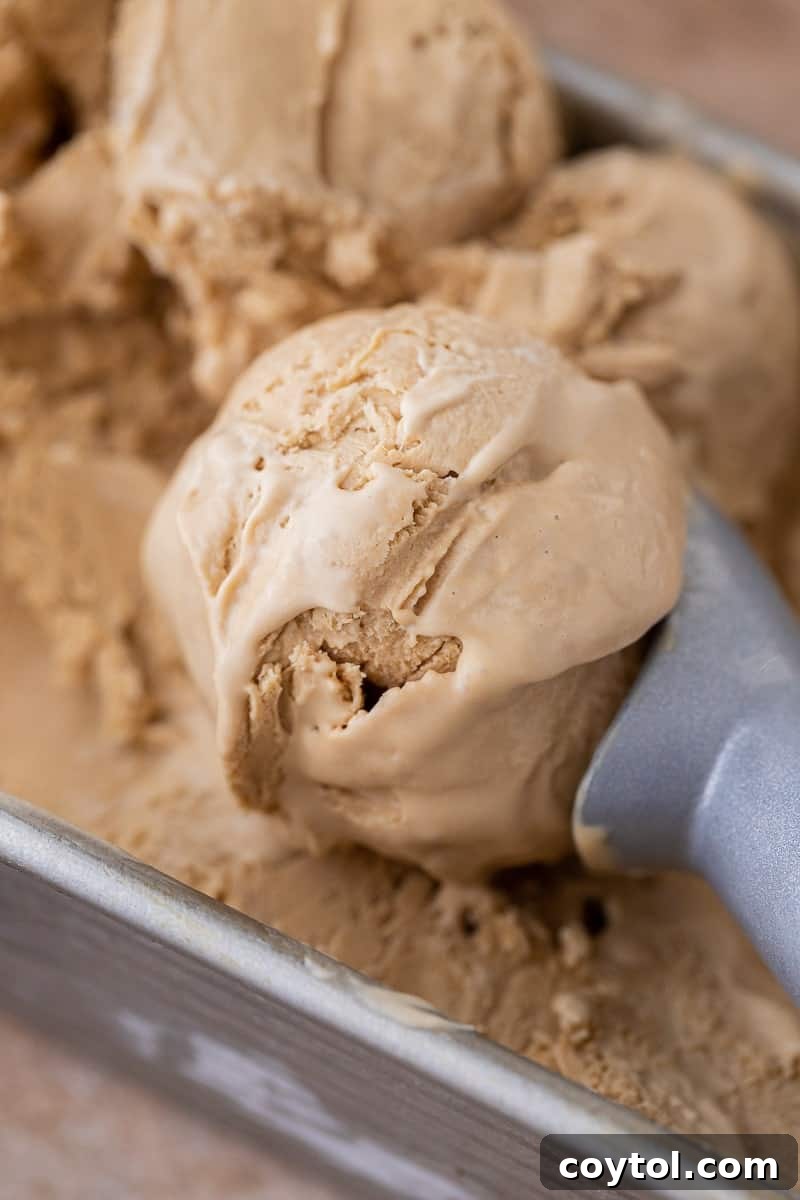
Indulge in the Best No-Churn Coffee Ice Cream
Are you a devoted coffee enthusiast? Do you find yourself constantly reaching for anything infused with that beloved rich, aromatic coffee flavor? If your answer is a resounding yes, then prepare to fall in love with this extraordinary homemade coffee ice cream. This recipe perfectly marries the invigorating taste of coffee with the indulgent pleasure of ice cream, all without the need for a cumbersome ice cream maker.
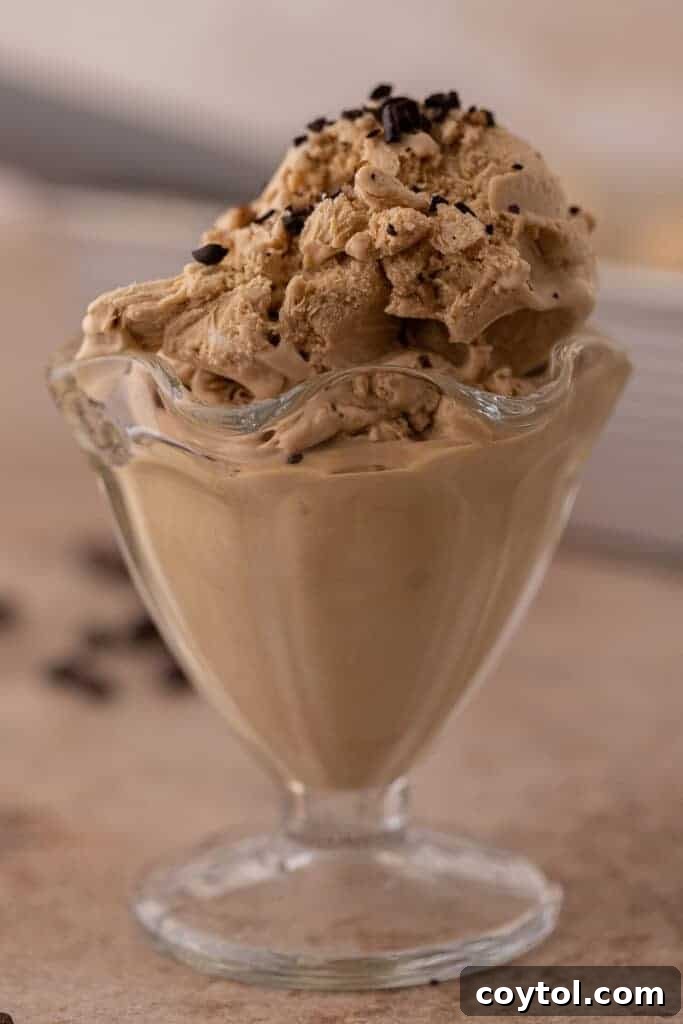
From the very first spoonful, you’ll be amazed by the incredible creaminess and depth of flavor this no-churn ice cream offers. The pronounced coffee essence is truly the highlight, creating a sophisticated yet comforting sweet treat. It’s an ideal dessert to prepare for gatherings, sure to impress your coffee-loving friends and family, or simply to savor on a quiet evening at home. Forget store-bought pints – homemade just tastes better, and this recipe makes it effortlessly achievable.
Why You Absolutely Must Make This Easy Coffee Ice Cream Recipe!
This no-churn coffee ice cream isn’t just another dessert; it’s a game-changer. Here are compelling reasons why this recipe deserves a spot in your culinary repertoire:
- No Ice Cream Machine Required: This is truly a “no-churn” recipe, meaning you won’t need any special equipment beyond a mixer. Achieve perfectly creamy ice cream with minimal fuss, making homemade ice cream accessible to everyone.
- Rich Coffee Flavor: Crafted with high-quality instant coffee, this ice cream boasts a bold, authentic coffee taste that will satisfy even the most discerning coffee connoisseurs. It’s a true celebration of coffee in dessert form.
- Incredibly Easy and Quick to Prepare: With only a few minutes of active preparation, most of your time will be spent waiting for this delectable treat to freeze. It’s the ideal last-minute dessert for entertaining or a spontaneous sweet craving.
- Minimal Ingredients, Maximum Flavor: You only need a handful of common pantry staples to create this luxurious dessert. Simplicity meets decadence in every scoop.
- Perfect for Affogatos: Elevate your dessert game by using this ice cream as the base for a classic affogato. A scoop of this rich coffee ice cream drowned in a shot of hot espresso creates an unparalleled coffee experience – because, let’s be honest, there can never be too much coffee!
- Customizable and Versatile: This base recipe is incredibly forgiving and serves as a fantastic canvas for various mix-ins and toppings, allowing you to personalize each batch to your liking.
Key Ingredients for Your Creamy No-Churn Coffee Ice Cream
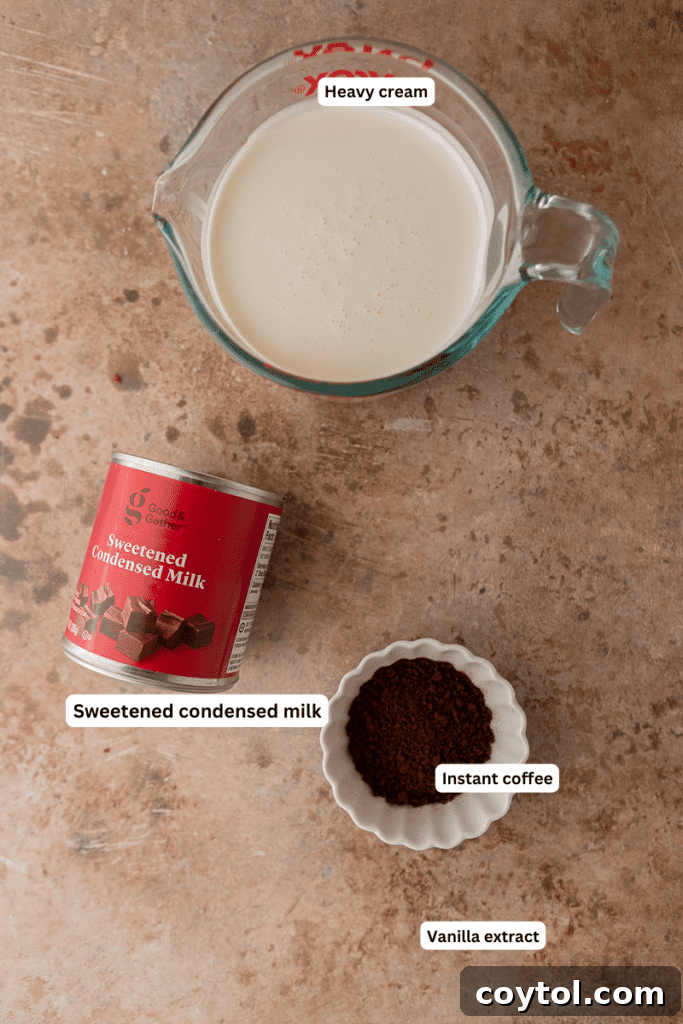
Crafting this easy coffee ice cream requires only five simple ingredients, each playing a vital role in achieving its perfect texture and rich flavor. Prioritizing quality ingredients will undoubtedly yield the best results. Below is a detailed look at what you’ll need:
- Cold Heavy Cream: This is the foundation of our no-churn ice cream, providing the necessary fat content to whip into a light, airy, and stable base. Ensuring your heavy cream is very cold is crucial for it to whip up properly into stiff peaks, which gives the ice cream its characteristic light texture. Do not substitute with lighter creams or half-and-half, as they lack the fat content needed for successful whipping.
- Vanilla Extract: A touch of pure vanilla extract enhances the overall flavor profile, adding a subtle warmth and depth that complements the strong coffee notes beautifully. Opt for high-quality vanilla for the best aromatic contribution.
- Regular Instant Coffee Granules: The star of the show! Instant coffee is essential here because it dissolves quickly and imparts a concentrated coffee flavor without adding excess liquid. While it contains some caffeine, the amount per serving in the finished ice cream is moderate. If you are particularly sensitive to caffeine, consider using a decaffeinated instant coffee alternative, or adjust the quantity to your preference. Ensure it’s instant coffee, not ground coffee beans, for proper dissolution.
- Sweetened Condensed Milk: This magical ingredient is the key to both the sweetness and the incredibly smooth, scoopable texture of no-churn ice cream. It provides sugar and prevents large ice crystals from forming during freezing, eliminating the need for an ice cream machine. Using room temperature sweetened condensed milk helps it blend more easily into the whipped cream, ensuring a uniform mixture.
- Hot Water: Just a tiny amount of hot water is needed to dissolve the instant coffee granules. This step ensures that the coffee flavor is evenly distributed throughout the ice cream base without any gritty texture. Make sure the dissolved coffee cools down before adding it to the whipped cream mixture to avoid deflating the cream.
For precise measurements, refer to the full recipe card located further down the page.

Simple Steps to Crafting This Homemade Coffee Ice Cream
Making this no-churn coffee ice cream is remarkably straightforward, requiring minimal effort for maximum reward. Follow these easy steps to create a wonderfully creamy and flavorful frozen dessert. For complete, detailed instructions, please refer to the recipe card below.
- Dissolve the Coffee: In a small, heatproof bowl, combine the instant coffee granules with the hot water. Stir well until the coffee is completely dissolved. Set this mixture aside to cool down completely to room temperature. This is important to prevent it from melting the whipped cream in a later step.
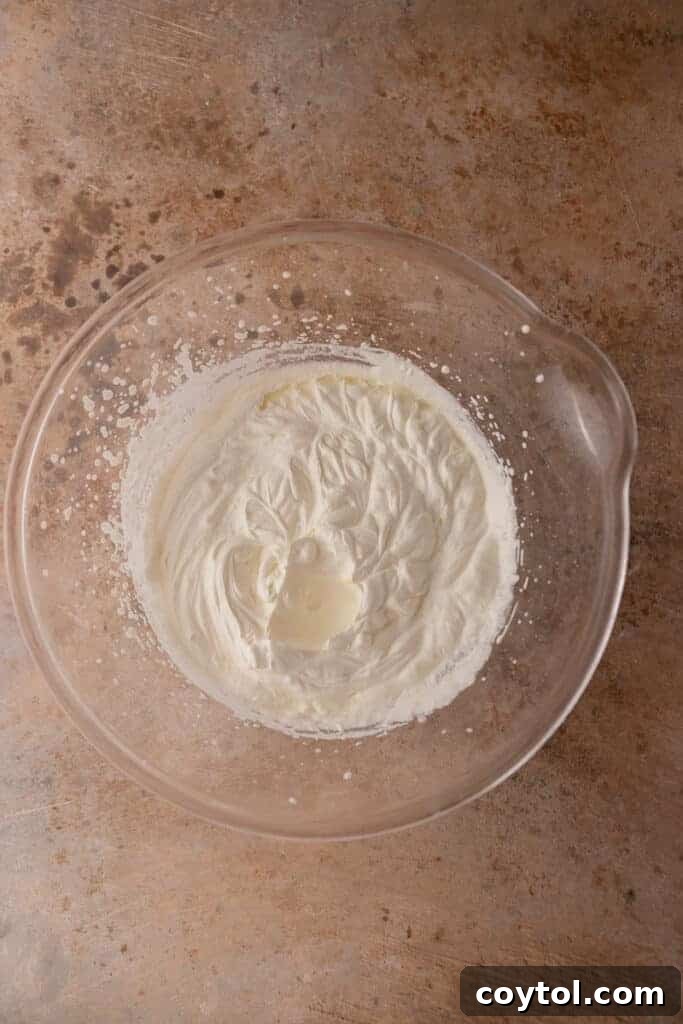
- Whip the Cream: Pour the very cold heavy whipping cream and vanilla extract into a large mixing bowl. Using a hand mixer or a stand mixer fitted with the whisk attachment, beat the cream on medium-high speed until firm, stiff peaks form. The cream should hold its shape when the whisk is lifted, without drooping. Be careful not to over-whip, as it can turn grainy.
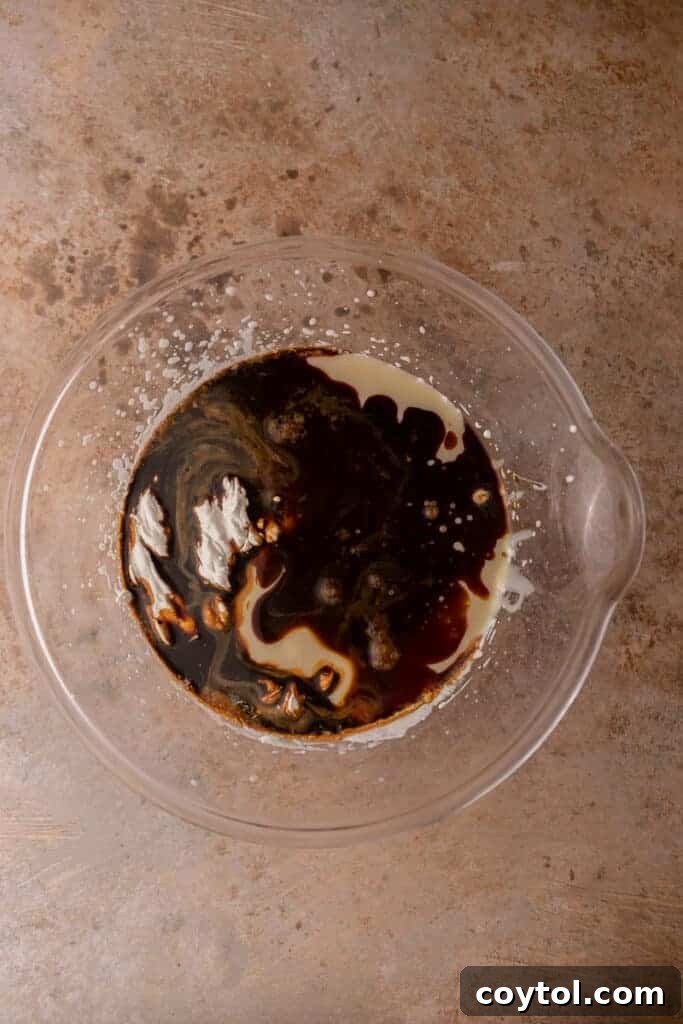
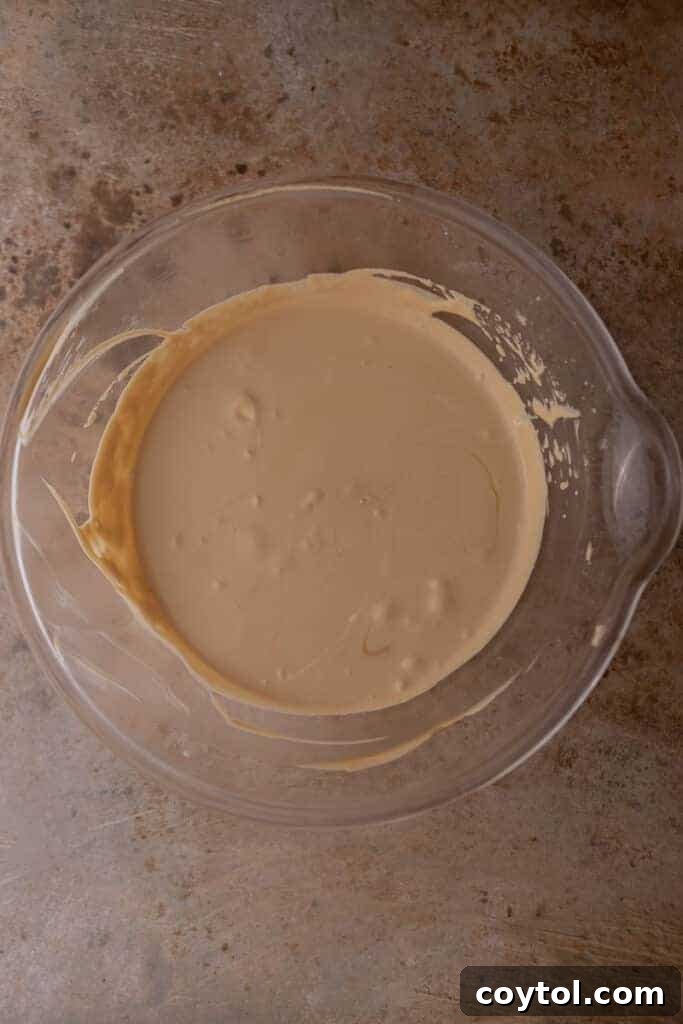
- Fold in Sweetened Condensed Milk and Coffee: Gently fold the cooled sweetened condensed milk and the dissolved coffee mixture into the whipped cream. Use a spatula and a gentle motion to incorporate them thoroughly without deflating the airy whipped cream. Continue folding until the mixture is uniform in color and texture.
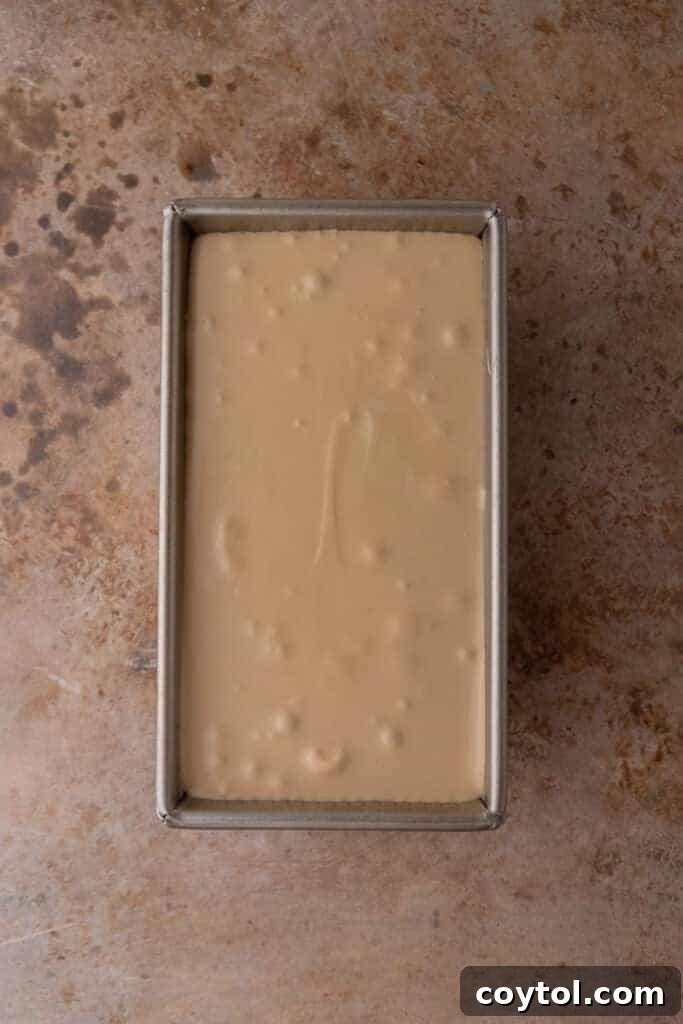
- Prepare for Freezing: Carefully pour the coffee ice cream base into a loaf pan (an 8×5 inch pan works perfectly) or any other freezer-safe container. Ensure the container is tightly covered with plastic wrap, pressing it directly onto the surface of the ice cream to prevent ice crystals from forming.
- Freeze to Perfection: Place the covered container in the freezer for at least 6 hours, or preferably overnight, to allow the ice cream to firm up completely and achieve its optimal creamy texture.
- Serve and Enjoy: When you’re ready to serve, remove the ice cream from the freezer and let it sit at room temperature for about 5-10 minutes. This brief softening period will make it much easier to scoop, ensuring perfect, creamy portions every time.
Frequently Asked Questions (FAQ)
Here are some common questions about making and enjoying your homemade no-churn coffee ice cream:
How to Properly Store Leftover No-Churn Coffee Ice Cream?
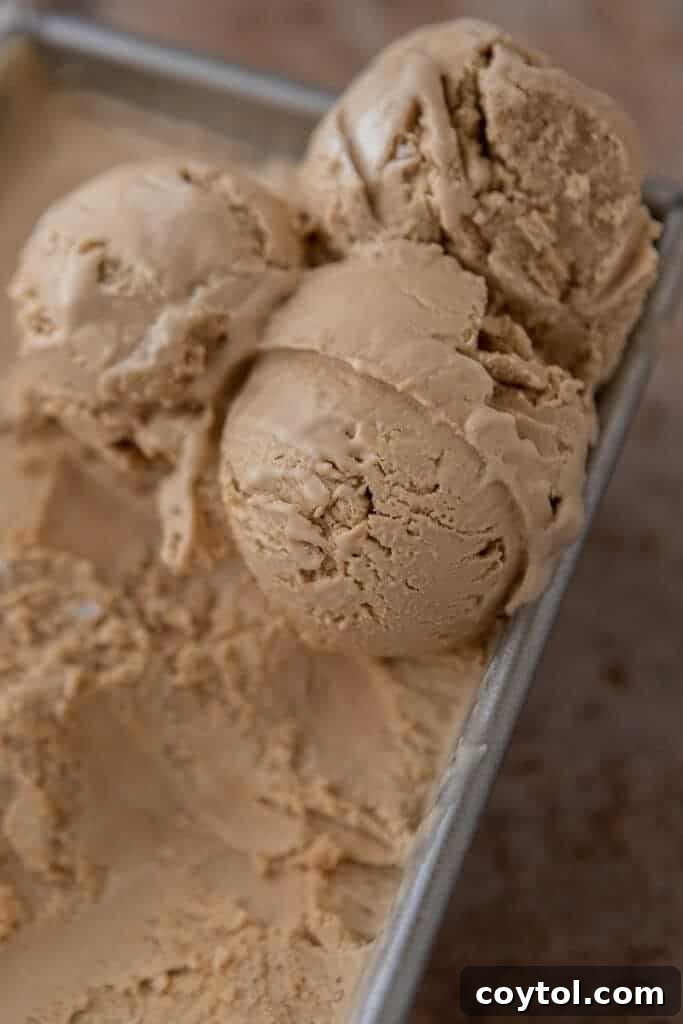
To preserve its optimal texture and flavor, store any leftover homemade coffee ice cream in an airtight, freezer-safe container. For best results, press a layer of plastic wrap directly onto the surface of the ice cream before securing the lid. This creates a barrier against air, significantly reducing the risk of freezer burn, which can lead to an icy texture and off-flavors. You can keep your no-churn coffee ice cream in the freezer for up to 2 months. Beyond that, while still safe to eat, its quality might start to decline.
Can I make this recipe ahead of time?
Absolutely! This no-churn coffee ice cream is an excellent make-ahead dessert. Since it requires at least 6 hours (and ideally overnight) to freeze, preparing it a day or two in advance is perfect for parties or busy schedules. Just ensure it’s properly stored in an airtight container as mentioned above.
What if my ice cream doesn’t get firm enough?
Several factors can affect the firmness. Ensure your heavy cream was very cold before whipping and that you achieved stiff peaks. Also, make sure the dissolved coffee was completely cooled before adding it to the mixture. Lastly, allow sufficient freezing time – sometimes longer than 6 hours is needed, especially if your freezer isn’t set to its coldest temperature.
Delicious Mix-ins and Flavor Variations for Your No-Churn Coffee Ice Cream
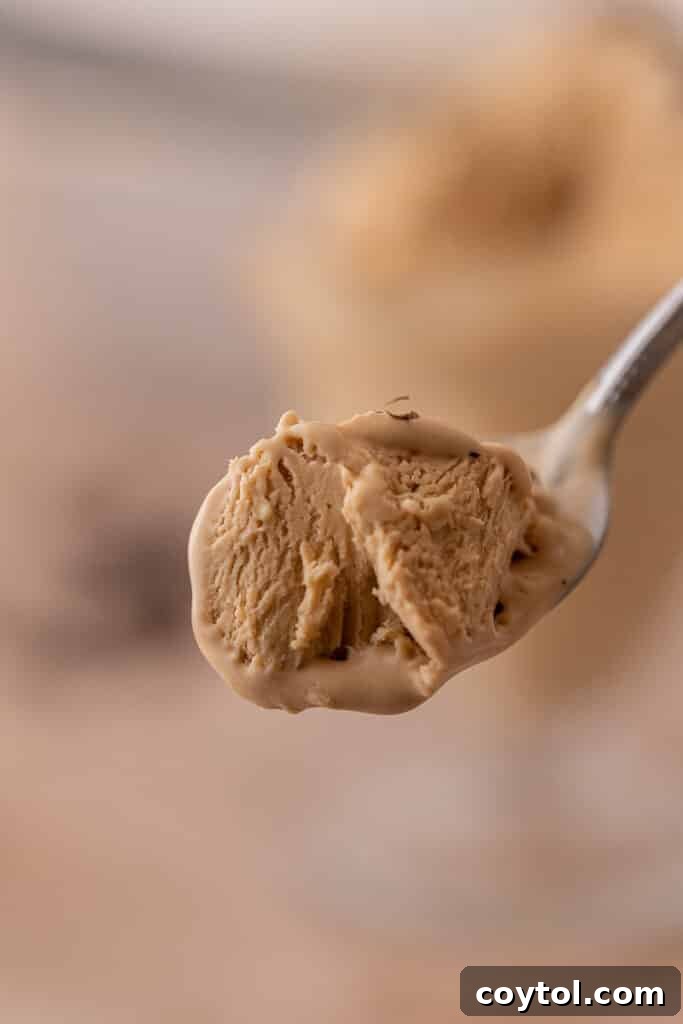
This no-churn coffee ice cream recipe is fantastic on its own, but it also serves as an exceptional base for creative additions! Elevate your dessert by incorporating any of these delightful mix-ins:
- Mini Chocolate Chips: Classic and always a winner. Dark, milk, or white chocolate chips all provide a lovely textural contrast and complement the coffee flavor.
- Caramel Chips or Toffee Bits: For a delightful chew and a sweet, buttery counterpoint to the coffee.
- Caramel Sauce Drizzle: Swirl a generous amount of warm caramel sauce into the ice cream before freezing for a beautiful marble effect and an extra layer of sweetness.
- Nutella Swirls: Add spoonfuls of Nutella to the ice cream base in the loaf pan and swirl gently with a knife for a rich, hazelnut-chocolate twist.
- Candied Hazelnuts or Pecans: Toasted and candied nuts provide a delightful crunch and nutty flavor that pairs wonderfully with coffee.
- Chocolate Sauce Dripples: A simple yet effective way to add more chocolatey goodness. Drizzle over individual servings for an elegant touch.
- Crushed Chocolate-Covered Espresso Beans: For an intense coffee-chocolate kick and satisfying crunch.
- Chopped Cookies: Crushed chocolate wafer cookies, shortbread, or even more Oreos can add texture and flavor.
- A Dash of Liqueur: For an adult twist, fold in a tablespoon or two of Kahlúa, Baileys, or Irish cream along with the condensed milk for an extra layer of sophisticated flavor.
You can mix these ingredients directly into the ice cream base before pouring it into the loaf pan, or create layers by alternating ice cream base with your desired mix-ins. This recipe is incredibly adaptable, inviting you to experiment and create unique flavor combinations that your whole family will adore!
How to achieve varying coffee intensities?
The beauty of this recipe lies in its flexibility. If you prefer a milder coffee flavor, reduce the instant coffee granules by half a tablespoon. For an extra bold kick, increase them by half a tablespoon. Always ensure the granules are fully dissolved to avoid a gritty texture.
No-Churn Easy Coffee Ice Cream Recipe Card
No-Churn Coffee Ice Cream
10 mins
6 hrs 10 mins
10 servings
Print Recipe
Ingredients
- 2 tbsp instant coffee
- 2 tbsp hot water
- 2 cup heavy cream chilled
- 14 oz sweetened condensed milk can
- 1 tsp vanilla extract
Instructions
-
In a small bowl, dissolve the instant coffee in the hot water. Stir well and set aside to cool completely to room temperature.2 tbsp instant coffee, 2 tbsp hot water
-
In a large mixing bowl, combine the chilled heavy cream and vanilla extract. Whip with a hand mixer or a stand mixer with the whisk attachment until stiff peaks form. The cream should be thick and hold its shape.2 cup heavy cream, 1 tsp vanilla extract
-
Gently fold in the sweetened condensed milk and the cooled coffee mixture into the whipped cream until just combined. Be careful not to overmix, which can deflate the cream.14 oz sweetened condensed milk
-
Pour the mixture into an 8×5 inch loaf pan or a similar freezer-safe container. Cover tightly with plastic wrap, pressing it directly onto the surface of the ice cream to prevent ice crystals. Freeze for at least 6 hours, or preferably overnight, until firm. When ready to serve, let it sit at room temperature for 5-10 minutes to soften slightly before scooping and enjoying.
Nutrition
Nutrition information is automatically calculated, so should only be used as an approximation.
Shop This Recipe
This post may contain affiliate links, meaning that at no cost to you I will get a small percentage of every purchase you make!
Pin This No-Churn Coffee Ice Cream Recipe for Later!
If you loved this incredibly easy and delicious no-churn coffee ice cream recipe, don’t forget to save it for future enjoyment! Pin it to your favorite dessert or ice cream board on Pinterest so you can easily find it whenever a craving for creamy, homemade coffee goodness strikes. Share the joy of simple, flavorful desserts with your friends and family!