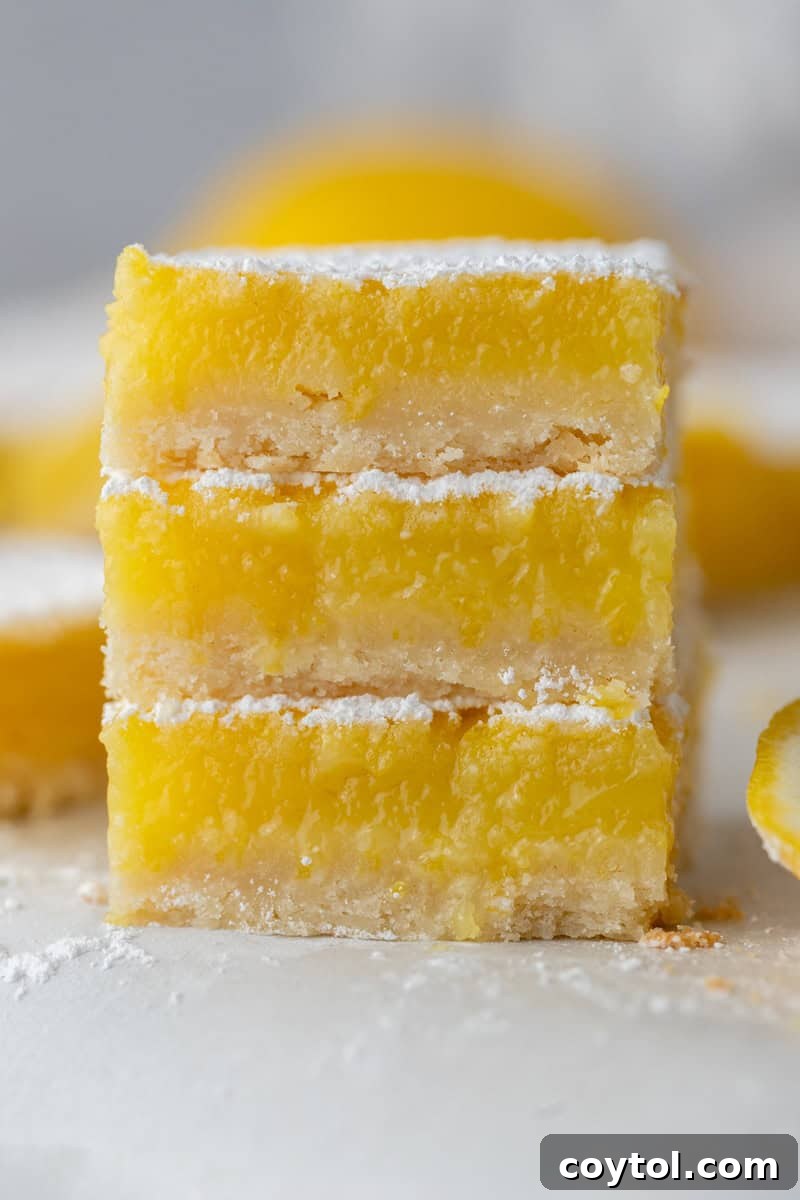
Delight in the quintessential taste of summer with these incredible lemon bars. Featuring a perfectly crisp, buttery shortbread crust and a lusciously tangy lemon filling, this simple yet sophisticated dessert promises to be your new go-to for satisfying those citrus cravings, especially during warmer months. Each bite delivers an explosion of bright, zesty lemon balanced by a sweet, savory foundation that is truly irresistible. Whether you’re a seasoned baker or just starting out, this foolproof recipe for homemade lemon squares will guide you to perfection, ensuring a dazzling treat for any occasion.

Among countless lemon dessert recipes, this particular one for classic lemon squares stands out as an absolute masterpiece. It strikes an exquisite balance between contrasting flavors: the vibrant tartness and delightful sour notes from the gooey, rich lemon filling perfectly complement the savory, buttery shortbread crust, which boasts a hint of salt to enhance its depth. This harmonious combination creates an all-encompassing flavor profile that is simply divine, ensuring every bite is a memorable experience. It’s the kind of bright, refreshing dessert that instantly transports you to sunny days and warm breezes.
If you cherish easy-to-make lemon desserts as much as we do, you’ll be thrilled to explore more of our citrus-infused creations. Don’t miss this tantalizing Copycat Starbucks Lemon Cake Loaf, the wonderfully moist and tangy Quick Lemon Blondies Recipe, or these adorable Mini Lemon Cupcakes with Italian Buttercream and Lemon Curd. Each recipe offers a unique way to enjoy the refreshing taste of lemon.
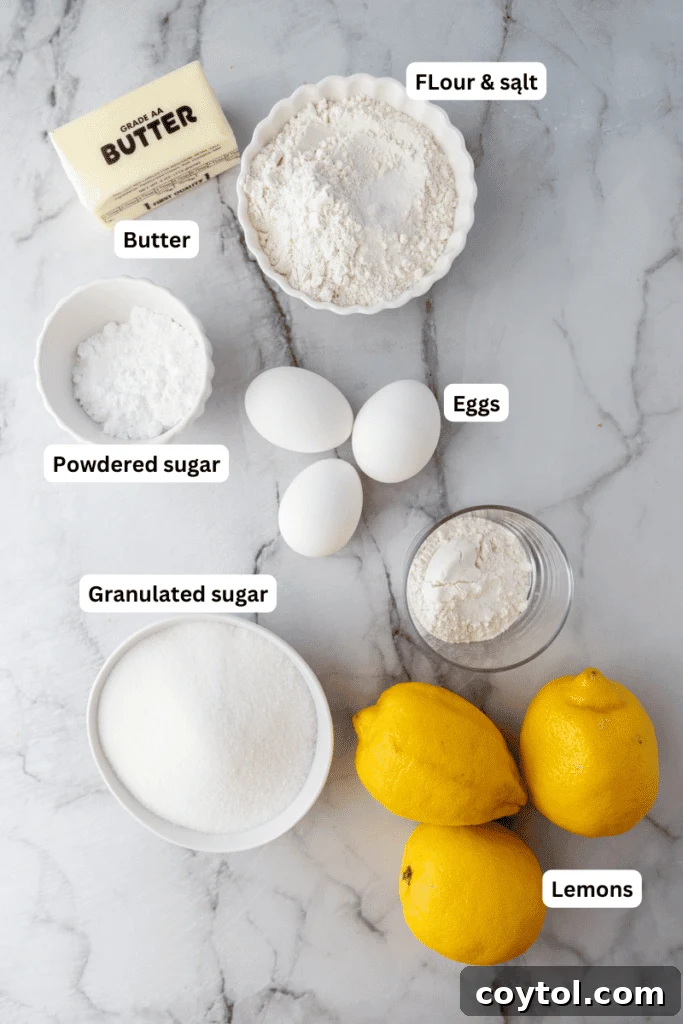
Essential Ingredients for Perfect Lemon Bars
Crafting these exceptional lemon bars requires a selection of fresh, high-quality ingredients, thoughtfully chosen to deliver optimal flavor and texture. We’ve meticulously detailed each component below to ensure your baking success. For precise measurements, please refer to the comprehensive recipe card located at the conclusion of this article.
For the Irresistible Buttery Shortbread Crust
- Unsalted Butter: The foundation of our flaky, rich crust. Using unsalted butter allows you complete control over the salt content. Remember to soften it to room temperature before you begin, which is crucial for achieving that light, fluffy texture when creamed with sugar.
- Powdered Sugar: Also known as confectioners’ sugar, this ingredient provides a subtle sweetness and contributes to the delicate, tender crumb of the shortbread crust. Its fine texture ensures it blends seamlessly, preventing any graininess.
- All-Purpose Flour: The structural backbone of the crust, providing the perfect balance of crispness and tenderness. Measure it accurately to prevent a tough crust.
- Pinch of Salt: A small but mighty addition! Salt is essential for balancing the sweetness and truly enhancing the buttery notes of the shortbread, elevating the overall flavor profile.
For the Zesty and Tart Lemon Filling
- Large Eggs: These are the magic binders that transform the lemon juice and sugar into a luscious, set curd. Eggs contribute to the filling’s rich texture and beautiful golden hue.
- Granulated Sugar: Provides the necessary sweetness to temper the intense tartness of the lemon, creating that signature sweet-and-sour harmony that lemon bars are known for. We include an extra two tablespoons for that perfect balance.
- Fresh Lemon Juice: This is the heart of your lemon bars. Always opt for fresh lemons; their vibrant, natural acidity and intense flavor are unparalleled. While bottled pure lemon juice can be a shortcut, it often lacks the nuanced brightness of fresh juice, which is vital for this recipe’s success.
- Lemon Zest: The secret weapon for deep lemon flavor! The zest contains aromatic oils that intensify the citrus notes without adding extra liquid, resulting in a more profound and aromatic lemon experience.
- All-Purpose Flour: A modest amount of flour is added to the filling to provide just enough structure, ensuring the lemon curd sets beautifully without being overly firm or rubbery. It helps achieve that perfect jiggly, yet set, consistency.
- Powdered Sugar: For dusting! A final sprinkle of powdered sugar not only adds a touch of elegant sweetness but also creates a beautiful visual contrast, making your finished lemon bars look as delightful as they taste.
Pro Tip for a Smooth Lemon Filling: Sifting Flour is Key
Achieving an impeccably smooth, lump-free lemon filling is paramount for the ultimate lemon bar experience. To guarantee this silky texture, make sure to sift your all-purpose flour before adding it to the wet ingredients. This simple step prevents unsightly flour clumps from forming, which can significantly alter the desirable smooth consistency of your lemon curd. To do this effortlessly, place a fine-mesh sieve directly over your mixing bowl, add the measured flour, and gently tap the side of the sieve or shake it back and forth. This action breaks up any potential lumps, allowing only fine, aerated flour to pass through, ready to be incorporated into your bright, zesty filling.
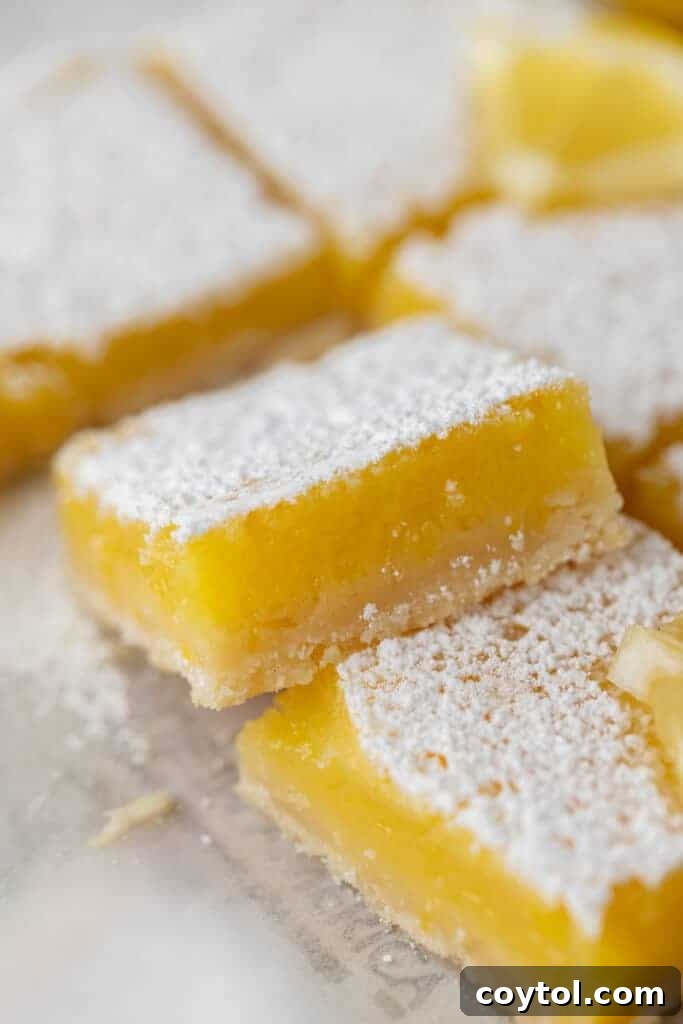
Crafting Your Own Zesty Lemon Bars: A Step-by-Step Guide
Baking these delightful lemon bars is a straightforward and rewarding process. Follow these detailed instructions to create a batch of perfectly tangy and sweet treats. For a complete list of ingredients and their exact quantities, please refer to the dedicated recipe card at the bottom of this page. This comprehensive guide ensures you achieve bakery-quality results right in your own kitchen.
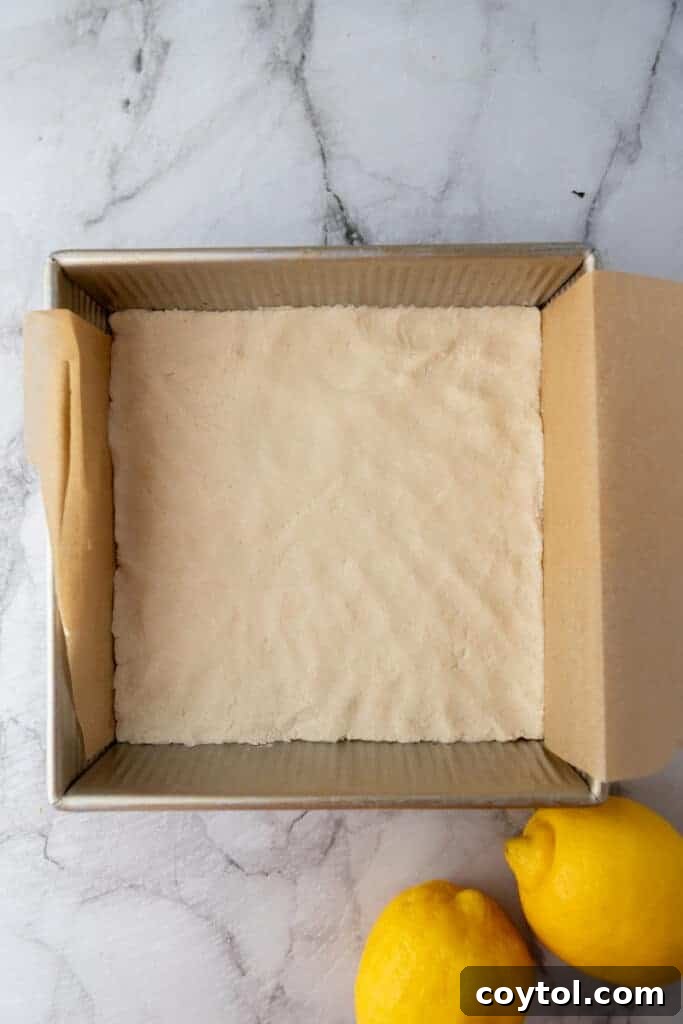
- Prepare Your Baking Pan: Begin by preheating your oven to 350°F (175°C). Line an 8×8 inch (20×20 cm) baking pan with parchment paper, allowing a generous overhang on two sides. This parchment paper sling will be your best friend for effortless removal of the cooled bars later on, ensuring clean cuts and a professional presentation.
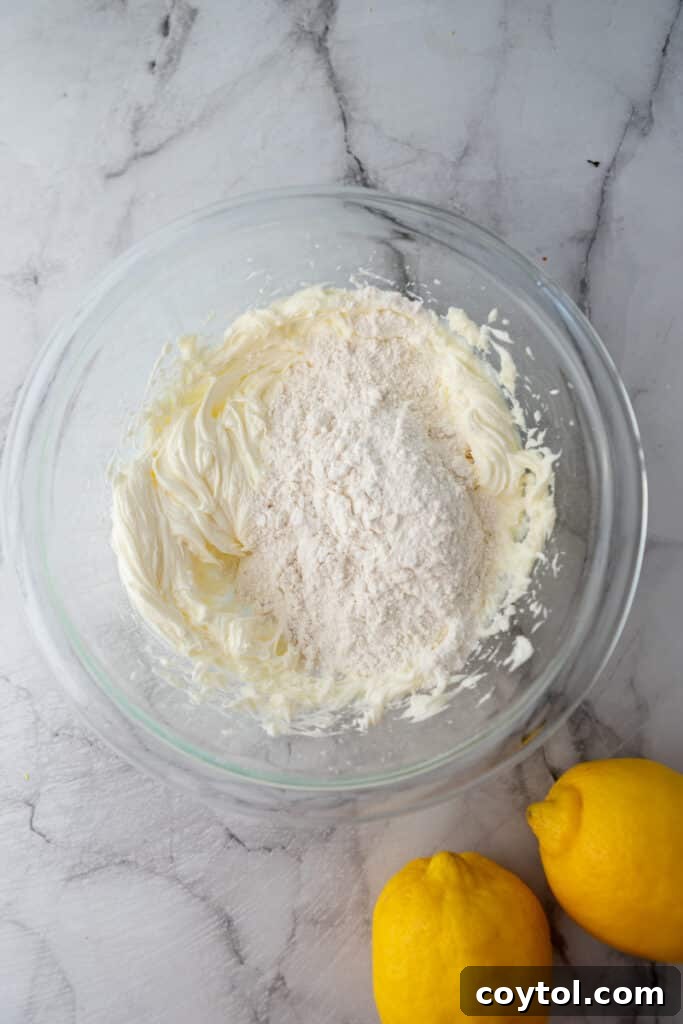
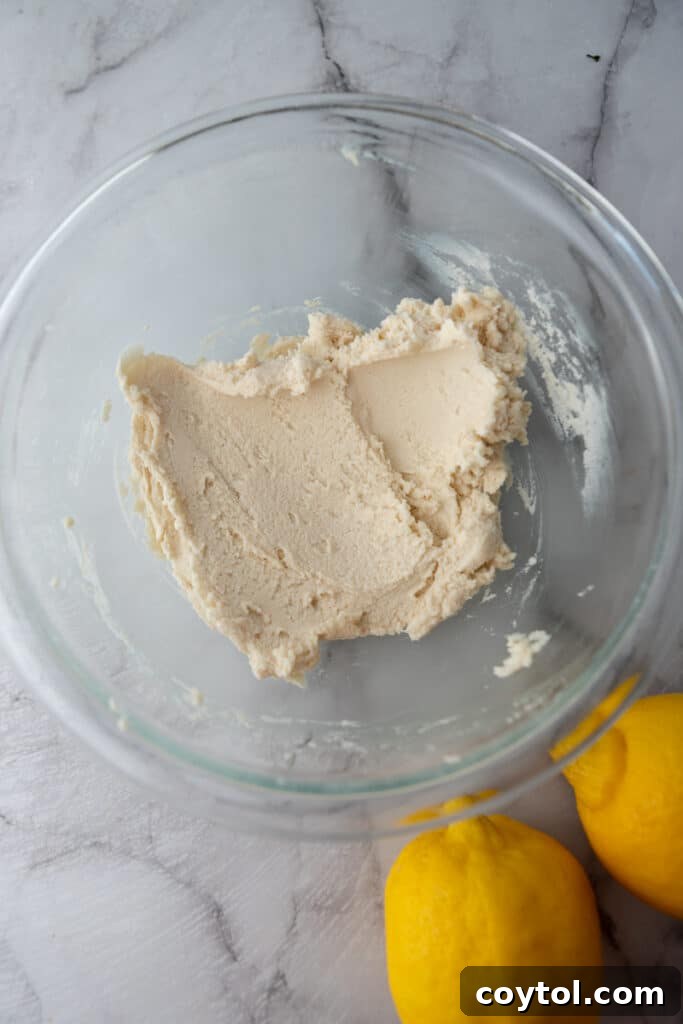
- Whip Up the Shortbread Crust: In a medium-sized mixing bowl, combine the softened unsalted butter and powdered sugar. Cream them together using an electric mixer until the mixture becomes wonderfully light and fluffy, usually taking 2-3 minutes. This aeration is key for a tender crust. Next, gradually add the all-purpose flour and a pinch of salt. Mix on low speed until the ingredients are just combined and form a crumbly, yet cohesive, dough. Be careful not to overmix, which can lead to a tough crust.
- Pre-Bake the Crust to Golden Perfection: Evenly press the shortbread dough mixture into the bottom of your prepared baking pan. Use your fingers or the back of a spoon to create a uniform layer. Bake the crust in the preheated oven for approximately 13-14 minutes, or until its edges turn a delicate golden brown. This pre-baking step ensures a firm, crisp base that won’t become soggy when the lemon filling is added. Remove the hot crust from the oven and set it aside.
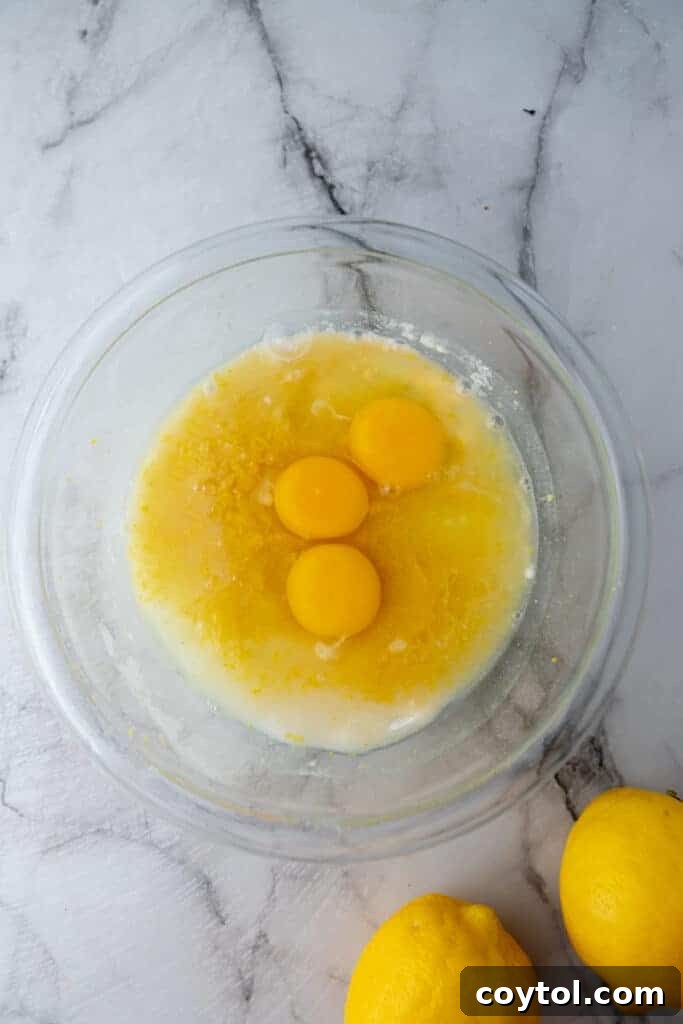
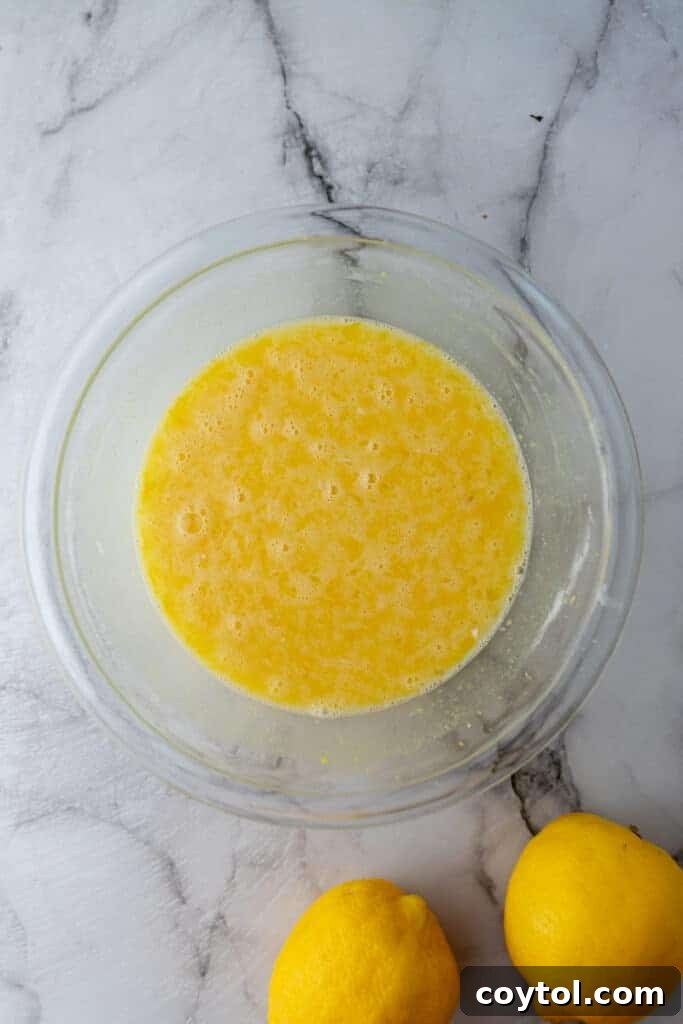
- Prepare the Vibrant Lemon Filling: While your crust is baking, turn your attention to the star of the show – the lemon filling. In another large mixing bowl, or the bowl of a stand mixer fitted with a whisk attachment, whisk together the large eggs, granulated sugar, freshly squeezed lemon juice, aromatic lemon zest, and the sifted all-purpose flour. Whisk until the mixture is completely smooth and all ingredients are thoroughly combined, with no visible lumps.
- Combine and Bake to Set: Carefully pour the prepared lemon mixture over the warm, pre-baked shortbread crust, spreading it out evenly with a spatula if necessary to ensure uniform thickness. Return the pan to the oven and continue baking for an additional 20-22 minutes. The lemon filling is perfectly baked when the center is set and no longer jiggles excessively, and the edges have developed a light golden tint.
- Cool, Dust, and Slice: Once baked, remove the baking dish from the oven. This step is crucial for achieving that firm, sliceable texture. Allow the lemon bars to cool completely to room temperature within the pan. Patience is key here, as warm lemon bars will be too soft to cut cleanly. Once fully cooled, dust the entire top surface of the bars generously with powdered sugar for a beautiful finish and an extra touch of sweetness. Use the parchment paper overhang to gently lift the entire slab of lemon bars out of the pan. Place them on a cutting board, and with a sharp knife, slice them into neat, individual squares. For the cleanest cuts, wipe your knife clean between slices. Serve and savor these wonderfully refreshing treats!
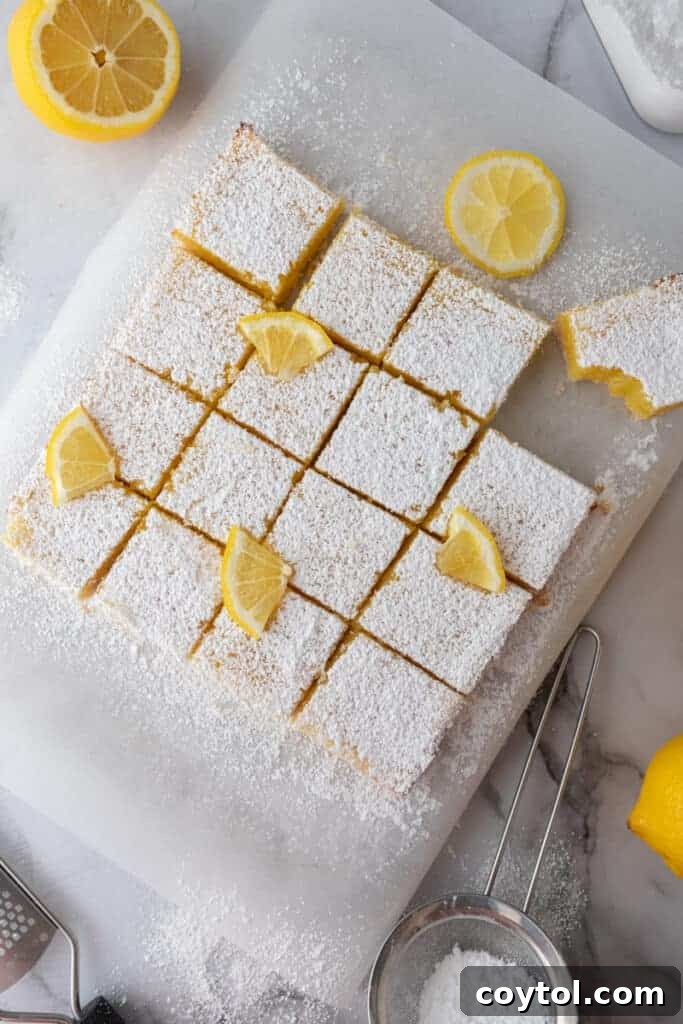
Why These Homemade Lemon Bars Are a Must-Bake
Beyond their simply delicious taste, these easy lemon bars offer compelling reasons to become a staple in your recipe collection. They are more than just a dessert; they are a versatile and impressive treat perfect for numerous occasions.
- Minimal Ingredients, Maximum Impact: This recipe calls for only a handful of fundamental ingredients, most of which you likely already have in your pantry or can easily procure from any grocery store. Despite their simplicity, the resulting lemon bars deliver complex, vibrant flavors that taste anything but basic.
- Effortless Elegance for Any Gathering: These lemon squares are not only simple to prepare but also visually stunning. Their bright color and powdered sugar dusting make them an ideal dessert to impress at bake sales, delight guests at baby showers, or add a touch of sophistication to bridal brunches. They look gourmet without the extensive effort.
- The Ultimate Summer Refreshment: Chilled lemon bars are truly the perfect antidote to hot summer days. Their cool, tangy, and sweet profile is incredibly refreshing, making them an ideal treat to enjoy by the pool, at picnics, or after a long day in the sun. They offer a light and invigorating dessert experience that won’t weigh you down.

Frequently Asked Questions About Lemon Bars
How do I store leftover lemon bars to maintain freshness?
Proper storage is essential to keep your homemade lemon bars tasting their best. If you anticipate enjoying them within a few days, simply place the cooled bars in an airtight container and store them in the refrigerator. For longer preservation, or if you’re preparing them in advance, you can freeze them. First, wrap each individual bar or a small stack of bars tightly in several layers of plastic wrap, ensuring no air pockets remain. Then, place the wrapped bars into an airtight freezer-safe container or a heavy-duty freezer bag. Stored this way, your lemon bars will remain fresh and delicious in the freezer for several weeks, or even up to a couple of months, effectively preventing freezer burn and preserving their texture and flavor.
Is refrigeration necessary for these lemon bars?
Yes, refrigeration is highly recommended for these lemon bars, both for optimal slicing and for extending their shelf life. Chilling the bars thoroughly before slicing helps the lemon filling to set completely, resulting in beautifully clean, crisp edges every time you cut them. While they can be left out at room temperature for a short period, especially if you prefer a slightly softer texture for serving, they will degrade more quickly. For safe and prolonged storage, always keep your lemon bars refrigerated. This not only maintains their structural integrity but also keeps the creamy lemon filling fresh and prevents spoilage.

Can I experiment with other citrus flavors in this lemon bar recipe?
Absolutely! This versatile recipe provides an excellent base for exploring a variety of citrus flavors. Feel free to substitute the fresh lemon juice and zest with equal parts of other citrus fruits to create unique and delicious variations. Imagine the bright notes of lime, the sweet tang of key limes, the sunny sweetness of oranges, or even the sophisticated bitterness of grapefruit. Each citrus fruit will impart its own distinct character, offering a delightful twist on the classic. Just ensure you maintain the same liquid and zest ratios for the best results.
Is bottled lemon juice an acceptable substitute?
For the absolute best flavor in your lemon bars, we strongly advise against using bottled or concentrated lemon juice. This recipe relies on the pure, vibrant essence of fresh lemons, which is unmatched in its natural acidity and bright aroma. Bottled lemon juice often contains preservatives and can have a muted or even artificial aftertaste that will detract significantly from the overall quality of your dessert. Since fresh lemon is the star ingredient here, investing in fresh lemons, especially during peak lemon season, will yield a remarkably superior and truly unforgettable batch of lemon bars.
How do I determine when my lemon bars are perfectly baked?
Knowing when your lemon bars are done is crucial for achieving that ideal set, yet tender, filling. You’ll know they are ready when the center no longer jiggles excessively when the pan is gently nudged. The edges of the lemon filling should appear set and perhaps lightly golden, though the center will remain somewhat pale. Keep in mind that the filling will continue to set and firm up considerably as the bars cool down, both at room temperature and, especially, once refrigerated. Avoid overbaking, as this can lead to a dry or rubbery filling.
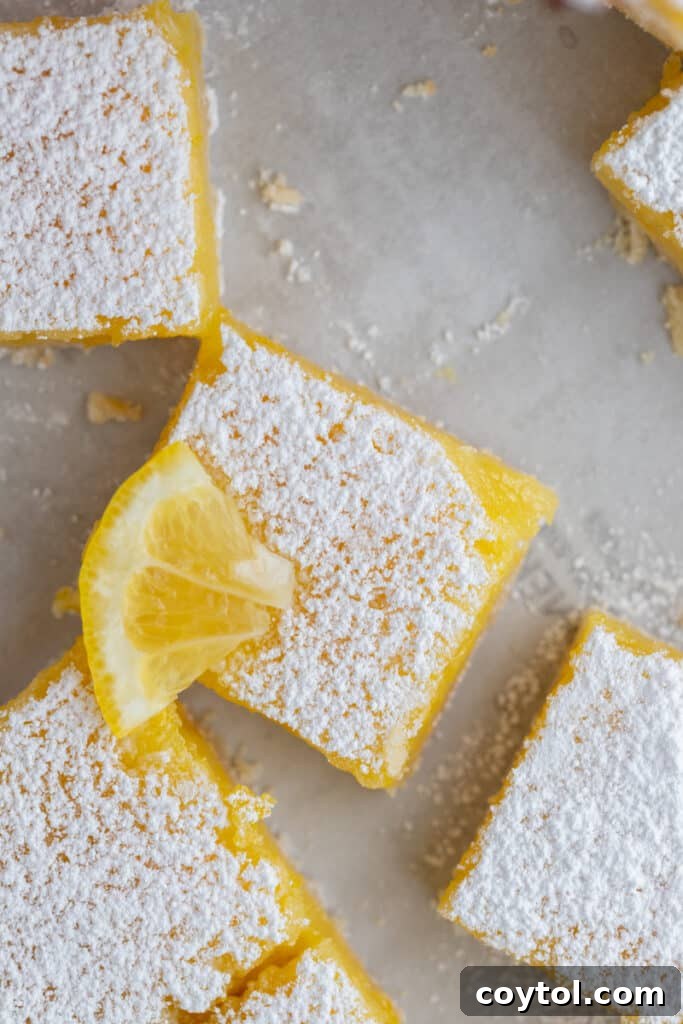
The Best Homemade Lemon Bars Recipe
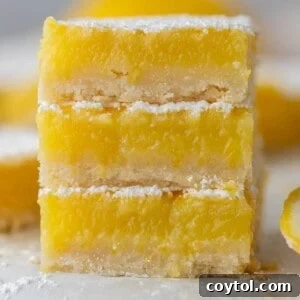
The Best Lemon Bar Recipe
Print Recipe
Ingredients
For the Shortbread Crust:
- 1/2 cup unsalted butter softened
- 1/4 cup powdered sugar
- 1 cup all-purpose flour
- Pinch salt
For the Lemon Filling:
- 3 large eggs
- 1 cup granulated sugar + 2 tablespoons of granulated sugar
- 1/2 cup fresh lemon juice
- 1 tablespoon lemon zest
- 1/4 cup all-purpose flour sifted
- Powdered sugar for dusting
Instructions
-
Preheat your oven to 350°F (175°C) and line an 8×8 inch (20×20 cm) baking pan with parchment paper, ensuring an overhang on two sides for easy removal later.
-
In a medium bowl, cream together the softened unsalted butter and powdered sugar until the mixture is light and fluffy. Add the all-purpose flour and a pinch of salt, mixing until just combined to form the shortbread crust.
-
Press the crust mixture evenly into the bottom of the prepared pan. Bake for approximately 13-14 minutes, or until the edges are lightly golden brown. Remove the hot crust from the oven.
-
While the crust is baking, prepare the lemon filling. In another large bowl, whisk together the large eggs, granulated sugar (both 1 cup and the additional 2 tablespoons), fresh lemon juice, lemon zest, and the sifted all-purpose flour until smooth and well combined.
-
Pour the lemon filling mixture carefully over the warm, pre-baked crust, spreading it evenly. Return the pan to the oven and bake for an additional 20-22 minutes, or until the filling is set and its edges are lightly golden. The center should no longer jiggle excessively.
-
Remove the pan from the oven and allow the lemon bars to cool completely to room temperature within the pan. Once thoroughly cooled, dust the top generously with powdered sugar. Use the parchment paper overhang to lift the entire baked slab out of the pan, then slice into neat squares with a sharp knife. For the cleanest cuts, wipe your knife between slices. Serve and enjoy your homemade lemon bars!
Nutrition Information
Please note: Nutrition information is an estimate and may vary based on specific ingredients and preparation methods.

Don’t Forget to Pin This Irresistible Lemon Bar Recipe for Later!