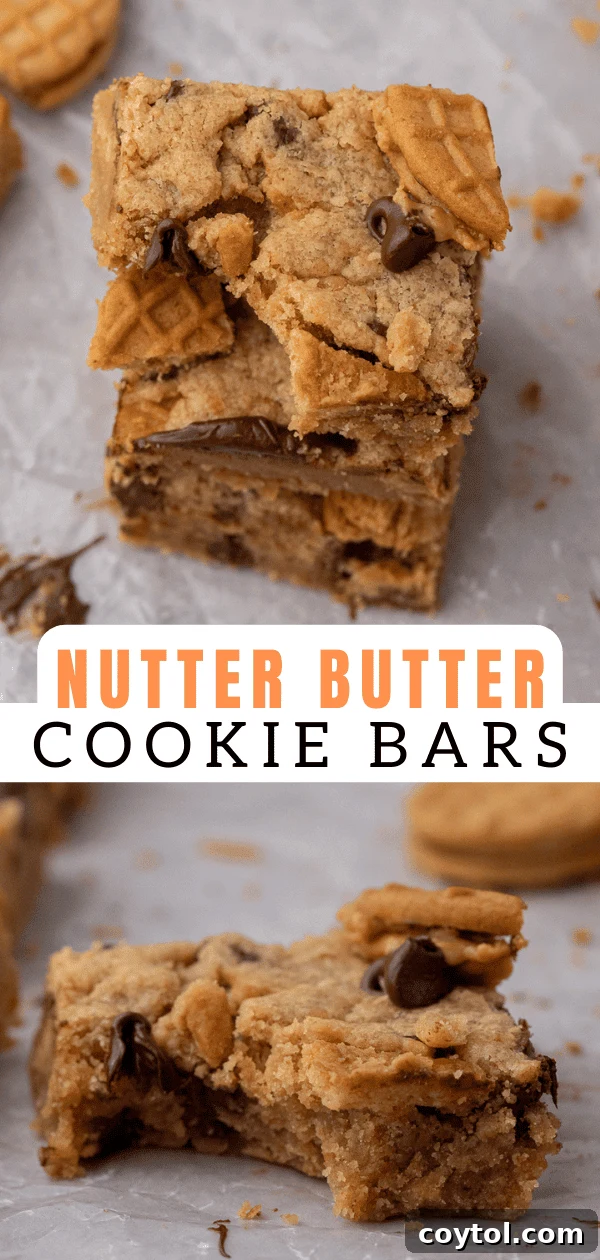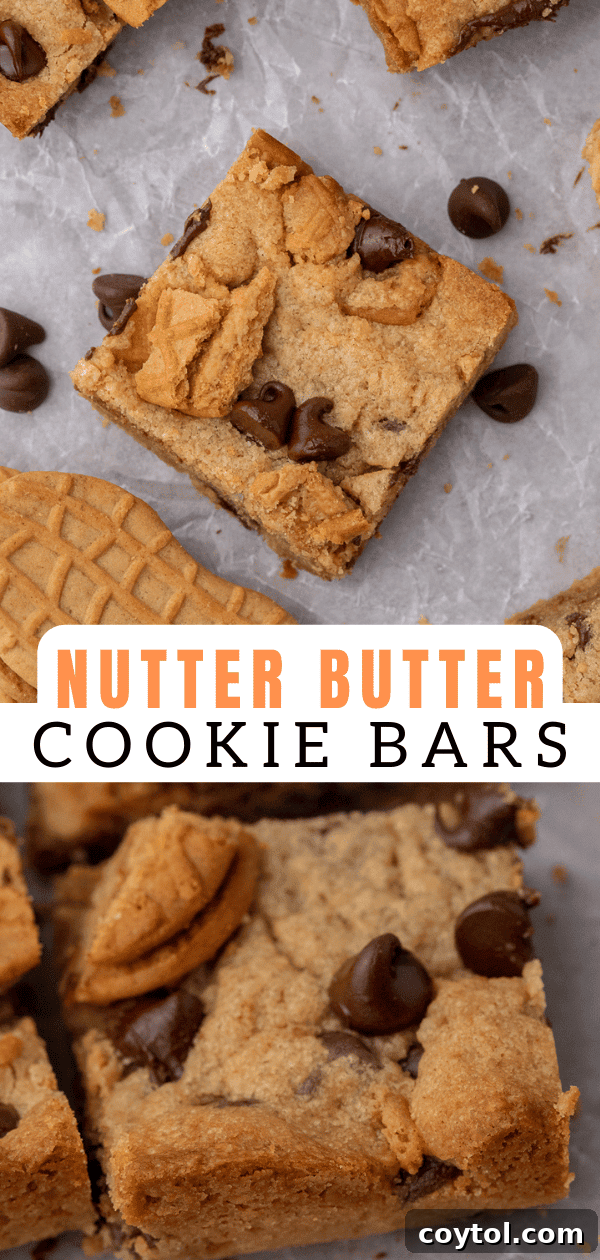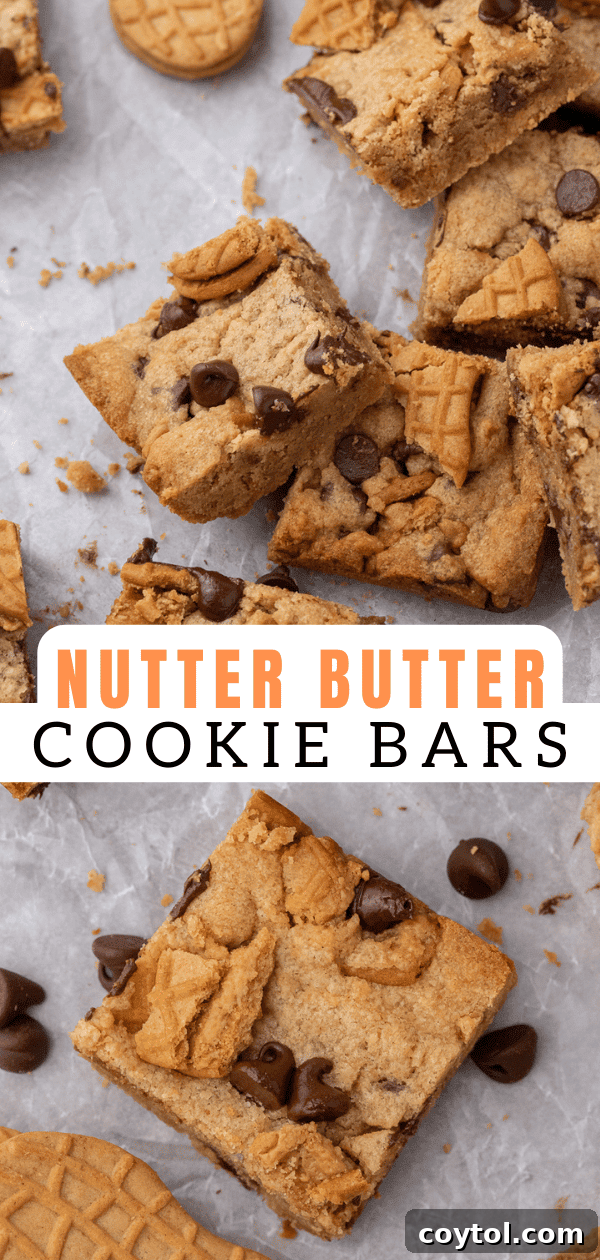
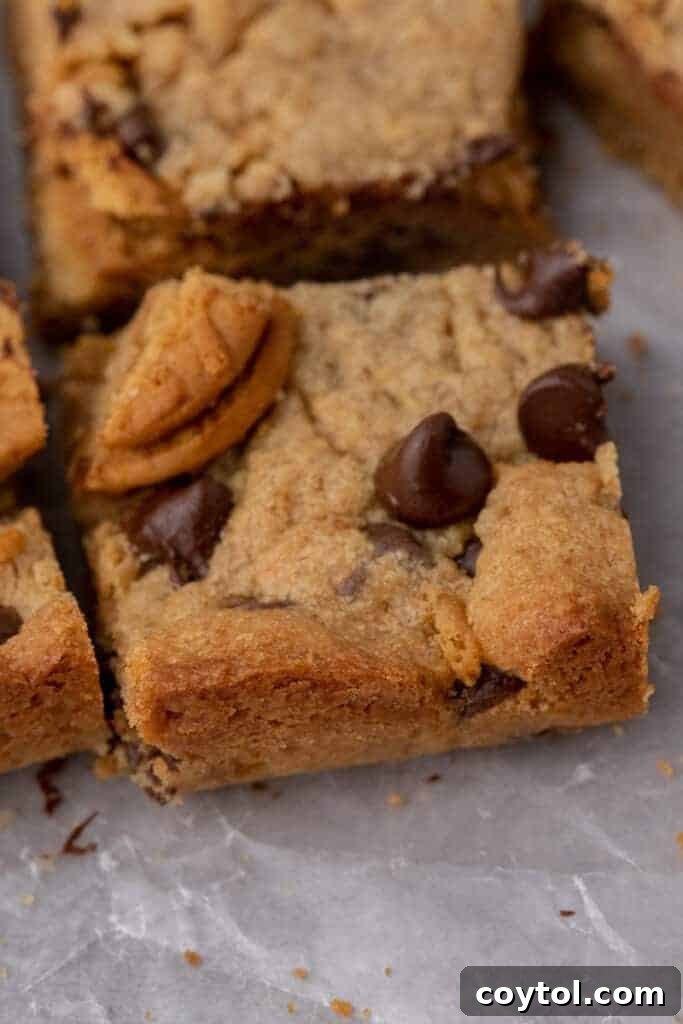
Indulge in the ultimate peanut butter experience with these easy-to-make Nutter Butter Bars, also known as Nutter Butter Blondies. Crafted with a rich, creamy peanut butter base, studded with iconic Nutter Butter cookies, and generously packed with chocolate chips, these bars are a truly decadent sweet treat designed to satisfy every craving. Prepare yourself for a dessert that’s not just delicious, but also incredibly simple to bring to life.
If you’re a devoted peanut butter enthusiast, you’ll surely enjoy exploring our other popular recipes, such as these Reese’s Peanut Butter Cookies, rich Peanut Butter-Filled Brownie Cookies, and our effortless No-Bake Chocolate Peanut Butter Bars.
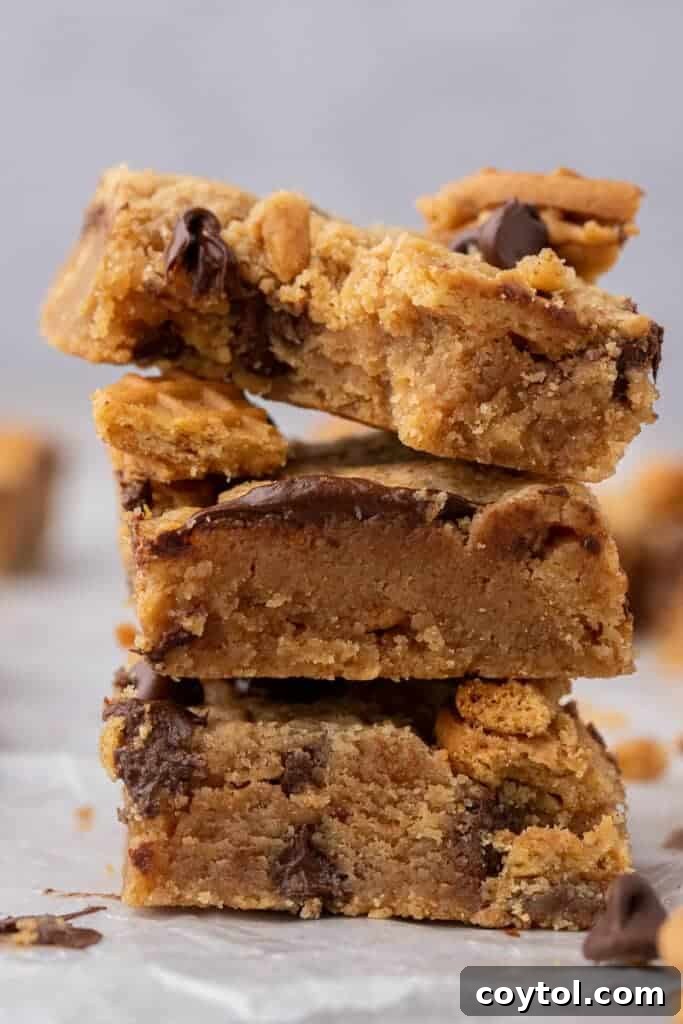
The Ultimate Peanut Butter Dessert Experience: Nutter Butter Bars
For those who understand the unparalleled joy of a truly great peanut butter treat, Nutter Butter cookies hold a special, almost legendary status. While classic Oreos and their Golden counterparts offer delightful twists, there’s just something inherently satisfying about the double-peanut-butter goodness of a Nutter Butter. Their distinctive peanut shape isn’t just a clever design; it’s a promise of pure, unadulterated peanut flavor. That’s precisely why we created these Chocolate Chip Nutter Butter Cookie Bars—to capture and amplify that irresistible flavor into an unforgettable dessert.
Forget everything you thought you knew about peanut butter desserts. The next time you find yourself craving a deeply satisfying, wonderfully fudgy, and utterly delicious sweet, this is the recipe to turn to. Our Nutter Butter bars are loaded with rich peanut butter flavor, generously studded with chopped Nutter Butter cookies, and feature a delightful scattering of chocolate chips that melt in your mouth. Each bite is pure heaven, a harmonious blend of textures and tastes that will undoubtedly earn a spot as your new favorite indulgence. These bars are more than just a dessert; they’re an experience designed for true peanut butter connoisseurs.
Why These Nutter Butter Bars Will Become Your Go-To Recipe
We believe baking should be enjoyable and rewarding, especially when the result is this spectacular. Here’s why these Nutter Butter Blondies are poised to become your new favorite:
- Effortlessly Simple: These cookie bars are incredibly straightforward to prepare, making them perfect for bakers of all skill levels. You don’t need fancy techniques or specialized equipment to achieve perfection. With just a few basic steps, you’ll have a batch of these delectable treats ready to impress.
- Minimal Cleanup: Who doesn’t love an easy recipe that also means less time scrubbing dishes? This is largely a one-bowl recipe, significantly reducing your post-baking cleanup. Fewer dishes mean more time for enjoying your delicious creations with family and friends!
- Intense Peanut Butter Flavor: Designed specifically for true peanut butter lovers, these bars deliver a robust and authentic peanut butter taste that shines through in every bite. It’s a double dose of deliciousness, thanks to both creamy peanut butter incorporated directly into the batter and crunchy Nutter Butter cookie pieces mixed throughout.
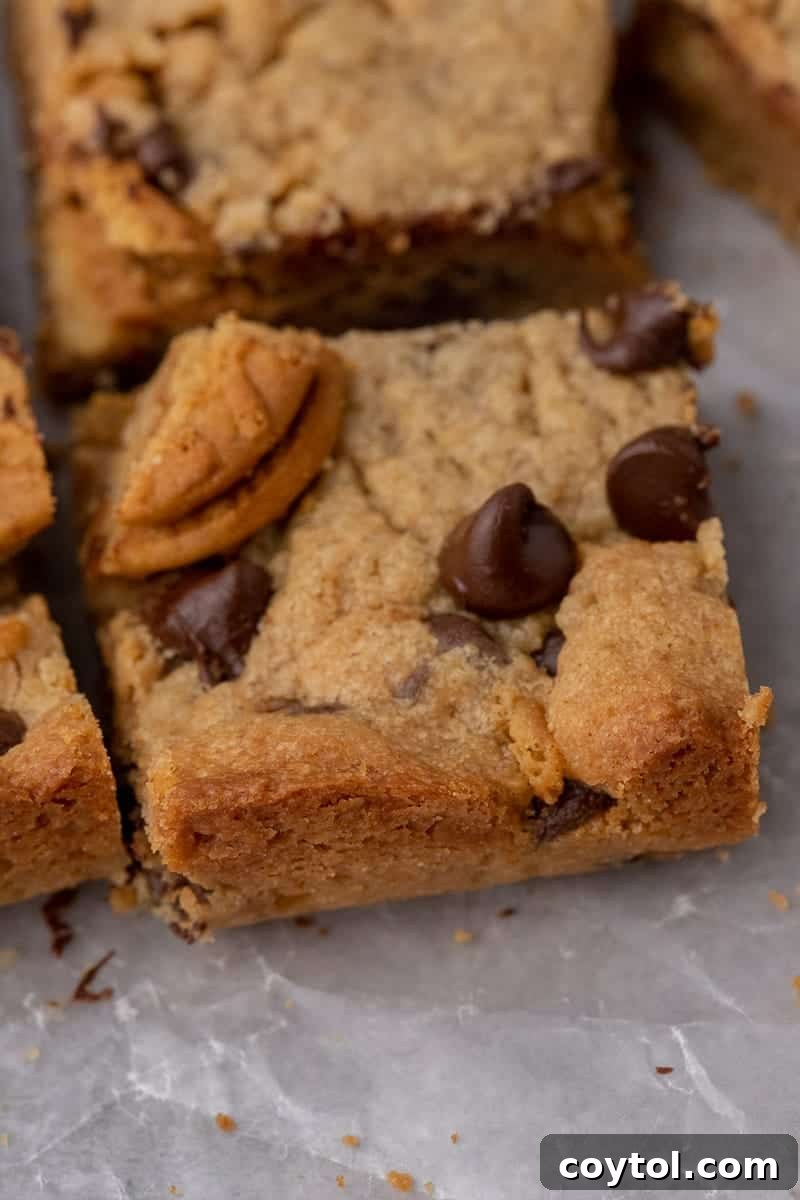
- Perfectly Soft and Chewy with a Satisfying Crunch: Experience the best of both worlds with a super soft, fudgy, and wonderfully chewy blondie base that contrasts beautifully with the delightful crunch from the Nutter Butter cookie pieces on top and folded within. The mini chocolate chips add yet another layer of texture and sweetness, making each mouthful a symphony of sensations that will leave you wanting more.
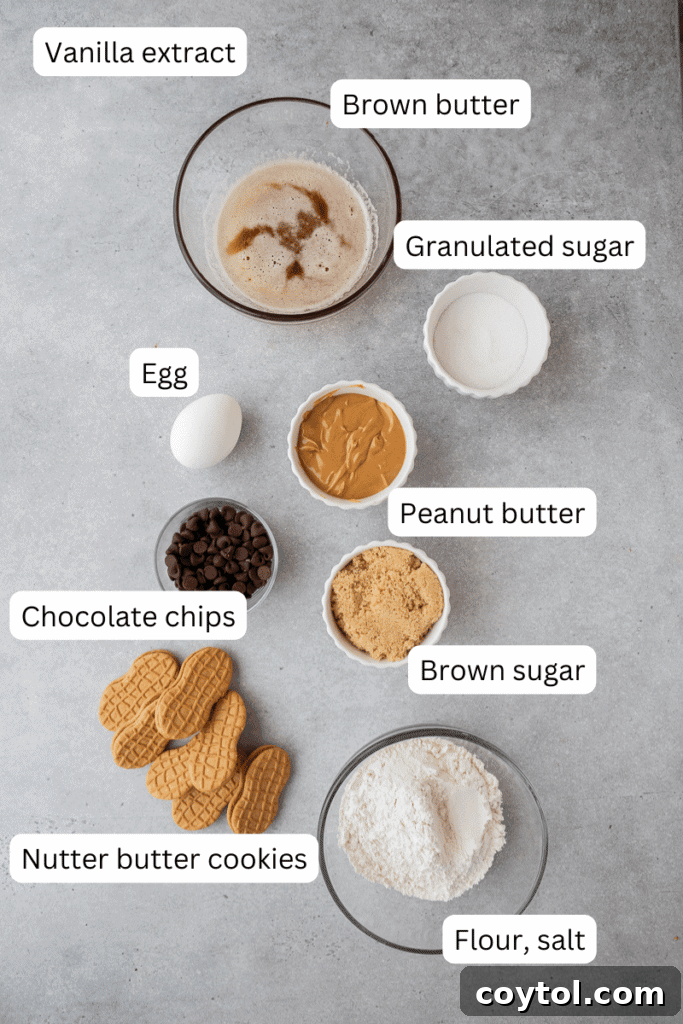
Essential Ingredients for Irresistible Nutter Butter Blondies
Crafting these delectable Nutter Butter bars requires a few key ingredients, each playing a crucial role in achieving their signature taste and texture. Below is a detailed look at what you’ll need. For the precise measurements, please refer to the full recipe card further down this page.
- Butter: Whether you opt for salted or unsalted butter, ensure it’s of good quality. Browning the butter, as instructed in the recipe, adds an incredible depth of nutty, caramelized flavor that elevates these bars from great to extraordinary. This process brings out a richness that plain melted butter simply cannot match.
- Brown Sugar & Granulated Sugar: This recipe utilizes a harmonious blend of both sugars. Brown sugar contributes to the moist, chewy, and fudgy texture characteristic of perfect blondies, thanks to its molasses content. Granulated sugar, on the other hand, ensures the ideal level of sweetness and helps create those coveted slightly crisp edges, providing a perfect textural balance.
- Peanut Butter: For the best results and a consistently smooth texture, we highly recommend using a smooth, non-natural creamy peanut butter, such as Skippy or Jif. Natural peanut butter, with its tendency to separate and vary in oil content, can alter the final consistency and richness of your bars. Choose a brand you love for optimal flavor.
- Egg: Always use a large egg at room temperature. A room temperature egg emulsifies more effectively with the other ingredients, leading to a smoother, more uniform batter and a more tender and cohesive crumb in your baked goods. This small detail makes a significant difference.
- Vanilla Extract: A touch of pure vanilla extract is indispensable for enhancing the overall flavor profile. It doesn’t just add its own aroma; it subtly complements the rich peanut butter and chocolate, rounding out the flavors and adding a warm, aromatic depth that makes these bars truly irresistible.
- All-Purpose Flour: Standard all-purpose flour is perfect for this recipe, providing the essential structural foundation for our chewy blondies. Make sure to measure it correctly by spooning the flour into the measuring cup and leveling it off, to avoid adding too much which can result in dense or dry bars.
- Salt: A small amount of salt is vital in almost any baking recipe. It serves to balance the sweetness, sharpen the flavors of all the ingredients, and prevents the bars from tasting overly sugary, bringing out the best in the peanut butter and chocolate notes.
- Nutter Butter Cookies: These are undeniably the stars of our show! Roughly chopped Nutter Butter sandwich cookies are folded directly into the cookie bar dough, infusing every bite with their distinctive peanut flavor and adding delightful textural contrast. Extra pieces are reserved for topping the bars before baking, creating an enticing visual appeal and an extra layer of crunch.
- Mini Chocolate Chips: While any chocolate chips will work, mini semi-sweet chocolate chips are highly recommended. Their smaller size ensures an even distribution of chocolate throughout the bars, allowing you to enjoy a perfect balance of chocolate and peanut butter in every bite without any single flavor overpowering the others. Using good quality chocolate chips will make a noticeable difference in the overall taste and melt.
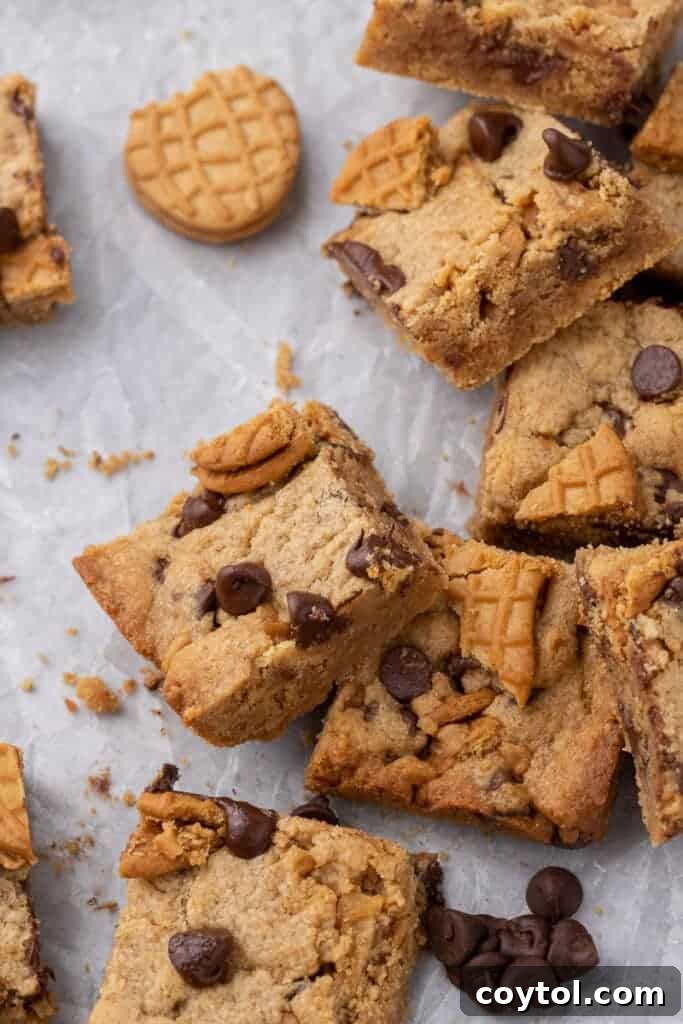
Crafting Your Amazing Nutter Butter Bars: A Step-by-Step Guide
Creating these incredible Nutter Butter bars is a straightforward and rewarding process. Follow these detailed steps to achieve perfect, chewy, and flavor-packed blondies. Remember to refer to the comprehensive recipe card below for exact quantities and additional tips!
- Prepare the Brown Butter Base: Begin by melting your butter in a small, heavy-bottomed saucepan over medium heat. Stir continuously to ensure even cooking. Continue cooking for 3-5 minutes, observing closely, until the butter transforms from yellow to a rich, foamy, medium golden-brown color, emitting a wonderfully nutty aroma. This process, known as browning the butter, adds an unparalleled depth of flavor that is crucial for these bars. Be vigilant, as butter can burn quickly! Once browned to perfection, immediately remove it from the heat and transfer it to a medium mixing bowl to cool to room temperature. It doesn’t need to solidify, just cool enough so it won’t cook the egg in the next step.
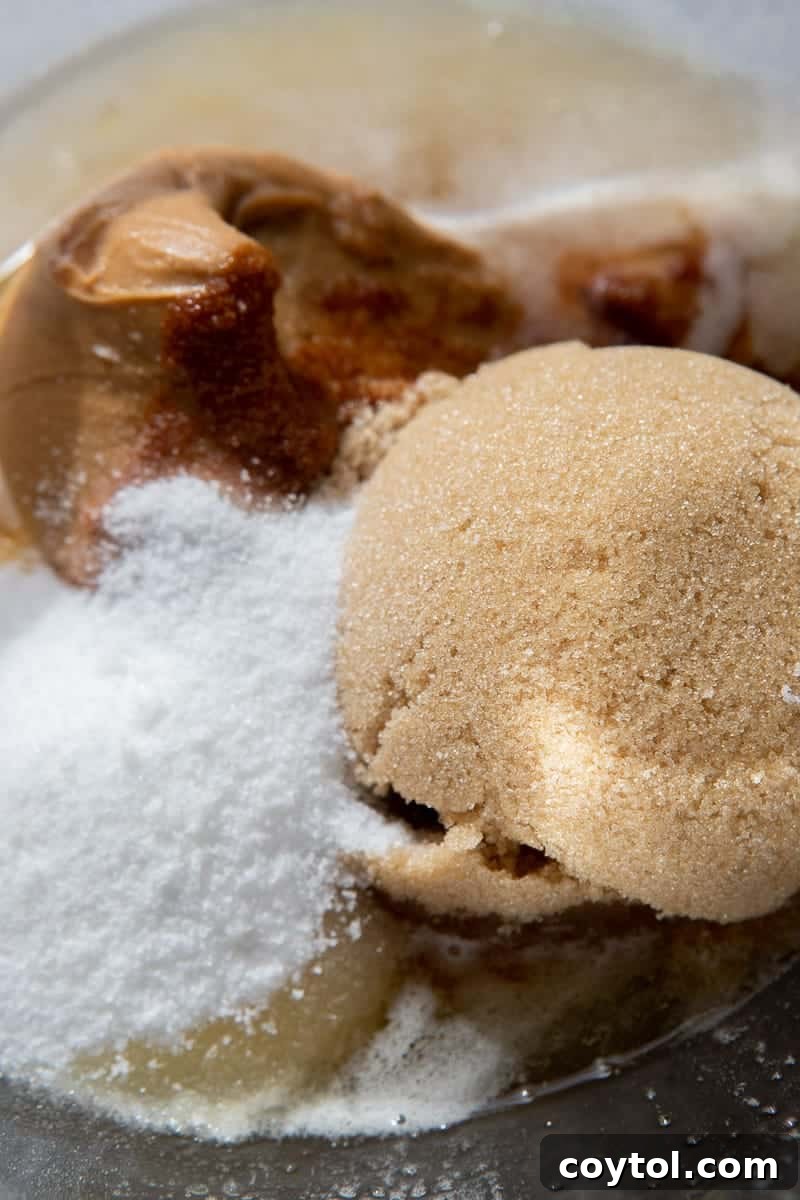
- Combine Wet Ingredients: Once the browned butter has cooled sufficiently, add the light brown sugar, granulated sugar, and smooth peanut butter to the bowl. Whisk or mix on medium speed until all ingredients are thoroughly combined and the mixture appears creamy and cohesive. Scrape down the sides of the bowl to ensure everything is incorporated.
- Incorporate Egg and Vanilla: Add the room temperature egg and the pure vanilla extract to your wet ingredient mixture. Mix gently until everything is just combined. It’s important not to overmix at this stage, as excessive agitation can develop gluten and lead to a tougher bar. Mix only until barely blended.
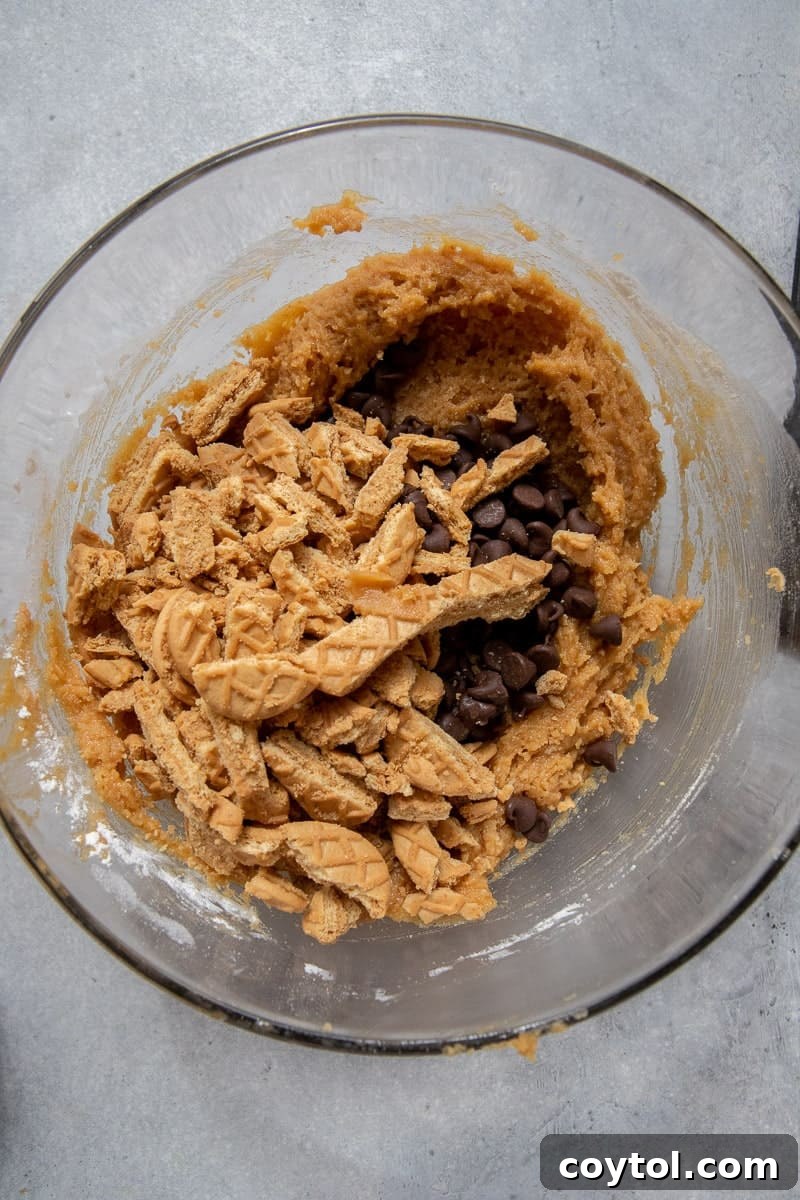
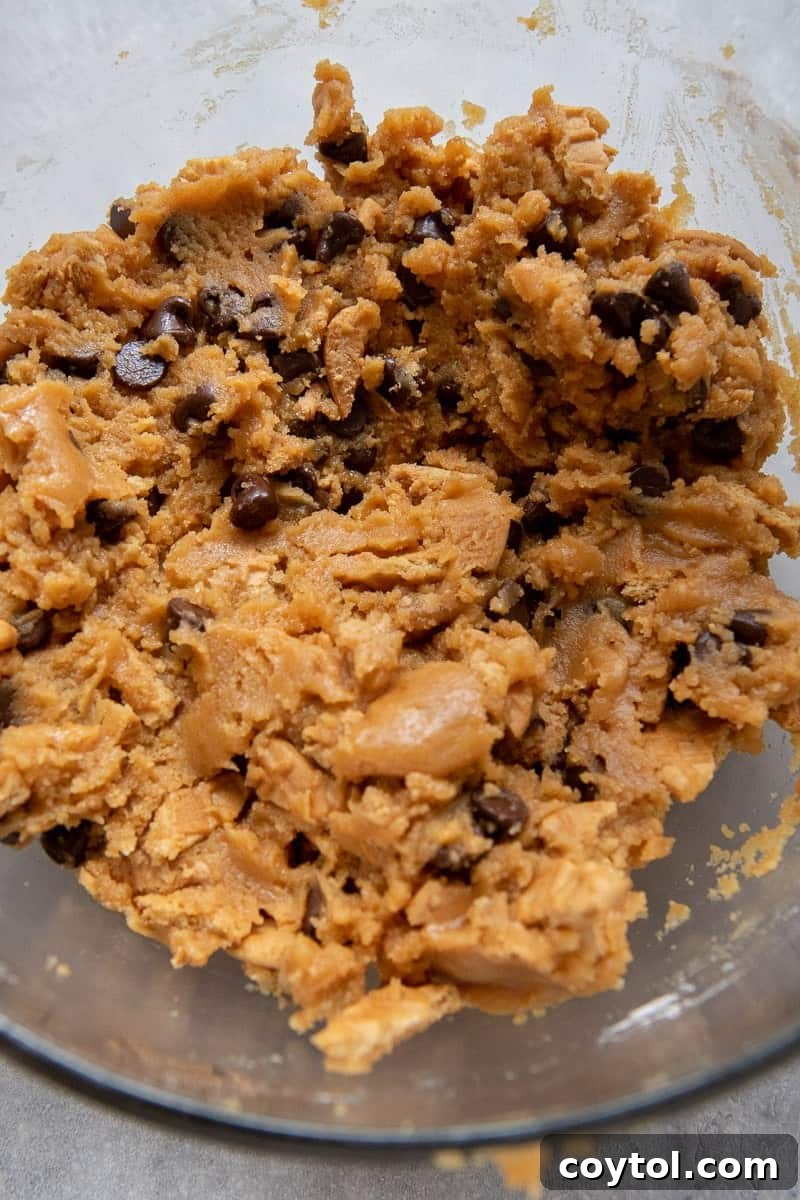
- Fold in Dry Ingredients and Nutter Butters: Gently add the all-purpose flour and salt to the wet ingredients. Mix on low speed, just until the flour streaks have completely disappeared. Again, be careful not to overmix the batter. Once the flour is incorporated, gently fold in the roughly chopped Nutter Butter cookies and the mini semi-sweet chocolate chips. Ensure they are evenly distributed throughout the dough, making sure every bite will contain these delicious additions.
- Prepare for Baking: Press the luscious Nutter Butter dough evenly into your prepared 8×8 inch square baking pan. Make sure the parchment paper lining leaves an overhang on the sides; this will make it incredibly easy to lift the baked bars out of the pan cleanly once they are cooled.
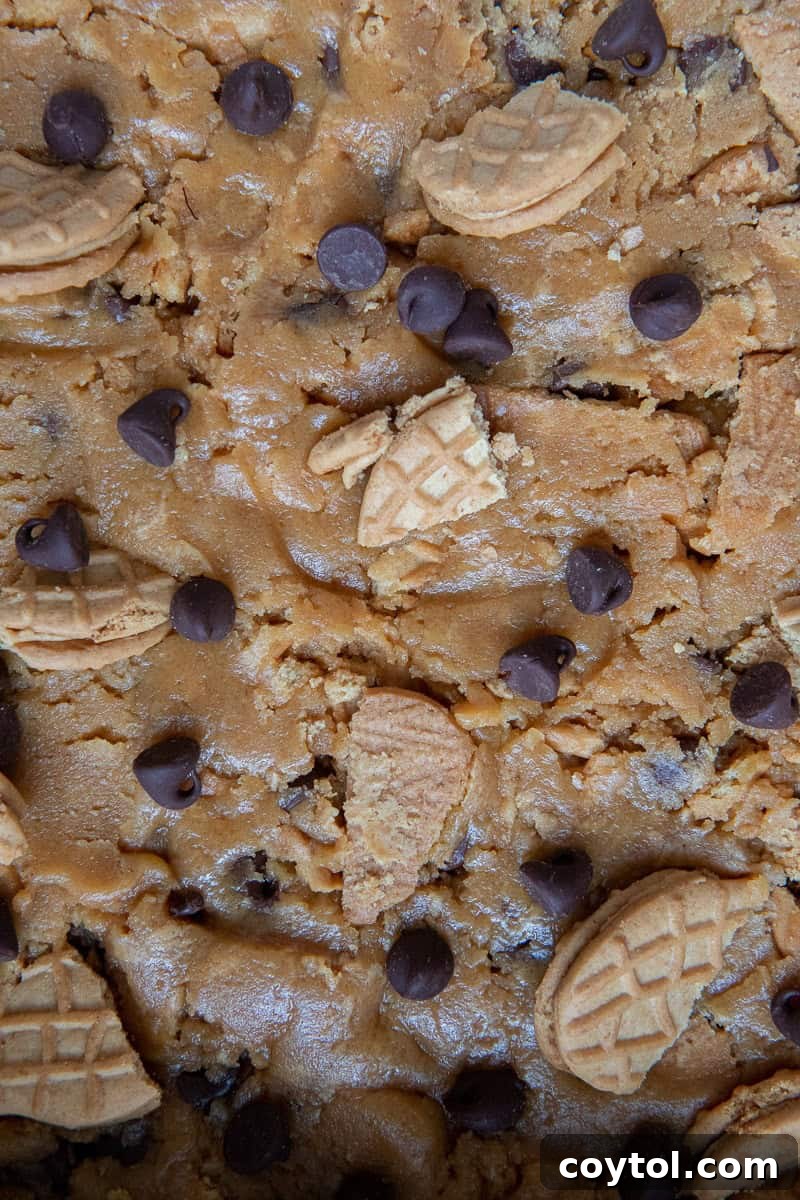
- Add Toppings and Bake: For an extra layer of deliciousness and visual appeal, generously sprinkle more chocolate chips and additional roughly chopped Nutter Butter cookies over the top of the pressed dough. This creates a beautiful, enticing crust and ensures a burst of flavor and crunch in every bite. Bake in your preheated oven at 350°F (175°C) for approximately 20-25 minutes, or until the edges are golden brown and the center is just set but still feels slightly soft to the touch. A wooden skewer inserted into the center should come out with moist crumbs, not wet batter.
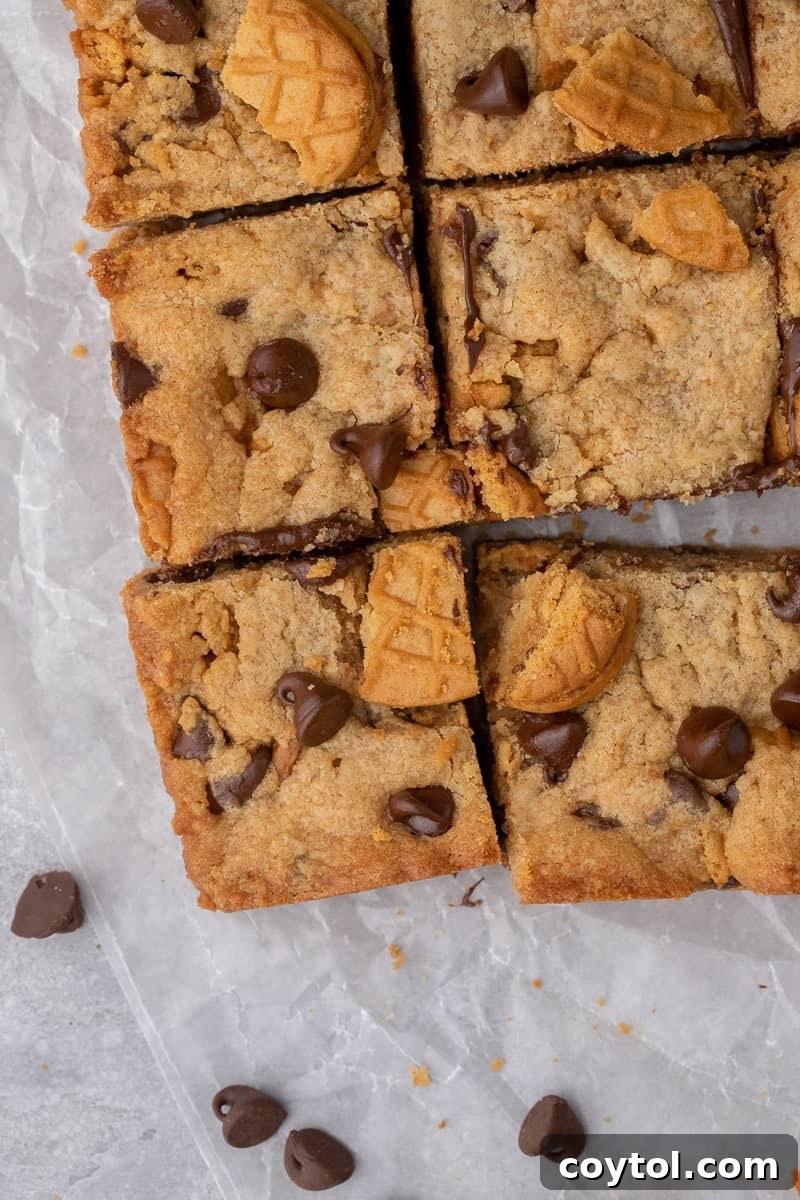
- Cool Completely and Serve: This is arguably the most crucial step for achieving perfect, firm yet chewy bars! Once baked, remove the pan from the oven and allow the Nutter Butter bars to cool completely to room temperature while still in the pan. This process will take at least 1-2 hours, depending on your kitchen’s temperature, and is essential for the bars to fully set and firm up into their ideal texture. Resist the urge to slice them warm, as they will be crumbly and difficult to cut. Once completely cool, lift them out of the pan using the parchment paper overhang, slice into 16 equal squares, and enjoy the fruits of your labor!
Expert Baking Tips for Perfect Nutter Butter Blondies
Achieving bakery-quality Nutter Butter bars is simple with a few insider tips that will elevate your baking experience and ensure fantastic results every time:
- Don’t Skip Browning the Butter: This step is absolutely critical for developing a deep, complex, and nutty flavor that truly sets these blondies apart. Pay close attention to the color and aroma as it cooks to ensure it doesn’t burn. The brown specks at the bottom of the pan are where all that delicious flavor resides.
- Room Temperature Ingredients are Best: Always ensure your egg (and butter, if not browning) is at room temperature. This allows for better emulsification with the other ingredients, creating a smoother, more uniform batter and ultimately leading to a more tender and consistent final product. Cold ingredients can cause the batter to seize up.
- Measure Flour Correctly: For accurate and consistent results, avoid scooping your flour directly from the bag. Instead, gently spoon the flour into your measuring cup until it overflows, then level it off with the back of a knife or a straight edge. Scooping can compact the flour, leading to too much flour and consequently dry, crumbly bars.
- Avoid Overmixing the Batter: Once you add the flour to the wet ingredients, mix only until just combined and no dry streaks of flour remain. Overmixing develops gluten, which can make your blondies tough and cakey instead of wonderfully soft and chewy. A light hand is key here.
- Don’t Overbake Your Blondies: Blondies are meant to be soft, moist, and slightly fudgy in the center. They might look slightly underdone when you pull them out of the oven, but they will continue to set as they cool in the pan. Overbaking is the quickest way to end up with dry, hard bars. The edges should be golden, and a toothpick inserted into the center should come out with moist crumbs, not wet batter, but definitely not completely clean.
- Cool Completely for Best Texture: This is perhaps the most challenging tip, but it is absolutely essential! Allowing the bars to cool completely in the pan is crucial for them to fully set, firm up, and achieve that perfect chewy-fudgy texture. Cutting them while warm will result in messy, crumbly squares that fall apart. Patience truly pays off here.
Frequently Asked Questions (FAQ) About Nutter Butter Bars
How to Store These Peanut Butter Cookie Bars?
To maintain their optimal freshness, moisture, and delightful flavor, store your Nutter Butter bars in an airtight container. Keep them at room temperature, away from direct sunlight or heat sources. They will remain wonderfully soft and delicious for up to 4-5 days. For longer enjoyment, refrigeration is not typically necessary unless your kitchen is unusually warm or humid, as it can sometimes dry out baked goods.
Can I Freeze These Bars?
Absolutely! These Nutter Butter cookie bars freeze exceptionally well, making them perfect for meal prepping desserts or saving some for a rainy day. To freeze, place the completely cooled bars in a single layer in an airtight freezer-safe container. For best results and to prevent freezer burn, you can also wrap individual bars tightly in plastic wrap before placing them in a freezer bag. They can be frozen for up to 2 months without significant loss of quality. When you’re ready for a delightful treat, simply thaw them overnight in the refrigerator or for a few hours on the countertop. For an extra special indulgence, microwave a thawed bar for just 10-15 seconds until it’s warm and delightfully ooey-gooey, tasting freshly baked!
Can I Make These Bars in a 9×9 Baking Pan?
Yes, you certainly can adapt this recipe for a 9×9 inch baking pan if that’s what you have on hand. However, it’s important to be aware that using a larger pan will result in slightly thinner cookie bars compared to the richer, thicker bars you’d get from an 8×8 inch pan. Due to the reduced thickness, you may also need to adjust the baking time slightly, typically reducing it by a few minutes (perhaps 15-20 minutes total), as thinner bars will bake faster. Always keep a close eye on them during the last few minutes of baking to prevent overbaking and ensure they remain soft and chewy.
Nutter Butter Cookie Bars Recipe
Reader Rating: 5 out of 5 stars (based on 7 votes)
Nutter Butter Bars / Blondies
These Nutter Butter bars are an explosion of peanut butter flavor. Made with a rich peanut butter base, loaded with Nutter Butter cookies in the dough and as a topping, and complemented by the perfect amount of chocolate chips, they are truly irresistible.
Prep Time: 10 mins
Cook Time: 20 mins
Total Time: 30 mins
Yields: 16 squares
Print Recipe
Equipment
- 8×8 inch baking pan
- Small heavy-bottomed saucepan
- Large mixing bowl
- Whisk or electric mixer
- Parchment paper
Ingredients
- 1/2 cup (113g) butter, salted or unsalted
- 1/2 cup (100g) light brown sugar, packed
- 1/4 cup (50g) granulated sugar
- 1/2 cup (128g) smooth peanut butter (like Skippy or Jif, non-natural)
- 1 large egg, at room temperature
- 1 tsp vanilla extract
- 1 cup (120g) all-purpose flour
- 1/4 tsp salt
- 7 Nutter Butter cookies, roughly chopped (plus 3 extra for topping)
- 1/2 cup (85g) mini semi-sweet chocolate chips (plus 2 extra tablespoons for topping)
Instructions
Preparation
- Preheat your oven to 350°F (175°C). Line an 8×8 inch square baking pan with parchment paper, leaving an overhang on two sides for easy removal.
Make the Brown Butter
- In a small heavy-bottomed saucepan, melt the butter over medium heat, stirring continuously. Continue cooking for 3-5 minutes until it becomes foamy and turns a medium golden brown, emitting a nutty aroma. This is brown butter. Be careful not to burn it.
- Immediately remove the browned butter from the heat and transfer it to a medium mixing bowl. Let it cool down to room temperature. It does not need to re-solidify.
Assemble the Nutter Butter Blondie Batter
- Once the brown butter has cooled, add the peanut butter, brown sugar, and granulated sugar to the bowl. Mix on medium speed with a whisk or electric mixer until thoroughly combined and creamy.
- Add the room temperature egg and vanilla extract to the mixture. Mix until just combined, being careful not to overmix.
- Gradually add the all-purpose flour and salt to the wet ingredients. Mix on low speed until the flour has just disappeared. Avoid overmixing.
- Gently fold in the roughly chopped Nutter Butter cookies and the 1/2 cup of mini semi-sweet chocolate chips until evenly distributed throughout the dough.
Bake the Blondies
- Spread the cookie dough mixture evenly into the prepared 8×8 inch baking pan.
- Sprinkle the top of the dough with the reserved roughly chopped Nutter Butter cookies (the 3 extra ones) and the extra 2 tablespoons of chocolate chips.
- Bake for 20-25 minutes, or until the edges are golden brown and the center is set but still slightly soft. A toothpick inserted into the center should come out with moist crumbs.
Cool and Serve
- Once baked, remove the pan from the oven and allow the Nutter Butter bars to cool completely to room temperature in the pan. This is crucial for them to set properly and achieve the perfect texture. This can take 1-2 hours.
- Once fully cooled, use the parchment paper overhang to lift the entire slab of bars out of the pan. Slice into 16 equal squares and serve. Enjoy!
Notes
Cooling is Key: For the best texture, ensure your Nutter Butter bars are completely cooled before slicing. This allows them to firm up perfectly, giving you clean, satisfying squares.
Pan Size Matters: Using an 8×8 inch pan yields thick, fudgy bars. If using a 9×9 inch pan, expect slightly thinner bars and adjust baking time accordingly (they’ll likely bake a few minutes faster).
Microwave for Warm Gooeyness: If you enjoy your bars warm and extra gooey, a quick 10-15 second zap in the microwave will bring them back to life, especially after being stored or frozen.
Nutrition
Calories: 258 | Carbohydrates: 27g | Protein: 4g | Fat: 15g | Saturated Fat: 7g | Polyunsaturated Fat: 2g | Monounsaturated Fat: 5g | Trans Fat: 0.2g | Cholesterol: 26mg | Sodium: 254mg | Potassium: 121mg | Fiber: 1g | Sugar: 16g | Vitamin A: 196IU | Calcium: 39mg | Iron: 1mg
Nutrition information is automatically calculated and should only be used as an approximation.
Enjoyed this recipe? We’d love to hear from you! Leave a comment below and share your thoughts.

Shop This Recipe: Essential Baking Tools & Ingredients
This post may contain Amazon Associate affiliate links, meaning that at no additional cost to you, I will earn a small commission on every qualifying purchase you make! Your support helps keep new recipes coming.
8×8 Inch Baking Pan
Creamy Peanut Butter
Pure Vanilla Extract
Love These Nutter Butter Bars? Pin This Recipe for Later!