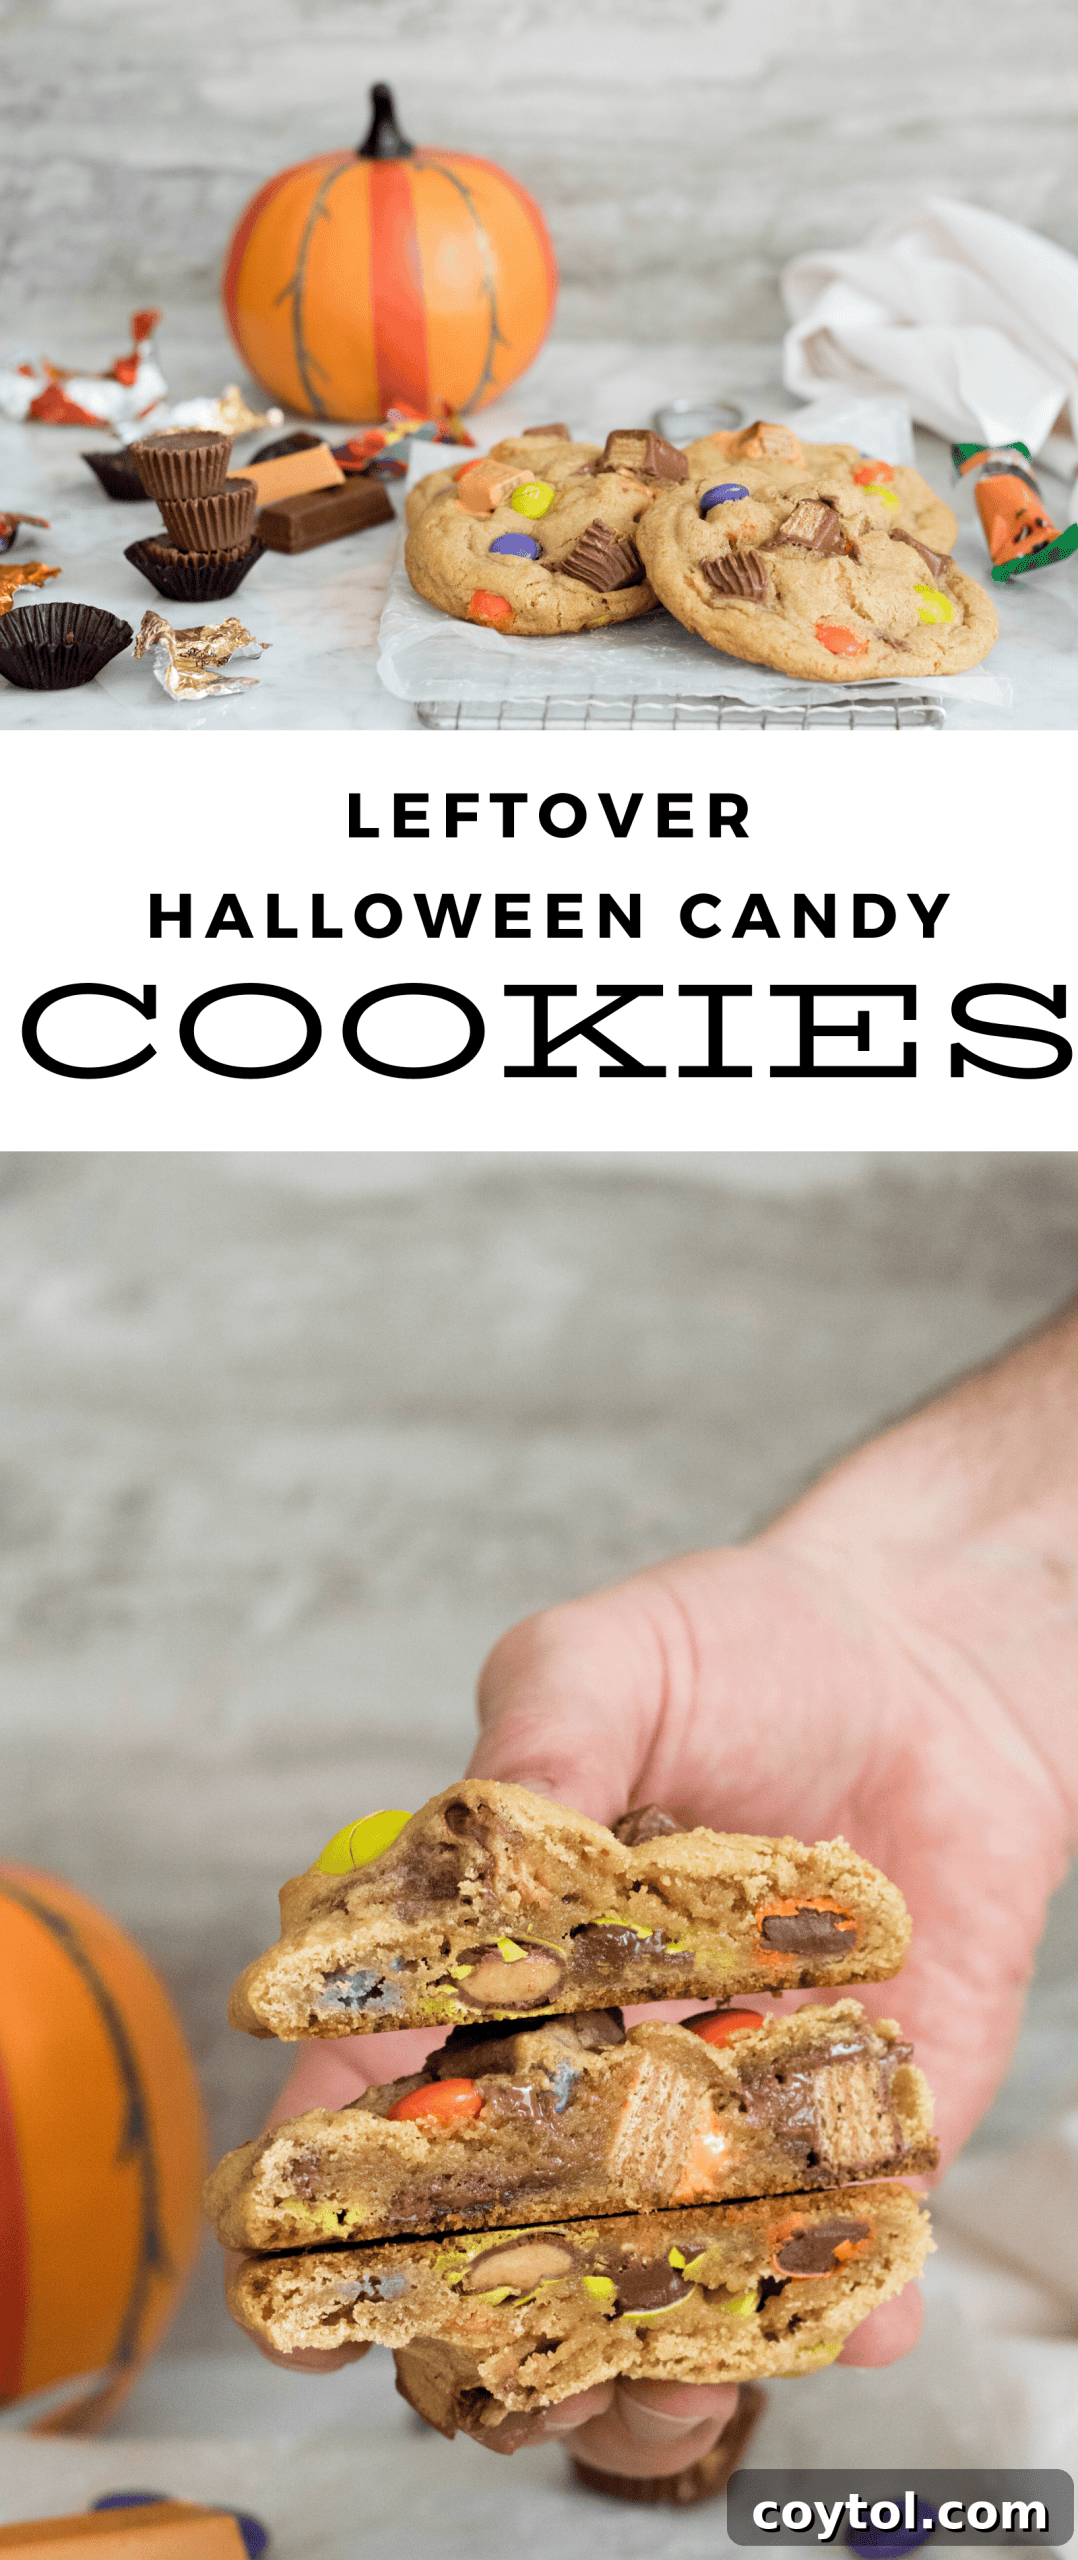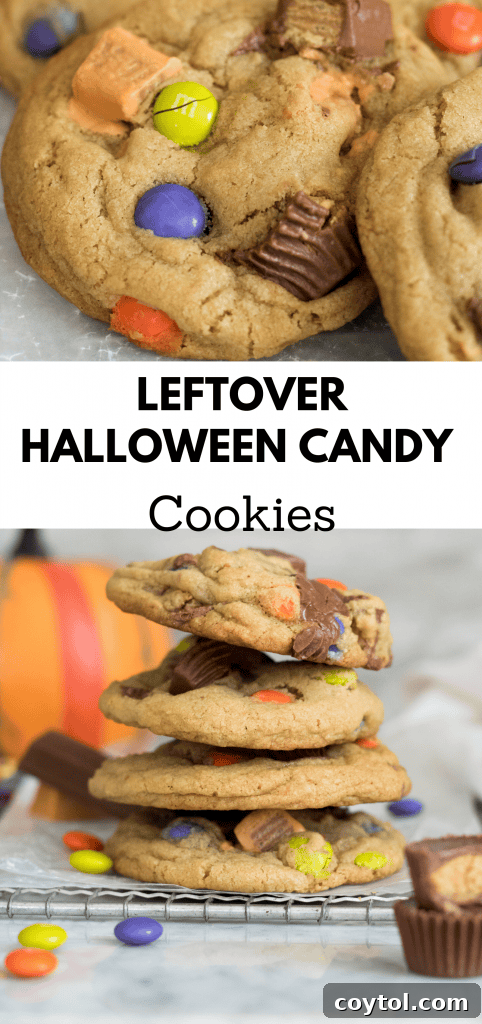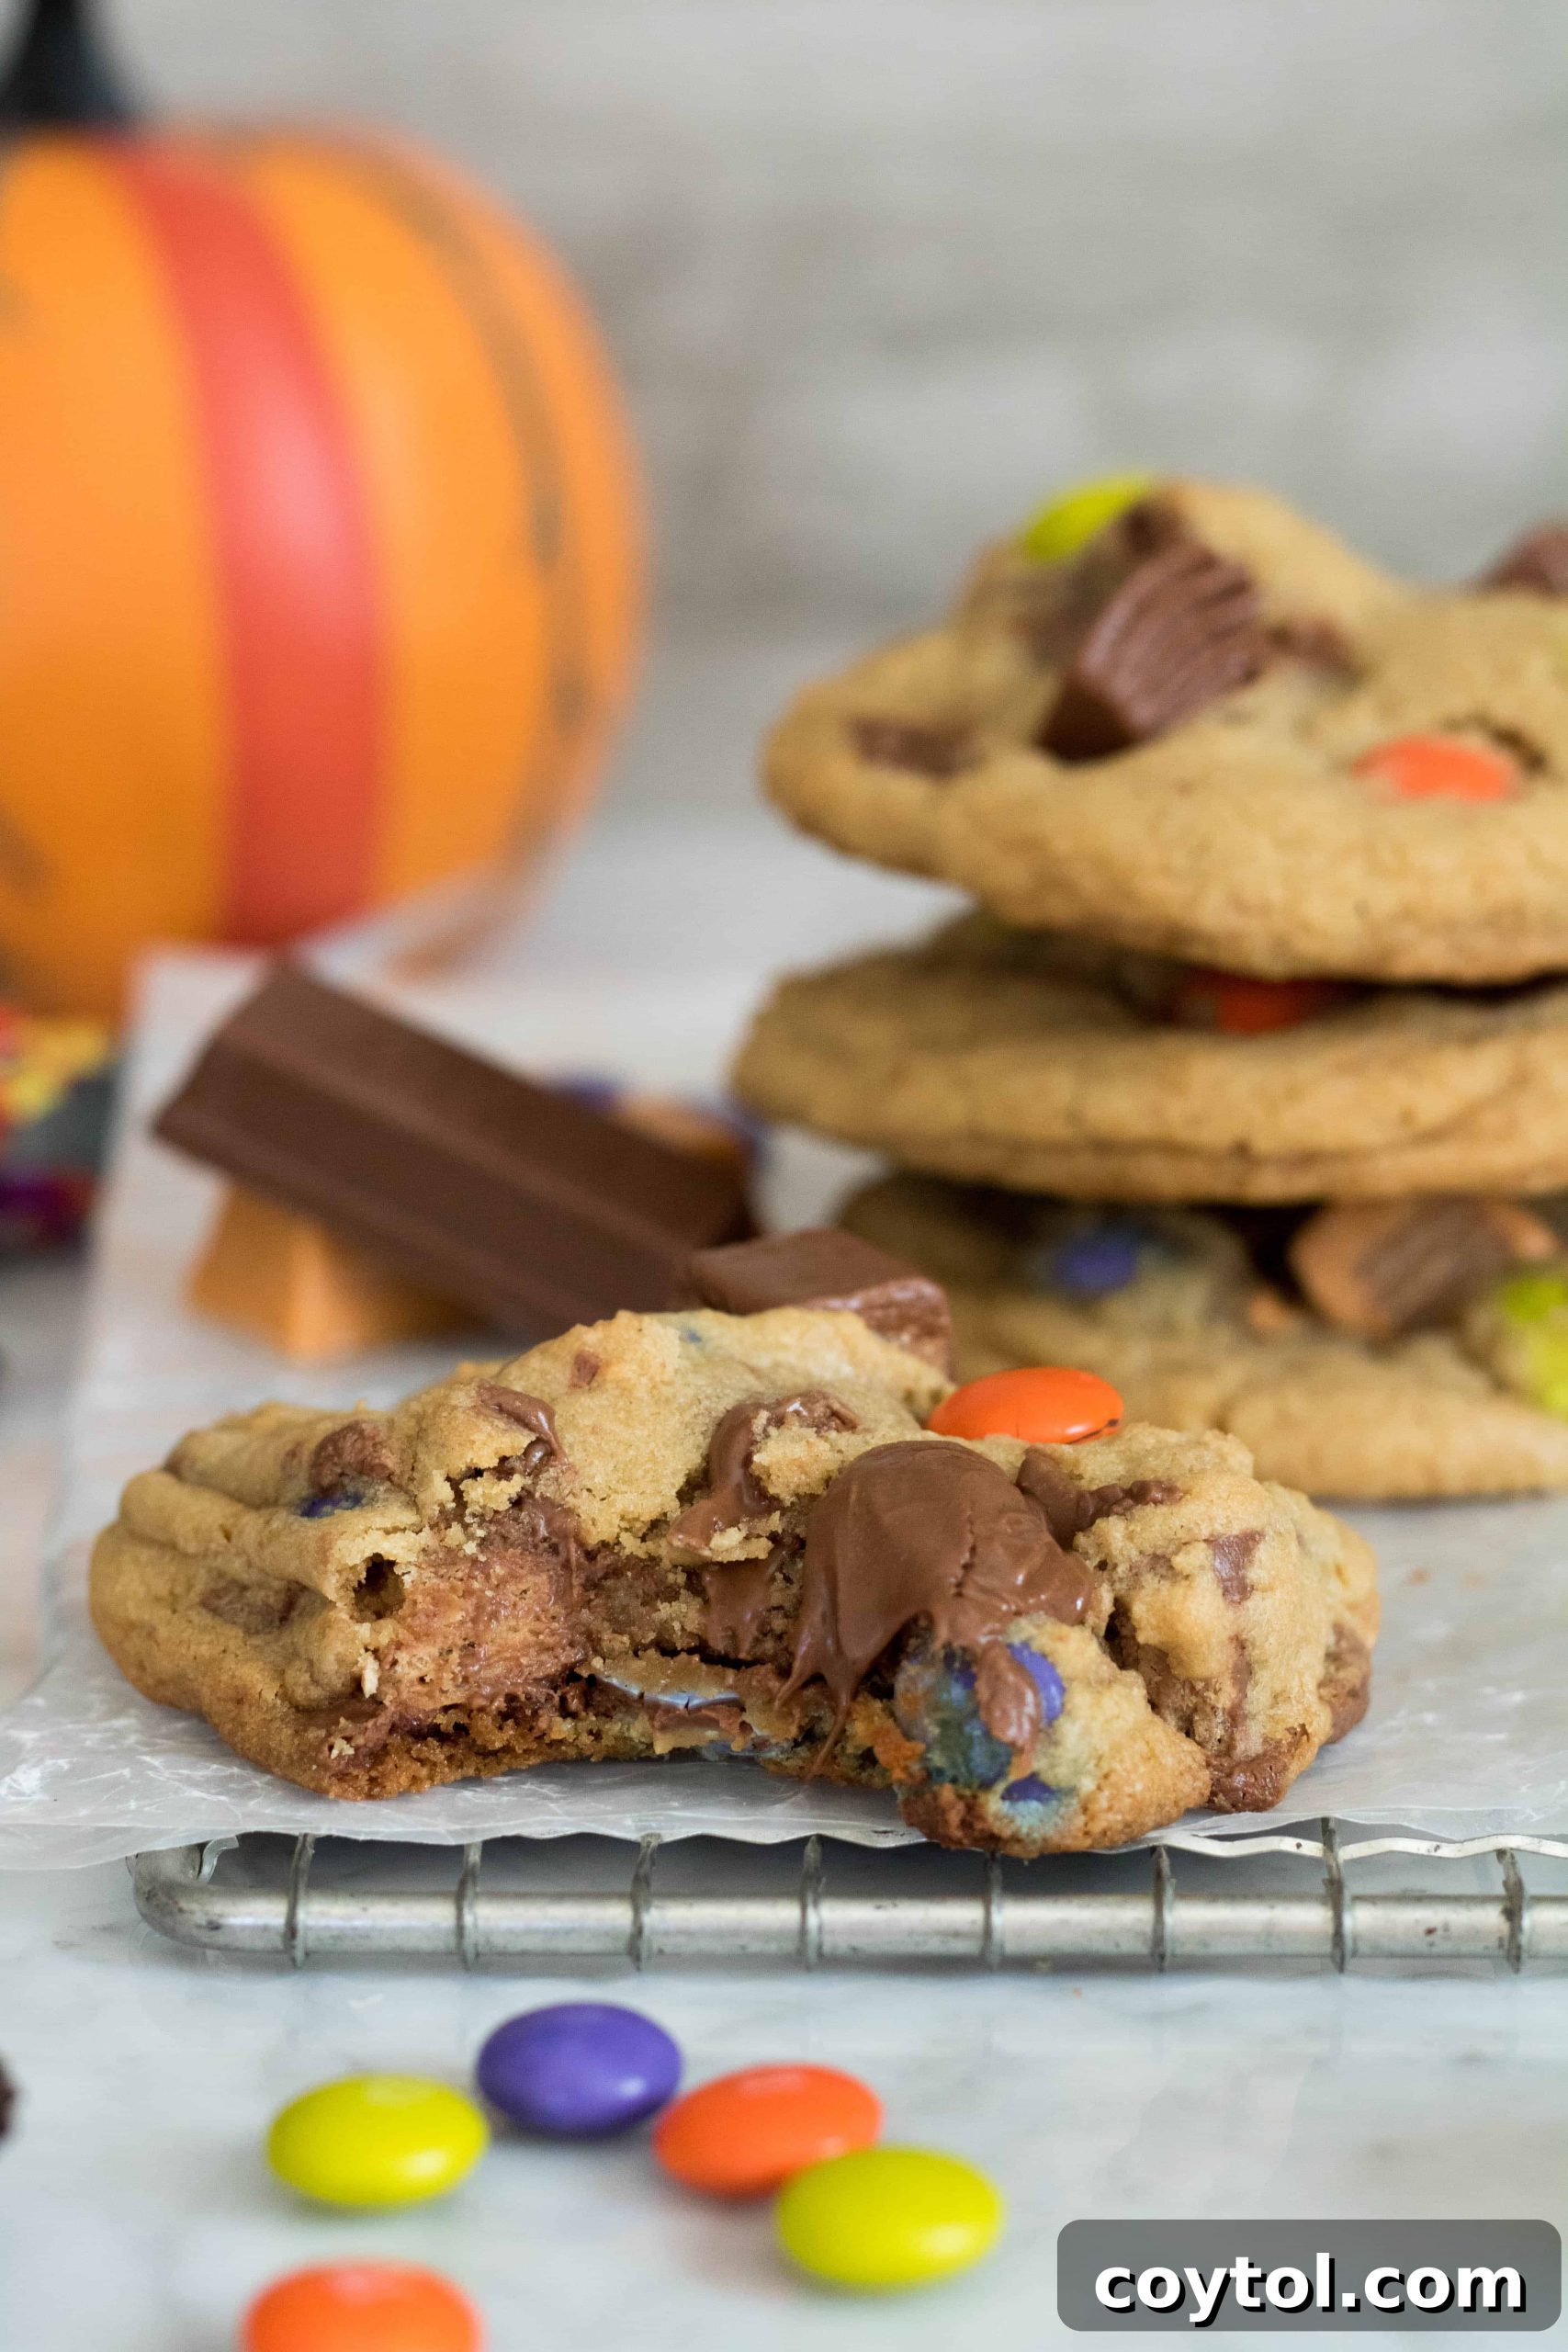
The Halloween season might be over, but the mountain of leftover candy isn’t! If you’re wondering “What to do with leftover Halloween candy?”, you’ve landed on the perfect solution. Transform those sweet treasures into the most incredible, chewy, and utterly delicious Leftover Halloween Candy Cookies with this easy-to-follow recipe. Say goodbye to forgotten candy stashes and hello to a new favorite treat!
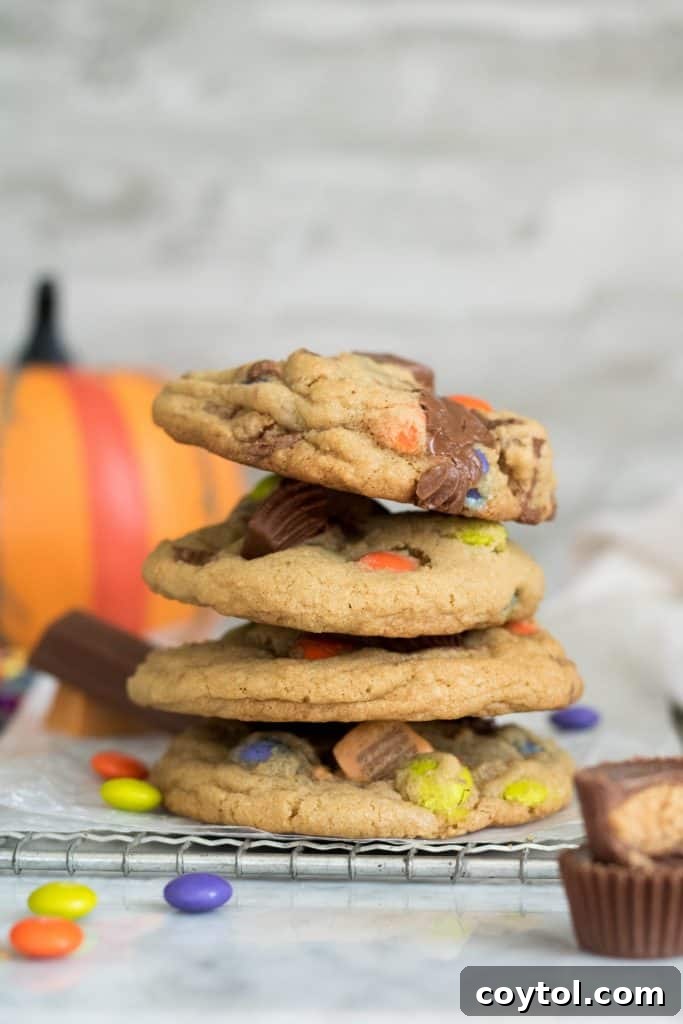
Hello, fellow food enthusiasts! With Halloween behind us, we’re officially on the fast track to the festive season – Thanksgiving, Christmas, and New Year’s Eve are just around the corner. Time truly flies, doesn’t it? Before we dive headfirst into holiday planning and preparations, let’s talk about something sweet and slightly mischievous: that abundance of Halloween candy still lingering in your pantry.
I know the feeling. After the sugar rush of trick-or-treating (or simply indulging in all the seasonal treats), you’re left with bags of chocolates, caramels, and fruity delights. Instead of letting them slowly disappear or go stale, why not give them a glorious second life? This recipe isn’t just about baking cookies; it’s about turning a surplus into something truly special and memorable, perfect for sharing with family and friends (or keeping all to yourself, we won’t tell!).
From Spooky Sweets to Sweet Relief: A Little Story
Speaking of things that are over, I recently had an adventure that surprisingly led me back to comforting candy. Imagine having to get your blood drawn on Halloween! While not exactly a festive activity, in hindsight, there was a certain darkly humorous irony to it. For someone who isn’t fond of needles, it was quite the ordeal. My veins, as if playing their own trick, decided to be particularly elusive, leading to a rather prolonged and uncomfortable experience. Let’s just say, after several attempts and quite a bit of needle-wiggling, I was more than ready for some immediate comfort.
And what better comfort after a slightly traumatic medical visit than a couple of mini KitKat bars from my purse? Yes, even as adults, sometimes we just need that simple, nostalgic sweetness to make things right. It was in that moment, unwrapping those chocolate bars, that the inspiration for this very recipe struck me. Why let all that delicious Halloween candy go to waste when it could be transformed into something even more comforting and delightful? It’s a bit like turning a Halloween fright into a delicious delight! This little personal anecdote highlights perfectly how even small moments of indulgence can spark creativity in the kitchen.
Creative Ways to Re-Purpose Your Leftover Halloween Candy
Beyond being a quick pick-me-up after an unpleasant experience, leftover Halloween candy holds endless possibilities in the kitchen. Don’t let those fun-sized bars and colorful assortments simply sit there. With a little creativity, you can elevate them into exciting new desserts and treats. Here are a few fantastic ideas:
- **Ice Cream Mix-Ins:** Chop up your favorite chocolates and candies and fold them into homemade vanilla ice cream, or simply use them as toppings for store-bought scoops. Think crushed M&M’s, chopped Snickers, or even crumbled Reese’s Peanut Butter Cups for an instant upgrade.
- **Oatmeal & Yogurt Toppings:** A sprinkle of chopped candy can add a fun, unexpected crunch and sweetness to your morning oatmeal or a plain Greek yogurt. It’s a quick and easy way to add a little cheer to your breakfast or snack.
- **Dessert Bars:** Incorporate them into dessert bars. Whether it’s a simple blonde brownie or a rich chocolate fudge bar, candy pieces melt and meld beautifully, creating pockets of gooey goodness.
- **Milkshakes & Smoothies:** Blend some chocolate candies into a milkshake for a decadent treat. Reese’s cups make an amazing peanut butter chocolate shake, while milky way bars can create a caramel dream.
- **Baking Adventures:** This is where the magic truly happens! Candies can be baked into brownies, cookies, cakes, and more. Depending on the candy type, they can add chewiness, crunch, or gooey pockets of flavor.
For softer candies or chocolates, consider topping your favorite fudge brownie recipe with chopped Reese’s Peanut Butter Cups. The combination is irresistible! You could also get truly inventive with a “kitchen sink” style cookie, like these Everything but the Sink Cookies, where you can easily swap in your Halloween candy haul for other add-ins.
Choosing the Best Candies for Your Halloween Candy Cookies
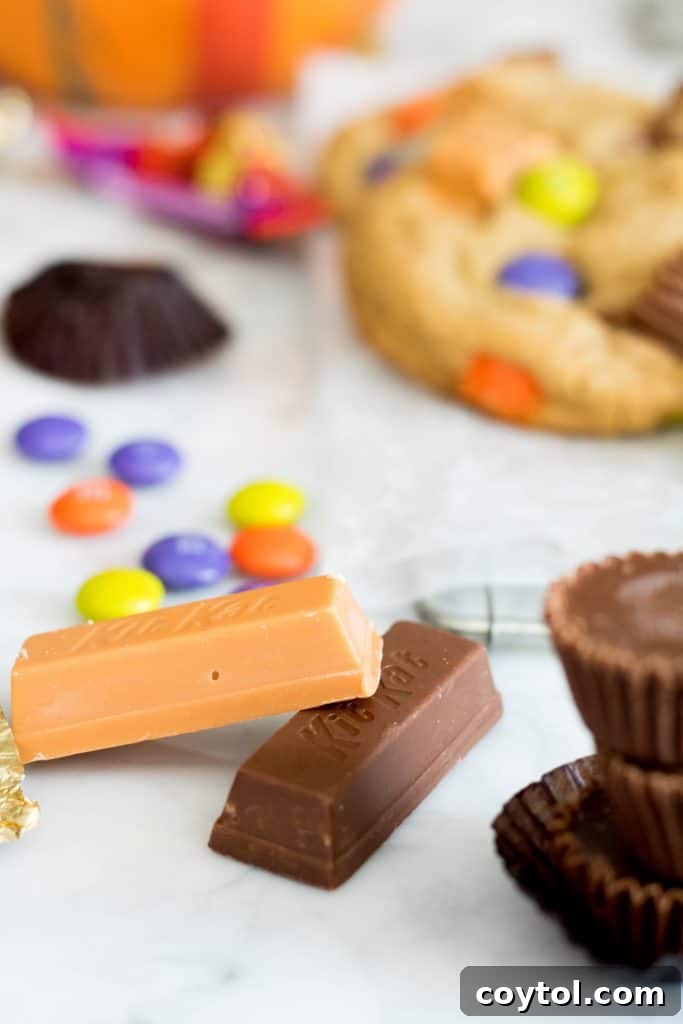
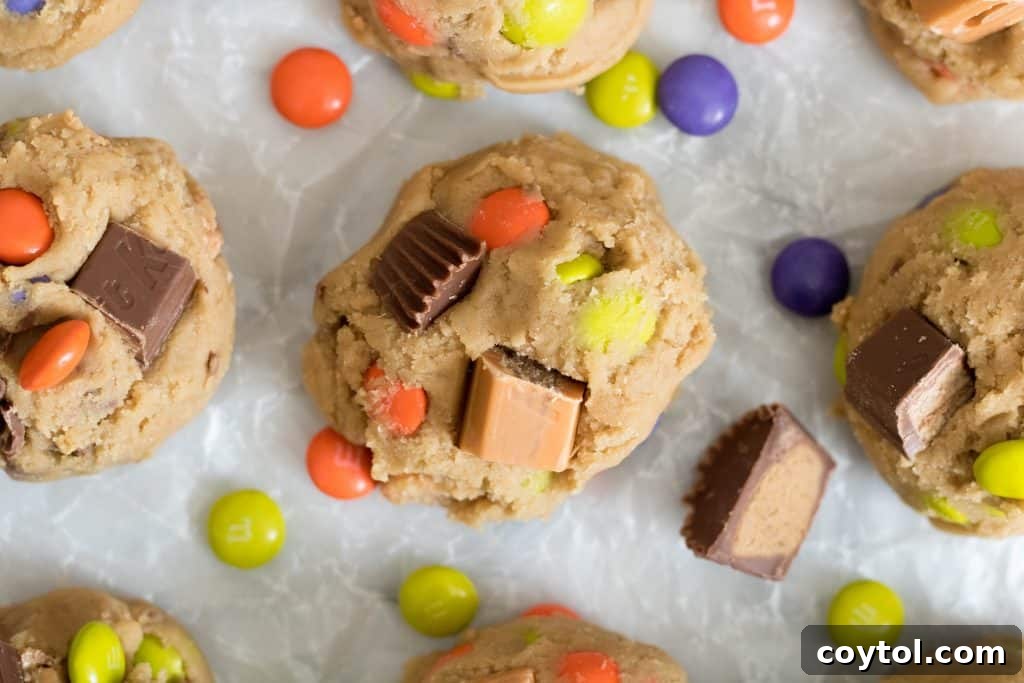
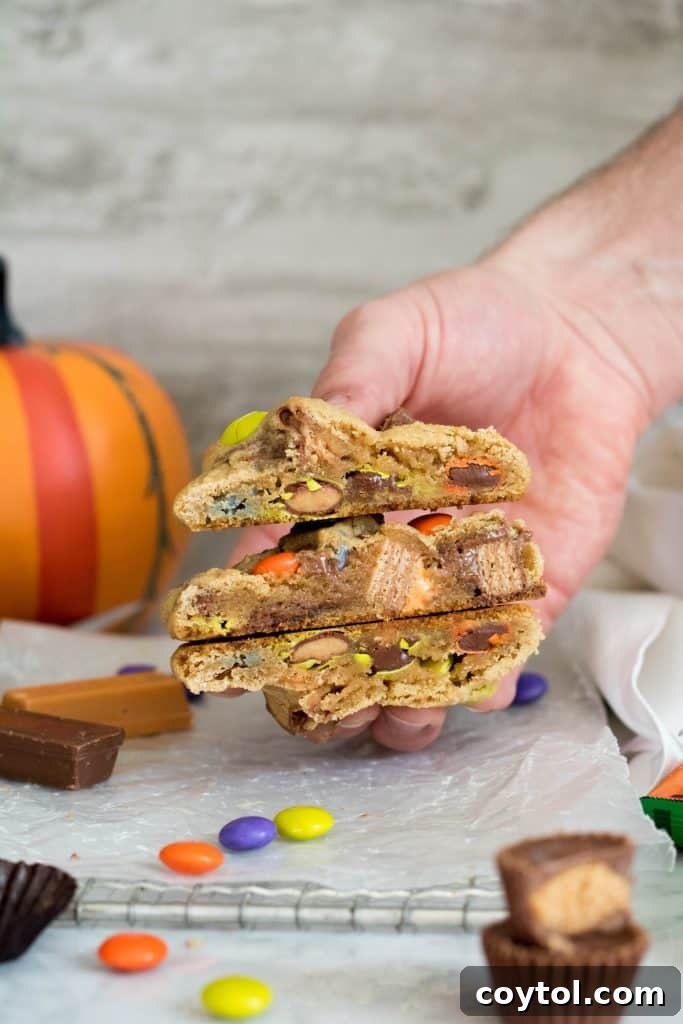
The beauty of these Leftover Halloween Candy Cookies is their flexibility. The primary rule is simple: use **whatever Halloween candy you have on hand!** This recipe is all about utilizing what’s left, not buying more. In my batch, I used a delightful assortment including pumpkin-flavored KitKats, classic milk chocolate KitKats, regular M&M’s, peanut butter M&M’s, and mini Reese’s cups. This variety ensured a dynamic flavor profile and textural interest in every bite.
For best results, especially with chocolate bars like KitKats and Reese’s, I recommend refrigerating them for about an hour before chopping. This firms them up, making it much easier to achieve clean, bite-sized pieces that hold their shape better when mixed into the dough and baked.
However, a word of caution: steer clear of gelatinous candies such as gummy worms, Swedish Fish, or any other gummy-like treats. These candies typically don’t retain their shape during baking; they tend to melt into an unappealing, sticky mess and won’t complement the overall flavor profile of these rich, buttery cookies. Stick to chocolates, caramels, and hard candies that can withstand the heat and contribute to the cookie’s texture and taste.
Balancing Sweetness: Are These Halloween Candy Cookies Too Sweet?
This was the very first question I asked myself when developing this recipe: “Will these cookies be overwhelmingly sweet?” It’s a valid concern when you’re adding already sweet candies to a cookie base. If you know my baking philosophy, you know I believe in perfectly balanced flavors. An unbalanced dessert, no matter how indulgent, just doesn’t hit the mark for me.
That’s why I meticulously tweaked the sugar ratios in the cookie dough itself. By strategically reducing the amount of brown and granulated sugar in the base, and incorporating just the right pinch of salt, I achieved a harmonious balance. The salt enhances the chocolate and caramel notes of the candies, preventing the overall sweetness from becoming cloying. The result is a cookie that celebrates the fun of Halloween candy without assaulting your taste buds. Each bite offers a delightful interplay of textures and flavors, making these the tastiest Leftover Halloween Candy Cookies you’ll ever bake!
Expert Tips for Baking Killer Leftover Halloween Candy Cookies
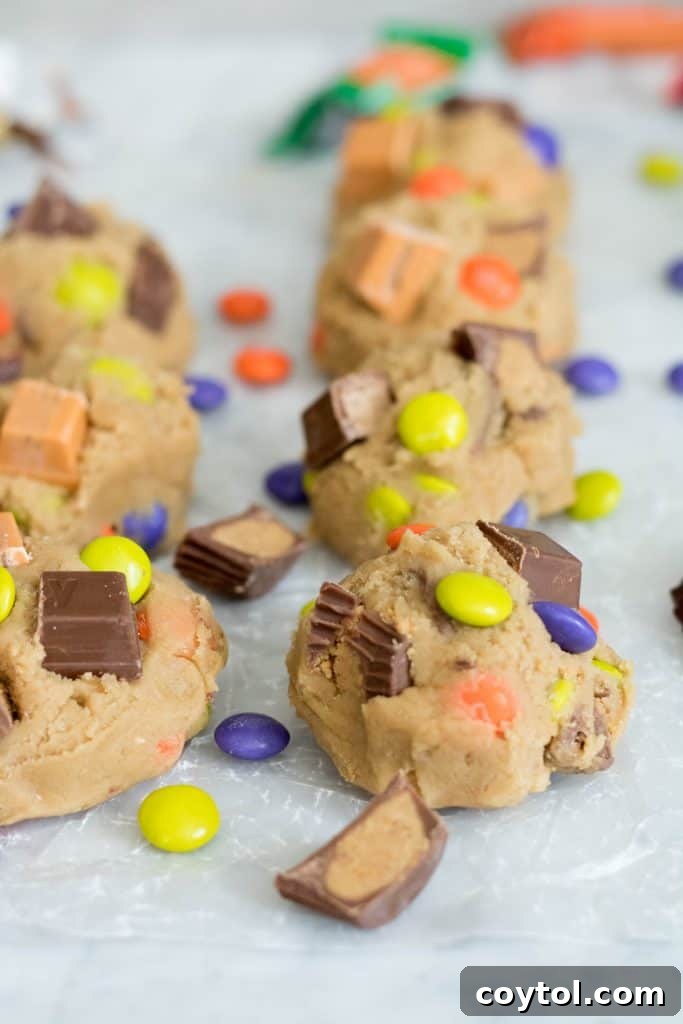
While making cookies isn’t rocket science, a few key tips can elevate your baking from good to absolutely phenomenal. Follow these pointers to ensure your Leftover Halloween Candy Cookies turn out as perfectly gooey, chewy, and flavorful as mine:
- Chill Your Candies: As mentioned, refrigerate your assorted Halloween candies for 30 minutes to an hour before chopping. This firms them up significantly, allowing for cleaner cuts and preventing them from melting too quickly when added to the dough. Sharp, distinct candy pieces make for a much more appealing cookie.
- Avoid Overmixing the Dough: This is a cardinal rule in cookie baking. Once you add the dry ingredients to the wet, mix only until just combined. Overmixing develops too much gluten, which leads to tough, dry cookies – and nobody wants that! A light hand ensures a tender, chewy texture.
- Don’t Skip the Freezer Chill: The 10-15 minute chilling period for the cookie dough balls in the freezer is crucial. This step helps to solidify the butter in the dough, preventing the cookies from spreading excessively in the oven. The result? Beautifully thick, perfectly chewy cookies with a delightful texture.
- Resist Overbaking: For that coveted gooey center, bake these cookies for just 12-14 minutes. They might seem slightly underbaked when you pull them out, but trust the process. The residual heat from the baking sheet will continue to cook them to perfection as they cool, resulting in that ideal soft, chewy texture.
- Allow for Adequate Cooling: Patience is a virtue, especially with warm cookies! Moving them too soon after they come out of the oven can cause them to break apart. Let them cool on the baking sheet for at least 5-10 minutes to allow them to set and firm up before transferring them to a wire rack to cool completely.
- Embrace Variety: The essence of “Leftover Halloween Candy Cookies” is using a diverse array of candies. Don’t limit yourself to just one type! The mix of different chocolates, caramels, and sweet fillings creates an exciting flavor adventure with every bite, making each cookie unique and fun.
Storing Your Delicious Halloween Candy Cookies
Once your Leftover Halloween Candy Cookies have cooled completely, store them in an airtight container at room temperature. They will remain wonderfully fresh and delicious for up to 5 days. Personally, I find these cookies reach their peak flavor a few hours after baking, or even the next day, as the flavors from all the different candies have more time to meld and deepen within the cookie base.
Ingredients You’ll Need for This Irresistible Cookie Recipe
Crafting these extraordinary cookies begins with classic pantry staples, forming a robust and flavorful base. You’ll need the foundational elements of any great cookie: butter, a blend of brown and granulated sugars for moisture and crispness, a room-temperature egg for binding, and pure vanilla extract for warmth. To achieve that perfect texture, we’ll use all-purpose flour, cornstarch for chewiness and softness, baking soda for lift, and a touch of salt to balance the sweetness. The star, of course, is a generous 1.5 cups of your mixed, chopped leftover Halloween candies.
My particular candy lineup for this recipe included:
- Milk Chocolate KitKats: Providing classic chocolate and a satisfying crunch.
- Pumpkin Flavored KitKats: A surprisingly delightful addition, these added a subtle hint of pumpkin pie spice, enhancing the autumnal feel of the cookies.
- Regular M&M’s: For bursts of classic chocolate flavor and vibrant color.
- Peanut Butter Filled M&M’s: A fantastic variation that brought an extra layer of nutty, salty-sweet goodness, distinguishing them from the regular M&M’s.
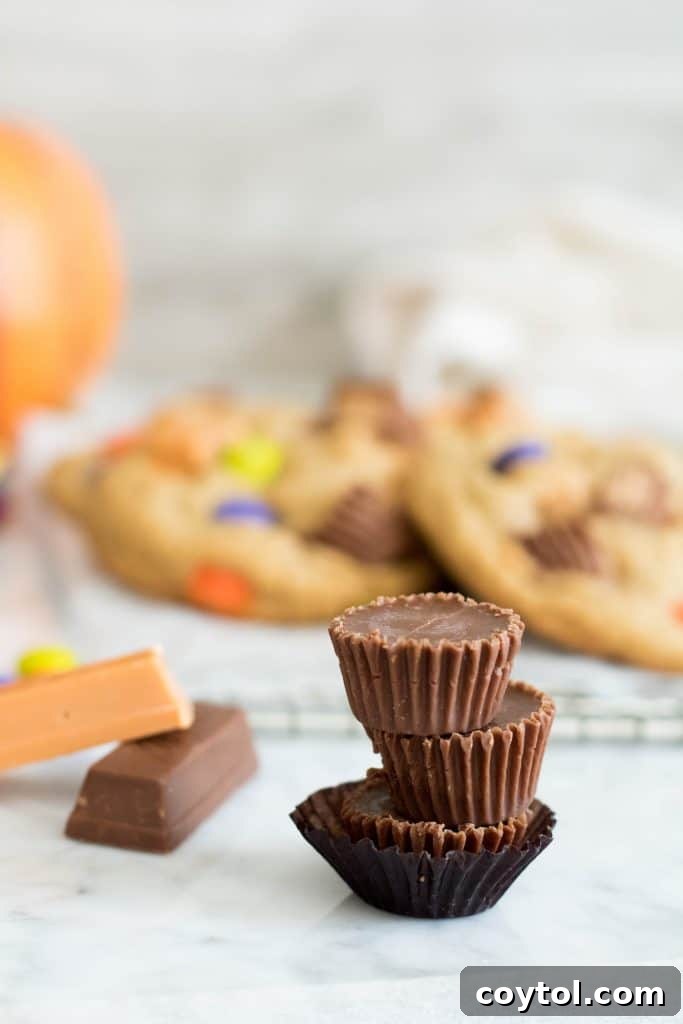
- Mini Reese’s Cups: Offering rich peanut butter and chocolate harmony, a perennial favorite.
Remember, the goal is to use what you have! Just ensure you chill any chocolate bars or larger candies before chopping them to get those nice, defined pieces that integrate beautifully into the cookie dough.
IF YOU WHIP UP SOMETHING AMAZING FROM LIFESTYLEOFAFOODIE, I’D LOVE TO SEE YOUR CULINARY CREATIONS AND HEAR ALL ABOUT HOW THEY TURNED OUT! SO, DON’T FORGET TO SHARE YOUR EXPERIENCE BY LEAVING A COMMENT BELOW AND FOLLOWING ALONG WITH ME ON INSTAGRAM, PINTEREST, AND FACEBOOK.
Leftover Halloween Candy Cookies Recipe

Leftover Halloween Candy Cookies
10 minutes
15 minutes
30 minutes
10
large cookies
Equipment
Ingredients
-
1
stick
butter -
1/2
cup
brown sugar -
3
tbsp
white granulated sugar -
1
egg
room temperature -
2
tsp
vanilla extract
-
1
tbsp
water
room temperature -
1 1/2
cup
flour -
2
tsp
corn starch -
1
tsp
baking soda -
1/2
tsp
salt -
1 1/2
cup
leftover halloween candy
chopped
Instructions
-
First, begin by preheating your oven to 350°F (175°C). Line a baking sheet with parchment paper, which will prevent sticking and ensure even baking, then set it aside.
-
In a medium-sized bowl, combine the flour, cornstarch, baking soda, and salt. Whisk these dry ingredients thoroughly until they are well incorporated. This ensures even distribution of leavening agents and seasoning throughout your cookies. Set this mixture aside.
-
In the bowl of a stand mixer fitted with a paddle attachment (or using a hand mixer), cream together the softened butter with both the brown sugar and granulated white sugar. Beat on medium-high speed until the mixture becomes light, fluffy, and pale in color. This process incorporates air, contributing to the cookies’ tender texture.
-
Add the room-temperature egg, water, and vanilla extract to the creamed butter and sugar mixture. Mix just until these wet ingredients are combined, typically for about 30 seconds to 1 minute. Be careful not to overmix at this stage.
-
Gradually add the prepared dry ingredients to the butter mixture. Beat on medium-low speed only until just combined. The key is not to overmix the cookie dough to avoid tough cookies. At this point, gently fold in the one and a half cups of your chopped leftover Halloween candy until evenly distributed.
-
Using an ice cream scooper (or your hands), shape the dough into 10 equally sized balls. Place these cookie dough balls onto your parchment-lined baking sheet, ensuring enough space between them for spreading. Chill the baking sheet with the cookie dough in the fridge for 10-15 minutes. This crucial step helps prevent the cookies from spreading too much and ensures they bake up thick and chewy.
-
Bake the cookies for 12-14 minutes, or until the edges appear set and slightly golden. The center of the cookies might still look a bit soft or undercooked, but do not worry. They will continue to cook and set as they cool after being removed from the oven, guaranteeing a perfectly gooey center.
-
Once baked, let the cookies cool on the baking sheet for 5-10 minutes. This allows them to firm up and prevents them from breaking apart when you move them. After this initial cooling, carefully transfer them to a wire rack to finish cooling completely. Enjoy your homemade, delightful Halloween Candy Cookies!
Notes
Nutrition information is automatically calculated, so should only be used as an approximation.
Love this recipe? Leave a comment below!
Looking for More Leftover Halloween Candy Recipes?
If you find yourself with an exceptionally large haul of Halloween candy, or simply want to explore more creative ways to use it up, you can always double this fantastic cookie recipe. But if you’re eager to try other unique ideas, here are some equally delightful Halloween candy recipes:
- Butternut Bakery’s Leftover Halloween Candy Cookie Bars: These decadent bars are a perfect way to use a wide variety of candy, creating layers of flavor and texture that are truly “to die for”!
- Everything But The Sink Cookies: A truly customizable recipe that encourages you to throw in all your favorite leftover treats, not just Halloween candy. It’s an adventure in every bite!
- Bakery Style Brownies: Imagine rich, fudgy brownies studded with chunks of your favorite chocolate candies. This recipe provides the perfect base for your candy mix-ins.
And remember, baking isn’t the only option! Sometimes, giving back can be just as sweet. Many people choose to donate a portion of their leftover candy, which is a fantastic idea, especially when it supports a good cause.
Where to Donate Your Leftover Halloween Candy
Donating your excess Halloween candy is a thoughtful way to give back to the community and avoid overwhelming yourself with sweets. As USA Today suggests, there are several worthy organizations that gratefully accept candy donations. Here are a couple of excellent options:
- Dentist Offices & Military Support Programs: Many local dentist offices participate in programs like Operation Gratitude or the Halloween Candy Buy Back program. These initiatives often collect candy to send to troops overseas, first responders, or offer incentives for children to exchange candy for healthier alternatives. It’s a win-win for everyone!
- Ronald McDonald House Charities: This incredible organization provides a home away from home for families of children undergoing medical treatment. Donating your leftover candy to a local Ronald McDonald House can bring a much-needed sweet treat and a moment of joy to these families during difficult times.
Always check with your local organizations or dentist offices in advance to confirm their current donation guidelines and needs.
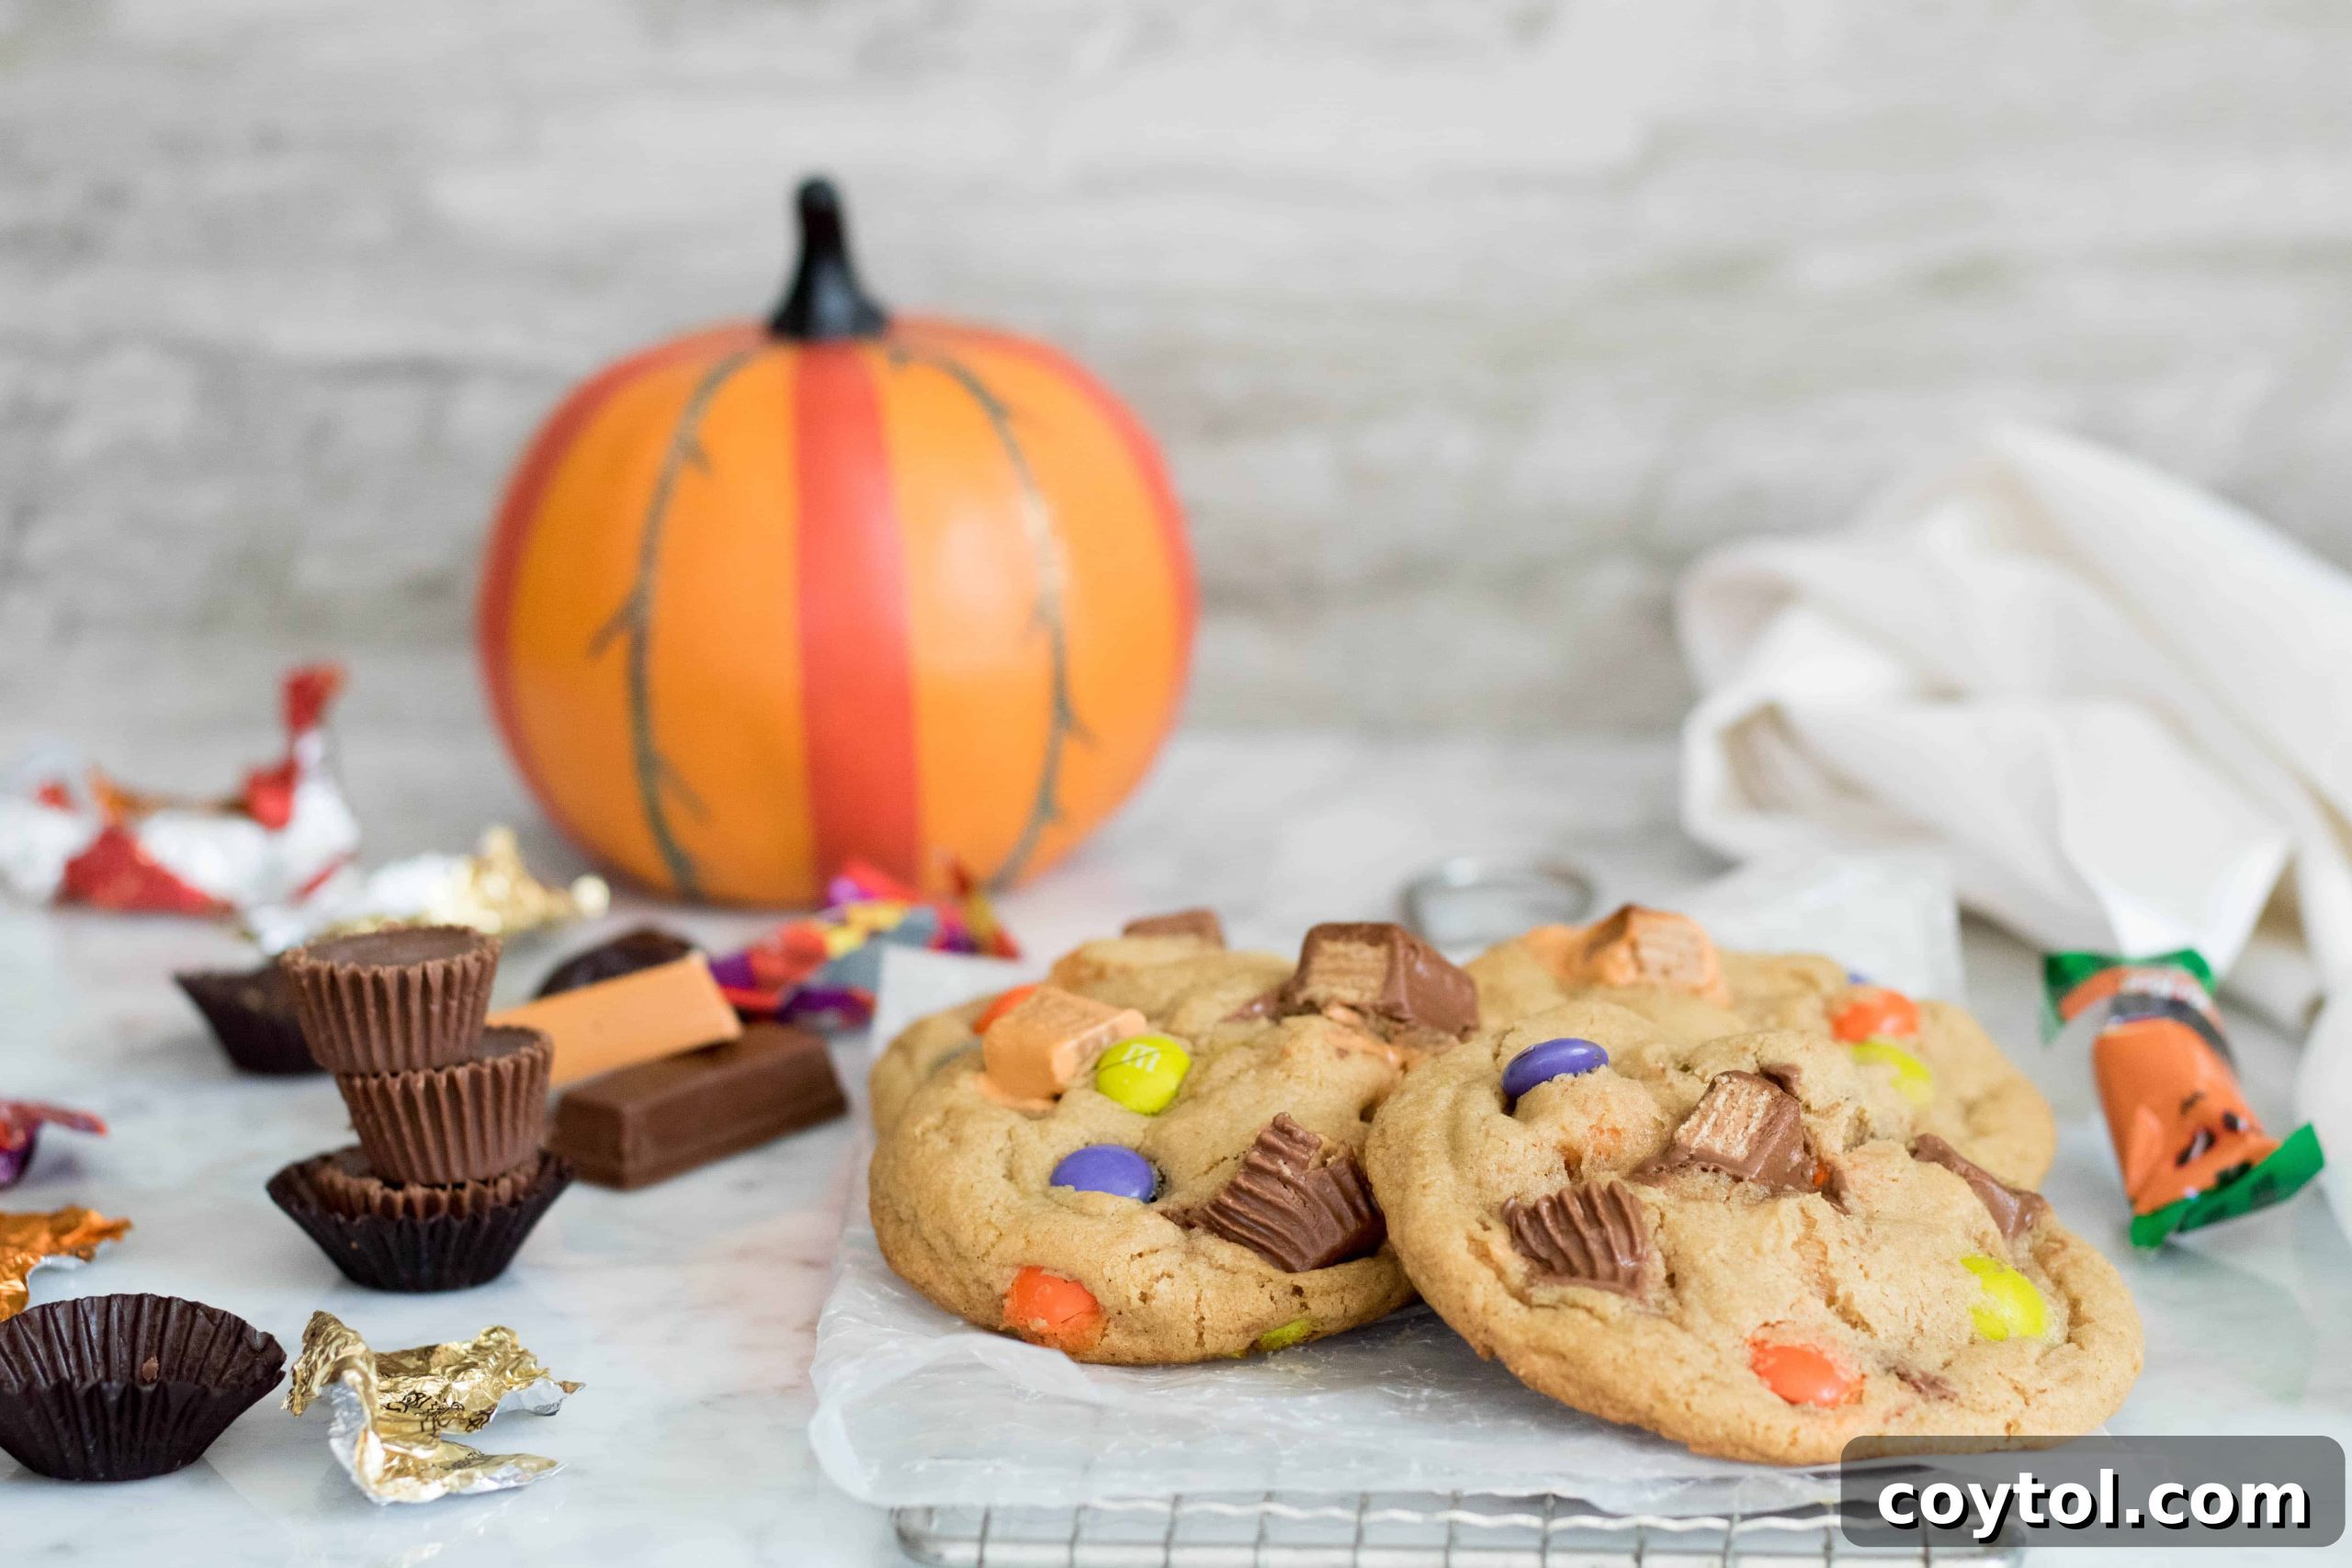
So, the next time you find yourself with an abundance of Halloween candy and a bit lost on what to do, remember this fantastic recipe. It’s been carefully developed and tested to provide the ultimate balance of flavor and texture. Because Halloween candy is inherently sweet, the cookie base has been designed to be perfectly less sweet, ensuring each bite of these Leftover Halloween Candy Cookies is a harmonious symphony of flavors, not just a sugar overload. They are truly the perfect indulgence, turning post-Halloween blues into a sweet celebration!
Shop This Recipe!
THIS ARTICLE MAY CONTAIN SOME AFFILIATE LINKS, MEANING, AT NO ADDITIONAL COST TO YOU, I WILL EARN A COMMISSION IF YOU CLICK THROUGH AND MAKE A PURCHASE.