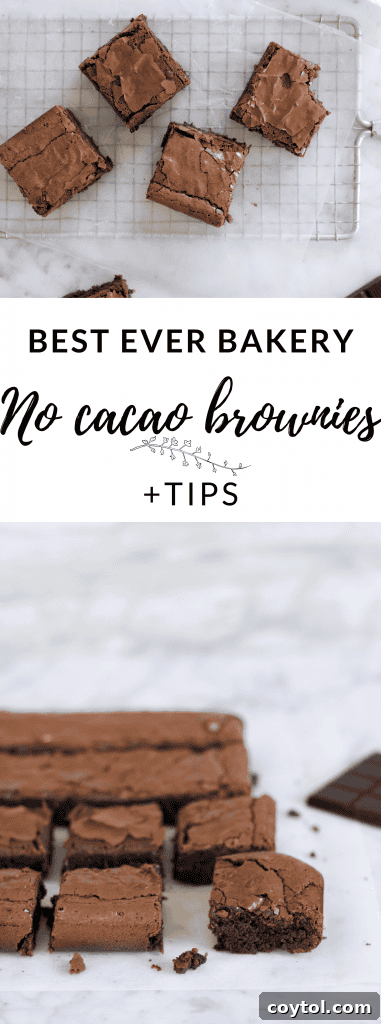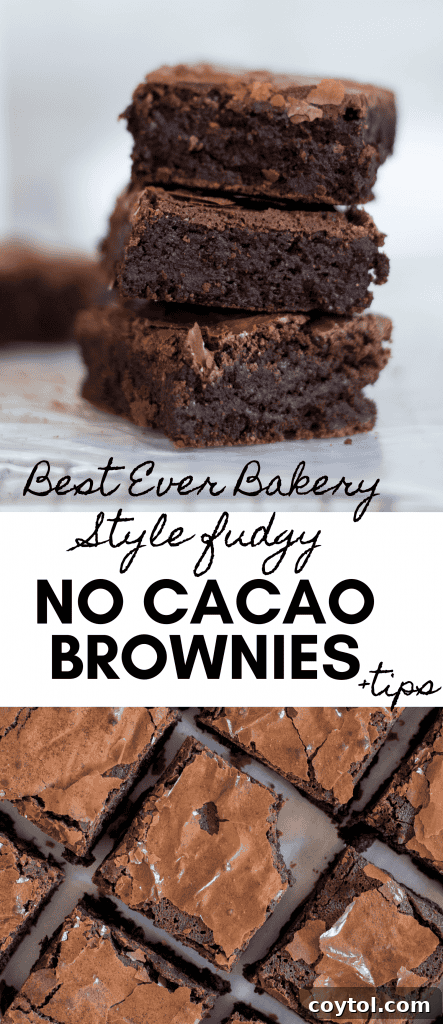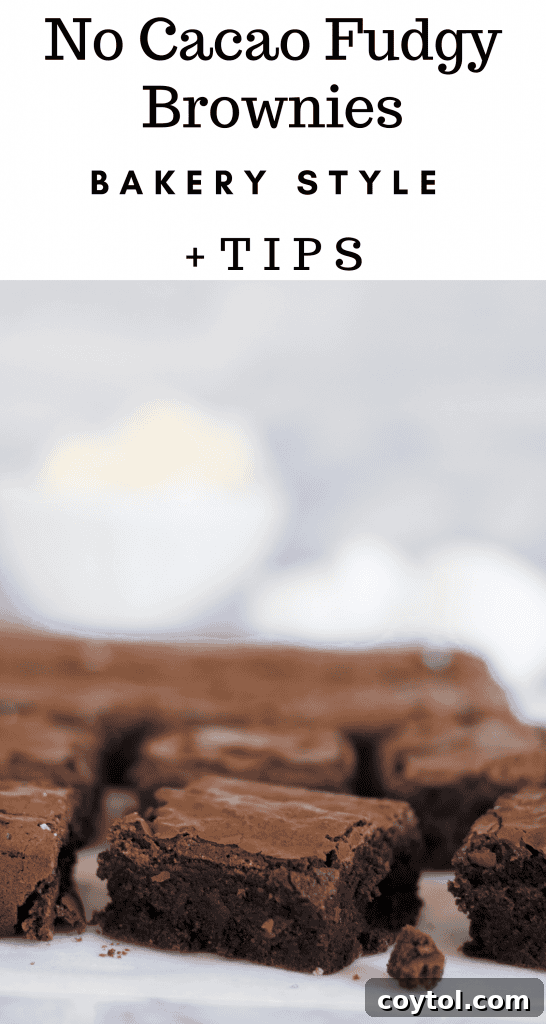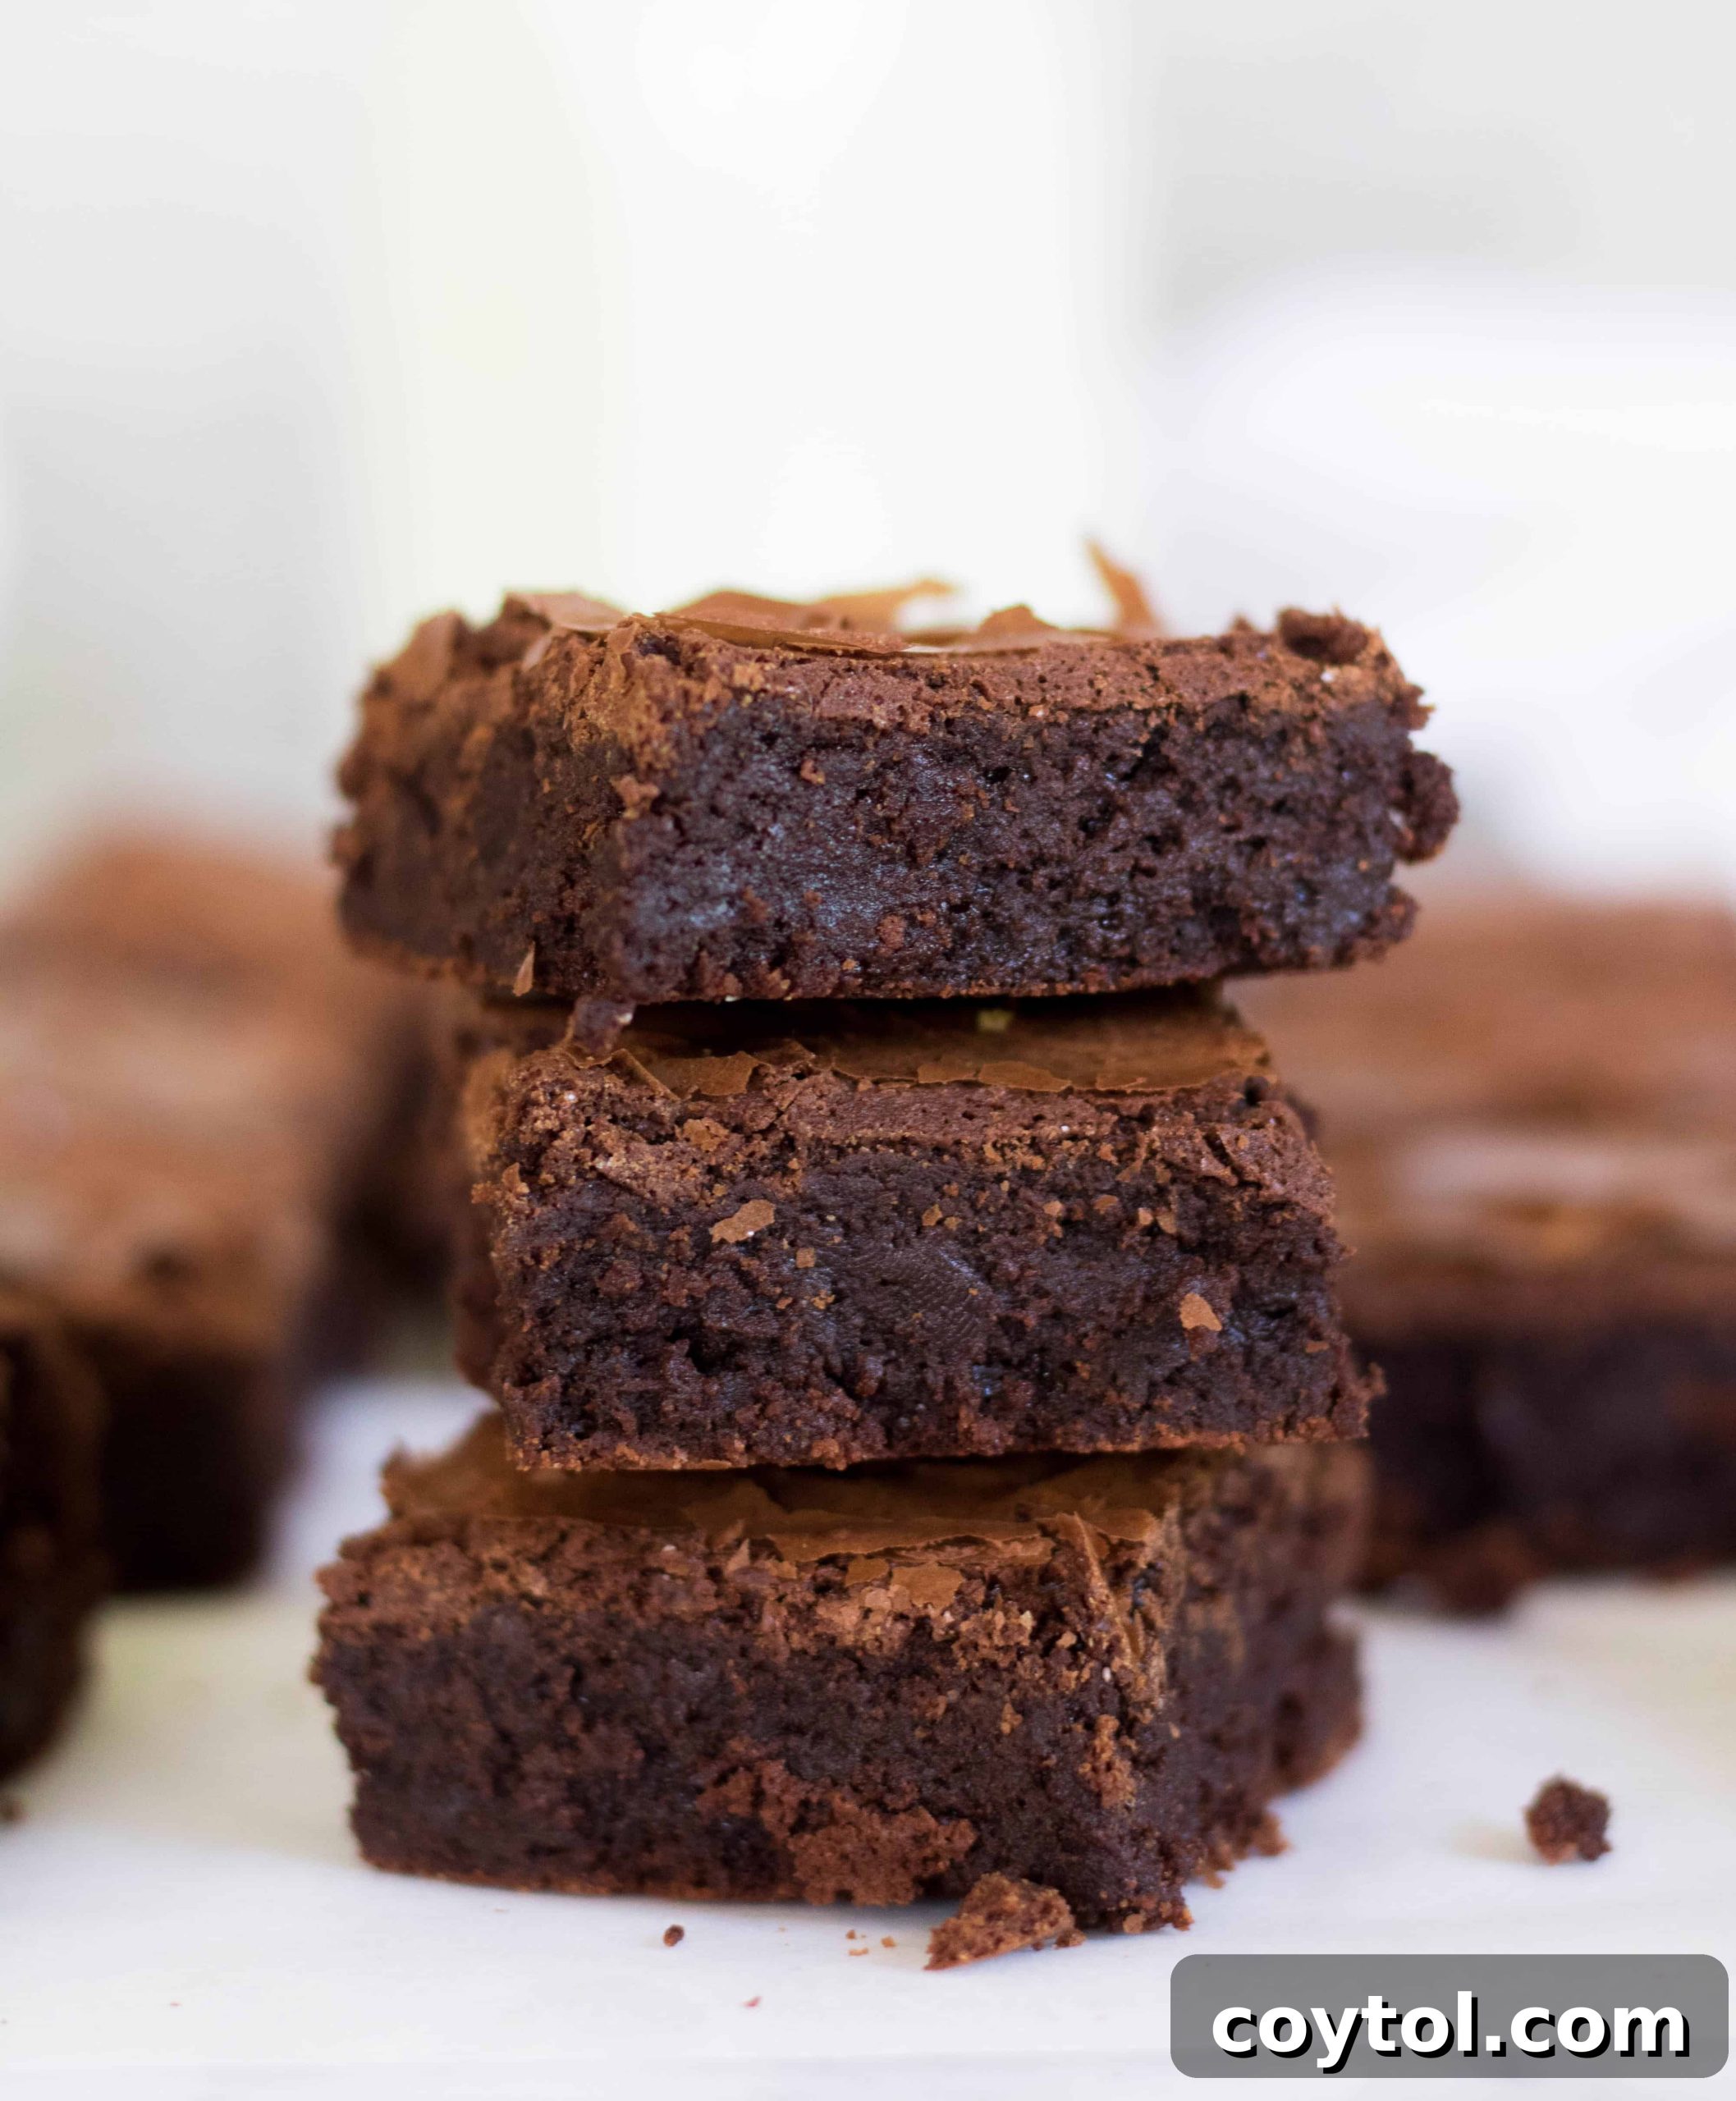
Have you ever marveled at how bakeries achieve those intensely rich, fudgy brownies without a single speck of cocoa powder? The secret to their irresistibly chewy texture and deep, dark chocolate flavor is simpler than you think. Today, we’re unlocking those very bakery secrets, guiding you through every step to create the most incredible dark chocolate brownies right in your own kitchen – no cocoa powder required! Prepare to transform your baking with this ultimate recipe.
Originally shared in 2019 and updated on October 21, 2020 for enhanced tips and details.
For a quick visual guide and behind-the-scenes look, you can find a highlight reel of this recipe on my Instagram profile. Make sure to check it out!
Join Our Community & Unlock Exclusive Baking Resources!
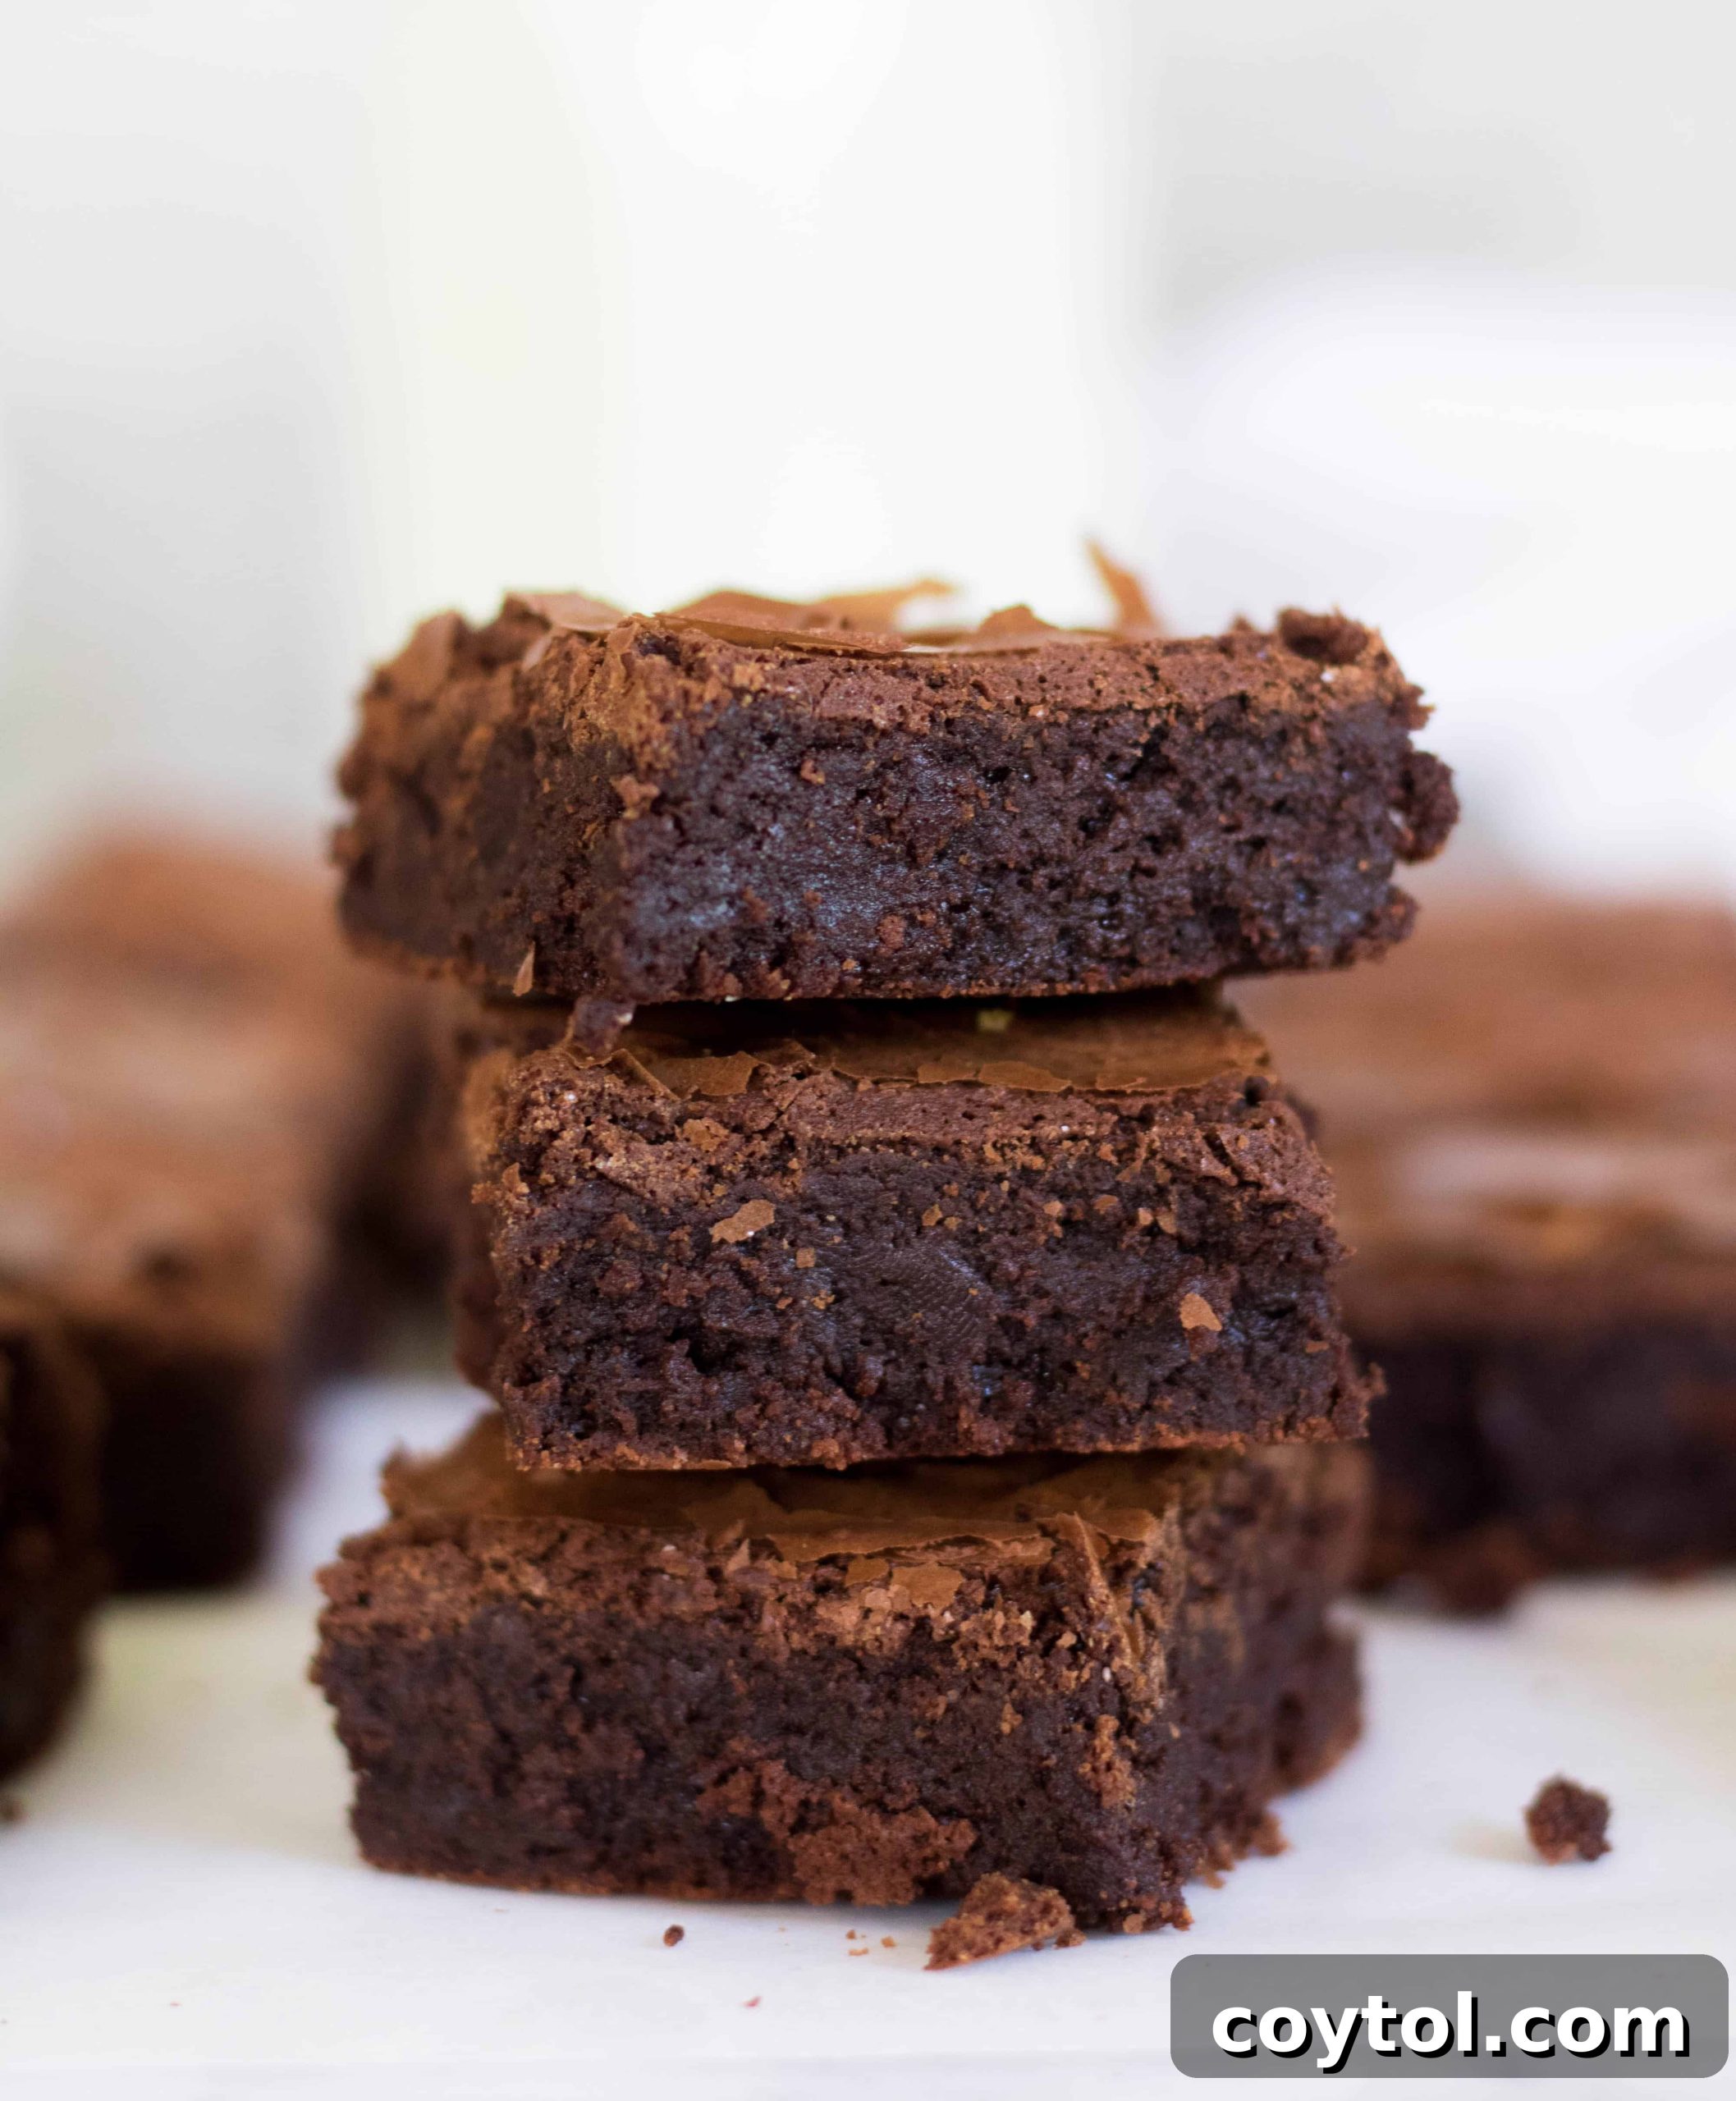
You’ve landed on the perfect page if your quest is for homemade brownies from scratch that can be whipped up in under an hour! While patience is key to achieving those perfectly square, clean slices (allowing them to cool completely), there’s absolutely no judgment if you decide to dive in with a spoon while they’re still warm. Consider it our little secret!
I must confess, I deliberately delayed posting this sensational no cocoa powder brownie recipe. Why? Because I knew the moment it hit my counter, the entire tray would be at risk! These brownies are so unbelievably good that they practically call your name from their airtight container. Seriously, send help… or maybe just another batch.
Unveiling the Best No Cocoa Powder Brownie Recipe You’ll Ever Make!
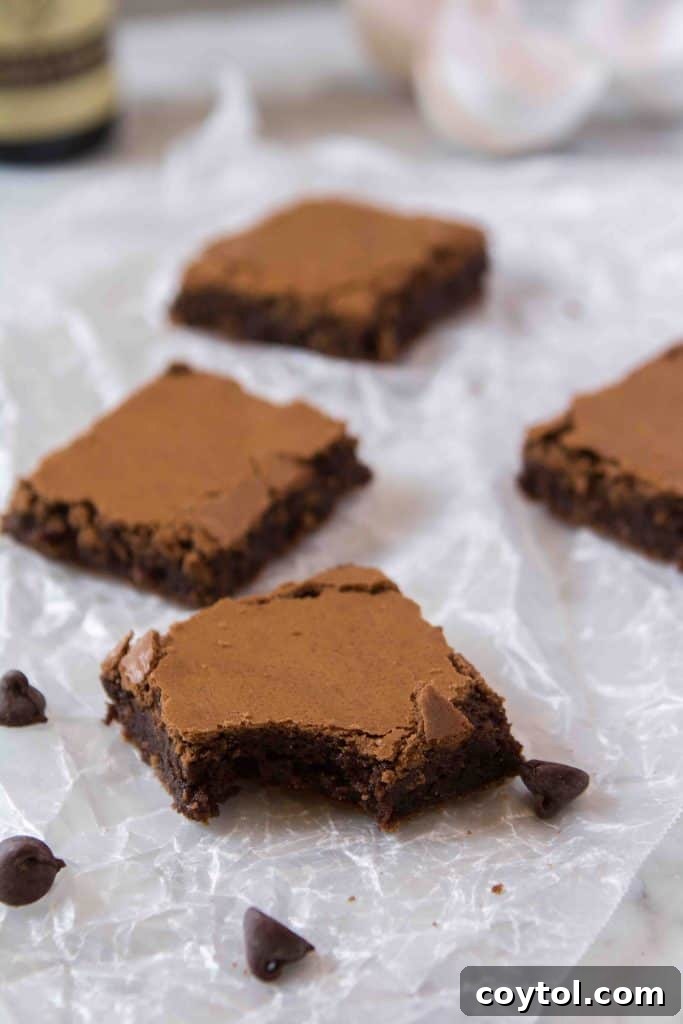
These super fudgy brownies have become a weekly staple in my home, cherished by family and friends alike. People consistently request this recipe more than any other I’ve ever shared, and for good reason—it’s truly that exceptional. Forget everything you thought you knew about brownie baking; this recipe sets a new standard for decadent, chewy, and intensely chocolatey goodness.
Last year, during my internship at a renowned French pastry shop in Las Vegas, I uncovered a treasure trove of baking knowledge. Today, I’m thrilled to impart those professional insights to you. Keep reading to discover all the essential details on how to bake these incredible brownies at home, impressing everyone with your newfound mastery of chocolate desserts!
What Makes These No Cocoa Powder Brownies So Uniquely Irresistible?
When I first shared this recipe, it quickly soared to viral status across various platforms, garnering an outpouring of enthusiastic feedback. Home bakers consistently reported astonishing results, highlighting several key features that set these brownies apart:
- Unrivaled Richness and Decadence: Each bite delivers a profound, luxurious chocolate experience.
- Perfectly Soft and Chewy Texture: They strike that ideal balance between a tender chew and a melt-in-your-mouth fudginess.
- Elevated Dessert Potential: A warm brownie topped with a scoop of premium vanilla bean ice cream transforms into an elegant, show-stopping dessert.
- Pure Melted Chocolate Magic: By exclusively using high-quality melted chocolate instead of cocoa powder, these brownies achieve a depth of flavor and texture that is simply unmatched.
- Aromas of a European Patisserie: Your home will be filled with the intoxicating scent of a bustling bakery in under 30 minutes, inviting everyone to gather around.
So, if you’re still contemplating whether this internet-famous brownie recipe is your next baking adventure, let me emphatically reiterate: These are undeniably the world’s best fudgy brownies made without cocoa powder, making them absolutely perfect for you! What are you waiting for? Your ultimate chocolate indulgence awaits.
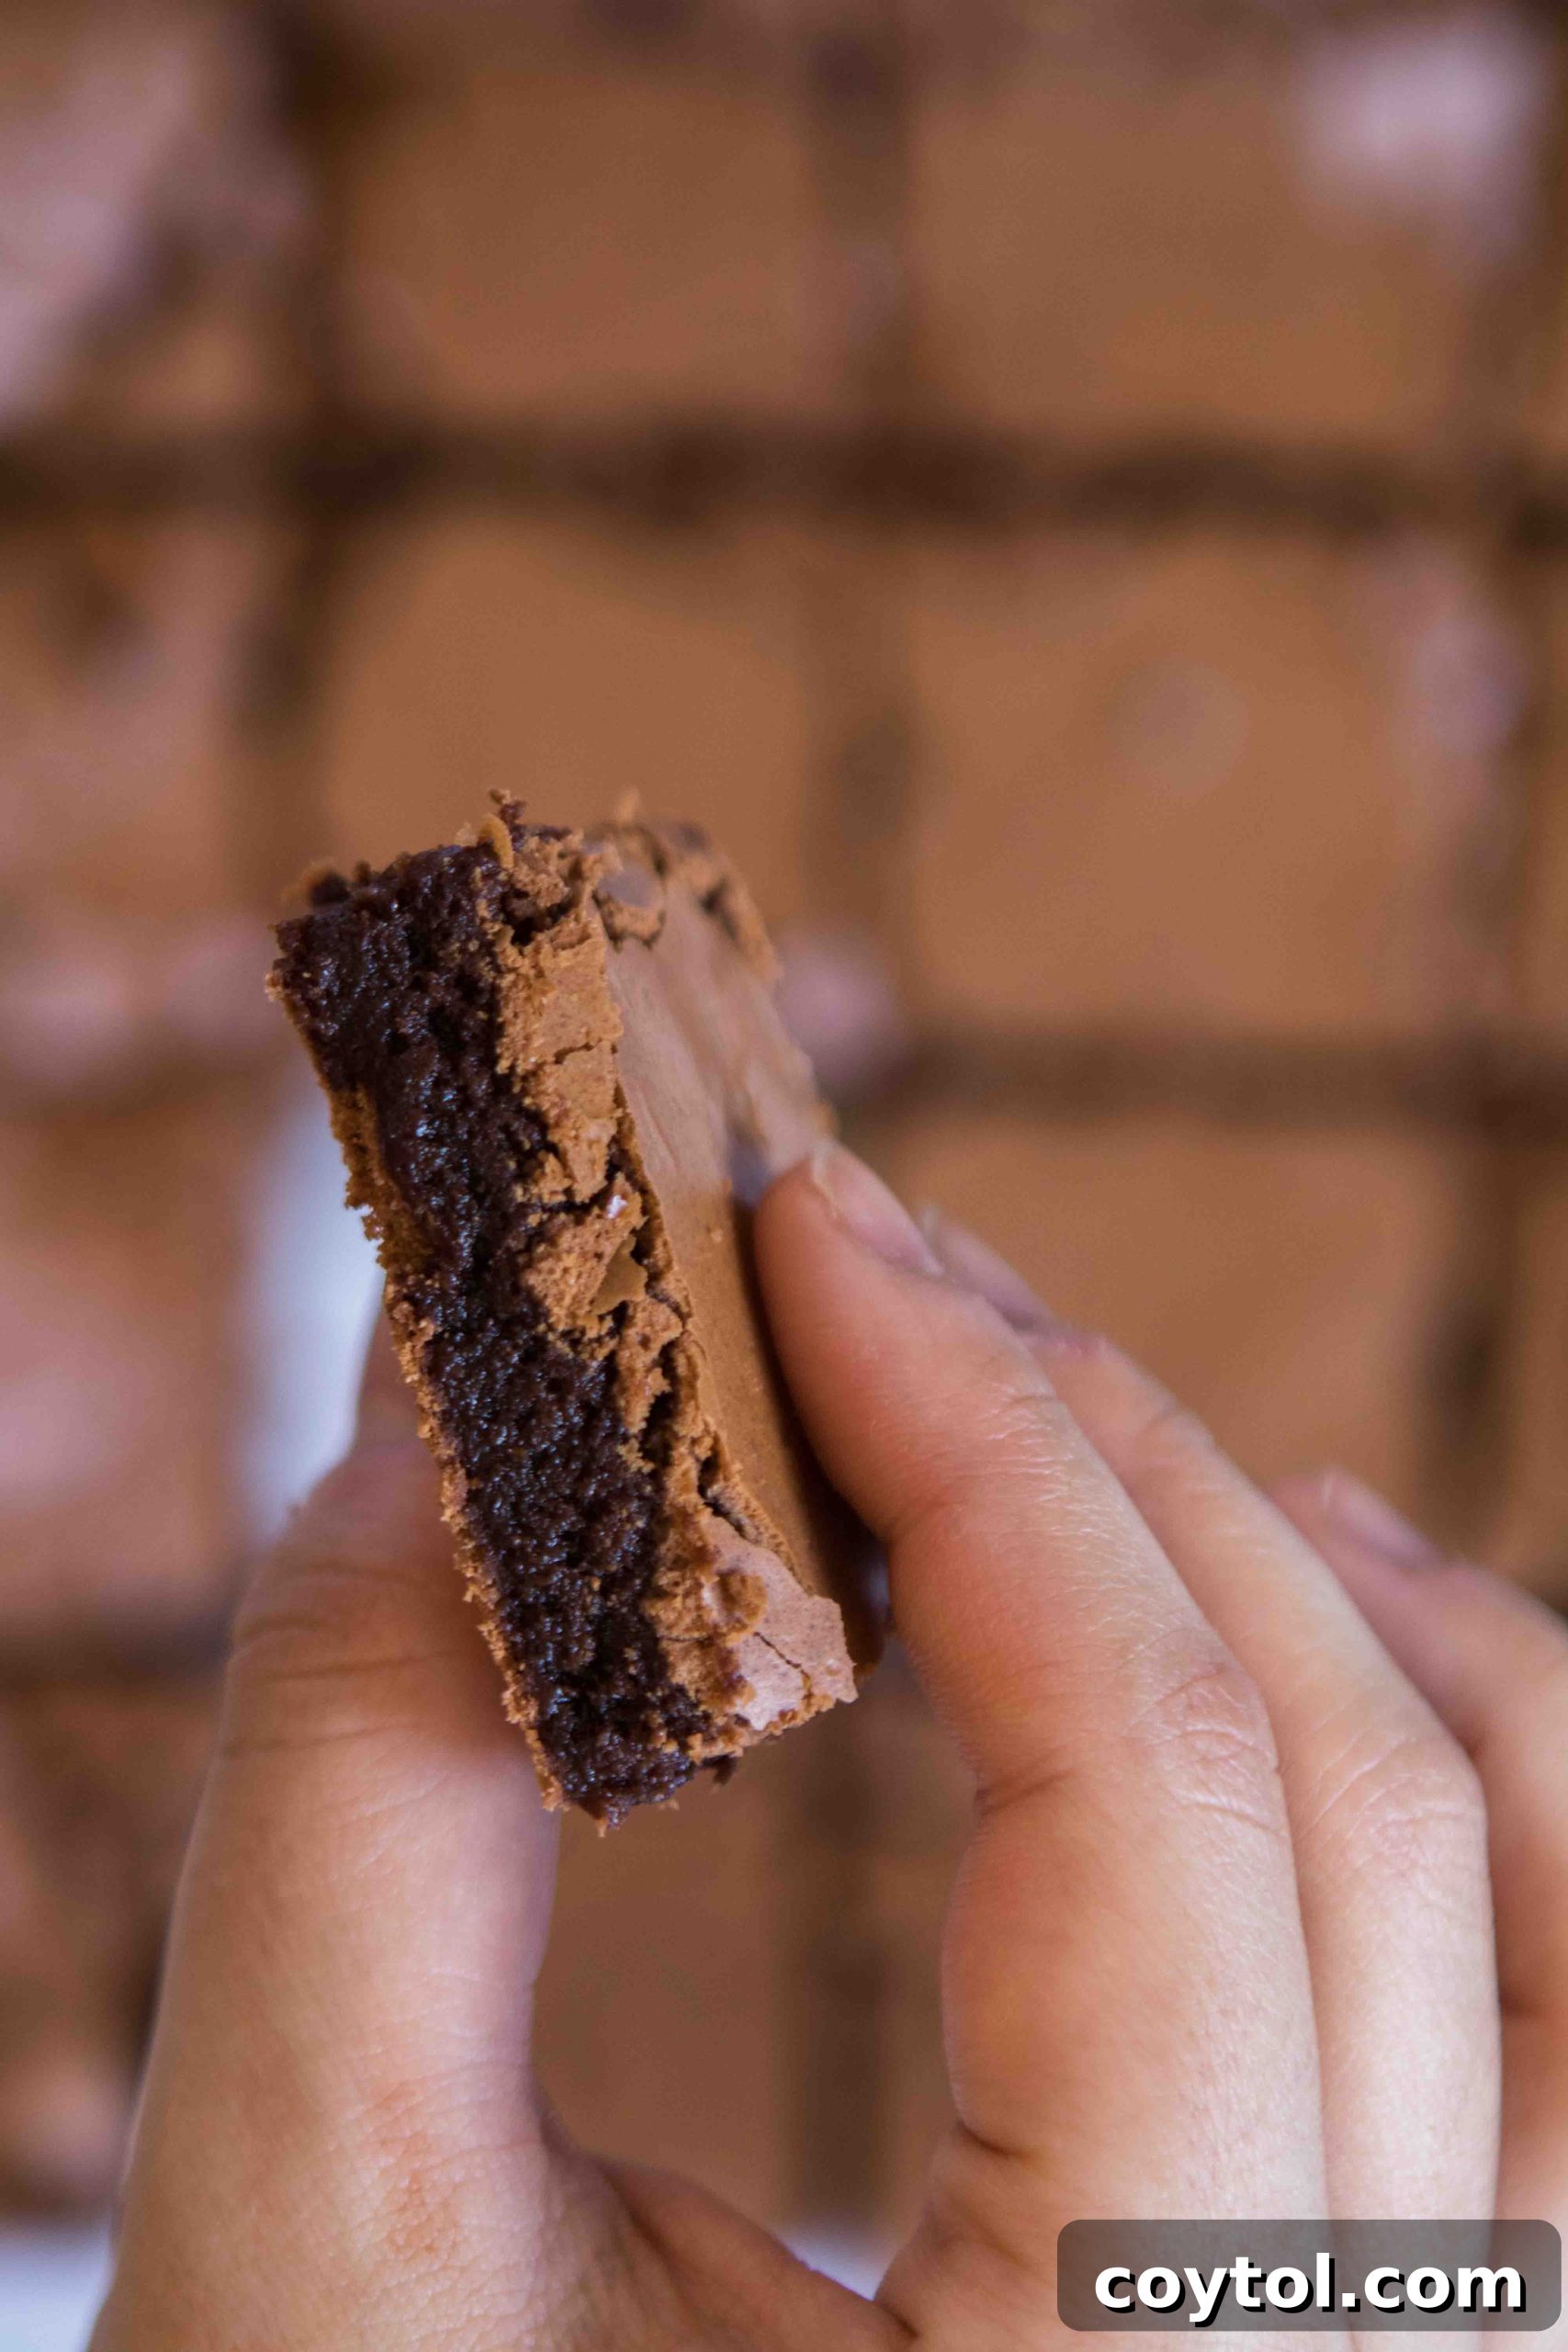
More Decadent Recipes You’ll Absolutely Love
- The Best Fudgy 1-Minute Brownie Mug Cake
- Out of This World Pretzel Brownies Without Cocoa Powder
- Easy Hazelnut Brownie Cookies – Chewy and Delicious!
Unlocking the Secrets to Exceptionally Fudgy Brownies
Achieving that coveted soft, chewy, and melt-in-your-mouth fudgy texture in brownies shouldn’t be a mystery. While many believe it’s an elusive goal, I’m here to reveal the straightforward secrets that guarantee perfect results every time. These techniques are what elevate a good brownie to a truly outstanding one:
- Prioritizing Higher Fat Content: This is a cornerstone of fudginess. The primary reason we opt for melted chocolate over cocoa powder in this recipe is its naturally high fat content. When combined with butter, this creates a rich, luxurious base that ensures unparalleled moistness and density. More fat equals a supremely fudgy brownie.
- Minimizing Flour Usage: The amount of flour in your brownie batter directly impacts its final texture. A higher proportion of flour typically results in a cakier brownie, as flour absorbs more moisture and develops more gluten. Conversely, using less flour ensures a denser, chewier, and significantly fudgier brownie. Our recipe calls for just enough flour to provide structure without sacrificing that desirable gooey center.
- Avoiding Over-Mixing Ingredients: Once the flour is introduced to the wet ingredients, over-mixing becomes the enemy of fudgy brownies. Excessive mixing develops gluten, which can lead to a tougher, bread-like texture rather than the tender fudginess we crave. Mix just until the flour streaks disappear – no more. Gently folding is key to preserving tenderness.
- Mastering the Art of Slight Under-Baking: This might be the most crucial secret. Slightly under-baking your brownies is what makes them as fudgy as they can possibly be. Don’t be alarmed if the center still appears a bit moist or raw when you pull them from the oven. The residual heat will continue to cook them as they cool, resulting in a perfectly dense, chewy, and incredibly moist brownie bite that truly melts in your mouth. Trust the process and resist the urge to bake them longer!
Essential Ingredients for Decadent No Cocoa Powder Brownies
Crafting these intensely rich and luxurious brownies requires a selection of quality ingredients, each playing a vital role in achieving their exceptional flavor and texture:
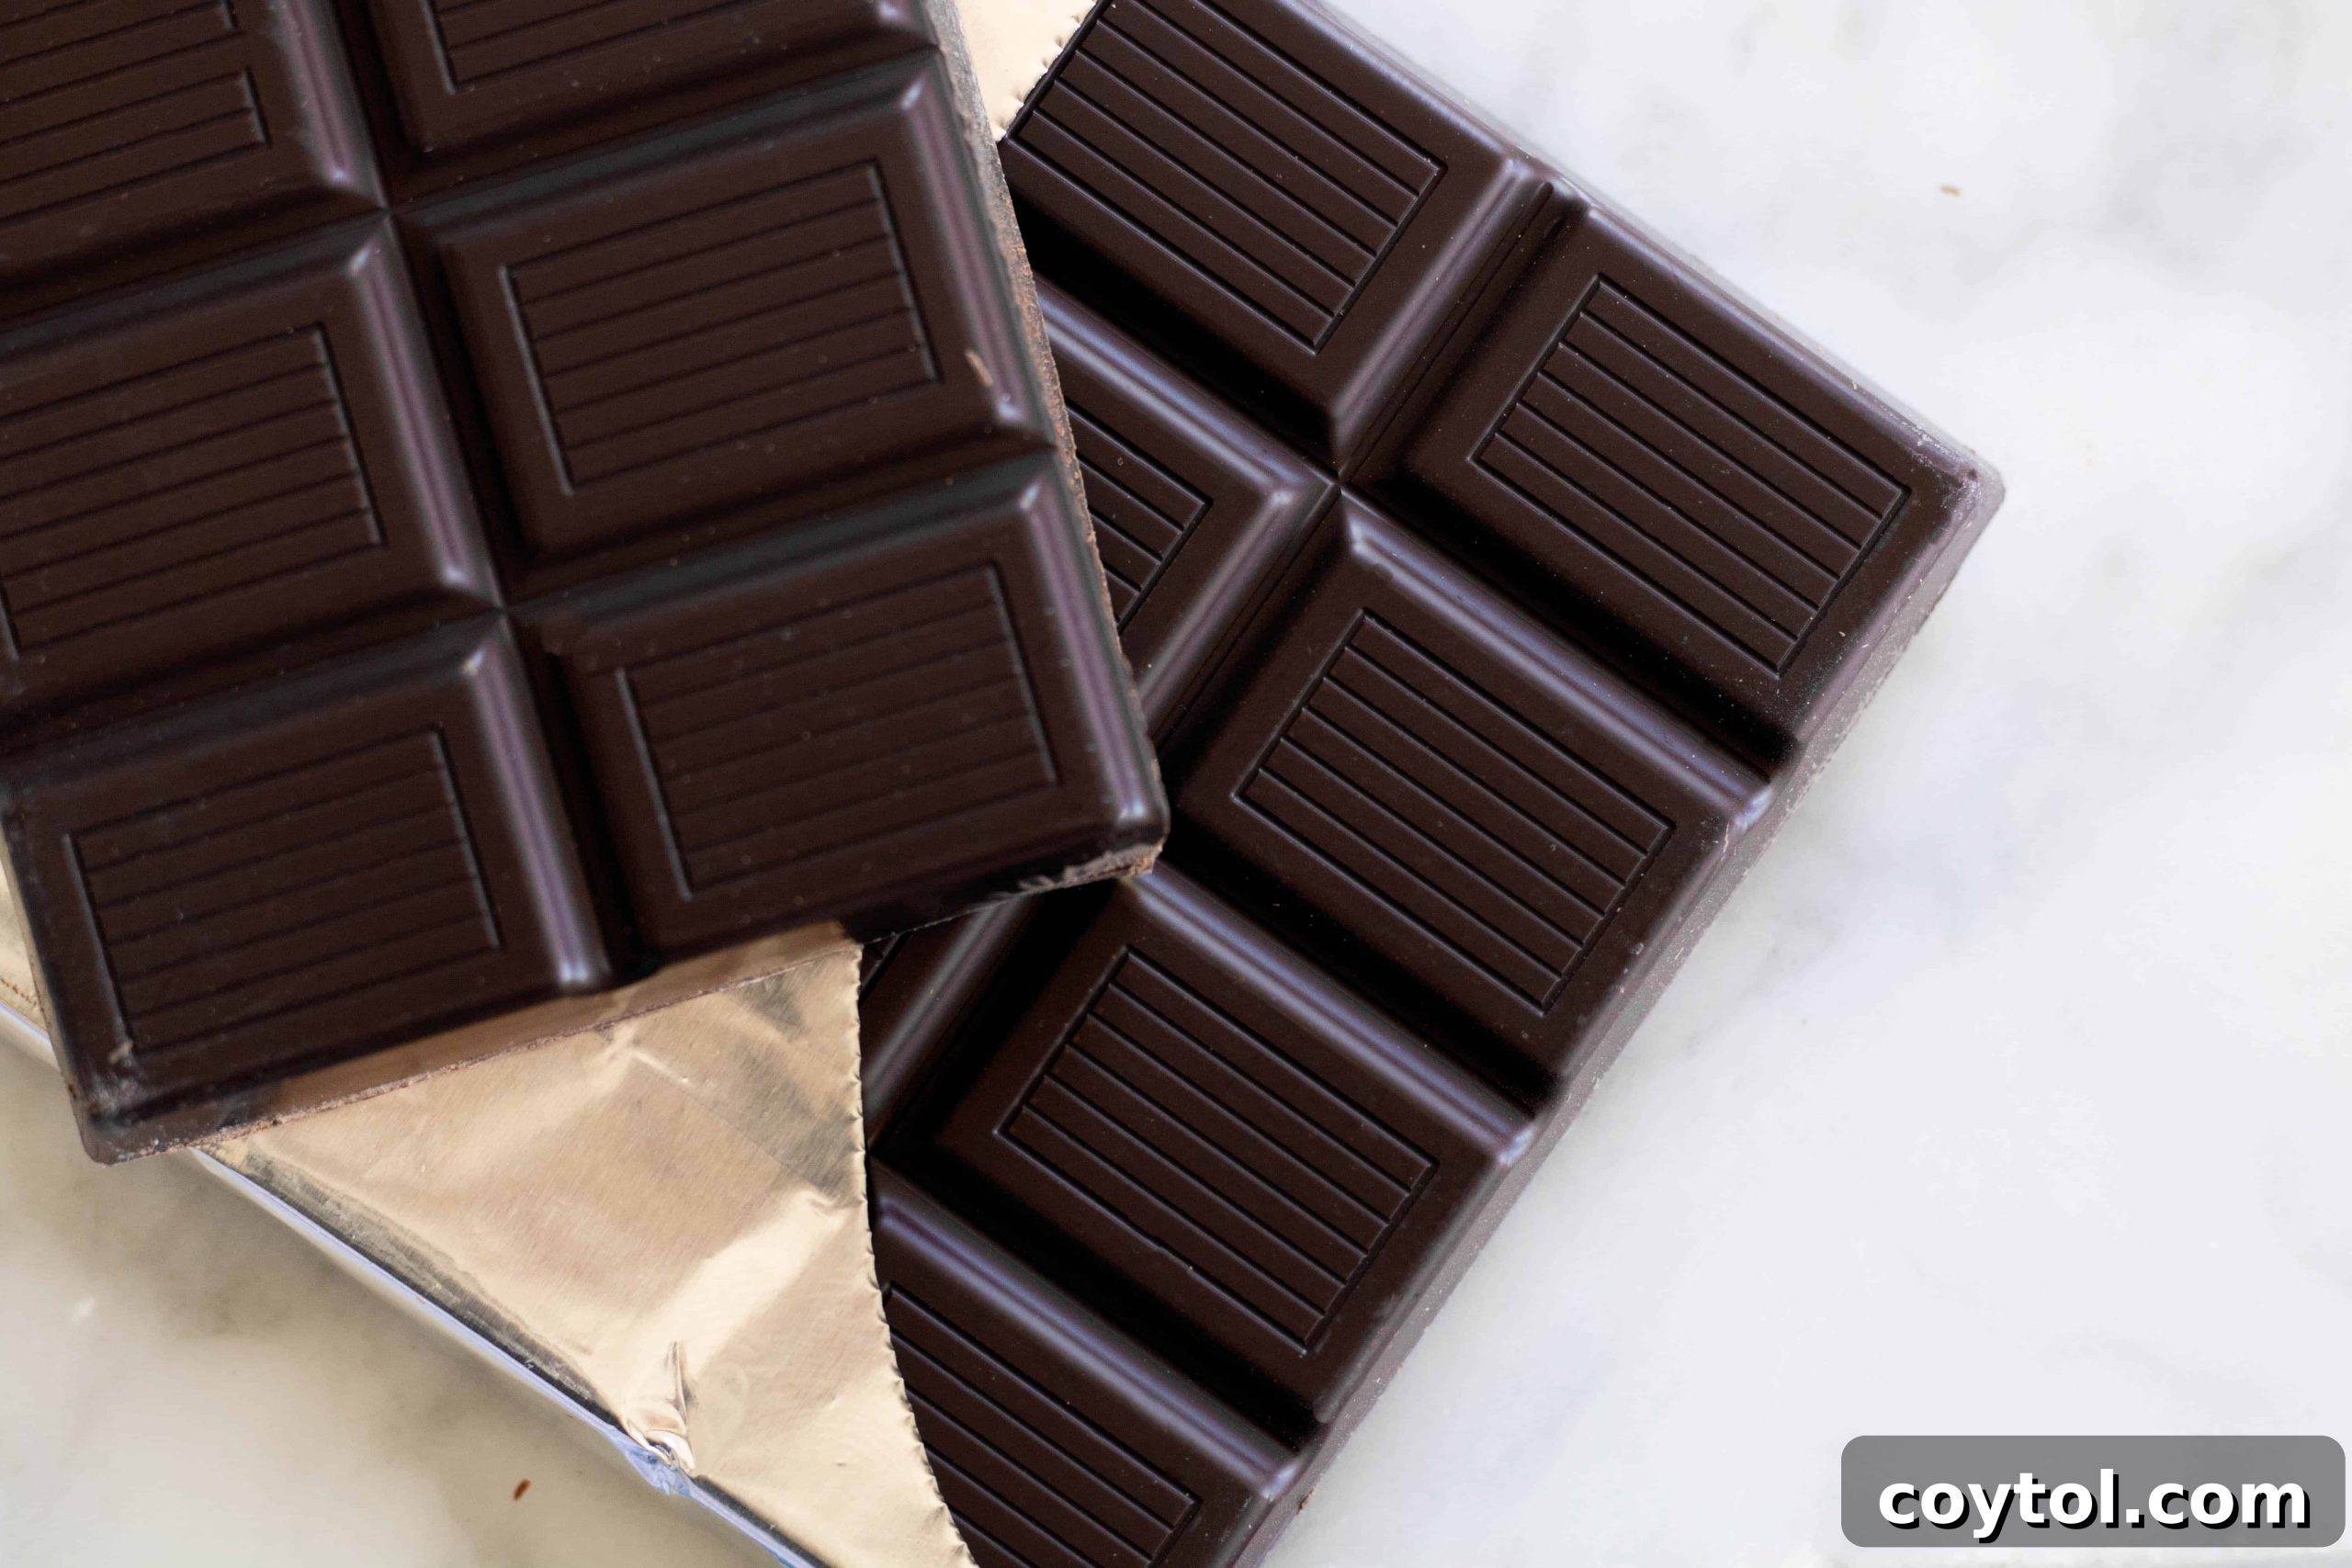
- 70% Bittersweet Chocolate: As this is a pure chocolate brownie recipe (without cocoa powder), the quality of your chocolate is paramount. A good 70% bittersweet chocolate will provide a deep, complex chocolate flavor without being overly sweet, contributing significantly to the brownie’s fudginess.
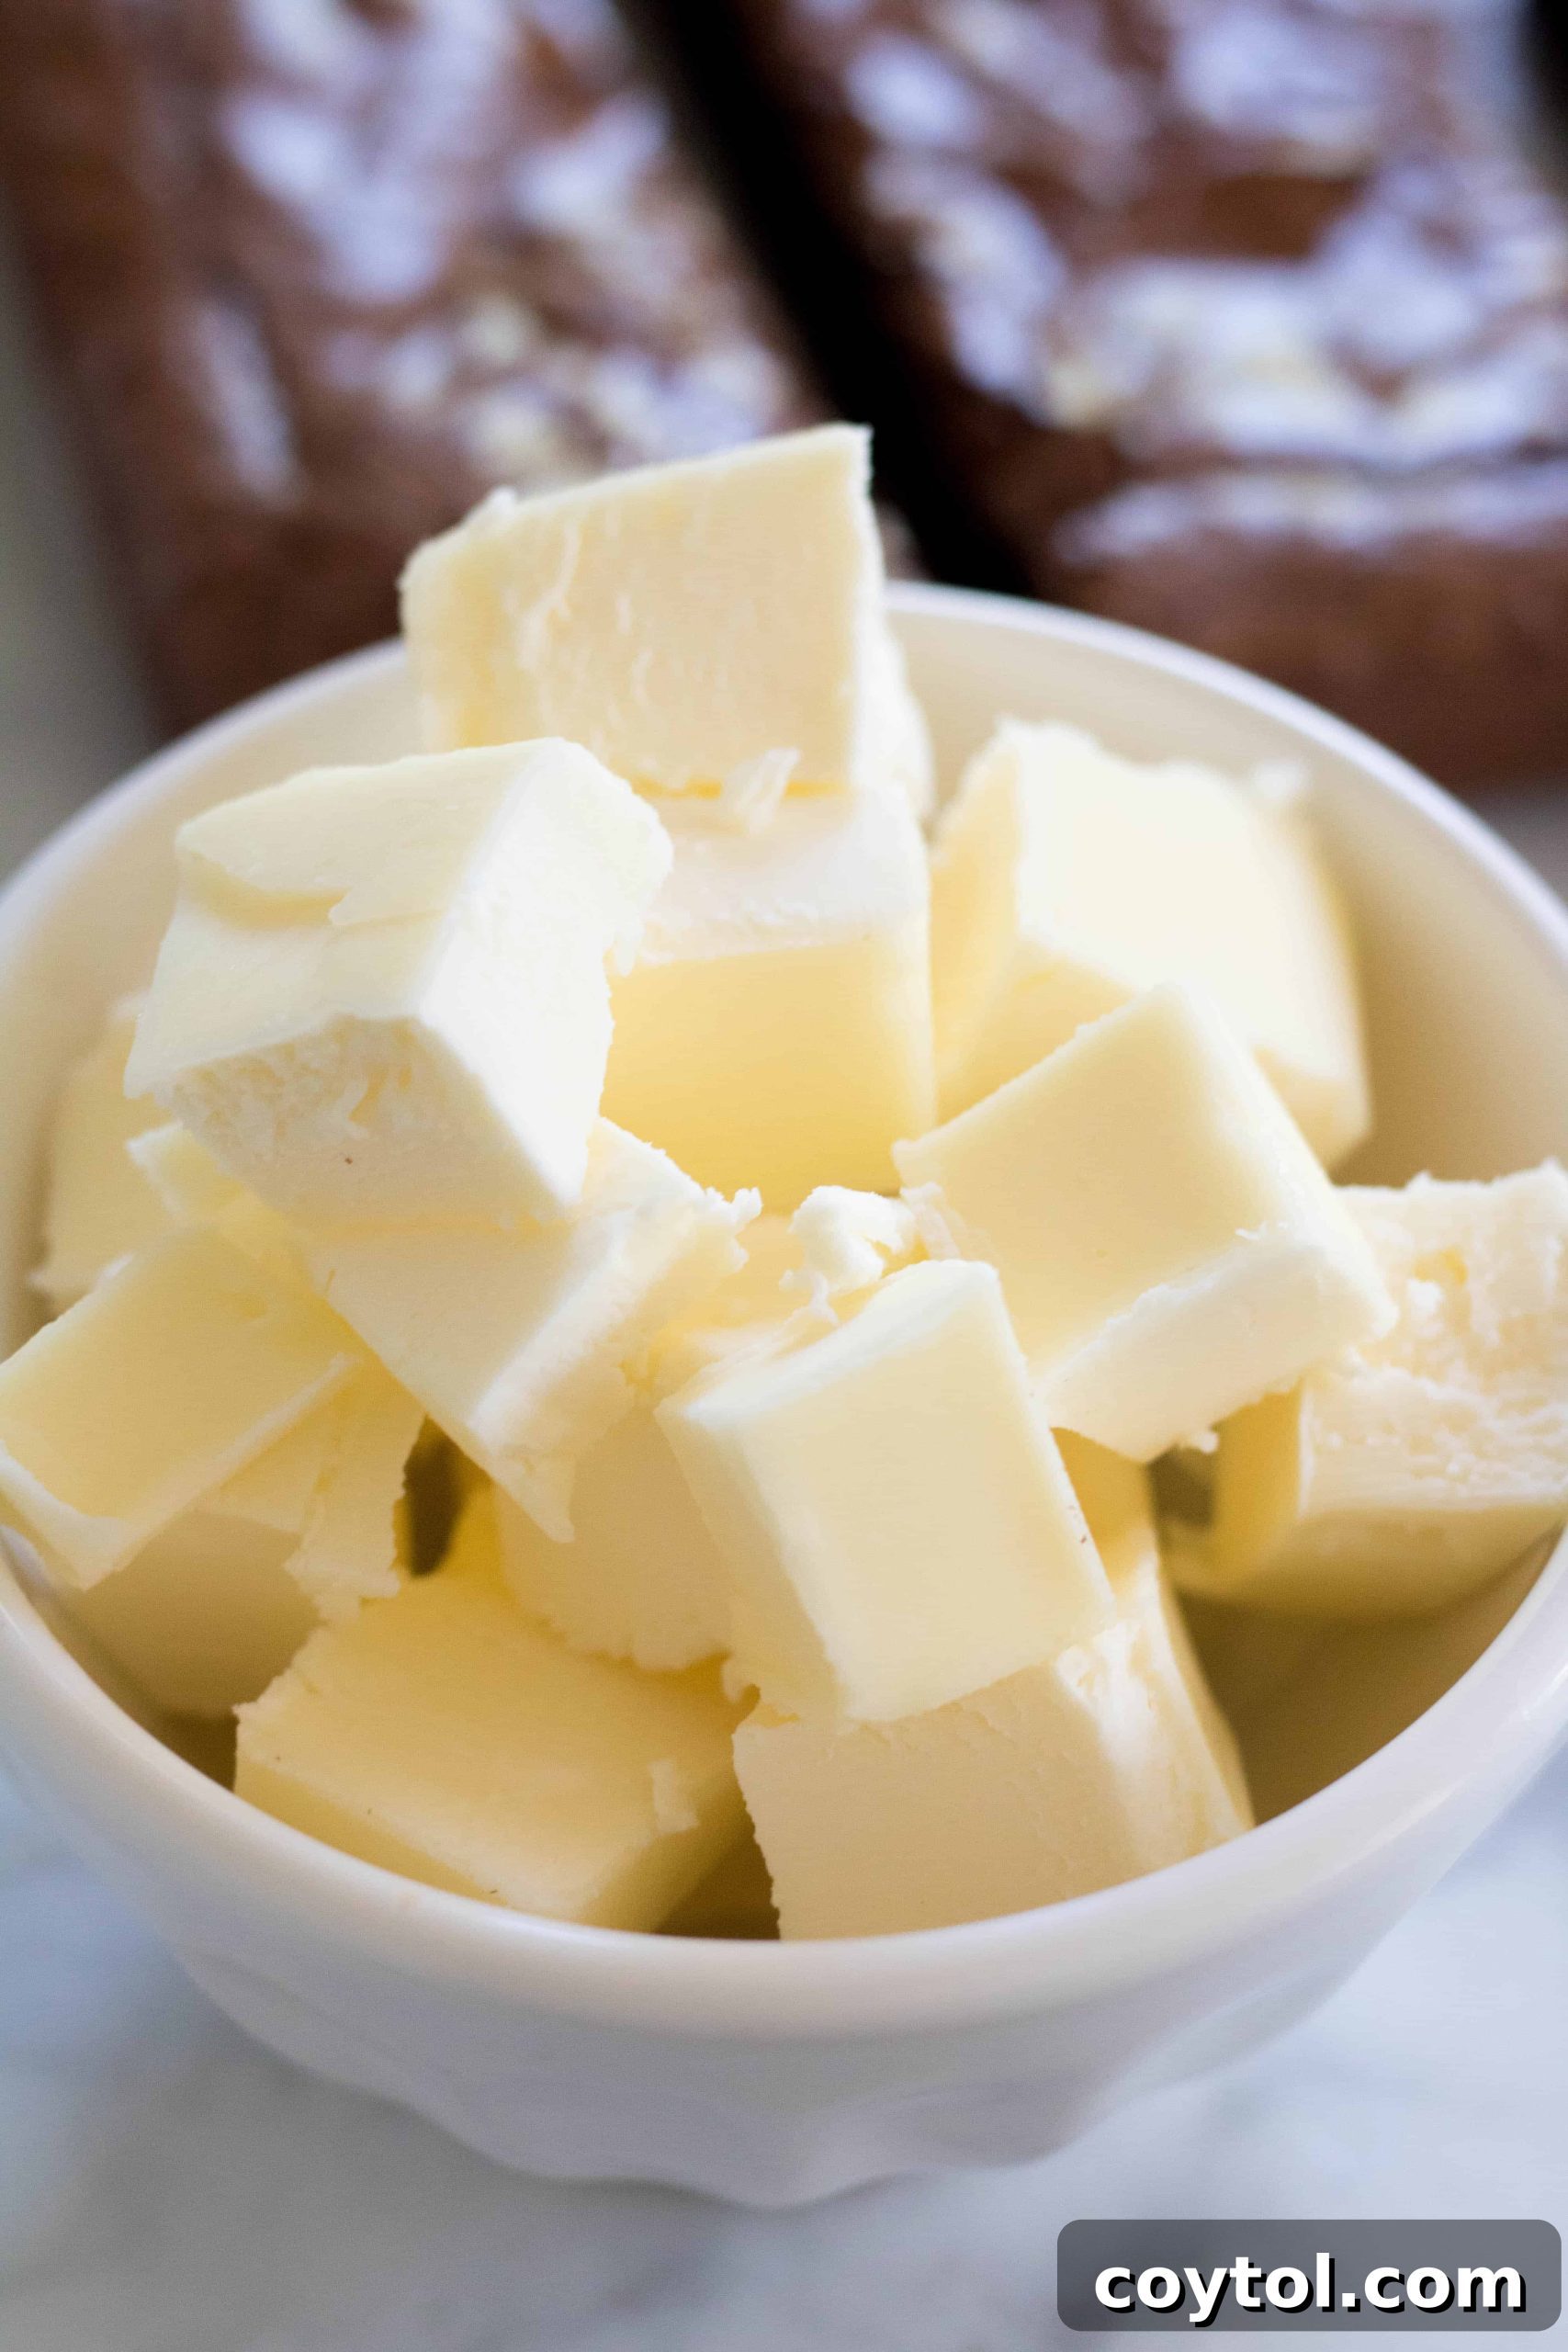
- Unsalted Butter: Butter is indispensable for imparting a rich, buttery flavor and a tender, moist texture. Using unsalted butter allows you to control the exact amount of salt in the recipe, ensuring perfect flavor balance.
- Light Brown Sugar: Unlike granulated sugar, brown sugar contains molasses, which adds moisture, a subtle caramel note, and contributes to a chewier, fudgier, and softer brownie. Its presence also helps to deepen the overall flavor profile.
- Large Eggs: Eggs serve as a critical binding agent, providing structure to the brownies and contributing to their chewiness. They also help create that desirable crinkly top. Using large eggs at room temperature is recommended for optimal mixing and emulsification.
- Granulated Sugar: While brown sugar adds moisture, granulated sugar works in tandem to ensure a balanced sweetness and, importantly, contributes to the formation of that signature shiny, crinkled top crust that every good brownie boasts.
- Salt: Never skip the salt in sweet recipes! A touch of salt enhances and balances the rich chocolate flavors, preventing the brownies from tasting one-dimensionally sweet. It makes all the other ingredients shine.
- Vanilla Extract: A high-quality vanilla extract adds another layer of aromatic depth and complexity, complementing the chocolate beautifully and rounding out the overall flavor profile.
- All-Purpose Flour: This recipe utilizes a minimal amount of all-purpose flour. Its purpose is to provide just enough structure to hold the brownies together without making them cakey. The goal is a dense, fudgy result, not a fluffy cake.
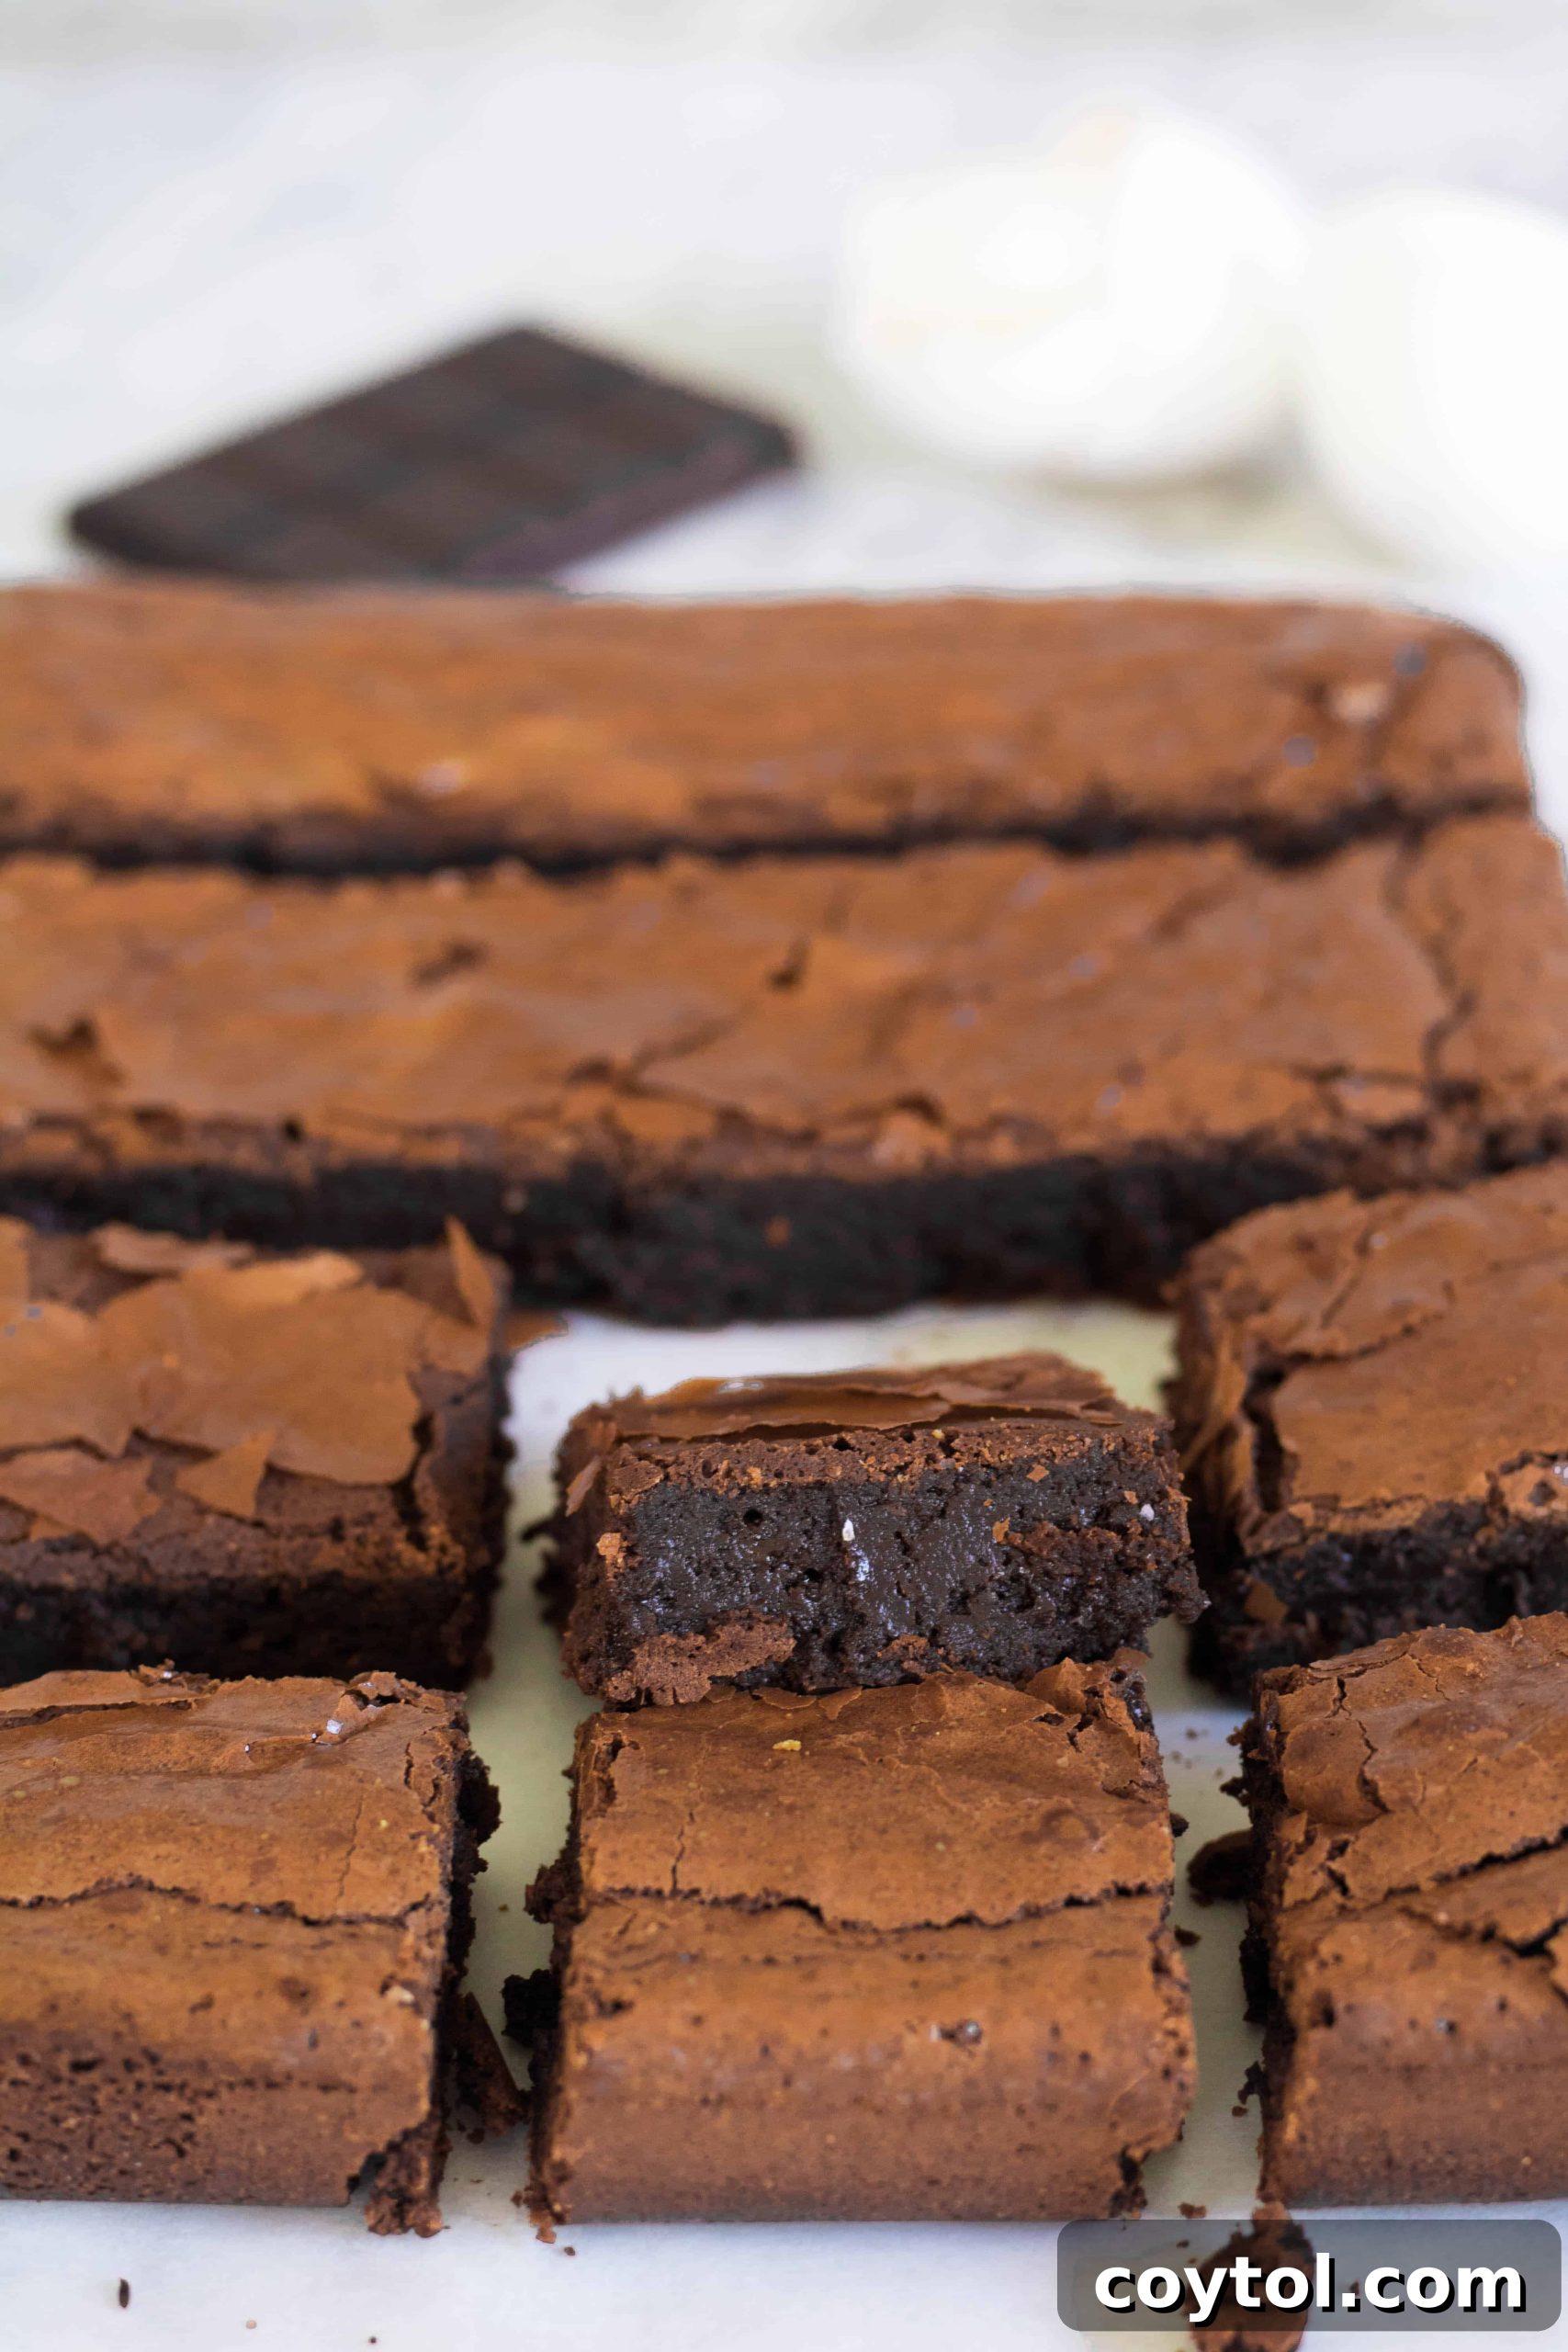
Selecting the Perfect Chocolate for Ultra-Fudgy Brownies
To craft the very best brownies, we must begin with the foundation: the chocolate itself. Since this recipe relies solely on melted chocolate for its flavor and texture (eschewing cocoa powder), your choice of chocolate is critically important. It will directly influence the depth of flavor, richness, and fudginess of your finished brownies.
When shopping for chocolate, always aim for the highest quality you can reasonably find. A premium chocolate will translate into a distinctly superior tasting brownie. Ideally, I recommend using a good quality chocolate bar and coarsely chopping it yourself. This ensures pure chocolate and better melting properties. However, I understand that sometimes convenience is key – like when a late-night brownie craving strikes and the only option is chocolate chips! If you find yourself in a similar situation, here are a few excellent chocolate chip brands that perform wonderfully in this recipe:
- Ghirardelli Chocolate Chips (Semi-sweet or Dark): Widely available and consistently reliable, Ghirardelli offers a rich flavor that’s perfect for brownies.
- Callebaut Chocolate Chips (Semi-sweet or Dark): (This is the exact brand we used in the French bakery!) Callebaut is a professional-grade chocolate that delivers an amazing, sophisticated taste and melts beautifully. It’s a fantastic choice if you can find it.
- Valrhona Chocolate: Another high-end, premium choice beloved by pastry chefs for its exceptional flavor and quality. Using Valrhona will truly elevate your brownies.
- Guittard Chocolate Chips (Semi-sweet or Dark): Known for their rich flavor and excellent melting characteristics, Guittard is another superb option for a gourmet brownie.
Regardless of your choice, ensure the chocolate is of decent quality. Avoid overly waxy or sugary brands, as they won’t provide the rich, deep chocolate essence this recipe demands.
The Rationale: Why No Cocoa Powder in This Brownie Recipe?
The intentional exclusion of cocoa powder from this brownie recipe is a deliberate choice, central to achieving their unique and superior characteristics. My goal was to allow the pure, melted chocolate to truly shine, both in terms of its intense flavor and its luxurious, fudgy texture.
Cocoa powder, while delivering chocolate flavor, tends to absorb moisture and can result in a slightly drier, more cake-like brownie. In contrast, using only melted chocolate (especially a high-quality bittersweet variety) introduces a significant amount of natural cocoa butter and fat into the batter. This higher fat content is the key to creating those incredibly dense, gooey, and chewy brownies that are often associated with professional bakeries. The melted chocolate becomes the singular, dominant force, infusing every bite with an unparalleled depth of rich, unadulterated chocolate flavor.
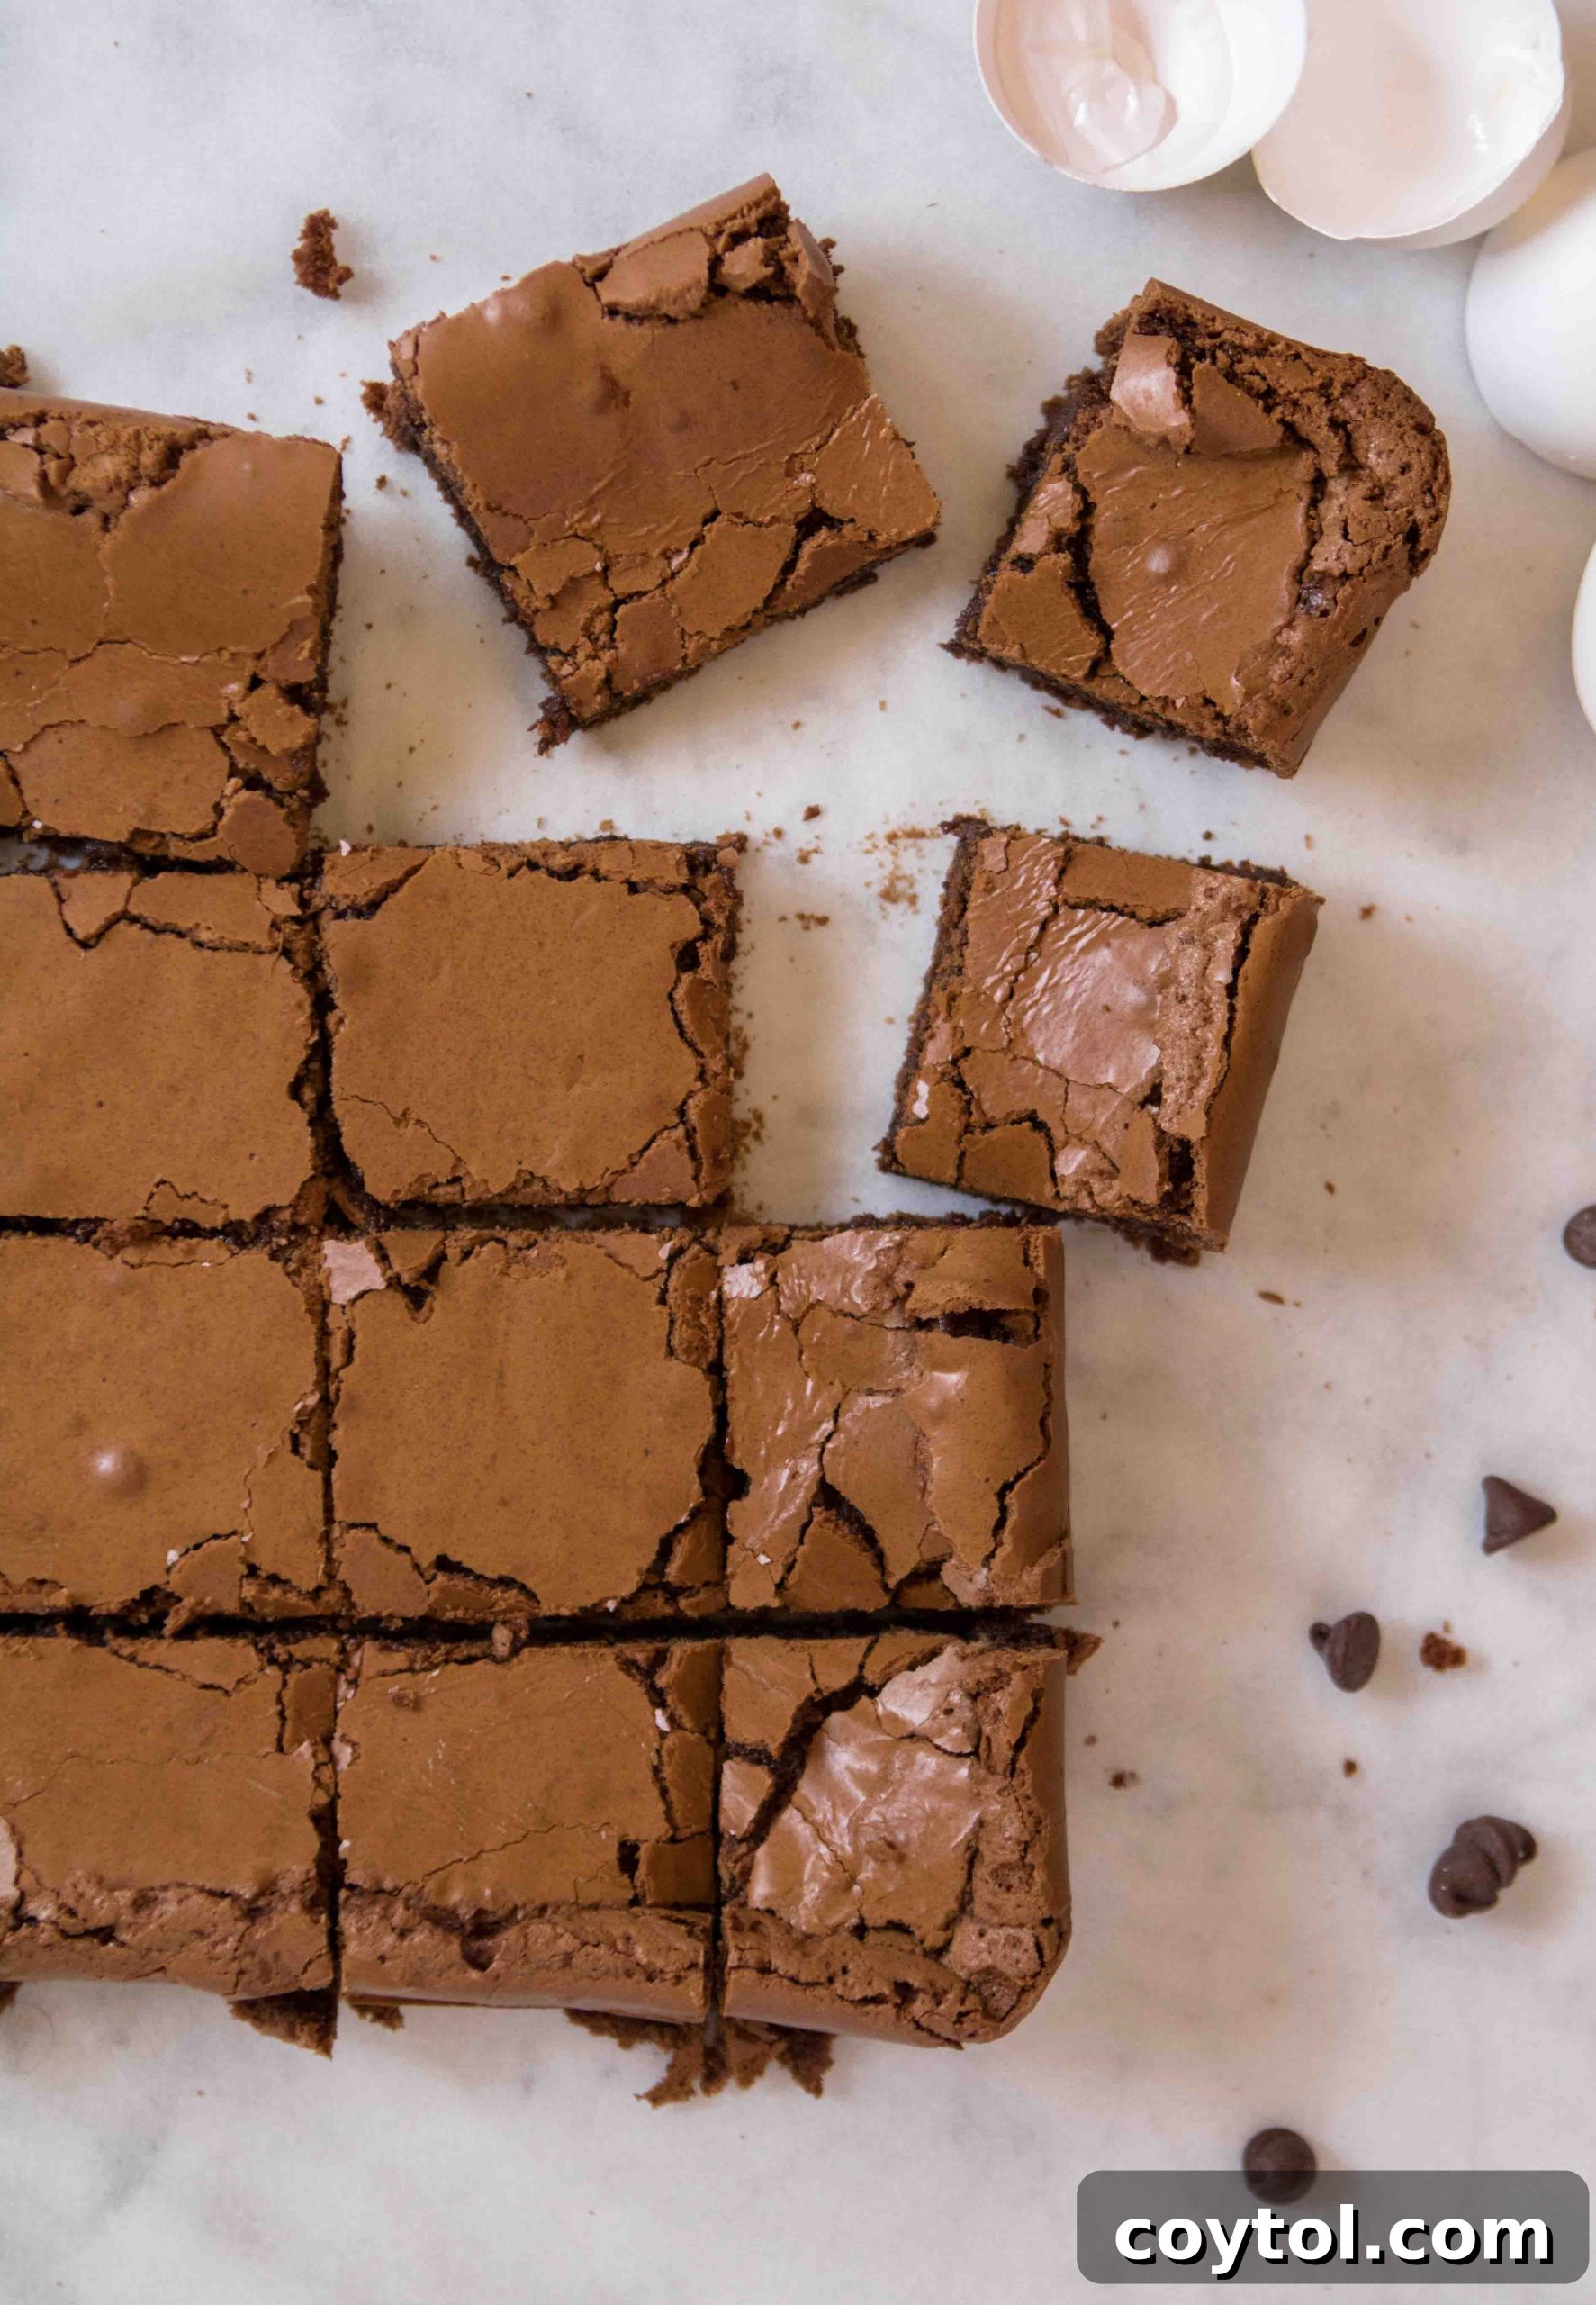
Crafting Bakery-Style Brownies from Scratch Without Cocoa Powder: A Step-by-Step Guide
This particular brownie recipe is a favorite not just for its exquisite results, but also for its remarkable simplicity. The most challenging aspect, ironically, will be summoning the patience to allow these bakery-style beauties to cool completely before slicing into them. However, a perfectly cooled brownie is essential for clean cuts and optimal texture.
Here’s a little tip that works for me: I often prepare these brownies the night before, right after brushing my teeth. It’s a clever way to curb any late-night cravings for this delicious treat and ensures they have ample time to cool and set overnight. This foresight guarantees perfectly sliceable brownies in the morning.
Now, let’s stop with the preamble and dive into the easiest, most rewarding brownie recipe you’ll ever encounter!
Step 1: Prepare Your Pan and Oven
Begin by preheating your oven to 350°F (175°C). Next, lightly grease an 8×8 inch (20×20 cm) baking pan and line it with parchment paper, allowing the paper to overhang on two sides. These “slings” will make it incredibly easy to lift the cooled brownies out of the pan. Set this prepared pan aside.
Step 2: Master the Melted Chocolate (Bain-Marie Method)
For true bakery-style results, we’ll melt our chocolate using a bain-marie, or hot water bath. Place your coarsely chopped 70% bittersweet chocolate in a heatproof bowl. Set this bowl over a wide pot of water that is barely simmering, ensuring the bottom of the bowl does not touch the water. Stir the chocolate frequently with a rubber spatula or whisk until it is completely melted and beautifully smooth. Once melted, remove the bowl from the heat. Immediately add the unsalted butter (cut into smaller chunks for quicker melting) and the packed light brown sugar to the melted chocolate. Whisk these ingredients together until everything is well combined and smooth. Set this mixture aside to cool slightly.
Step 3: Whip the Eggs and Combine Wet Ingredients
In a separate medium-sized bowl, or in the bowl of a stand mixer fitted with the whisk attachment, crack the large eggs. Add the granulated sugar, a pinch of salt, and the vanilla extract. Beat this mixture using either a handheld mixer or your stand mixer on medium-high speed for about 3-4 minutes, or until the eggs become visibly thick, pale yellow, and slightly increased in volume. This step is crucial for achieving the shiny, crinkled top crust on your brownies.
Once the egg mixture is light and fluffy, gently whisk in the slightly cooled melted chocolate, butter, and brown sugar mixture until just combined. Be careful not to overmix at this stage. Finally, carefully fold in the all-purpose flour using a rubber spatula, mixing only until no dry streaks of flour remain. Overmixing the flour will develop too much gluten, resulting in a tougher brownie.
Step 4: Bake to Fudgy Perfection
Carefully scrape the prepared brownie batter into your lined 8×8 inch baking pan, spreading it evenly with your spatula. Bake for 25-30 minutes. Remember, we are aiming for a slightly under-baked result for maximum fudginess. The edges should look set, but the center might still appear a little moist (see the section on checking for doneness).
Step 5: Cool and Enjoy!
Allow the brownie to cool completely in the pan for at least an hour on a wire rack. This cooling period is vital for the brownies to set properly and develop their full flavor and texture. Once cooled, use the parchment paper overhang to gently lift the entire brownie slab out of the pan. For even easier, cleaner slicing and perfectly sharp edges, consider placing the cooled brownie in the refrigerator for an additional hour before cutting. Slice into squares, and prepare to be amazed!
Elevate Your Brownies: Creative Mix-In Ideas!
Absolutely! Mix-ins are always a welcome addition in my book, offering a fantastic opportunity to customize your brownies and add exciting textures and flavors. Feel free to get creative and experiment with different combinations. Here are some of my all-time favorite options to enhance these decadent no-cocoa brownies:
- Double Chocolate Delight: Stir in a generous ½ cup of regular semi-sweet or dark chocolate chips directly into the batter for an extra burst of chocolate in every bite. For a beautiful finish, sprinkle a handful of mini chocolate chips on top before baking.
- Nutty Perfection: Introduce a delightful crunch and earthy flavor by adding ½ to ¾ cup of your favorite chopped nuts. Pecans, walnuts, almonds, peanuts, or even hazelnuts pair wonderfully with dark chocolate. Toasting the nuts lightly beforehand can amplify their flavor.
- Peanut Butter Swirl: For the ultimate chocolate-peanut butter combination, gently swirl in ¼ to ½ cup of melted creamy peanut butter into the batter just before baking. Alternatively, fold in ½ cup of peanut butter chips for distinct pockets of peanut butter flavor.
- Candy Bar Indulgence: Roughly chop your favorite chocolate candy bars, such as Snickers, Reese’s Peanut Butter Cups, or even Kit Kats, and fold them into the batter. This adds pockets of gooey caramel, peanut butter, or crisp wafer goodness.
- Sweet & Salty Pretzels: For a delightful contrast in texture and taste, press a layer of mini pretzels onto the top of the brownie batter before baking. The saltiness of the pretzels beautifully complements the rich sweetness of the chocolate.
The Art of Knowing When Your Fudgy Brownies Are Perfectly Done
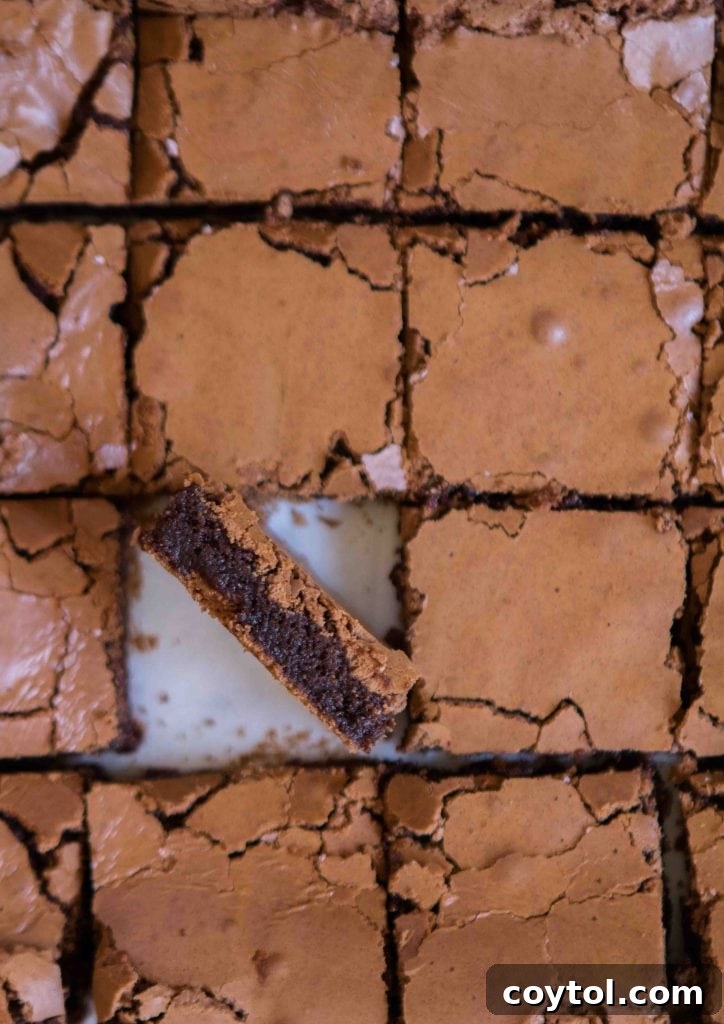
Determining the doneness of brownies is a nuanced skill, distinctly different from baking a cake. While we typically insert a knife or wooden skewer into the center of a cake until it comes out clean, applying this method to fudgy brownies would result in an overbaked, dry, and ultimately disappointing outcome. For fudgy brownies, a “clean” skewer indicates over-doneness.
To correctly gauge the doneness of these rich, gooey brownies, you’ll want to insert your wooden skewer or toothpick about an inch or two from the edge of the baking pan. When you pull it out, you should see a few moist crumbs attached to the skewer, but no wet batter. The very center might still look a bit soft or jiggly, which is exactly what we want. This slight under-baking ensures that the brownies remain incredibly fudgy and continue to set beautifully as they cool. Trust your instincts and remember: a little under-baked is perfectly fudgy, but over-baked is just dry.
Expert Tips for Crafting the Perfect Bakery-Style Brownies Every Time
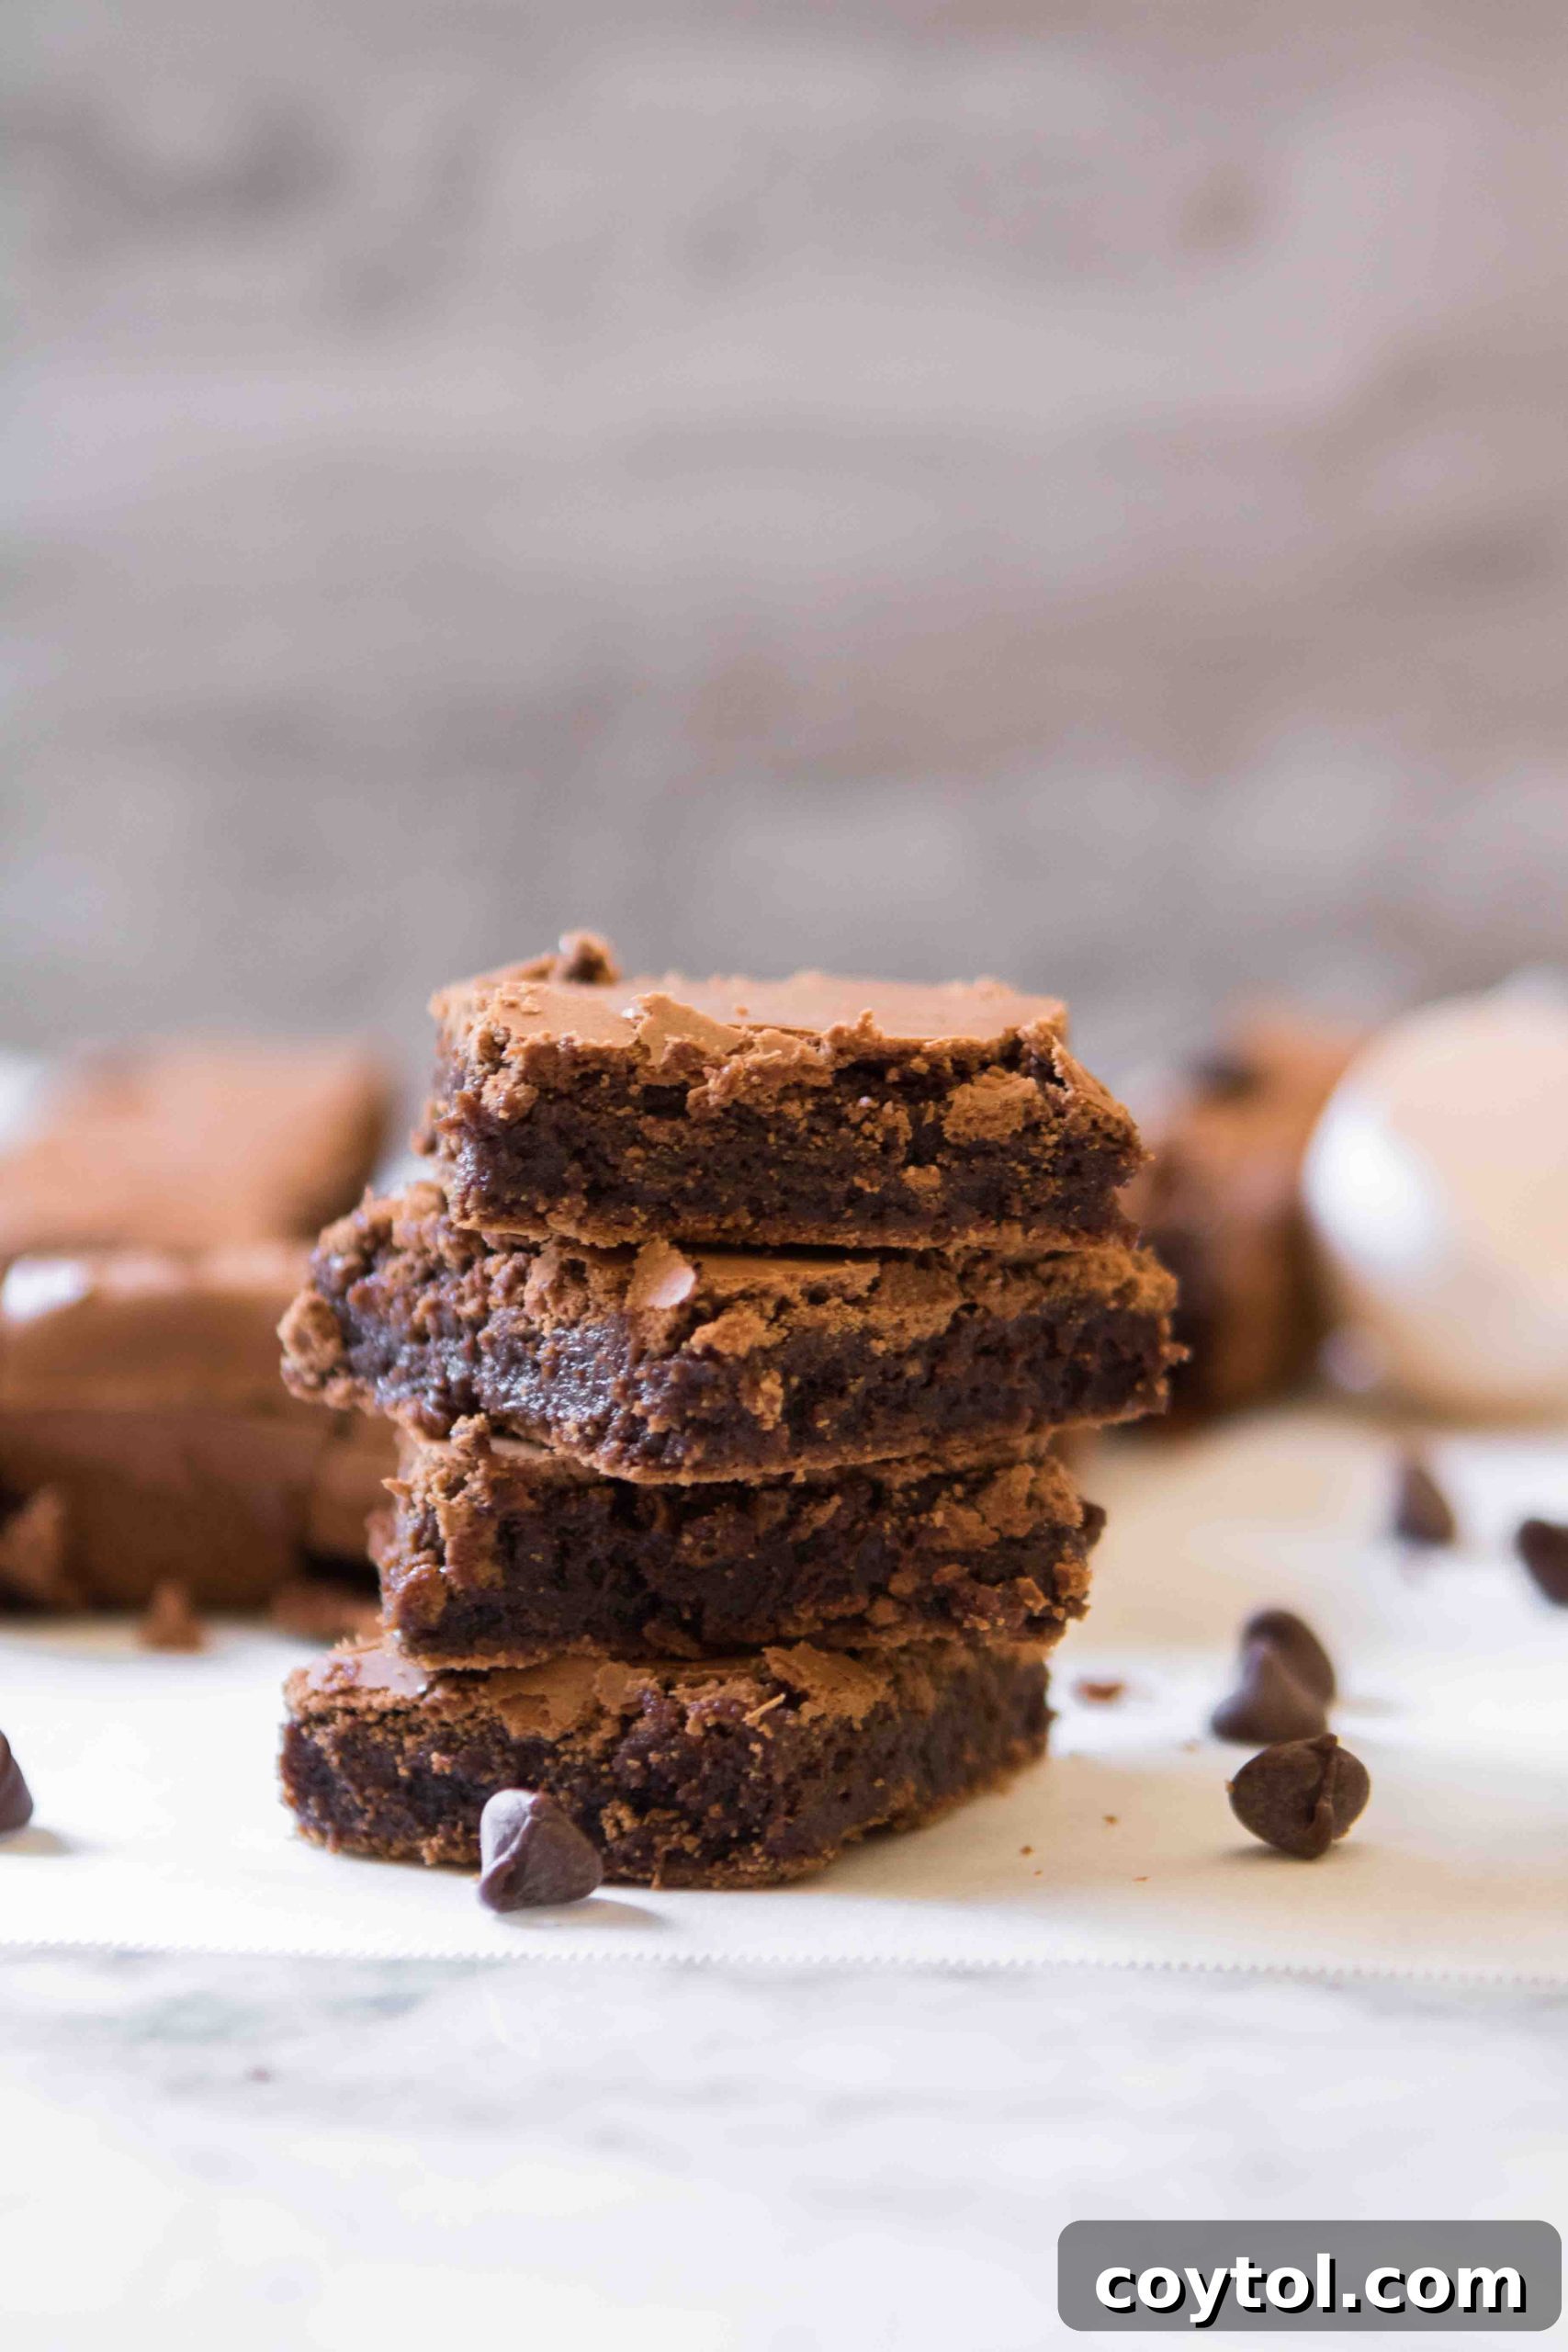
Brownies are a beloved dessert, but achieving consistent, bakery-quality results can sometimes feel like a challenge. With these expert tips, you’ll conquer any brownie baking woes and ensure every batch is a resounding success, packed with fudgy goodness:
- Understand Your Desired Brownie Texture: Before you even start, visualize the kind of brownie you want. This recipe is specifically designed for intensely fudgy, dense, and chewy brownies – my absolute favorite! However, if you prefer a lighter, more cake-like brownie, this recipe might not be for you. Knowing your preference helps you choose the right recipe from the outset and manage expectations. Embrace the fudgy if you choose this one!
- Prioritize High-Quality Ingredients: Since brownie recipes often feature a relatively short ingredient list, the quality of each component truly shines through in the final taste. Using premium ingredients isn’t just a suggestion; it’s a game-changer that ensures a luxurious, professional-tasting product. For instance, instead of using conventional chocolate chips (which can sometimes contain less real chocolate), invest in brands like Ghirardelli, Lindt, Guittard, Valrhona, or Callebaut. High-quality butter and fresh eggs also make a noticeable difference.
- Master the “Mise en Place” Principle: Before you begin mixing, read the entire recipe carefully and understand each step. Then, prepare all your ingredients (this is known as “mise en place” in professional kitchens). Measure everything out, chop your chocolate, and have it all ready and organized on your counter. This prevents frantic searching mid-recipe, ensures you don’t forget any crucial ingredients, and allows for a smooth, stress-free baking process, leading to better results.
- Mind the Temperature of Your Melted Chocolate: This is a critical nuance for no-cocoa brownies. After you melt your chocolate, butter, and brown sugar mixture, resist the urge to immediately whisk it into your beaten eggs. Adding hot chocolate to cold eggs can result in an unappetizing “chocolate scramble.” Instead, once the chocolate mixture is smooth, set it aside while you beat your eggs. This short cooling period (usually 5-10 minutes) allows the chocolate mixture to cool down slightly, ensuring a perfectly emulsified batter when combined with the eggs.
Elevate Your Baking: More Advanced Tips
- Ensure Room Temperature Eggs: For optimal emulsification and a smoother batter, always use room temperature eggs. The whites and yolks combine much more easily at this temperature, creating a more uniform mixture. If you often forget to pull your eggs out 30 minutes in advance, here’s a quick hack: place the whole eggs in a bowl of warm (not hot!) water for 10-15 minutes while you’re melting the chocolate.
- Respect the Baking Time (and the Recipe’s Intention): While many of us adore slightly gooey, under-baked brownies, it’s crucial to follow the recipe’s recommended baking time as it’s typically factored into the desired fudginess. If this recipe promises fudgy brownies, it accounts for that slightly soft center. Altering baking times significantly without understanding the recipe’s structure can lead to brownies that are either raw in the middle or, conversely, too dry. Stick to the instructions for the intended texture.
- Embrace Patience – The Golden Rule of Cooling: This might be the hardest tip to follow, but it’s arguably the most important. Resist the overwhelming urge to cut into your brownies the moment they emerge from the oven. Freshly baked brownies are not fully set; cutting them too early will result in a chocolatey, crumbly mess (delicious, perhaps, but not ideal for presentation!). Allowing them to cool completely in the pan – ideally for several hours or even overnight – lets them firm up, develop their full flavor, and become perfectly sliceable. Your patience will be rewarded with impeccably structured, flavor-rich brownies.
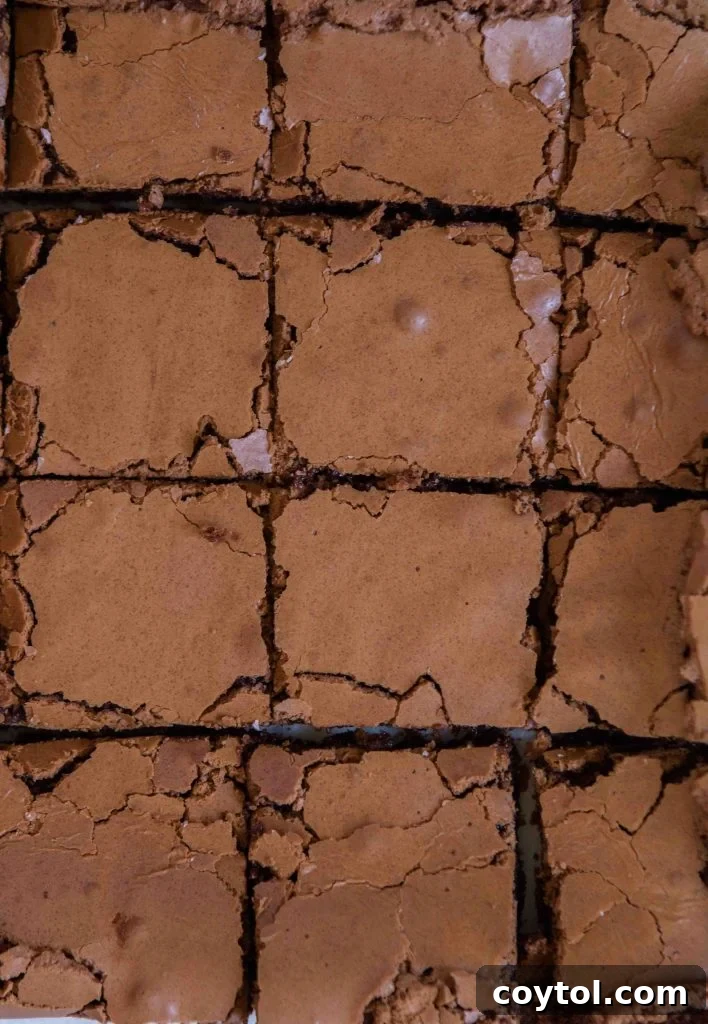
How to Achieve Flawless, Professionally Cut Brownie Squares
Cutting brownies can truly be an art form. To achieve those picture-perfect, neat squares with crisp edges, a little technique goes a long way. First and foremost, ensure your brownies have cooled completely – ideally chilled in the refrigerator for an hour after reaching room temperature. Once thoroughly cooled and firm, carefully remove the entire brownie slab from the baking pan using the parchment paper slings and place it on a clean cutting board.
For the cleanest cuts, run a large, sharp knife under very hot water for about 30 seconds. Wipe the blade completely dry with a clean cloth. Make your first cut, then immediately wipe the knife clean again before making the next cut. This process of heating and cleaning the knife after each slice prevents the chocolate from dragging and sticking, ensuring beautiful, sharp edges every time. Feel free to re-run your knife under hot water and wipe it clean as often as needed throughout the slicing process. You’ll find a visual demonstration of this precise cutting method in the video below.
How Long Do These Delicious Brownies Last?
In my household, these brownies have a notoriously short lifespan – they disappear remarkably quickly! However, for practical purposes, you can store these decadent brownies in an airtight container at room temperature for up to 3 days. If you wish to extend their freshness, they will last up to 7 days when stored in an airtight container in the refrigerator. For longer storage, they can be frozen for up to 3 months, making them perfect for future cravings or meal prep.
Precisely How to Freeze Your Homemade Brownies
Preparing brownies ahead of time and freezing them can be an absolute lifesaver, especially when you need a quick sweet treat or want to ensure you always have a comforting dessert on hand. My stash of frozen brownies often comes in handy during those times of the month when a chocolate craving hits!
To properly freeze your brownies and preserve their optimal texture and flavor: first, ensure the brownies have cooled completely to room temperature. This is crucial to prevent condensation and ice crystals from forming. Next, wrap the entire brownie slab or individual squares tightly with plastic wrap, making sure there are no gaps for air to enter. After the plastic wrap, add another layer of protection by wrapping them again with aluminum foil. This double-wrapping technique helps prevent freezer burn. Store them in the freezer for up to 3 months.
If you prefer to freeze individual brownie bites, follow the same meticulous wrapping technique for each piece. When you’re ready to indulge, simply let the frozen brownies thaw on your countertop for a few hours. If immediate gratification is required, a quick zap in the microwave will warm them through beautifully, restoring their gooey perfection.
Watch the Magic Unfold: How to Make No Cocoa Powder Brownies!
This exceptional brownie recipe, made without cocoa powder, now comes with its very own step-by-step video tutorial! Follow along to see the precise process for baking your next batch of fresh, homemade, intensely fudgy brownies without a hint of cocoa.
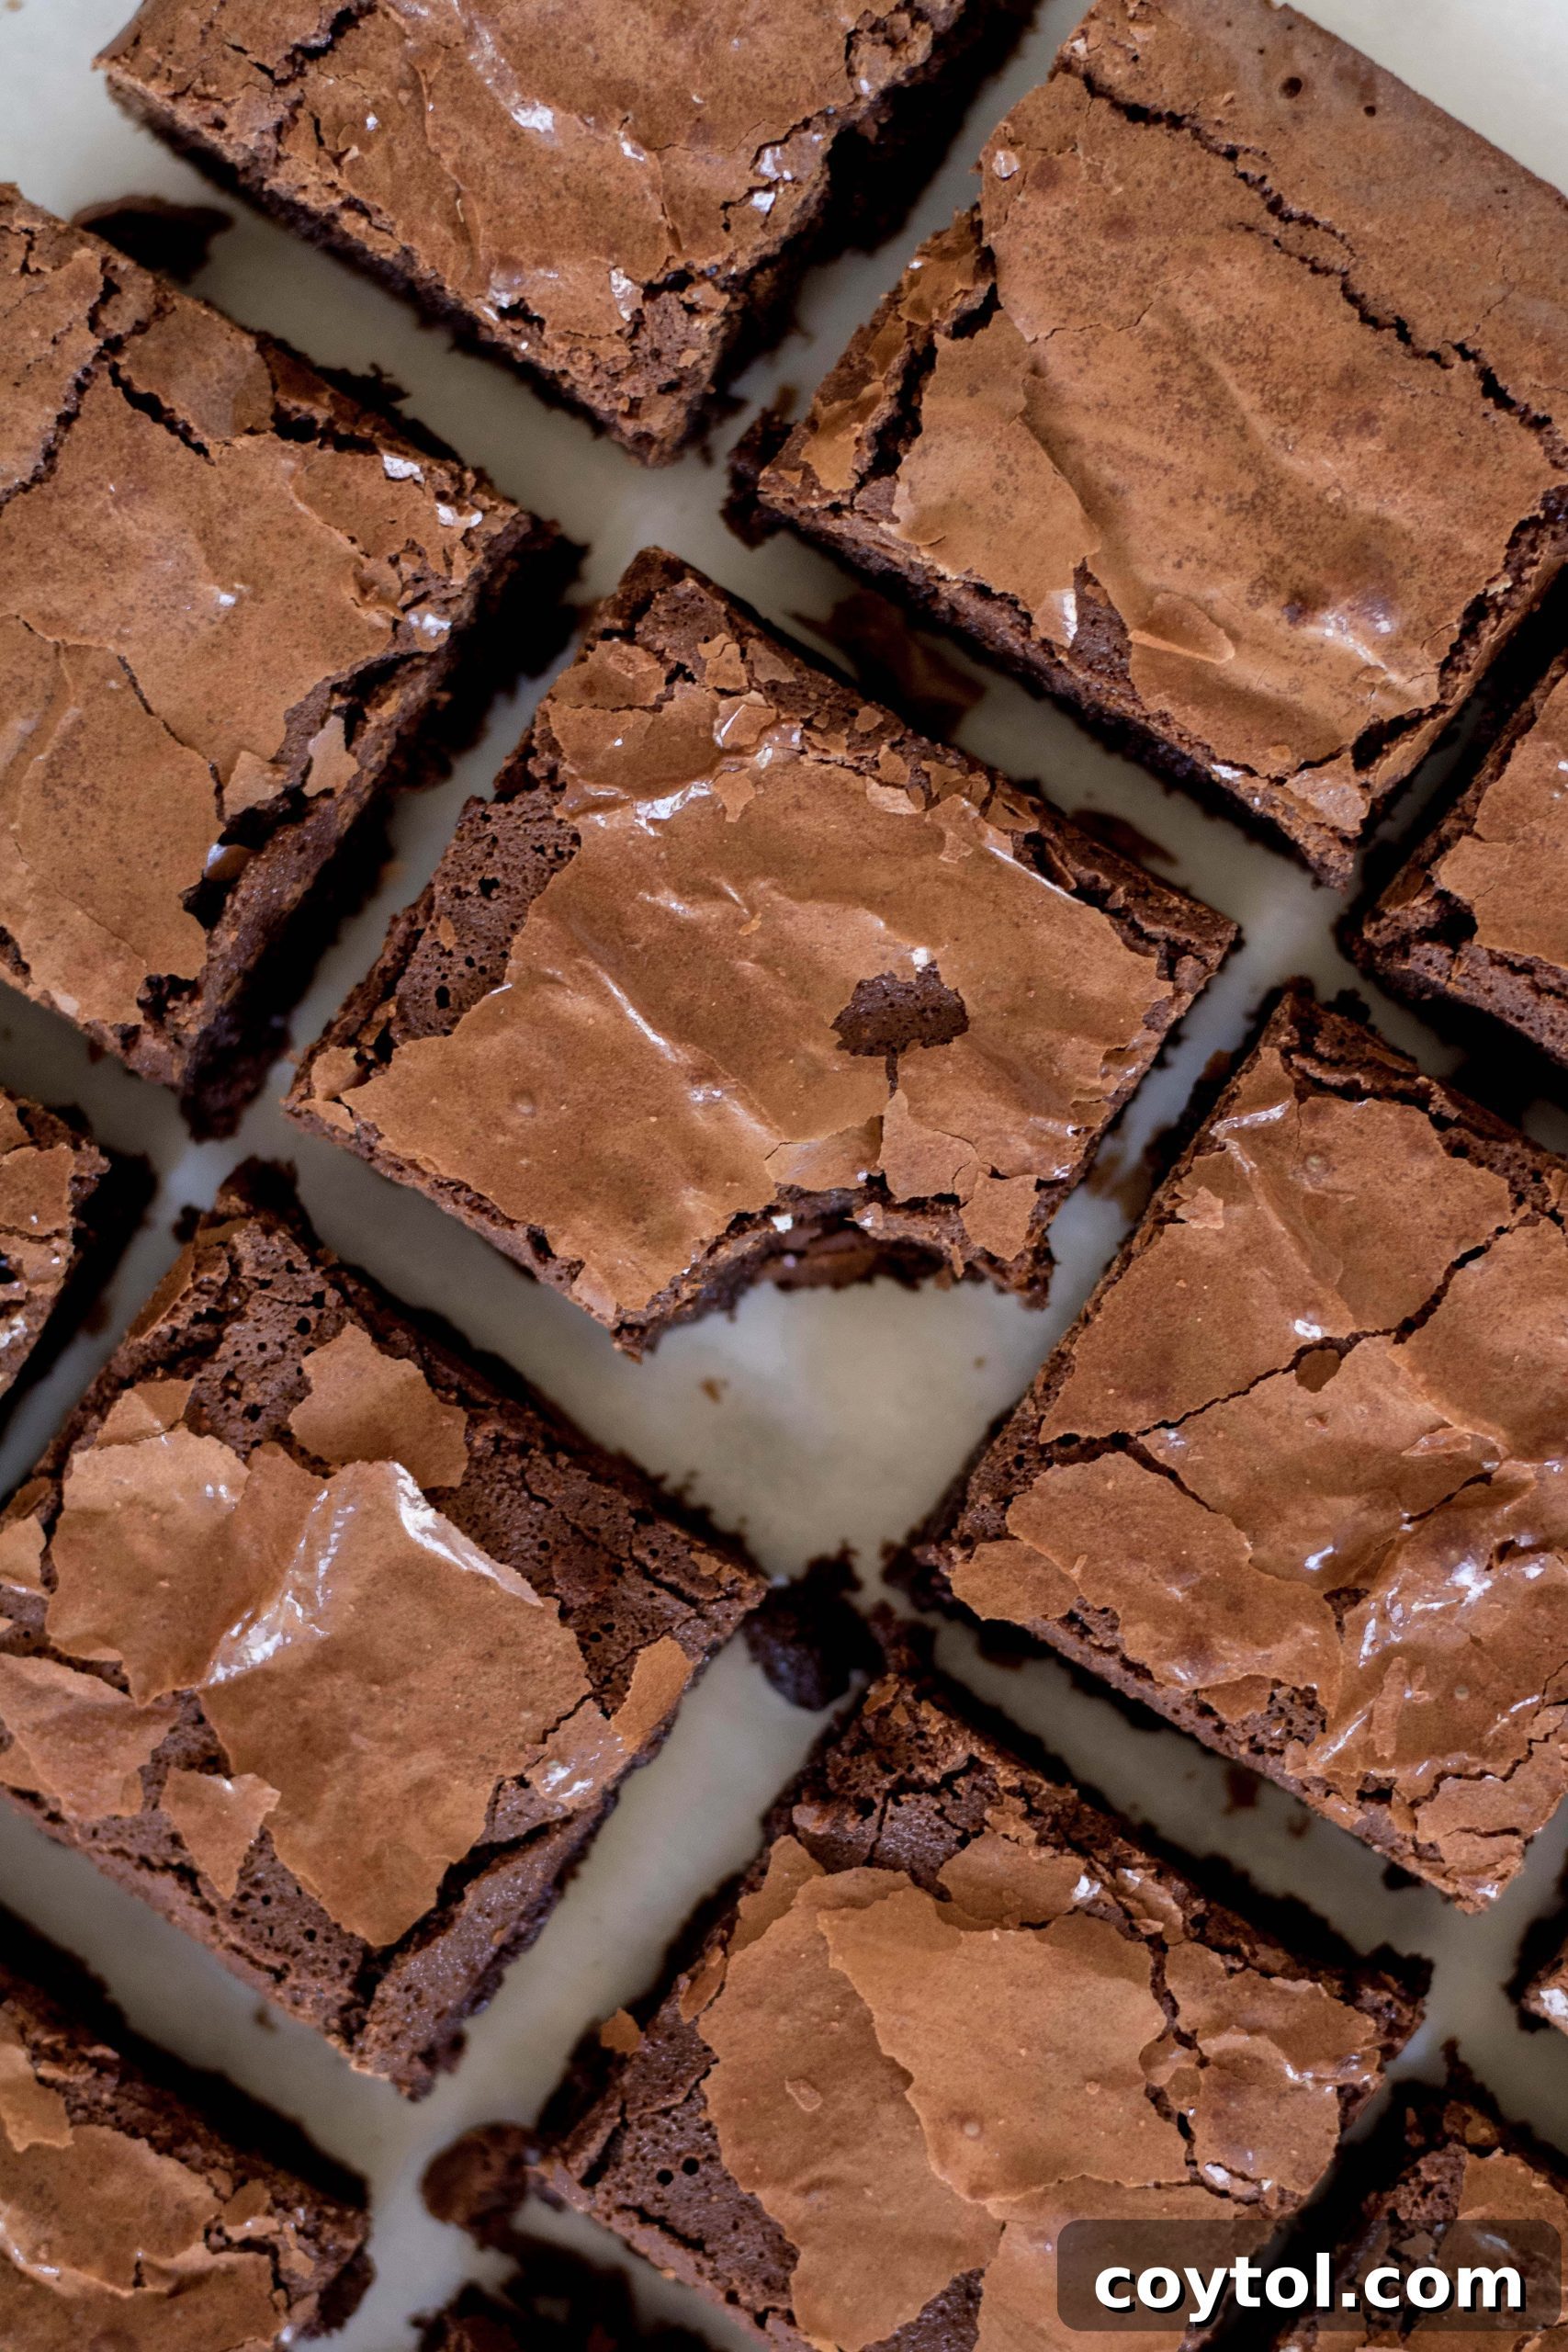
Bakery-Style Fudgy Brownies With No Cocoa Powder
If you’ve ever yearned to create intensely gooey and fudgy brownies from scratch, this recipe is tailor-made for you! It’s designed to deliver that coveted bakery texture and rich chocolate flavor every single time. If you try this recipe, please consider leaving a 5-star review! Your feedback helps me immensely and encourages others to discover this amazing treat.
[VIDEO] The Ultimate Fudgy Brownies With No Cocoa Powder
Pin Recipe
Equipment
-
8X8 inch baking pan
Ingredients
- 8 oz 70% bittersweet chocolate coarsely chopped
- 6 tbsp unsalted butter cut into smaller chunks
- 1/2 cup light brown sugar packed
- 3 large eggs
- 1/2 cup granulated sugar
- 1/4 tsp salt
- 1 tsp vanilla extract
- 1/3 cup all-purpose flour
Instructions
-
First, preheat your oven to 350°F (175°C). Lightly grease an 8×8 inch (20×20 cm) baking pan and line it with parchment paper, leaving an overhang on two sides to create “slings.” Set the prepared pan aside.
-
Place the coarsely chopped chocolate in a heatproof bowl. Set this bowl over a wide pot of water that is barely simmering (a bain-marie), ensuring the bottom of the bowl does not touch the water. Stir frequently until the chocolate is completely melted and smooth. Remove the bowl from the heat and immediately stir in the unsalted butter (cut into smaller chunks) and the packed light brown sugar. Whisk until everything is fully combined and smooth. Set this rich chocolate mixture aside to cool slightly while you prepare the eggs.
-
In a medium bowl or the bowl of a stand mixer, combine the large eggs, granulated sugar, salt, and vanilla extract. Beat with a handheld mixer or stand mixer on medium-high speed for 3-4 minutes, until the mixture is thick, pale yellow, and voluminous. This aeration is key for a shiny, crinkled top. Gently whisk the slightly cooled melted chocolate mixture into the egg mixture until just combined. Finally, with a rubber spatula, carefully fold in the all-purpose flour until no dry streaks remain. Be careful not to overmix.
-
Scrape the luxurious brownie batter into your prepared baking pan and spread it evenly. Bake for 25-30 minutes. The edges should appear set, but the center may still seem slightly soft – this is essential for maximum fudginess. Allow the brownies to cool completely in the pan on a wire rack for at least an hour. Once cooled, use the parchment paper slings to gently remove the entire brownie slab from the pan. For cleaner slices, chill in the refrigerator for an additional hour before cutting into squares. Slice and savor every intensely fudgy bite!
Video Tutorial
Chef’s Notes
- Always use the parchment paper overhang technique! It makes removing your perfectly baked brownies from the pan effortless once they’ve cooled.
- For even richer flavor, ensure your eggs are at room temperature. This allows them to emulsify better with the chocolate mixture, leading to a smoother, more uniform batter.
Nutrition Information
Exciting Brownie Flavor Variation Ideas to Explore
Ready to take your brownie game to the next level and impress even the most discerning palates? While these no-cocoa brownies are spectacular on their own, they also serve as a perfect canvas for creative flavor additions. Here are a couple of enticing options to try:
- Espresso Infusion: For a richer, deeper, and more intense chocolate flavor that coffee lovers will adore, add 2-3 teaspoons of instant espresso powder or instant coffee powder to your melted chocolate mixture. Coffee is a magical ingredient that enhances chocolate notes without making the brownies taste like coffee.
- Decadent Ganache or Frosting Topping: Transform these already incredible brownies into an even more extravagant dessert by adding a luscious topping. Once the brownies have cooled, spread a layer of homemade chocolate ganache, a rich buttercream frosting (like a cream cheese or vanilla frosting), or even a salted caramel sauce over the top. Be warned: this variation significantly increases the richness, so proceed at your own risk of addiction!
Still Craving More Delicious Recipes? Discover These Next!
- Small Batch Coffee Frosting: Perfect for Any Dessert!
- Effortless 5-Minute Air Fryer Donuts
- The Easiest & Healthiest Trail Mix Energy Bars
As always, if you’ve tried and loved this incredible homemade no cocoa powder brownie recipe, please do me a huge favor and leave a comment below. Your valuable feedback lets me know how much you enjoyed them and what you thought. I pour a lot of passion and effort into creating and sharing these recipes, and your engagement truly means the world to me!
Wishing you a fantastic rest of your day, filled with delicious treats and happy moments.
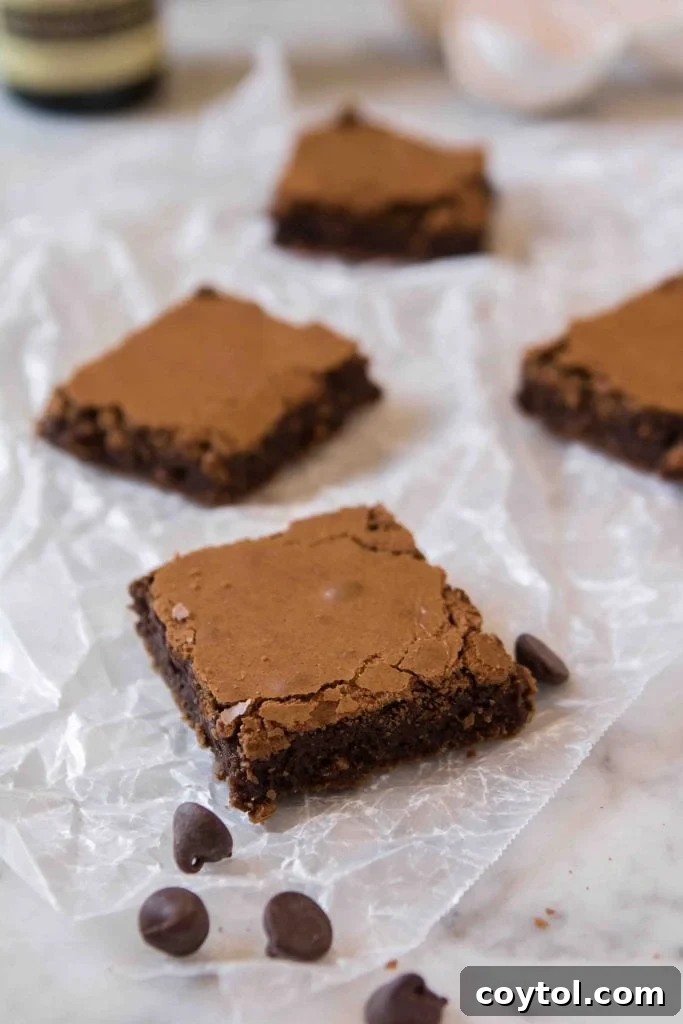
Shop Essential Tools & Ingredients for This Recipe
This post may contain affiliate links, meaning that at no additional cost to you, I will earn a small commission on purchases made through my links. Your support helps keep this blog running!
Loved This No Cocoa Powder Brownie Recipe? Pin It for Later!