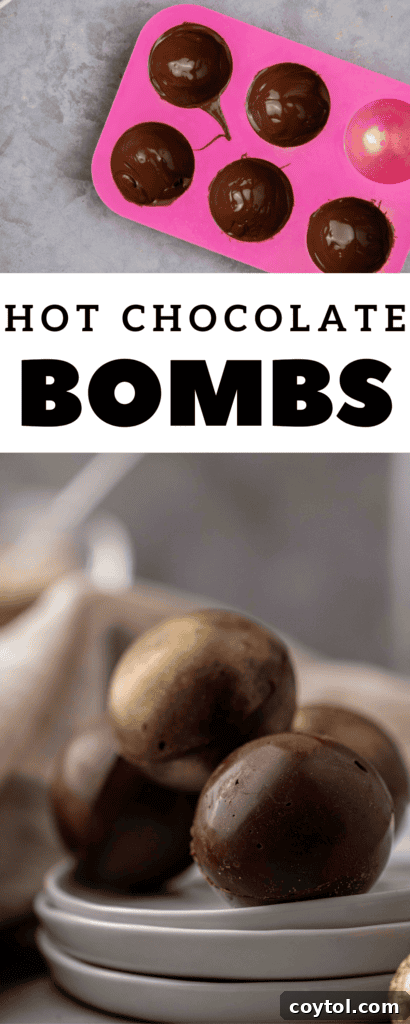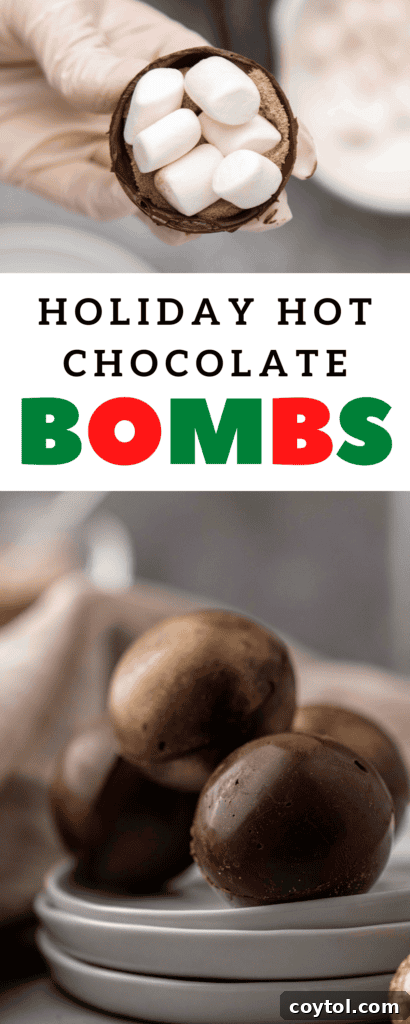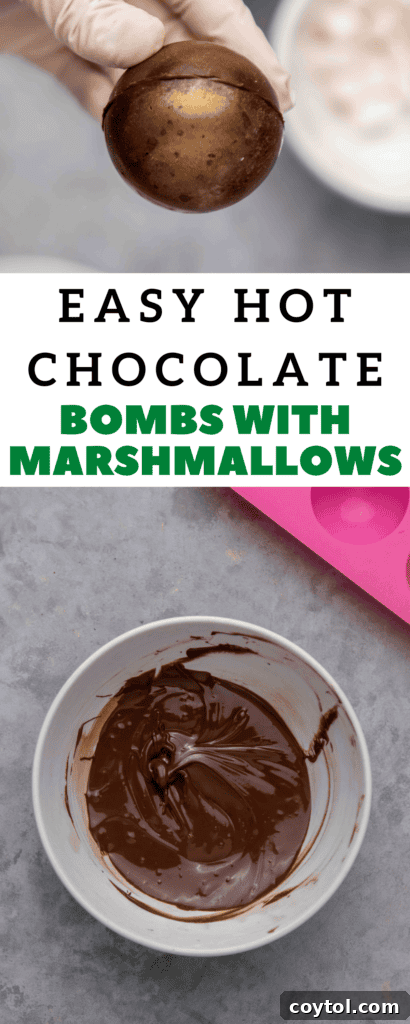
Hot chocolate bombs, often called hot cocoa bombs or marshmallow bombs, burst onto the scene in 2020 as a delightful and magical treat. These whimsical creations offer a fun, interactive way to enjoy a classic winter drink. While you might spot them in stores, the true joy lies in crafting them at home, especially with loved ones. Imagine a hollow chocolate sphere, generously filled with premium hot chocolate mix and a cascade of mini marshmallows, ready to transform into the ultimate cozy beverage.
Unlock Exclusive Recipes: Join Our Community for a Free Weekly Meal Planner & Recipe Card!
Stay updated with our latest delicious creations and valuable culinary tips by subscribing to our mailing list. You’ll receive a complimentary weekly meal planner and a new recipe card delivered straight to your inbox, making your cooking journey even more enjoyable and organized.
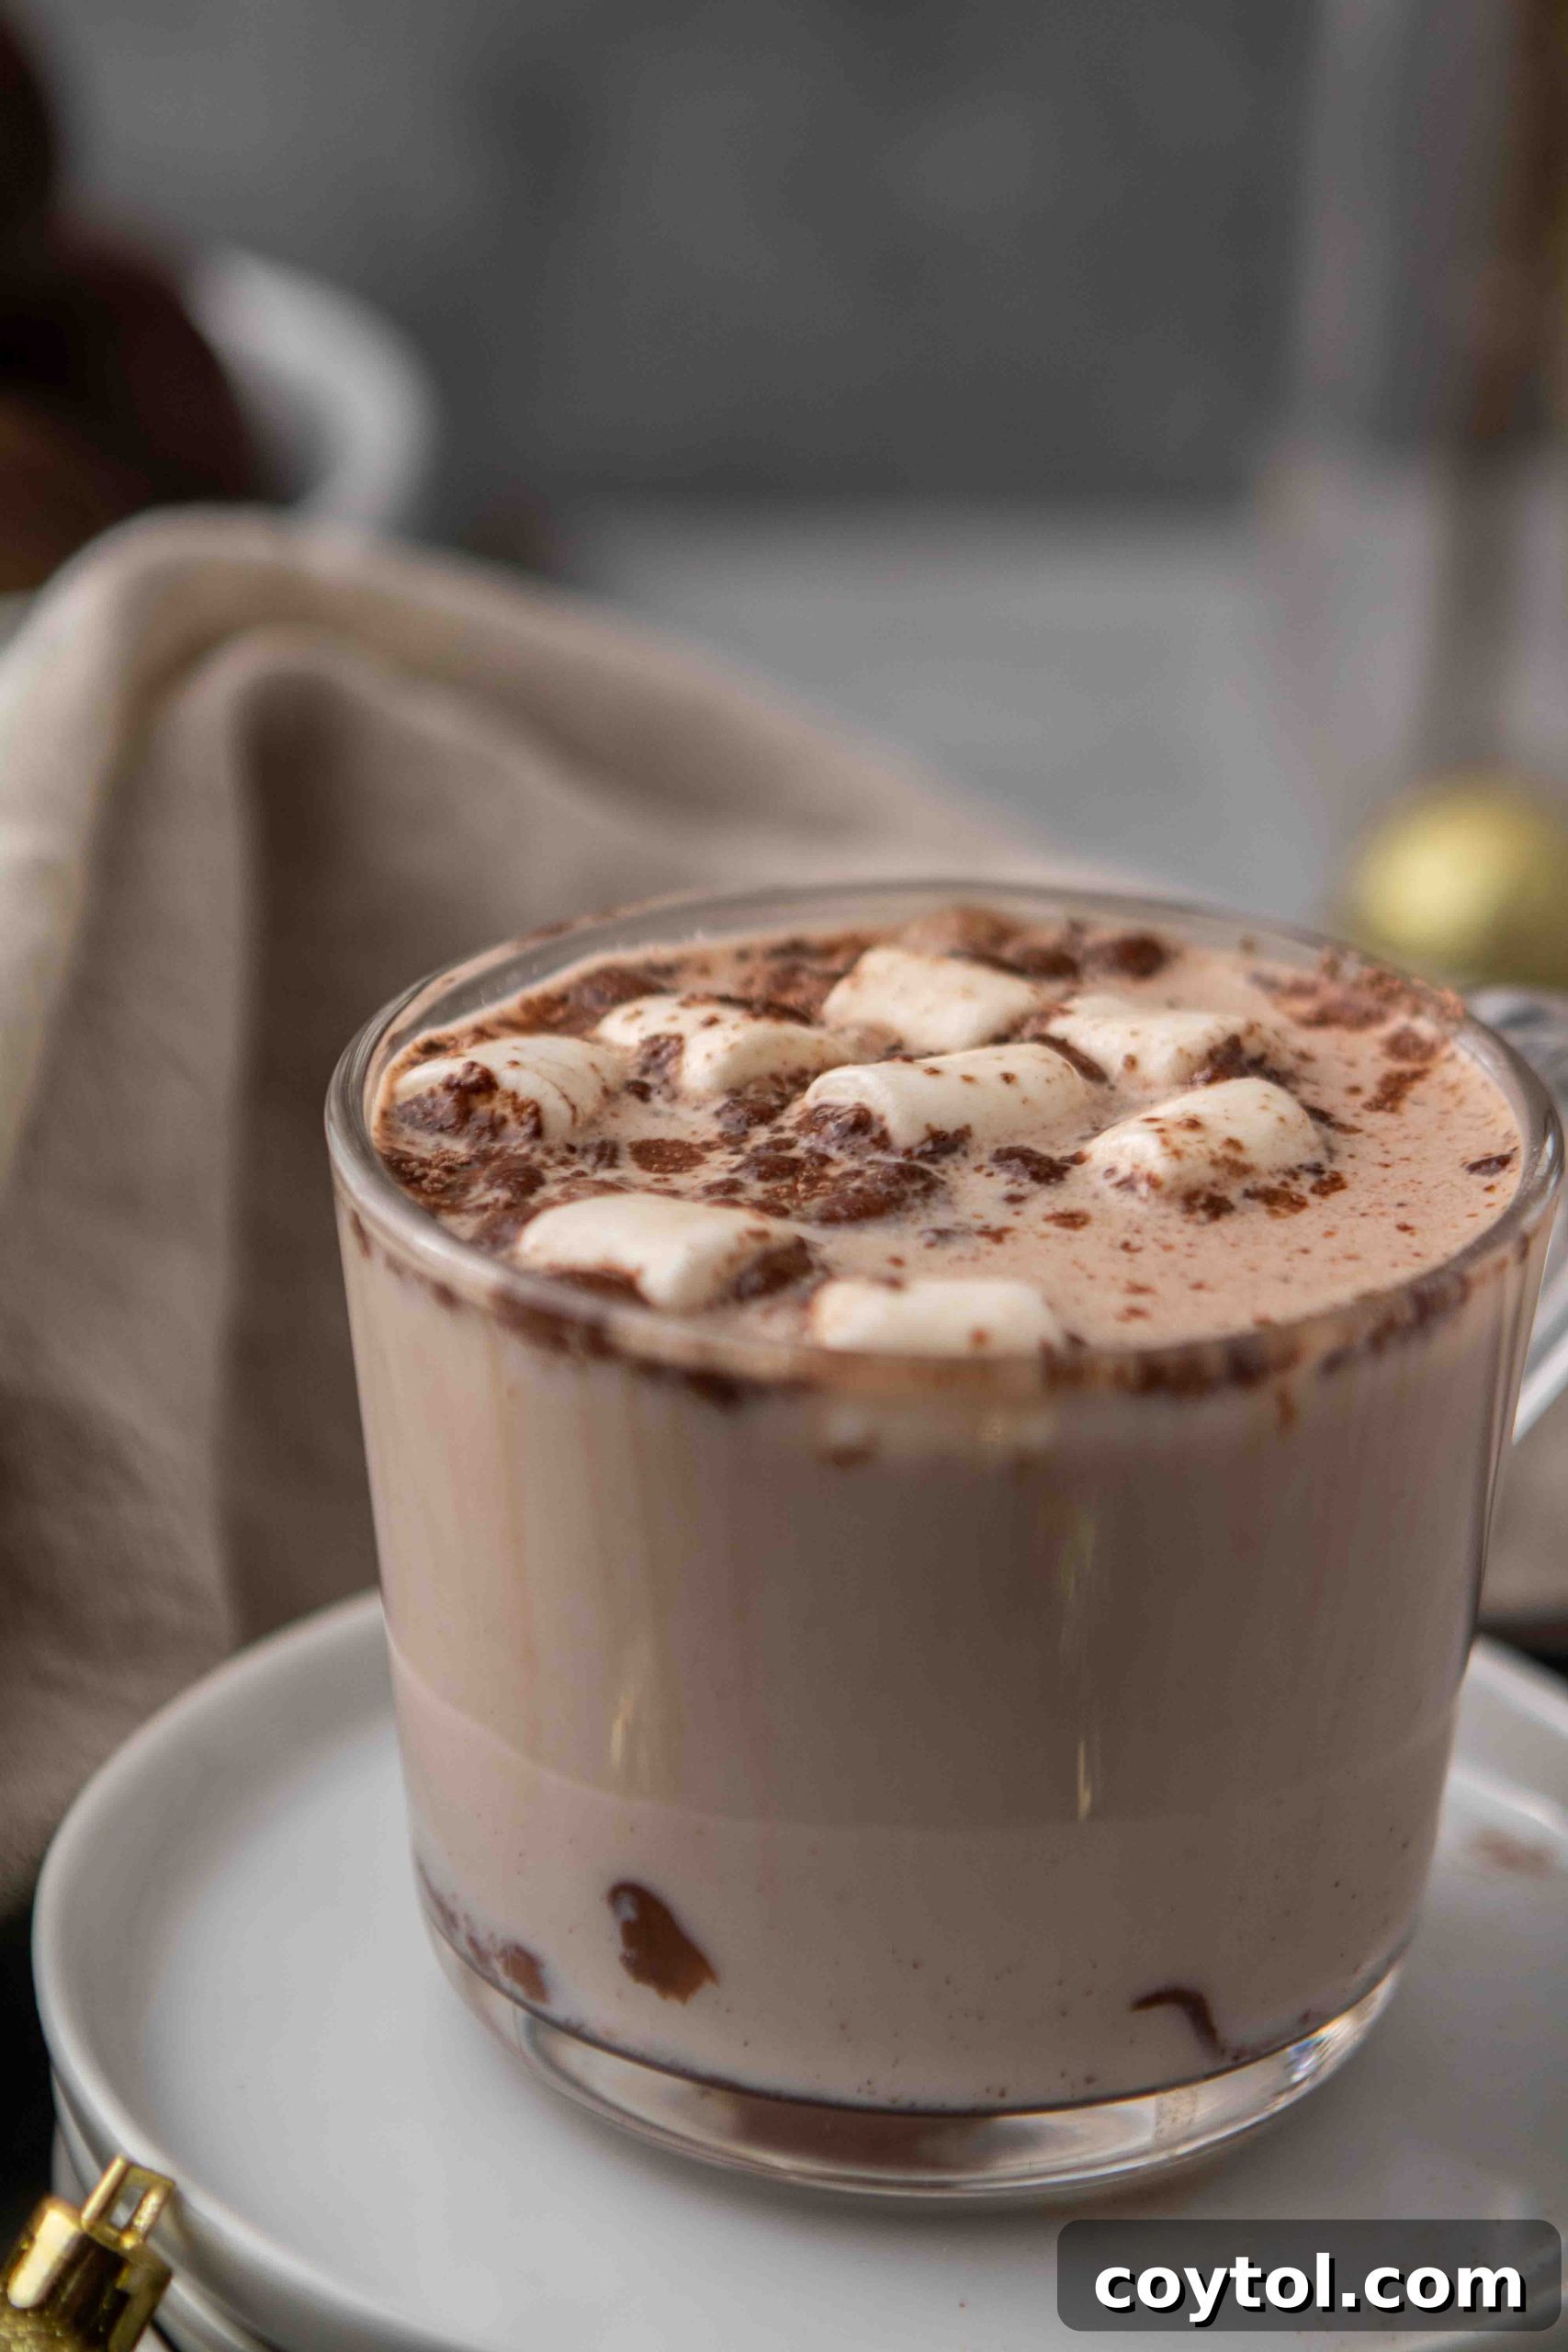
This recipe has been a long time coming. I initially planned to create and share these enchanting hot chocolate bombs last year, envisioning them as perfect holiday gifts and a cozy blog feature. However, time slipped away, and the shorter winter days didn’t lend themselves well to capturing the perfect recipe photos. A year later, I find myself regretting the delay, because these treats are absolutely spectacular!
Now, more than ever, with many of us spending more time at home, these hot chocolate bombs offer a fantastic and engaging activity. They are not just a drink; they are an experience, a miniature spectacle that brings warmth and smiles. Perfect for a cozy evening, a fun family project, or a thoughtful handmade gift, these bombs are truly a bright spot.
Crafting Hot Chocolate Marshmallow Bombs: A Deliciously Fun Endeavor!
Let me share a little secret: during my college years, I had a particular fondness for the hot chocolate from 7/11. I know, it might sound a bit unconventional for a foodie, but as a perpetually broke student, it was a budget-friendly indulgence that hit the spot every single time. The magic of those self-serve dispensers was the sheer customization – adding extra milk, a splash of coffee, or even a shot of caramel macchiato transformed a simple drink into a personalized masterpiece. My inner barista would rejoice, all for less than $2!
Fast forward to today, as a (supposedly) grown-up individual navigating the comforts of home, I’m dedicated to recreating those beloved experiences and flavors right in my own kitchen. Especially during these times, the joy of crafting something special from scratch, like these hot chocolate bombs, is immensely satisfying. It’s about elevating simple pleasures and making everyday moments a little more extraordinary, without having to leave the house.
Why Are Hot Chocolate Bombs So Captivating? The Magic of a Perfect Winter Drink
There are countless reasons to fall in love with hot chocolate bombs. They offer a unique blend of visual appeal, engaging activity, and delicious satisfaction. Here are just a few of the things that make them truly special:
- Irresistibly Cute: Their spherical shape and often decorative finishes make them incredibly appealing, perfect for gifting or a festive display.
- Ideal Christmas Stocking Stuffers: Thoughtful and creative, these bombs are fantastic additions to holiday stockings or as small, heartfelt presents.
- Surprisingly Easy to Make: Despite their impressive appearance, hot chocolate bombs are straightforward to create, making them accessible for home bakers of all skill levels.
- Minimal Ingredients: You only need a few core ingredients to bring these delightful treats to life, simplifying your shopping list.
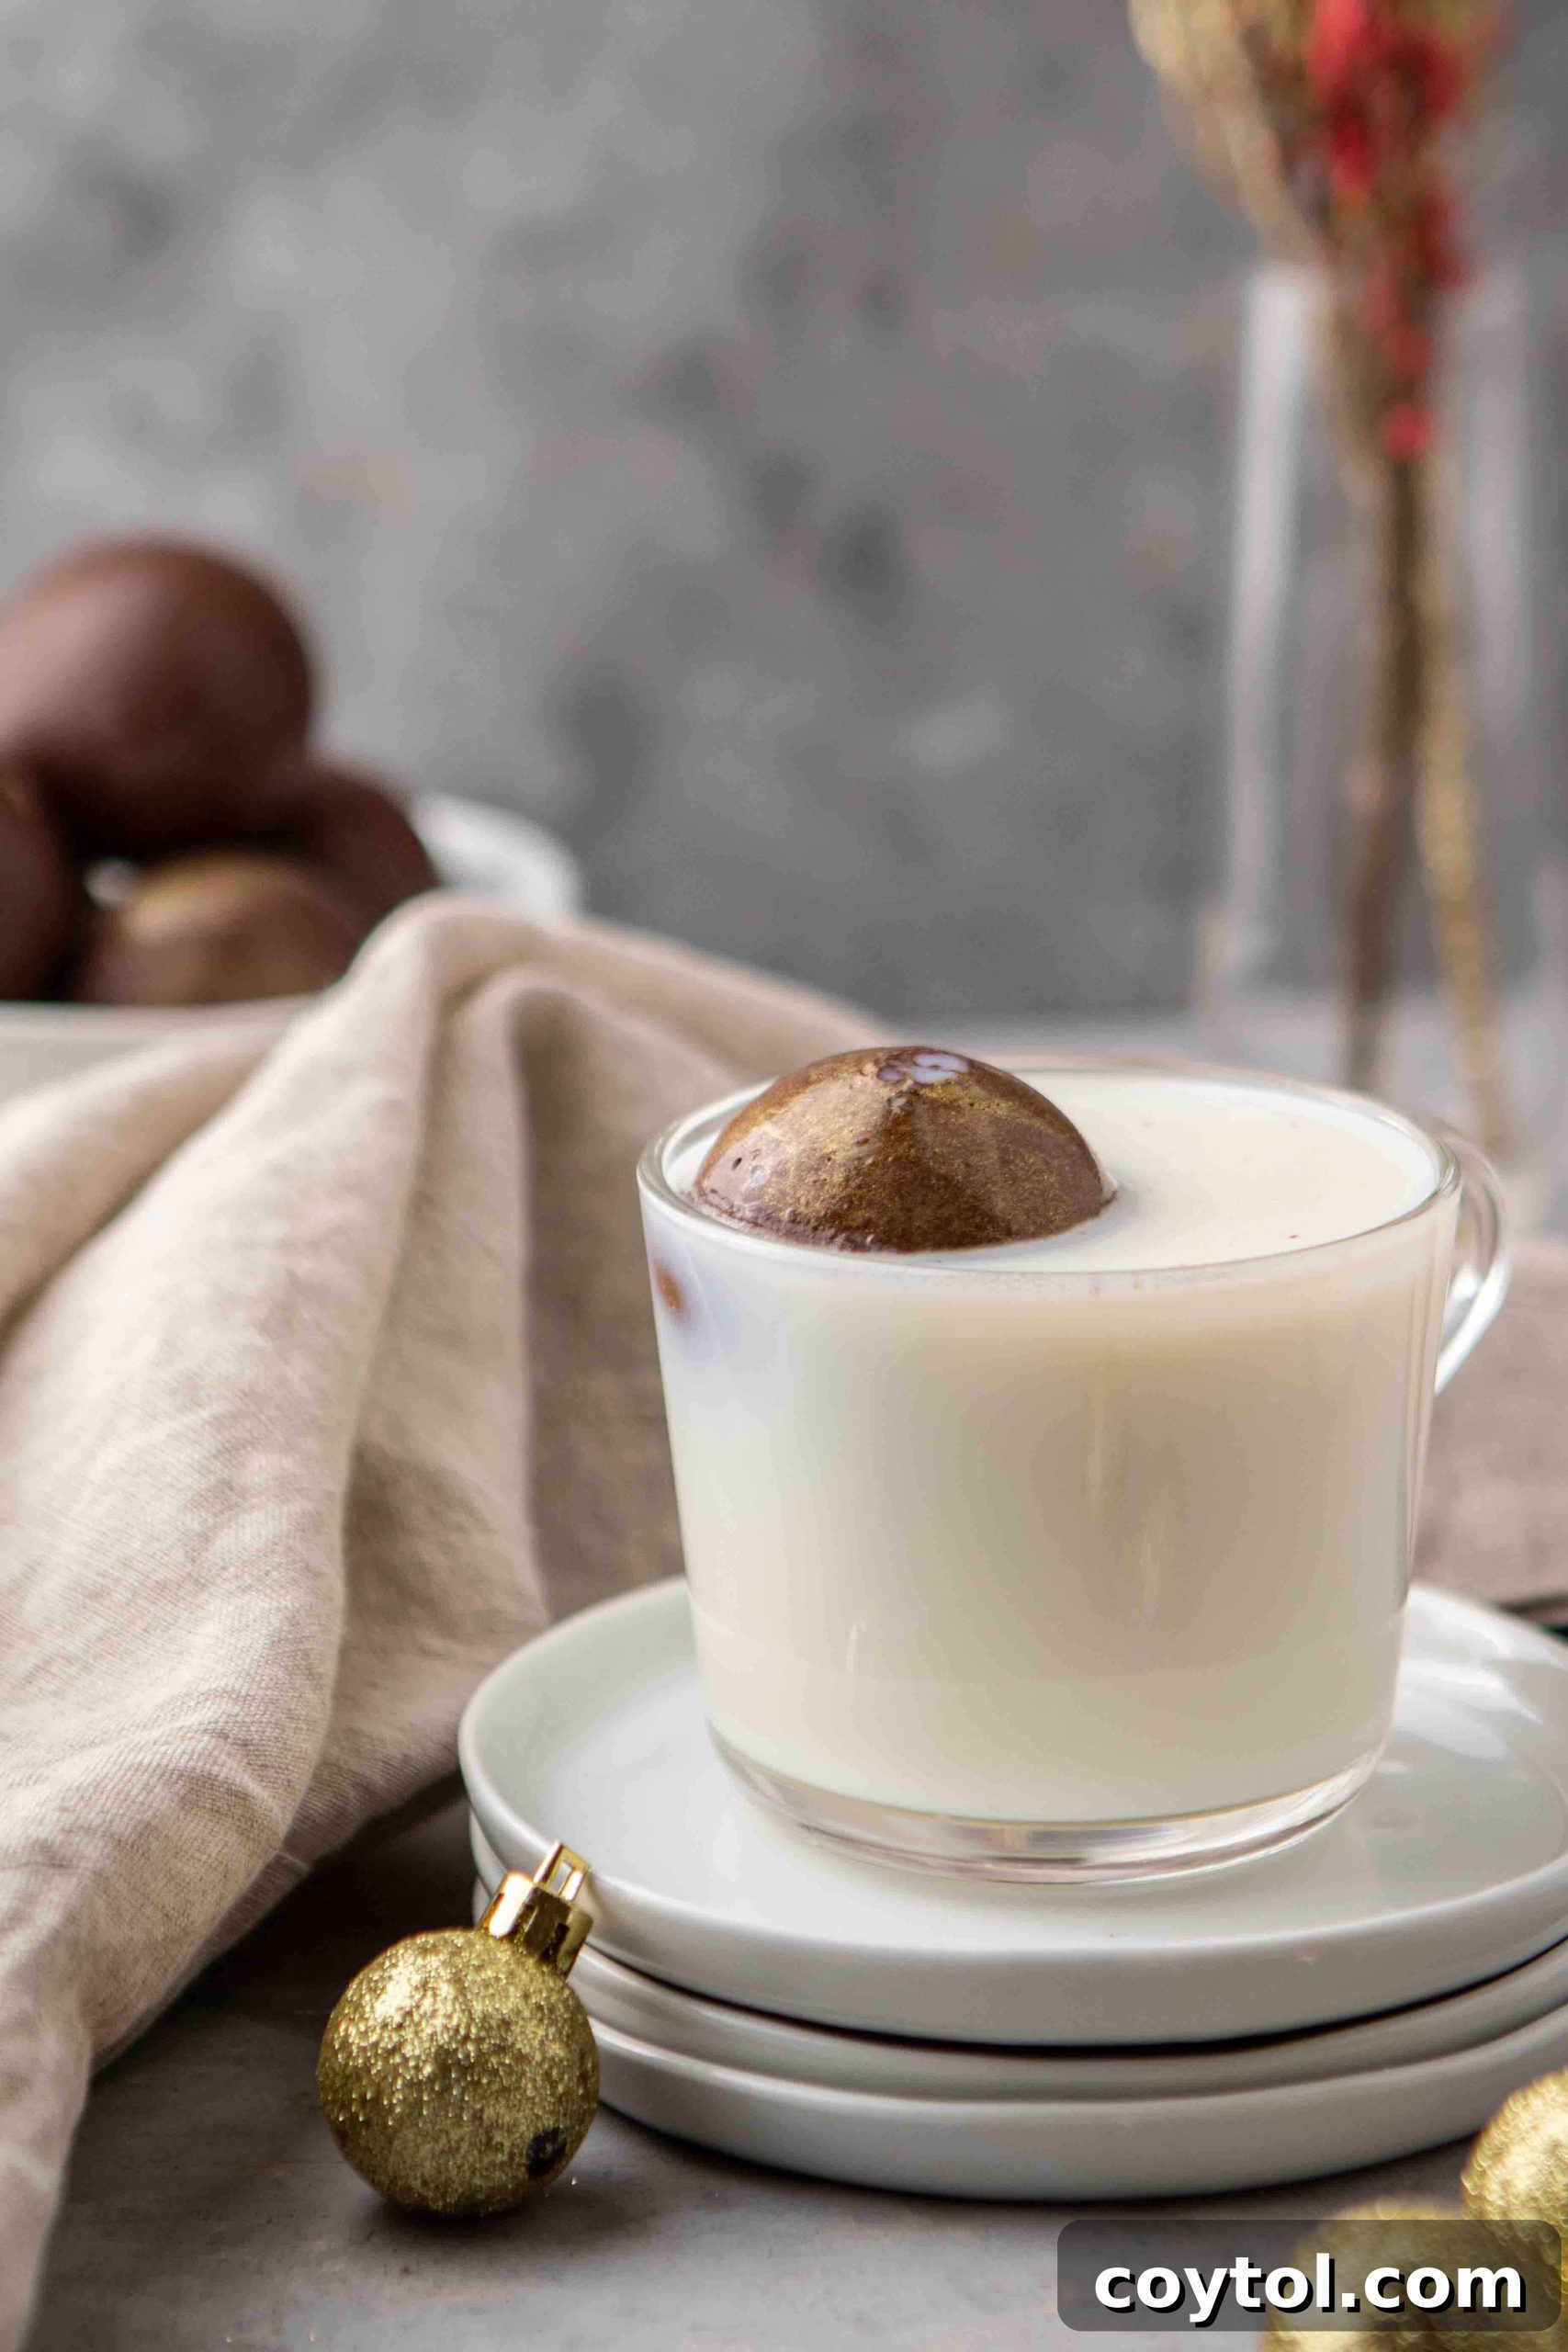
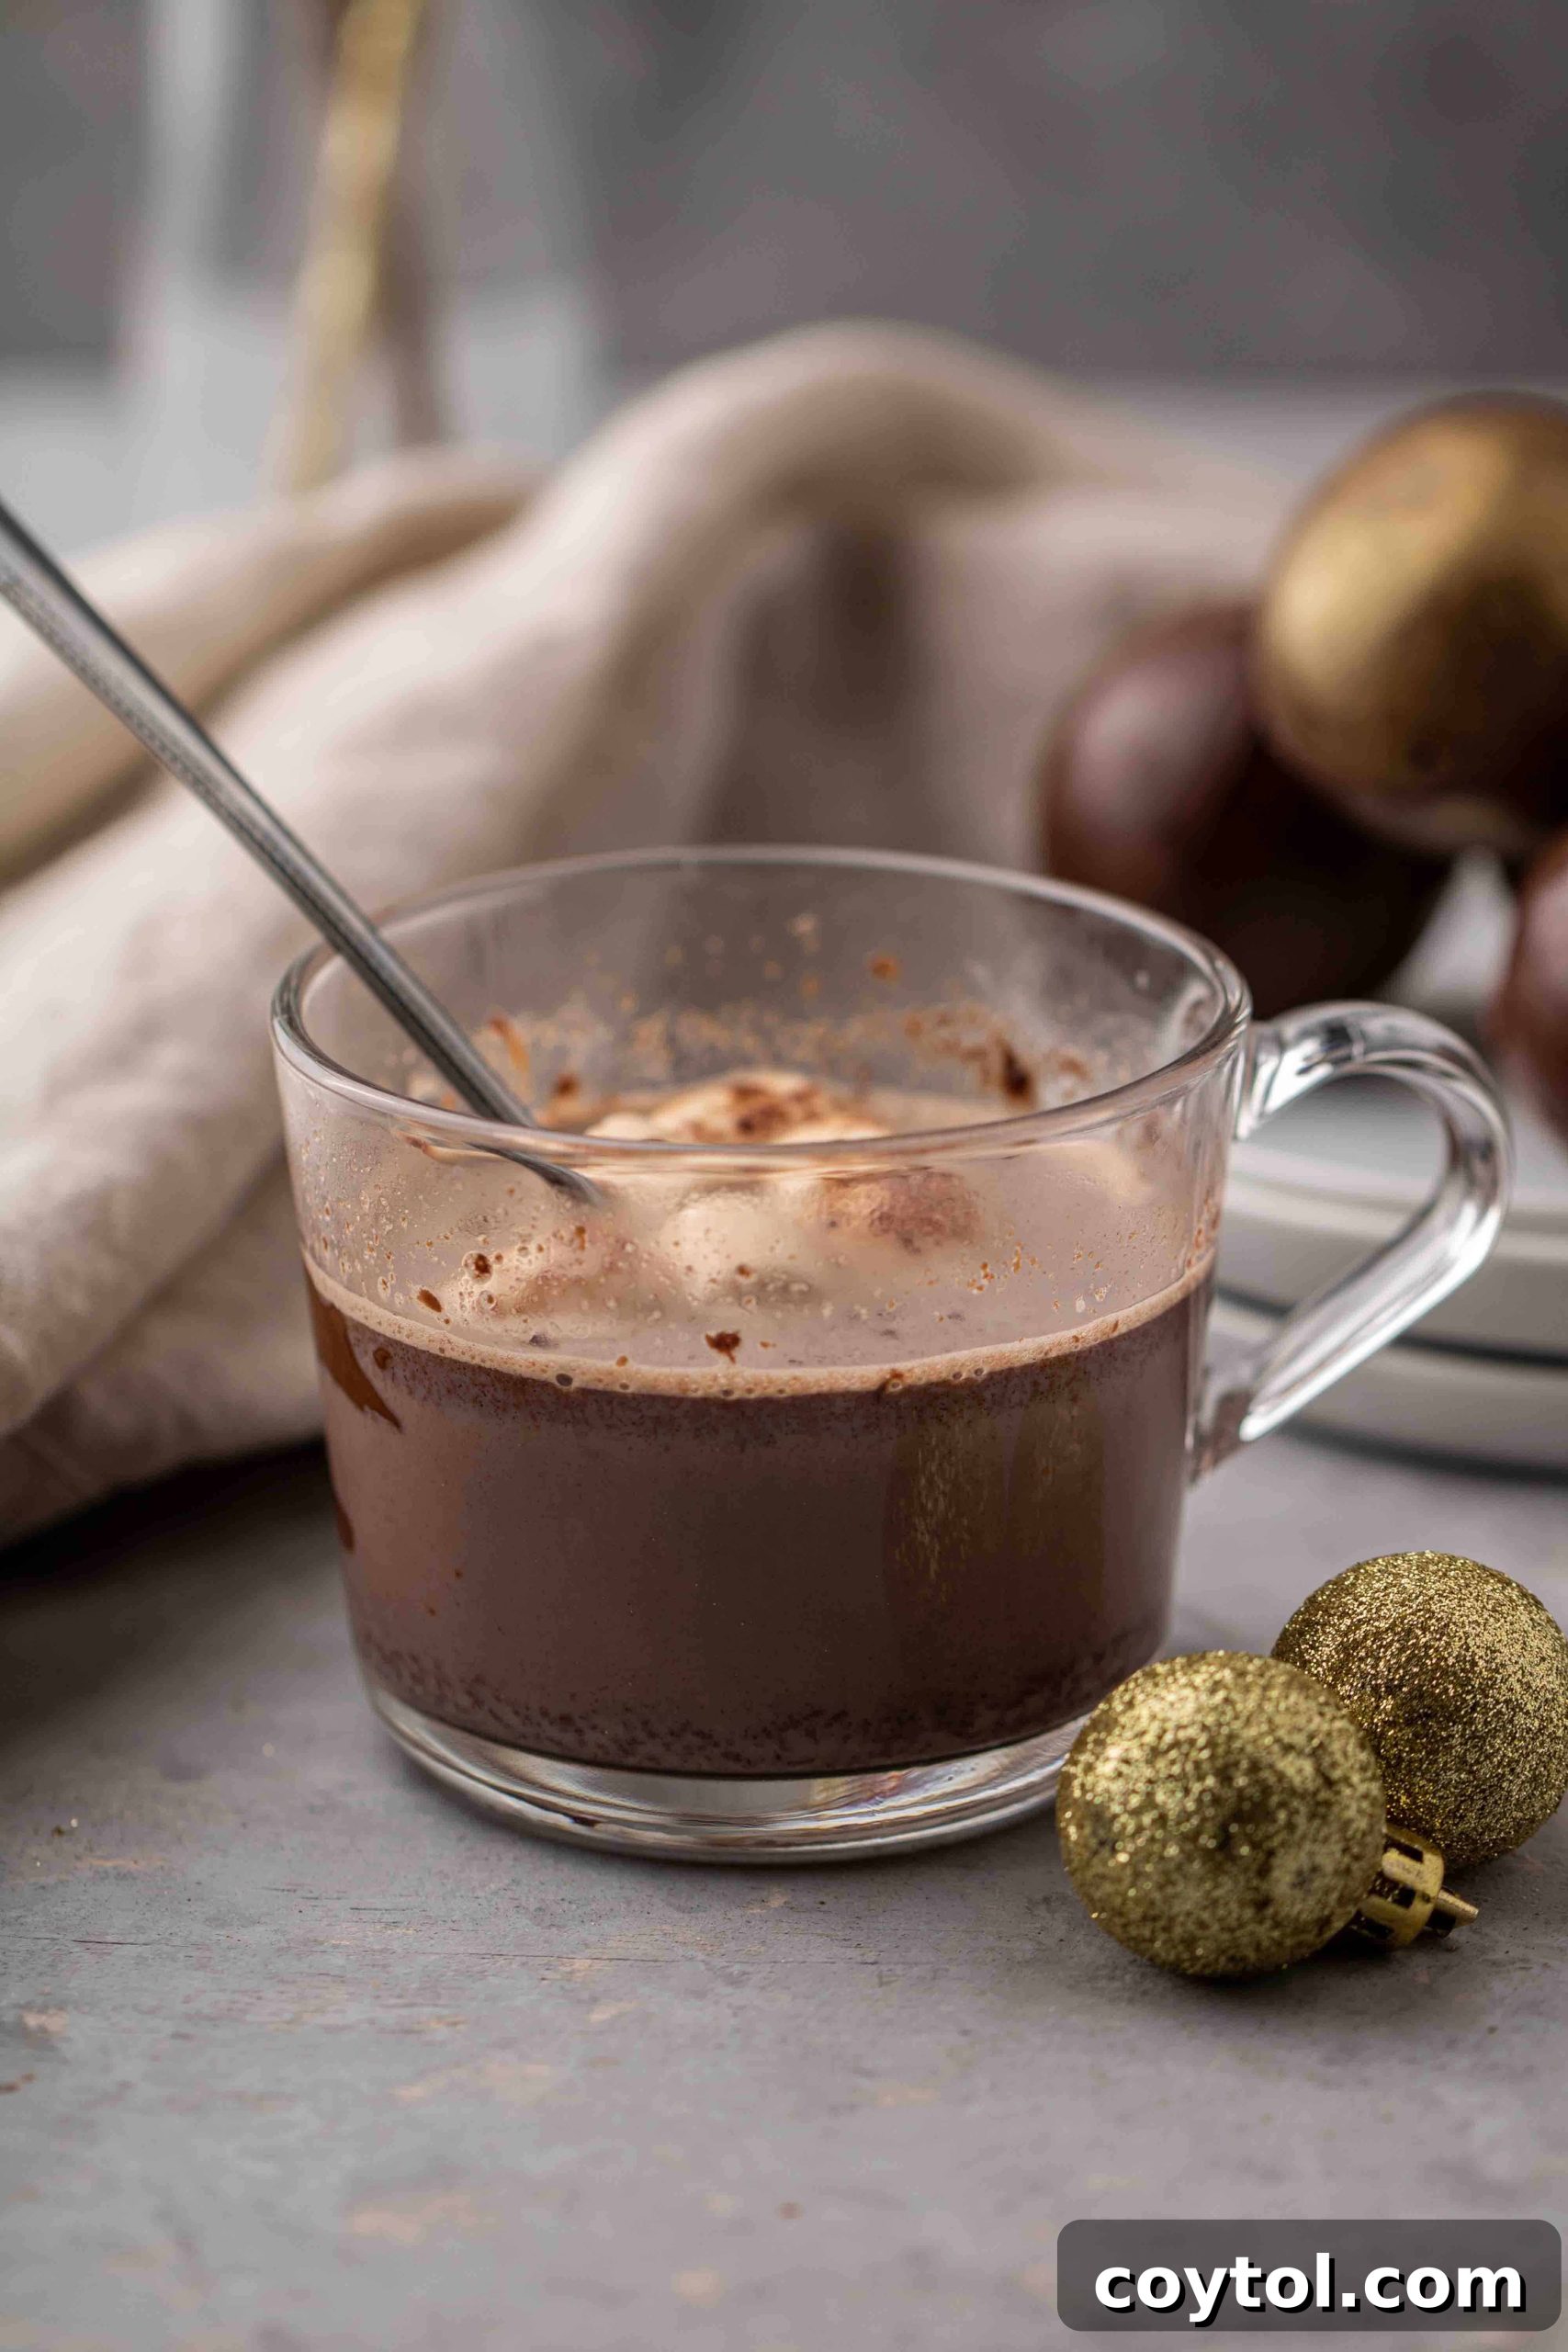
- A Melting Spectacle: The most enchanting part is pouring hot milk over the bomb and watching it elegantly melt away, revealing the delicious contents within. It’s a moment of pure culinary magic!
Understanding the Hot Chocolate Bomb: More Than Just a Drink
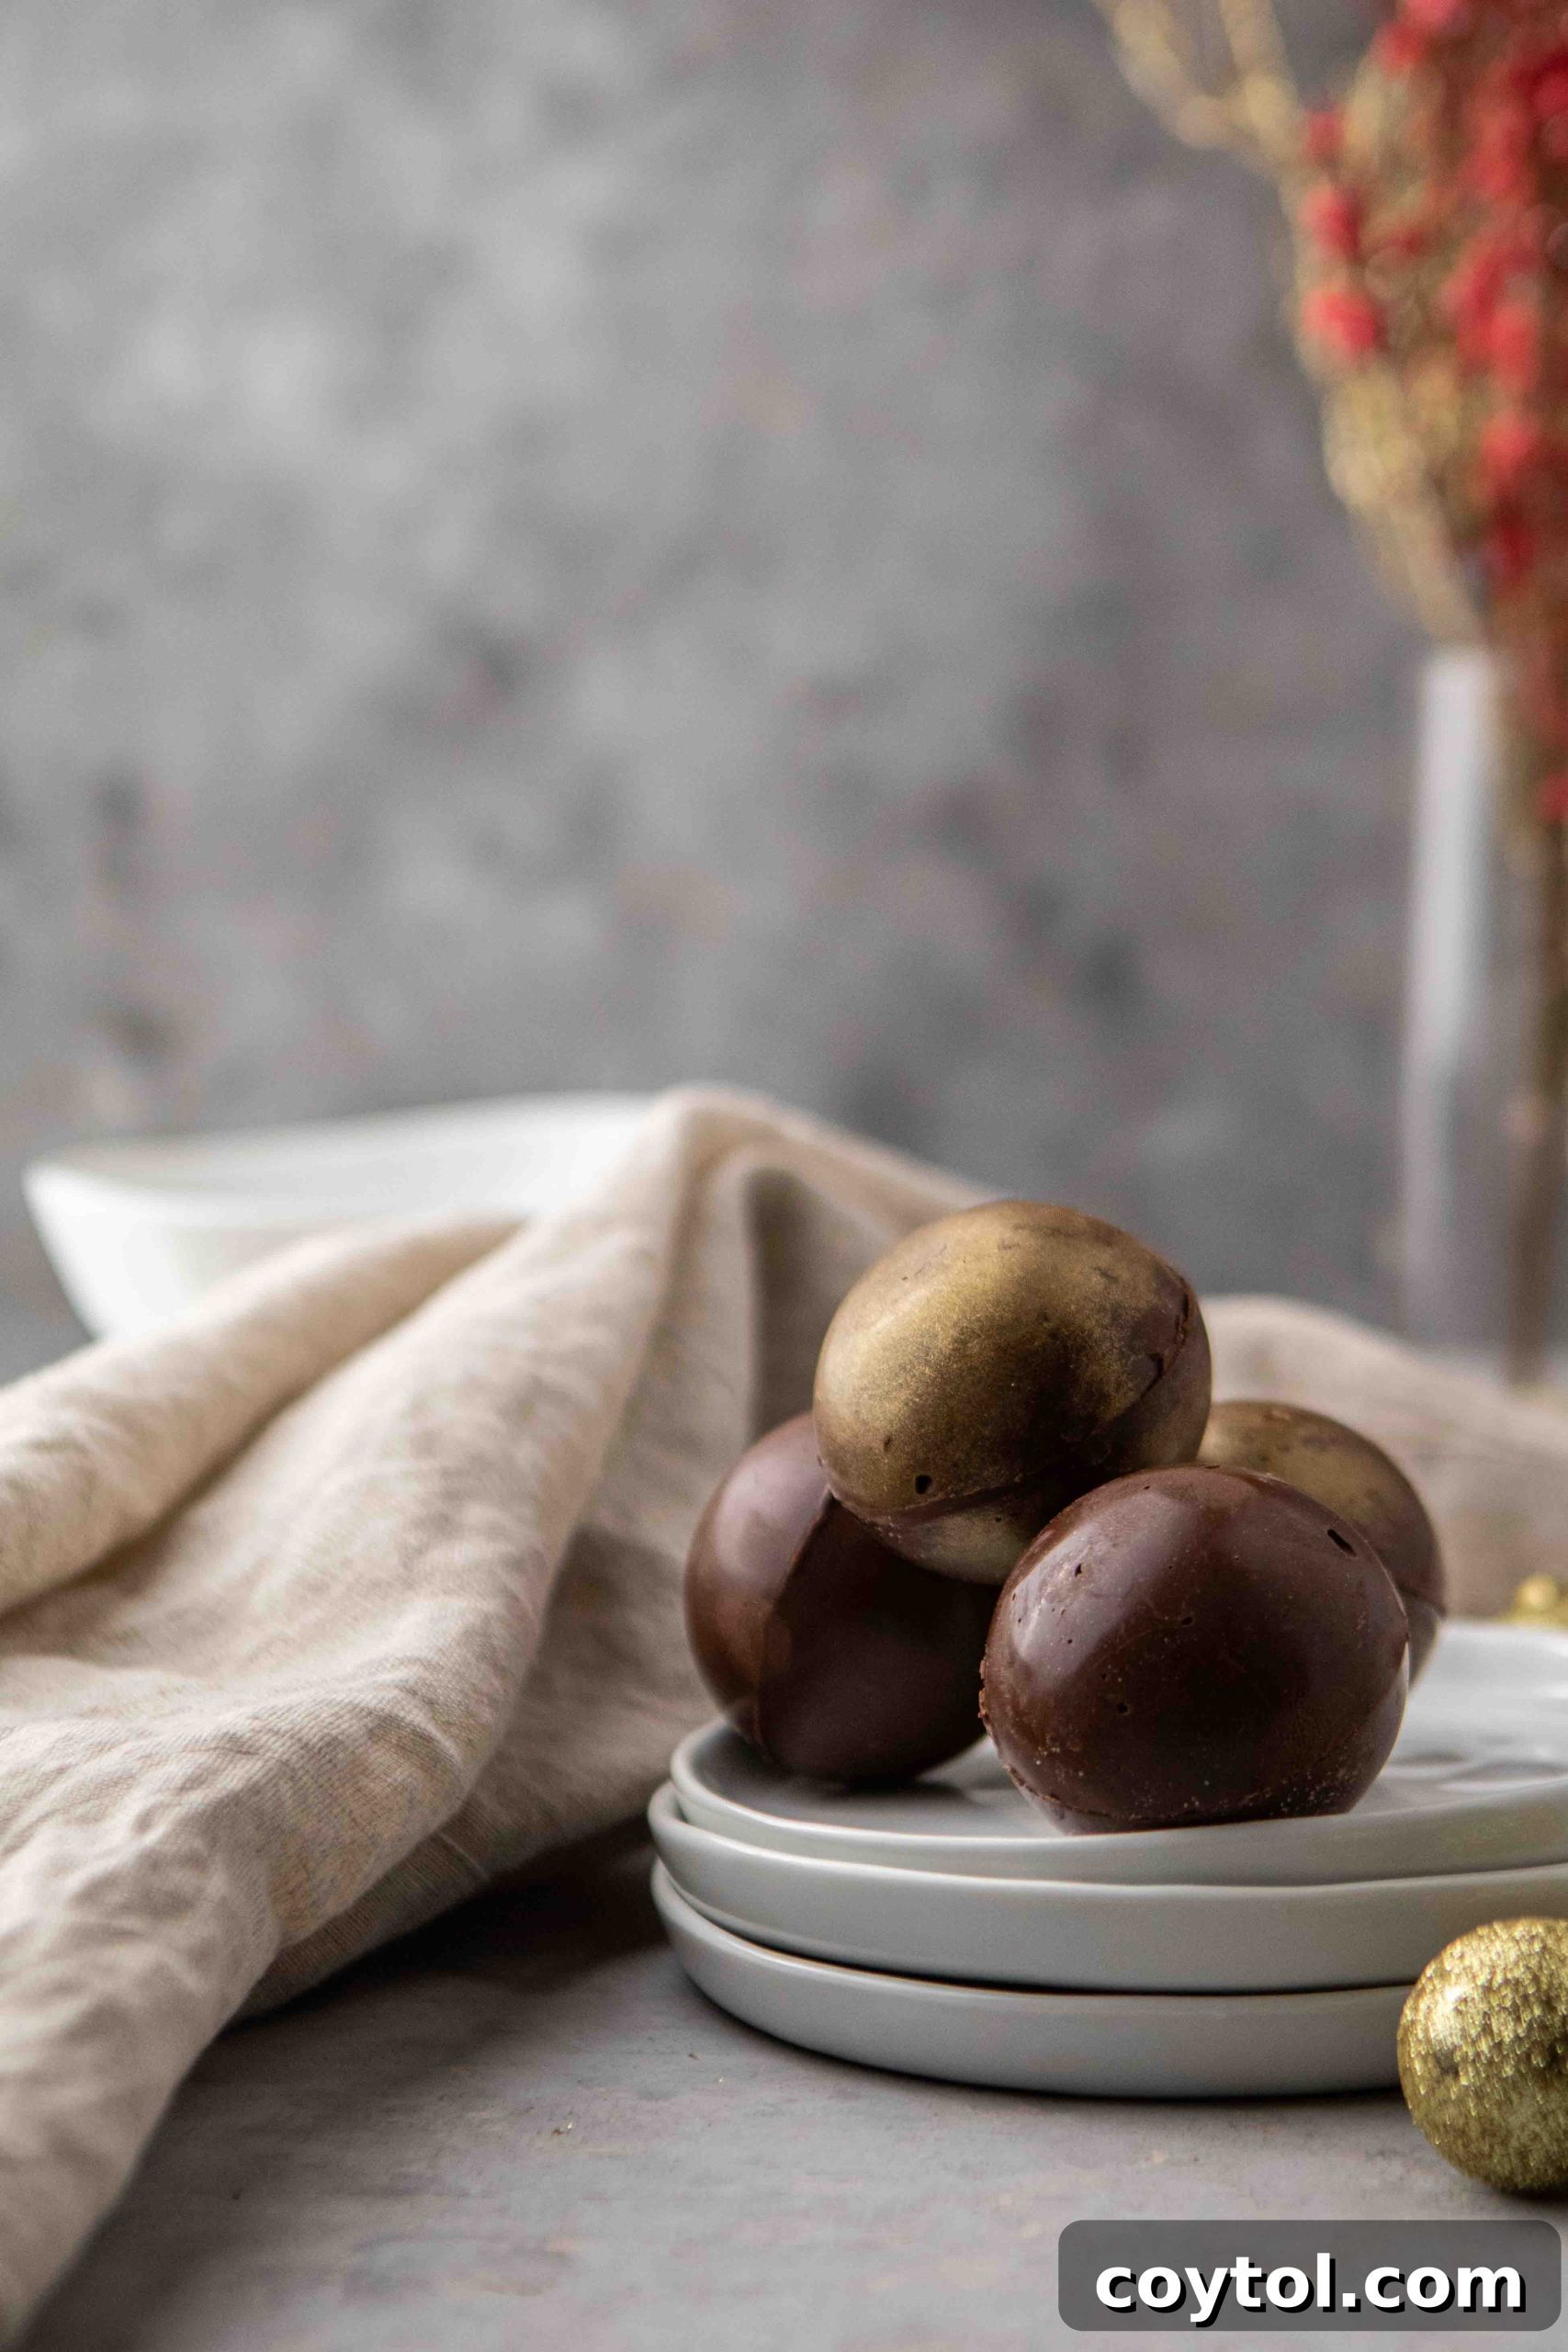
At its core, a hot chocolate bomb is a hollow sphere meticulously crafted from melted chocolate. This delicate shell encases a delightful treasure trove: a generous portion of hot chocolate mix and a scattering of mini marshmallows. The “bomb” moniker comes from the dramatic, yet gentle, “explosion” that occurs when hot liquid is poured over it. As the warm milk or water interacts with the chocolate shell, it begins to melt, dissolving the outer layer and dramatically releasing the internal ingredients. The marshmallows gracefully float to the surface, and the cocoa powder blends into the liquid, creating a rich, creamy, and wonderfully comforting hot chocolate.
Essential Ingredients for Homemade Hot Chocolate Bombs with Marshmallows
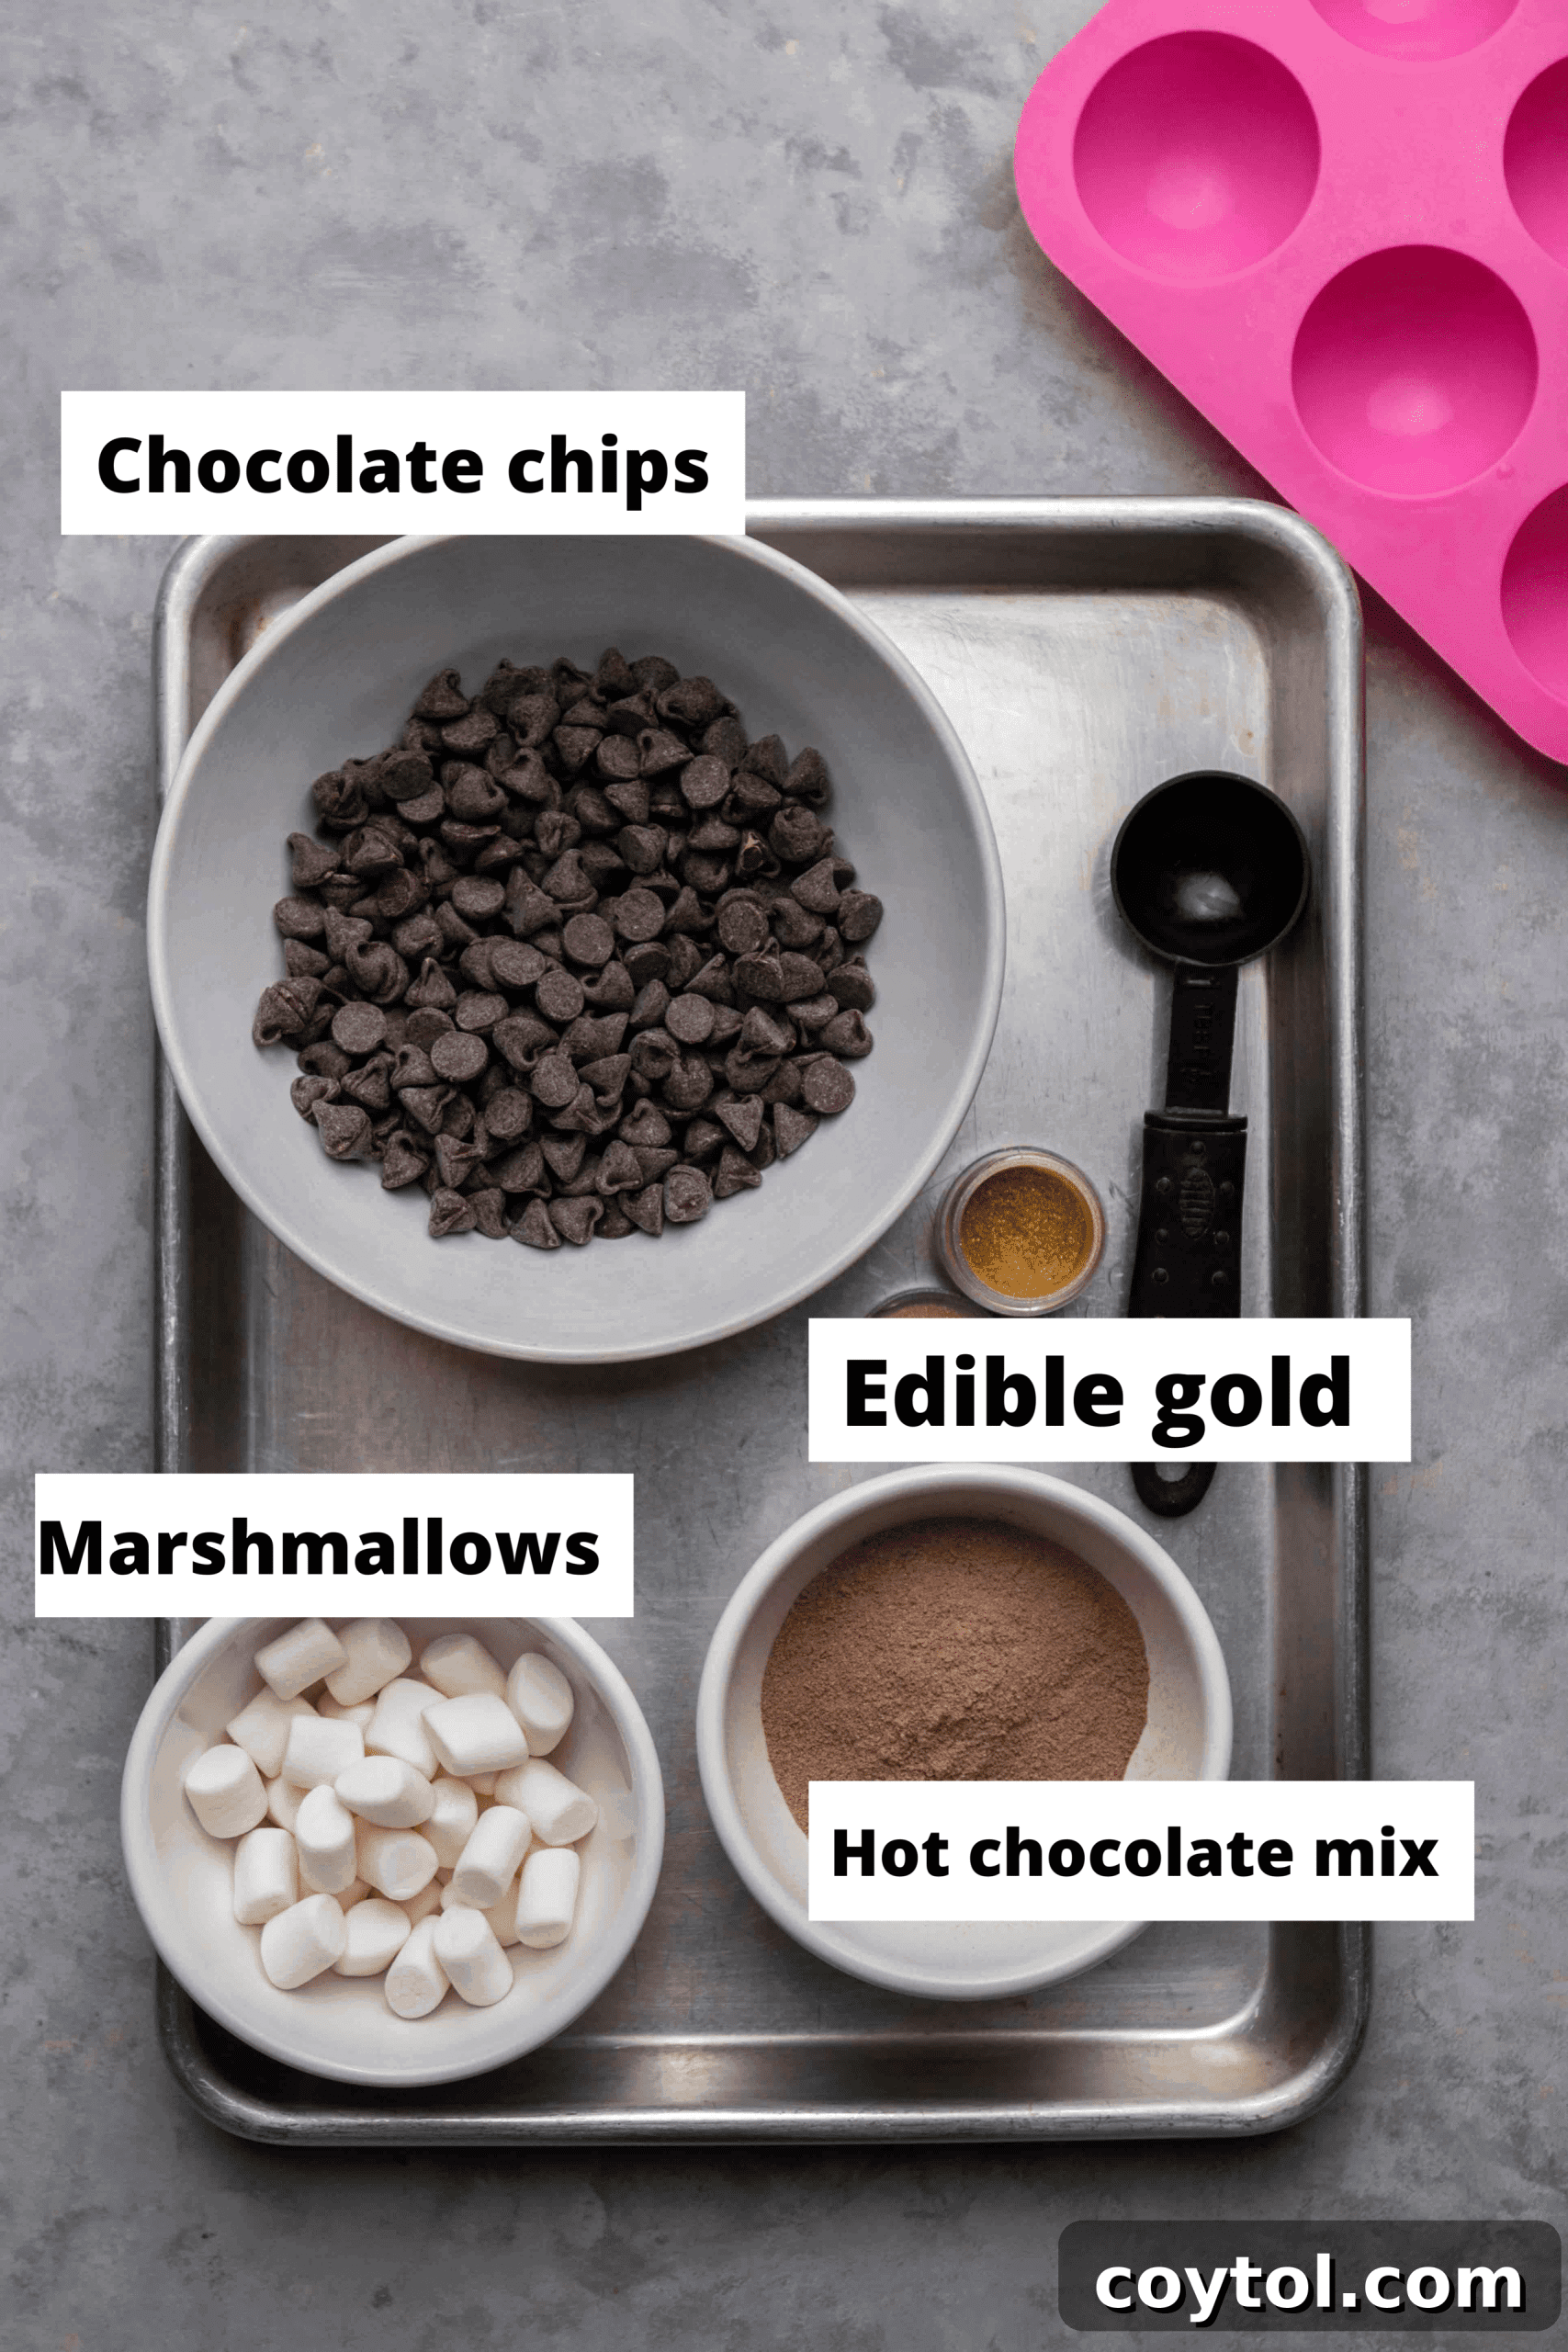
Creating your own delicious hot chocolate bombs at home requires just a few key components. The beauty of this recipe lies in its simplicity and the ability to customize it to your taste:
- Chocolate Chips: For the bombs pictured, I used semi-sweet chocolate chips, which provide a balanced sweetness. However, you have complete freedom to choose your favorite! Dark chocolate chips will yield a richer, more intense cocoa flavor, while milk chocolate chips will result in a sweeter, creamier hot chocolate. Experiment with white chocolate for a different flavor profile, or even flavored chocolates like peppermint for a festive twist.
- Hot Chocolate Mix: The quality and flavor of your hot chocolate mix will significantly impact the final drink. For this recipe, I enjoyed using a salted caramel hot chocolate mix from Trader Joe’s, which added a wonderful depth of flavor. Feel free to use your preferred brand, whether it’s classic milk chocolate, dark chocolate, or specialty flavors like peppermint, cinnamon, or even chili-infused cocoa for an adventurous kick.
- Mini Marshmallows: These are a must for the signature “explosion” effect! Any brand of mini marshmallows will work perfectly. I’ve even used vegan mini marshmallows with great success, proving that these bombs can be adapted to various dietary preferences. Consider adding different colored mini marshmallows for extra visual flair, especially for holidays.
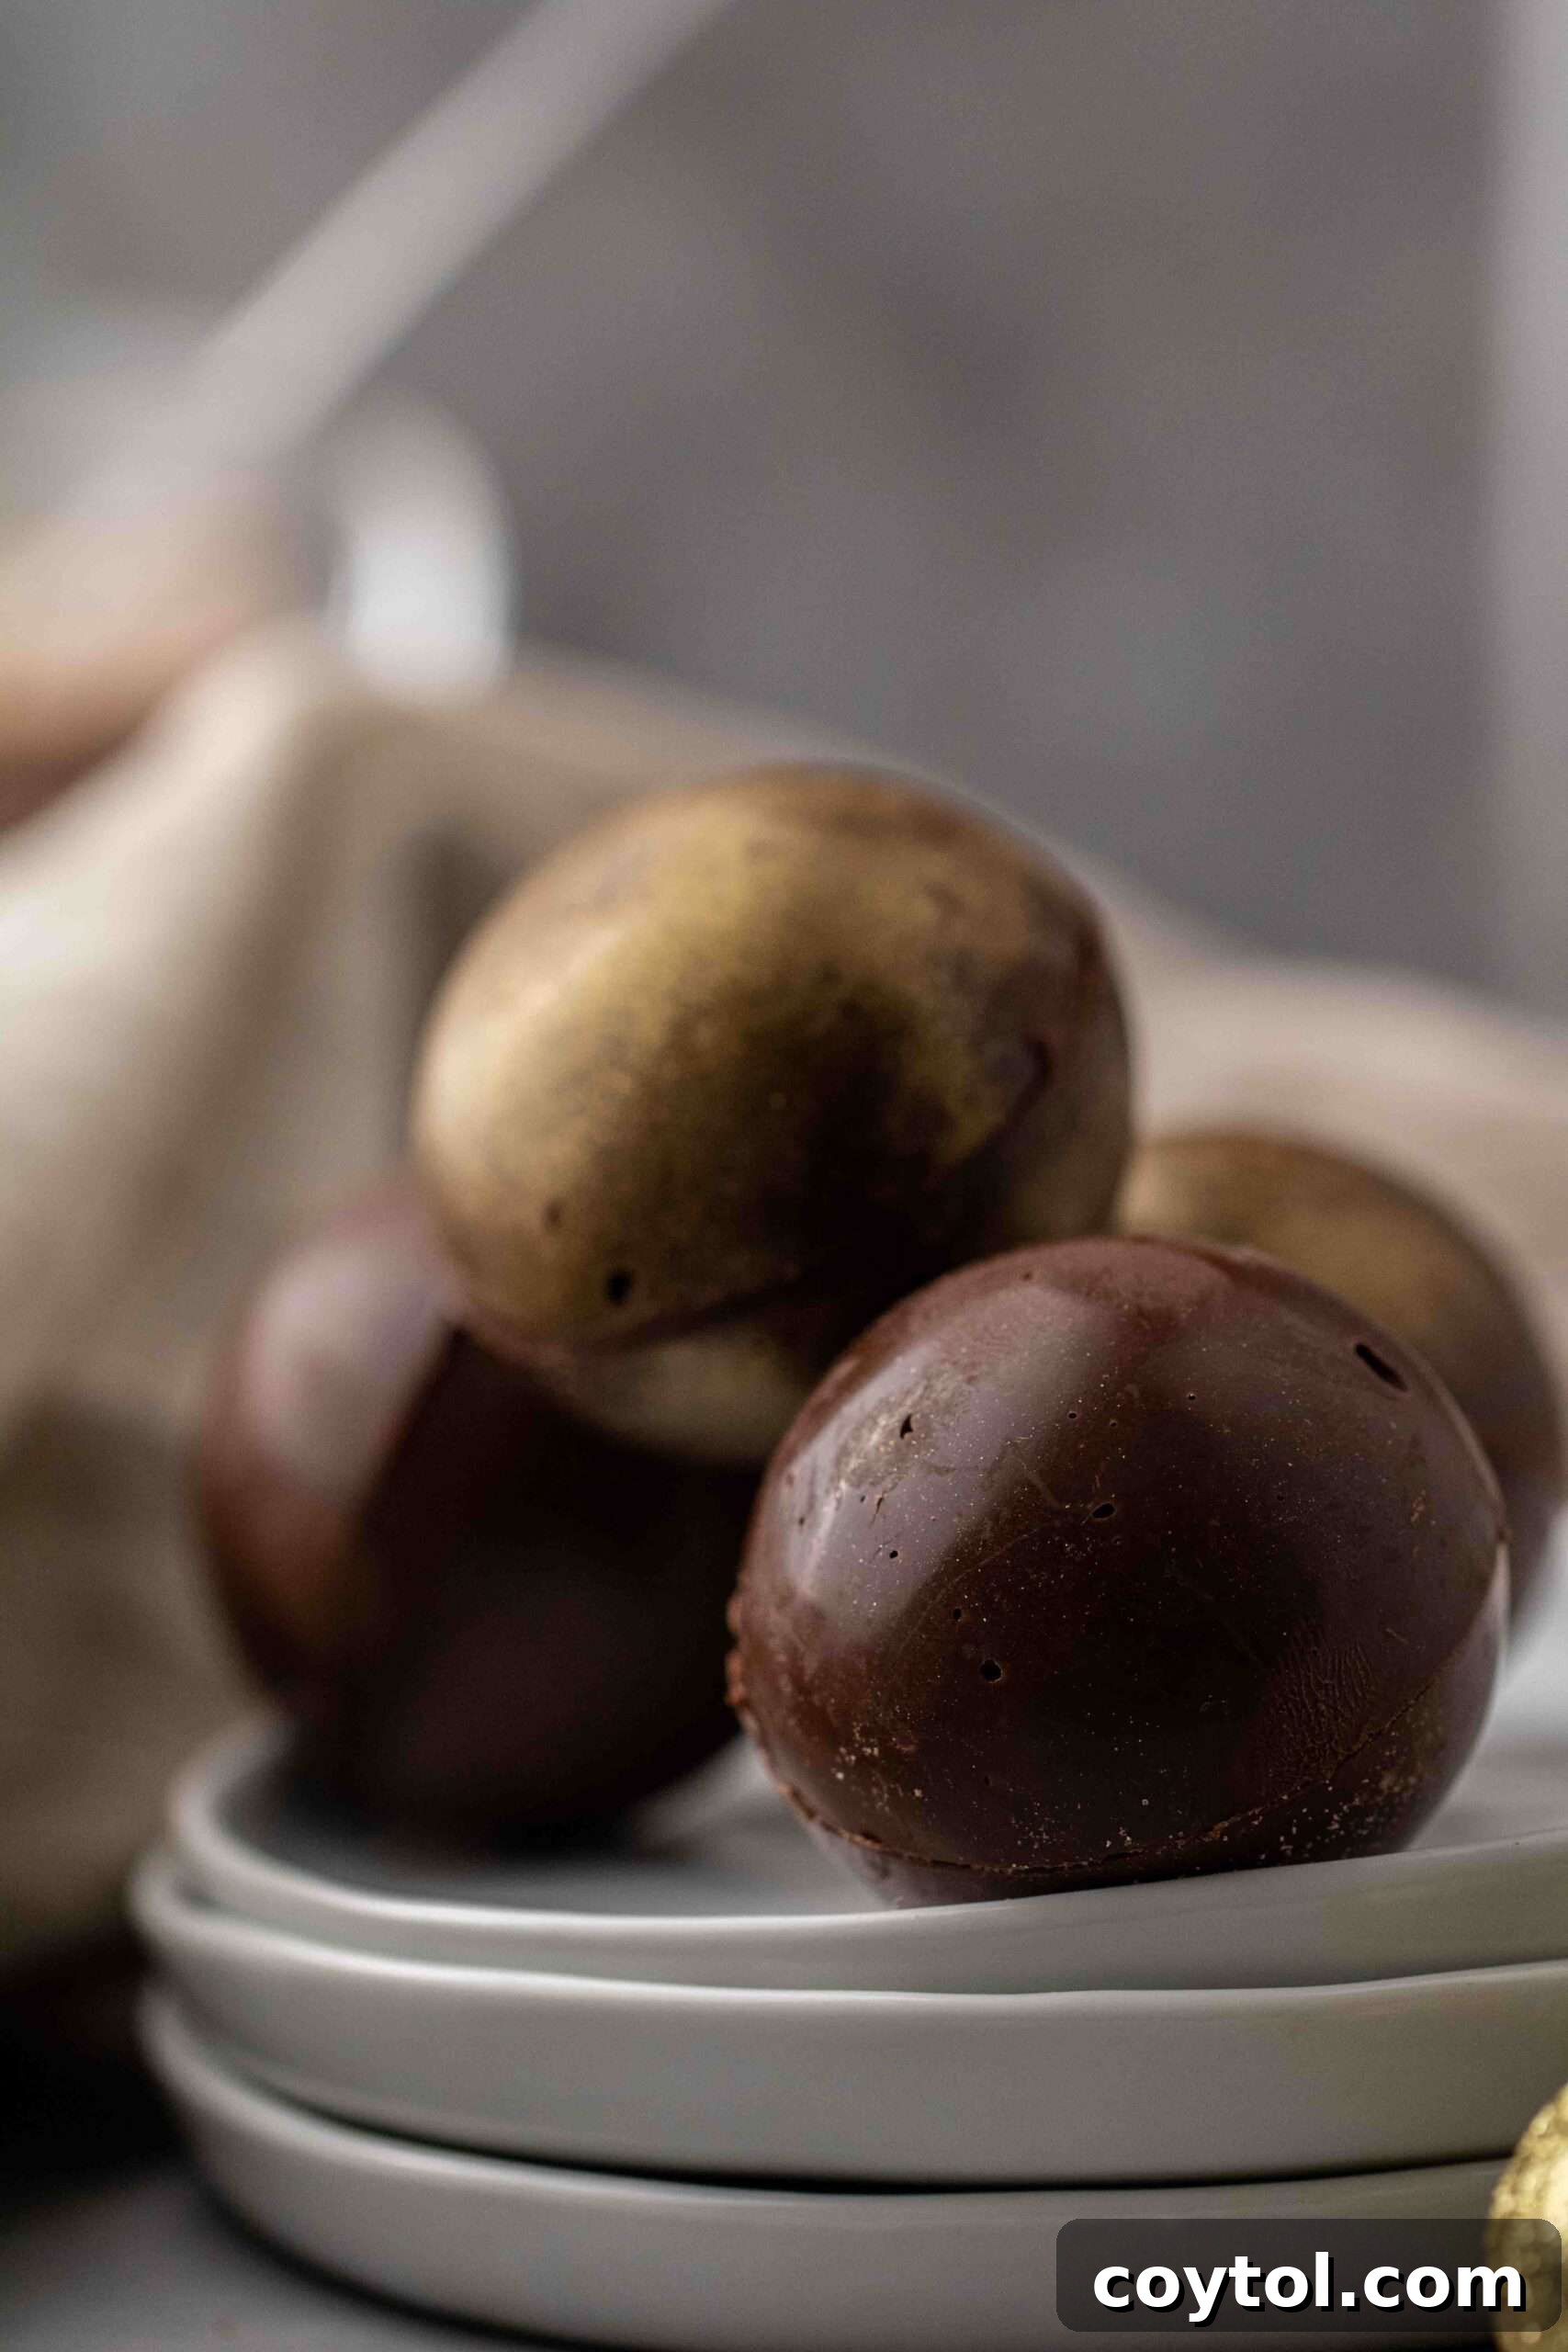
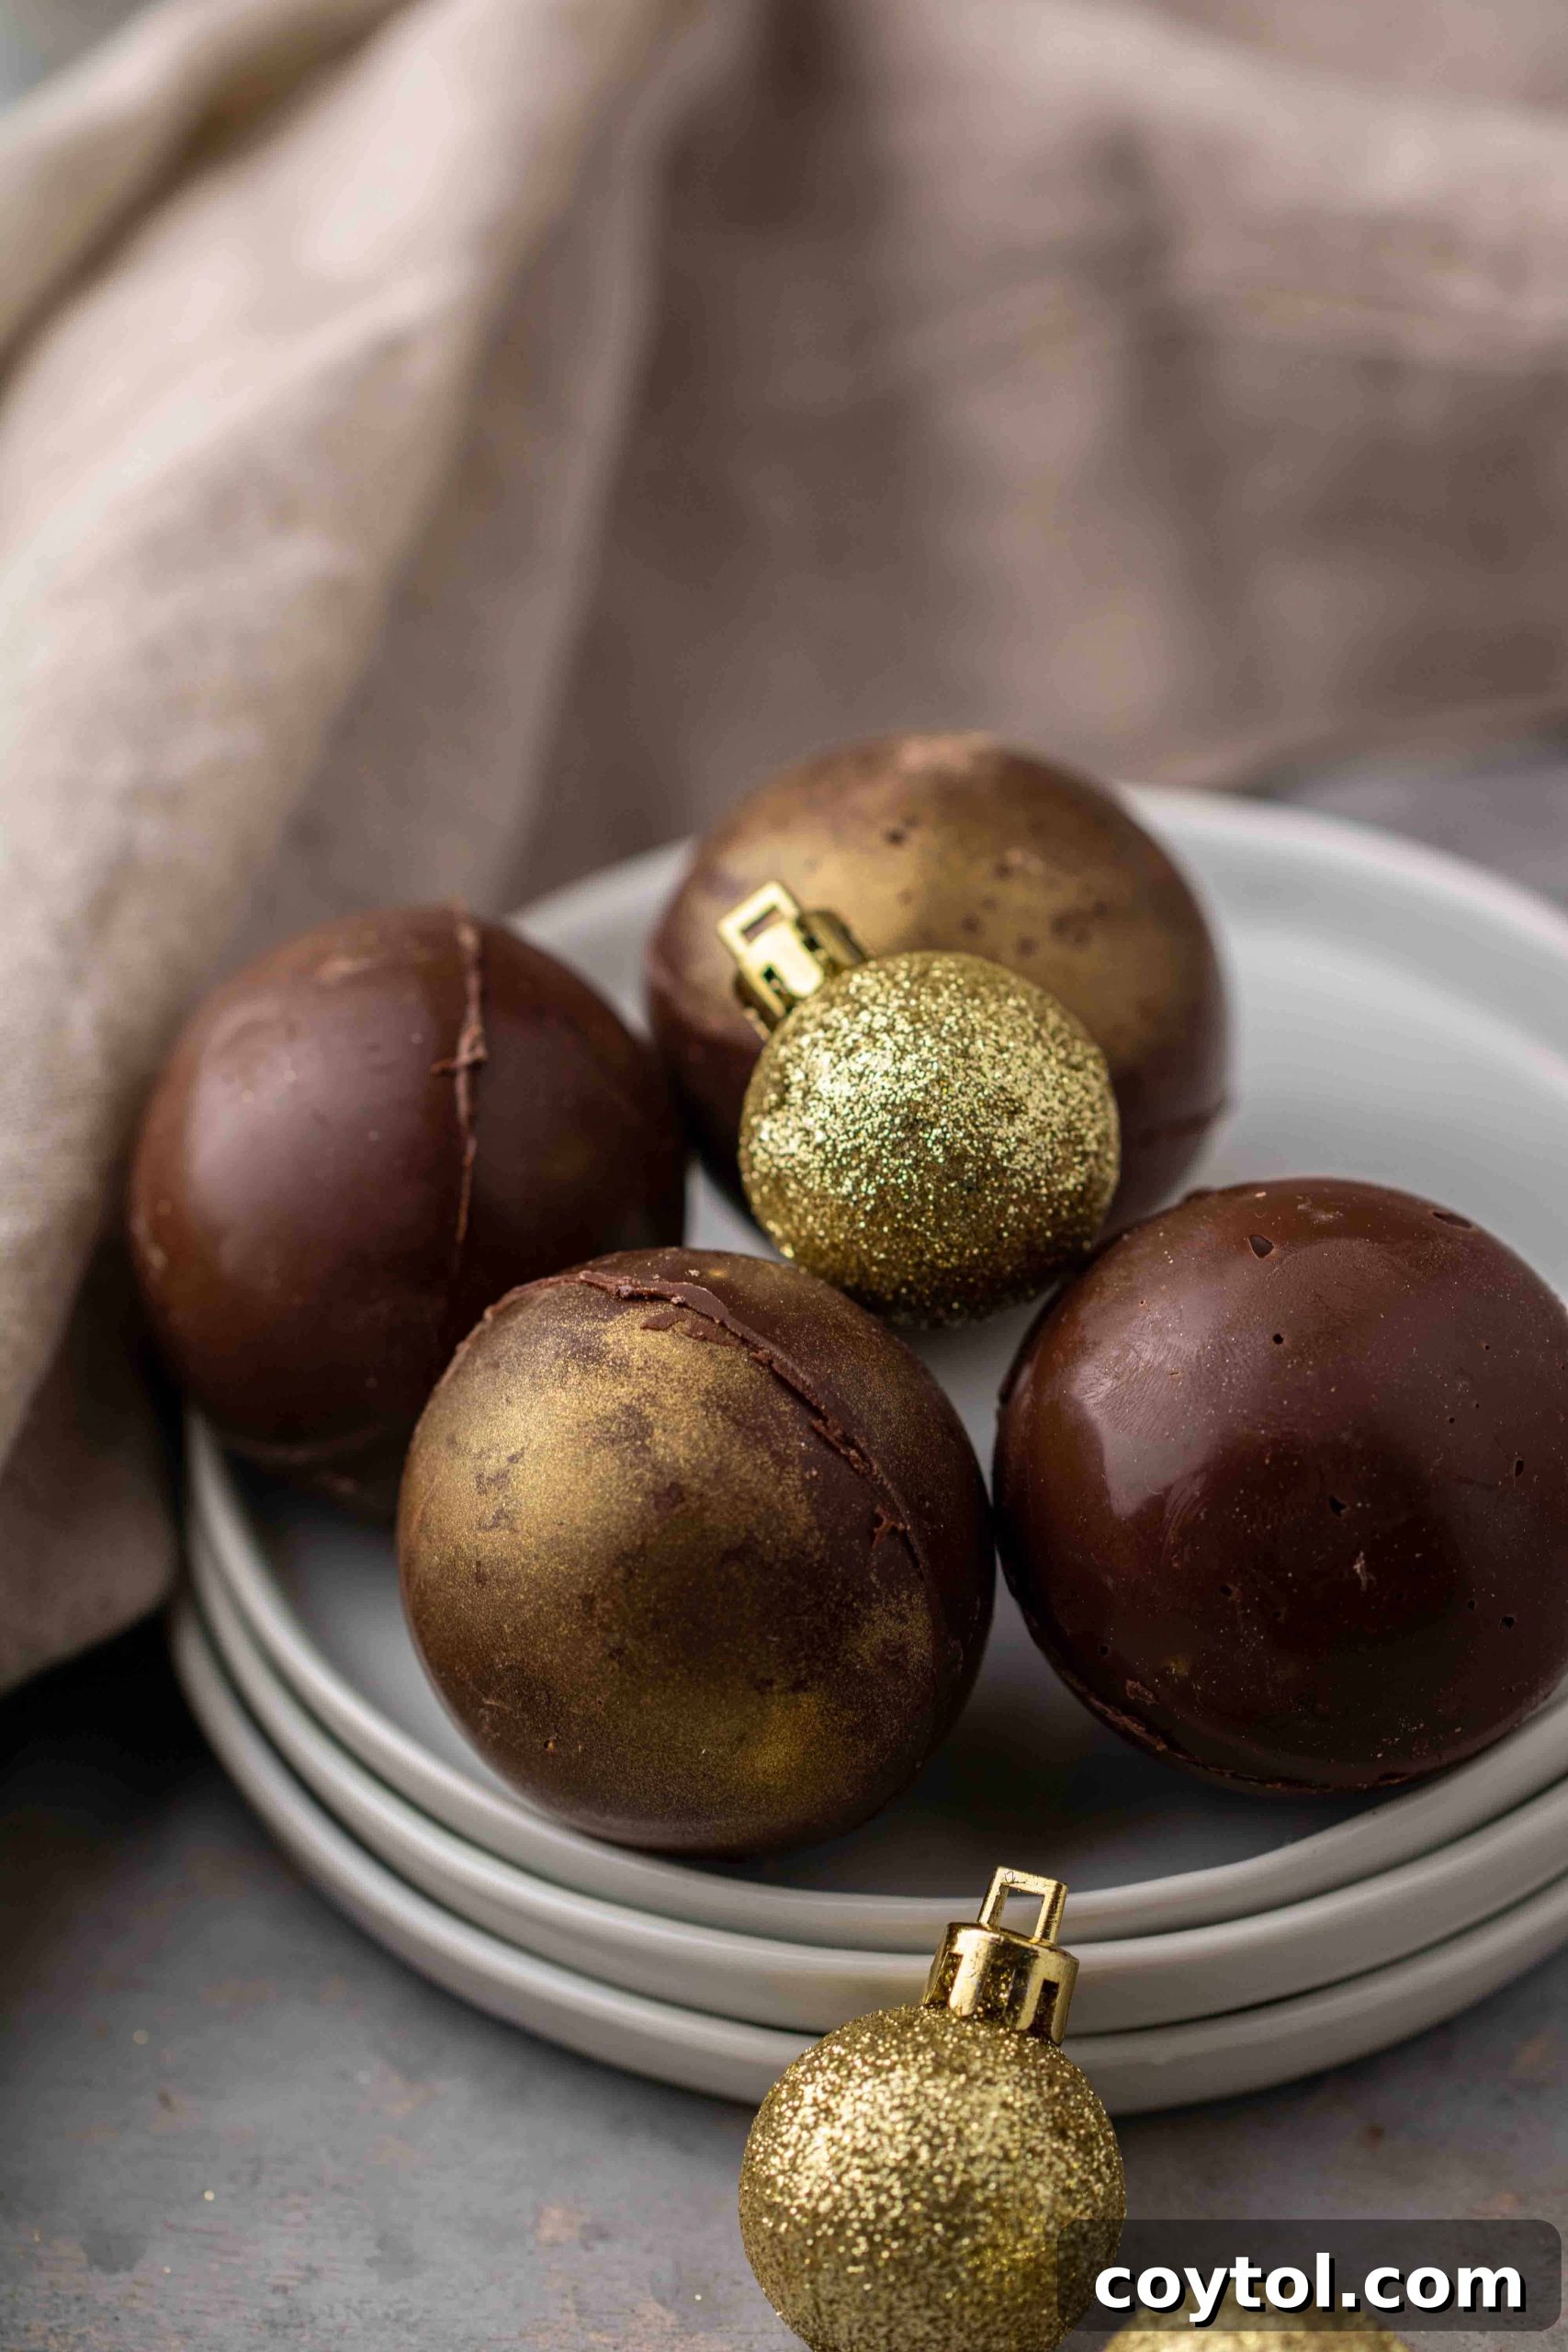
- Edible Gold Powder (Optional): For an extra touch of elegance and festive sparkle, edible gold powder is a fantastic addition. Coating the inside of your silicone mold with this powder before adding chocolate creates a dazzling, gourmet appearance that’s perfect for gifts or special occasions.
Choosing the Right Mold for Your Hot Chocolate Bombs
The choice of mold is crucial for the success and appearance of your hot chocolate bombs. For the bombs featured in these photos, I used a smaller silicone spherical mold. This size creates perfect individual servings, ideal for a standard mug of hot chocolate (approximately 1 cup of liquid).
However, don’t feel limited! If you prefer larger, more indulgent bombs or already own larger silicone sphere molds, feel free to use them. Bigger molds offer a couple of advantages: they can hold a greater quantity of delicious fillings like extra hot chocolate mix, more marshmallows, or even additional treats like crushed candy canes or chocolate shavings. They are also generally easier to fill and assemble due to their larger surface area.
Keep in mind that using a larger mold will naturally yield fewer bombs from the same amount of chocolate and fillings, and you might need to adjust the quantities of your ingredients accordingly. Always prepare with a little extra chocolate and mix if you’re experimenting with different mold sizes to ensure you have enough for all your creations.
Step-by-Step Guide: How to Craft Hot Chocolate Bombs for the Holidays
Making these hot chocolate bombs is a fun and rewarding process. Follow these detailed steps to create your own delightful winter treats:
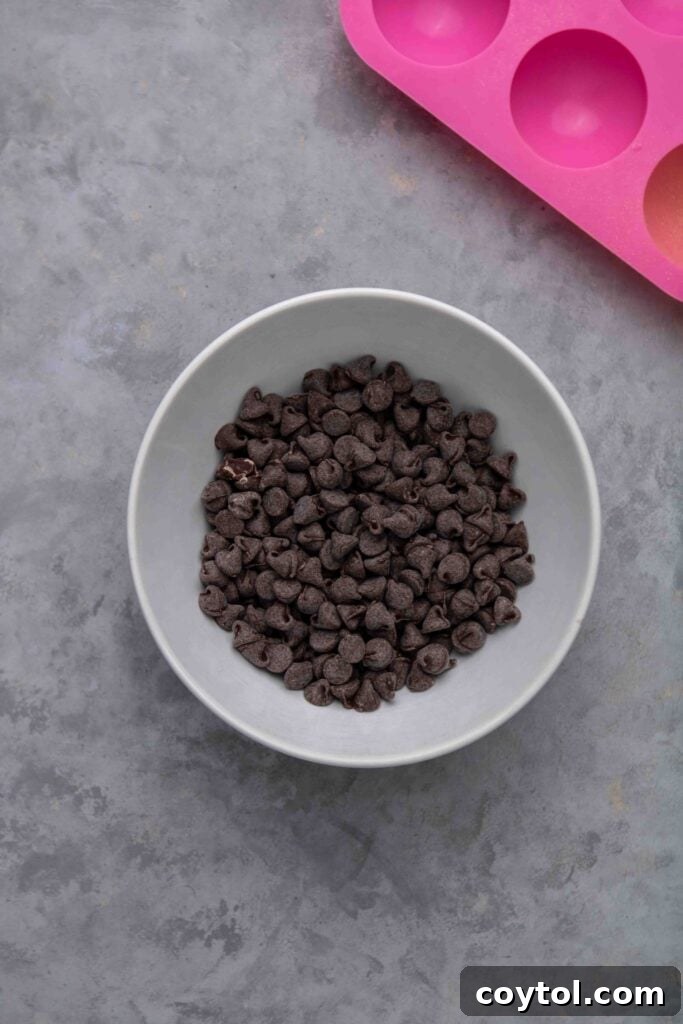
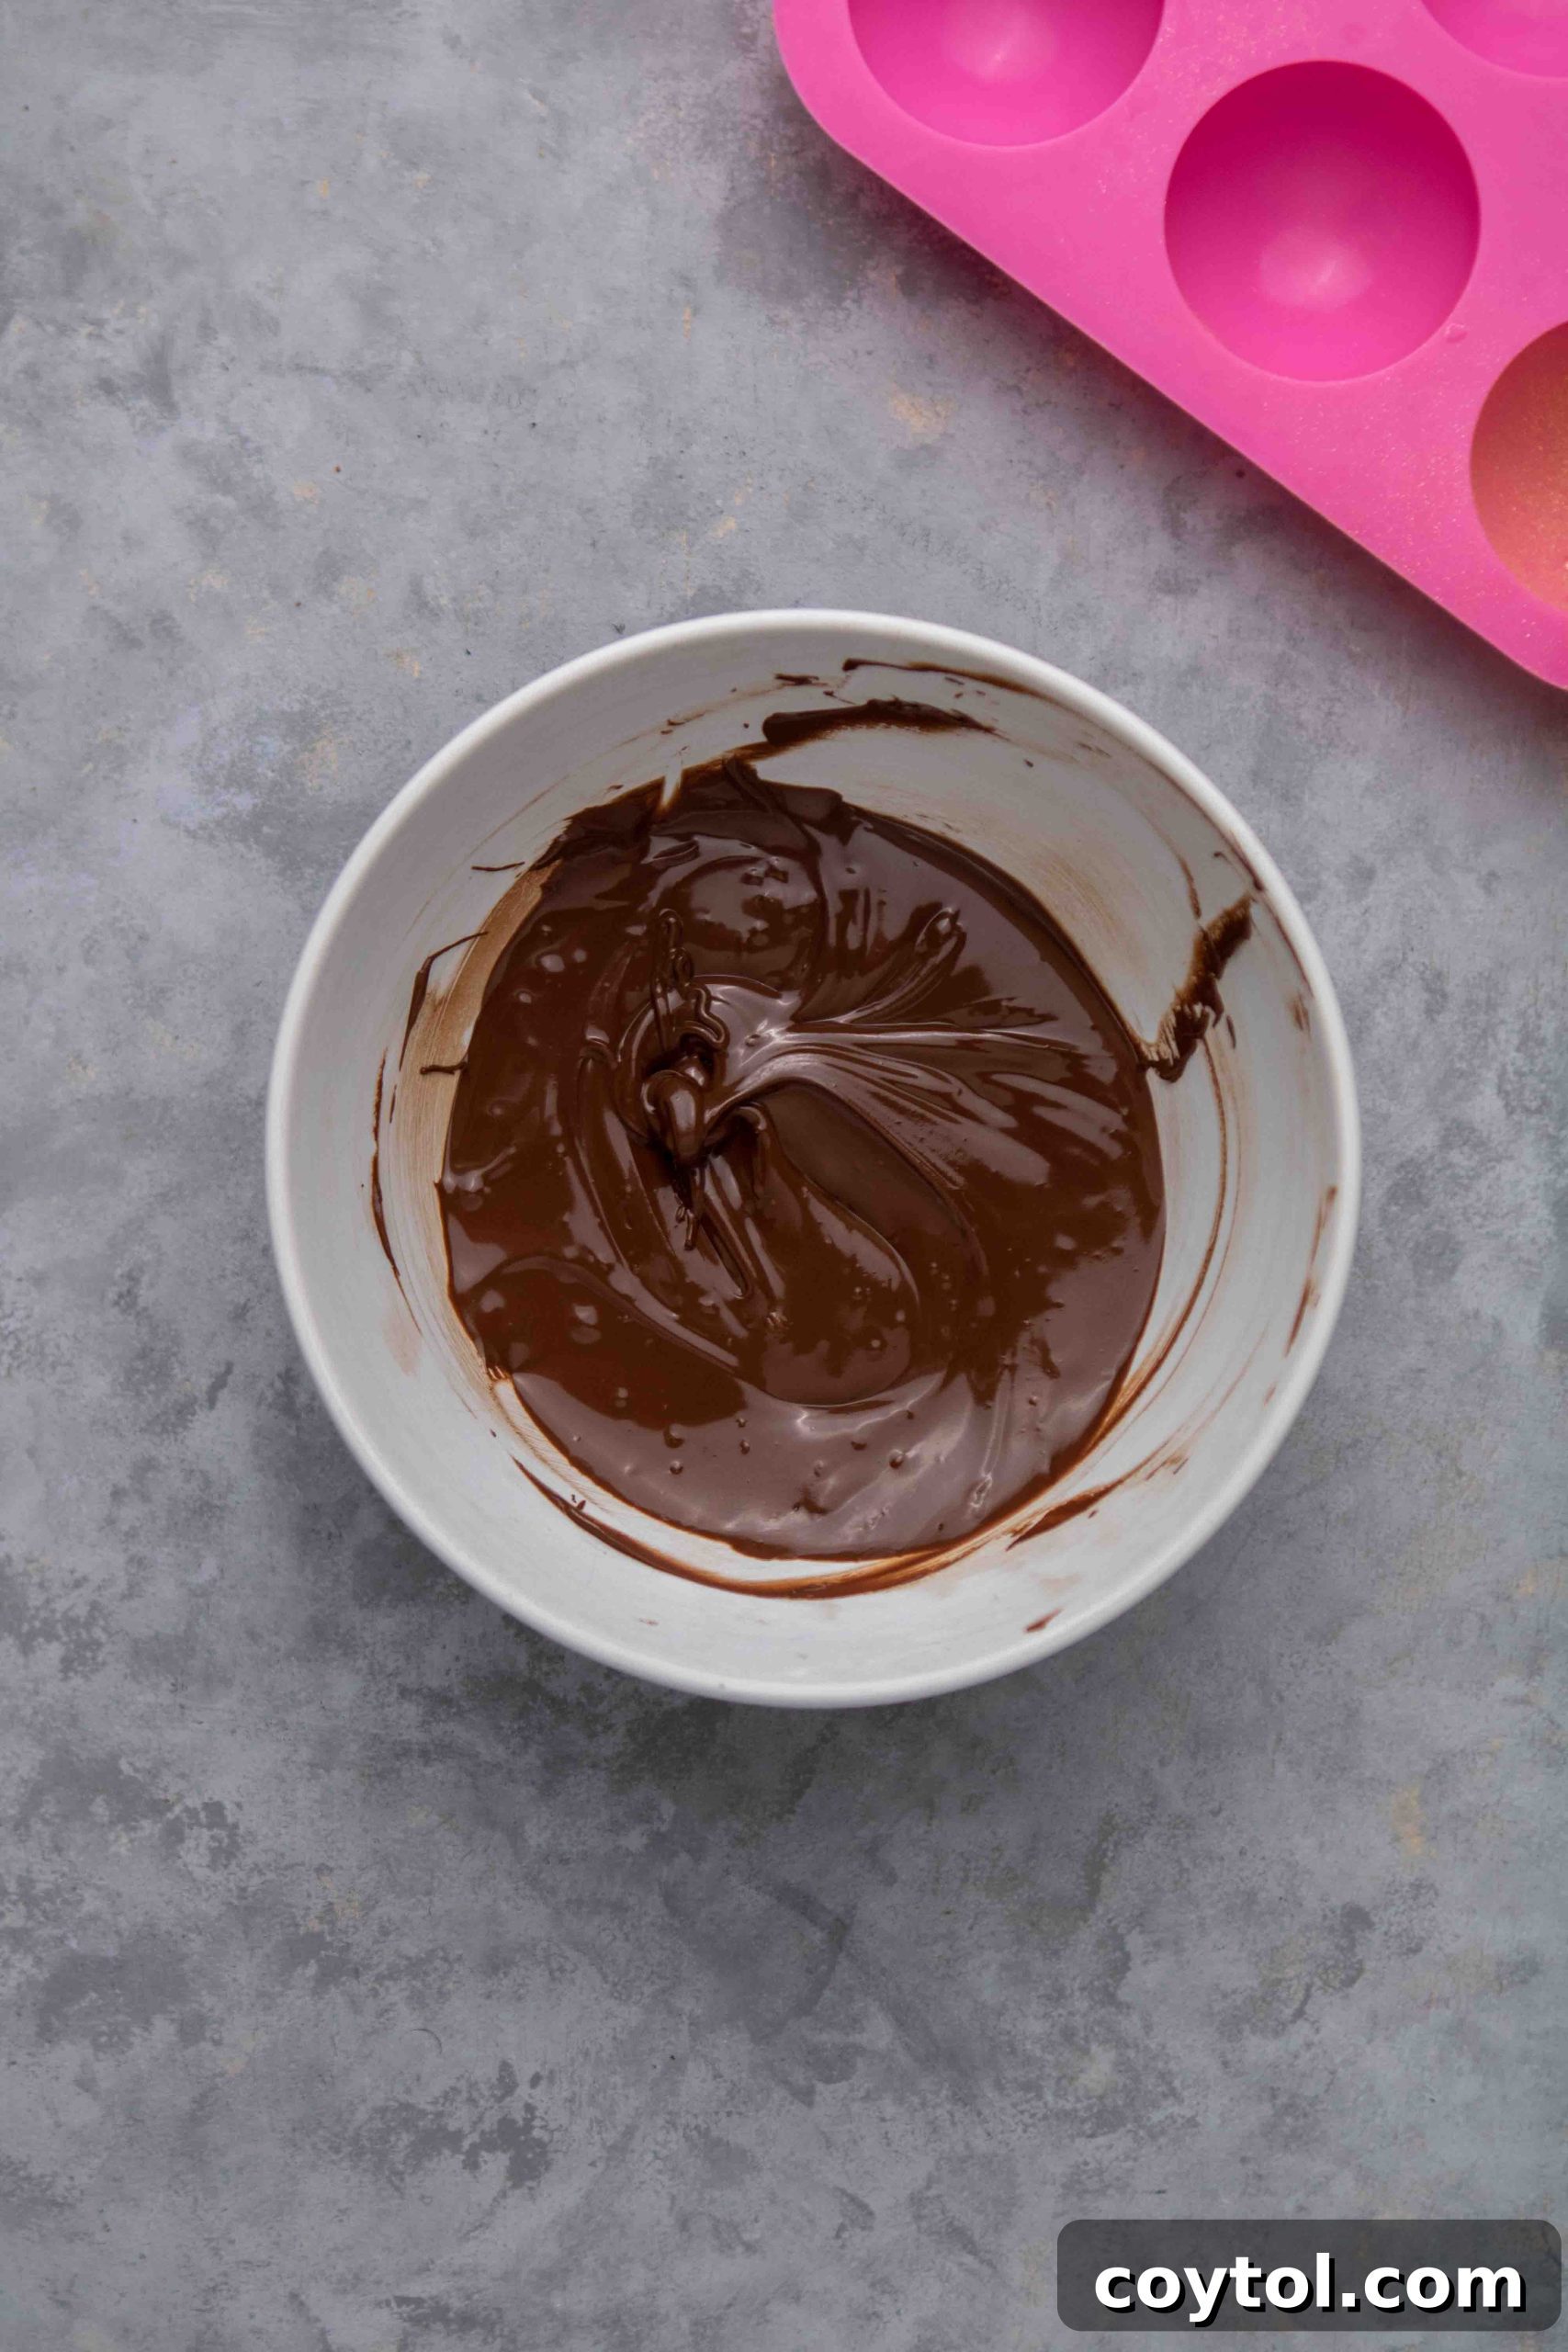
- Melt the Chocolate: Begin by placing your chocolate chips in a microwave-safe bowl. Microwave in short bursts of 30 seconds, stirring thoroughly after each interval. Continue microwaving and stirring until the chocolate is completely smooth and melted. Be careful not to overheat, as chocolate can seize and become unusable. Alternatively, you can use a double boiler method for a more controlled melting process.
-

-
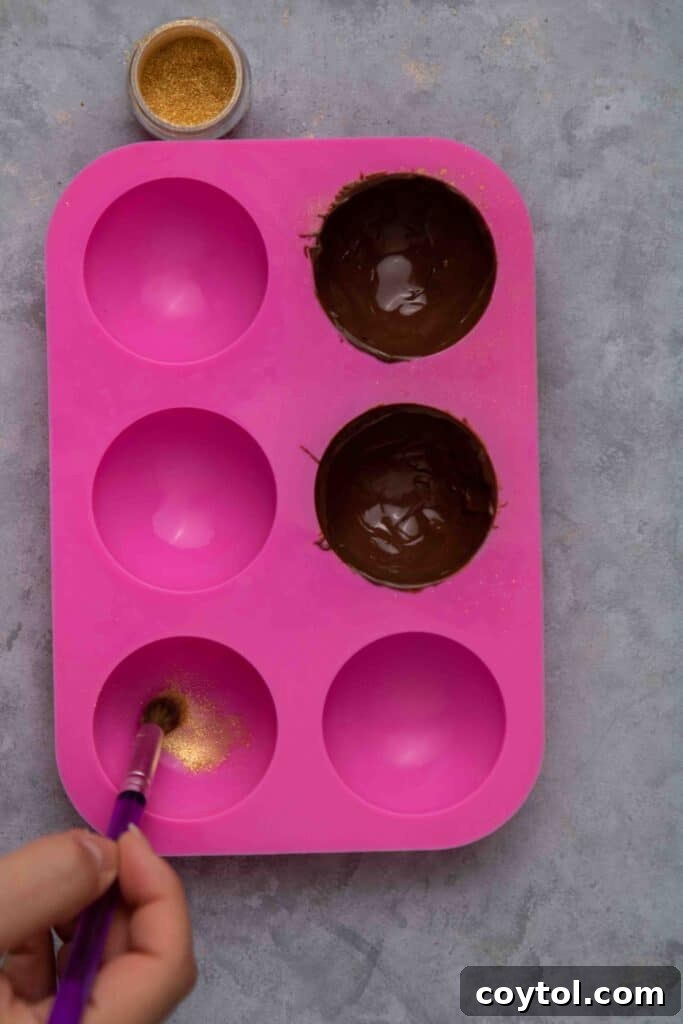
- Apply Gold Dust (Optional): If you’re adding a touch of festive sparkle, take a clean, dry pastry brush and dip it into the edible gold powder. Lightly brush the inside of each cavity of your silicone mold with the gold dust, ensuring an even coating. This step should be done before adding any chocolate.
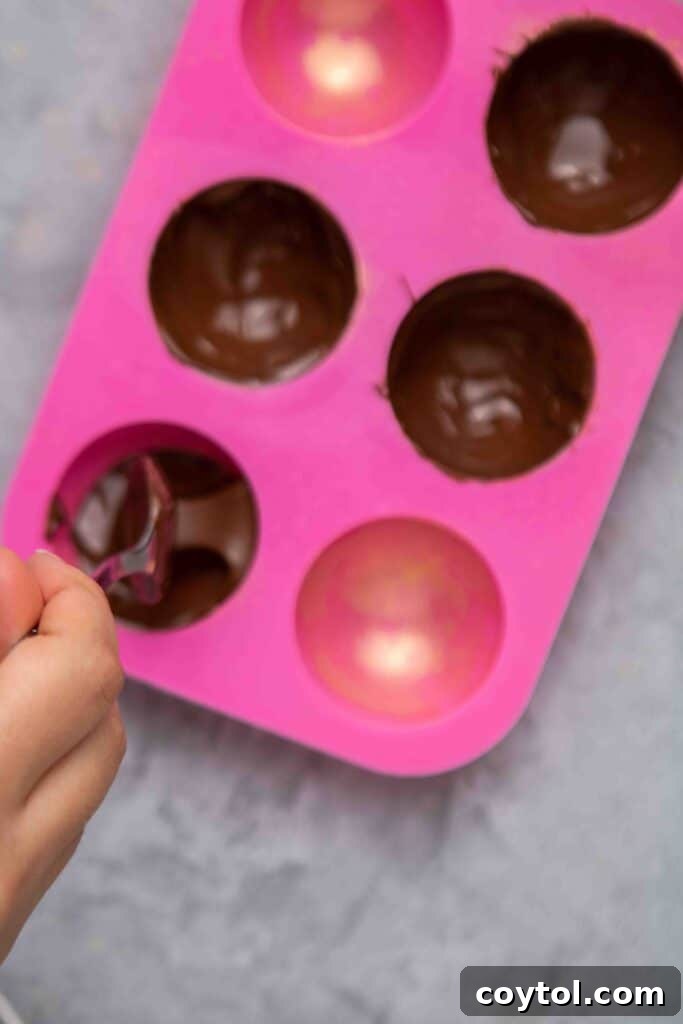
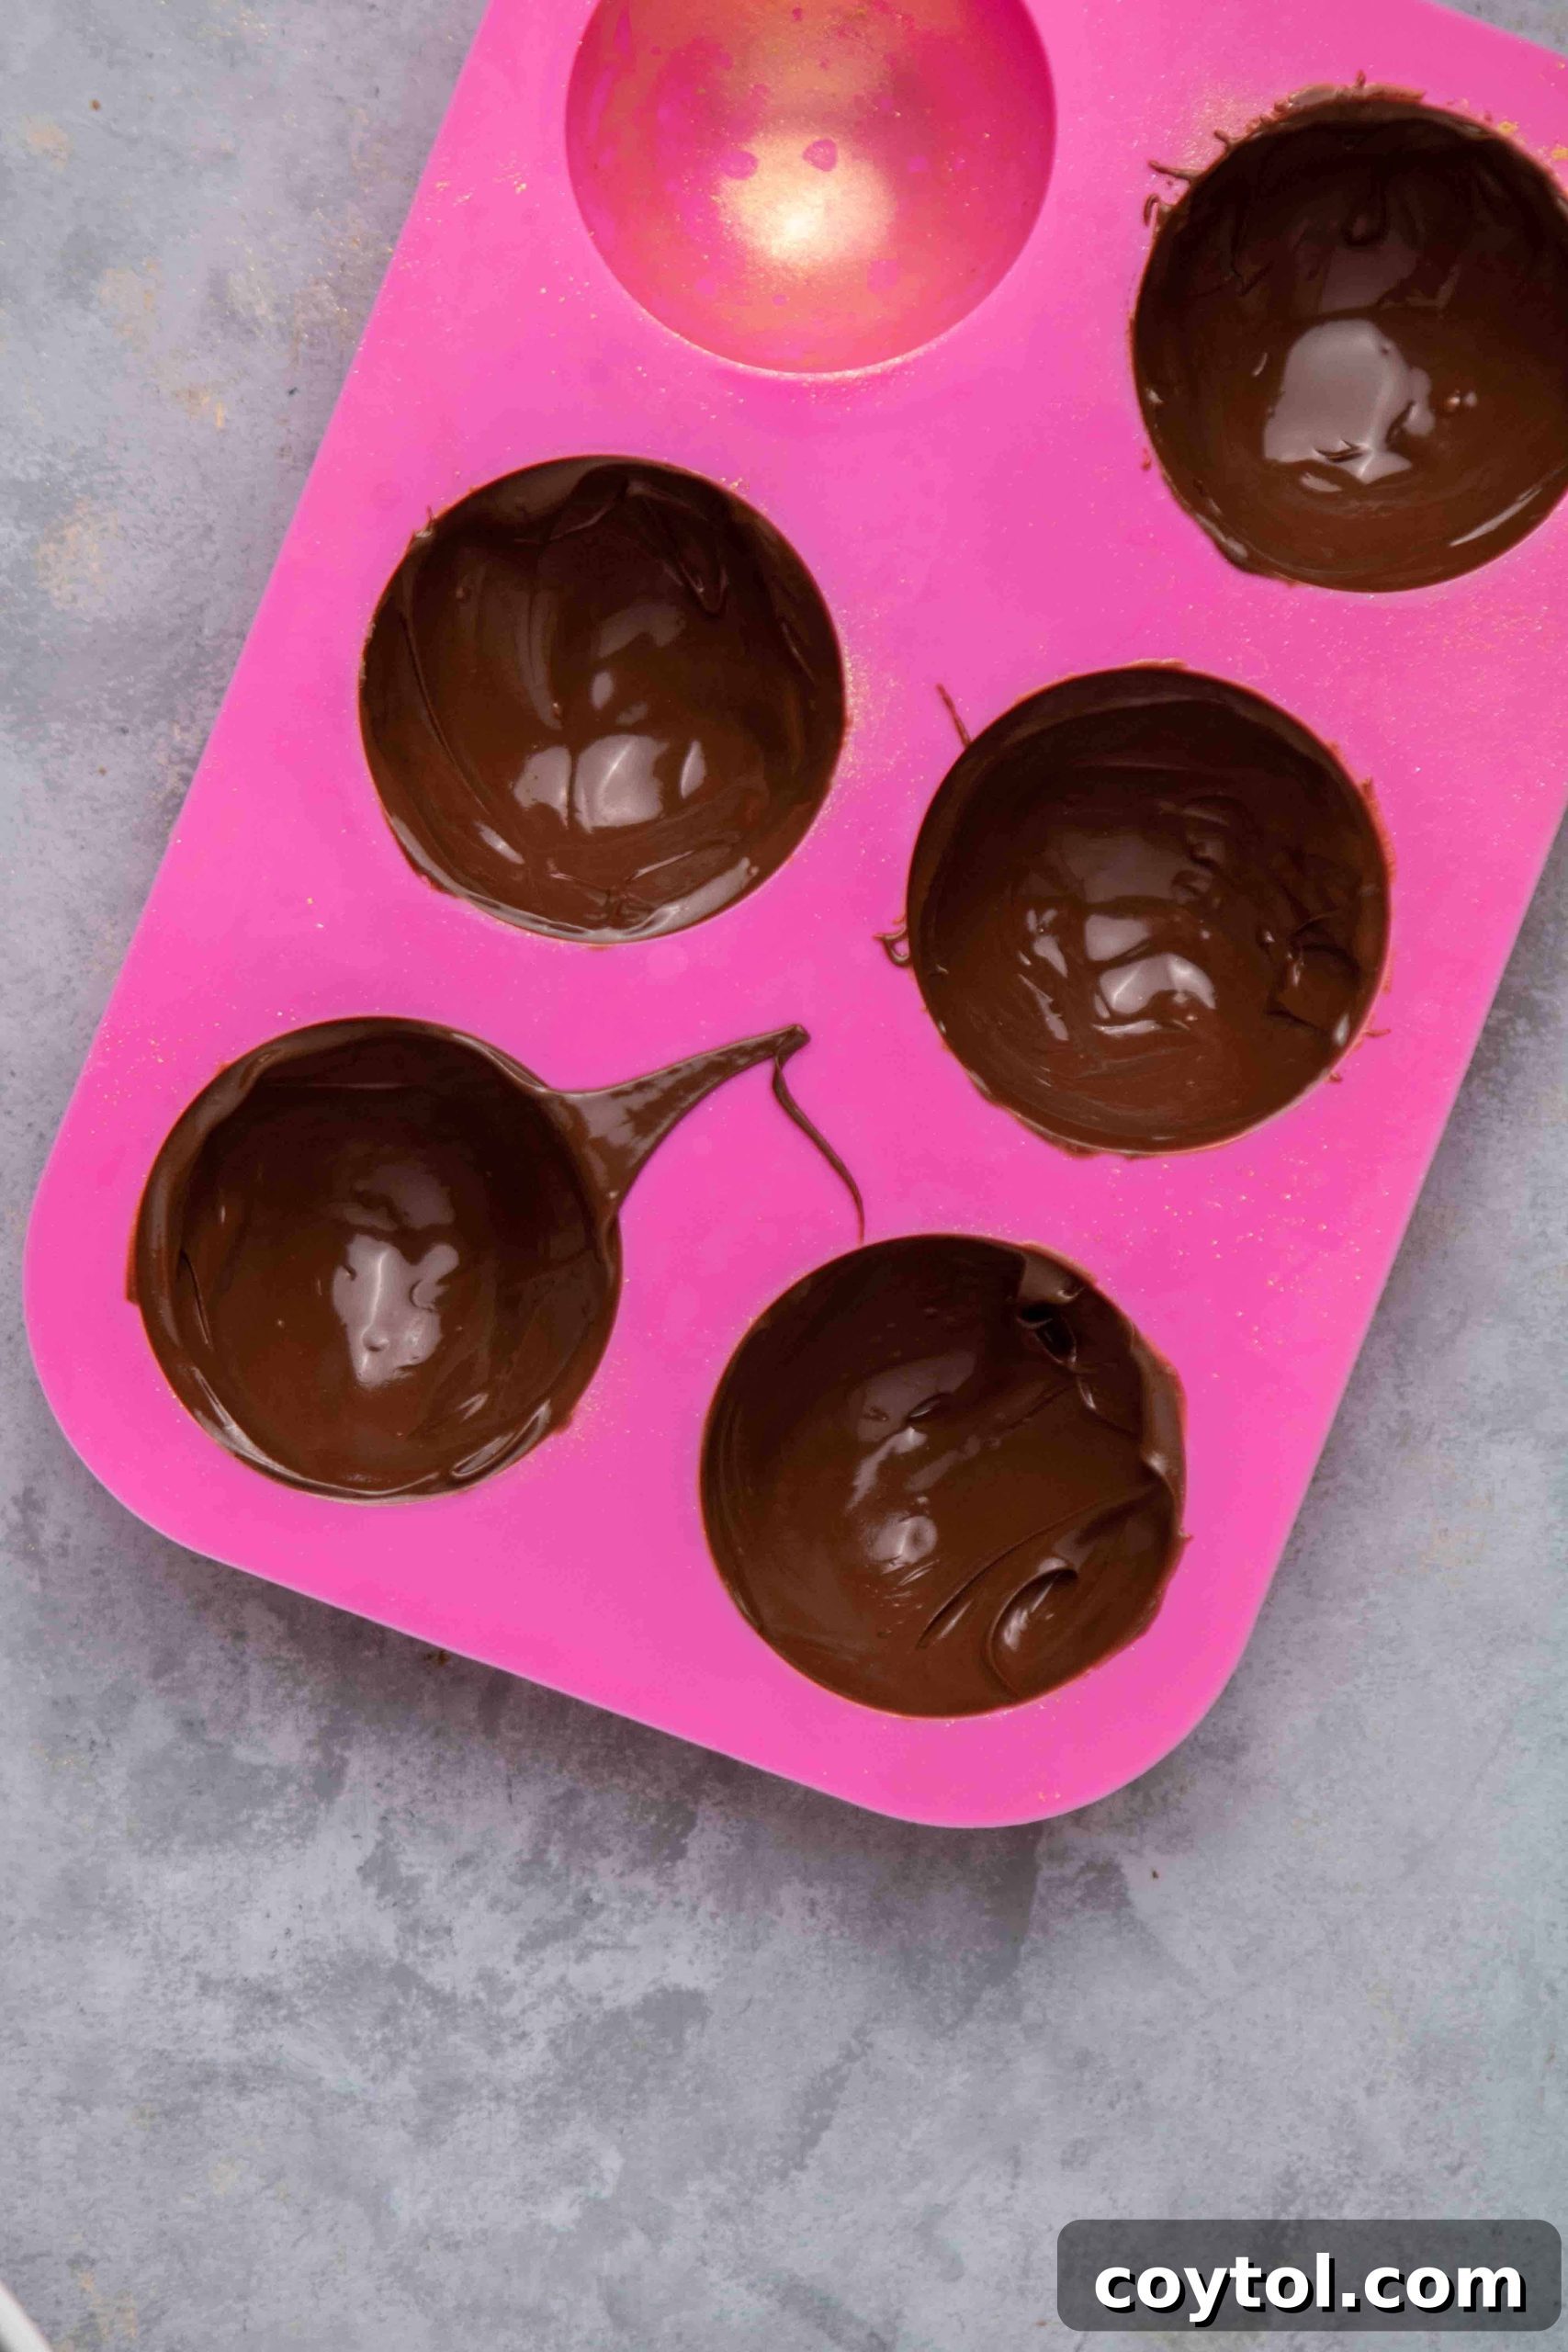
- Coat the Molds: Spoon about one tablespoon of the melted chocolate into each cavity of your silicone mold. Using the back of the spoon, carefully spread and smooth the chocolate up the sides of each mold, creating an even, sturdy shell. Ensure the chocolate reaches the very top edges of the mold for a complete sphere. If a cavity isn’t fully coated, add a small amount of extra chocolate and smooth it over.
- Chill to Set: Once all cavities are coated, place the silicone mold in the freezer for approximately 15 minutes. This chilling time allows the chocolate to harden completely, making it easy to remove from the mold.
-
-
-
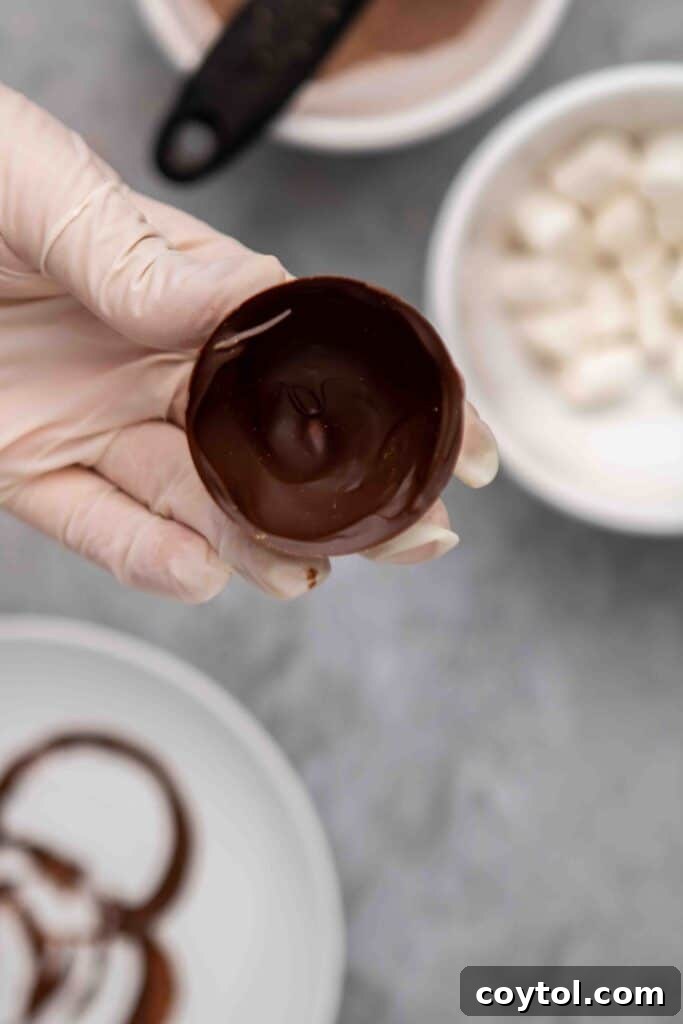
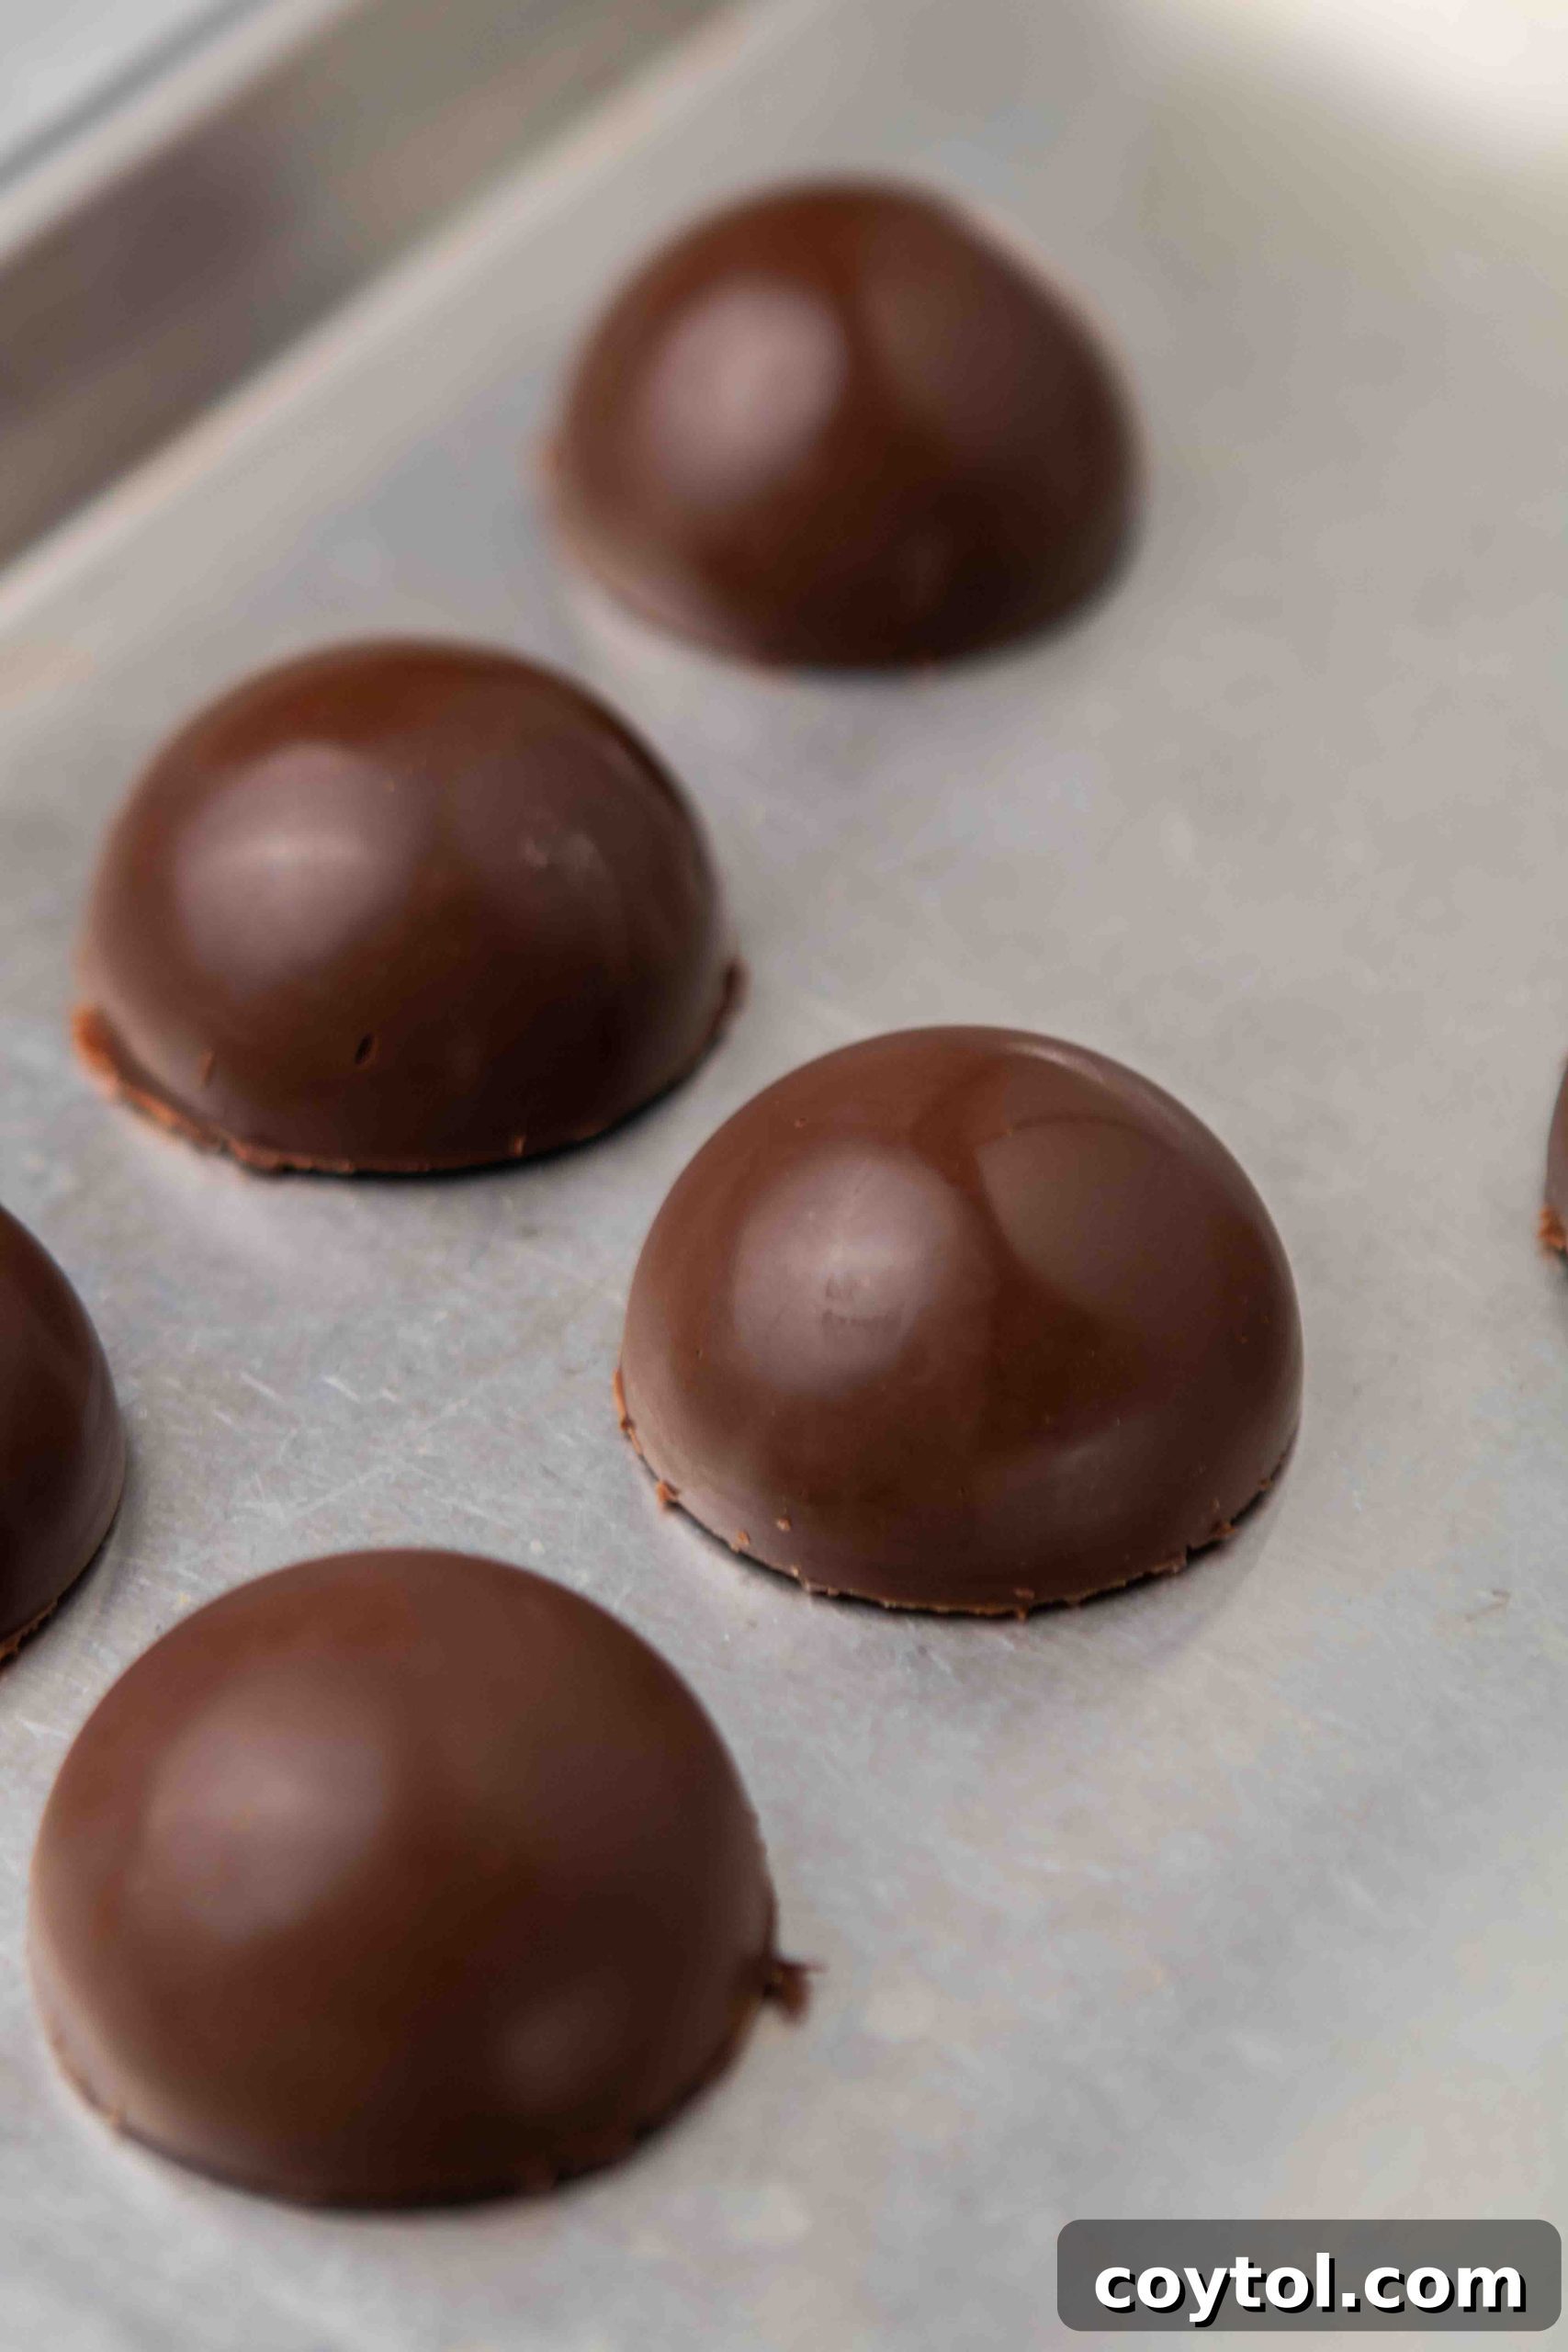
- Carefully Demold: Once the chocolate is completely solid, gently pull and stretch the silicone mold to release the hardened chocolate halves. The chocolate will naturally pull away from the flexible mold. You can either carefully lift them out with your hands (wearing gloves is recommended to avoid fingerprints) or invert the mold onto a parchment-lined baking sheet and gently push the top of each cavity while lifting the mold. If your kitchen is warm and the chocolate domes start to soften, immediately place them back in the freezer for a few minutes to re-harden.
-
-
-
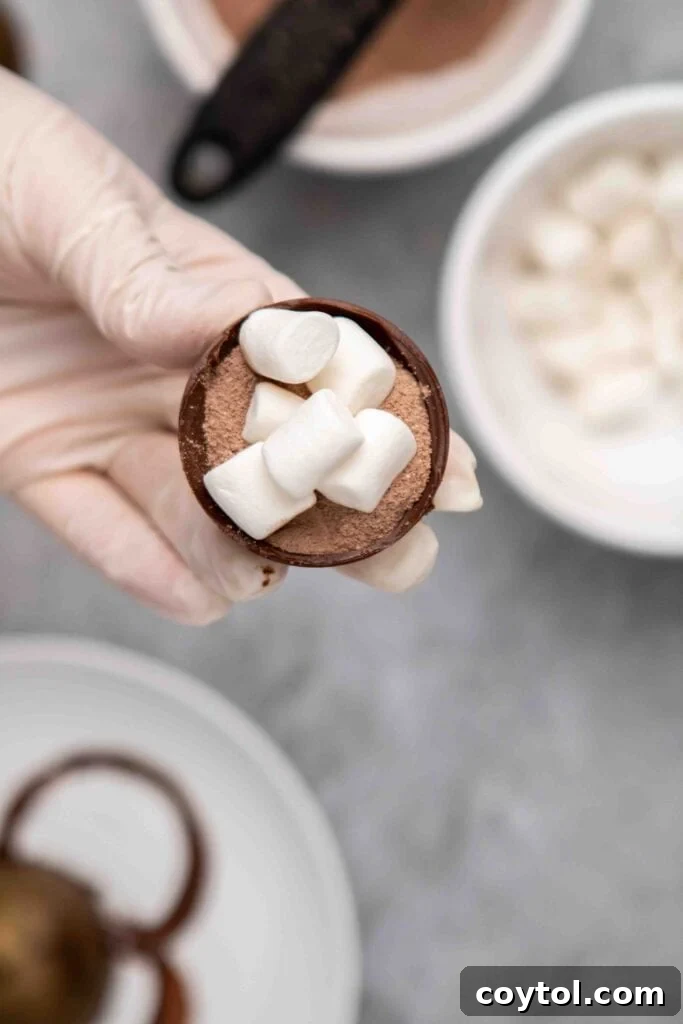
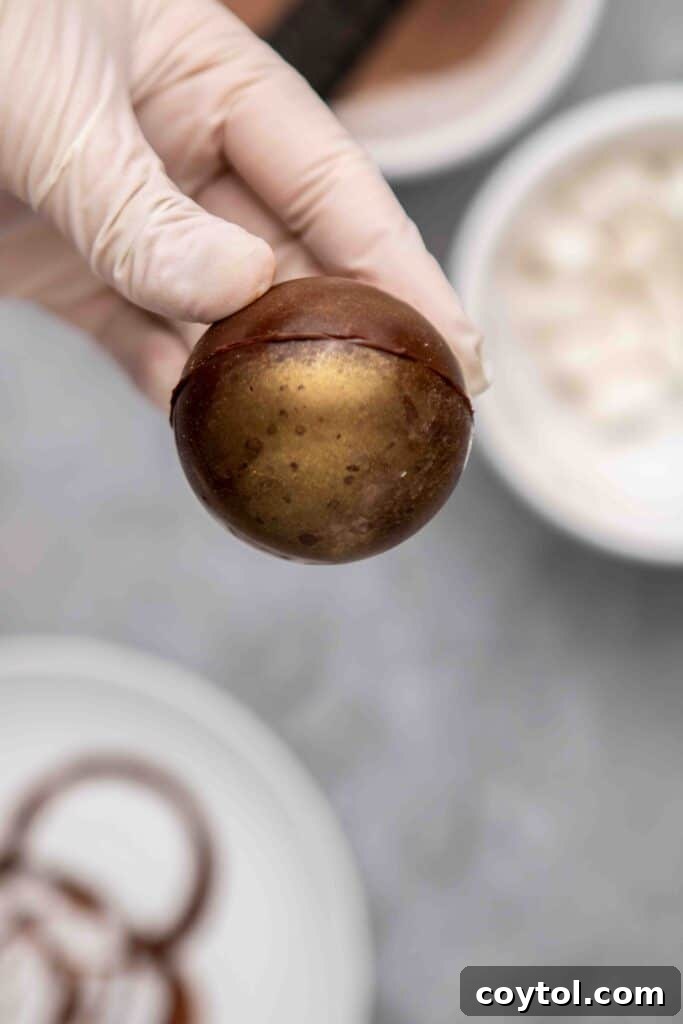
- Fill and Seal the Bombs: Gently heat a clean, dry pan or plate on your stovetop over very low heat, or use a slightly warmed plate on your work surface. Take one of your chocolate dome halves and fill it with about 1 tablespoon of hot chocolate mix and around 6-8 mini marshmallows. Now, take an empty chocolate dome and lightly press its rim against the warm pan or plate for a few seconds. This will slightly melt the chocolate rim, creating a natural adhesive. Quickly place this melted-rim dome over the filled one and gently press to seal them together, forming a complete sphere. Work swiftly to prevent the chocolate from melting too much.
Do I Need to Temper My Chocolate for Hot Chocolate Bombs?
For this particular recipe, I did not temper my chocolate, and the hot chocolate bombs turned out wonderfully. However, if you are aiming for a professional finish, such as a shinier shell with a satisfying “snap” and improved stability at room temperature, then tempering your chocolate is an excellent idea. Tempering involves carefully controlling the temperature of the chocolate to achieve specific crystal structures, which results in a more durable and aesthetically pleasing end product. This extra step is especially beneficial if you plan to give these hot chocolate bombs as gifts, as it enhances their presentation and shelf life.
If you’re interested in learning how to temper chocolate, there are many excellent resources available. You can learn how to temper chocolate here.
How to Enjoy Your Magical Hot Chocolate Bombs
Congratulations, you’ve made your own magnificent hot chocolate bombs! Now comes the most exciting part: enjoying them! This isn’t just about making a drink; it’s about experiencing a little bit of culinary theater right in your mug.
Here’s how to unleash the magic:
Start by placing one homemade hot chocolate bomb at the bottom of your favorite mug. Next, slowly and carefully pour very hot milk (or water, if you prefer) over the chocolate sphere. Watch in delight as the chocolate shell gracefully melts away, dissolving into the warm liquid. As it melts, it will dramatically release the hidden treasures within – the rich hot chocolate mix and a flurry of fluffy mini marshmallows, which will float to the surface. Give your drink a good stir to ensure all the cocoa is thoroughly dissolved, and then settle in to savor your warm, cozy, and utterly delicious hot chocolate!
The Perfect Ratio: How Much Milk for One Hot Chocolate Bomb?
Achieving the perfect balance of chocolatey goodness and creaminess is key to an exceptional hot chocolate experience. Given the size of the silicone mold I used for these bombs, I’ve found that they are best enjoyed with approximately 1 cup (or 8 ounces) of milk. This ratio ensures a rich, flavorful drink without being overly sweet or too diluted.
The temperature of your milk is also crucial. Always make sure the milk is steaming hot, ideally just below boiling. This high temperature is essential for the chocolate shell to melt quickly and completely, allowing the hot chocolate mix and marshmallows to fully release and blend into your delicious beverage. A lukewarm liquid simply won’t create the same magical melting effect or dissolve the cocoa powder properly.
More Delightful Recipes You’ll Love!
- Iced Vegan Pumpkin Spice Hot Chocolate + Review
- Easy Hazelnut Brownie Cookies – Chewy and Delicious!
- The Best Fudgy 1-Minute Brownie Mug Cake
Properly Storing Your Homemade Chocolate Bombs
Once you’ve lovingly crafted your hot chocolate bombs, proper storage is essential to maintain their quality and prevent them from melting prematurely. These delightful chocolate treats are best stored in an airtight container. This protects them from moisture, which can cause the chocolate to bloom or become sticky, and also shields them from strong odors in your refrigerator. Depending on the ambient temperature of your home, especially if it’s warm, storing them in the fridge is highly recommended. The cool environment will help them retain their solid, spherical shape and prevent any unfortunate melting incidents, ensuring they are perfectly intact when you’re ready to enjoy them or gift them.
Expert Tips for Crafting the Best Holiday Hot Chocolate Bombs
To ensure your hot chocolate bomb creation is a resounding success, keep these invaluable tips in mind. They will help you navigate the process with ease and achieve beautifully crafted treats:
- Ensure Your Equipment is Perfectly Dry: Chocolate and water are not friends! Even a tiny drop of water can cause melted chocolate to seize, turning it into a grainy, unworkable mess. Always double-check that your microwave-safe bowl, spatulas, and any other utensils used for melting and working with chocolate are completely dry before you begin.
- Achieve a Sturdy Chocolate Coating: For a hot chocolate bomb that holds its shape and doesn’t break when handled or filled, a sufficiently thick and even chocolate shell is paramount. Ensure each cavity of your mold is fully coated with an adequate layer of melted chocolate. If the coating seems too thin after the first application, add a bit more chocolate and spread it carefully to build a more robust shell.
- Work with Speed and Precision During Assembly: The chocolate spheres are delicate and prone to melting, especially from the heat of your hands or a warm kitchen. It’s crucial to work quickly and efficiently when filling and sealing your hot chocolate bombs. Having all your fillings (mix, marshmallows) prepped and ready will streamline the process.
- Consider Wearing Gloves: Your hands naturally generate warmth, which can quickly transfer to the chocolate, causing it to melt and leave unsightly fingerprints. Wearing food-safe gloves can significantly help in keeping the chocolate cool and pristine, resulting in a professional, blemish-free finish.
- Utilize Your Freezer for Quick Hardening: If you notice your chocolate domes softening or melting too quickly at any stage – perhaps during demolding or assembly – don’t hesitate to pop them back into the freezer for a few minutes. This quick chill will re-harden the chocolate, allowing you to continue working without frustration.
Hot Chocolate Bomb Recipe
If you tried this hot chocolate bombs recipe and loved it, please share your experience by leaving a comment below!
Hot Chocolate Bombs Recipe
Hot chocolate bombs encapsulate the spirit of the holidays. They are incredibly enjoyable to create, serving as a fantastic activity for children and adults alike. The true magic unfolds when you pour hot milk over them, witnessing their delightful “explosion” of flavors and marshmallows!
Ingredients
- 1 cup chocolate chips (semi-sweet, milk, or dark)
- 1/2 cup mini marshmallows
- 8 tbsp hot chocolate mix (your preferred flavor)
- Edible gold dust (optional)
Instructions
- First, melt the chocolate chips in a microwave-safe bowl. Heat in 30-second increments, stirring well after each, until fully melted and smooth.
- If using gold dust, take a pastry brush, dip it into the dust, and lightly brush the inside of each mold cavity.
- Add a tablespoon of melted chocolate into each mold cavity. Use the back of a spoon to smooth the chocolate up the sides and coat the mold evenly. If needed, add a little more chocolate and smooth again to ensure a sturdy shell. Place the mold in the freezer for 15 minutes, or until the chocolate is completely solid.
- Carefully remove the hardened chocolate halves by gently stretching and pulling the silicone mold. You can use gloves to avoid fingerprints. If the chocolate starts to melt, return it to the freezer for a few minutes.
- Slightly warm a clean pan or plate. Place one chocolate dome on your work surface and fill it with 1 tablespoon of hot chocolate mix and about 6 mini marshmallows. Press an empty chocolate dome against the warm pan/plate to slightly melt its rim, then place it over the filled dome and gently press to seal. Work quickly to prevent excessive melting.
- Store the finished hot chocolate bombs in an airtight container in the fridge.
How to Enjoy Your Hot Chocolate Bomb
- Place one hot chocolate bomb in a mug.
- Pour 1 cup (8 oz/250ml) of boiling hot milk (or water) over the bomb.
- Watch the chocolate melt and “explode,” releasing the marshmallows and hot cocoa mix. Stir until fully dissolved and enjoy your warm, cozy drink!
Notes
- Ensure Your Bowl is Completely Dry: Chocolate and water don’t mix! Make sure your melting bowl and spatula are bone dry to prevent the chocolate from seizing.
- Thick Chocolate Coating is Key: A strong, even layer of chocolate in the mold is crucial for a durable hot chocolate bomb that won’t break when filled.
- Work Quickly: Chocolate spheres are fragile. Assemble your bombs swiftly to avoid them melting from handling or room temperature.
- Wear Gloves: To prevent fingerprints and melting from body heat, consider wearing gloves while handling the chocolate shells.
- Chill When Needed: If the chocolate softens or starts to melt during the process, place it back in the freezer for a few minutes to re-harden.
Nutrition
Nutrition information is automatically calculated and should only be used as an approximation.
Thank you so much for exploring this guide to homemade hot chocolate bombs!
If you tried this fantastic recipe and loved it as much as we did, please make sure to leave a comment down below to share your experience and let us know how your hot chocolate bombs turned out. In the meantime, don’t forget to follow us on Instagram for more delicious inspirations and behind-the-scenes fun.

Shop This Recipe
This post may contain affiliate links, meaning that at no cost to you, I will get a small percentage of every purchase you make!
Semi-Sweet Chocolate Chips
Edible Gold Dust
Mini Marshmallows
Hot Chocolate Mix
Silicone Sphere Mold