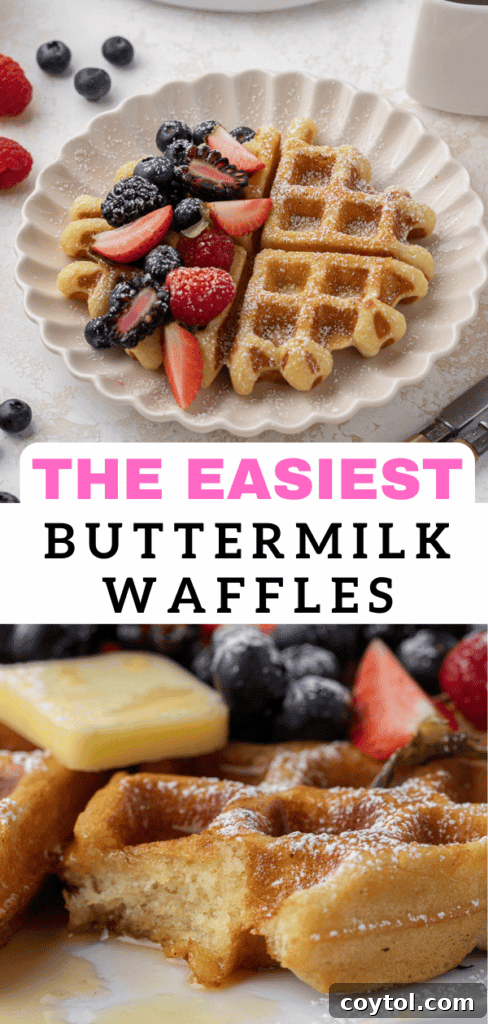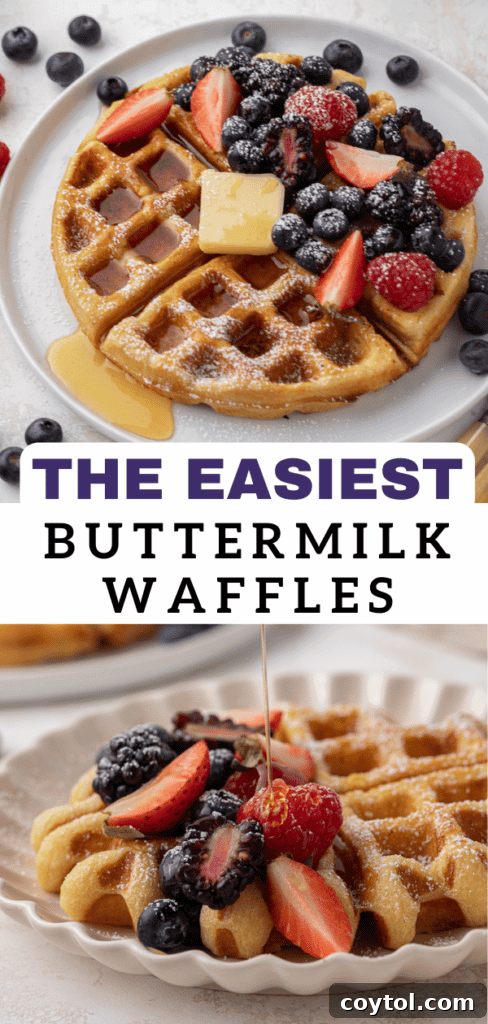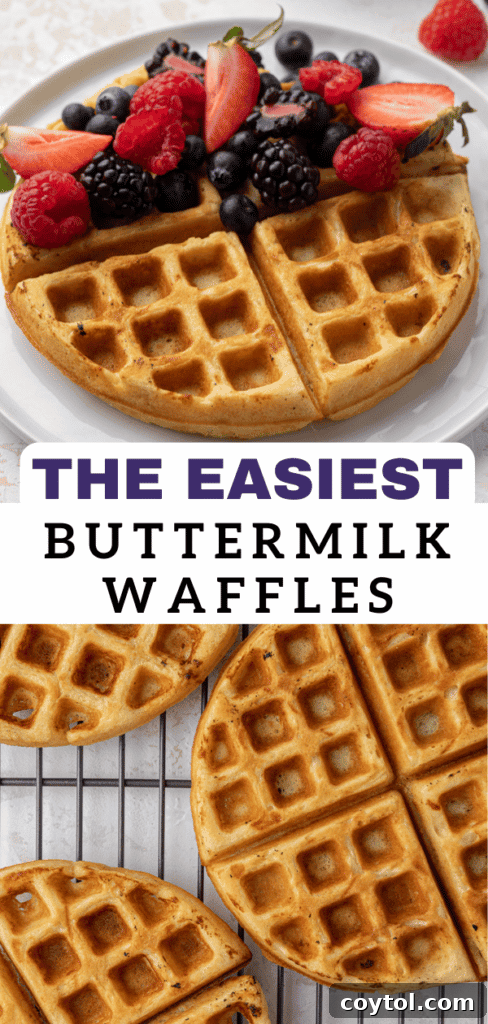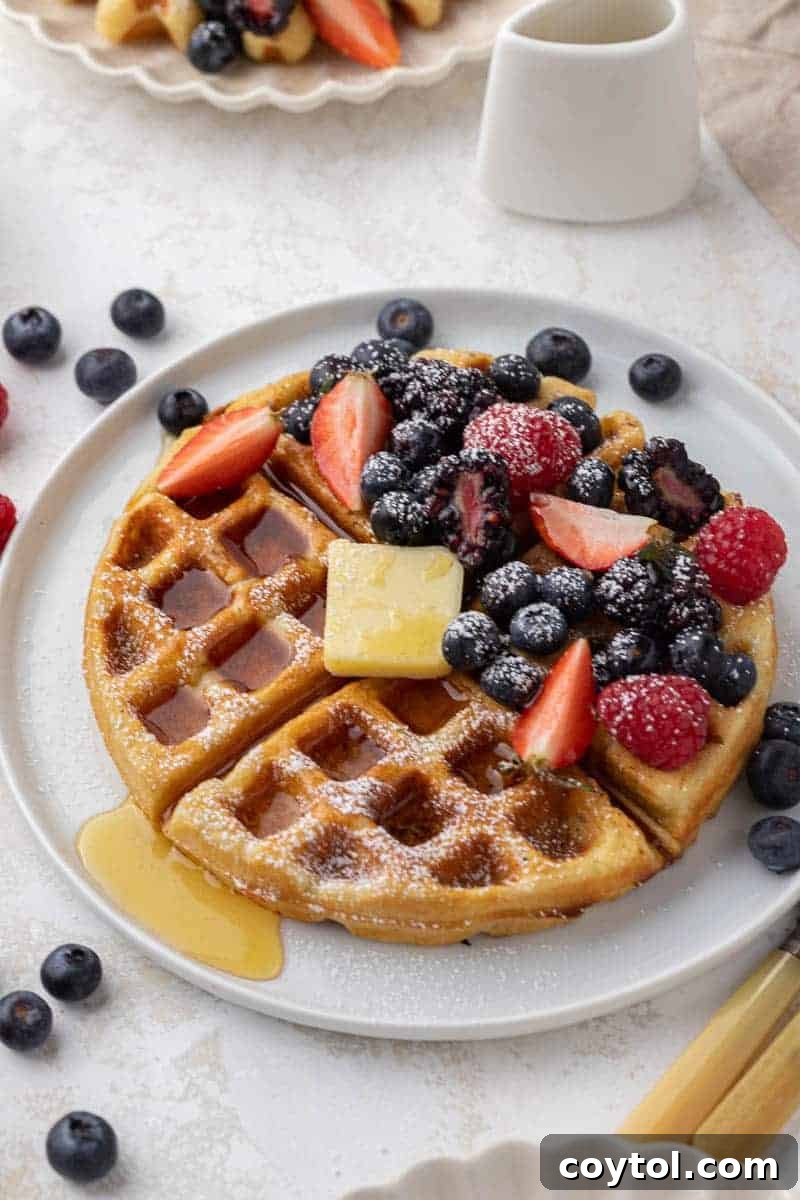
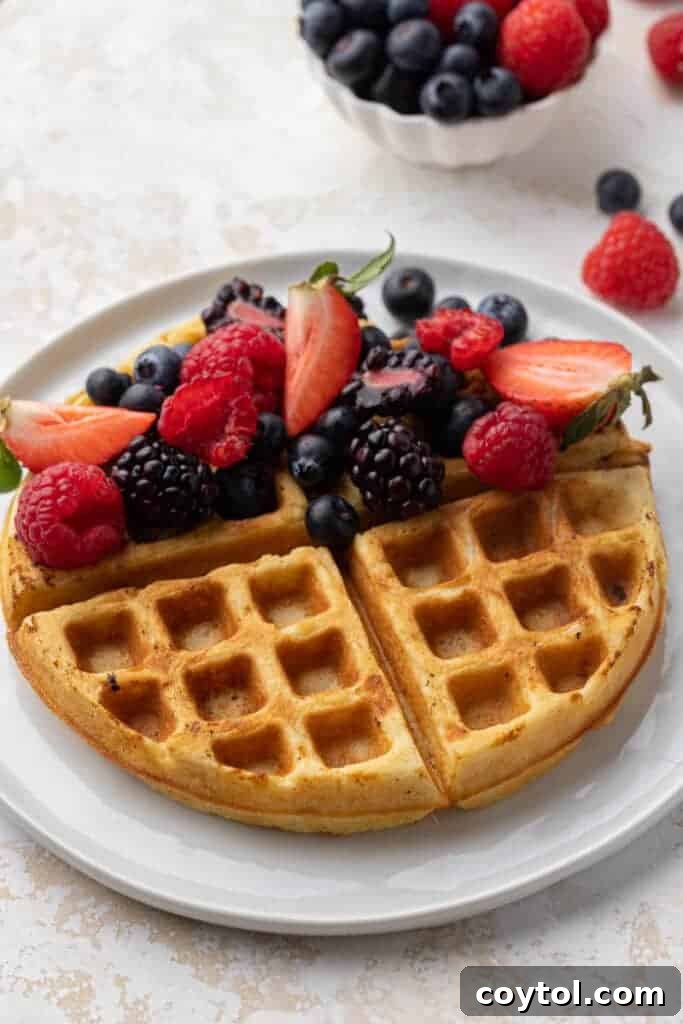
Indulge in the ultimate breakfast experience with this classic, extra comforting buttermilk waffle recipe. Designed to deliver unbelievably fluffy interiors, perfectly crisp exteriors, and a delightful richness, these waffles will transform your mornings. With just a handful of staple ingredients you likely already have on hand, you can whip up a batch of these golden wonders and elevate your breakfast or brunch to a whole new level of deliciousness.
These versatile buttermilk waffles are a perfect canvas for a variety of accompaniments. While they shine brightest with a drizzle of warm maple syrup and fresh berries, consider pairing them with a refreshing Immune Boosting Ginger Carrot Orange Smoothie, a zesty Immune Boosting Orange Mango Smoothie, or a delightful cup of coffee like a Starbucks Vanilla Sweet Cream Cold Brew or a Starbucks Irish Cream Cold Brew Coffee for a complete and satisfying meal.
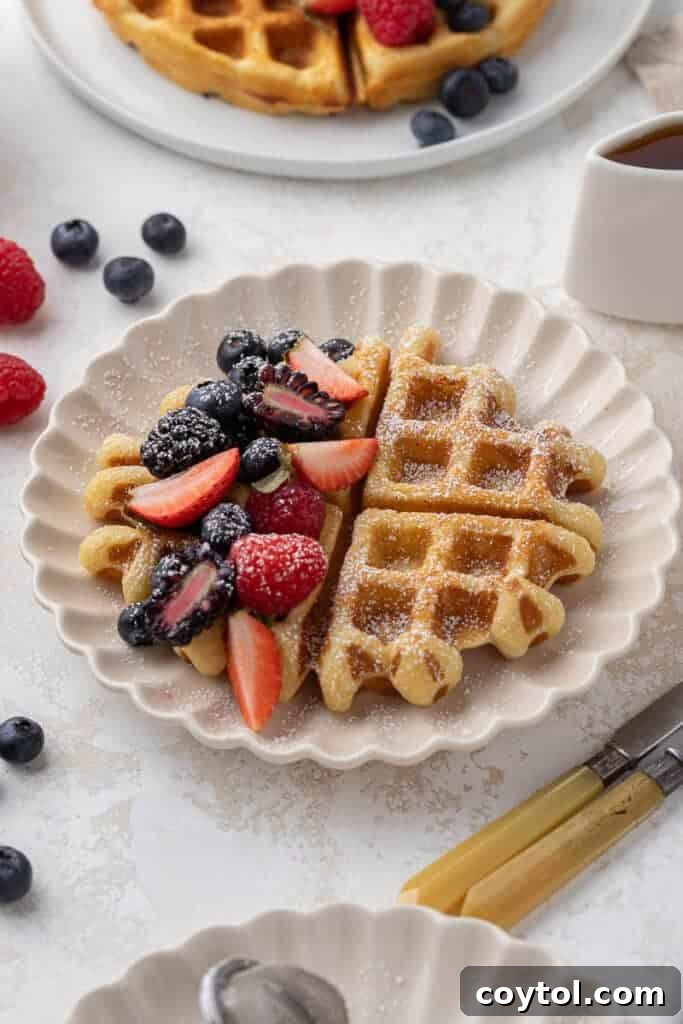
The Ultimate Guide to Fluffy, Crispy Buttermilk Waffles
There’s something inherently comforting and utterly irresistible about a perfectly made buttermilk waffle. For me, they are the undisputed champion of breakfast, brunch, or even a delightful “brinner” (breakfast for dinner). Their light, airy texture and subtly tangy flavor make them an ideal foundation for a medley of toppings, from vibrant fresh fruits to rich maple syrup. These aren’t just any waffles; they are a truly special treat that brings smiles to faces and warmth to any kitchen.
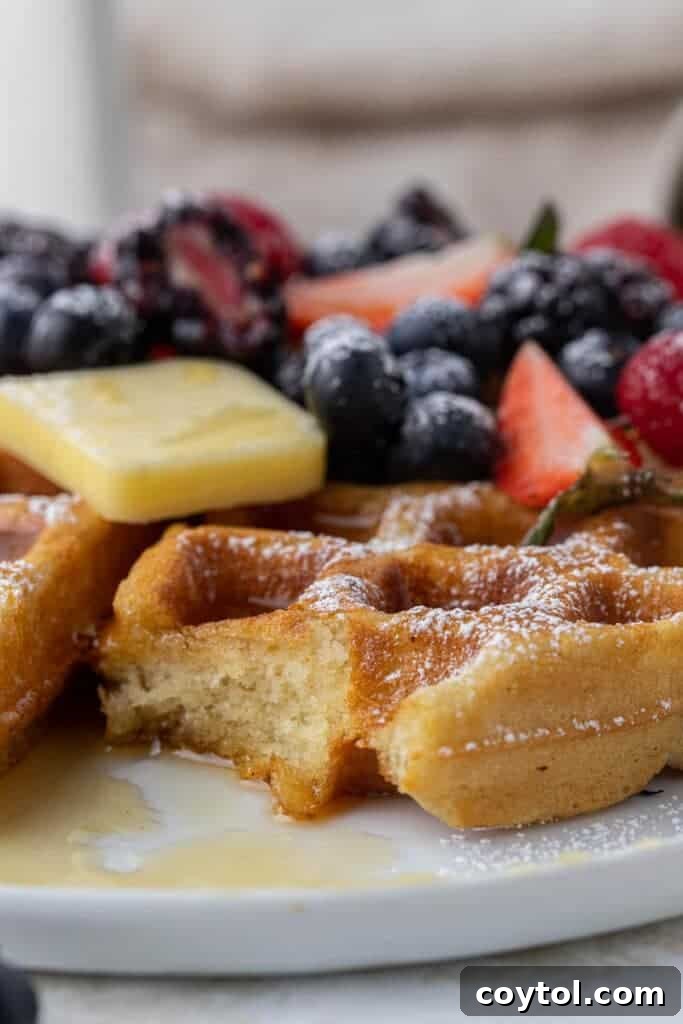
What sets this particular recipe apart is a clever little trick involving cornstarch. This secret ingredient is key to achieving that coveted contrast: waffles that are wonderfully moist and tender on the inside, yet boast an exquisite crispiness on the outside. This delightful texture combination is what truly elevates these homemade buttermilk waffles above the rest, making them an unforgettable culinary experience.
Why This is The Best Buttermilk Waffle Recipe You’ll Ever Make!
If you’ve been on the hunt for a waffle recipe that consistently delivers perfection, your search ends here. This recipe isn’t just “good”; it’s truly exceptional. It combines the rich, tangy flavor that only buttermilk can provide with a texture that is both incredibly fluffy and satisfyingly crisp. Forget dry, dense, or soggy waffles—these are golden, airy, and utterly delicious every single time. The simplicity of the ingredients and the straightforward method belie the incredible results you’ll achieve, making it a go-to for both novice and experienced home cooks.
While we champion waffles today, if your heart occasionally yearns for pancakes, don’t worry, we’ve got you covered too! Explore delightful options like our Perfectly Fluffy Pumpkin Pancake Recipe, an Easy Family Style Dutch Baby Pancake Recipe, or discover 7 Secrets to Make Boxed Pancakes Better + Mistakes to Avoid. We even offer delicious Fluffy Almond Flour Pancakes for alternative dietary needs. But for those ready for a waffle revelation, prepare to have your expectations redefined, because these buttermilk waffles are truly THAT GOOD!
Top Reasons You Need to Make These Homemade Buttermilk Waffles Today!
-
Effortlessly Quick Breakfast: This recipe is incredibly efficient, designed for busy mornings or impromptu brunch gatherings. Utilizing ingredients you likely already stock in your pantry, you can whip up the batter and have hot, fresh waffles on the table in under 30 minutes. It’s the perfect solution when you crave something special without spending hours in the kitchen, proving that homemade doesn’t have to mean complicated.
-
Your New Staple Waffle Recipe: Every home cook needs a reliable, go-to recipe for classic dishes, and this buttermilk waffle recipe is destined to become yours. Its consistent results—fluffy inside, crispy outside, and bursting with flavor—will make it a beloved favorite for your family and guests. It’s the kind of recipe you’ll memorize and turn to again and again, establishing itself as an essential part of your breakfast repertoire.
-
Excellent for Make-Ahead & Freezing: Planning ahead just got easier! These waffles are ideal for batch cooking. Prepare a large quantity, cool them, and flash-freeze for later use. This means you can enjoy a delicious homemade breakfast even on your busiest days. Simply pop a frozen waffle into the toaster, toaster oven, or conventional oven for a quick, wholesome meal that tastes freshly made. It’s a game-changer for meal prep and avoiding rushed mornings.
-
Superior to Boxed Mixes: Why settle for bland, one-dimensional waffles from a mix when you can easily create something far superior? This homemade recipe delivers unparalleled flavor, texture, and freshness that simply cannot be replicated by pre-packaged alternatives. Despite being made from scratch, it’s just as straightforward to prepare, offering a gourmet breakfast experience with minimal extra effort. Once you taste these, you’ll never go back to a box!
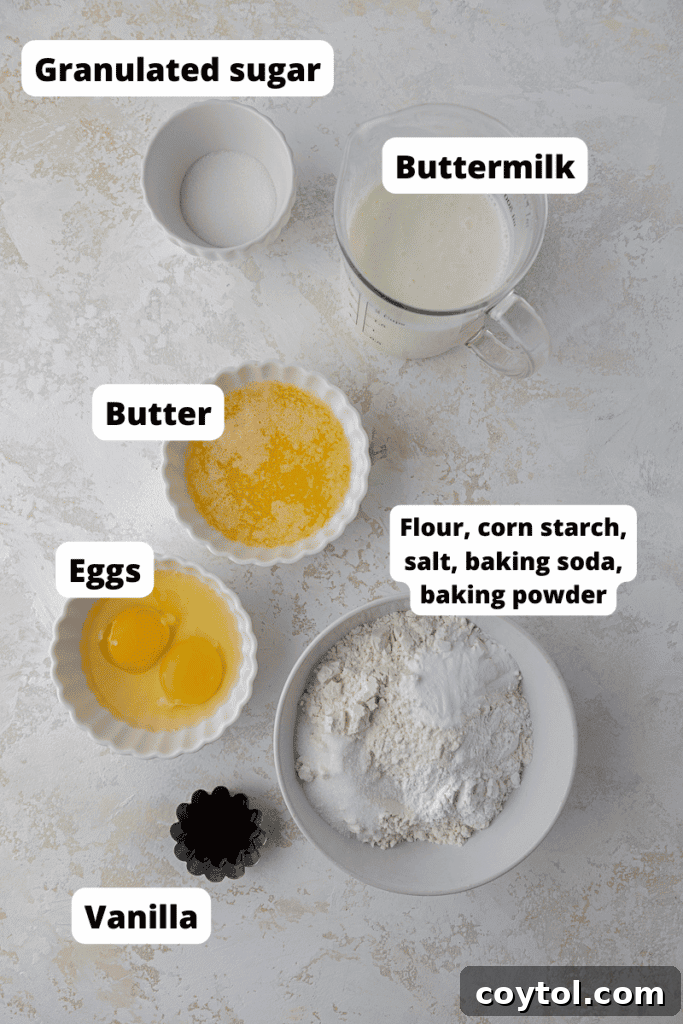
Essential Ingredients for These Perfect Buttermilk Waffles
Crafting these exceptional buttermilk waffles requires only a few fundamental ingredients. Each component plays a vital role in achieving their signature taste and texture. Below is a breakdown of what you’ll need; for exact measurements, please refer to the comprehensive recipe card further down the page.
- Flour: Standard all-purpose flour provides the essential structure for our waffles. Using AP flour ensures a tender crumb while holding up to the waffle iron’s heat, resulting in a perfectly formed and robust waffle.
- Corn Starch: This is our secret weapon for achieving that coveted crisp exterior without sacrificing a moist, fluffy interior. Corn starch helps to absorb moisture and crisp up the batter as it cooks, creating a delicate crunch that makes these waffles truly stand out.
- Sugar: Just a touch of granulated sugar enhances the flavor profile of the waffles, providing a subtle sweetness that balances the tang of the buttermilk. It also contributes to the golden-brown color and helps with the crisping process.
- Baking Powder & Baking Soda: This powerful duo is responsible for the incredible rise and fluffiness of these waffles. Baking powder provides an initial lift, while baking soda reacts with the acidic buttermilk to create additional bubbles, resulting in an exceptionally airy and light texture.
- Buttermilk: The star ingredient, buttermilk, not only contributes a distinct, pleasant tang but also ensures the waffles remain incredibly moist and tender. Its acidity reacts with the baking soda, leading to a lighter, more tender crumb than regular milk would provide.
- Salt: A non-negotiable ingredient in baking! Salt might seem minor, but it’s crucial for balancing and enhancing all the other flavors in the waffle batter. It prevents the waffles from tasting flat and brings out the subtle sweetness and tang, creating a more complex and satisfying taste.
- Butter: Melted butter adds rich flavor and contributes to the tender texture. You can use either salted or unsalted butter; if using salted, you might slightly reduce the added salt in the recipe to taste.
- Egg: Eggs bind the ingredients together, add richness, and contribute to the overall structure and tenderness of the waffles. Using room temperature eggs helps them incorporate more smoothly into the batter, ensuring a consistent texture.
- Vanilla Extract: A splash of vanilla extract infuses the waffles with a warm, inviting aroma and a delightful depth of flavor. It’s a small addition that makes a big difference, elevating the overall sensory experience.
No Buttermilk? No Problem! Easy Substitutes
While fresh buttermilk is ideal for its unique flavor and acidity, it’s understandable that it might not always be a pantry staple. The good news is, you can easily create a homemade buttermilk substitute using ingredients you likely already have! This quick hack ensures you can still enjoy these fantastic waffles without an extra trip to the store.
To make your own buttermilk substitute, simply mix **1 ¾ cups of regular milk (dairy or non-dairy works) with 1 ½ tablespoons of white vinegar or lemon juice**. Stir it gently and let it sit for about 5-10 minutes. During this time, the milk will begin to curdle slightly and thicken, mimicking the consistency and acidity of true buttermilk. This acidification is crucial for reacting with the baking soda in the recipe, ensuring your waffles achieve that desired fluffiness.
Alternatively, if you happen to have plain yogurt or kefir on hand, these can also be thinned slightly with a bit of milk to achieve a buttermilk-like consistency and tang. Just ensure your substitute has that acidic component to activate the leavening agents in the recipe.
Step-by-Step: How to Make Buttermilk Waffles from Scratch
Making these homemade buttermilk waffles is a simple and rewarding process. Follow these detailed steps to achieve perfect, golden-brown waffles every time. For precise measurements and further details, please consult the complete recipe card below.
- Prepare Dry Ingredients: In a large mixing bowl, combine the all-purpose flour, corn starch, granulated sugar, baking powder, baking soda, and salt. Whisk these dry ingredients thoroughly to ensure they are well combined and evenly distributed. This step is crucial for consistent leavening throughout your batter.
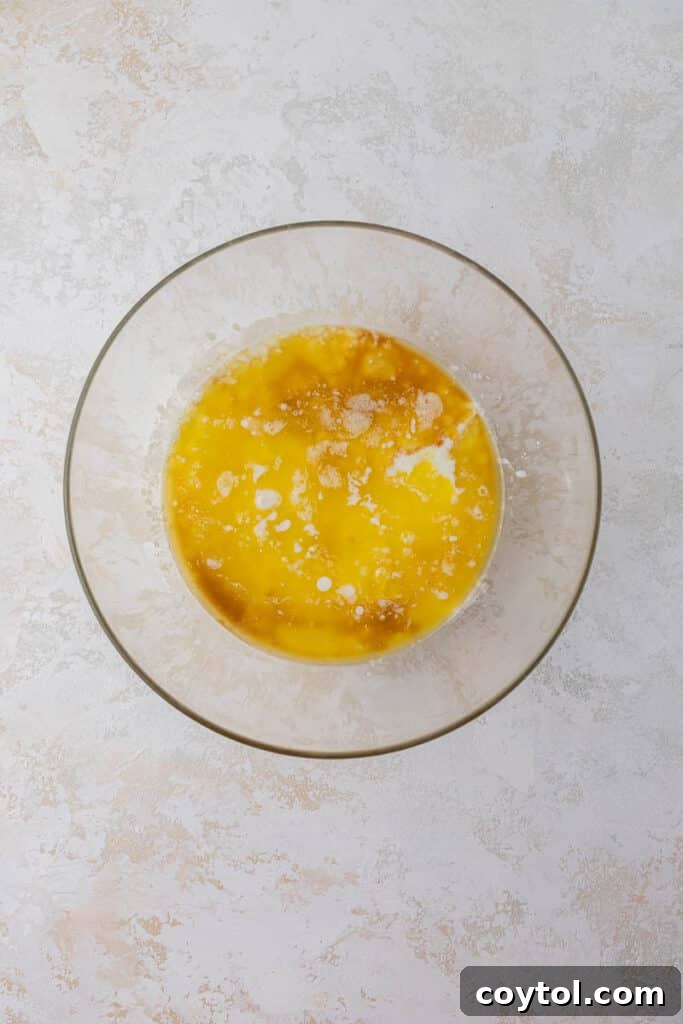
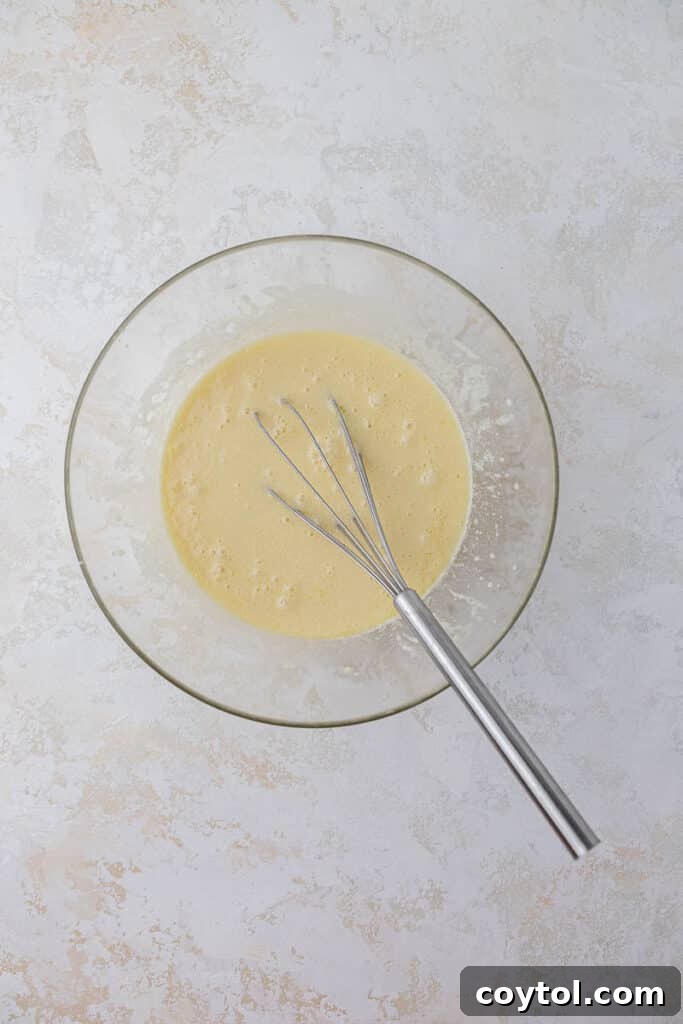
- Combine Wet Ingredients: In a separate medium-sized bowl, whisk together the melted butter, buttermilk, room temperature eggs, and vanilla extract until smooth. Ensure all ingredients are fully incorporated before moving to the next step. Using room temperature eggs helps prevent the butter from solidifying when mixed.
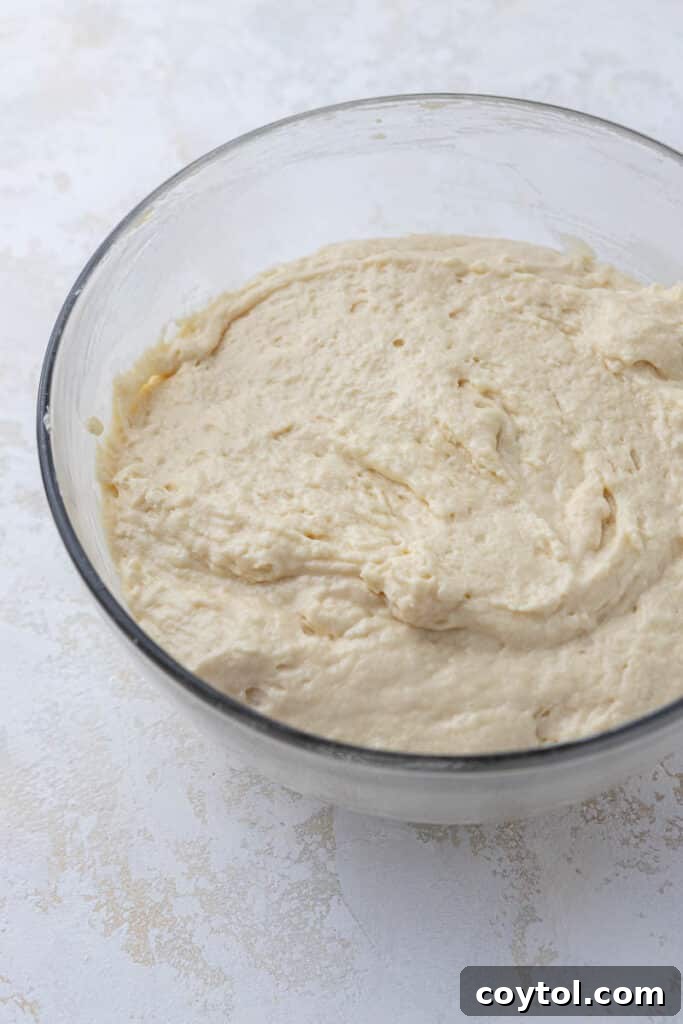
- Mix Batter: Gently pour the wet ingredient mixture over the dry ingredients in the large bowl. Using a whisk, mix just until the ingredients are combined. It’s important not to overmix the batter; a few small lumps are perfectly fine and even desirable, as overmixing can lead to tough waffles. Let the batter rest for a few minutes while your waffle iron preheats.
- Preheat Waffle Iron: While your batter rests, plug in your waffle iron and allow it to preheat fully. Most waffle irons have an indicator light that signals when it’s ready. A properly preheated iron is essential for achieving perfectly crisp waffles that cook evenly and don’t stick.
- Grease & Cook: If your waffle iron is not explicitly non-stick or if you want extra assurance, lightly spray the heated iron with non-stick cooking spray. Pour the prepared batter into the center of the waffle iron, using the amount recommended by your manufacturer (usually about ½ to ¾ cup per waffle, depending on size). Close the lid and cook according to the manufacturer’s directions, or until the steam stops escaping, indicating the waffle is fully cooked and beautifully golden brown.
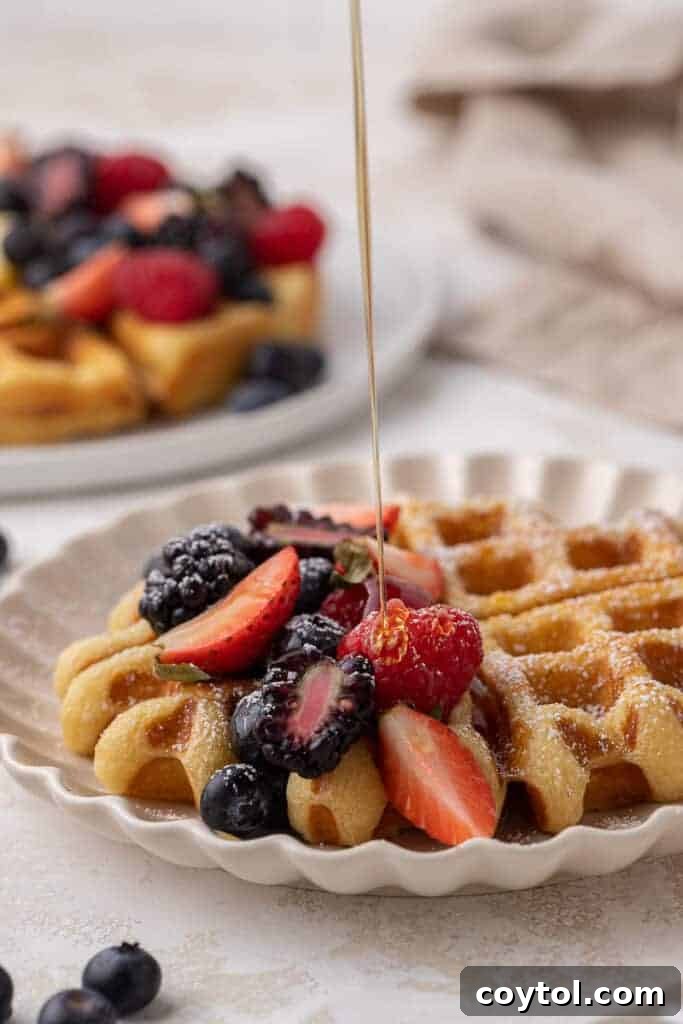
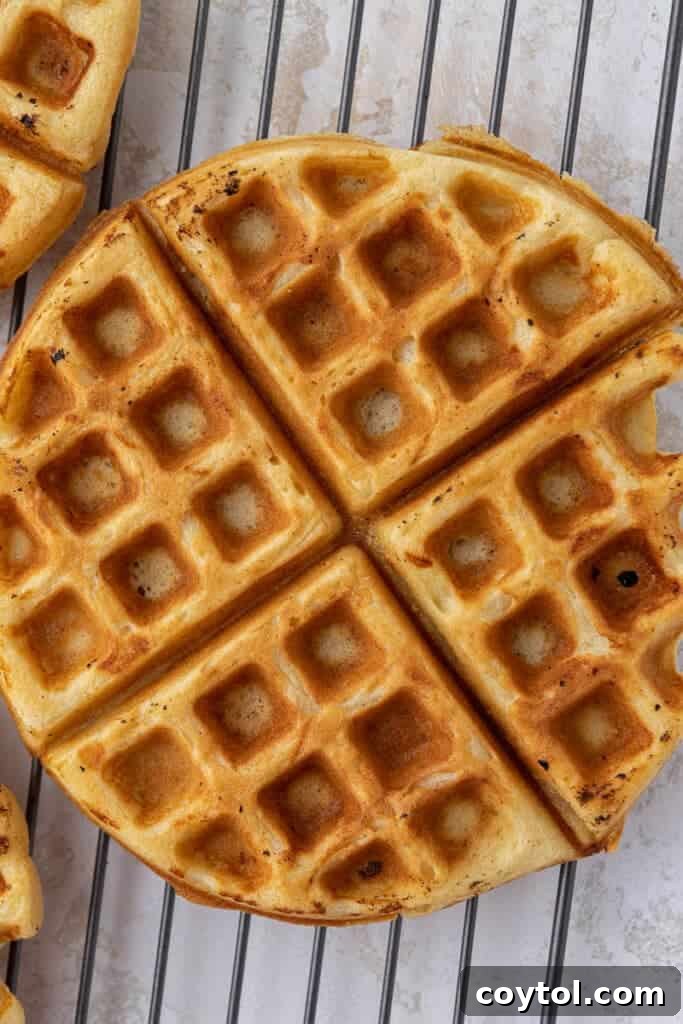
- Serve Fresh: Carefully remove the cooked waffle from the iron. For optimal crispness, place it on a wire cooling rack while you cook the remaining batter. Avoid stacking hot waffles on a plate, as this traps steam and can make them soggy. Serve immediately with your favorite toppings, such as fresh fruit, whipped cream, or a generous pour of maple syrup!
Delicious Buttermilk Waffles Topping Ideas
Waffles, much like pancakes, offer a wonderful opportunity for creativity at the breakfast table. Set up a “waffle bar” and let everyone customize their own masterpiece! Here are some of our favorite topping ideas to inspire your next waffle feast:
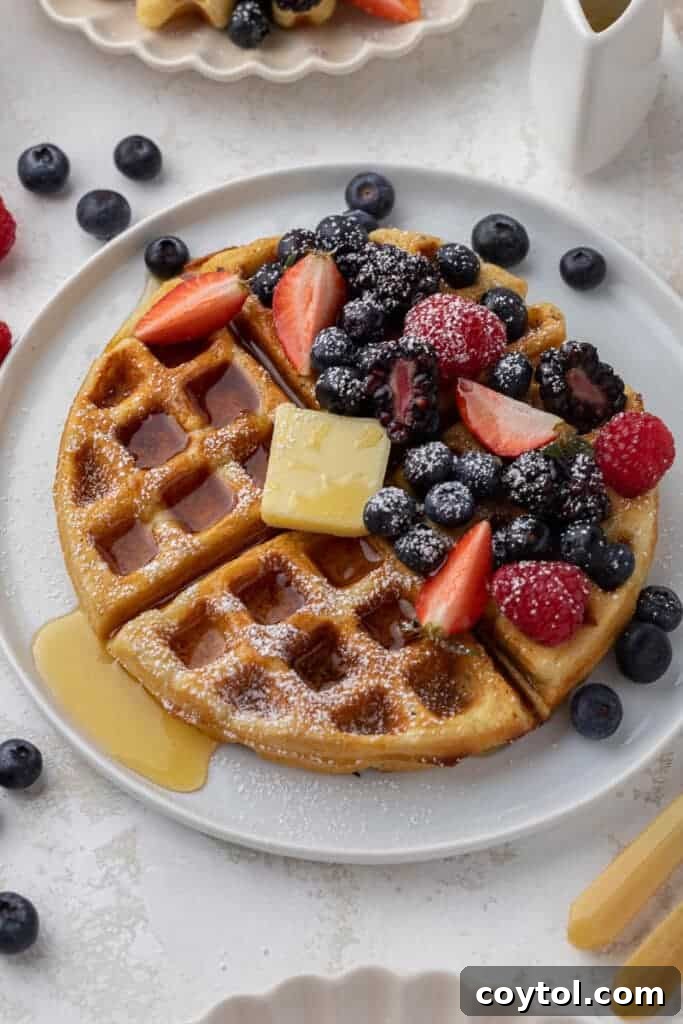
- Classic Comforts: There’s simply no going wrong with the timeless duo of a pat of melting butter and a generous drizzle of warm, pure maple syrup. This classic combination always delivers comforting satisfaction and highlights the waffle’s natural flavors.
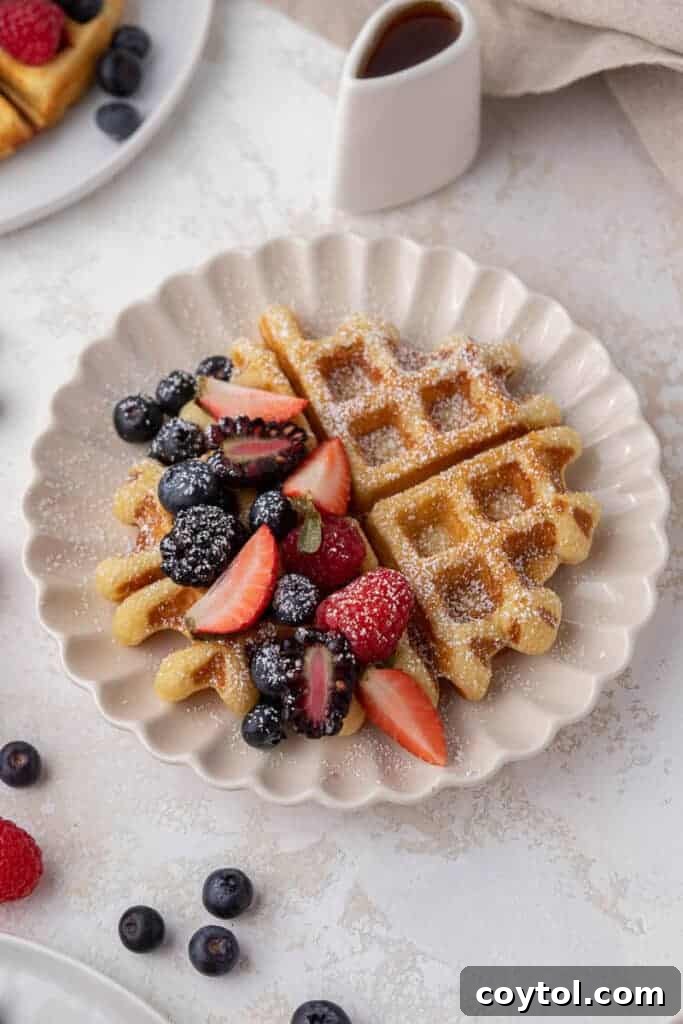
- Fresh & Fruity: Brighten your waffles with an abundance of fresh fruits. Sliced strawberries, blueberries, raspberries, banana slices, or even a mixed berry compote add natural sweetness, vibrant color, and essential vitamins. For an extra touch of gourmet, spoon on some tangy lemon curd or your favorite fruit jams for a delightful burst of flavor.
- Decadent Delights: Transform your waffles into a dessert-like treat. A dollop of freshly whipped cream adds luxurious lightness. For chocolate lovers, a spread of Nutella turns any morning into an indulgent experience. Or, for a rich, caramel-infused twist, drizzle with dulce de leche or a homemade caramel sauce.
- Nutty Additions: For a more filling and protein-packed breakfast, spread your waffles with your favorite nut butters like peanut butter, almond butter, or cashew butter. Top with a sprinkle of toasted nuts such as pecans, walnuts, or almonds for added crunch and depth of flavor. Candied nuts offer an extra layer of sweetness and texture.
My favorite approach is to mix and match these delicious toppings to create unique flavor combinations. What are your go-to waffle toppings? Share your creative ideas in the comments below—I’d love to discover new favorites!
More Breakfast and Brunch Recipes You’ll Love!
If you enjoyed making these buttermilk waffles, you’re in for a treat with these other fantastic breakfast and brunch ideas from our collection:
- Mini Breakfast Zucchini Frittatas: A savory and healthy option for a quick morning meal, perfect for meal prepping.
- Overnight Strawberries and Cream Oats: Prepare this delightful breakfast the night before for an easy, creamy, and satisfying grab-and-go option.
- Healthy Mango Breakfast Smoothie Bowl: A vibrant, nutritious, and incredibly refreshing bowl to kickstart your day with tropical flavors.
- Quick and Easy Air Fryer Baked Oats: A delightful and convenient twist on classic oatmeal, baked to golden perfection in your air fryer.
Frequently Asked Questions (FAQ) About Buttermilk Waffles
How to Make Waffles Extra Crispy?
Achieving that coveted crispy exterior is key to a perfect waffle experience. Here are a few essential tips to ensure your buttermilk waffles are as crisp as possible:
- Properly Preheat Your Waffle Iron: This is arguably the most crucial step. Make sure your waffle iron is fully preheated before pouring in the batter. A hot iron instantly crisps the outside of the batter, locking in moisture and creating that delightful crunch. If the iron isn’t hot enough, the waffles will steam rather than crisp, resulting in a softer, chewier texture.
- Use a Cooling Rack Immediately: Once your waffles are done cooking, transfer them directly to a wire cooling rack. Do not stack them on a plate or flat surface. Placing hot waffles on a flat surface will trap steam underneath, causing condensation that makes them quickly become soggy. A cooling rack allows air to circulate around the entire waffle, preserving its crispiness.
- Re-crisp or Keep Warm in the Oven: If you’re making a large batch and want to keep earlier waffles warm and crispy while you cook the rest, place them on a wire rack set over a baking sheet in an oven preheated to 200°F (95°C). Be mindful not to leave them in the oven for too long, as they can dry out. You can also re-crisp slightly softened waffles by popping them back into the hot waffle iron for 30-60 seconds or in a toaster until revived.
Why Do My Waffles Stick to the Waffle Maker?
Waffles sticking to the iron can be a frustrating experience, but it’s a common issue with a few straightforward solutions. There are generally two main reasons why your waffles might be clinging to the waffle maker:
-
Reason 1: Insufficient Greasing. Unless your waffle maker explicitly states not to grease it because it’s exceptionally non-stick (and sometimes even then!), you should always lightly spray or brush the grids with non-stick cooking spray or melted butter before each waffle. Even if your iron has a non-stick coating, an extra layer of grease provides a barrier, ensuring easy release and preventing a messy breakfast catastrophe. Make sure to grease both the top and bottom plates.
-
Reason 2: Waffle Maker Condition. Over time and with heavy usage, the non-stick coating on waffle makers can degrade. If you’ve been greasing adequately and your waffles are still consistently sticking, your waffle maker might simply be old and worn out. In this case, increasing your use of non-stick spray or butter can help, but if the problem persists, it might be an indication that it’s time to invest in a new appliance for consistently perfect, stick-free waffles.
Can You Freeze Buttermilk Waffles?
Absolutely! Freezing buttermilk waffles is one of my favorite meal prep secrets, making them perfect for quick breakfasts or brunches throughout the week. This allows you to enjoy homemade goodness without the daily fuss. Here’s how to do it effectively:
First, cook your waffles according to the recipe instructions until golden and crisp. Once cooked, immediately transfer them to a wire cooling rack and allow them to cool completely to room temperature. This is crucial as freezing hot waffles will trap moisture and lead to ice crystals and sogginess. Once fully cooled, arrange the waffles in a single layer on a parchment-lined baking sheet. Flash freeze them for 2-3 hours, or until they are firm. This prevents them from sticking together when stored. Finally, transfer the flash-frozen waffles to an airtight freezer-safe bag or container, separating layers with parchment paper if stacking. They will keep beautifully for up to 3 months.
To reheat your frozen waffles, you have several convenient options. Simply pop them directly into a toaster for a few minutes until heated through and re-crisped. Alternatively, you can reheat them in a toaster oven at 350°F (175°C) for about 5-7 minutes, or spread them on a baking sheet and heat in a conventional oven at 375°F (190°C) for about 8-10 minutes. An air fryer also works wonders, giving them a lovely crispness in just a few minutes. No need to thaw beforehand!
Homemade Buttermilk Waffles (Recipe Card)
If you’ve tried and loved these Homemade Buttermilk Waffles, please don’t forget to leave a 5-star review by clicking on the stars below the title and description. Your valuable feedback helps us share delicious recipes with more home cooks!
The Easiest Buttermilk Waffles
Print Recipe
Equipment
Ingredients
- 2 cup AP flour
- 1 tbsp corn starch
- 2 & 1/2 tbsp granulated sugar
- 2 tsp baking powder
- 1 tsp baking soda
- 1 tsp salt
- 1 & 3/4 cup buttermilk
- 1/2 cup butter melted, salted or unsalted
- 2 eggs at room temperature
- 2 tsp vanilla extract
Instructions
-
Mix the flour, corn starch, sugar, baking powder, baking soda, and salt together in a large bowl.
-
Whisk the melted butter, buttermilk, eggs, and vanilla together in a medium bowl.
-
Pour the wet ingredients over the dry ingredients and whisk just until combined. Don’t over mix.
-
Preheat the waffle iron while the batter is resting for a few minutes.
-
Spray the waffle iron with non-stick cooking spray if necessary. Then pour the batter into the waffle iron and cook according to manufacturer’s directions or until the steam stops.
-
Serve with fresh fruit and maple syrup!
Nutrition
Nutrition information is automatically calculated, so should only be used as an approximation.
Thank you for making it all the way down here! We truly hope you’ve enjoyed this comprehensive guide to crafting the most delicious homemade buttermilk waffles. Your kitchen is about to become a favorite breakfast spot!
If you enjoyed this recipe, please don’t forget to let us know in the comments below! Your feedback means the world to us. In the meantime, don’t forget to follow me on Instagram for more delicious recipes, tips, and behind-the-scenes glimpses into our culinary adventures!

Shop Our Recommended Waffle Essentials
This post may contain affiliate links, meaning that at no additional cost to you, I will earn a small commission if you make a purchase through these links. We only recommend products we genuinely love and use in our own kitchen.
Loved This Recipe? Pin It for Later!
If you enjoyed this homemade buttermilk waffles recipe, don’t forget to save it for later inspiration! Pin these delicious images to your favorite Pinterest boards so you can easily find it whenever a waffle craving strikes.