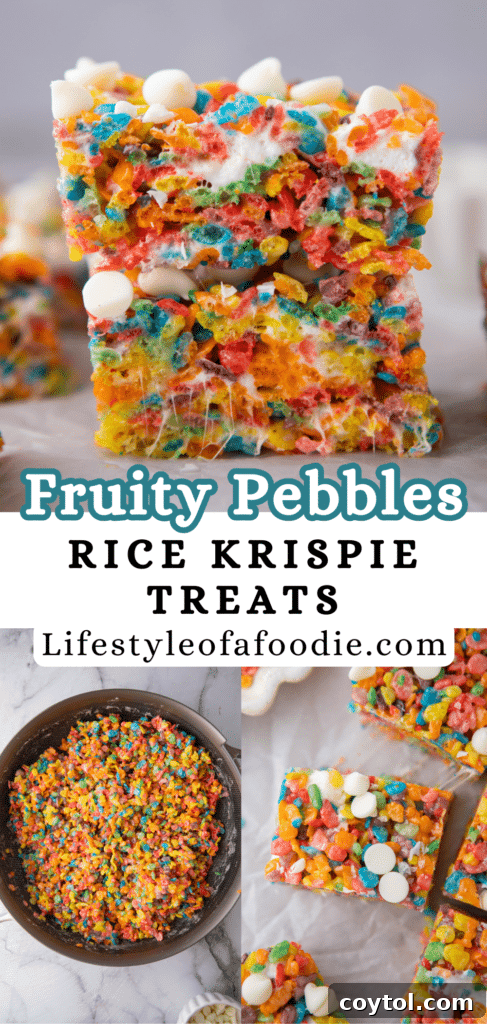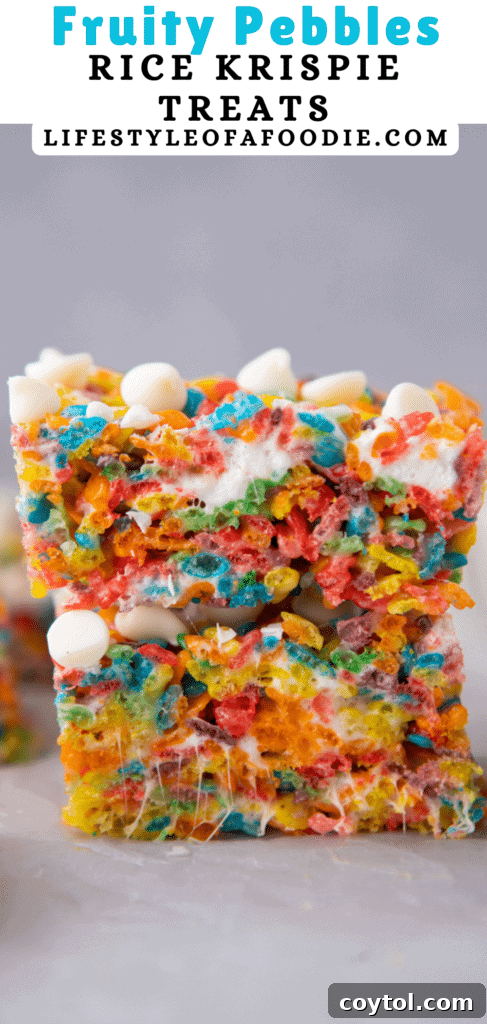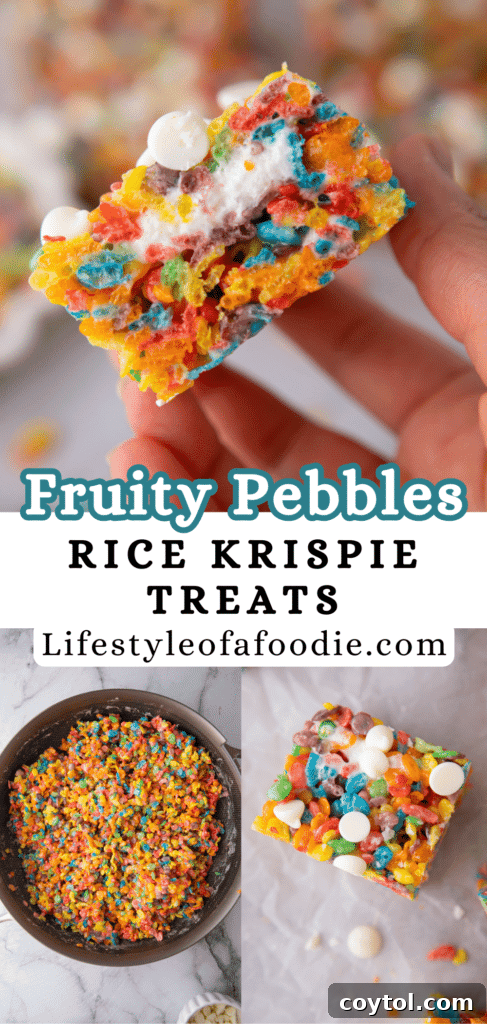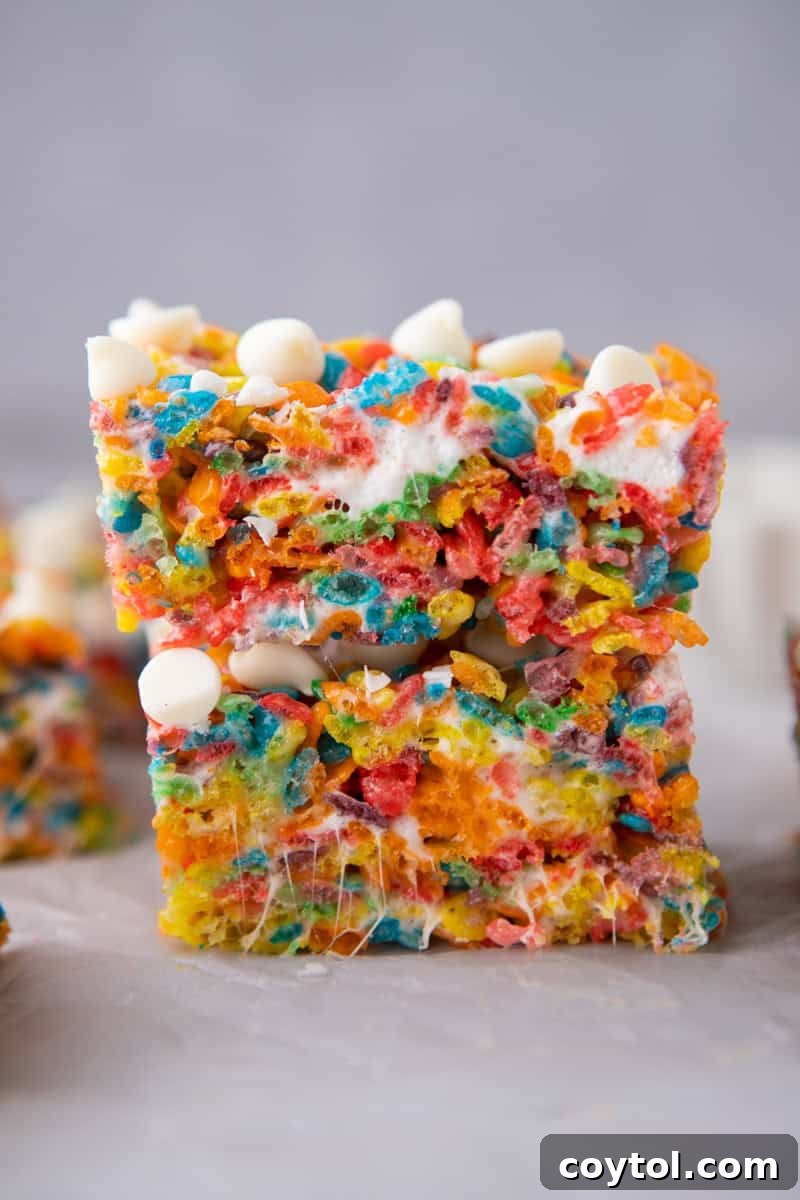
Delve into a vibrant world of flavor and nostalgia with this incredible Fruity Pebble Krispie Treats recipe. These delightful no-bake bars are a beloved classic, reimagined with the iconic, colorful Fruity Pebbles cereal. Combining creamy butter, gooey mini marshmallows, and a hint of vanilla, these treats are taken to the next level with optional white chocolate chips, adding a textural surprise that makes them truly irresistible. Soft, chewy, and bursting with rainbow colors, they are the perfect easy dessert to brighten any day, bringing a smile to both kids and adults alike.
If you’re a fan of these easy no-bake cereal bars, you might also enjoy exploring other creative takes on the classic treat. Discover unique flavors like these Ruffles Krispie Treats, the decadent Peanut Butter and Chocolate Rice Krispie Treats, or these refreshingly sweet Strawberry Rice Krispie Treats. Each offers a distinct twist on a familiar favorite!
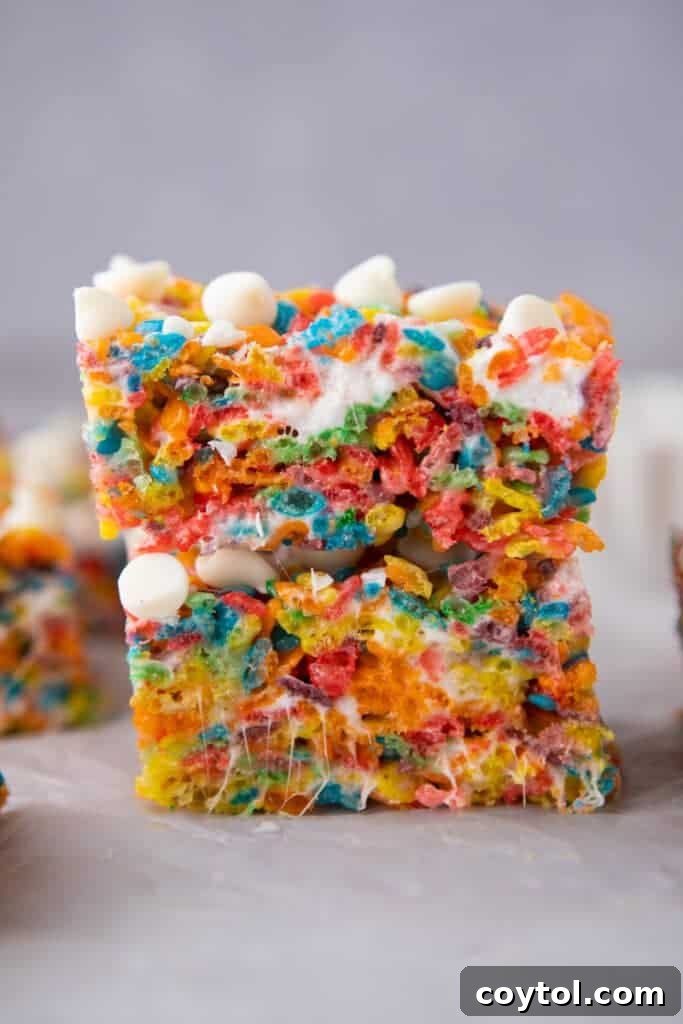
The Ultimate Guide to Making the Best Fruity Pebble Krispie Treats
There’s something uniquely enchanting about Fruity Pebbles cereal. Its vibrant colors and distinct fruity flavor evoke a sense of childhood wonder and pure joy. For many, including my partner Kyle who ranks it among his top three cereals, it’s a nostalgic taste of yesteryear. While I didn’t grow up with this particular cereal, I’ve come to deeply appreciate its widespread appeal and delicious charm. This appreciation led me to create an elevated version of the classic rice krispie treat, transforming it into a dazzling dessert that was the star of his recent birthday party.
The result? These Fruity Pebble Krispie Treats were an absolute hit, combining the familiar chewy texture with an explosion of color and fruity goodness. They were so successful, in fact, that I simply had to share this simple yet sensational recipe with all of you. It’s a remarkably easy dessert to prepare, perfect for any time of year, whether you’re celebrating a special occasion or simply craving a delightful homemade treat. Its simplicity makes it ideal for busy parents and a fun project for kids, yet its vibrant appearance and delicious taste will impress everyone, from the youngest family member to the most discerning adult.
Forget complicated baking or long ingredient lists. This no-bake recipe delivers maximum flavor and visual appeal with minimal effort, making it a go-to for impromptu gatherings, school lunchboxes, or a sweet pick-me-up. The magic lies in the high-quality ingredients and a few simple steps that bring this rainbow masterpiece to life. Prepare to amaze your taste buds and impress your guests with these extraordinary cereal bars!
Why You’ll Love This Easy Fruity Pebbles Treat Recipe
If you’re searching for a dessert that’s both fun to make and a joy to eat, look no further. This Fruity Pebble Rice Krispie Treat recipe stands out for several compelling reasons:
- Explosion of Fruity Flavor: Thanks to the generous amount of Fruity Pebbles cereal, these treats are packed with an unmistakable, vibrant fruity taste in every single bite. It’s not just a hint; it’s a full-blown flavor experience that will transport you back to childhood mornings.
- Quick & Convenient No-Bake Delight: Forget preheating ovens or waiting for things to cool. This is a genuinely easy snack that comes together in mere minutes. It’s perfect for those last-minute dessert emergencies or when you need a crowd-pleasing treat without the fuss of baking.
- Budget-Friendly & Simple Ingredients: You won’t need exotic or expensive items for this recipe. It relies on a handful of readily available, simple ingredients, making it an incredibly economical choice for feeding a large group or enjoying on a regular basis.
- Universal Appeal & Rainbow Joy: Who can resist the cheerful colors of Fruity Pebbles? These rainbow Rice Krispies treats are guaranteed to delight all age groups. Their playful appearance and sweet flavor make them an instant hit at parties, potlucks, or as a special everyday indulgence.
- Zero Marshmallow Leftovers: We’ve all been there – a half-used bag of marshmallows lingering in the pantry. This recipe cleverly utilizes an entire standard bag of mini marshmallows, ensuring no annoying leftovers and a perfectly balanced, gooey texture in every batch.
- Customizable Fun: While delicious as is, this recipe serves as a fantastic base for customization. Add sprinkles, drizzle with colored icing, or mix in other candies for an extra layer of fun and personalization.
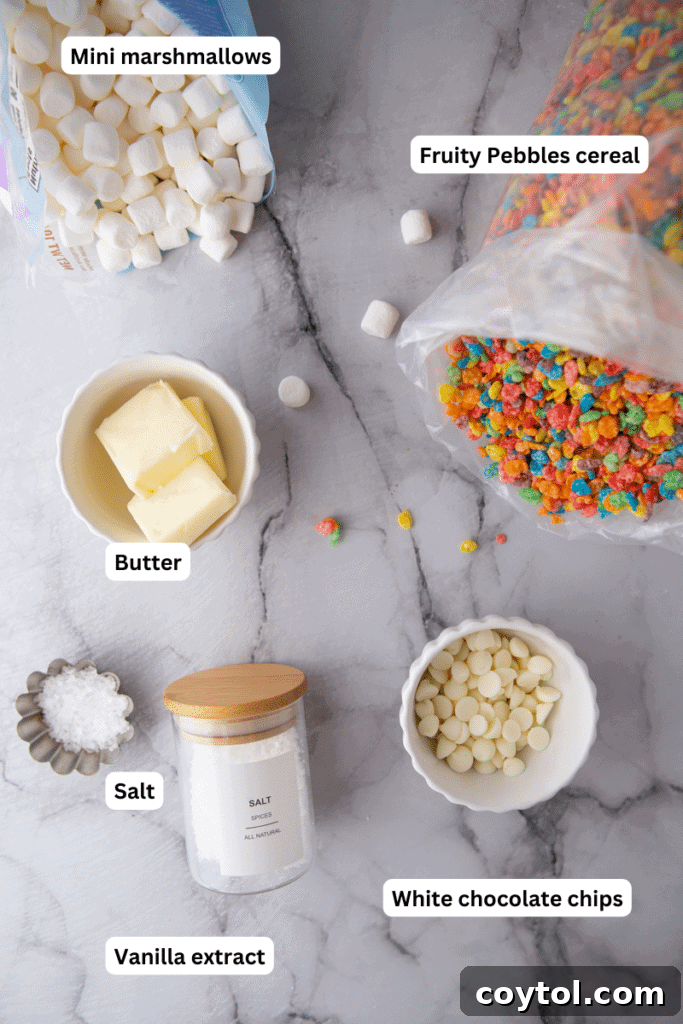
Essential Ingredients for Perfect Fruity Pebbles Rice Krispie Treats
Crafting these delectable Fruity Pebbles bars requires just a few key components. Here’s a breakdown of what you’ll need and why each ingredient plays a crucial role. For precise measurements, make sure to refer to the comprehensive recipe card below.
- Butter: The foundation of any good Rice Krispie treat, butter provides richness and helps create that signature chewy texture. You can confidently use either salted or unsalted butter; just ensure it’s fresh for the best flavor.
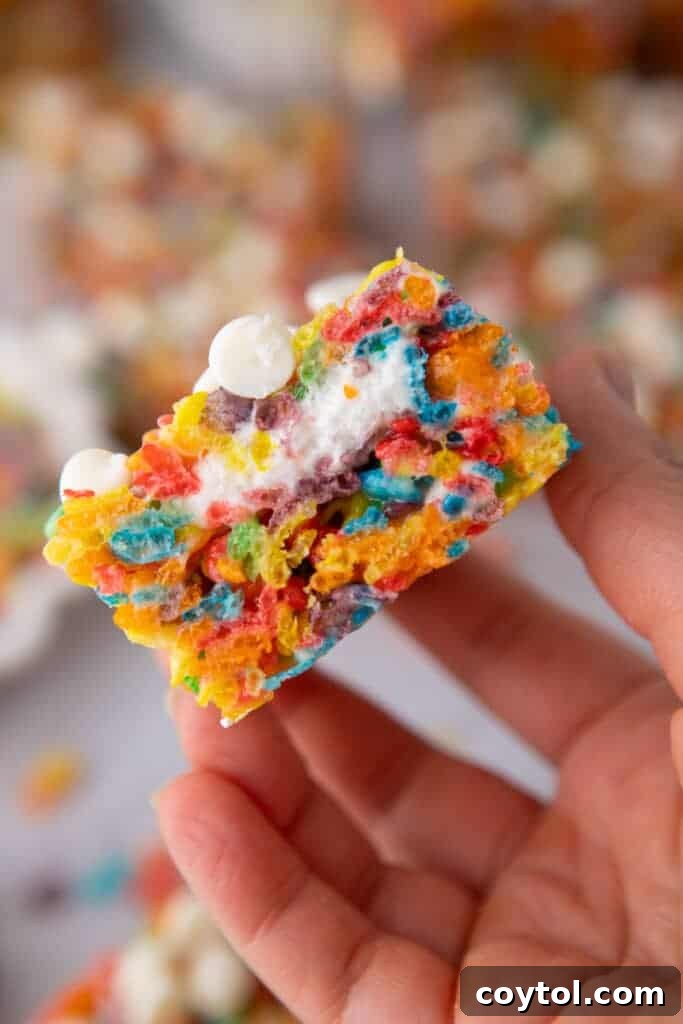
- Mini Marshmallows: These are non-negotiable for superior treats! Mini marshmallows melt more quickly and evenly than their larger counterparts, which is vital for preventing the mixture from burning and ensuring your treats remain soft and gooey, never hard. We’ll use a portion for melting and reserve some for a beautiful marbled effect.
- Fruity Pebbles Cereal: The star of the show! This vibrant, fruit-flavored crispy rice cereal not only infuses the treats with its unmistakable taste but also gives them those dazzling rainbow colors that are sure to grab attention. Its distinct texture is crucial for the perfect crunch in every bite.
- Vanilla Extract: A touch of pure vanilla extract enhances the overall sweetness and adds a warm, comforting depth of flavor that complements the fruity cereal beautifully. Don’t skip this subtle yet impactful ingredient.
- Salt: Just a pinch of salt is essential. It acts as a flavor balancer, cutting through the sweetness of the marshmallows and cereal, ensuring the treats are perfectly palatable and not overly saccharine.
- White Chocolate Chips (Optional, but highly recommended): While optional, adding white chocolate chips on top or folded into the mixture introduces an extra layer of sweetness and a delightful textural contrast. The creamy white chocolate melts slightly into the warm treats, creating pockets of rich flavor and a truly addictive experience.
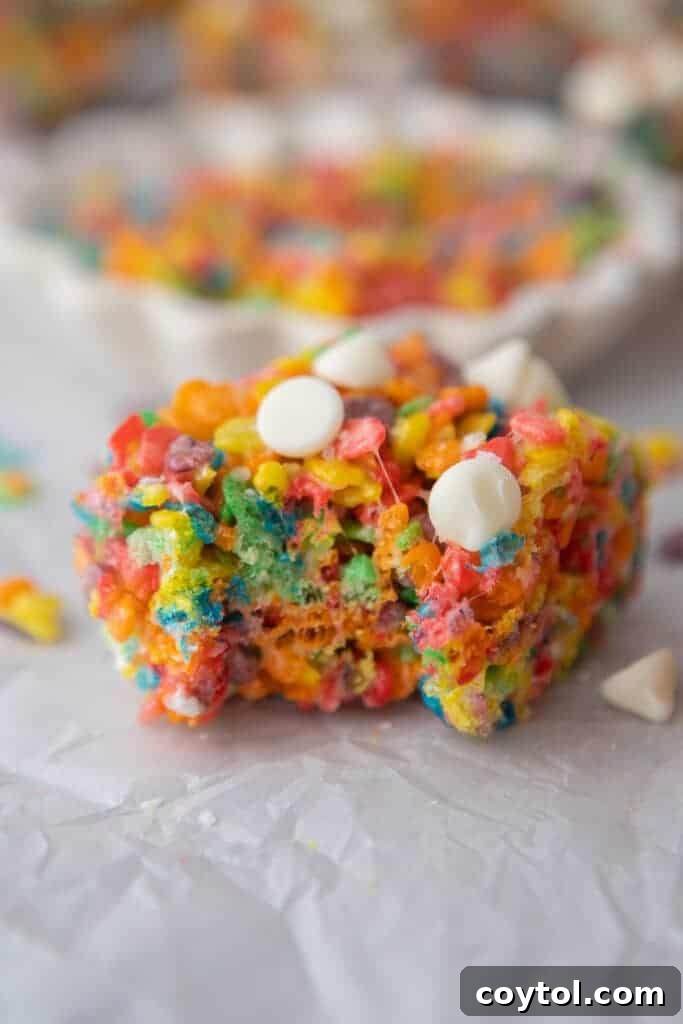
Step-by-Step Guide: How to Make Irresistible Fruity Pebble Rice Crispy Treats
Creating these delightful Fruity Pebbles Krispie Treats is a simple and rewarding process. Follow these detailed steps to achieve perfect, gooey, and colorful bars every time. For full, detailed instructions and ingredient quantities, please refer to the recipe card below.
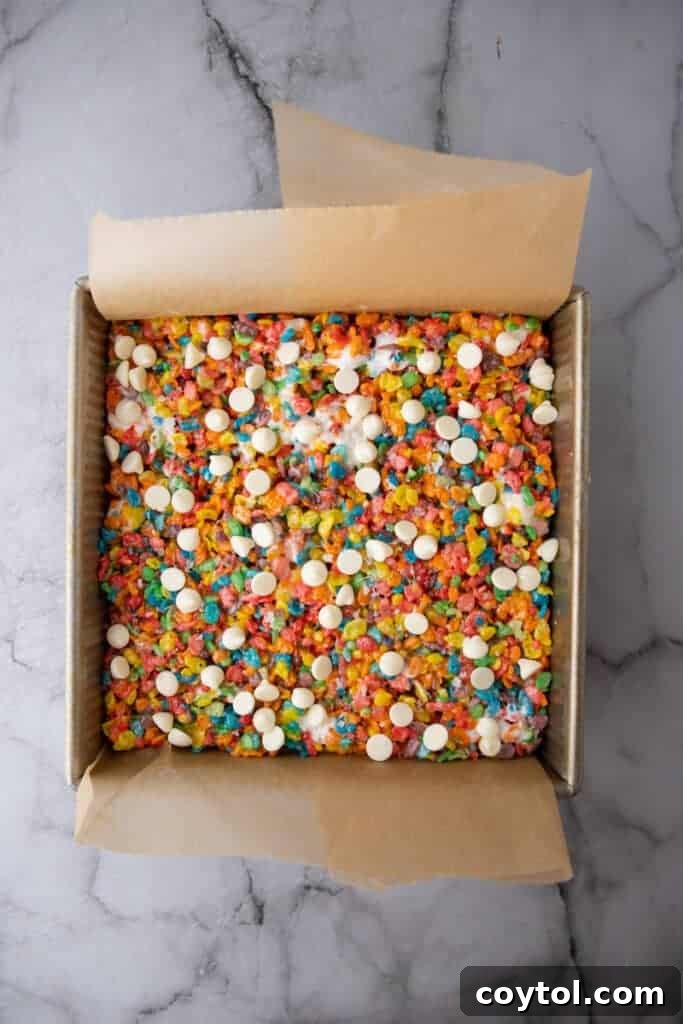
- Prepare Your Pan: First, line an 8×8 inch baking pan with parchment paper, ensuring there’s an overhang on the sides to easily lift the treats out later. Lightly coat the parchment paper with a non-stick cooking spray or a thin layer of butter. This crucial step prevents sticking and makes removal and slicing much easier. Set the prepared pan aside.
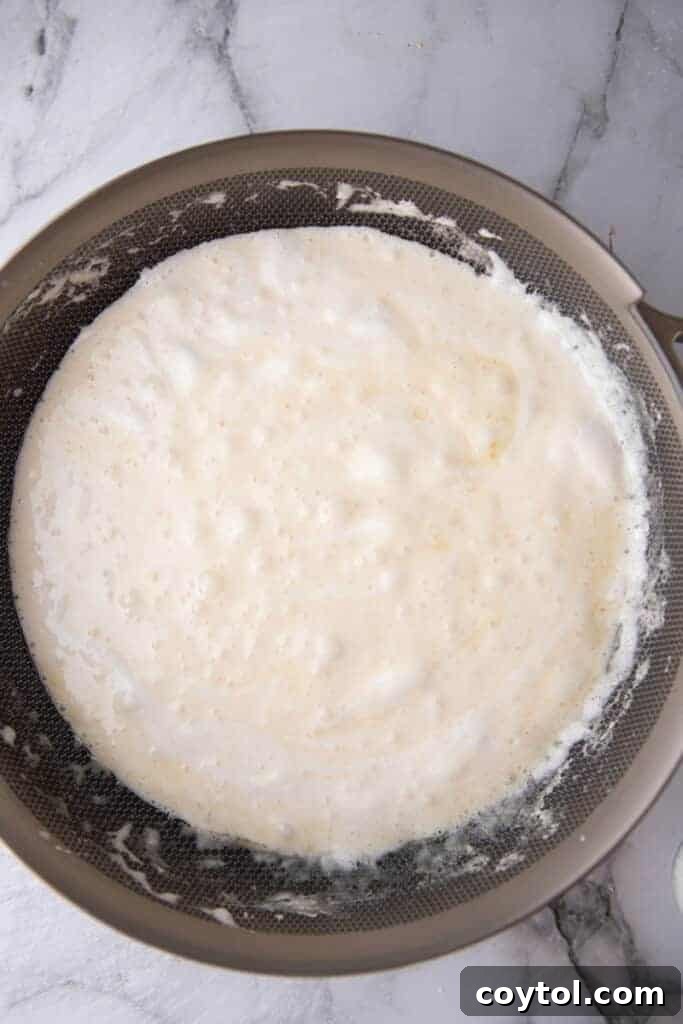
- Melt Butter and Marshmallows: In a large, heavy-bottomed saucepan, melt the butter over medium-low heat. Keep the heat gentle to prevent the butter from browning too quickly. Once the butter is fully melted, add the majority of your mini marshmallows (reserving about ¼ cup for later). Stir continuously with a spatula or wooden spoon until the marshmallows are completely melted and smooth. The key is patience here; don’t rush the melting process over high heat, as this can lead to hard treats.
- Infuse with Flavor: Immediately remove the pot from the heat. This prevents the marshmallow mixture from overcooking and becoming brittle. Stir in the vanilla extract and a pinch of salt. The vanilla adds a lovely warmth, and the salt balances the sweetness, enhancing all the flavors.
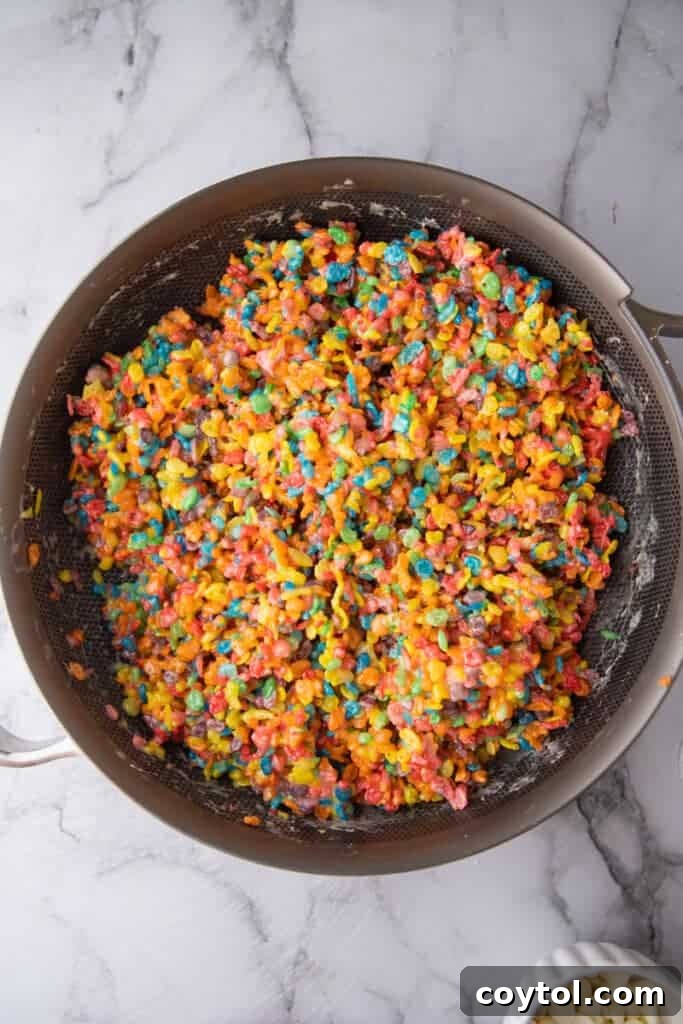
- Combine with Cereal: Add the Fruity Pebbles crispy rice cereal to the warm marshmallow mixture. Working quickly but gently, stir with your spatula until all the cereal is thoroughly coated. Be careful not to crush the cereal too much, as you want to maintain its texture.
- Create Marbled Effect: Now, gently fold in the reserved ¼ cup of mini marshmallows while the mixture is still warm. These will melt slightly, creating beautiful pockets of gooey marshmallow and a lovely marbled effect throughout your treats. This step adds an extra dimension of chewiness and visual appeal.
- Press and Set: Transfer the coated cereal mixture into your prepared 8×8 inch pan. Using a buttered spatula, wax paper, or even lightly dampened fingertips, gently but firmly press the mixture evenly into the pan. Avoid pressing too hard, as over-compacting can make the treats dense and hard. Once pressed, you can optionally sprinkle a few more white chocolate chips on top and a tiny pinch of sea salt for an extra gourmet touch. Allow the treats to cool and set completely at room temperature for at least 30 minutes, or until firm enough to slice.
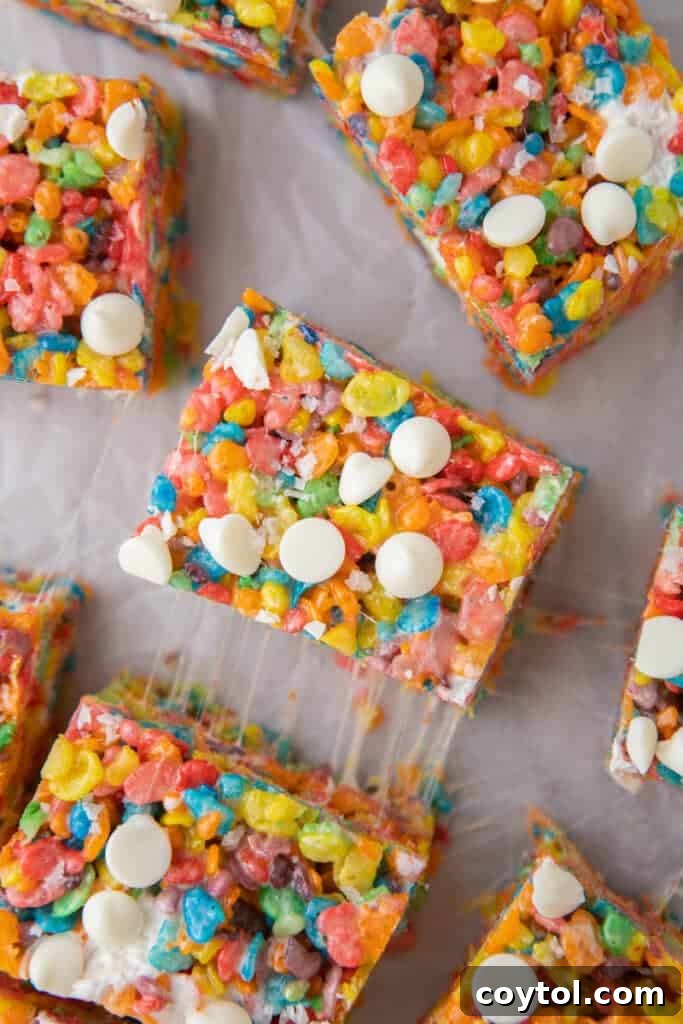
Once set, lift the treats out of the pan using the parchment paper overhang, place them on a cutting board, and slice them into squares or rectangles. Prepare to enjoy your vibrant, chewy, and utterly delicious homemade Fruity Pebble Rice Krispie Treats!
Frequently Asked Questions (FAQ) about Fruity Pebble Krispie Treats
Got questions about making these colorful treats? We’ve got answers!
How do I store these Fruity Pebble Krispie Treats to keep them fresh?
For optimal freshness and chewiness, store your Fruity Pebble Krispie Treats in an airtight container at room temperature. They will remain wonderfully soft and delicious for up to 3 days. Beyond that, they might start to lose some of their signature chewiness. Avoid refrigerating them, as this can make them hard and less enjoyable.
Can I freeze these colorful cereal bars?
Absolutely! These cereal bars freeze beautifully. To freeze, wrap each individual treat tightly in plastic wrap, then place them in a freezer-safe ziplock bag or airtight container. They can be frozen for up to 3 months. When you’re ready to enjoy, simply let them thaw completely on the counter at room temperature for a few hours before indulging. They’ll be just as delicious as when they were first made!
Can I make this recipe in the microwave for an even quicker preparation?
Yes, you certainly can! While I prefer the stovetop method for more even melting, the microwave is a fantastic option for a faster prep. To do so, melt the butter in a large, microwave-safe bowl for about 30 seconds. Then, add the mini marshmallows to the melted butter and microwave in 30-second intervals, stirring well after each, until they are fully melted and smooth. Be careful not to overheat the marshmallows, as this can also lead to hard treats. Once melted, proceed with the rest of the recipe as directed, adding the vanilla, salt, and cereal.
My Rice Krispie Treats turned out hard! What went wrong?
This is a common issue, and the secret to perfectly soft and chewy homemade Rice Krispie treats lies in using **fresh marshmallows**. If your marshmallows are old or stale, they won’t melt properly and will result in a hard, brittle treat. Always grab a fresh bag from the store for the best results. Additionally, avoid overcooking the marshmallows (melt them gently over low heat or in short microwave bursts) and don’t over-compact the mixture when pressing it into the pan. Gentle handling and fresh ingredients are key to achieving that ideal gooey texture.
Can I double this recipe for a larger crowd or party?
Absolutely! This Fruity Pebble Krispie Treats recipe is incredibly easy to double, making it perfect for feeding a larger crowd at parties, potlucks, or big family gatherings. Simply double all the ingredient quantities. Instead of an 8×8 inch pan, you would use a larger 9×13 inch baking pan to accommodate the increased volume. The preparation steps remain the same, just ensure you have a large enough pot to mix everything comfortably.
What are some fun variations for these Fruity Pebbles treats?
Get creative! You can add a few drops of food coloring to the melted marshmallow mixture for an even more vibrant base. Consider folding in additional sprinkles, mini M&M’s, or even chopped nuts for extra texture. A drizzle of melted white chocolate or a cream cheese frosting on top once cooled also makes for an extra special touch. You could also experiment with other colorful or flavored cereals!
Why is it important not to over-compact the mixture in the pan?
Over-compacting the cereal mixture into the pan is a common mistake that leads to hard, dense treats. The goal is to gently spread and press the mixture just enough so that it holds together. If you press too firmly, you squeeze out the air pockets that contribute to the light, chewy texture, resulting in a brick-like bar. Use a light touch with a buttered spatula or wax paper.
Fruity Pebbles Treats Recipe
Fruity Pebbles Rice Krispies Treats
Prep Time: 5 mins | Cook Time: 10 mins | Total Time: 15 mins
Servings: 16 servings
Ingredients
- 5 cups mini marshmallows (one 10 oz bag) divided; reserve 1/4 cup for marbling.
- 5 cups Fruity Pebbles crispy rice cereal, rounded.
- 1/4 cup unsalted butter.
- 1 teaspoon vanilla extract.
- 1/4 teaspoon salt.
- 2 tablespoons white chocolate chips (optional, for topping).
Instructions
- Grease an 8×8 inch baking pan with butter or non-stick spray, then line with parchment paper with an overhang.
- In a large pot, melt the butter over medium-low heat. Once melted, add 4 3/4 cups of mini marshmallows and stir until fully melted and smooth.
- Remove the pot from the heat and stir in the vanilla extract and salt until well combined.
- Add the Fruity Pebbles crispy rice cereal to the marshmallow mixture and stir gently until the cereal is well-coated.
- Gently fold in the reserved 1/4 cup of mini marshmallows while the mixture is still warm. These will melt slightly to create a lovely marbled effect.
- Press the mixture into the prepared baking pan using a spatula or wax paper. Press firmly but not too hard to compact the mixture. If desired, top with additional white chocolate chips and a sprinkle of sea salt.
- Allow the treats to cool and set at room temperature for about 30 minutes before slicing into squares and serving.
Nutrition Information
Nutrition information is automatically calculated, so should only be used as an approximation.
- Calories: 185kcal
- Carbohydrates: 25g
- Protein: 1g
- Fat: 9g
- Saturated Fat: 6g
- Polyunsaturated Fat: 0.4g
- Monounsaturated Fat: 2g
- Trans Fat: 0.3g
- Cholesterol: 21mg
- Sodium: 107mg
- Potassium: 38mg
- Fiber: 0.4g
- Sugar: 12g
- Vitamin A: 937IU
- Vitamin C: 7mg
- Calcium: 6mg
- Iron: 3mg
If you enjoyed this recipe, please consider leaving a comment below!

Loved This Fruity Pebble Rice Krispie Treats Recipe? Pin It for Later!
If these vibrant and delicious Fruity Pebble Krispie Treats brought a smile to your face, be sure to save this recipe for future cravings or parties! Pin it to your favorite dessert boards on Pinterest so you can easily find it whenever you need a quick, colorful, and utterly delightful no-bake treat. Share the joy of these nostalgic cereal bars with friends and family!