
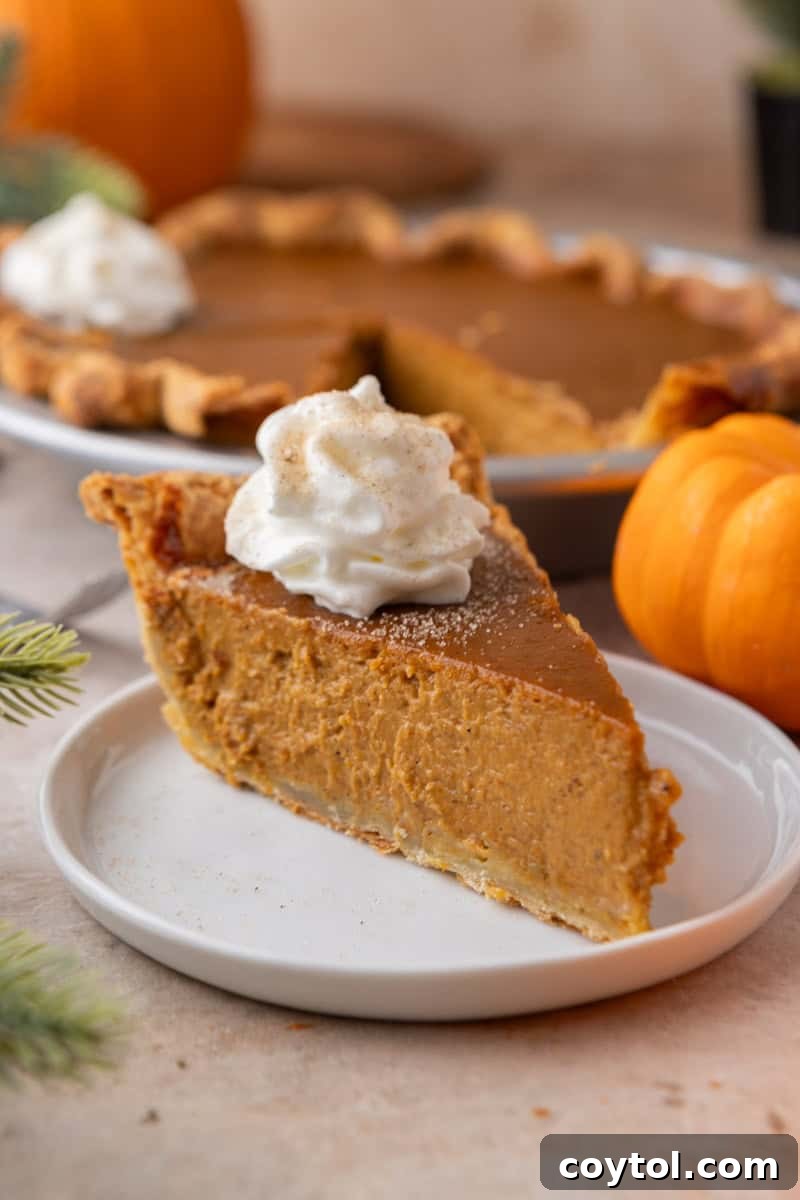
Welcome to the ultimate guide for baking a truly exceptional **homemade pumpkin pie from scratch**. Forget complicated techniques or past struggles with cracked tops and soggy crusts. This meticulously crafted recipe is designed to be effortlessly easy, delivering a pie with an unbelievably smooth, custardy texture, a symphony of warm fall spice flavors, and a perfectly crisp, buttery crust. It thoughtfully utilizes a full 15-ounce can of pumpkin puree, comes together quickly with minimal fuss, and bakes to golden perfection every single time. Whether you’re preparing for a grand **Thanksgiving feast** or simply craving a cozy treat for a crisp **fall weekend**, this recipe is destined to become your cherished, go-to dessert.
“Second year in a row following this recipe and looking forward to many more years of making it! *Just a friendly suggestion to anyone reading, if you can get your hands on a couple duck eggs it makes the pie a million times creamier 🤤”
– Brinna
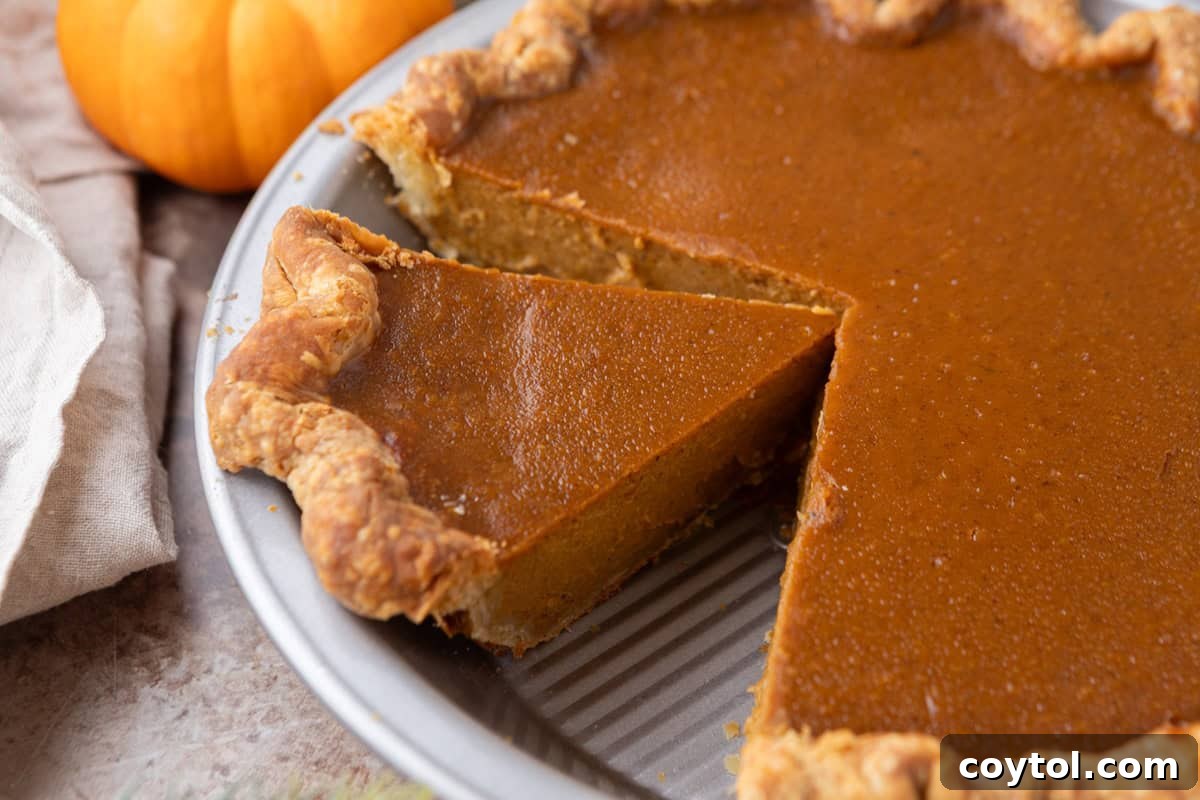
Let’s Chit Chat About This Pie!
This year, I found myself completely captivated by the subtle warmth of cardamom. It started with adding just a tiny pinch to my trusted classic pumpkin pie recipe, and from that moment, there was simply no going back. This fragrant spice introduces a uniquely warm, slightly floral, and almost citrusy note that doesn’t just complement the pumpkin – it deepens its flavor, adding an unexpected layer of complexity. Imagine your favorite pumpkin pie, but with an elevated, sophisticated twist that keeps everyone guessing what that delightful secret ingredient could be. It’s truly a game-changer.
Rest assured, this recipe retains every beloved characteristic of the traditional version: the irresistibly creamy texture, the perfectly flaky crust, and that harmonious balance of classic autumn spices. However, that whisper of cardamom transforms it from merely delicious to truly extraordinary, making it feel both special and refreshingly new. If you’re ready to effortlessly level up your homemade pumpkin pie and impress even the most discerning palates, then this is unequivocally the recipe you’ve been searching for.
Why You’ll Adore This Easy Pumpkin Pie Recipe
If you’ve ever been disheartened by a pumpkin pie with an unappealing cracked surface or a soggy, lackluster crust, this recipe is your ultimate solution. We’ve rigorously tested and perfected every detail to ensure a flawlessly creamy consistency, vibrant flavor, and perfectly balanced sweetness that shines through. Here’s a closer look at what makes this **easy pumpkin pie recipe** truly exceptional and a guaranteed crowd-pleaser:
- **Velvety Smooth & Custard-Like Texture:** Achieve a consistently smooth, rich, and custard-like filling that holds its shape beautifully for a clean, elegant slice every time. No more crumbly or overly soft interiors!
- **Effortless Filling Preparation:** The luscious pumpkin filling comes together in mere minutes, requiring nothing more than a whisk and a bowl. You won’t need to pull out a stand mixer, making cleanup a breeze and the process incredibly straightforward.
- **Rich Yet Perfectly Balanced Flavor:** Experience a deep, comforting pumpkin flavor that is robust without being heavy. The blend of spices, including our secret ingredient, cardamom, creates an aromatic and perfectly balanced taste that’s both familiar and intriguing.
- **Utilizes a Full Can of Pumpkin Puree:** No more measuring out awkward partial cans! This recipe is designed to use a standard 15-ounce can of pumpkin puree, ensuring convenience and minimizing waste.
- **Sweetness & Spice Harmony:** The proportions of brown and granulated sugars, combined with classic pumpkin pie spices and a touch of cardamom, are meticulously balanced to offer just the right amount of sweetness and warmth, enhancing the pumpkin’s natural goodness.
- **Foolproof Lower-Rack Baking Method:** Our unique two-stage baking approach, starting with a higher temperature on the lower oven rack, ensures your crust bakes to golden perfection while the custard sets beautifully, preventing sogginess and cracks for consistent, professional-looking results.
Essential Ingredients for the Best Homemade Pumpkin Pie
Crafting a stellar **homemade pumpkin pie** starts with a selection of fresh, high-quality ingredients. Each component plays a crucial role in achieving the desired flavor and texture, from the foundational pumpkin puree to the warming spices. Here’s what you’ll need:
- Pumpkin Puree: The heart of your pie! It’s absolutely essential to use 100% pure pumpkin puree. This is often labeled simply as “pumpkin” and contains no other ingredients. Avoid “pumpkin pie filling,” which already has added sugars and spices that will throw off the recipe’s balance.
- Eggs + Egg Yolk: Eggs are vital for binding the custard, giving it that luxurious, smooth set. The extra egg yolk adds richness, contributing to a truly creamy and decadent texture.
- Heavy Cream and Evaporated Milk: This dynamic duo is key to a perfectly silky and balanced custard. Heavy cream provides decadent richness, while evaporated milk adds a distinctive creaminess and subtle sweetness without making the pie overly dense.
- Brown Sugar and White Sugar: Using both types of sugar adds layers of sweetness and complexity. Brown sugar brings a moistness and a deeper, caramelized flavor profile, while granulated white sugar ensures overall sweetness and contributes to the custard’s smooth texture.
- Pumpkin Pie Spice: This convenient blend typically includes cinnamon, nutmeg, ginger, and cloves, delivering all the quintessential cozy fall flavors in one go.
- Ground Cinnamon: While included in pumpkin pie spice, an additional touch of cinnamon further enhances the warmth and depth of flavor, making the pie even more aromatic and comforting.
- Ground Cardamom: (Optional, but highly recommended!) This is our secret ingredient for an elevated twist. A pinch of ground cardamom introduces a warm, slightly citrusy, and floral note that beautifully complements the pumpkin, adding an unexpected layer of complexity and sophistication.
- Cornstarch: A small amount of cornstarch acts as a thickening agent, ensuring the filling sets perfectly for smooth, clean slices that don’t weep or spread.
- Salt: A crucial flavor enhancer! Just a quarter teaspoon of salt balances the sweetness of the sugars and brightens all the other flavors in the pie, preventing it from tasting flat.
- Pre-baked Pie Shell: A flaky, sturdy crust is non-negotiable for a perfect pumpkin pie. Pre-baking (also known as blind baking) your pie shell ensures it stays wonderfully crisp and never becomes soggy under the moist custard filling. I highly recommend making your own using a recipe like this homemade pie crust recipe, or consult a professional with this Pie Crust Guide from a French Pastry Chef for expert tips!
Understanding the Difference: Pumpkin Puree vs. Pumpkin Pie Filling
This distinction is critical for the success of your pie. **Pumpkin puree** is simply 100% pure, cooked, and mashed pumpkin with no other ingredients added. It’s a blank canvas for flavor. **Pumpkin pie filling**, on the other hand, is a pre-mixed product that already contains sugar, spices, and sometimes other additives. If you accidentally use pumpkin pie filling instead of pure pumpkin puree, your pie will be drastically over-sweetened and excessively spiced, resulting in an unbalanced and unappetizing dessert. Always double-check your can to ensure you are using pure pumpkin puree for the most authentic and delicious results.
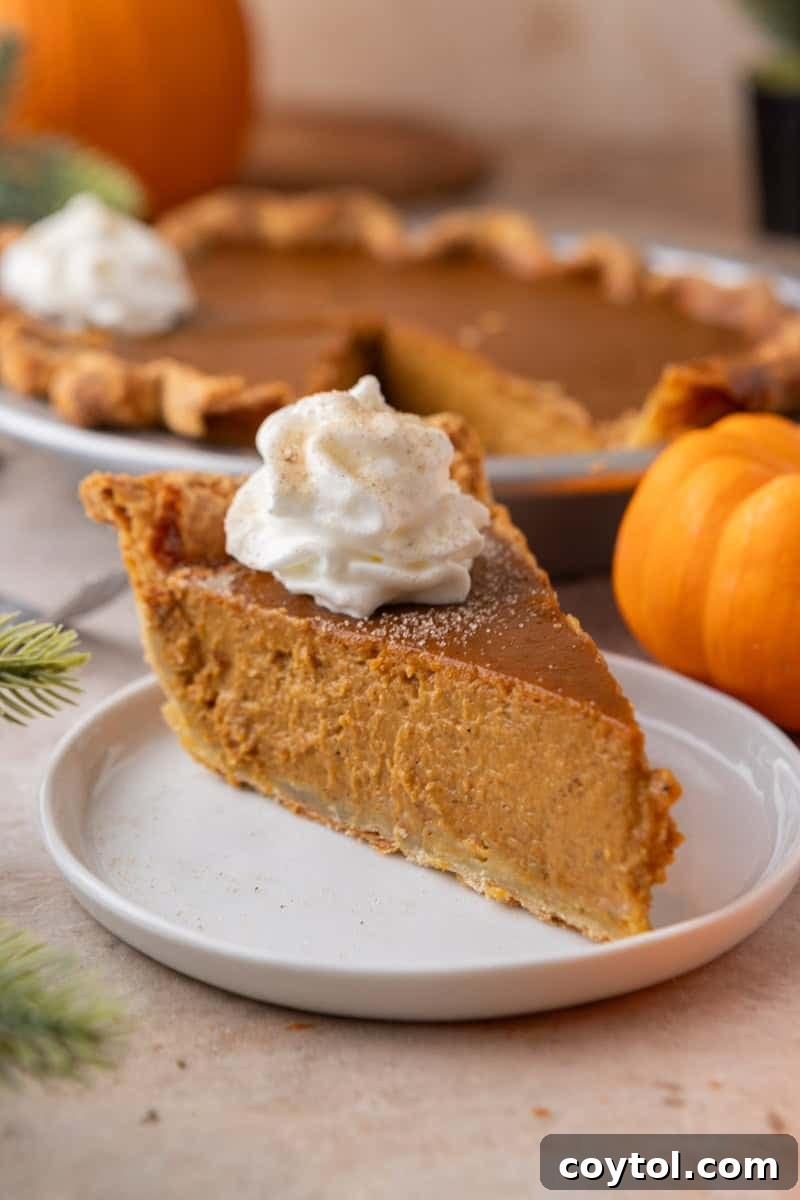
The Art of Blind Baking a Pie Crust for a Flawless Base
Blind baking, or pre-baking, your pie crust is an essential step that prevents a soggy bottom, creating a crisp and flaky foundation for your creamy pumpkin filling. Don’t skip this crucial stage! Here’s a detailed guide to blind baking your 9-inch pie shell:
- **Prepare the Dough:** On a lightly floured surface, roll out your pie dough to a 12-inch circle. Carefully transfer the dough into a 9-inch pie pan, gently pressing it into the bottom and up the sides without stretching. Trim any excess, leaving about a ½-inch overhang, then crimp the edges decoratively. Pierce the bottom of the crust all over with a fork (this is called docking) to prevent bubbling.
- **Chill Thoroughly:** Place the prepared pie crust in the refrigerator or freezer for at least 20-30 minutes. This chilling period is vital as it helps firm up the butter in the dough, significantly reducing shrinkage during baking and maintaining the shape of your beautiful crimped edges.
- **Line with Parchment and Weights:** Once chilled, gently line the inside of the pie crust with a sheet of parchment paper. Make sure it covers the bottom and extends up the sides. Fill the parchment-lined crust with pie weights, dried beans, or even uncooked rice. The weights prevent the crust from puffing up during baking.
- **Initial Bake (High Heat):** Place the weighted pie crust on the lower oven rack in a preheated oven at 375°F (190°C) for 30 minutes. Baking on the lower rack ensures the bottom of the crust gets direct heat, promoting even browning and crispness.
- **Second Bake (Unweighted):** After 30 minutes, carefully remove the pie weights and parchment paper. Return the crust to the oven for another 15 minutes, or until it appears lightly golden brown and feels dry to the touch. If you notice any small cracks or holes, you can brush them with a thin layer of beaten egg white to seal them.
- **Cool Completely:** Allow the blind-baked crust to cool entirely on a wire rack before pouring in the pumpkin filling. A warm crust will cause the filling to bake unevenly and potentially stick.
Crafting a Silky Smooth Pumpkin Pie from Scratch: Step-by-Step
With your perfect pie crust ready, it’s time to bring together the rich, velvety filling that defines this exceptional **homemade pumpkin pie**. This process is straightforward, focusing on achieving that coveted smooth, custard-like texture.
- **Prepare Your Perfect Crust:** Begin by following the blind baking steps outlined above. Roll and gently press your pie dough into a 9-inch pie pan, ensuring it’s docked with a fork. Chill it for 30 minutes to prevent shrinkage. Line the chilled crust with parchment paper, fill it with pie weights, and bake at 375°F (190°C) for 30 minutes on the lower rack. After this, remove the weights and parchment, then continue baking for another 15 minutes until the crust achieves a beautiful light golden hue. It is absolutely crucial to let the crust cool completely on a wire rack before moving on. This prevents a soggy bottom and ensures the pie sets correctly.
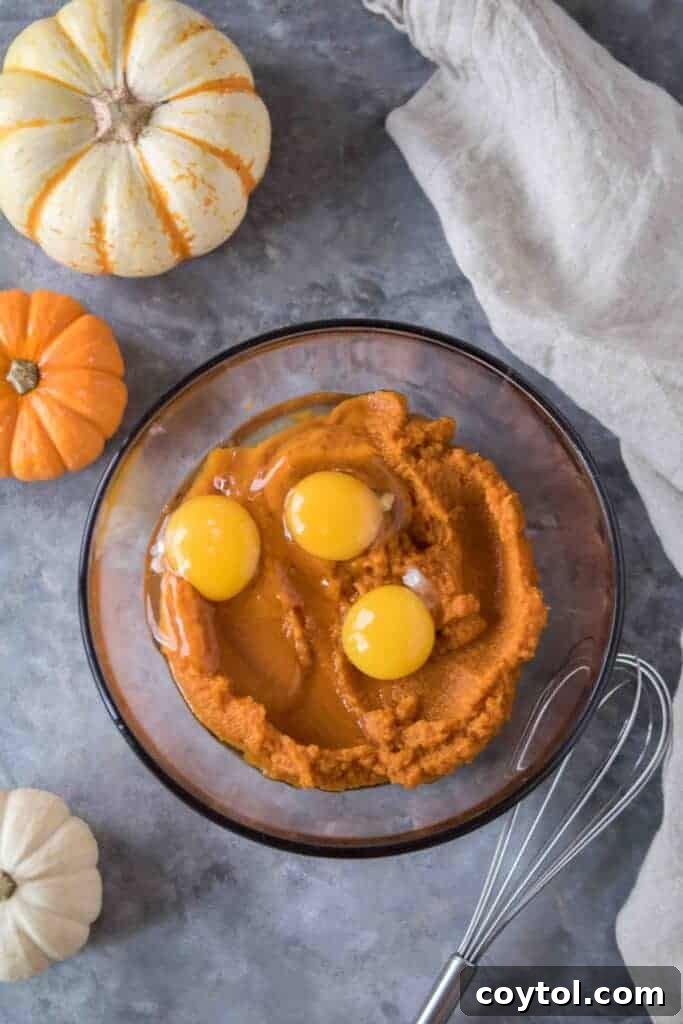
- **Whip Up the Exquisite Filling:** In a large mixing bowl, combine the pure pumpkin puree, large eggs, extra egg yolk, both brown sugar and granulated white sugar, pumpkin pie spice, ground cinnamon, the optional but recommended ground cardamom, cornstarch, and salt. Whisk vigorously until all ingredients are thoroughly combined and the mixture is smooth and lump-free. Next, gradually whisk in the heavy cream, evaporated milk, and vanilla extract. Continue whisking until the mixture is completely silky, homogenous, and beautifully combined. For the absolute smoothest, most professional-grade custard texture, press the entire filling mixture through a fine-mesh sieve into another clean bowl. This extra step removes any tiny bits of cooked egg or spice that might create a less-than-perfect texture.
- **Bake to Perfection (The Lower-Rack, Two-Stage Method):** Position one oven rack in the lower third of your oven. Preheat your oven to a high temperature of 425°F (220°C). Carefully pour the prepared silky pumpkin filling into your completely cooled, blind-baked pie crust. Place the pie on a baking sheet (this catches any potential drips and makes it easier to transfer) and set it onto the lower oven rack. Bake at 425°F (220°C) for an initial 10 minutes. This higher temperature helps to quickly set the bottom crust and the outer edges of the filling. After 10 minutes, *without opening the oven door*, reduce the oven temperature to 350°F (175°C) and continue to bake for an additional 35–45 minutes. The pie is done when the edges are visibly set and slightly puffed, but the very center still has a slight, gentle jiggle when the pie is lightly shaken. For ultimate precision, the internal temperature of the pie should reach approximately 175°F (79°C) when measured with an instant-read thermometer inserted about an inch from the edge. Once baked, remove the pie from the oven and let it cool completely on a wire rack for at least 2–3 hours. This cooling period is essential for the filling to fully set and achieve its perfect custard consistency.
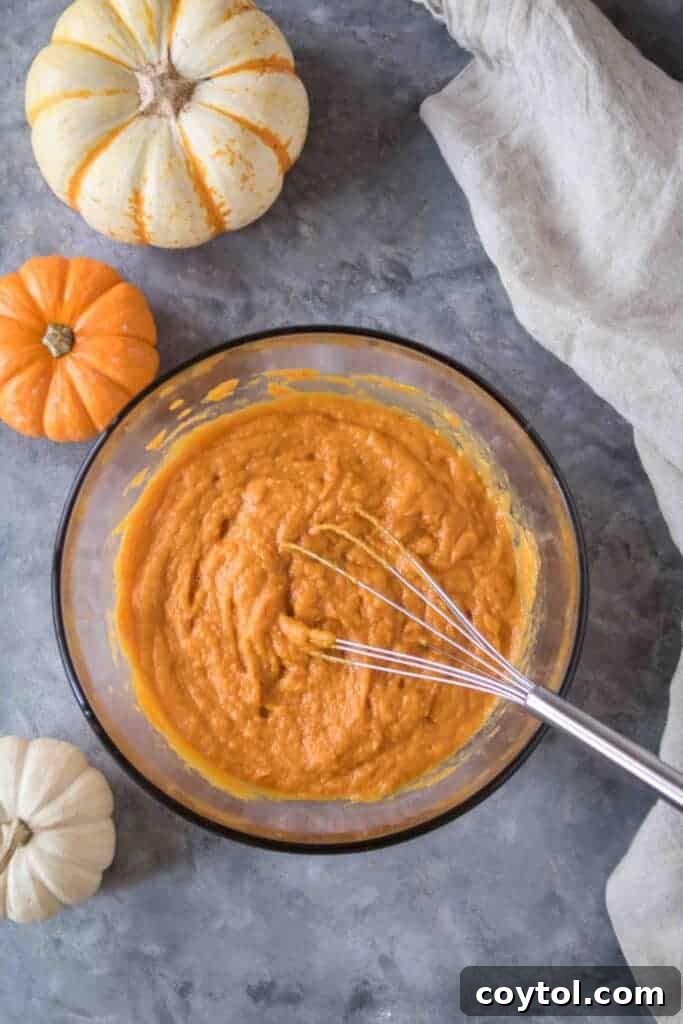
Remember, the blind baking process is your secret weapon for a wonderfully flaky and crisp crust, acting as a crucial barrier against any sogginess from the rich pumpkin custard. This step ensures every bite is a delightful combination of textures.
Mastering the Doneness: How to Tell When Your Pumpkin Pie is Perfectly Baked
Achieving the ideal doneness is key to a flawless pumpkin pie. Overbaking is the most common culprit for cracks and a dry texture, so it’s important to know what to look for. Here’s how to ensure your pie is perfectly set:
- **Visual Cues:** The edges of the pumpkin filling should appear puffed up and completely set, indicating that the custard is firm around the perimeter.
- **The Gentle Jiggle Test:** When you gently jiggle the pie by nudging the pie plate, the very center (about a 2-inch circle) should still have a slight, delicate wobble, like very firm gelatin. It should not slosh or ripple significantly. This slight movement signals that the pie will finish setting as it cools, resulting in a beautifully smooth and creamy texture.
- **Internal Temperature:** For absolute precision, insert an instant-read thermometer into the filling about an inch from the edge of the pie. The internal temperature should register approximately 175°F (79°C). Do not bake the pie until the center is completely firm, as this almost guarantees a cracked top and a denser, less custardy filling.
Expert Tips for Your Best Pumpkin Pie Ever
Follow these professional insights to elevate your homemade pumpkin pie from delicious to truly unforgettable:
- **Always Strain the Filling:** This simple, often overlooked step is the secret to an incredibly smooth, lump-free, and professional-looking custard. Straining removes any small, unmixed bits of spice or egg, ensuring a velvety texture.
- **Prioritize Blind Baking the Crust:** This is non-negotiable for a crisp, flaky base. A pre-baked crust prevents the dreaded soggy bottom, ensuring structural integrity and a delightful crunch with every bite.
- **Employ the Lower-Rack, Two-Stage Bake:** Our specialized baking method starts with a higher temperature on the lower rack, which rapidly sets the crust and edges. Reducing the temperature then gently cooks the custard through, preventing cracks and promoting an even set.
- **Resist the Urge to Overbake:** Pull the pie from the oven when its center still shows a slight, delicate jiggle. Remember, the pie will continue to cook and firm up considerably as it cools, so trust the jiggle! Overbaking is the primary cause of cracks and a dry texture.
- **Allow for Complete Cooling:** Patience is a virtue here! Let your pumpkin pie cool entirely on a wire rack for at least 2-3 hours, or even longer, before slicing and serving. This allows the custard to fully set and solidify, ensuring clean, perfect slices and the best possible texture.
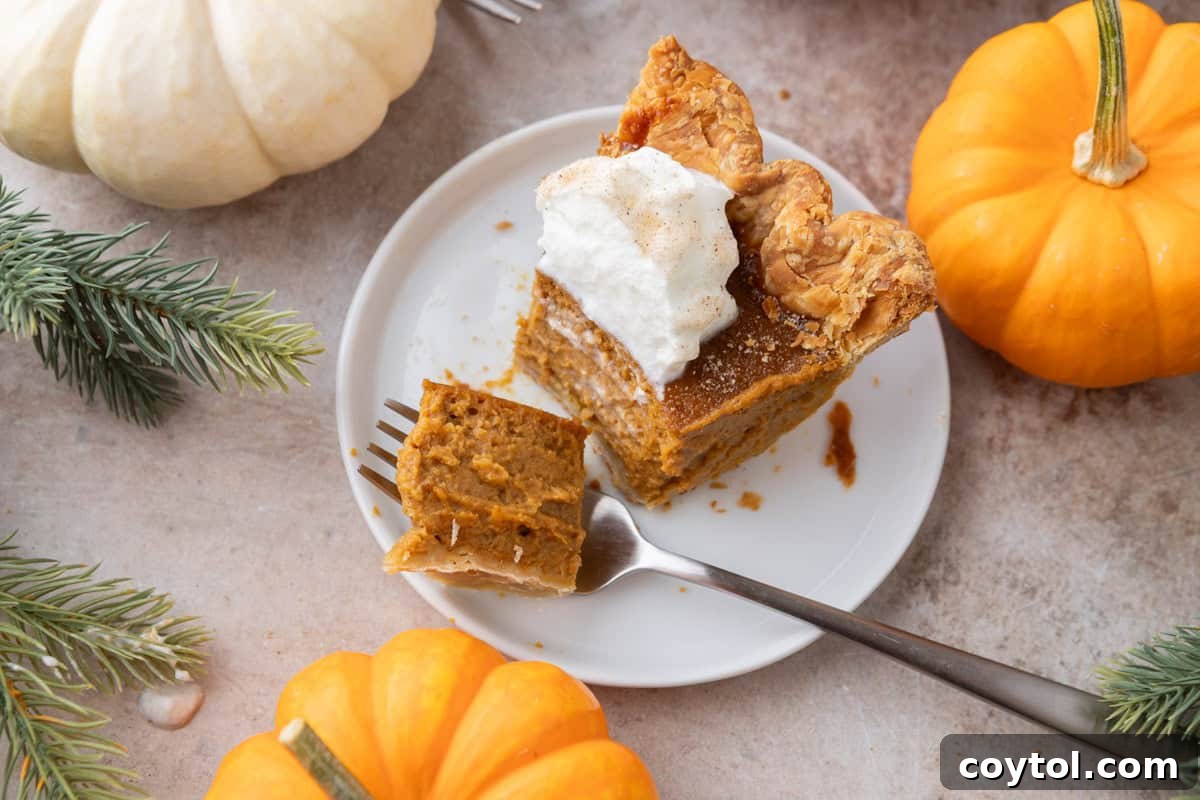
Delicious Topping Ideas for Your Homemade Pumpkin Pie
While this **homemade pumpkin pie** is absolutely divine on its own, adding a topping can elevate it further and customize it to your preference. Here are some classic and creative ideas:
- **Vanilla or Maple Ice Cream:** A scoop of creamy vanilla bean or rich maple ice cream provides a wonderful contrast in temperature and texture, melting slightly into the warm pie.
- **Freshly Whipped Cream:** Light, airy, and unsweetened or lightly sweetened whipped cream is a quintessential pairing. You can infuse it with a touch of vanilla or a hint of maple syrup for extra flavor.
- **Salted Caramel Drizzle:** A generous drizzle of homemade or high-quality store-bought salted caramel sauce adds a luxurious touch of sweet and salty indulgence.
- **Candied Pecans or Walnuts:** For a delightful crunch and nutty flavor, sprinkle candied pecans or walnuts over your pie just before serving. The caramelization adds another layer of sweetness.
Do you have a unique or beloved family topping for pumpkin pie? Share your favorites in the comments below; I’d truly love to hear what delicious traditions you have!
Frequently Asked Questions – FAQs About Pumpkin Pie
Whether you’re making your homemade pumpkin pie for the first time for Thanksgiving or simply enjoying it as a seasonal treat, these common questions and answers will help you achieve perfect results every time.
Yes, pumpkin pie freezes remarkably well! Once your pie has cooled completely to room temperature, wrap it tightly first in plastic wrap, then again in aluminum foil to prevent freezer burn. You can freeze a whole pie or individual slices for up to one month. To defrost, simply transfer it to the refrigerator overnight.
Absolutely! Pumpkin pie is an excellent make-ahead dessert because its flavors actually meld and deepen overnight, often tasting even better the next day. You can bake it up to two days in advance. Once cooled, cover it tightly with plastic wrap or foil and refrigerate until you’re ready to serve.
Cracks on top of a pumpkin pie usually occur for two main reasons: overbaking or cooling too quickly. To prevent this, pull the pie out of the oven when the center still has a slight jiggle. Allow it to cool slowly and gradually at room temperature for several hours before transferring it to the refrigerator. Rapid temperature changes can shock the custard and cause it to crack.
Yes, you can certainly substitute half and half for evaporated milk in this recipe. While the texture of the filling might be slightly lighter and less dense, the overall flavor and creamy consistency will still be absolutely delicious and satisfying.
If you prefer to serve your pumpkin pie warm, you can gently reheat individual slices. Place them in a preheated 300°F (150°C) oven for about 10–15 minutes, or just long enough to take the chill off. Be careful not to overheat, as this can dry out the custard.
Absolutely! Store-bought pie crusts are a fantastic time-saver and work perfectly with this recipe. While a homemade butter crust often provides a deeper flavor and flakier texture, a good quality refrigerated or frozen pie crust will still yield excellent results. If using a frozen crust, keep it in its pan and blind bake it directly from frozen following the recipe’s instructions.
Once your pumpkin pie has cooled completely to room temperature, it’s crucial to store it properly. Wrap the entire pie tightly with aluminum foil or plastic wrap, or place individual slices in an airtight container. Refrigerate the pie until you are ready to serve it. A properly stored pumpkin pie will last for 4-5 days in the refrigerator, maintaining its freshness and flavor.
If you adore cozy fall desserts as much as we do, be sure to try my delightful Brown Butter Pecan Chocolate Chip Cookies or this comforting Apple Cider Donut Bundt Cake next!
Rich & Creamy Pumpkin Pie
30 minutes
50 minutes
1 hour
20 minutes
8
servings
Print Recipe
Equipment
Want to save this recipe for later? Enter your email to get it sent straight to your inbox, plus discover new recipes from us every week!
Ingredients
Pumpkin Pie Filling
-
15
oz
1 can pumpkin purée
(Libby’s recommended or homemade, well-drained) -
2
large eggs -
1
egg yolk -
½
cup
heavy cream -
½
cup
evaporated milk
or half & half for a lighter version -
¾
cup
packed brown sugar
light or dark for deeper flavor -
¼
cup
granulated sugar -
2
tsp
pumpkin pie spice -
½
tsp
ground cardamom
optional but highly recommended -
1
tbsp
cornstarch -
¼
tsp
salt -
1
tsp
vanilla extract
Pie Crust
-
1
single 9-inch pie shell
homemade or store-bought, chilled and pre-baked
Instructions
Prebake the Crust
-
Roll and press your pie dough into a 9-inch pie dish. Dock the bottom lightly with a fork.1 single 9-inch pie shell
-
Chill the crust for 15 minutes in the fridge to prevent shrinkage.
-
Line it with parchment paper and fill with pie weights or dry beans.
-
Bake at 425°F for 15 minutes, then carefully remove the parchment and weights. Bake for another 10 minutes, until light golden.
-
Brush the crust with a thin layer of beaten egg (optional, for extra protection from leakage) and let it cool completely before adding the filling.
Make the Filling
-
In a large bowl, whisk together the pumpkin purée, eggs, egg yolk, brown sugar, granulated sugar, pumpkin pie spice, cinnamon, cardamom, salt, and cornstarch until smooth.15 oz 1 can pumpkin purée,
2 large eggs,
1 egg yolk,
¾ cup packed brown sugar,
¼ cup granulated sugar,
2 tsp pumpkin pie spice,
½ tsp ground cardamom,
1 tbsp cornstarch,
¼ tsp salt -
Gradually whisk in the heavy cream, evaporated milk, and vanilla extract until silky and well combined.½ cup heavy cream,
½ cup evaporated milk,
1 tsp vanilla extract -
For the smoothest texture, strain the filling through a fine-mesh sieve into another bowl before using.
Bake the Pie (Lower-Rack, Two-Stage Method)
-
Position a rack in the lower third of your oven and preheat to 425°F.
-
Place the cooled, filled pie on a baking sheet to catch any drips and set it on the lower rack.
-
Bake for 10 minutes at 425°F, then reduce the temperature to 350°F, without opening the oven door.
-
Continue baking for 35–45 minutes, until the pie looks puffed, the edges are set, and the center still has a slight jiggle.
-
Start checking around the 30-minute mark after lowering the temp. The internal temperature should be about 175°F, for a perfectly set custard.
-
If the edges brown too quickly, loosely cover them with foil or a crust shield.
-
Remove the pie and let it cool completely on a wire rack for at least 2–3 hours. It will continue to set as it cools.
Notes
Storage
- Once fully cooled, cover tightly with foil or plastic wrap and refrigerate for up to 4 days.
- To freeze: wrap the whole pie or slices in plastic wrap, then foil, and freeze for up to 1 month. Thaw overnight in the fridge before serving.
Tips for the Best Pumpkin Pie
- Use both heavy cream and evaporated milk for the perfect balance of richness and smooth texture.
- Blind-bake the crust: this ensures it stays crisp and never soggy.
- Don’t skip the lower-rack bake! It browns the bottom crust beautifully.
- Check early and often, every oven is different. The pie should jiggle slightly in the center but not slosh.
- Cardamom magic: A small touch brings out the earthy pumpkin flavor without being overpowering.
Serving Ideas: Top with softly whipped cream, a sprinkle of cinnamon sugar, or a drizzle of maple syrup for the coziest fall dessert.
Nutrition
Carbohydrates: 45g
Protein: 5g
Fat: 14g
Saturated Fat: 7g
Cholesterol: 96mg
Sodium: 137mg
Potassium: 234mg
Fiber: 2g
Sugar: 30g
Vitamin A: 8629IU
Vitamin C: 3mg
Calcium: 99mg
Iron: 2mg
Nutrition information is automatically calculated, so should only be used as an approximation.
Like this? Leave a comment below!