
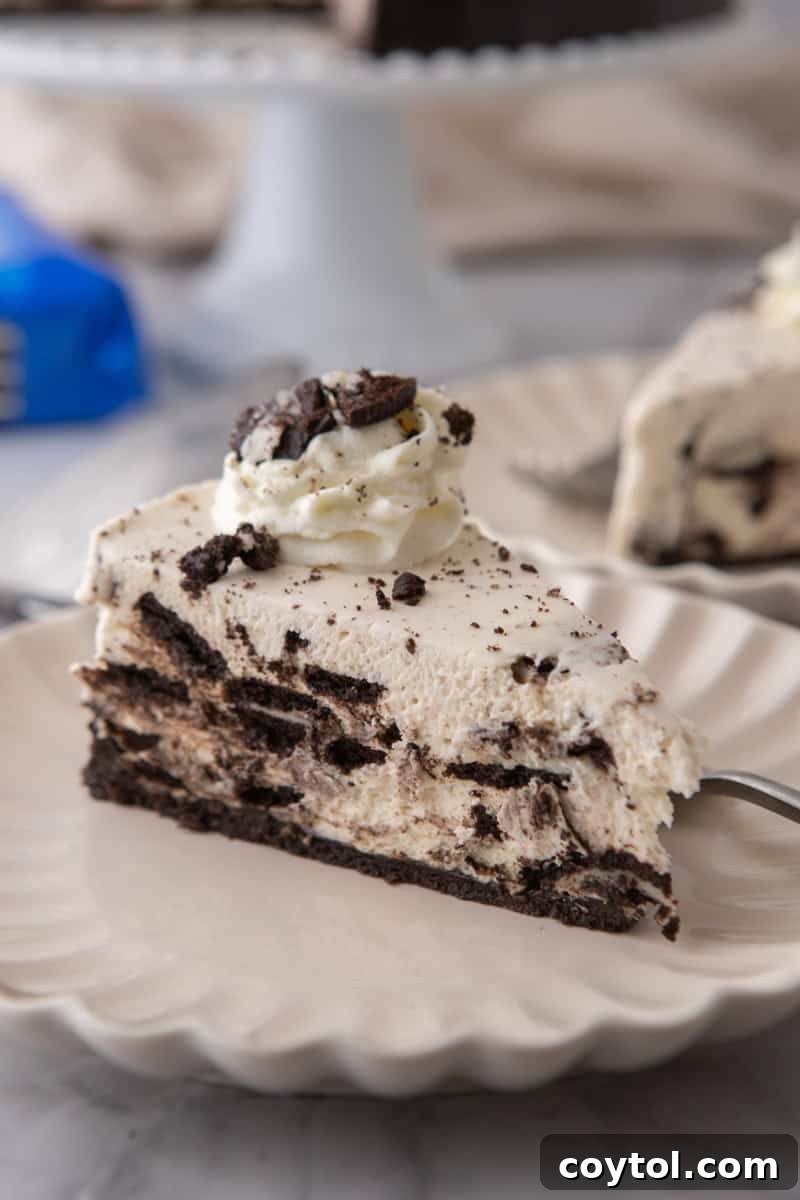
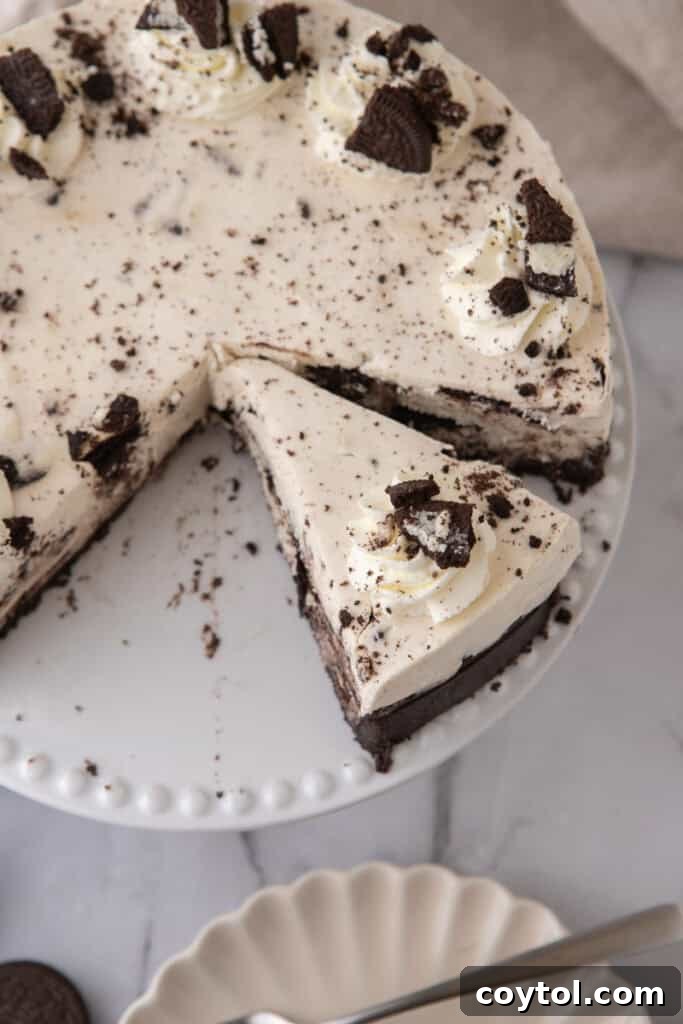
Craving a rich, creamy, and undeniably delicious dessert that requires absolutely no baking? Look no further than this incredible **No-Bake Oreo Cheesecake Recipe**. It’s the quintessential cookies-and-cream delight, designed for effortless preparation and maximum indulgence. Imagine a perfectly crunchy chocolate cookie crust made from your favorite Oreos, generously topped with a velvety smooth, whipped cheesecake filling, and finished with elegant swirls of fresh whipped cream and extra Oreo crumbles. This layered masterpiece delivers all the iconic flavors of an Oreo without ever needing to turn on your oven, making it a stress-free dessert perfect for any occasion.
There’s truly nothing better than a cheesecake that offers such a decadent combination of texture and taste – rich, creamy, and bursting with cookie flavor – especially when it comes without the hassle of baking. This easy no-bake dessert brings you everything you adore about a classic Oreo cheesecake, eliminating the worries of baking timers, potential cracks, or burnt crusts. It sets beautifully in the refrigerator, allowing you to prepare it well in advance and enjoy a perfectly chilled treat that’s ready when you are. Whether you’re a novice in the kitchen or a seasoned baker looking for simplicity, this recipe guarantees a show-stopping dessert with minimal effort.
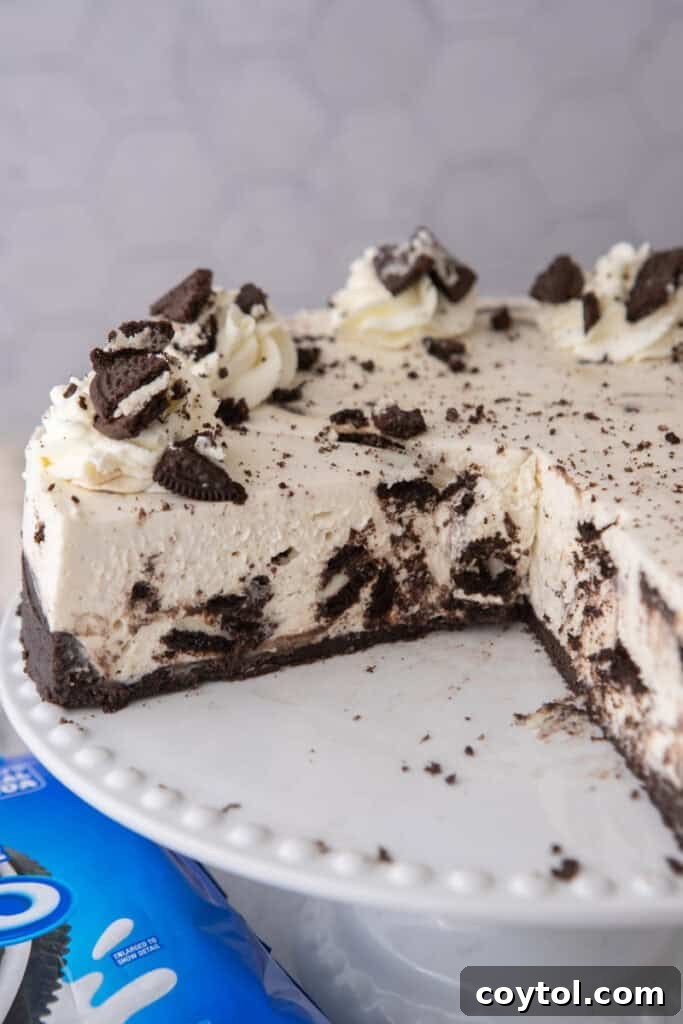
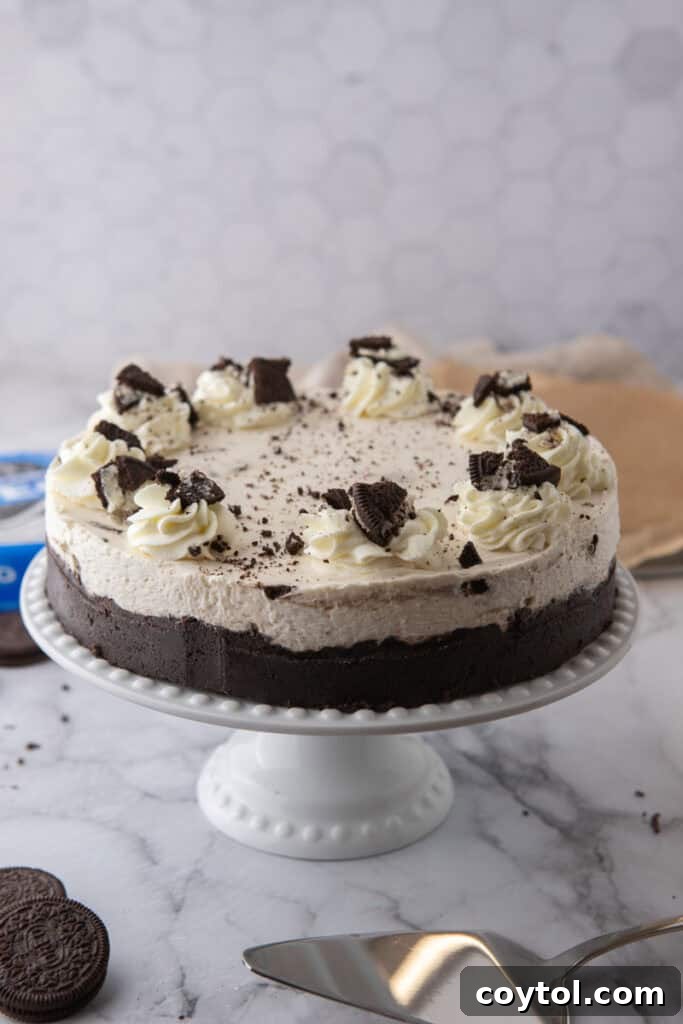
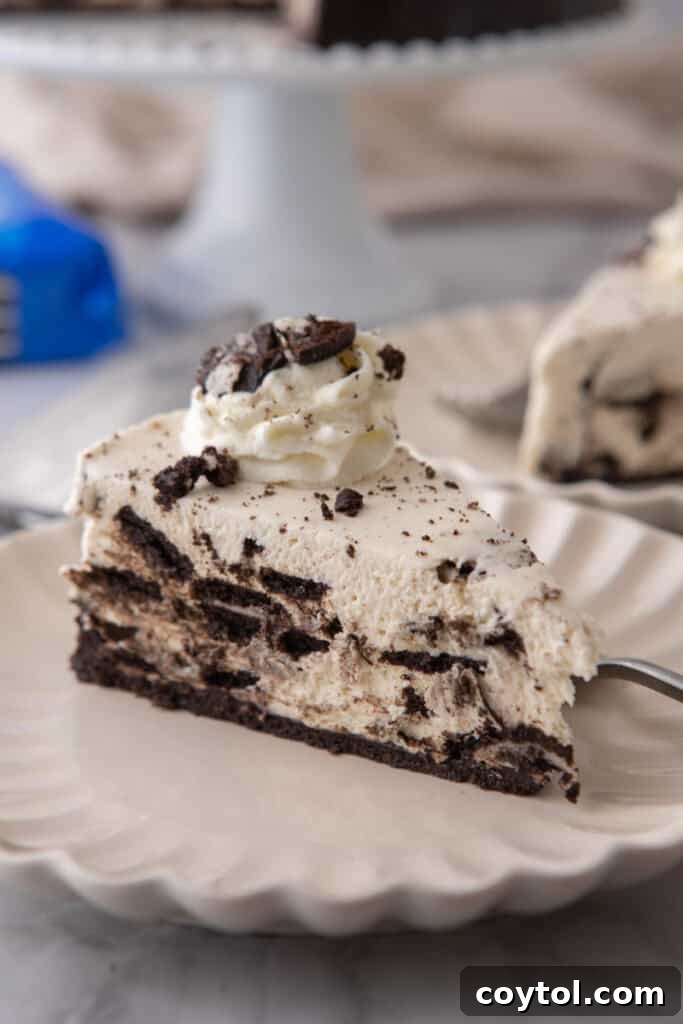
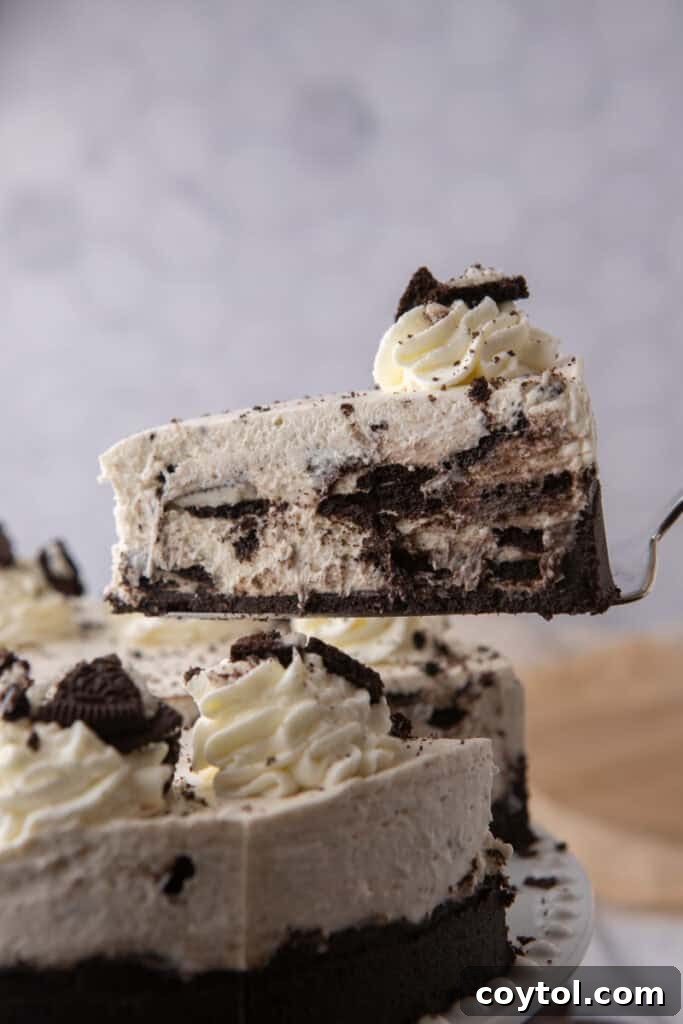
Every single bite of this cheesecake is pure bliss, thanks to its irresistible layers. The foundation is a buttery, robust Oreo crust that provides a delightful crunch. Above it lies a fluffy, ethereal cream cheese filling, generously studded with plenty of chopped Oreo cookies, ensuring a burst of chocolatey goodness and cookie texture in every spoonful. This recipe is wonderfully beginner-friendly and so straightforward that it’s a fantastic activity to involve children in the kitchen. Yet, its elegant presentation and phenomenal taste make it impressive enough to serve at any party, holiday gathering, or special celebration. The convenience of preparing it the night before means you can wake up to a stunning dessert, ready to delight your guests or simply satisfy a sweet craving.
If you’re as passionate about no-bake desserts and delightful cookie recipes as we are, you’ll love exploring some of our other creations. For more irresistible treats, be sure to check out our Crumbl Chocolate Oreo Cookies Copycat Recipe, these light and airy No-Bake Cheesecake Bars with Vanilla Beans, the festive Crumbl Chocolate Pumpkin Cheesecake Cookies, or these universally loved Easy Oreo Chocolate Chip Cookies. Each recipe offers its own unique charm and is guaranteed to satisfy your sweet tooth with minimal fuss.
Key Ingredients for the Perfect Easy No-Bake Oreo Cheesecake
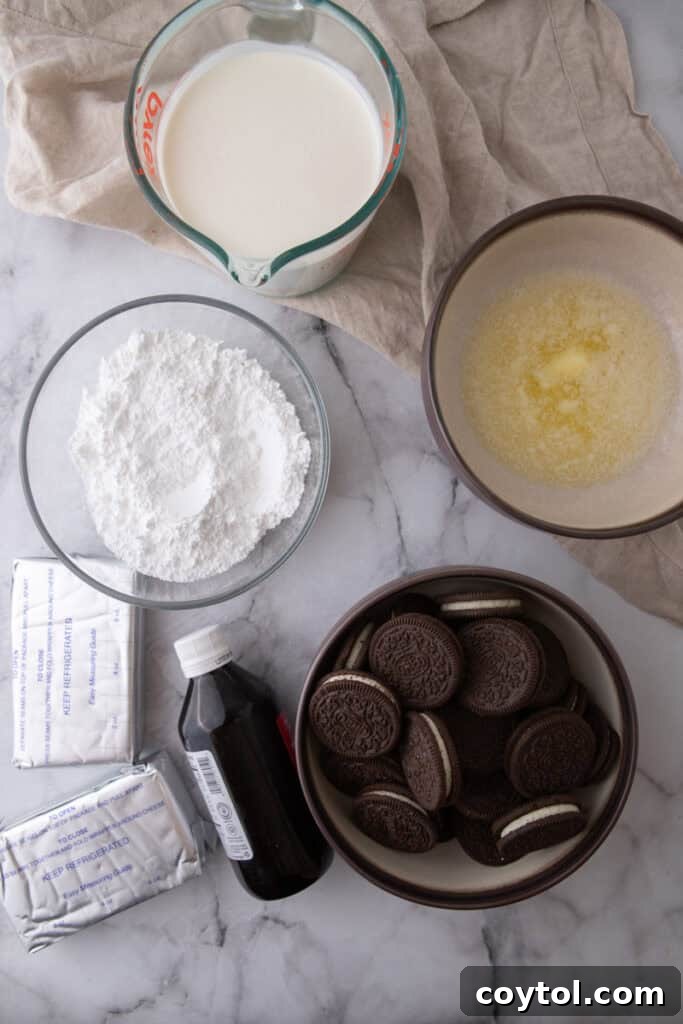
Crafting this incredible no-bake Oreo cheesecake requires a few simple, high-quality ingredients that come together to create magic. Each component plays a crucial role in achieving the desired texture and flavor. Below, you’ll find a detailed breakdown of what you’ll need. For precise measurements, please refer to the comprehensive recipe card at the end of this article.
- Oreo Cookies: These iconic chocolate sandwich cookies are the star of our show. They serve a dual purpose: finely crushed Oreos form the sturdy and flavorful base of our crust, while additional chopped Oreos are folded into the filling, providing a delightful textural contrast and an intense burst of cookies-and-cream flavor in every spoonful. Remember to keep the delicious cream filling intact when crushing and chopping for added richness!
- Unsalted Butter: Melted unsalted butter is the essential binding agent for our Oreo crust. It acts like glue, holding the crushed cookies together firmly so that the crust can be easily sliced without crumbling. Using unsalted butter allows you to control the overall saltiness of your dessert. Ensure it’s fully melted for optimal mixing.
- Full-Fat Cream Cheese: This is the heart of our creamy cheesecake filling. Opting for full-fat cream cheese is non-negotiable for achieving that classic, rich, and dense cheesecake texture. It provides the body and tanginess that makes cheesecake so irresistible. Make sure your cream cheese is softened to room temperature for a lump-free, smooth filling.
- Powdered Sugar (Confectioners’ Sugar): This fine sugar sweetens our cheesecake filling and contributes significantly to its smooth and stable texture. Unlike granulated sugar, powdered sugar dissolves instantly and seamlessly, preventing any gritty sensation in the final product. It also helps to thicken the filling, ensuring a perfect set.
- Vanilla Extract: A splash of high-quality vanilla extract is a flavor enhancer that brings warmth and depth to the overall cheesecake. It complements the chocolate and cream cheese beautifully, elevating the taste profile.
- Cold Heavy Whipping Cream: This ingredient is vital for creating the light, airy, and fluffy, mousse-like consistency of our no-bake filling. When whipped to stiff peaks and gently folded into the cream cheese mixture, it incorporates air and lightens the texture, making the cheesecake incredibly decadent yet not overly heavy. It’s crucial that the cream is very cold to whip properly.
- (Optional) Whipped Cream for Topping: While the filling itself contains whipped cream, an extra dollop or elegant piping of fresh whipped cream on top before serving adds an extra layer of creaminess, visual appeal, and a touch of gourmet sophistication. Who can resist more whipped cream?
- Extra Oreos (Whole or Crushed) for Garnish: A final flourish of additional Oreos, whether whole, halved, or roughly crushed, serves as a decorative garnish. This not only makes your cheesecake look more luxurious and appealing but also visually communicates the star flavor, hinting at the deliciousness within.
Step-by-Step Guide: Crafting Your Easy No-Bake Oreo Cheesecake with Homemade Whipped Cream
Making this no-bake Oreo cheesecake is a straightforward and rewarding process. Follow these detailed steps to ensure a perfect, crowd-pleasing dessert every time. For exact measurements and a printable version, please refer to the recipe card below.
- **Prepare the Oreo Crust:** Begin by creating the foundational layer of your cheesecake. Place your Oreo cookies (yes, with their creamy filling included!) into a food processor. Pulse them until they are transformed into fine, uniform crumbs, resembling wet sand when mixed. This ensures a consistent and sturdy crust.
- **Combine with Melted Butter:** Transfer the Oreo crumbs to a mixing bowl. Pour the melted unsalted butter over the crumbs and stir thoroughly until the mixture is completely blended and uniformly moist. The butter helps bind the crumbs, forming a cohesive crust.
- **Form the Crust:** Firmly press the buttery Oreo crumb mixture into the bottom of a 9-inch springform pan. Alternatively, you can use an 8×8-inch square dish. If opting for a regular dish (not a springform), line it with parchment paper, leaving an overhang on two sides. This thoughtful step creates “handles” that will allow you to easily lift the cheesecake out of the pan once it’s set, making serving a breeze.
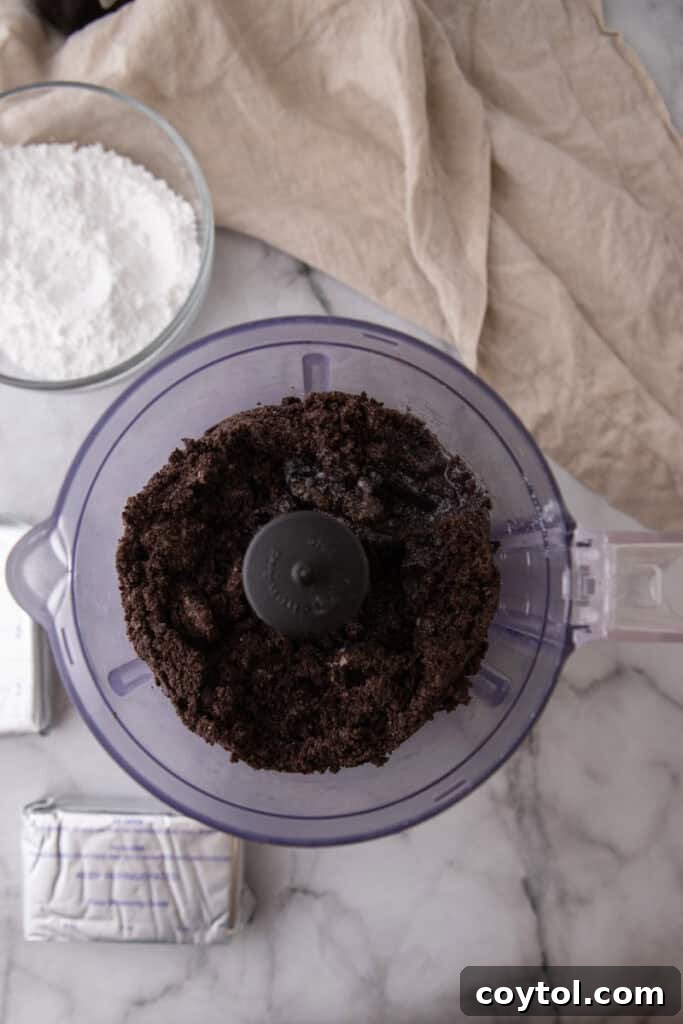
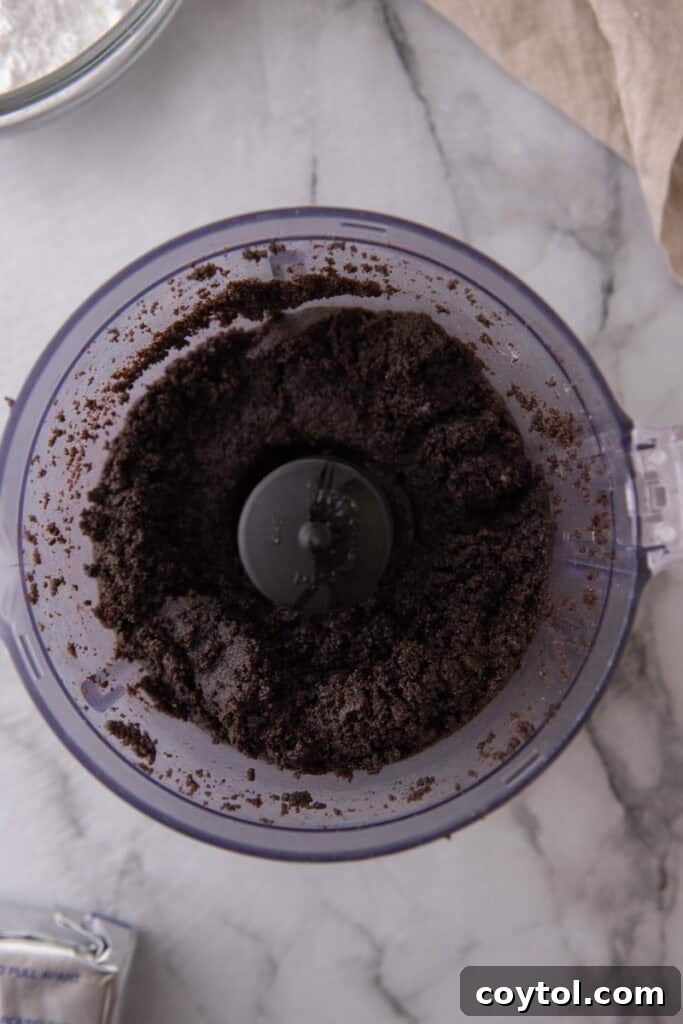
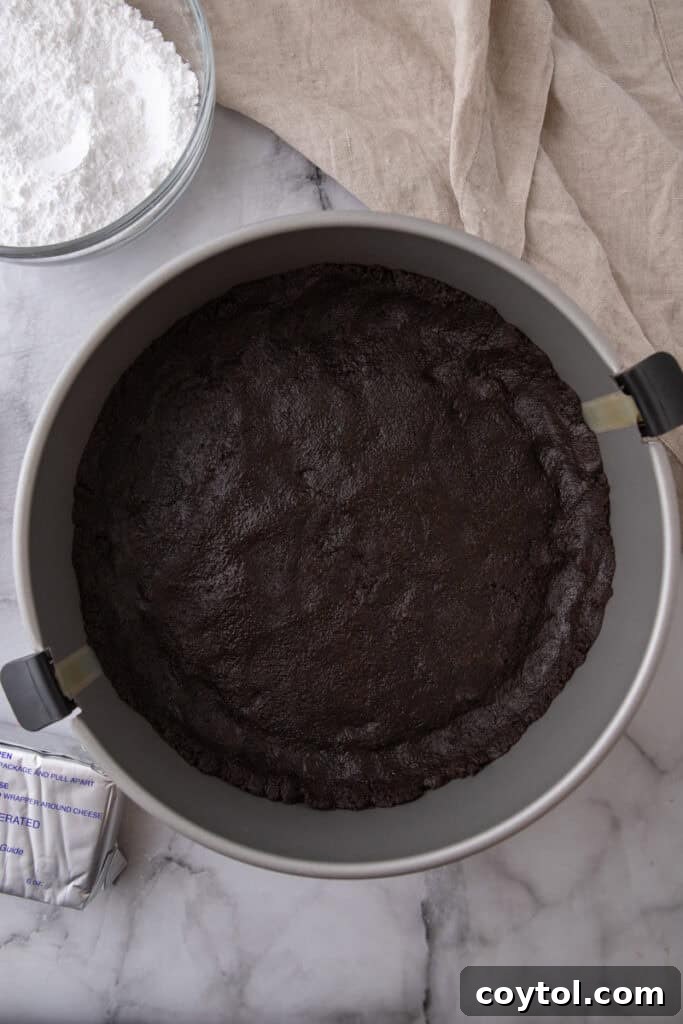
- **Chill the Crust:** Place the prepared crust into the refrigerator to chill for at least 20 minutes. This chilling period allows the butter to solidify, setting the crust and making it firm enough to hold the creamy filling without becoming soggy. It’s a critical step for a structurally sound cheesecake.
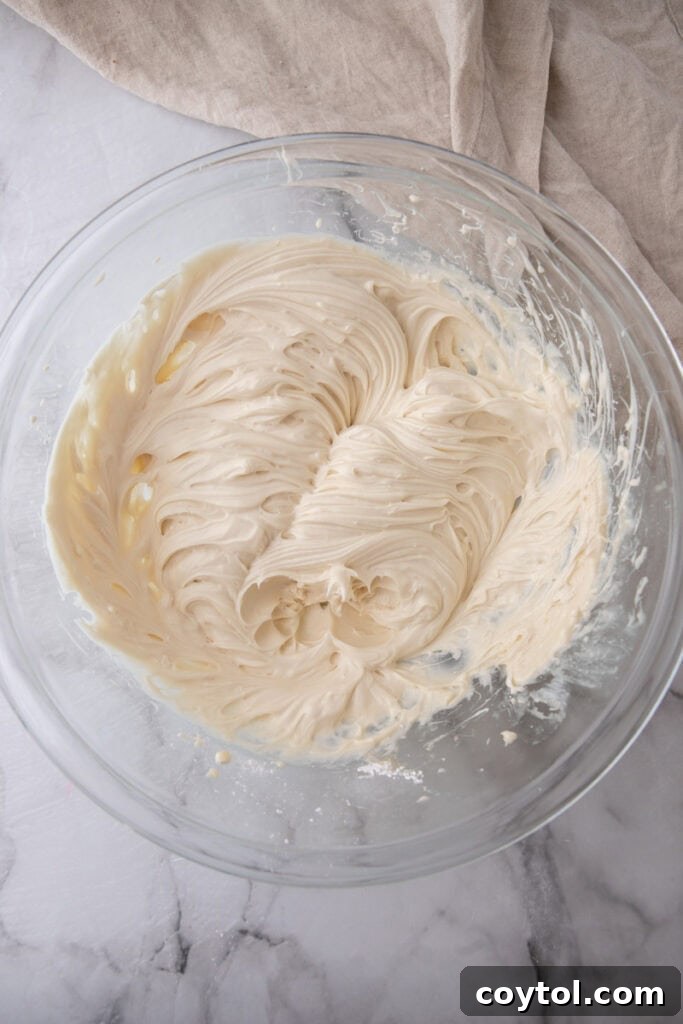
- **Prepare the Cream Cheese Base:** In a large mixing bowl, combine the softened full-fat cream cheese, powdered sugar, and vanilla extract. Using an electric mixer, beat these ingredients together on medium speed until the mixture is wonderfully smooth, light, fluffy, and completely free of any lumps. Scrape down the sides of the bowl as needed to ensure everything is thoroughly incorporated.
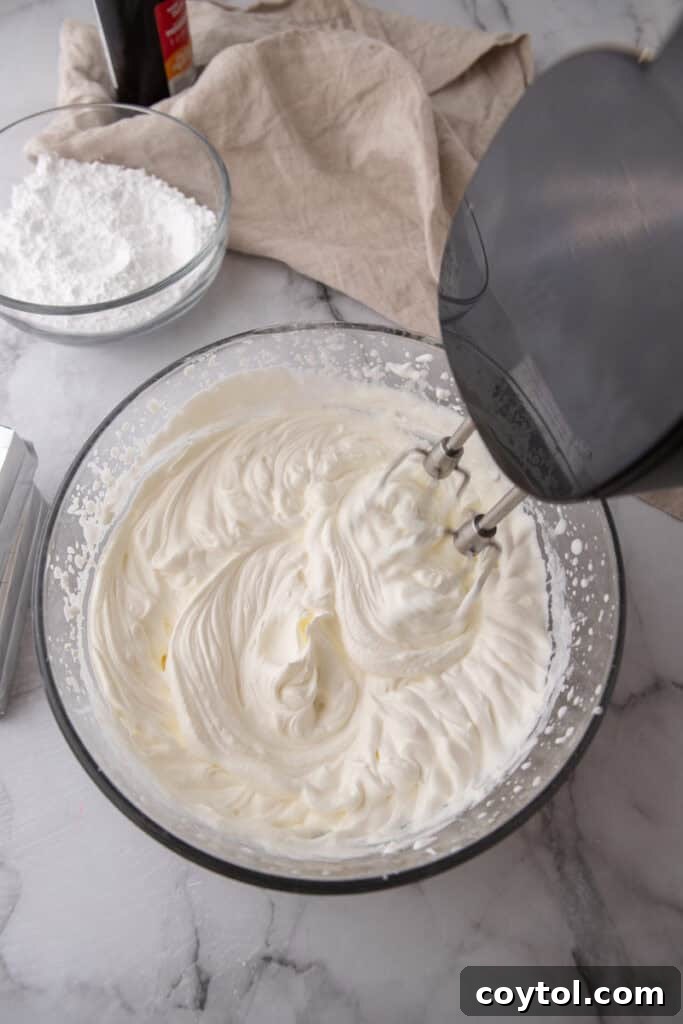
- **Whip the Heavy Cream:** In a separate, chilled large bowl (a cold bowl helps the cream whip faster), pour in the cold heavy whipping cream. Whip it with an electric mixer on high speed until it forms stiff peaks. Stiff peaks mean that when you lift the beaters, the cream stands up firmly without collapsing. Be careful not to over-whip, or it can become grainy.
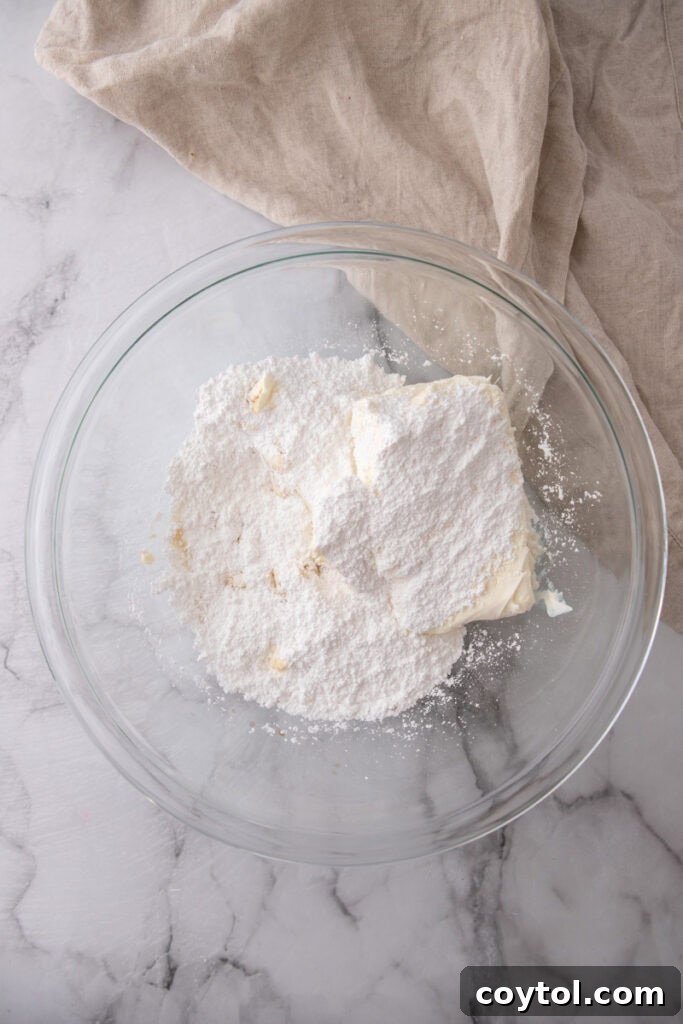
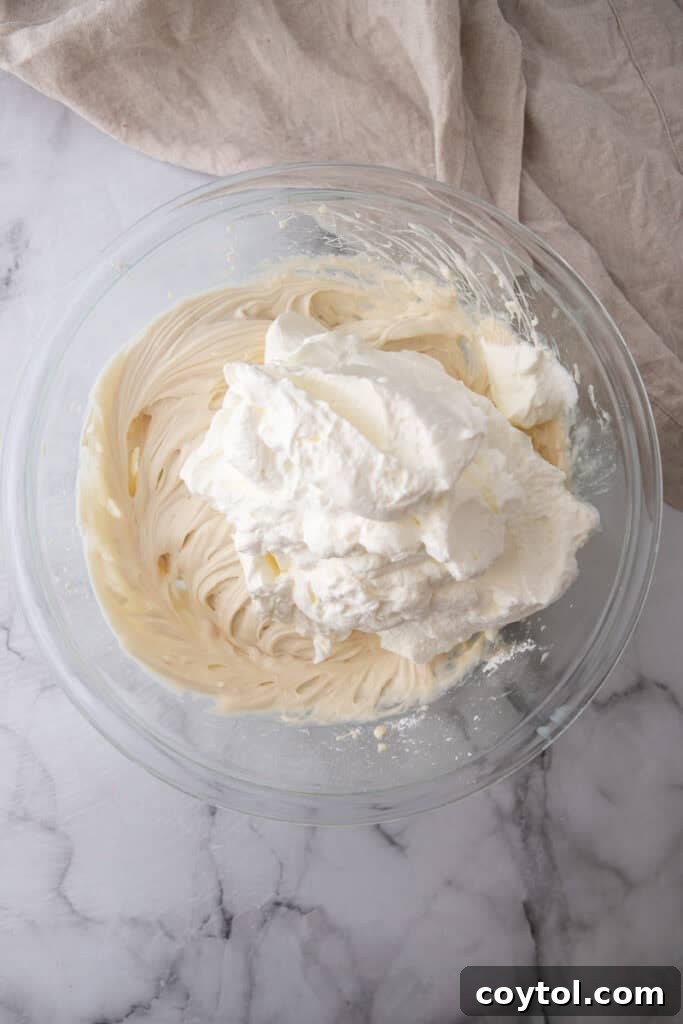
- **Fold in Whipped Cream:** This step requires a delicate touch. Gently fold the whipped cream into the cream cheese mixture using a spatula. The goal is to incorporate the air from the whipped cream without deflating it, which helps create that wonderfully light and airy cheesecake texture. Mix just until no streaks of whipped cream remain.
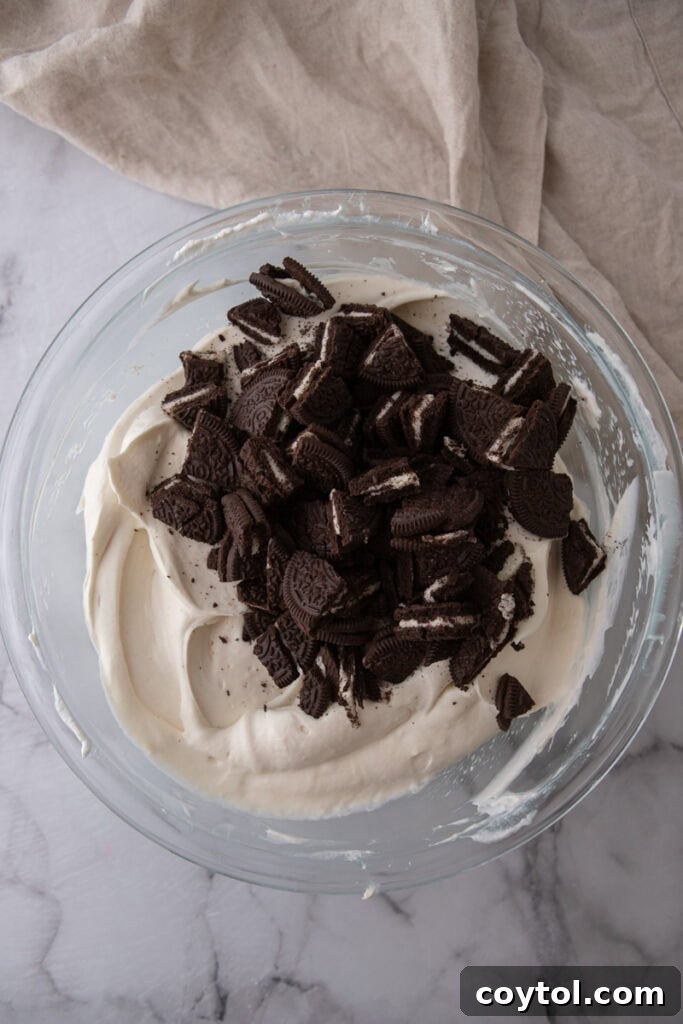
- **Add Chopped Oreos:** Roughly crush and chop additional Oreo cookies. Carefully fold these chopped pieces into the creamy filling, distributing them evenly. These cookie chunks add a fantastic textural element and a concentrated burst of Oreo flavor throughout the cheesecake.
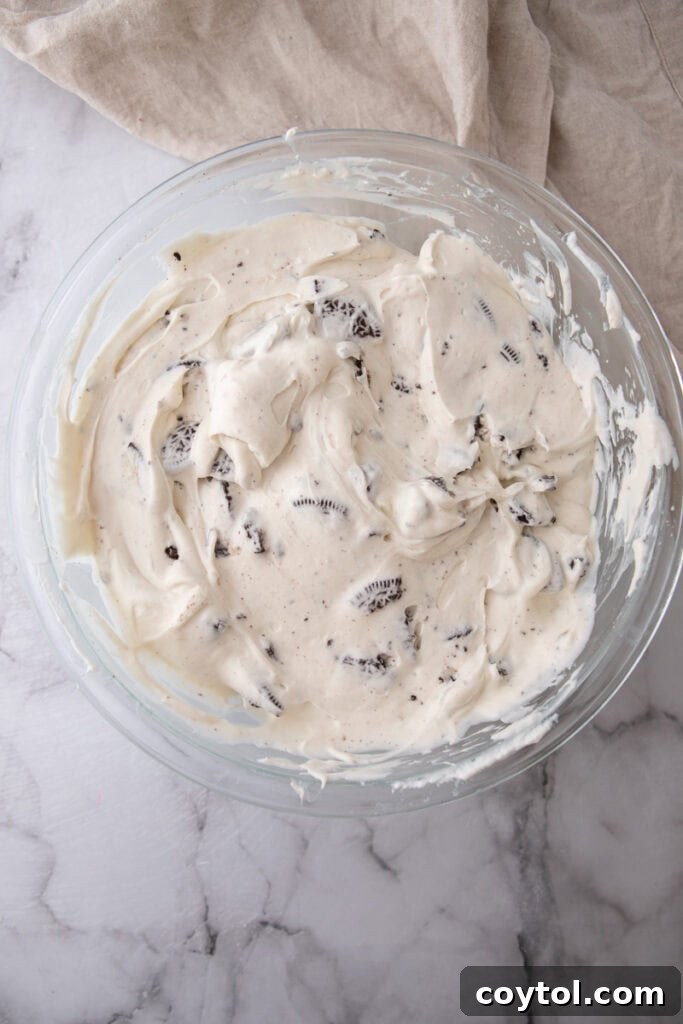
- **Assemble the Cheesecake:** Spoon the prepared creamy filling over the chilled Oreo crust. Use a spatula or the back of a spoon to gently spread the filling evenly across the top, creating a smooth and appealing surface.
- **Chill to Set:** Cover the pan tightly with plastic wrap or aluminum foil. Transfer the cheesecake to the refrigerator and allow it to chill for at least 6 hours. For the absolute best results, a longer chill, ideally overnight (12-24 hours), is highly recommended. This extended chilling time is crucial for the cheesecake to firm up completely and for the flavors to meld beautifully.
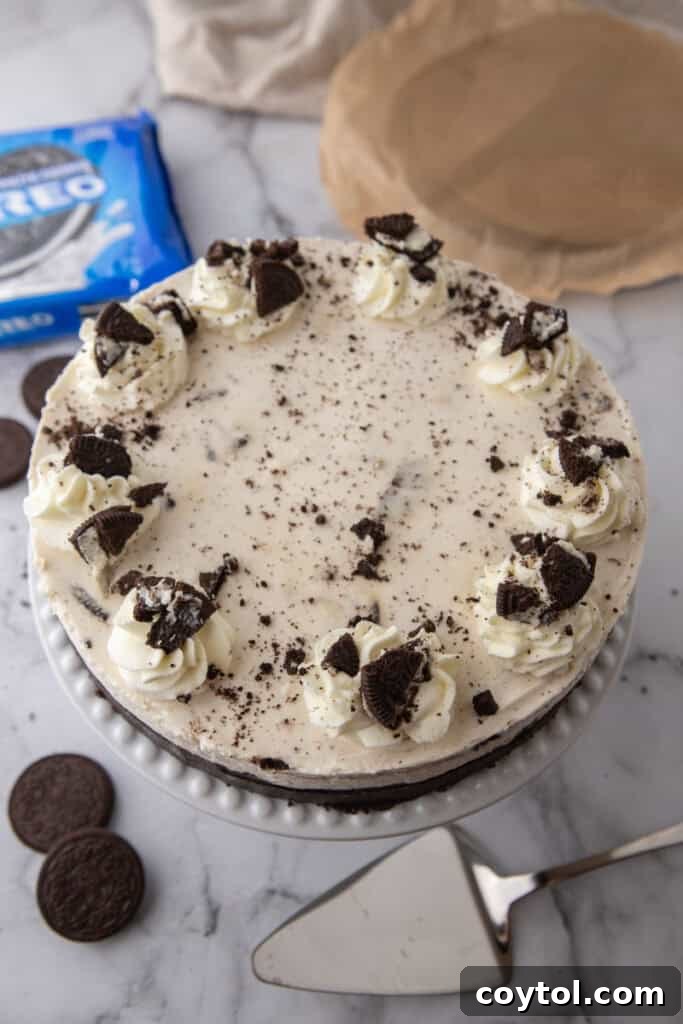
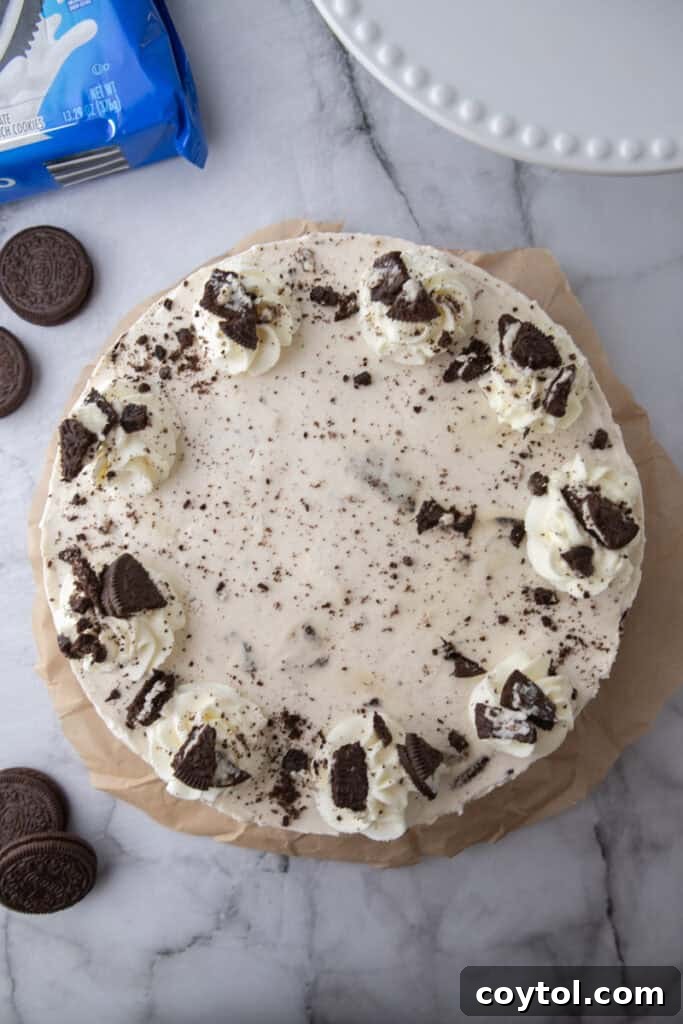
- **Decorate Before Serving:** Once the cheesecake is fully set, remove it from the refrigerator. Before slicing, pipe or spoon additional whipped cream (homemade or store-bought) artistically around the edges of the cheesecake.
- **Final Garnish and Serve:** For an extra touch of texture and a fun, festive presentation, sprinkle whole or crushed Oreos on top of the whipped cream and cheesecake surface. Carefully remove the cheesecake from the springform pan (or lift it out using your parchment paper handles). Slice into generous portions and enjoy this delightful dessert cold!
Expert Tips and Tricks for the Best No-Bake Oreo Cheesecake
- **Optimal Butter Mixing:** When preparing the crust, ensure your butter is melted and still warm when you combine it with the crushed Oreos. This warmth helps the butter to more effectively coat each crumb, ensuring a more uniform mixture that presses together perfectly and forms a firm, sliceable crust.
- **Room Temperature Cream Cheese is Key:** For a flawlessly smooth and lump-free cheesecake filling, remember to take your full-fat cream cheese out of the refrigerator at least 30 minutes (or even an hour) before you plan to start mixing. Softened cream cheese blends much more easily with other ingredients, creating that desirable velvety texture.
- **Sift Powdered Sugar for Smoothness:** To guarantee an utterly smooth filling without any unwelcome clumps, always pass your powdered sugar through a fine-mesh sieve before adding it to the cream cheese mixture. For the most accurate measurements and consistent results, consider weighing your powdered sugar with a kitchen scale rather than relying solely on measuring cups.
- **Gentle Folding for Airiness:** When incorporating the whipped heavy cream into the cream cheese mixture, use a gentle hand and a spatula to fold it slowly. Overmixing at this stage can quickly deflate the whipped cream, resulting in a dense rather than light and airy cheesecake. Fold just until no white streaks of whipped cream are visible.
- **Embrace the Chill Time:** Patience is a virtue when it comes to no-bake cheesecakes. While the cheesecake might appear set after six hours, allowing it to chill in the refrigerator overnight (for 12-24 hours) yields far superior results. This extended chilling time not only ensures a perfectly firm crust and a well-set filling but also allows the flavors to deepen and meld together beautifully, creating a richer, more infused taste experience.
Why This No-Bake Oreo Cheesecake Will Be Your New Favorite Dessert
- **A Celebration-Ready Dessert:** This cheesecake is an absolute showstopper, making it a fantastic alternative to traditional birthday cakes or any time you need an effortlessly beautiful and incredibly delicious dessert for a special occasion. Its elegant appearance and universally loved flavors make it a guaranteed hit. We even brought this to our in-laws for Father’s Day, and the entire family absolutely devoured it, praising its irresistible taste and texture.
- **Perfect for Summer and Warm Weather:** As a chilled dessert served cold, this no-bake cheesecake is an ideal treat for cooling off during the hot summer months. It’s refreshing, light (despite its richness), and provides a welcome respite from baked goods when the temperatures rise.
- **Beginner-Friendly and Fun for All Ages:** This recipe is exceptionally forgiving and straightforward, making it very beginner-friendly. Even aspiring young bakers or children can confidently assist with various steps, fostering a love for cooking and baking without the complexities of an oven. It’s a wonderful project for family time in the kitchen.
- **The Ultimate Make-Ahead Convenience:** Since this cheesecake requires ample time in the fridge to set properly, it’s the perfect make-ahead dessert. You can prepare it a day or two in advance of a big event, freeing up your time on the day of the gathering and significantly reducing stress when you’re trying to prep for guests.
- **Irresistible Flavor Combination:** If cheesecake and Oreos are already among your favorite things (and let’s be honest, for most of us, they are!), then combining them into one incredible dessert is a no-brainer. This recipe brings together the best of both worlds, creating a harmonious and utterly delicious treat that’s hard to resist.
- **Endlessly Customizable Flavors:** Don’t limit yourself to classic Oreos! This recipe offers a fantastic opportunity for creativity. You can easily customize the flavor of both the crust and the filling mix-ins by substituting with your favorite Oreo flavor. Think Golden Oreos, Mint Oreos, Red Velvet Oreos, or even Peanut Butter Oreos for exciting twists!
Frequently Asked Questions (FAQ) About No-Bake Oreo Cheesecake
Can I use light cream cheese for this recipe?
While it might be tempting to opt for a lighter alternative, I strongly advise against using light or reduced-fat cream cheese for this no-bake Oreo cheesecake recipe. Full-fat cream cheese is crucial because of its naturally thick consistency and rich, creamy texture. These qualities are essential for the cheesecake to set properly and achieve that classic, luxurious mouthfeel without any baking. Lowering the fat content will significantly alter the final result, often leading to a runnier filling that doesn’t set as well and lacks the desired richness.
Can I substitute store-bought Cool Whip for homemade whipped heavy cream?
Yes, you absolutely can use Cool Whip as a convenient substitute for homemade whipped heavy cream if that works better for your schedule. However, it’s important to be aware that the filling’s texture will be slightly softer and typically sweeter than with fresh whipped cream. To ensure you have the correct amount, remember that 2 cups of liquid heavy cream, when whipped, yields approximately 4 cups of homemade whipped cream. Therefore, you would need to use about 4 cups of Cool Whip (or two standard 8-ounce containers) to achieve a similar volume and consistency in your cheesecake filling.
Can I use different Oreo flavors for the crust and filling?
Absolutely, and we highly encourage it! This is arguably one of the most exciting aspects of this recipe – the opportunity to experiment with various Oreo flavors. While classic Oreos are fantastic, feel free to get creative. You could try Golden Oreos for a vanilla-based crust, or experiment with seasonal and specialty flavors like Mint Oreos, Red Velvet Oreos, or Peanut Butter Oreos to infuse unique and delicious twists into your cheesecake. The possibilities are endless, allowing you to tailor this dessert to your personal preferences or the theme of any occasion!
Do I need to remove the cream filling from the Oreos before crushing them?
There’s no need to remove the filling from the Oreos! In fact, we recommend keeping it in. The creamy filling within the Oreos serves a beneficial purpose: it acts as an extra binding agent, helping to further glue the crushed cookie crumbs together to form a more stable and cohesive crust. Additionally, when you roughly chop Oreos for the cheesecake filling, the intact cream adds a subtle creamy texture and boosts the overall rich Oreo flavor throughout the dessert. It’s a convenient way to enhance both the structure and the taste.
How do I properly store any leftover no-bake Oreo cheesecake?
Storing your no-bake Oreo cheesecake correctly is essential to maintain its freshness and deliciousness. If you plan to enjoy the leftovers within a week, simply place the cheesecake in an airtight container or gently cover the serving plate with plastic wrap, ensuring it’s sealed completely to prevent it from drying out or absorbing refrigerator odors. It will keep well in the refrigerator for up to 5 days. For longer storage, this cheesecake freezes beautifully! You can freeze it for up to 1 month. To serve after freezing, simply transfer it to the refrigerator and allow it to thaw overnight before slicing and enjoying its delightful texture and flavor once again.
No-Bake Oreo Cheesecake Recipe
Print Recipe
Ingredients
For the crust:
- 24 Oreo cookies filling included
- 5 tbsp unsalted butter melted
For the filling:
- 16 oz 2 blocks cream cheese, softened
- 1 cup powdered sugar
- 1 tsp vanilla extract
- 2 cups cold heavy whipping cream
- 15 Oreo cookies roughly chopped
Optional topping:
- Whipped cream homemade or store-bought.
- Extra Oreos for decorating whole or crushed
Instructions
Make the crust:
-
Crush Oreos in a food processor until fine crumbs form.24 Oreo cookies
-
Mix with melted butter until fully combined.5 tbsp unsalted butter
-
Press the mixture into the bottom of a 9-inch springform pan or 8×8 dish.
-
Place in the fridge to set while you make the filling (at least 20 minutes).
Make the filling:
-
In a large bowl, beat the softened cream cheese with powdered sugar and vanilla until smooth and fluffy.16 oz 2 blocks cream cheese, softened, 1 cup powdered sugar, 1 tsp vanilla extract
-
In a separate bowl, whip the cold heavy cream until stiff peaks form.2 cups cold heavy whipping cream
-
Gently fold the whipped cream into the cream cheese mixture until well combined. Fold in the chopped Oreos.15 Oreo cookies
-
Pour the filling over the chilled crust and smooth out the top.
-
Cover and refrigerate for at least 6 hours, or overnight for best results.
Decorate & serve:
-
Pipe or dollop whipped cream around the edges. Decorate with more Oreos, serve, slice and enjoy!Whipped cream, Extra Oreos for decorating
Notes
• Keeps well covered in the fridge for up to 5 days.
• You can also freeze it for up to 1 month, just thaw in the fridge overnight before serving.
Nutrition
Nutrition information is automatically calculated, so should only be used as an approximation.