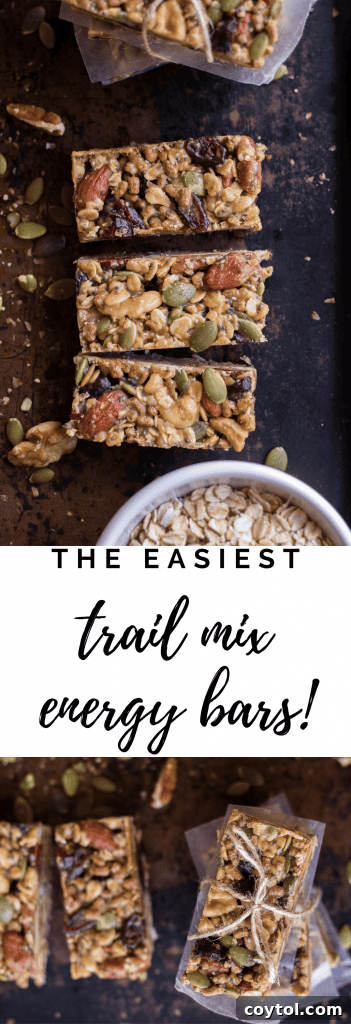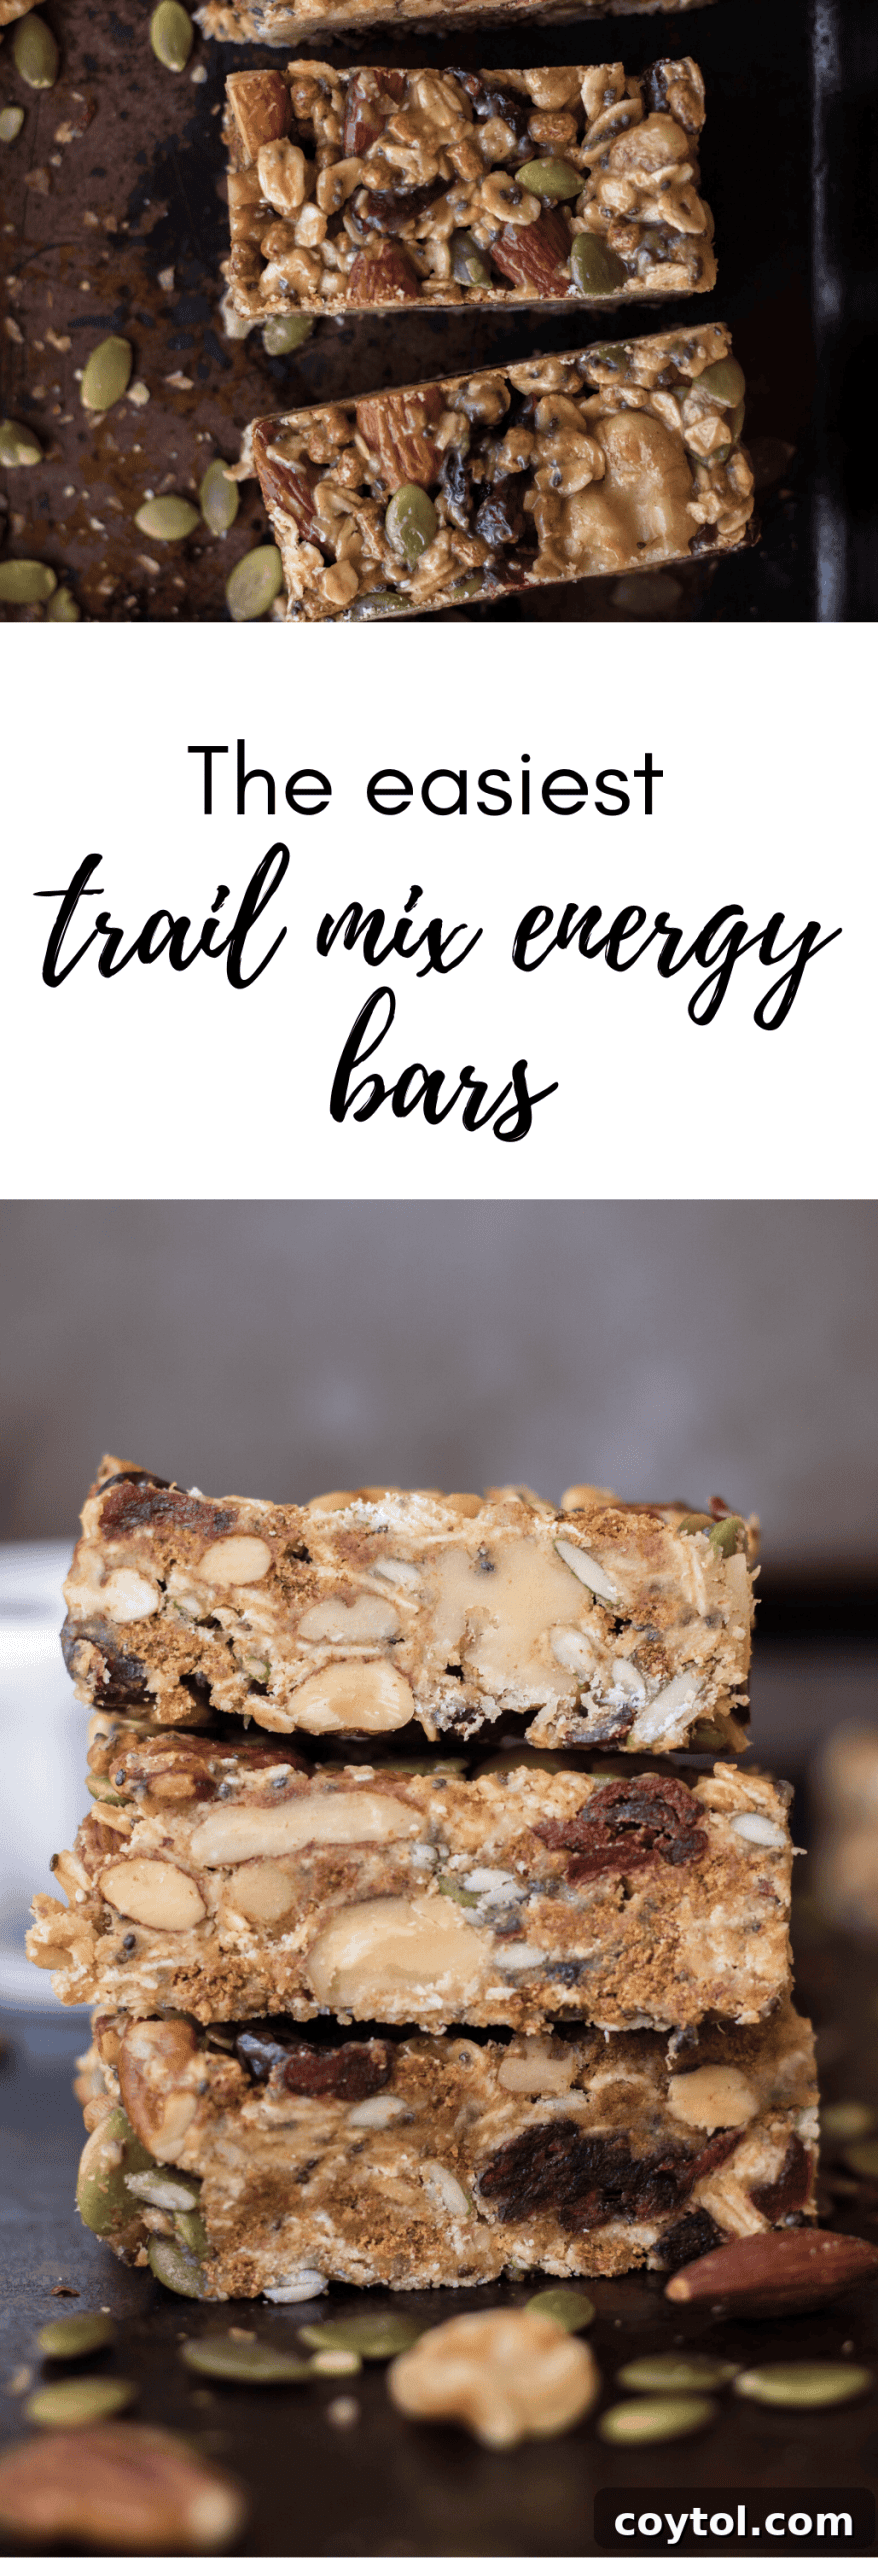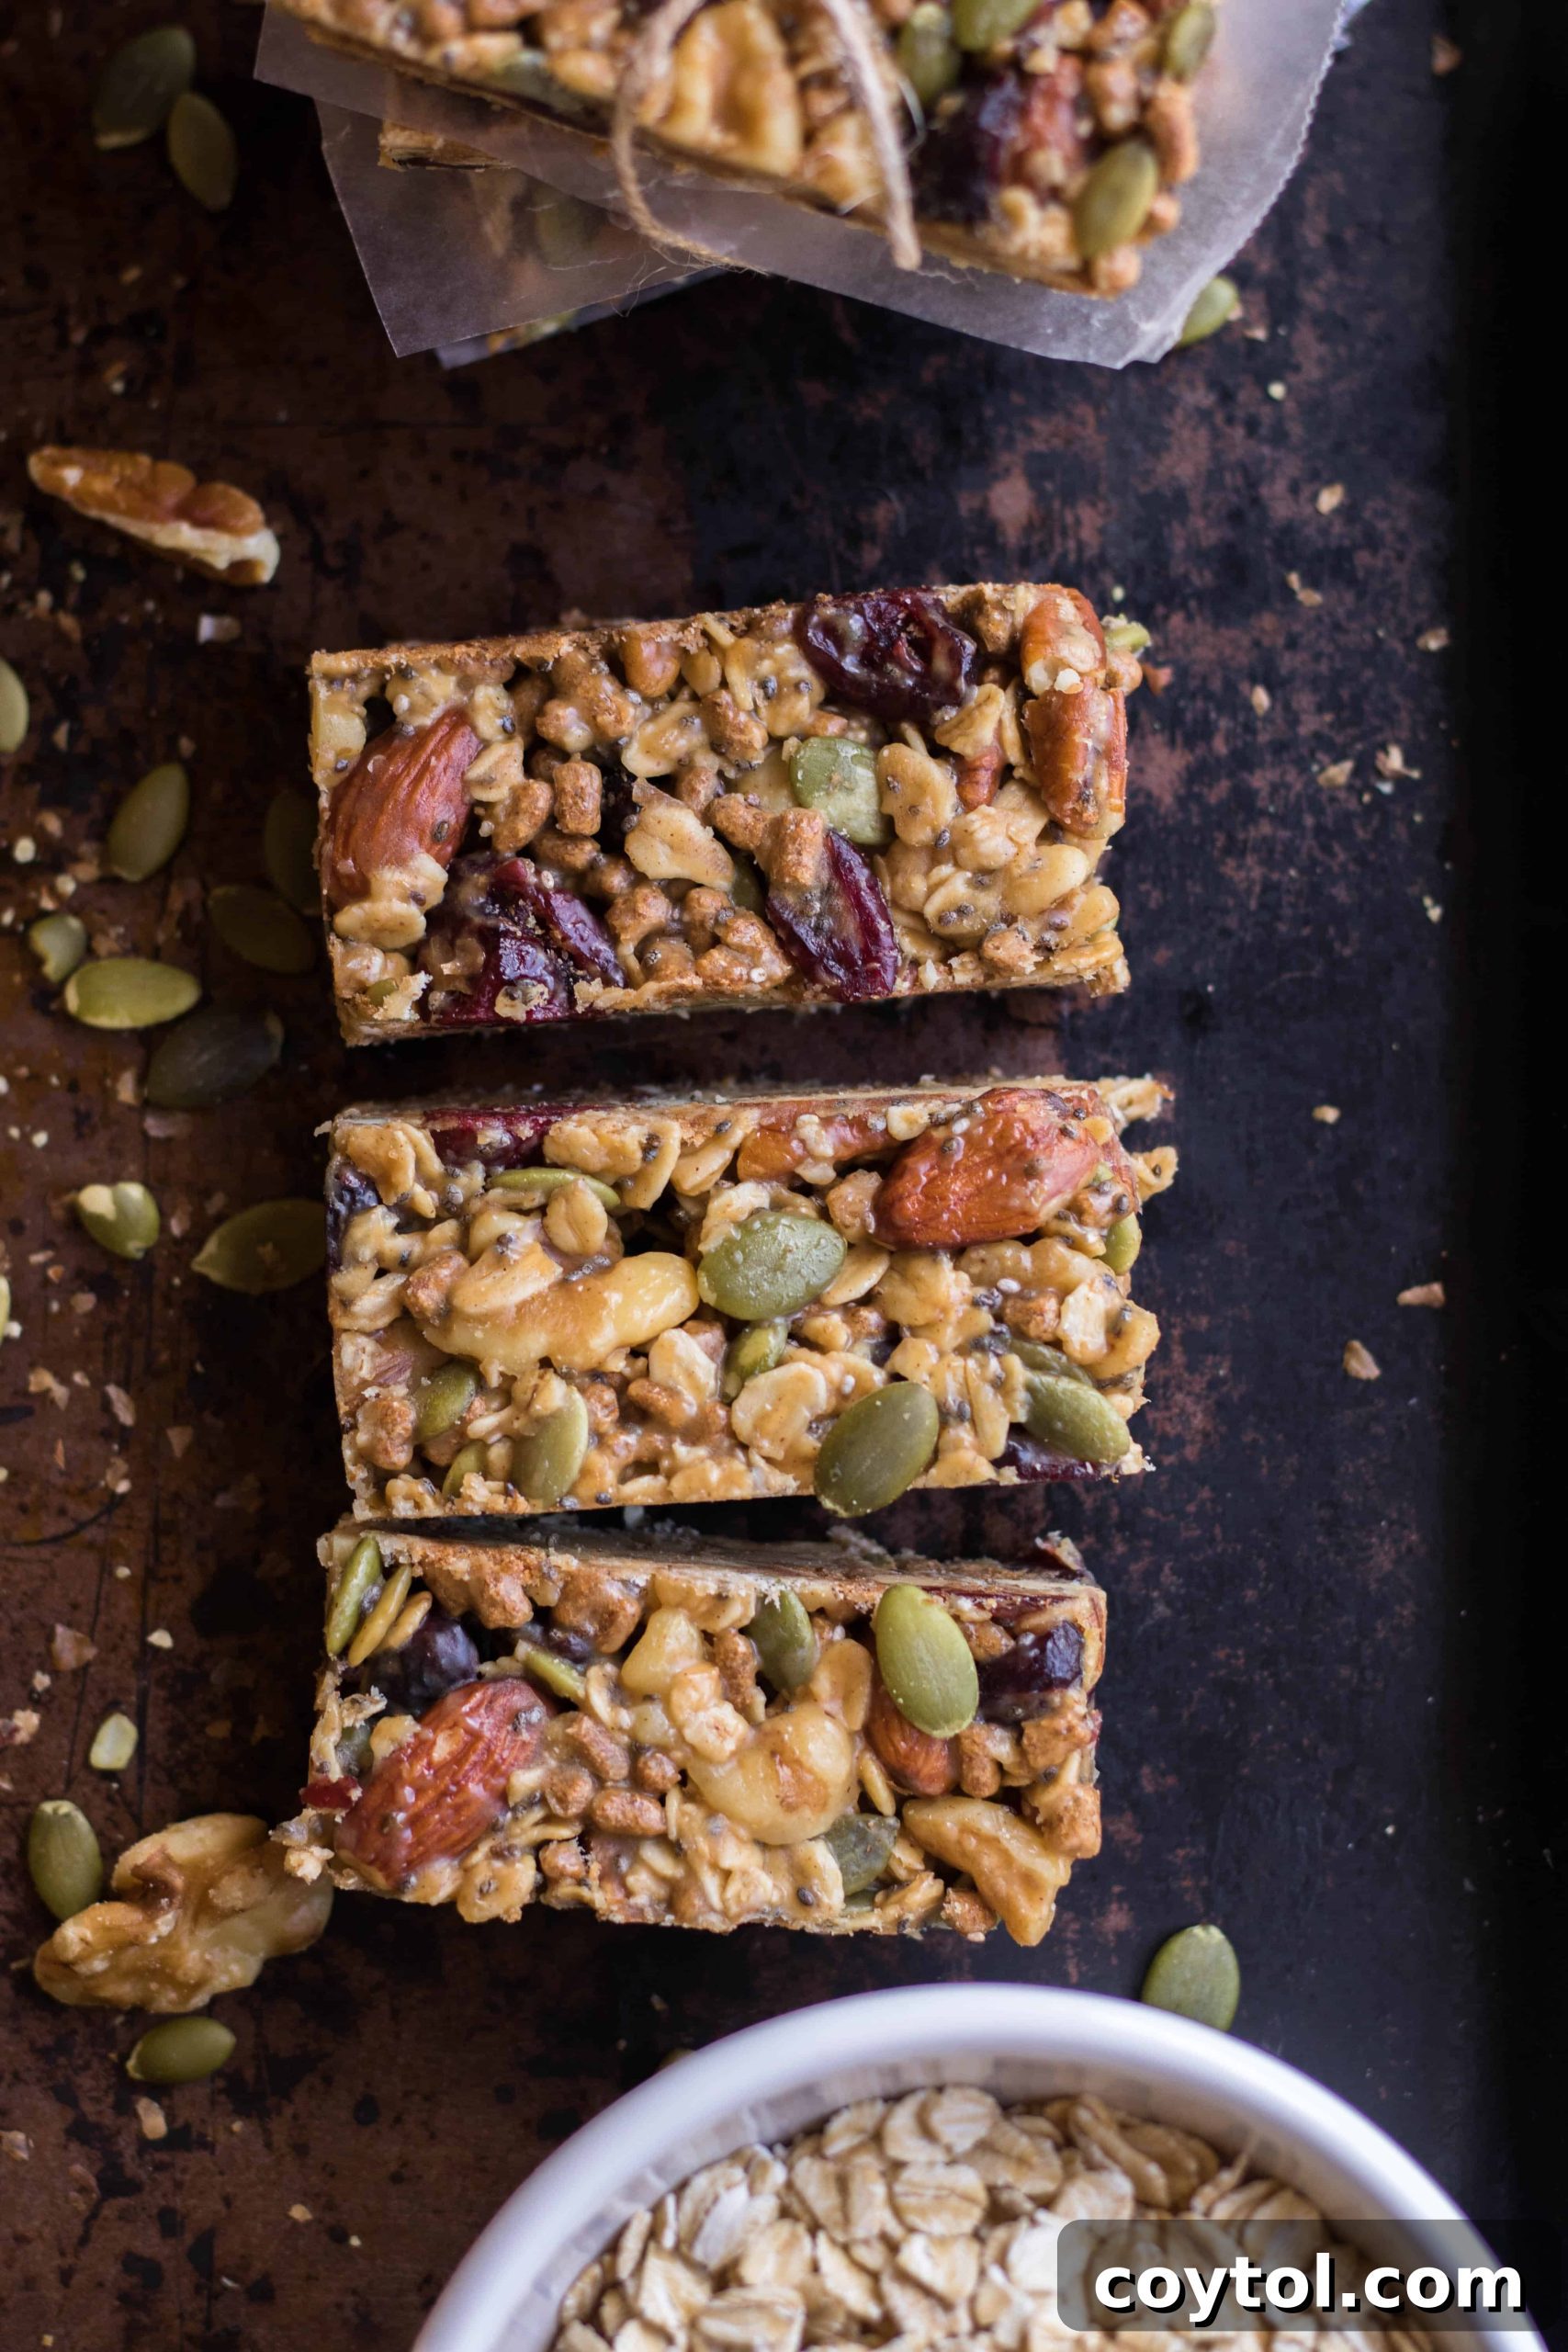
Craving a snack that’s as delightful as it is nutritious? Look no further than these homemade trail mix energy bars! Imagine a perfect symphony of sweet and salty, combined with satisfying chewy and crispy textures in every single bite. This recipe isn’t just about curbing your sweet tooth; it’s about indulging in a truly wholesome treat crafted from natural ingredients. Ideal for busy mornings, a mid-day pick-me-up, or a post-workout refuel, these healthy, grab-and-go energy bars are poised to become your new favorite snack.
Join Our Community! Get a FREE Weekly Meal Planner & Recipe Card!
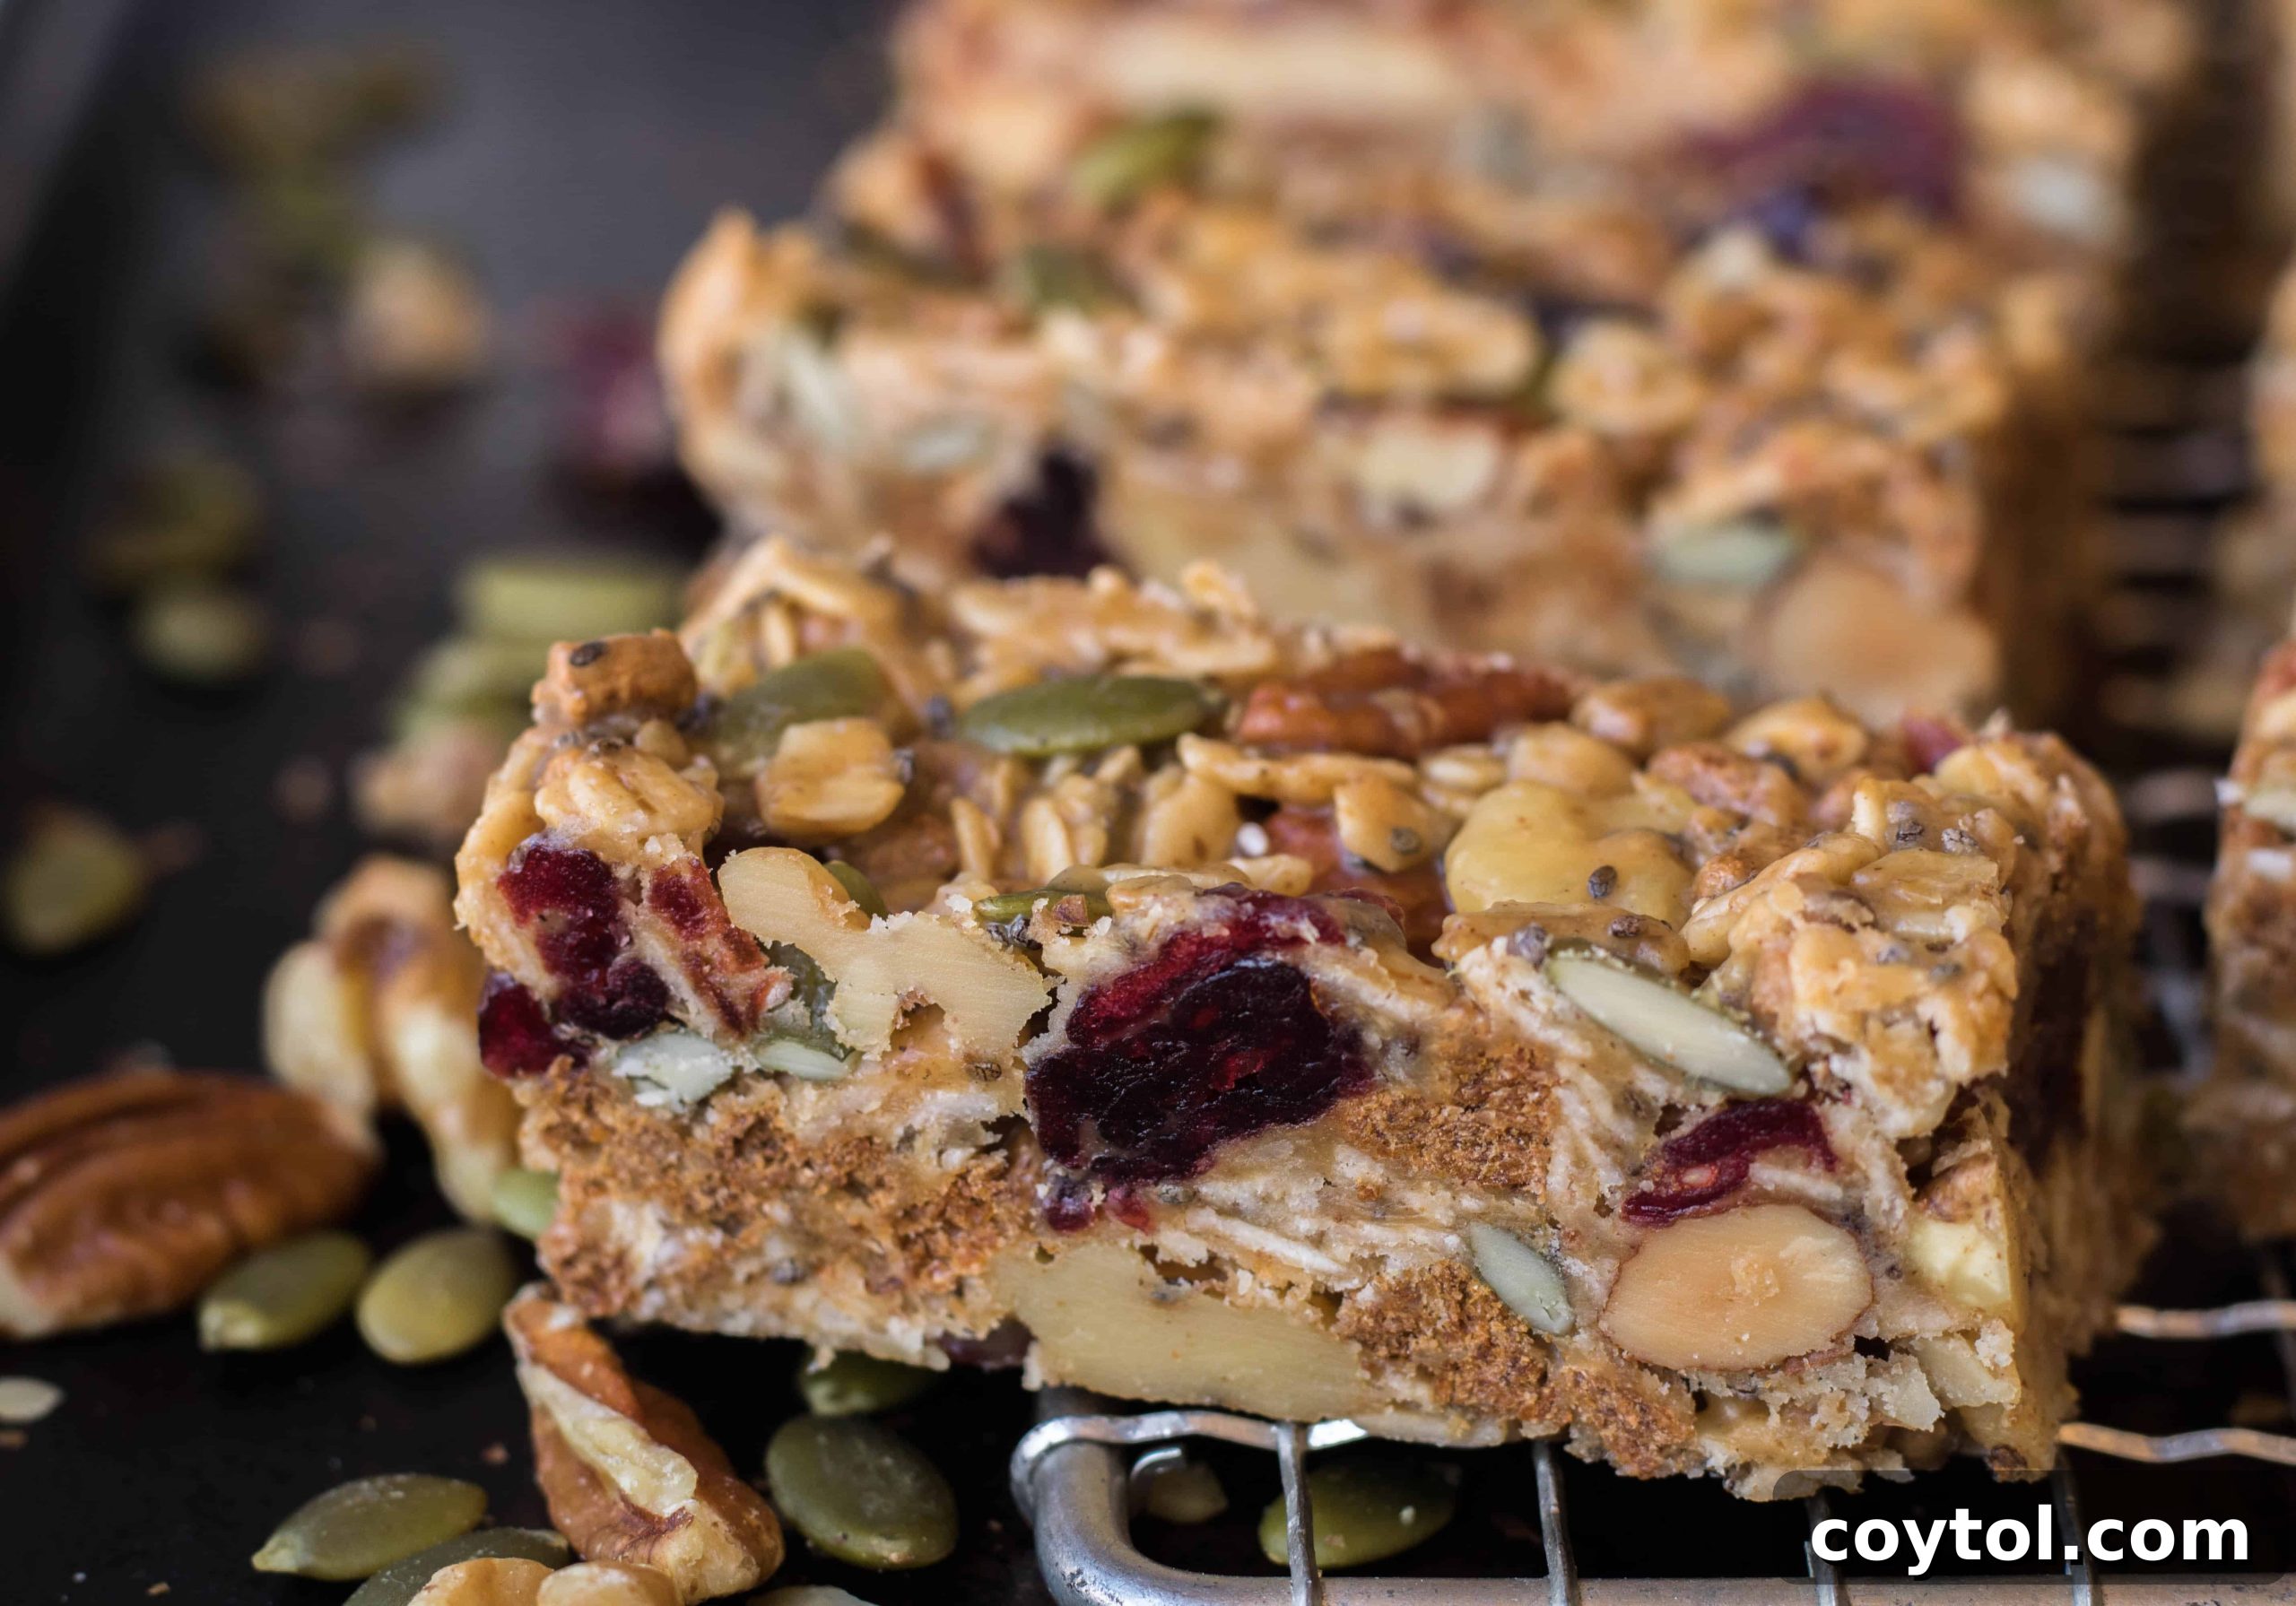
Hello, fellow food enthusiasts! Today, I’m thrilled to share a recipe that has truly been a staple in my life for years: my incredibly easy and utterly delicious no-bake trail mix energy bars. If you’re anything like me, you’ve probably experimented with countless store-bought granola bars, only to find them lacking in flavor, filled with questionable ingredients, or simply not hitting that sweet spot. Despite the vast selection available in stores, I’ve yet to discover one that truly captivates me.
What are your go-to store-bought granola bars? I’d love to hear your recommendations in the comments below – perhaps I’ll find a new favorite!
However, my less-than-enthusiastic stance on commercial granola bars does a complete flip when it comes to homemade versions. There’s an unparalleled joy in creating your own energy bars. Firstly, you have complete control over every ingredient, ensuring you know exactly what you’re fueling your body with. Secondly, the freedom to tweak and customize the recipe means you can perfect the flavor and texture to your precise liking every single time. This adaptability makes homemade energy bars a superior choice for anyone seeking both health and taste.
These particular trail mix bars have been my steadfast companions through various life stages. I started making them religiously every week during my college years, a period often marked by long, demanding, and sometimes monotonous days. These little bars were more than just a snack; they were a burst of sunshine, providing a much-needed energy boost and a moment of comforting indulgence amidst my studies. Even now, long after college, I continue to make them because they bring a profound sense of comfort and consistently delight my taste buds. I have no doubt they’ll bring the same joy to you!
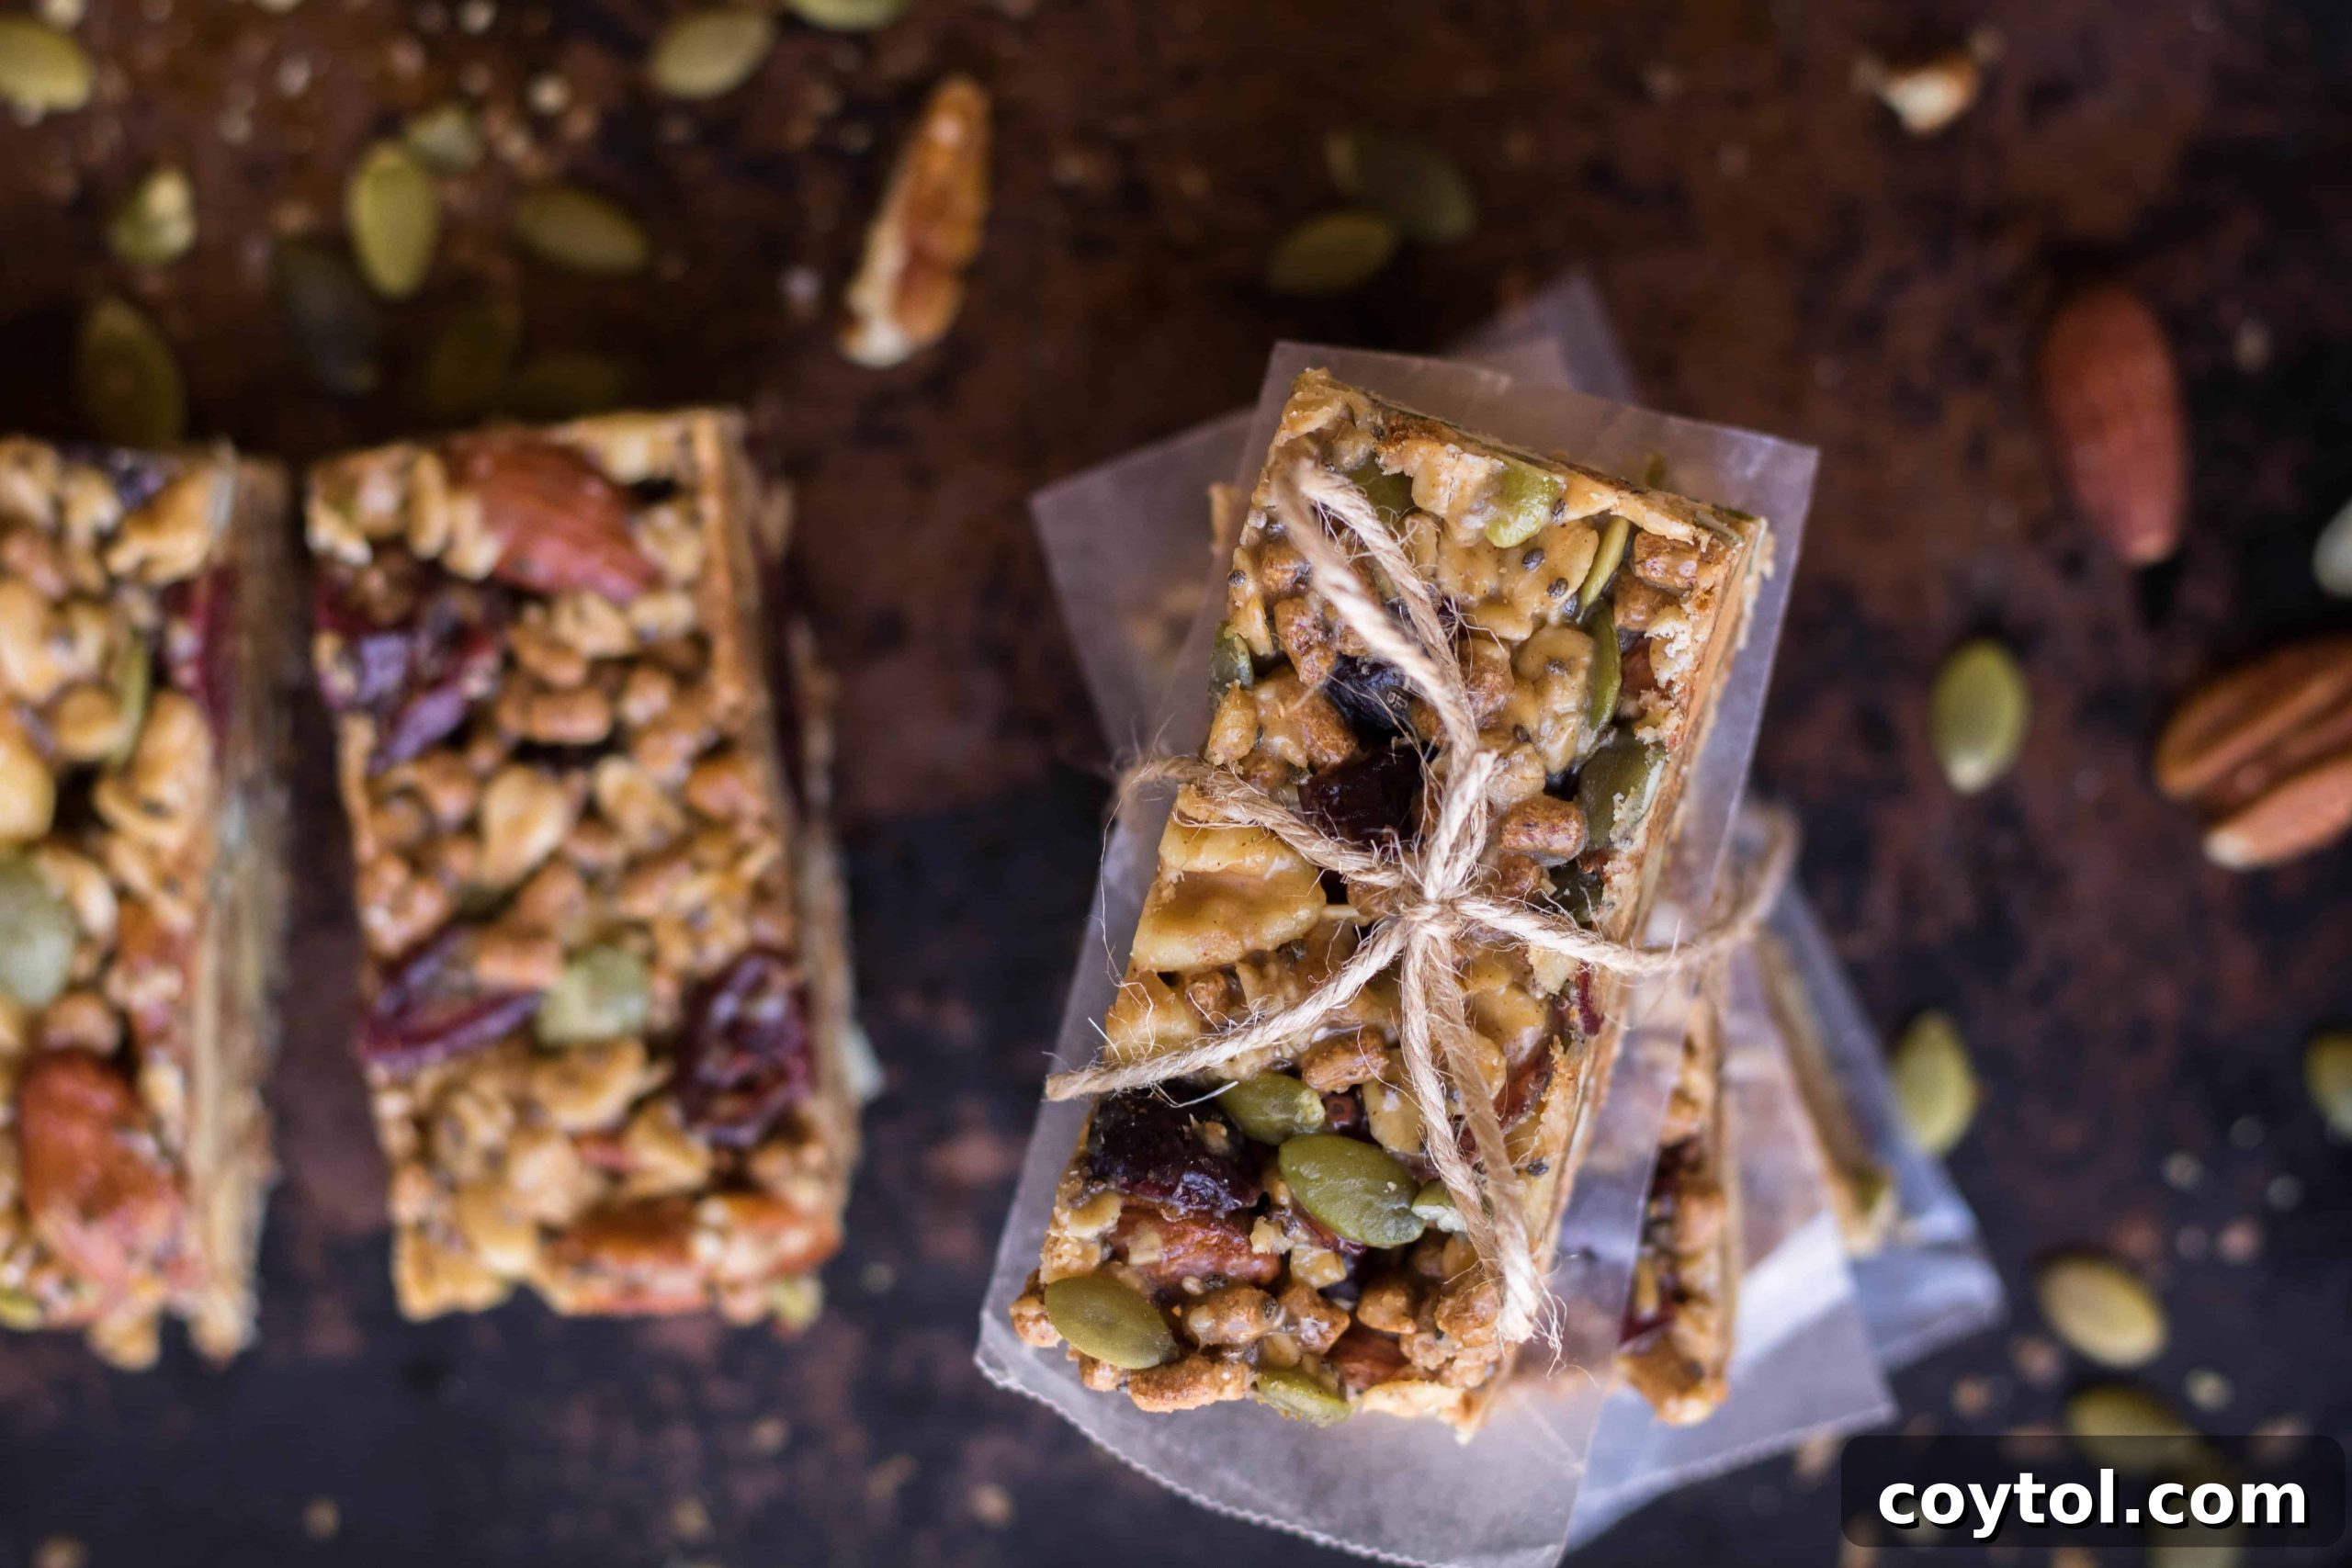
The Irresistible Charm of These Energy Bars
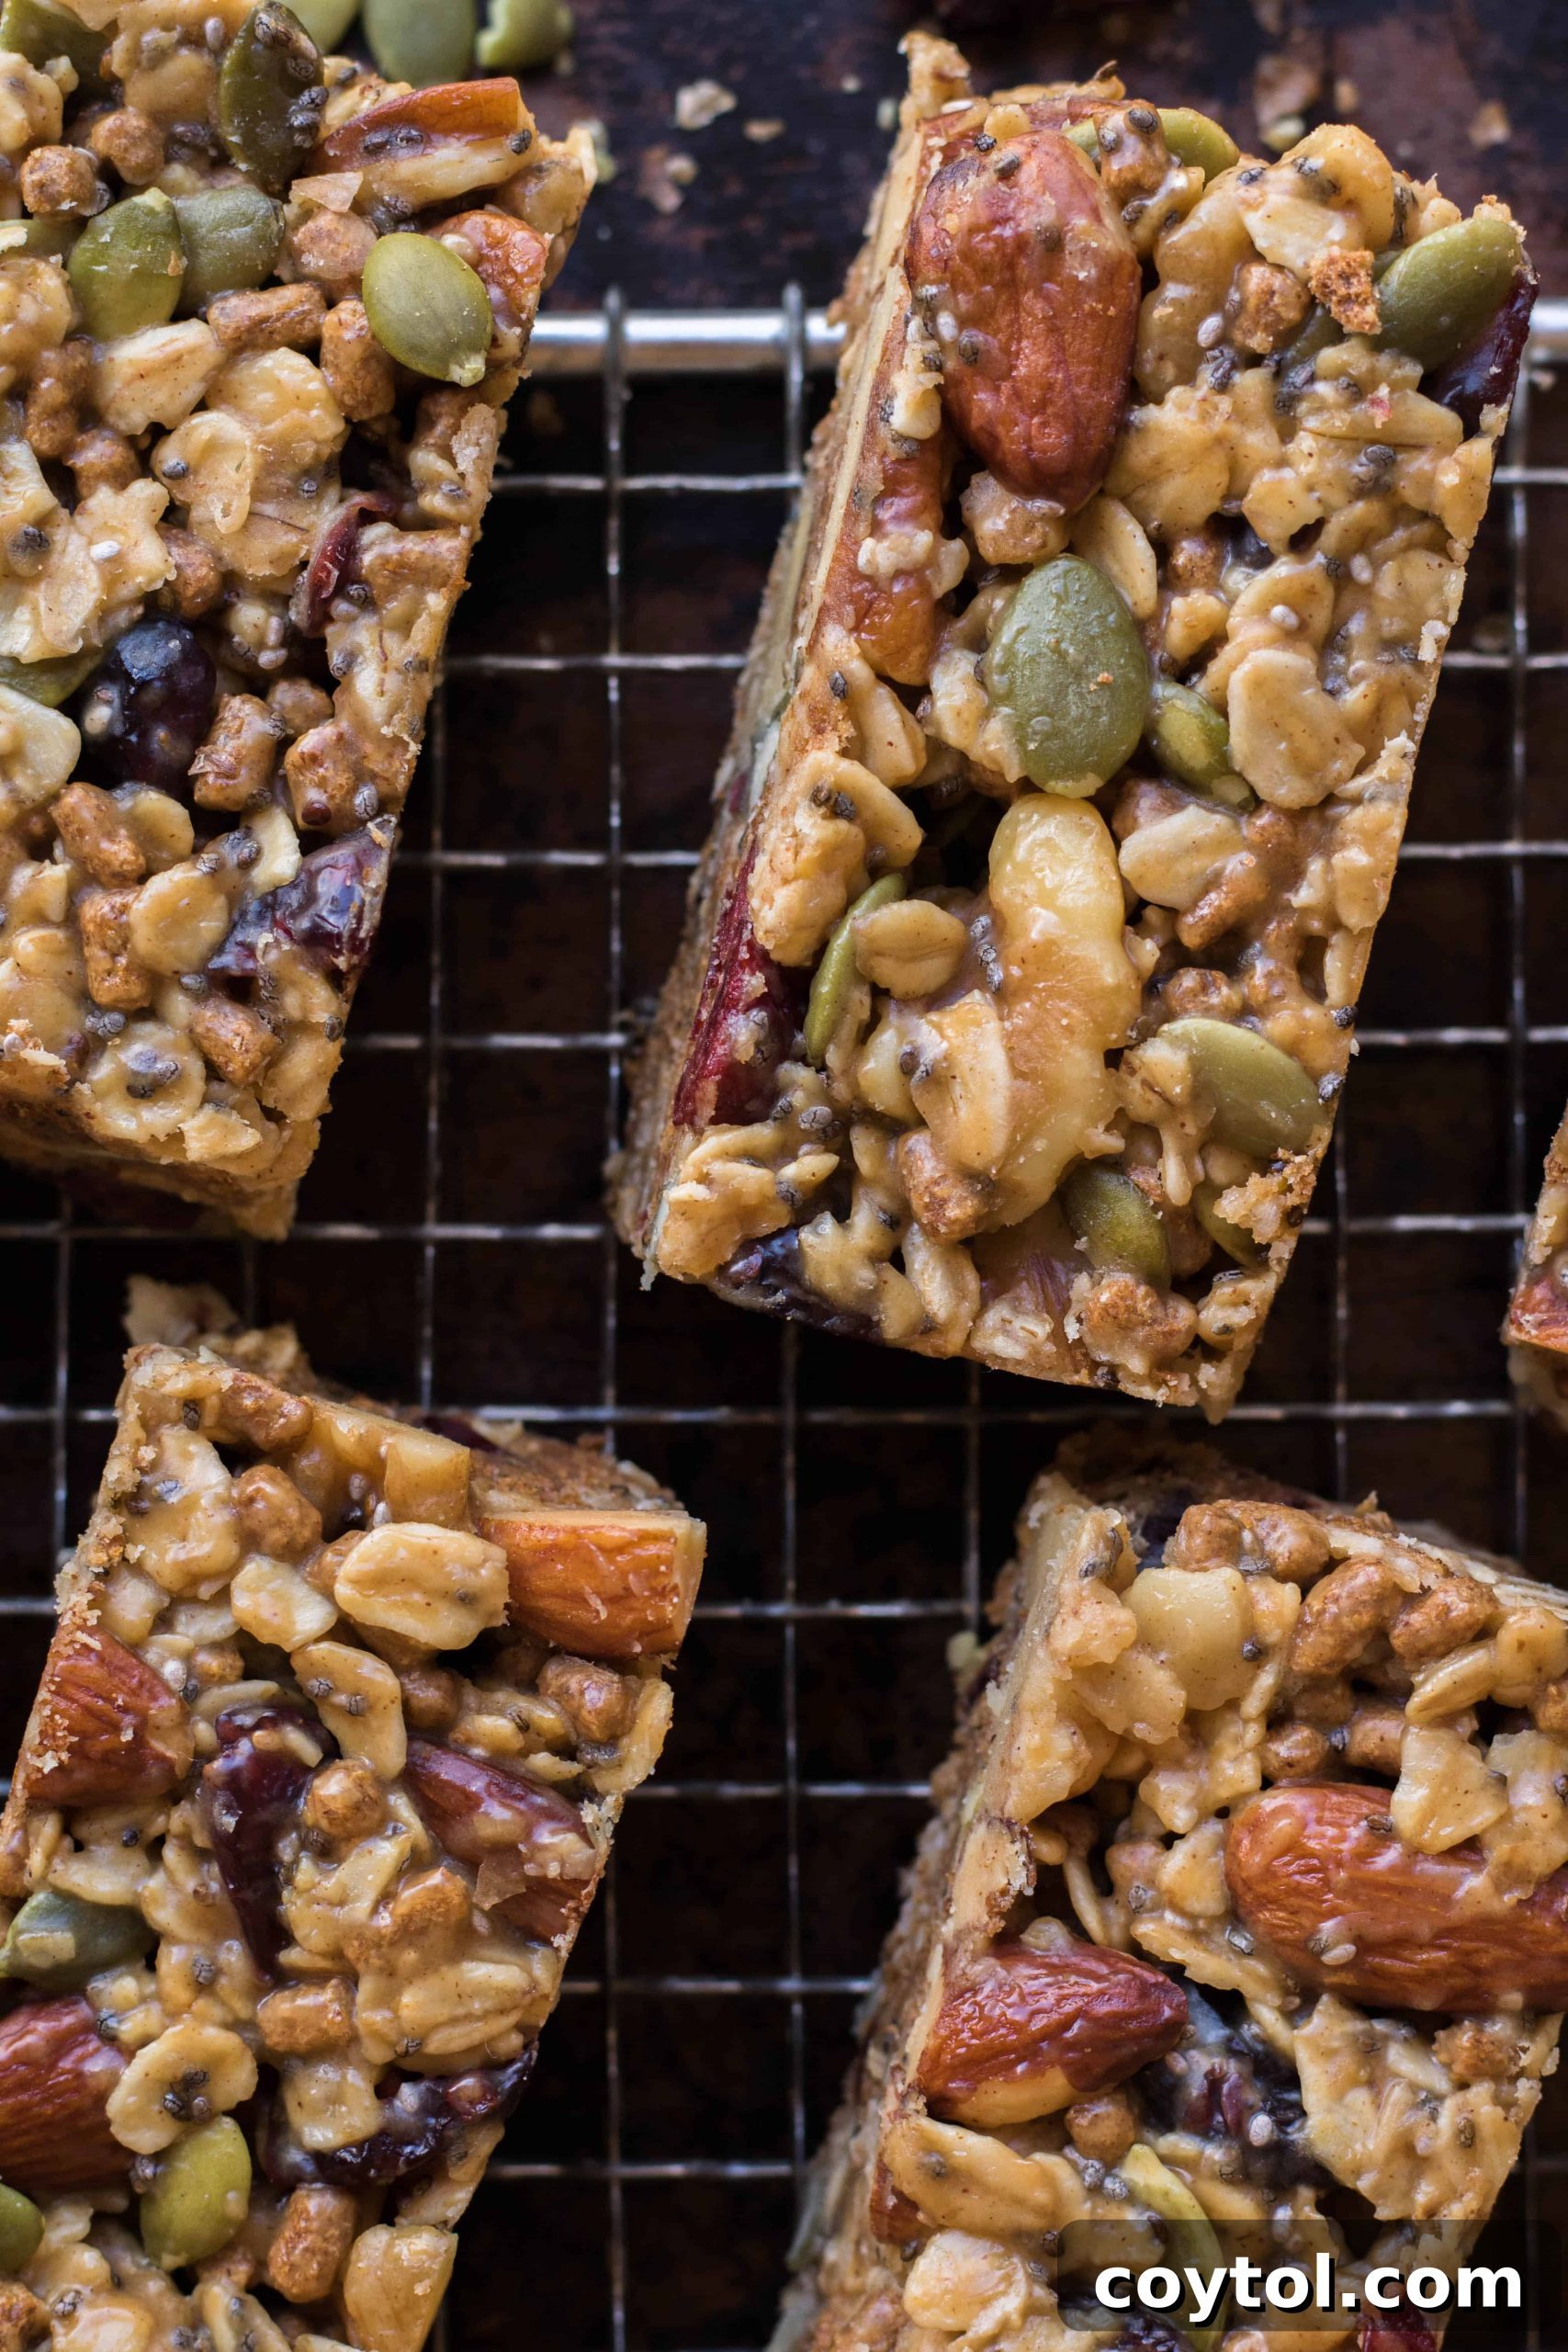
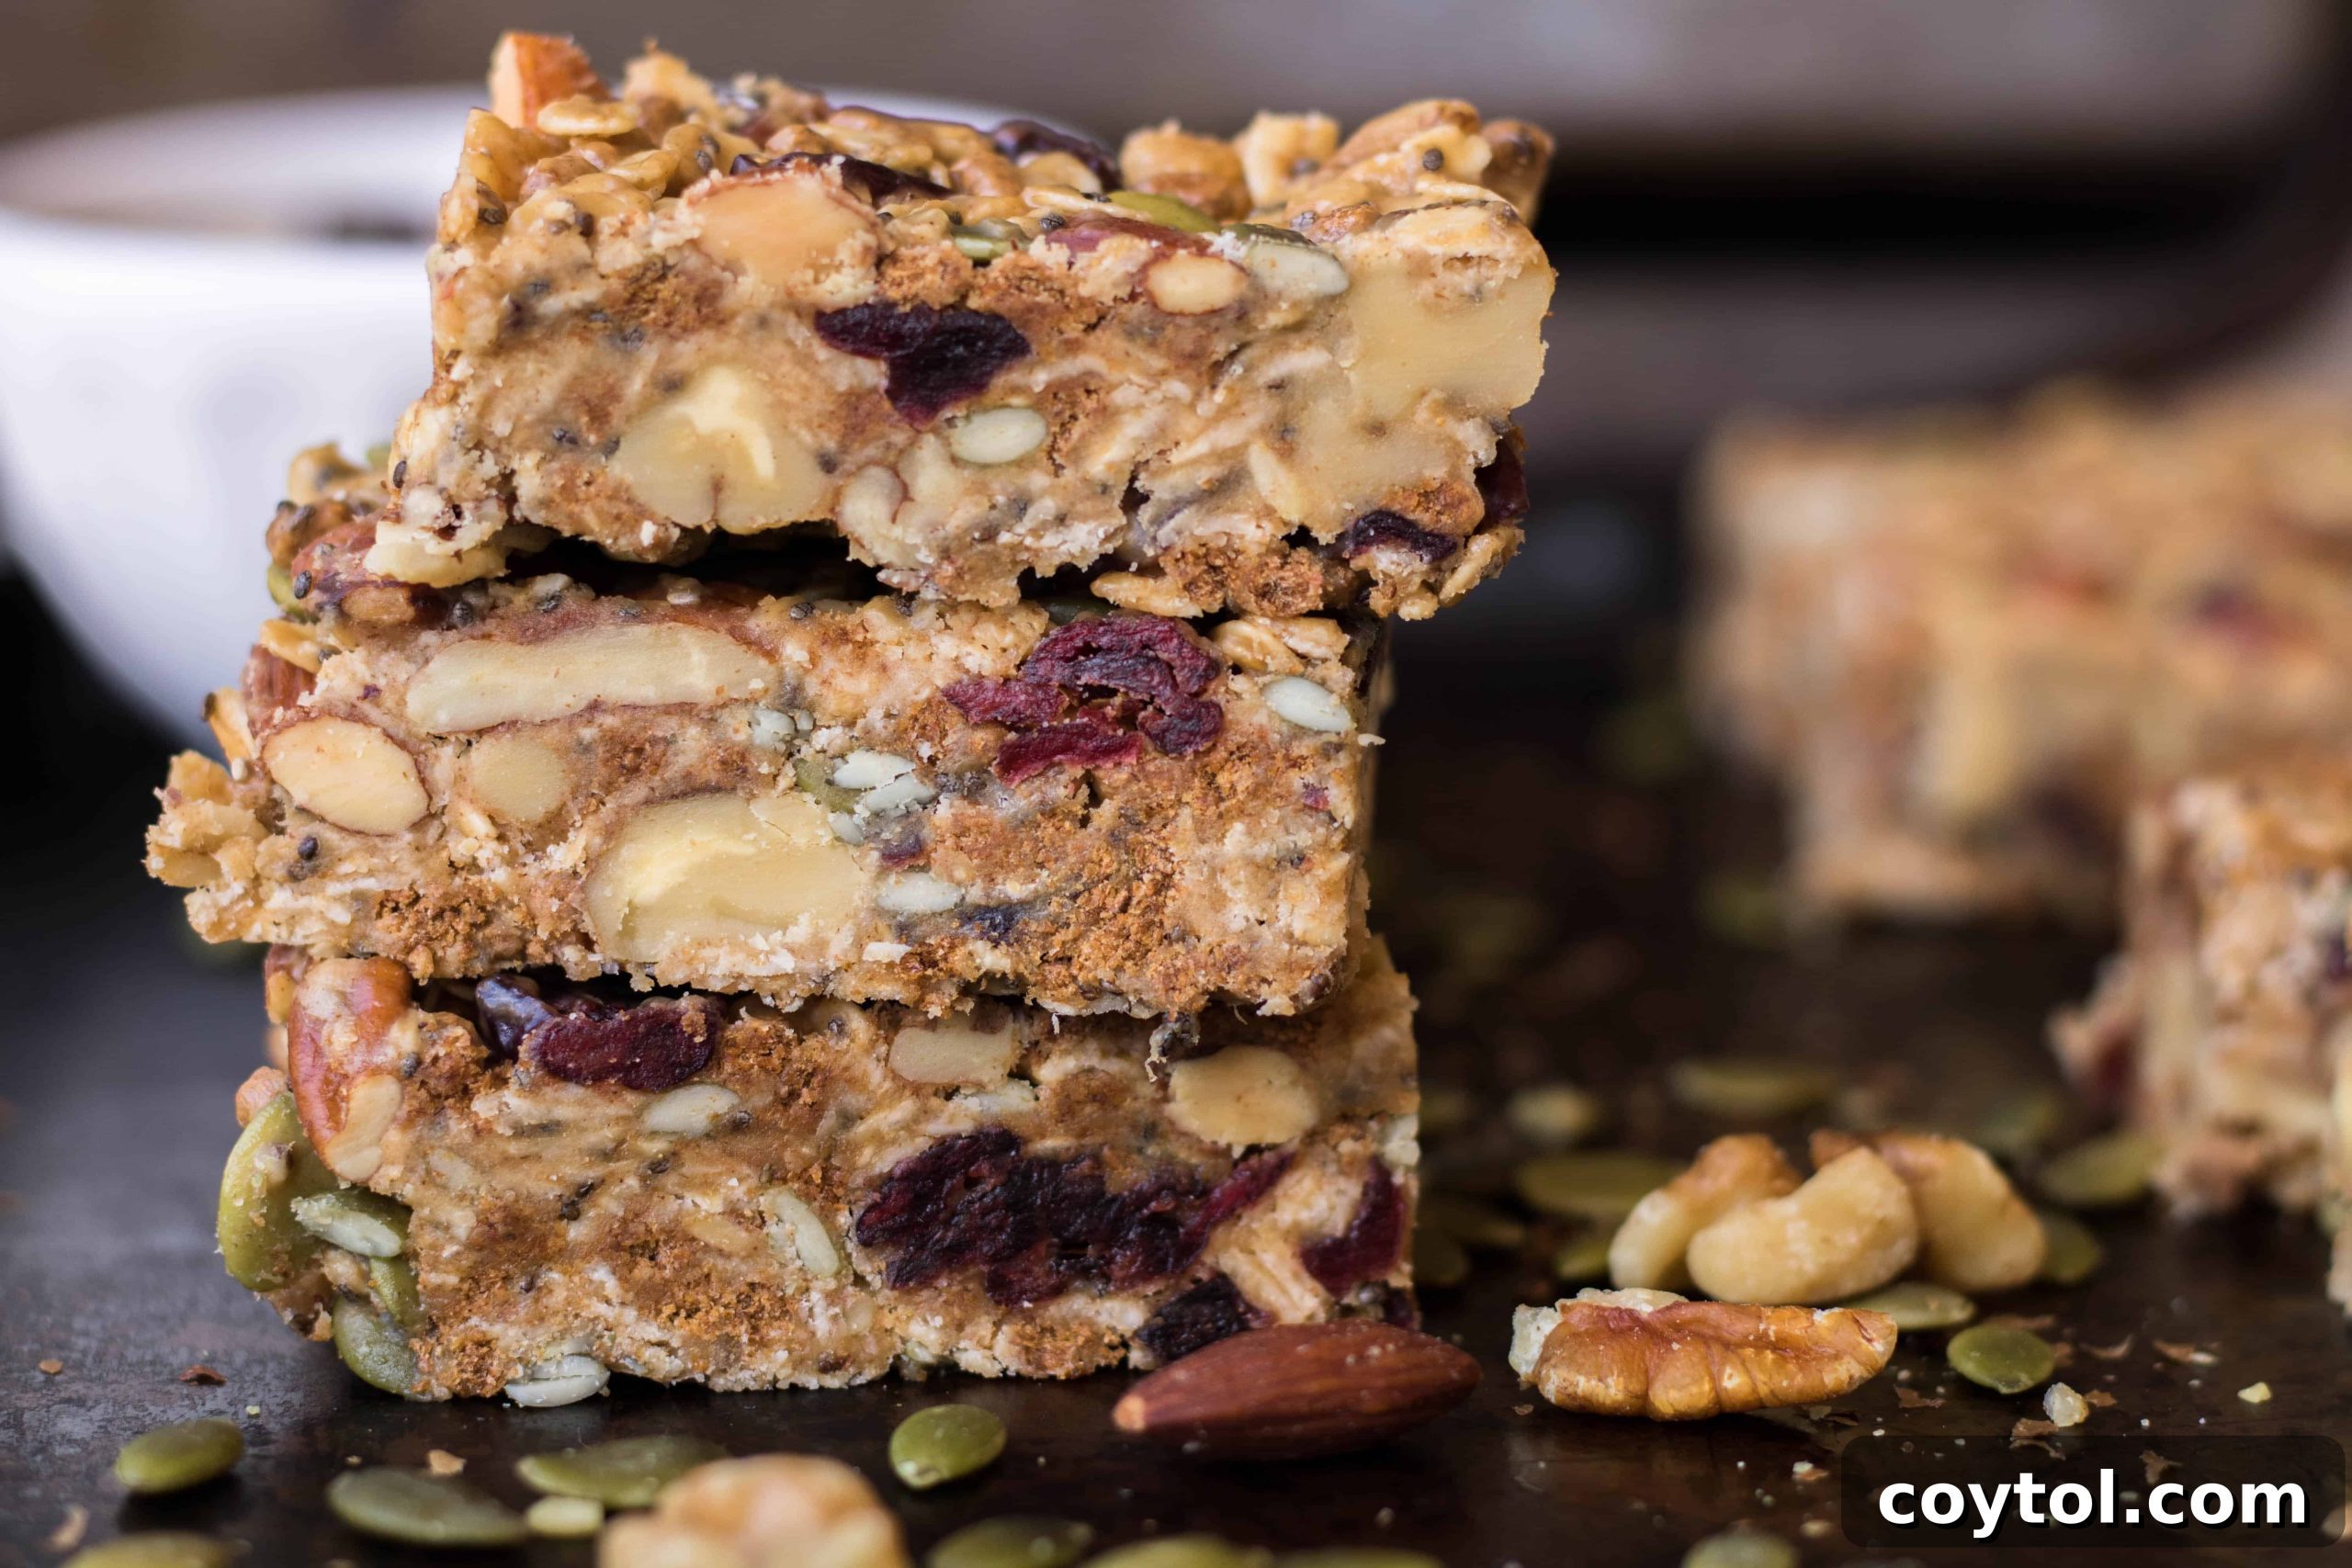
What makes these trail mix granola energy bars so incredibly special? Quite simply, everything! They deliver an absolutely perfect balance of sweet, salty, crispy, chewy, nutty, and even a hint of tartness in every single bite. When I first embarked on developing this recipe, I had a very specific flavor and texture profile in mind. Through careful experimentation and balancing each component, I managed to achieve exactly what I envisioned – a truly harmonious and incredibly satisfying snack.
Beyond their amazing taste, these healthy granola bars are genuinely good for you. They are brimming with essential nutrients, including beneficial Omega-3 fatty acids, healthy fats, and dietary fiber, all of which contribute to satiety. This means they’ll keep you feeling full and energized, helping to prevent those dreaded mid-morning or afternoon hunger pangs that can lead to unhealthy snacking. They’re not just a delicious treat; they’re a smart nutritional choice.
These bars are the epitome of a versatile snack. Whether you need a quick grab-and-go option for your busy schedule, a nutritious pre-workout boost, or a satisfying post-workout recovery treat, they fit the bill perfectly. I personally love tossing one into my gym bag to enjoy after my workout; it feels like a well-deserved reward every single time. Their dense, wholesome nature makes them a satisfying fuel source, ensuring you stay energized throughout your day without experiencing a sugar crash.
More Wholesome & Delicious Recipes You’ll Love!
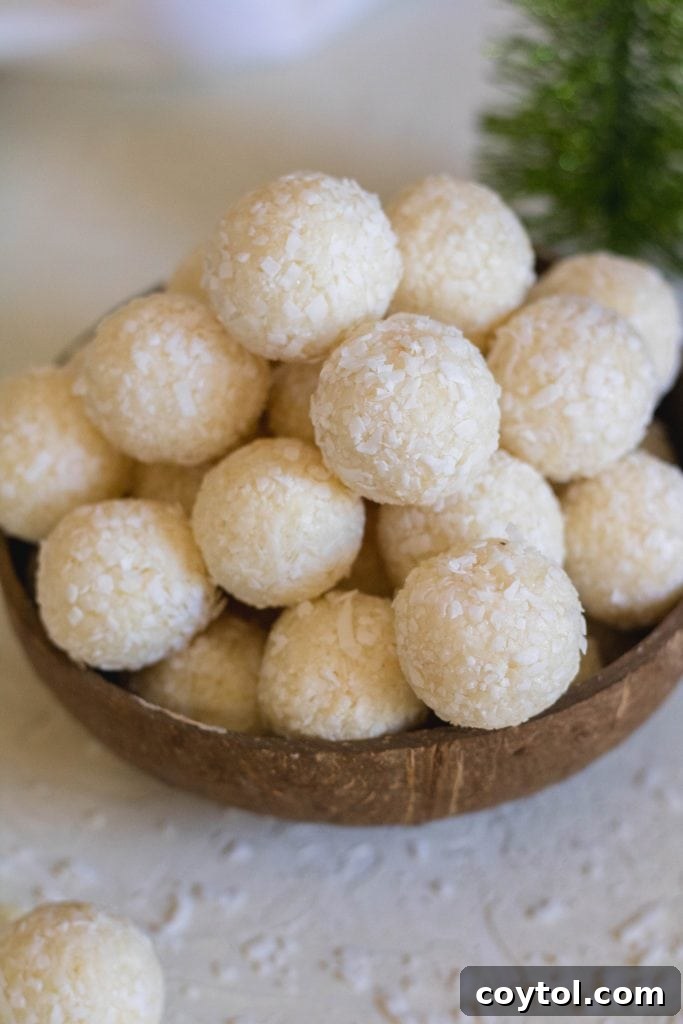
- Easy 2-Ingredient No-Bake Coconut Balls
- Healthy Cookie Dough Chocolate Balls
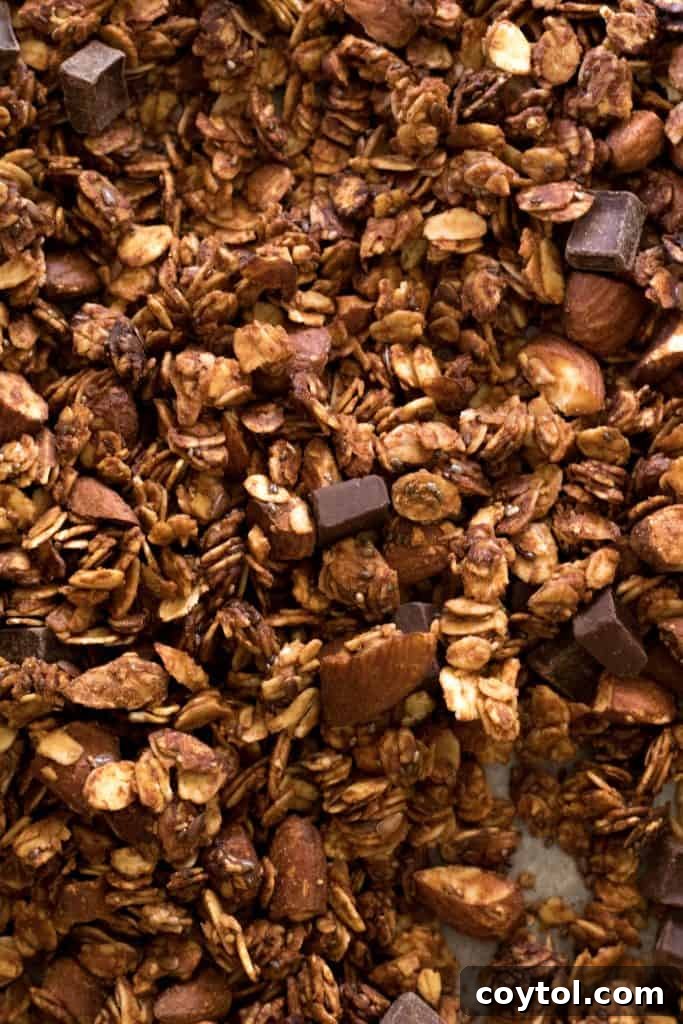
- Decadent Double Chocolate Healthy Granola

Essential Tools for Crafting Your Trail Mix Energy Bars
To whip up this fantastic recipe for delicious and healthy energy bars, you’ll need just a few basic kitchen tools. These items will make the process smooth and straightforward, ensuring perfect results every time:
- A small and a large bowl: For combining your wet and dry ingredients separately before bringing them together.
- Wax paper or parchment paper: Absolutely crucial for lining your baking pan. This prevents sticking and makes for effortless removal and cleanup of your energy bars.
- A rubber spatula: Perfect for mixing the ingredients thoroughly and, more importantly, for pressing the mixture firmly and evenly into the pan.
- A 9×9 inch baking pan or similar square pan: The ideal size for achieving bars of medium thickness and generous portions.
Choosing the Right Pan: Does Size Matter?
While I primarily use a 9×9-inch baking pan for these trail mix bars, and they consistently come out perfectly proportioned, you certainly have flexibility with your pan choice. Understanding how different pan sizes impact the final product can help you customize your bars to your preference.
If you opt for an 8×8-inch pan, your bars will be noticeably thicker and more substantial. There’s absolutely nothing wrong with that – it just means a little extra deliciousness in each serving! They might not yield as many bars, but each piece will be a satisfyingly hearty bite. Rest assured, they will still be incredibly tasty and deliver all the wholesome goodness you’re looking for.
Conversely, I’ve also successfully made this recipe in a larger 9×13-inch pan. Using a larger pan will result in a greater quantity of bars, but they will be thinner. This is a great option if you prefer a lighter snack, or if you’re making a big batch for a party or meal prep throughout the week. Just something to keep in mind when deciding on your pan; each size offers a slightly different experience, all equally delicious!
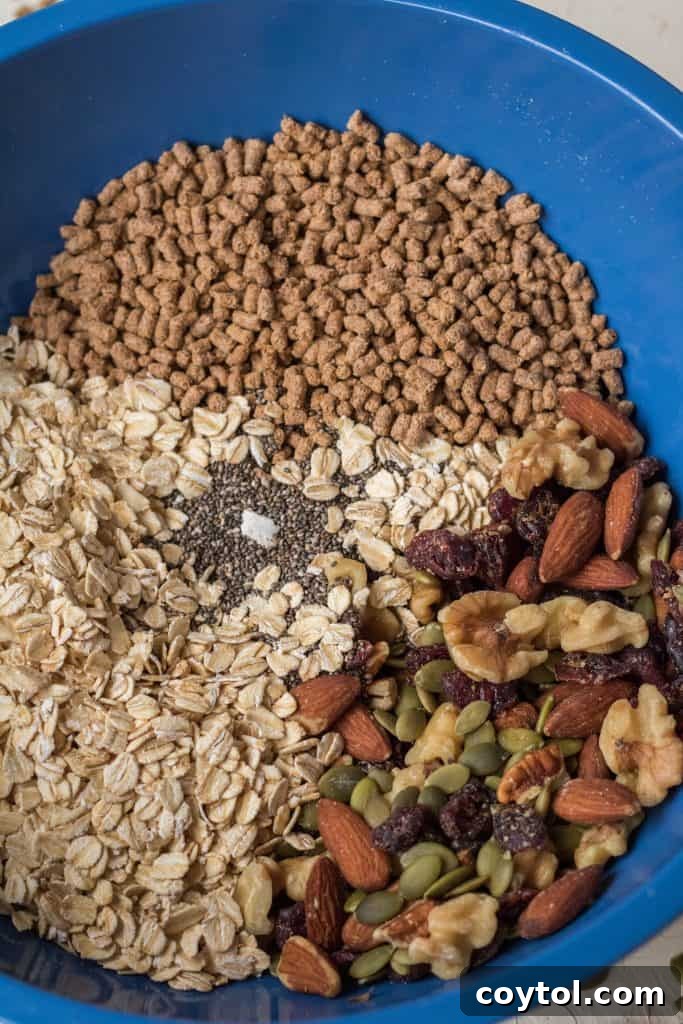
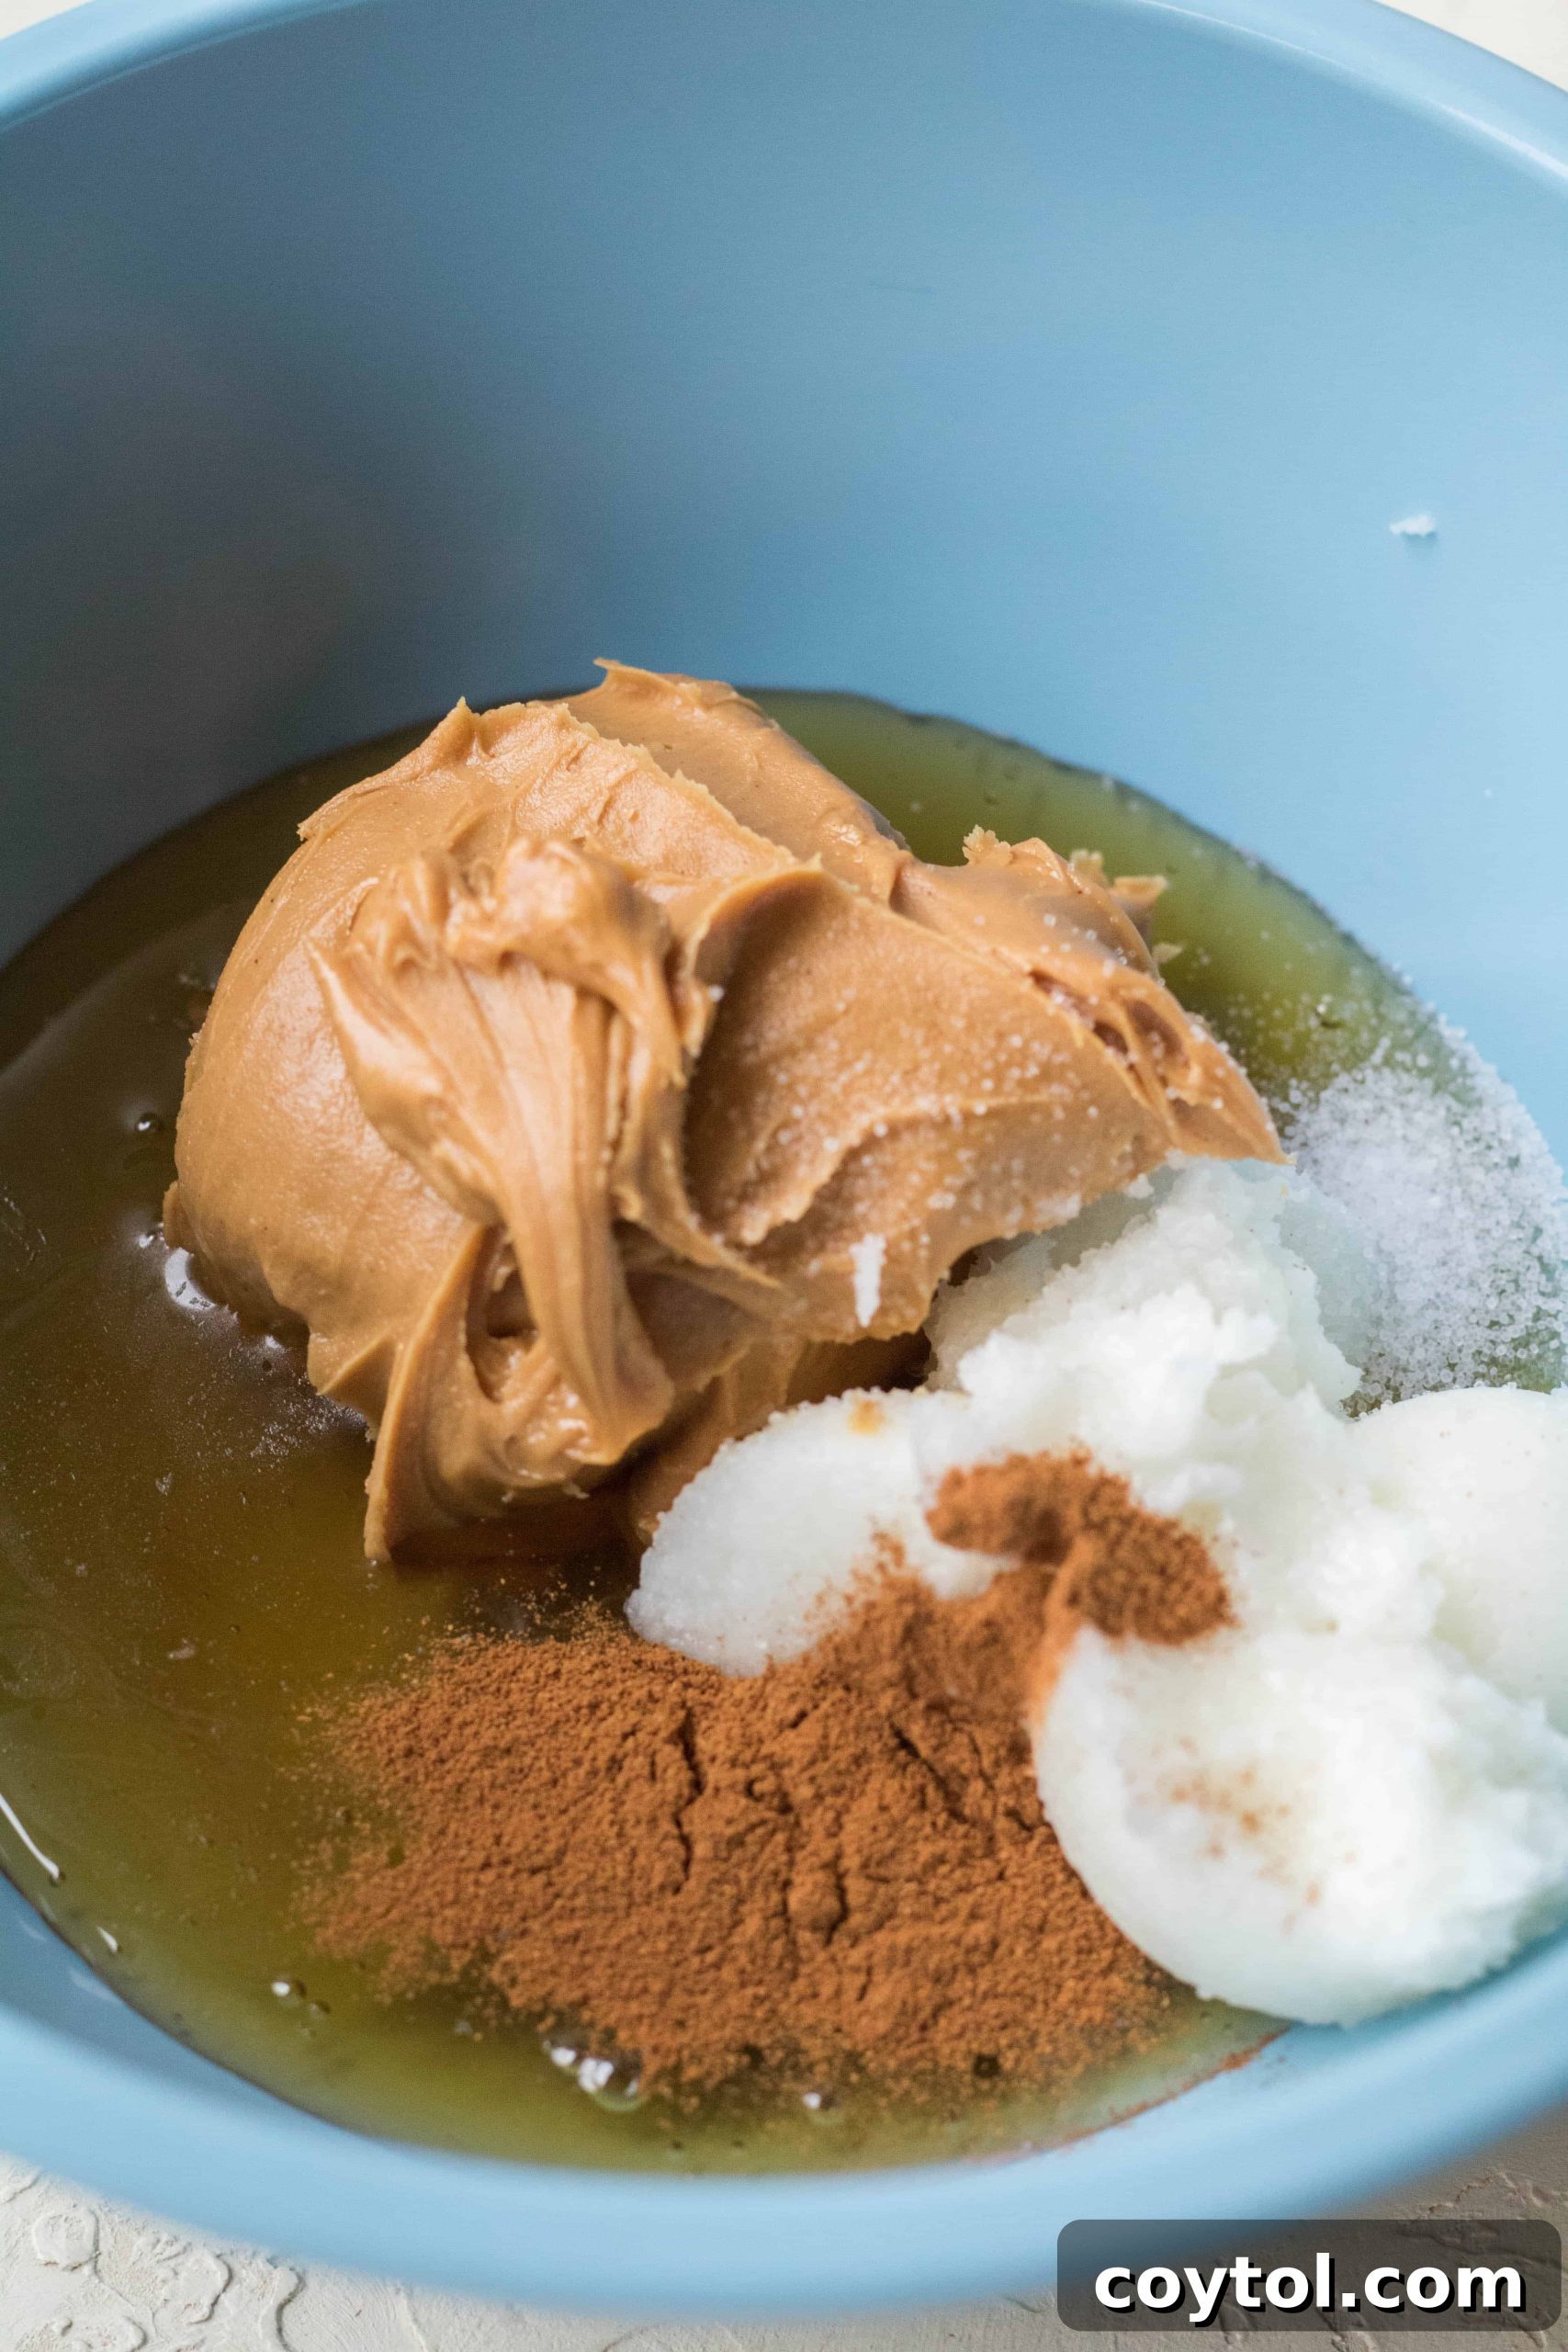
Wholesome Ingredients for Your Trail Mix Energy Bars
The magic of these trail mix energy bars lies in their simple yet powerful ingredient list. Each component plays a crucial role in delivering both flavor and fantastic nutritional benefits. Here’s a breakdown of what you’ll need, along with why each ingredient is a star:
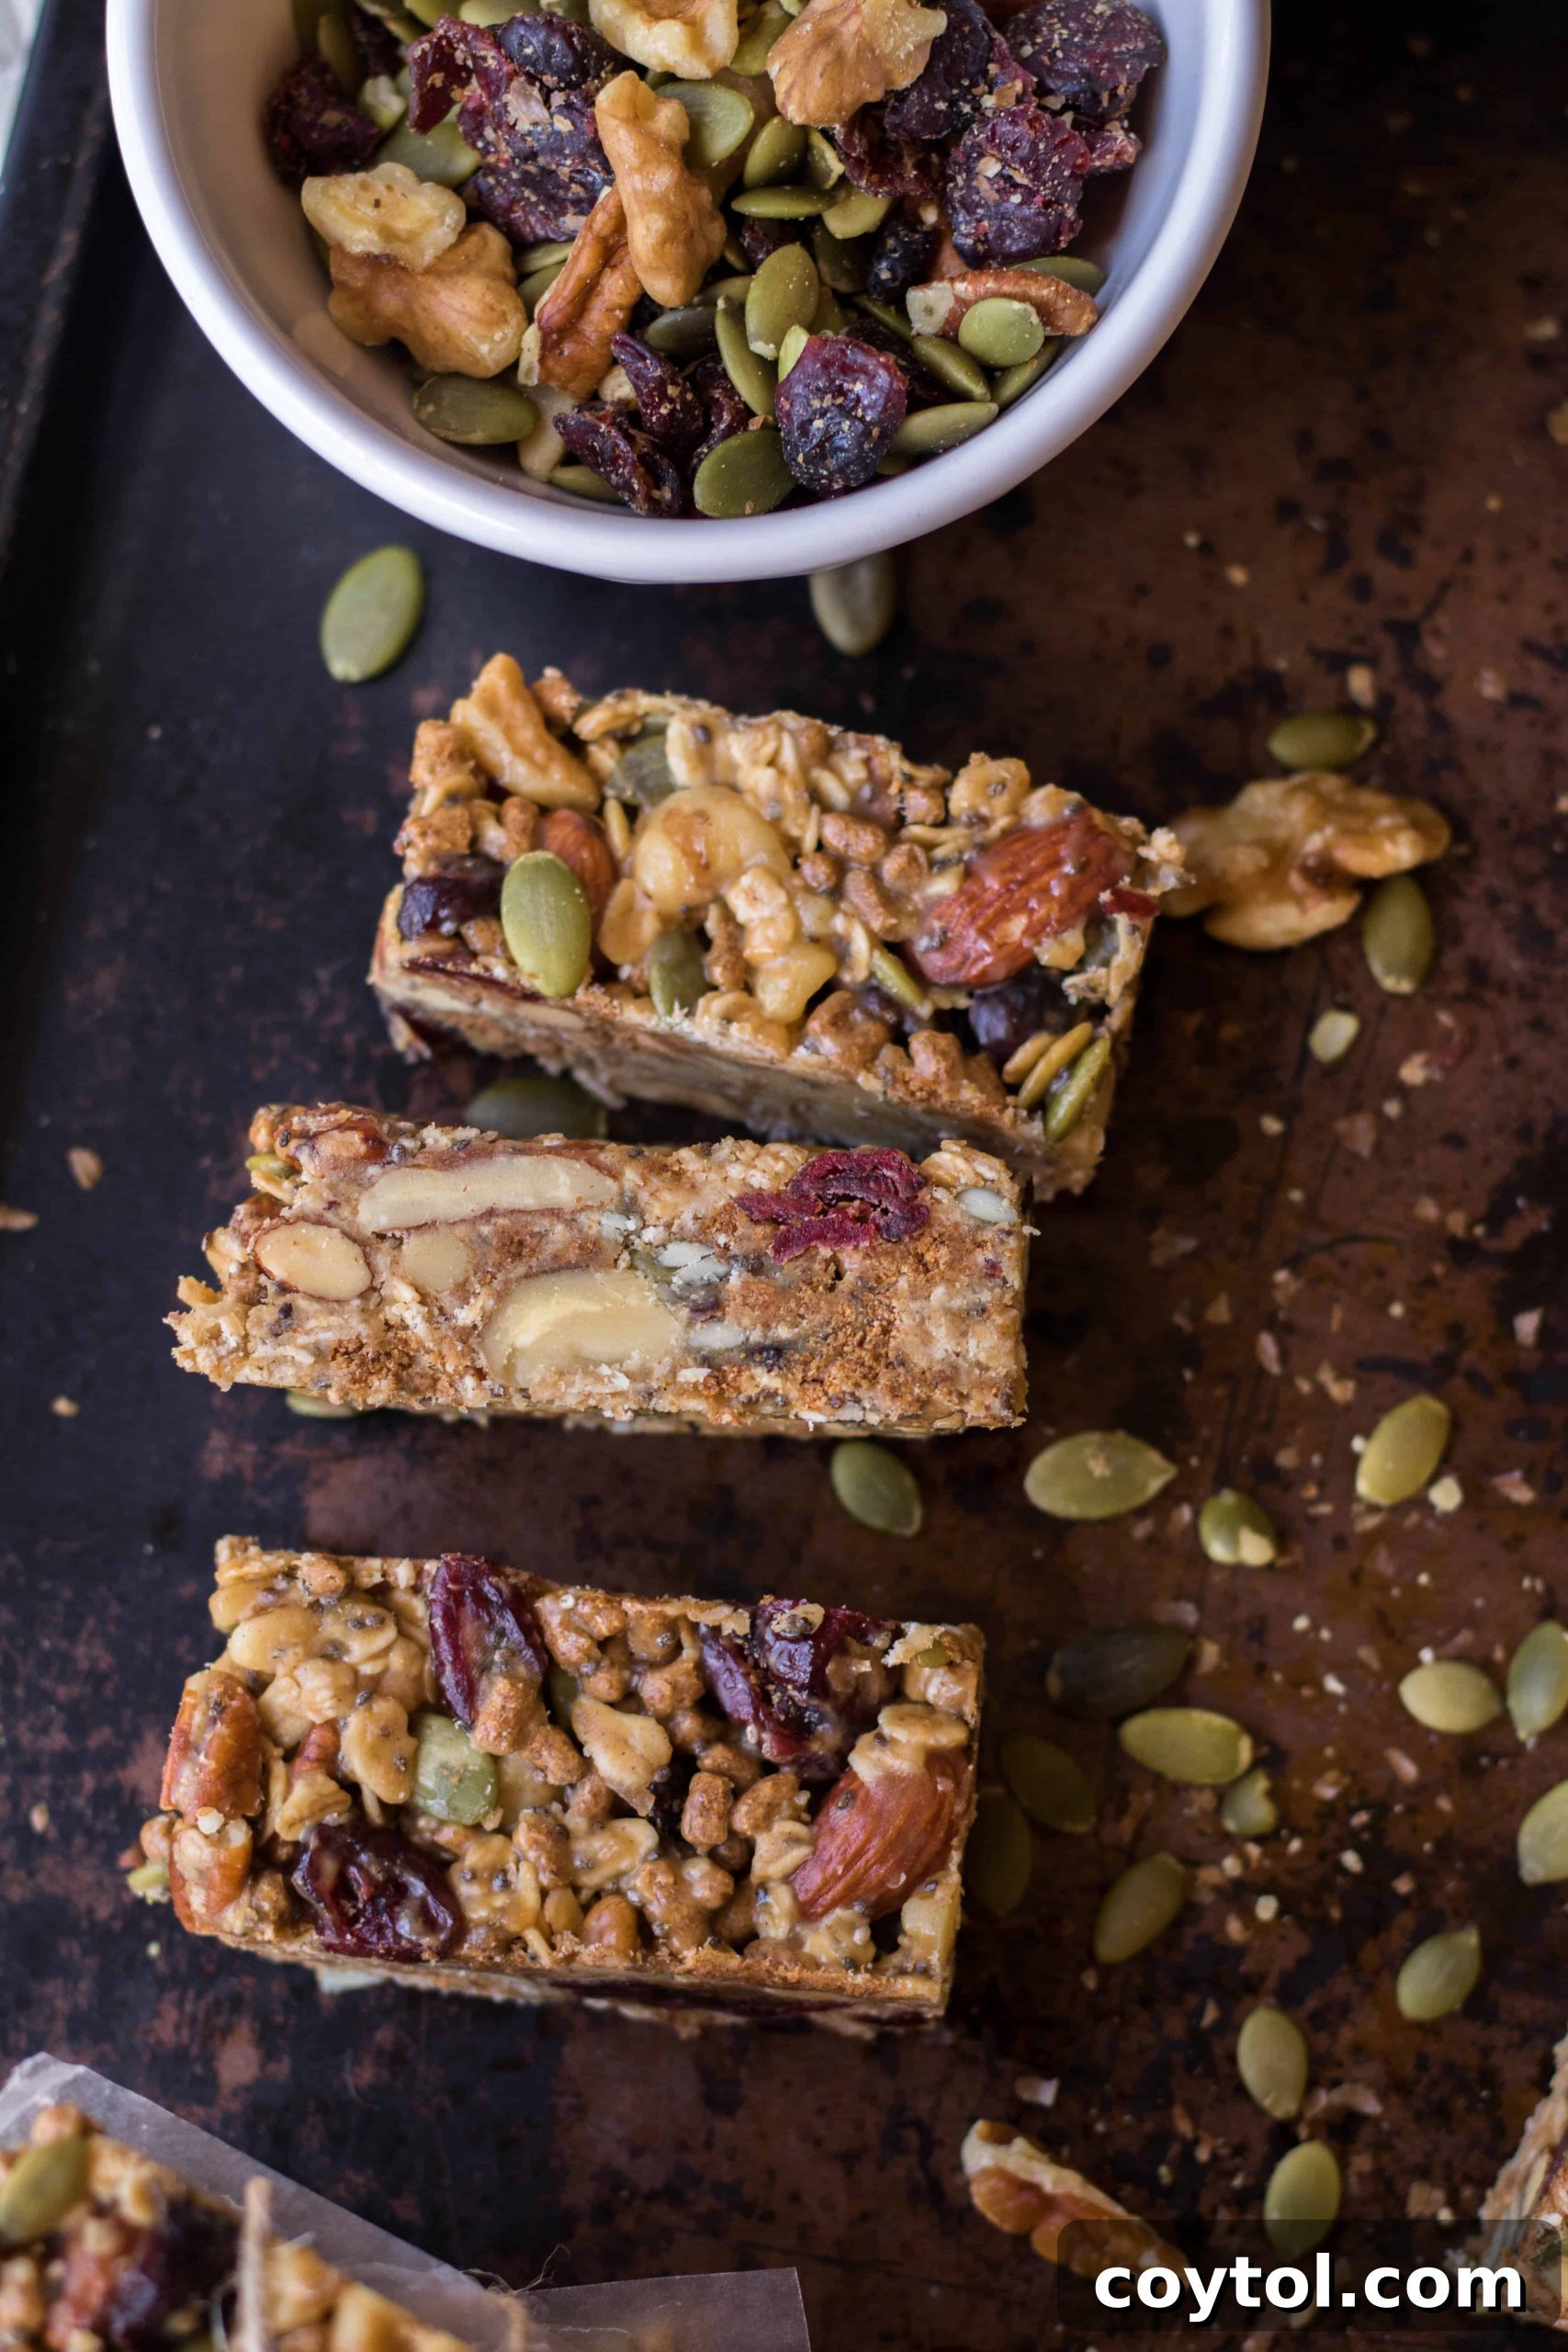
- Trail Mix: This is the heart of our bars! While I used an Omega-3 rich trail mix from Walmart for its blend of nuts, seeds, and cranberries, feel free to use your favorite blend. It provides a fantastic variety of textures and nutrients.
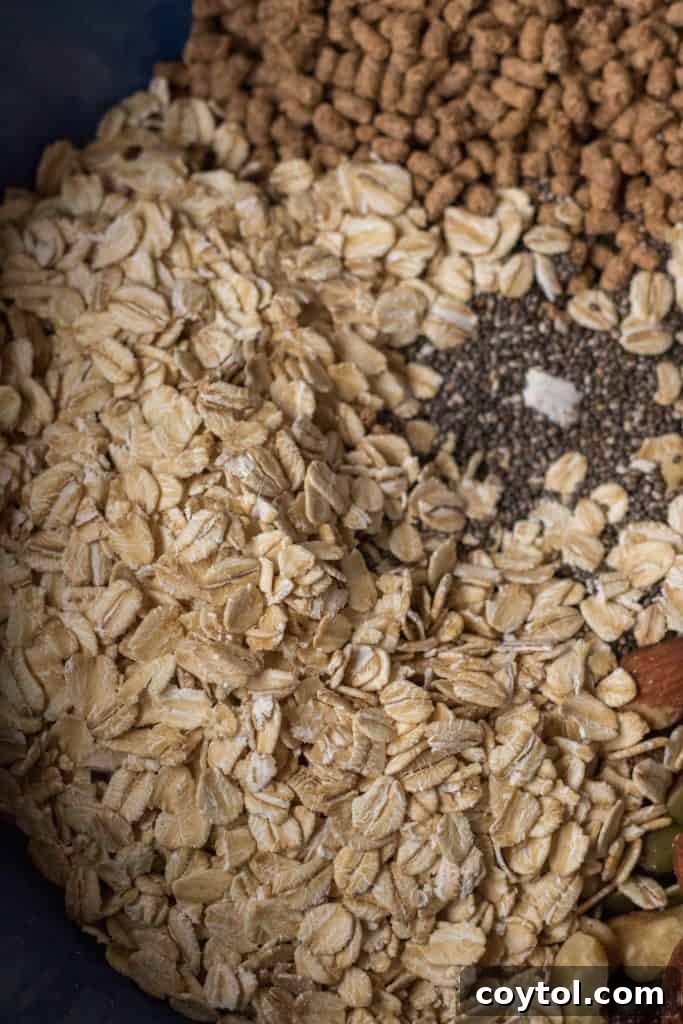
- Old Fashioned Oats: A classic for energy bars, oats contribute vital fiber, a satisfying chewiness, and sustained energy release. They are a complex carbohydrate that keeps you full longer.
- All-Bran Cereal: I specifically use Kellogg’s All-Bran for its incredible crunch, which adds an extra layer of texture that elevates these energy bars. It also significantly boosts the fiber content.
- Chia Seeds: As if the trail mix wasn’t enough, we’re doubling down on the Omega-3s! Chia seeds are a nutritional powerhouse, rich in fiber, protein, and healthy fats, further boosting the nutritional value and aiding in binding the bars together.
- Peanut Butter: I highly recommend using a conventional, creamy peanut butter like Skippy for this recipe, as its consistency helps the bars solidify beautifully. If you experiment with natural peanut butter, which can be runnier, please let me know your results in the comments!
- Honey: Use a good quality, preferably raw, honey. It acts as a natural sweetener and, crucially, as a binder that helps hold all the ingredients together without baking.
- Coconut Oil: This is key for achieving the perfect texture and helping the energy bars solidify properly when chilled. It also adds a subtle, pleasant flavor.
- Vanilla Extract: A touch of vanilla elevates the overall flavor profile, adding a warm, aromatic depth that makes these bars even more irresistible.
- Cinnamon: The warm, earthy notes of cinnamon beautifully complement the nuts and dried fruits in the trail mix, creating a truly harmonious flavor combination that is pure heaven.
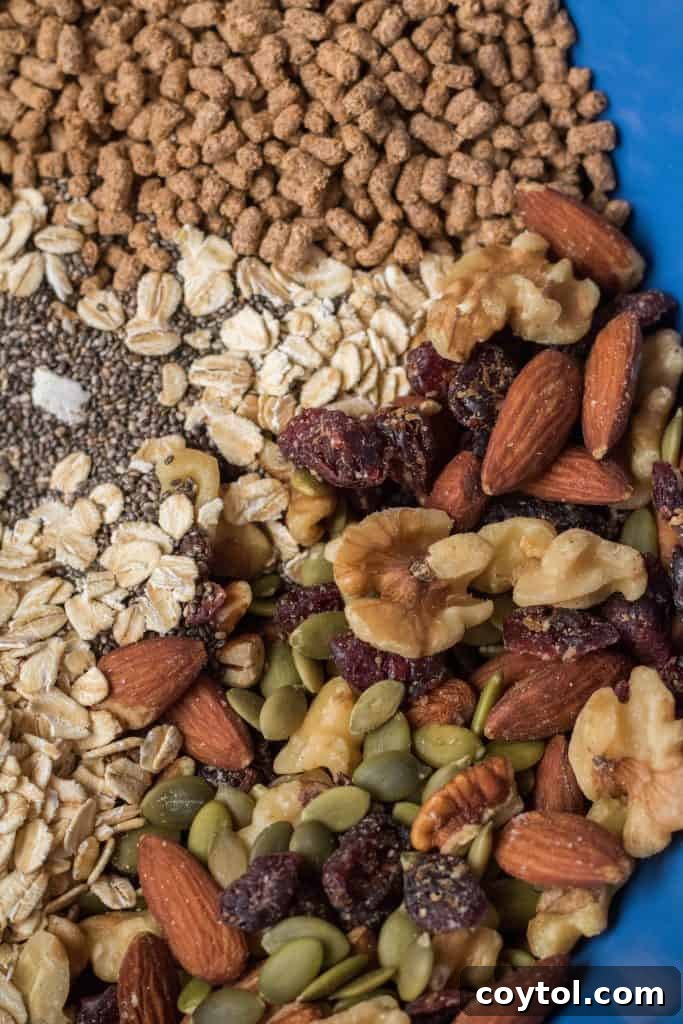
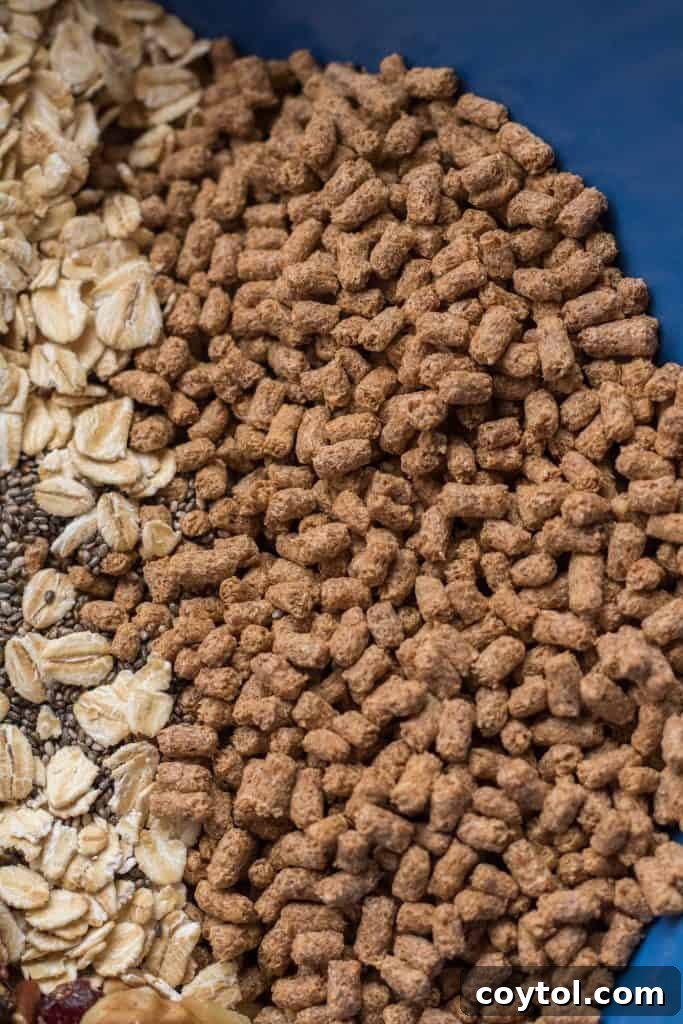
Understanding Your Trail Mix: What to Look For
The beauty of these energy bars lies in their adaptability, especially when it comes to the trail mix itself. The specific mix I used for this recipe was an Omega-3 blend, which typically contains a fantastic combination of:
- Cranberries: Offering a tart chewiness and a burst of antioxidants.
- Almonds: For healthy fats, protein, and a satisfying crunch.
- Pecans: Contributing a rich, buttery flavor and more healthy fats.
- Walnuts: Another excellent source of Omega-3s and a distinct earthy taste.
- Brazil Nuts: Known for their unique flavor and selenium content.
- Pumpkin Seeds: Providing a boost of protein, magnesium, and a pleasant texture.
However, your trail mix absolutely does not need to be an exact match to mine. This is where you can truly have fun and personalize your bars! Feel free to choose any trail mix that you personally enjoy. Whether it features tropical fruits like mango and pineapple, an abundance of different seeds, or your favorite blend of nuts, the possibilities are endless. The key is to select a mix that brings a smile to your face, making these energy bars uniquely your own delicious creation!
Simple Steps to Make These Trail Mix Energy Bars
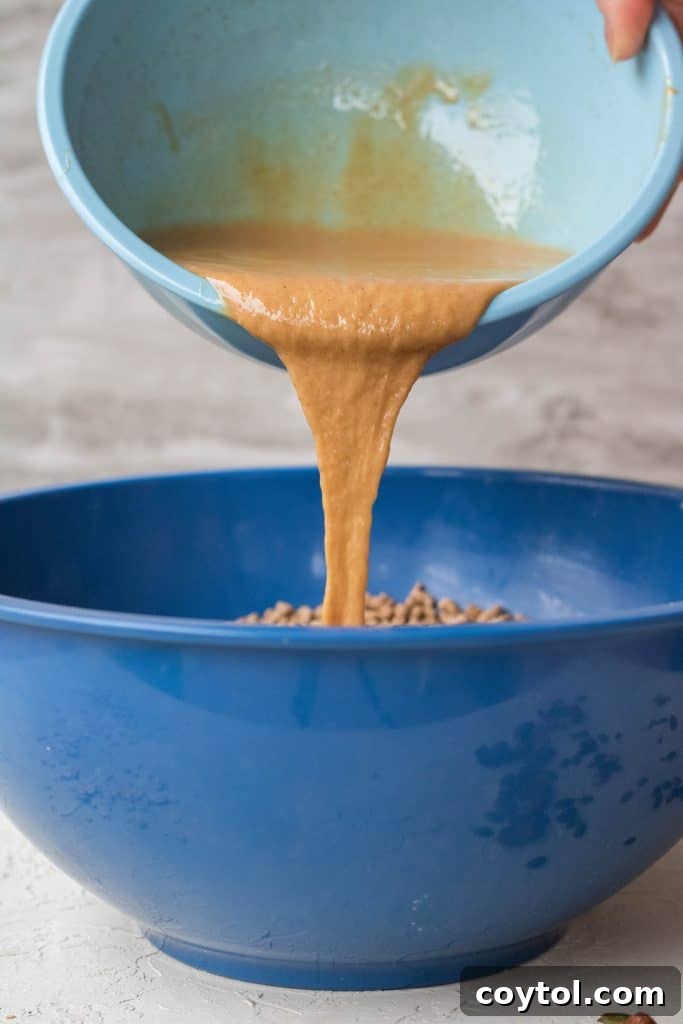
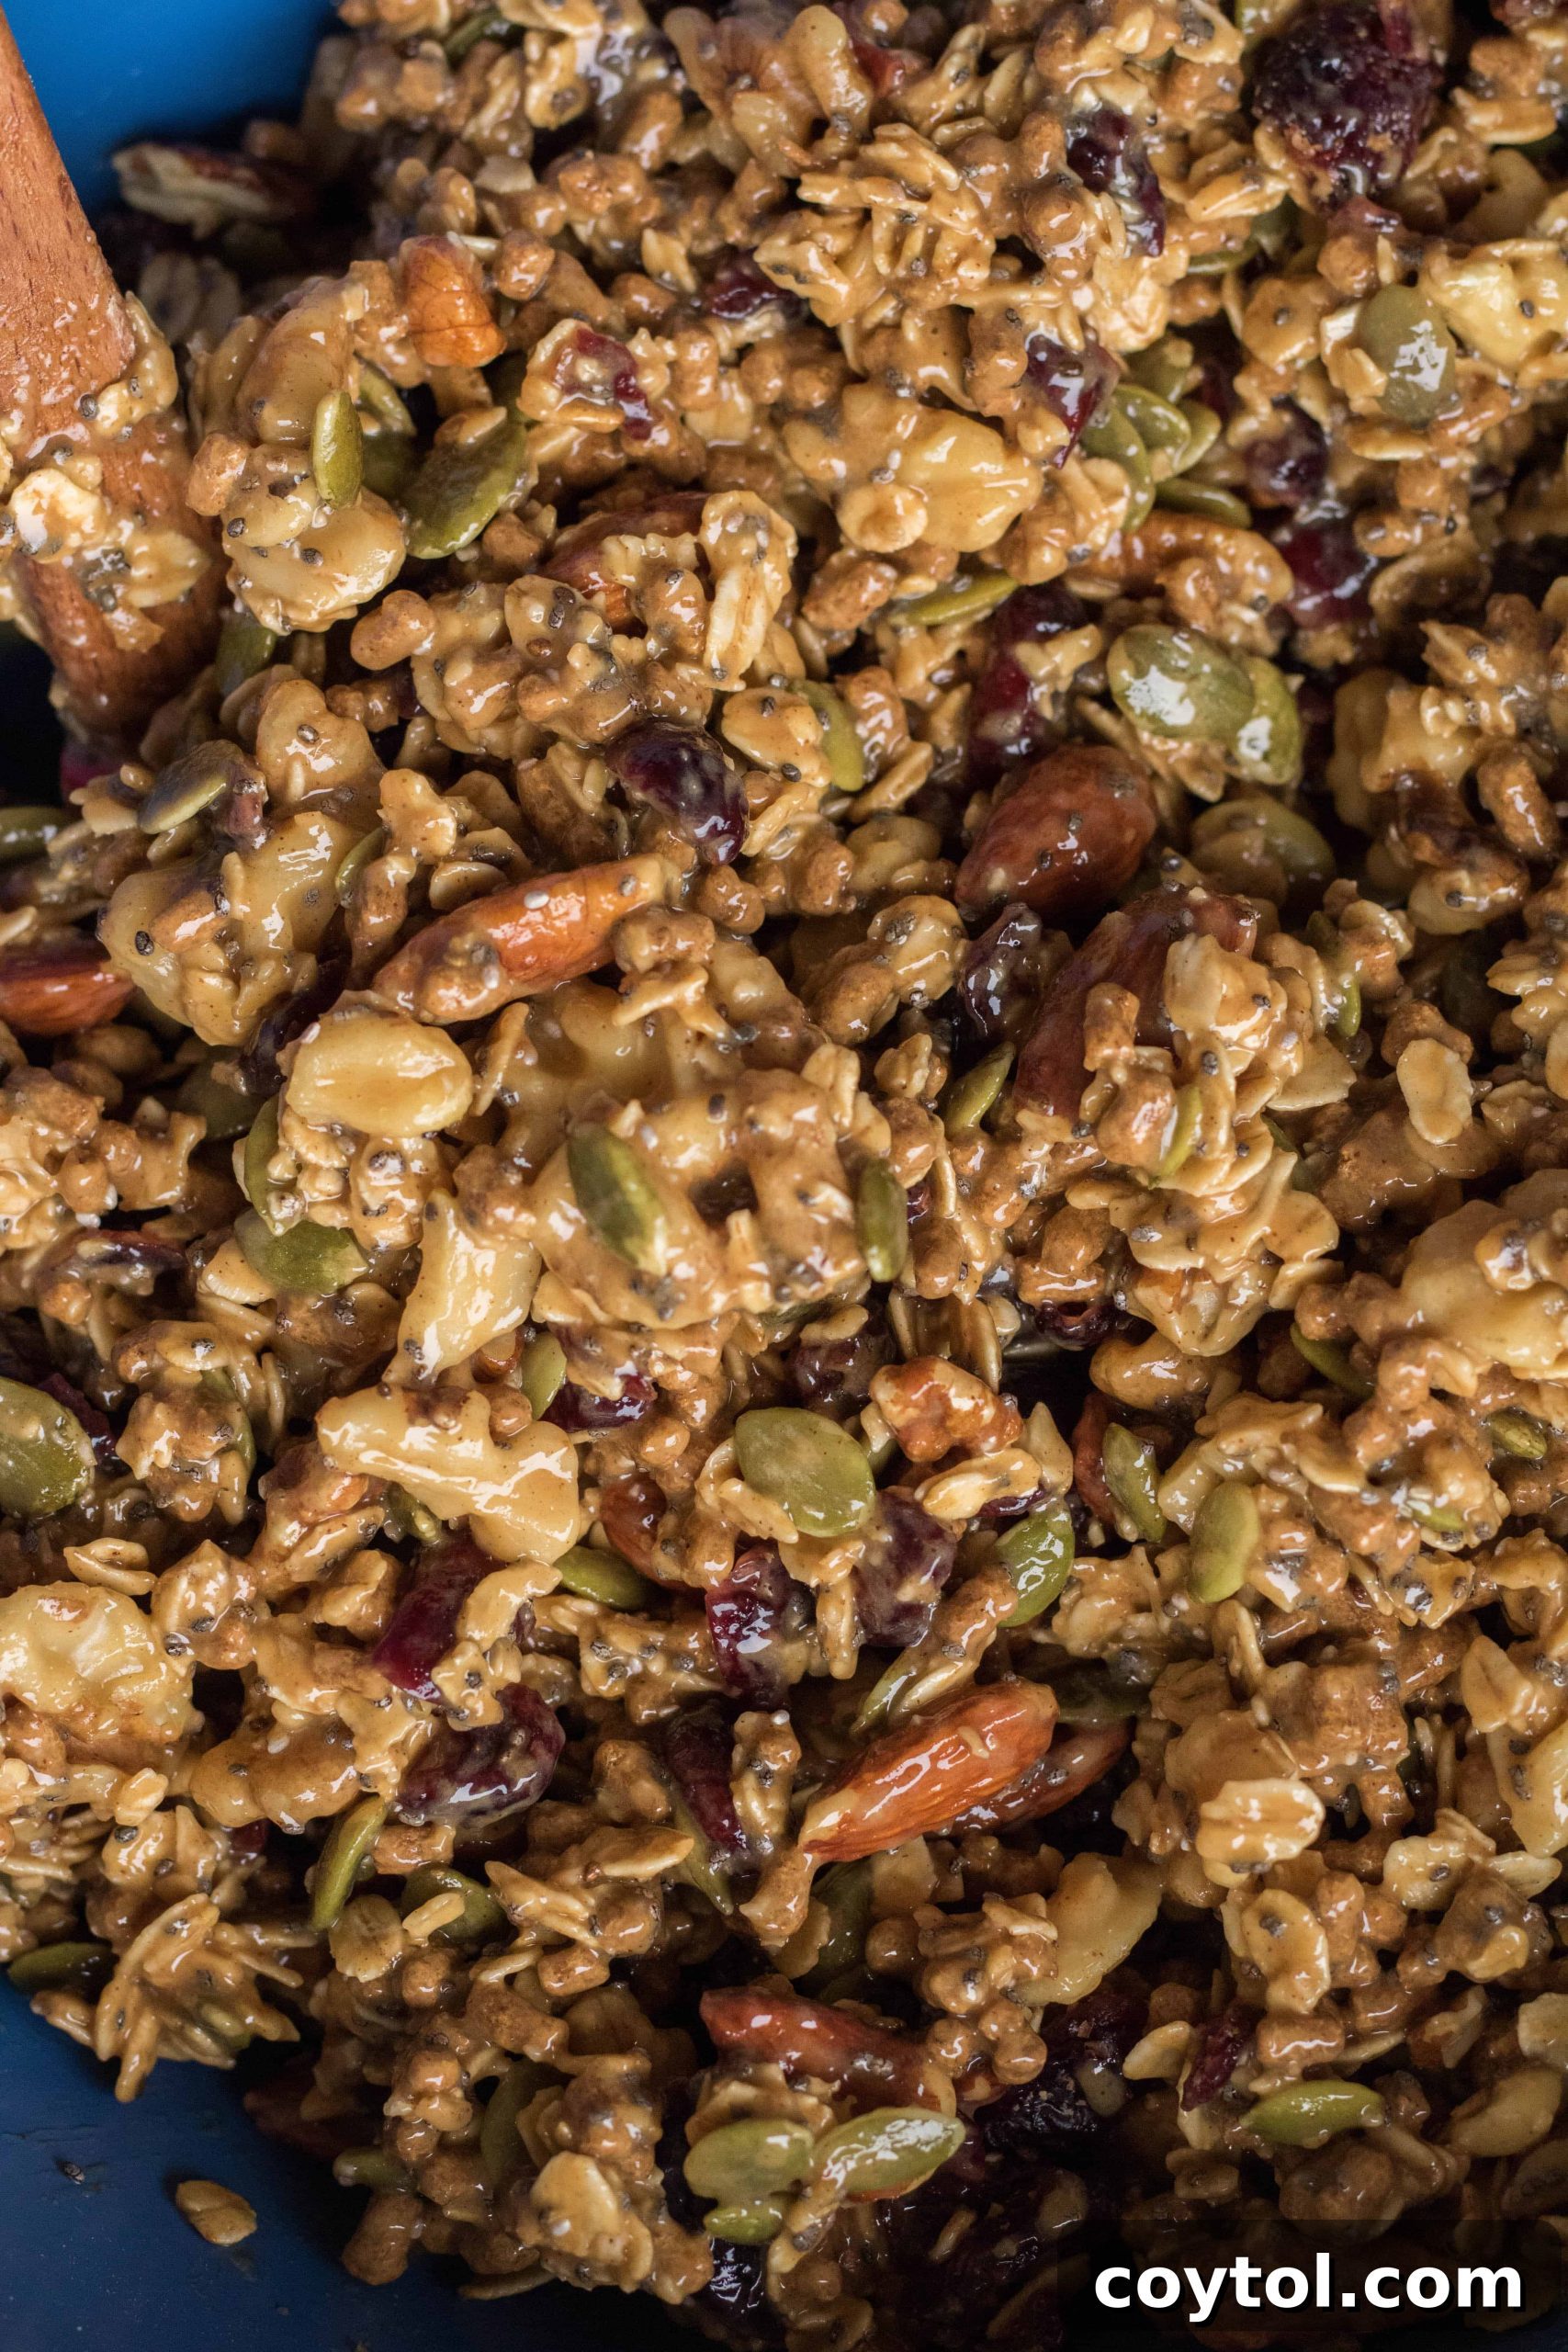
Making these no-bake trail mix energy bars is incredibly simple and requires minimal effort. Just follow these straightforward steps for a batch of delicious, wholesome snacks:
- Prepare Your Pan: First, line a 9×9-inch baking pan (or your chosen size) with wax paper or parchment paper. Make sure to leave some overhang on the edges; this will act as handles, making it incredibly easy to lift the entire batch of bars out of the pan once they’re set. Set the lined pan aside.
- Combine Dry Ingredients: In a large mixing bowl, add your trail mix, old-fashioned oats, all-bran cereal, and chia seeds. Give them a light toss with a spoon or your hands to ensure they are well combined. Set this bowl aside.
- Melt Wet Ingredients: In a separate, small, microwave-safe bowl, combine the peanut butter, honey, coconut oil, vanilla extract, a pinch of salt, and cinnamon. Microwave this mixture for 30-60 seconds on high, or until the honey starts to bubble slightly and the mixture is completely melted and smooth. Stir well to ensure all ingredients are fully incorporated.
- Mix Wet and Dry: Pour the warm, melted wet mixture over the dry ingredients in the large bowl. Using a sturdy rubber spatula, stir diligently until all the dry ingredients are thoroughly coated. This step is crucial, as the wet mixture acts as the “glue” that holds your bars together.
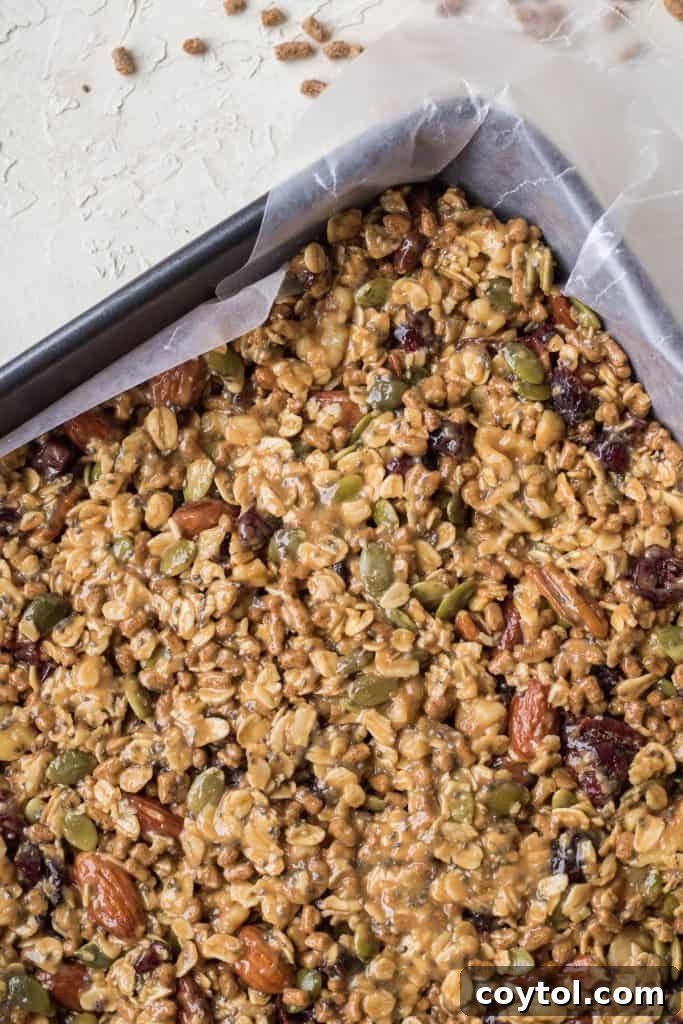
- Press into Pan: Transfer the entire mixture into your prepared baking pan. Using the rubber spatula, or even better, pressing another piece of wax paper on top and using your hands, firmly and evenly flatten the mixture into the pan. Press down as much as possible to ensure the bars are compact and will hold their shape.
- Chill to Set: Place the pan in the refrigerator and chill for a minimum of 2-3 hours, or ideally, overnight. This chilling time allows the bars to set completely, becoming firm enough to cut without crumbling.
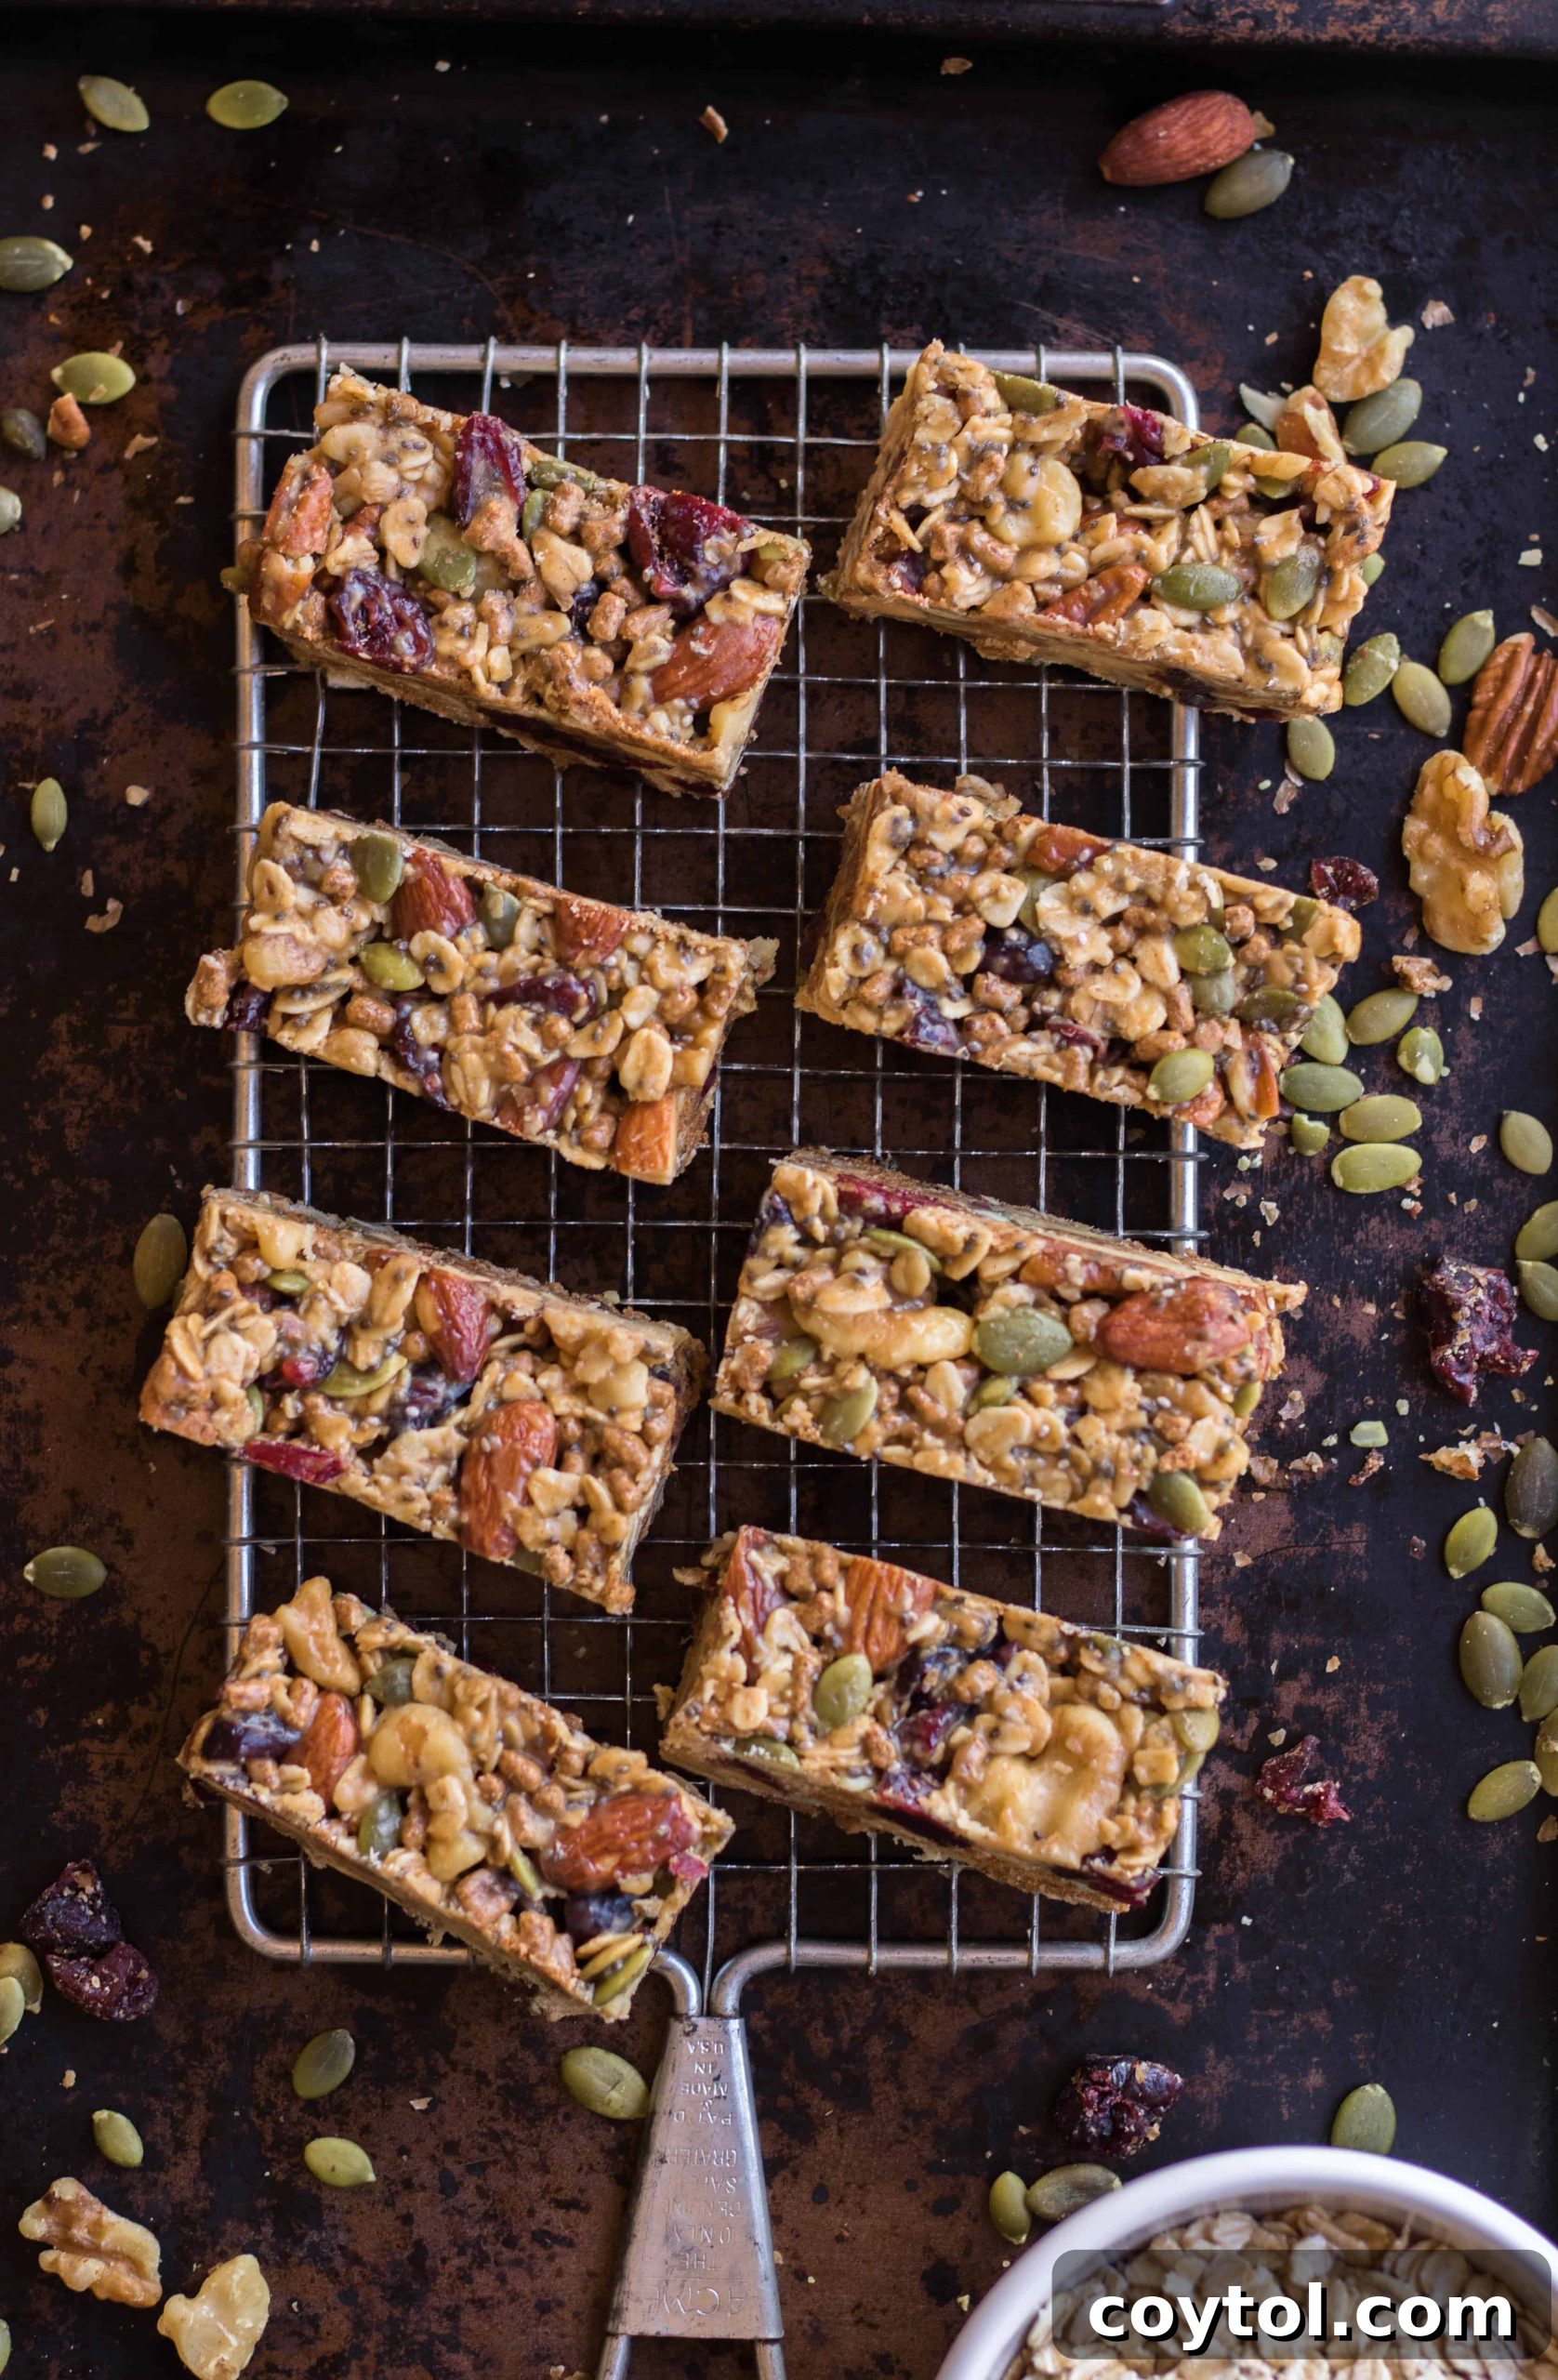
- Slice and Store: Once thoroughly chilled, use the wax paper overhang to lift the entire block of bars out of the pan. Place it on a cutting board. For clean cuts, use a sharp serrated knife (like a bread knife) and gently saw back and forth to cut the bars into your desired size. I typically cut mine into 18 individual bars. Store your finished trail mix energy bars in an airtight container in the refrigerator to maintain their freshness and firm texture.
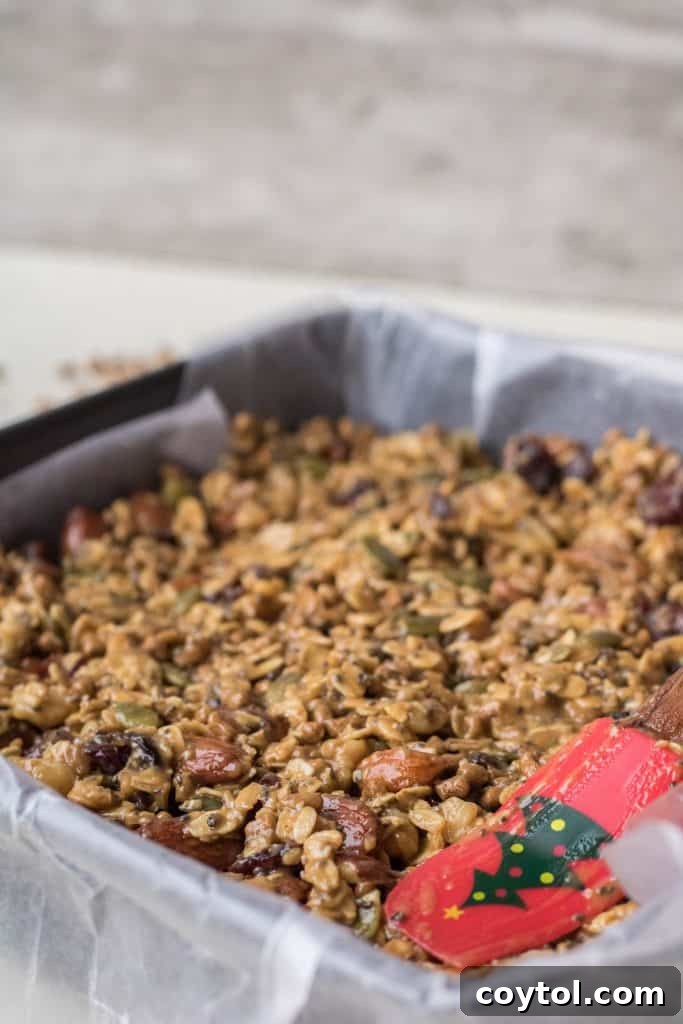
Top Tips for Crafting the Best Trail Mix Bars
Achieving perfectly delicious and well-structured trail mix energy bars is simple with a few key considerations. Follow these tips to ensure your homemade bars turn out flawlessly every time:
- Ensure Thorough Coating: The peanut butter and coconut oil mixture acts as the primary binder in this no-bake recipe. It’s essential that every dry ingredient, from the oats to the trail mix, is thoroughly coated. Spend an extra minute or two stirring until you see no dry patches; this guarantees your bars will hold together beautifully and won’t crumble.
- Don’t Skip the Parchment or Wax Paper: This step is non-negotiable! Lining your baking pan with parchment or wax paper (with an overhang) is your secret weapon against sticking. It ensures effortless removal of the entire slab of bars and makes cleanup a breeze. Without it, you’ll likely end up with a sticky mess and frustratingly difficult removal.
- Chill Completely Before Cutting: Patience is a virtue when it comes to no-bake bars. For crisp, clean cuts and bars that maintain their shape, it’s crucial to let them chill in the refrigerator for the full 2-3 hours, or even better, overnight. Attempting to cut them prematurely will result in soft, sticky, and uneven pieces.
- Press Firmly for Compact Bars: After transferring the mixture to the lined pan, use a rubber spatula or your hands (with another piece of parchment on top to prevent stickiness) to press the mixture down very firmly and evenly. The harder you press, the more compact and cohesive your bars will be, reducing the chances of them falling apart.
- Use a Serrated Knife for Clean Cuts: Once fully chilled, a sharp serrated knife (like a bread knife) is your best tool for slicing. Use a gentle back-and-forth sawing motion rather than pressing straight down. This technique helps cut through the various nuts and seeds without squishing or tearing the bars, yielding perfectly neat portions.
Unleash Your Creativity: Recipe Variations
One of the most exciting aspects of making your own energy bars is the endless potential for customization. This trail mix energy bar recipe serves as a fantastic base, inviting you to experiment and create your absolute perfect crunch granola bar ever! Here are some ideas to get you started:
- Roll into Bite-Sized Balls: Instead of pressing the mixture into a pan and cutting it into bars, you can easily roll it into smaller, bite-sized energy balls. This is my favorite trick for portion control and makes for a delightful, poppable snack. Just one or two of these delicious trail mix energy balls will definitely satisfy your cravings and keep you feeling content until your next meal.
- Play Around with Ingredients: Don’t feel confined to the exact trail mix I used. While mine featured cranberries, almonds, pecans, walnuts, Brazil nuts, and pumpkin seeds, your imagination is the limit! If you’re feeling adventurous, try a trail mix with tropical fruits like dried mango or pineapple, different types of seeds (sunflower, hemp), or even mini chocolate chips for an added treat. You can also swap out the oats for other flaky grains, or use a different type of nut butter (almond butter, cashew butter) for a new flavor profile.
- Boost the Protein Content: These trail mix energy bars are already packed with amazing nutrients, but if you’re looking to significantly increase the protein content, simply add a scoop or two of your favorite protein powder. I recommend using a vanilla-flavored protein powder and mixing it directly into the wet ingredients. You might need to add a tiny bit more coconut oil or a splash of milk (dairy or non-dairy) to ensure the mixture remains smooth and pliable before combining it with the dry ingredients. This makes them an even more robust post-workout snack!
- Introduce New Spices or Extracts: Beyond cinnamon and vanilla, consider adding a dash of nutmeg, cardamom, or even a tiny hint of ginger for different warm spice notes. A touch of almond extract can also enhance the nutty flavors if you’re using almond butter or a nut-heavy trail mix.
- Add Chocolate Drizzle: For an extra touch of indulgence, once your bars are chilled and cut, melt some dark, milk, or white chocolate chips and drizzle it over the tops of the bars. Let the chocolate set in the fridge before serving for a gourmet touch.
- Incorporate Citrus Zest: A little lemon or orange zest, mixed into the wet ingredients, can add a refreshing brightness that beautifully cuts through the richness of the nuts and honey, especially if your trail mix has more tart dried fruits.
Storing Your Delicious Energy Bars for Lasting Freshness
While these trail mix bars tend to disappear quickly in my household (they lasted only 4 days!), with a bit of self-discipline, you can extend their deliciousness for longer. Proper storage is key to maintaining their fresh taste and perfect texture. Here’s how to store your homemade energy bars:
- Refrigeration: For immediate enjoyment and to keep them firm, place the trail mix energy bars in an airtight container in the fridge. They will stay fresh and delicious for up to 2-3 weeks. This also helps maintain their no-bake structure, especially in warmer climates.
- Freezing for Long-Term Storage: If you’ve made a larger batch or want to have healthy snacks on hand for months, these bars freeze beautifully. Place them in an airtight, freezer-safe container or individual freezer bags. They will keep well in the freezer for up to 3 months. To enjoy, simply pull one out and let it thaw at room temperature for a few minutes, or eat it frozen for a delightful chewy treat!
IF YOU MADE SOMETHING FROM LIFESTYLEOFAFOODIE, I WOULD LOVE TO SEE ALL YOUR CREATIONS AND KNOW HOW EVERYTHING TURNED OUT! SO DON’T FORGET TO LEAVE A COMMENT BELOW AND FOLLOW ALONG WITH ME ON INSTAGRAM, PINTEREST, AND FACEBOOK.
Trail Mix Energy Bars Recipe Card
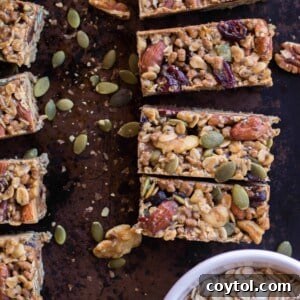
Trail Mix Energy Bars
These no-bake energy trail mix bars are our go-to snack! They are loaded with nuts, seeds, and cranberries, offering the perfect blend of sweet, salty, and satisfying textures. They are the best healthy alternative to store-bought granola bars, packed with goodness to keep you energized.
Total Time: 10 mins (plus chilling)
Yields: 18 bars
Equipment
- 9×9 inch baking pan
- Large mixing bowl
- Small microwave-safe bowl
- Rubber spatula
- Parchment or wax paper
- Sharp serrated knife
Ingredients
- 2 1/2 cup trail mix
- 1 1/2 cup old fashioned oats
- 1 cup all bran cereal
- 3 tbsp chia seeds
- 1/2 cup creamy peanut butter
- 1/2 cup honey
- 4 tbsp coconut oil
- 1 tsp vanilla extract
- 1/4 tsp salt
- 1/2 tsp cinnamon
Instructions
- Prepare Pan: Line a 9×9″ baking pan with wax paper or parchment paper, ensuring an overhang on all sides. This makes it easy to lift the finished bars.
- Combine Dry Ingredients: In a large bowl, mix together the trail mix, old-fashioned oats, all-bran cereal, and chia seeds until evenly distributed.
- Melt Wet Ingredients: In a small, microwave-safe bowl, combine the peanut butter, honey, coconut oil, vanilla extract, salt, and cinnamon. Microwave for 30-60 seconds, or until the mixture is melted and slightly foamy. Stir well until smooth.
- Mix Everything Together: Pour the warm peanut butter and coconut mixture over the dry ingredients. Stir thoroughly with a rubber spatula until all dry components are fully coated and moistened. This ensures the bars bind properly.
- Press into Pan: Transfer the mixture to the prepared baking pan. Using your rubber spatula, or by placing another piece of wax paper on top and pressing with your hands, flatten the mixture firmly and evenly across the pan. This compaction is crucial for dense, cohesive bars.
- Chill and Cut: Refrigerate the pan for 2-3 hours, or preferably overnight, until the bars are completely firm. Once set, lift the entire slab using the parchment paper overhang. Place on a cutting board and use a sharp serrated knife (like a bread knife) to gently slice into 18 bars.
- Store: Store the finished trail mix energy bars in an airtight container in the refrigerator.
Notes
Store these delicious no-bake energy bars in an airtight container in the fridge for up to 2-3 weeks, or freeze for up to 3 months for longer storage. Always ensure the dry mix is well coated with the wet ingredients to prevent crumbling.
Nutrition (per bar, approx.)
Carbohydrates: 22g
Protein: 7g
Fat: 18g
Saturated Fat: 5g
Polyunsaturated Fat: 4g
Monounsaturated Fat: 9g
Trans Fat: 0.003g
Sodium: 75mg
Potassium: 233mg
Fiber: 5g
Sugar: 9g
Vitamin A: 64IU
Vitamin C: 1mg
Calcium: 48mg
Iron: 2mg
Nutrition information is automatically calculated and should be used as an approximation.
I would absolutely love to hear if you tried this recipe and how your trail mix energy bars turned out! Please feel free to leave a comment below to share your thoughts and any creative variations you tried. Don’t forget to subscribe to our mailing list to receive more amazing, free recipes directly in your inbox!
Shop the Ingredients for This Recipe
This post may contain affiliate links, meaning that at no additional cost to you, I will earn a small percentage of every purchase you make. Your support helps keep this blog running!
Kirkland Signature Trail Mix
Navitas Organics Chia Seeds
Nutiva Organic Coconut Oil
Kellogg’s All-Bran Original
Nature Nate’s 100% Pure Honey
McCormick Pure Vanilla Extract
Skippy Creamy Peanut Butter
Kirkland Signature Organic Coconut Oil
McCormick Ground Cinnamon
Loved This Recipe? Pin it for Later!
If you’re as excited about these wholesome and delicious trail mix energy bars as I am, don’t forget to save this recipe! Pin it to your favorite Pinterest board so you can easily find it whenever a craving strikes or you need a healthy snack idea. Sharing is caring!