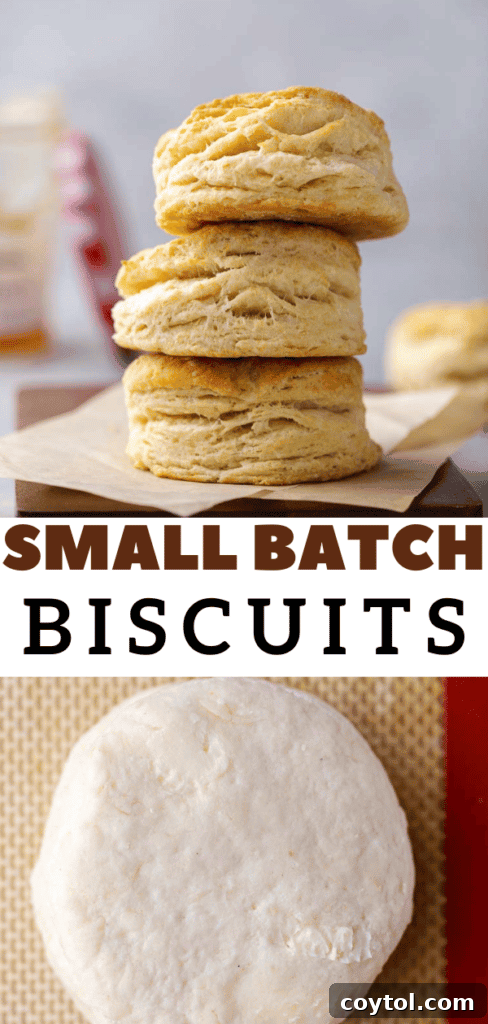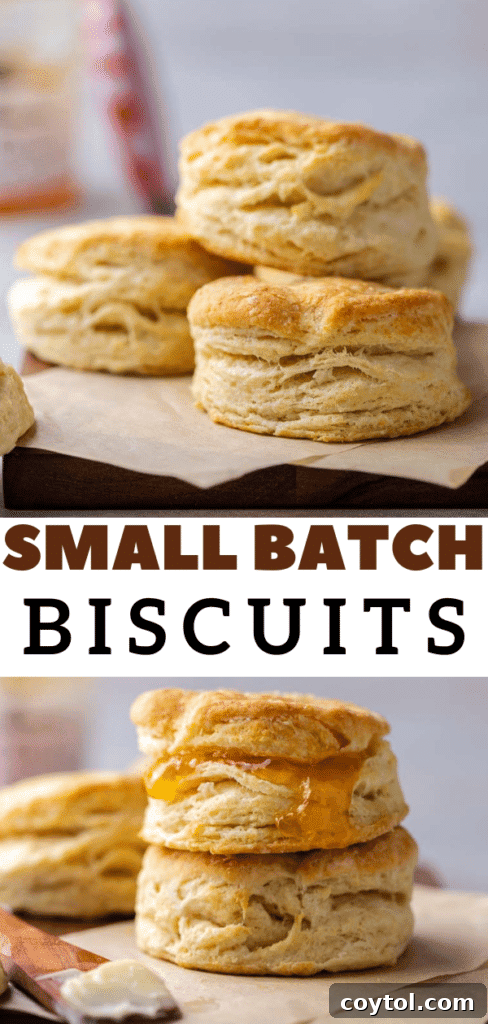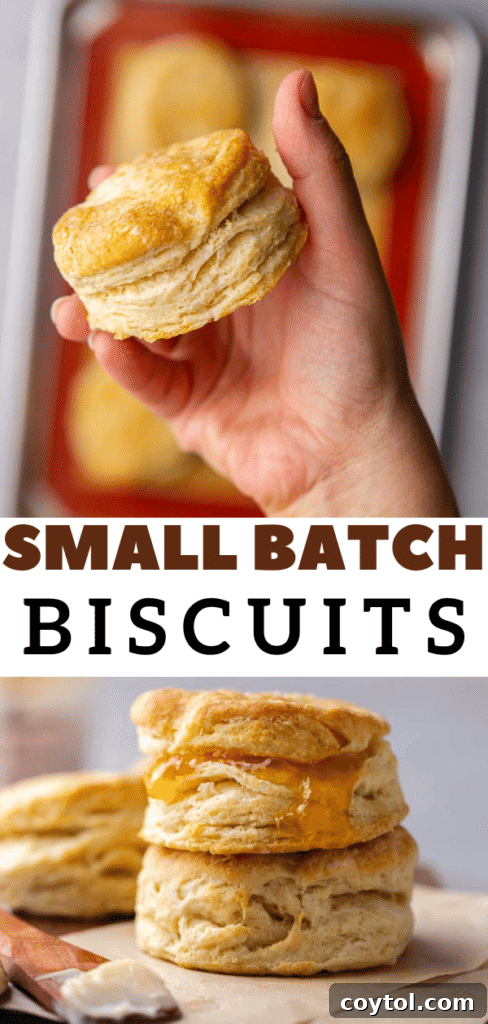
There’s truly nothing quite like the comforting aroma and taste of warm, buttery biscuits emerging fresh from the oven. Even better, imagine achieving this delightful experience in just 30 minutes! This recipe for small-batch biscuits for two is meticulously crafted to deliver perfectly flaky, golden-brown exteriors that give way to irresistibly soft and tender centers. Whether you’re seeking a comforting side for a cozy dinner, a delicious foundation for a breakfast slathered with butter and jam, or the ideal component for a quick and satisfying biscuit sandwich, this easy recipe promises exceptional flavor without the hassle of a large batch. Say goodbye to complicated techniques and unwanted leftovers; embrace the simplicity of homemade biscuits, ready in hardly any time at all.
If you’re a fan of our streamlined, small-batch approach, you’ll also adore our Strawberry Cheesecakes with Oreo Crust, our decadent Fudgy Small-Batch Nutella Brownies in a Loaf Pan, the surprisingly simple Keto Peanut Butter Fudge, and even our delightful Small Batch Baked Chocolate Donuts. Discover more delightful treats designed for smaller households and quick preparation!
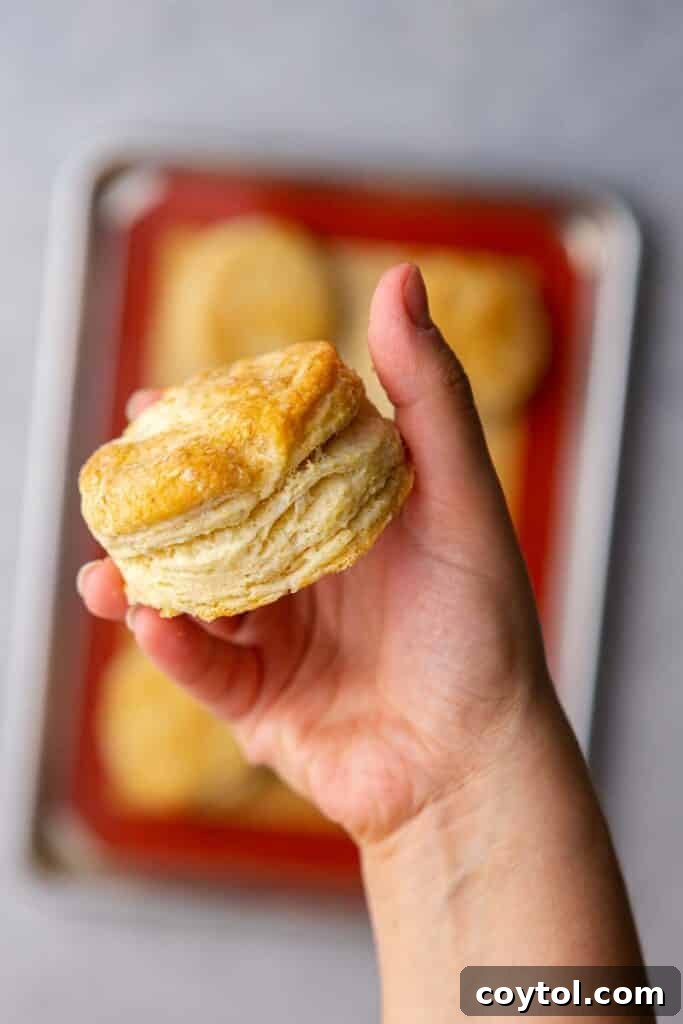
Flaky Small-Batch Buttermilk Biscuits (Makes 4 Perfect Biscuits)
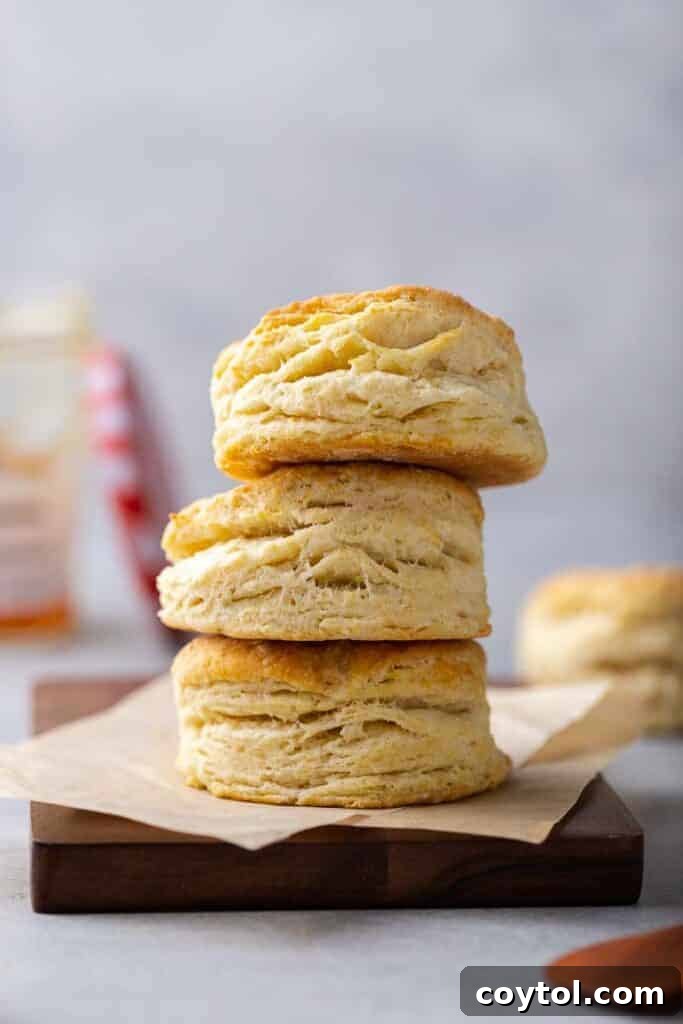
There are moments when a full batch of biscuits simply isn’t what you need. Perhaps you’re cooking for one, enjoying a quiet meal for two, or simply wish to avoid the inevitable leftovers. This is precisely where our easy small-batch biscuit recipe becomes your culinary hero. These aren’t just any biscuits; they are genuinely flaky, exquisitely buttery, homemade buttermilk biscuits, crafted from scratch with only a handful of essential ingredients. Best of all, they come together in an impressive less than 30 minutes, making fresh baking accessible any day of the week.
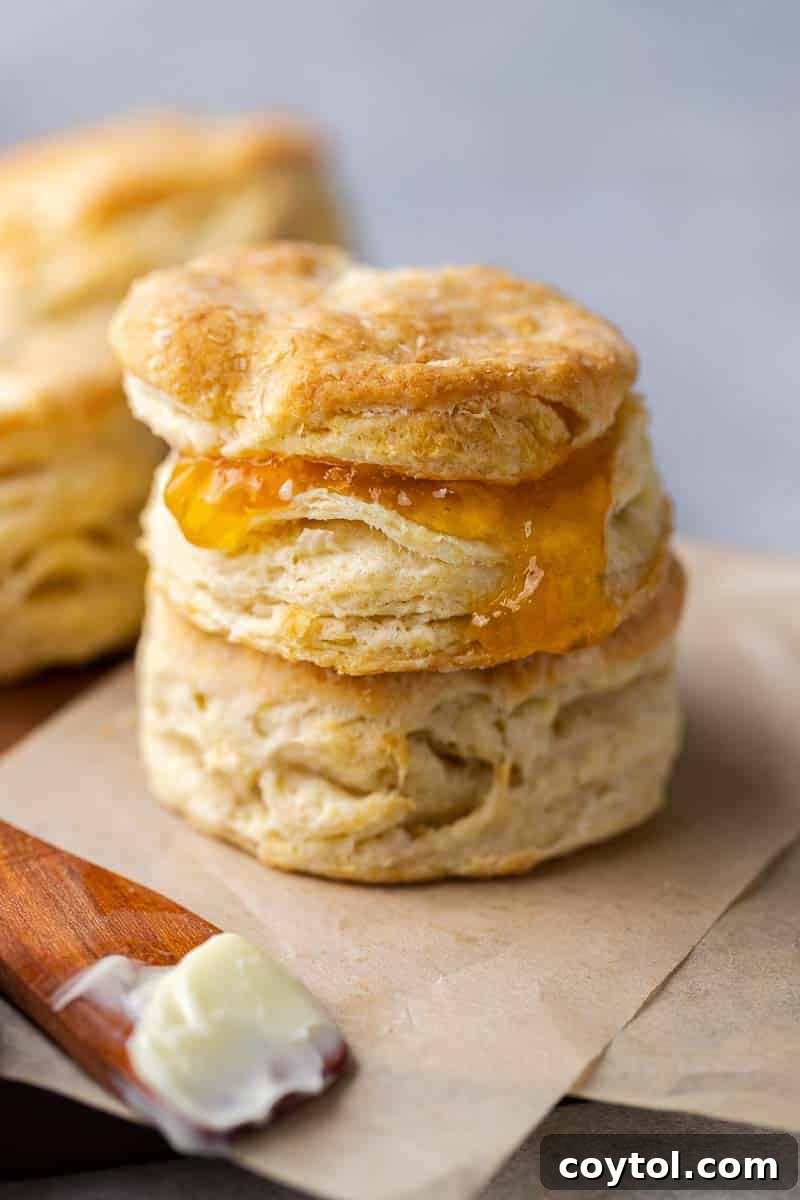
Even if you consider yourself a novice baker, rest assured that this recipe is designed to be completely foolproof. You’ll consistently achieve four perfectly soft, golden, and tall biscuits, making them an ideal accompaniment for any meal. Serve them with a hearty breakfast, elevate a simple dinner, or enjoy them as a delightful snack generously slathered with your favorite gravy, sweet jam, or golden honey. Prepare to be amazed by the simplicity and incredible results!
Why This Small-Batch Buttermilk Biscuit Recipe is a Must-Try
This recipe is more than just a quick fix; it’s a game-changer for anyone who loves fresh-baked goods but doesn’t always need a large quantity. Here’s why you’ll undoubtedly fall in love with these small-batch wonders:
- Lightning Fast Preparation: From mixing bowl to oven, these biscuits are ready in under 30 minutes, perfect for spontaneous cravings or last-minute meal additions.
- Ideal Portion Control: The recipe yields only 4 biscuits! This means no food waste, no pressure to finish a large batch, and fresh-baked goodness every single time. It’s perfect for couples, small families, or even individuals who love an extra biscuit.
- Unbeatable Texture and Flavor: Every bite promises a harmonious blend of flaky layers, rich buttery taste, and an incredibly soft interior. The secret lies in our careful technique and quality ingredients.
- Minimal Ingredient List: You won’t need a pantry full of obscure items. This recipe relies on a few common kitchen staples, making it accessible and cost-effective.
- Superior to Store-Bought: Once you taste these homemade treasures, you’ll never return to the often-dense and flavorless store-bought canned biscuits. The difference in freshness and quality is profound.
- Incredibly Versatile: These biscuits are a perfect match for a wide array of dishes. Pair them with comforting soups and stews, enjoy them as a foundational part of a classic Southern breakfast, or transform them into savory or sweet sandwiches. Their neutral yet rich flavor profile allows them to complement almost anything.
If you’ve hesitated to make homemade biscuits before, considering them too complex or time-consuming, this recipe is the perfect starting point. Its simplicity and stellar results will quickly convert you. We promise, once you experience the joy of these easy, small-batch biscuits, you’ll be a scratch-baking convert!
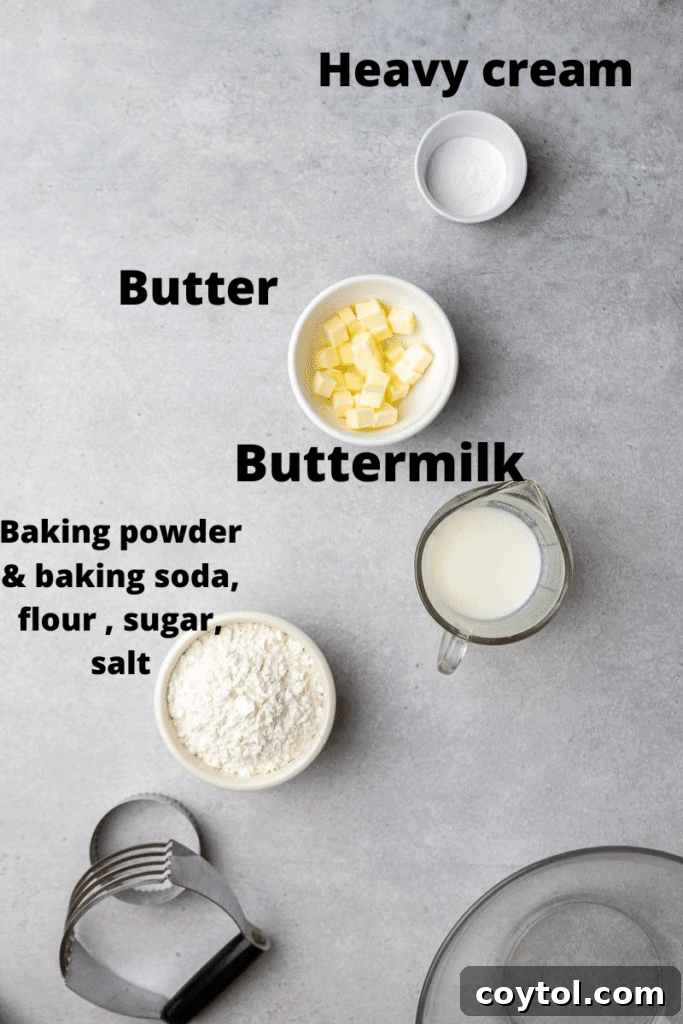
Key Ingredients for These Delicious Small-Batch Biscuits
Creating these delightful buttermilk biscuits requires just a few basic ingredients, each playing a crucial role in achieving that perfect flaky texture and rich flavor. While exact measurements are in the recipe card below, here’s a closer look at what you’ll need and why:
- All-Purpose Flour: This forms the base of our biscuits. For the most accurate results and a consistent texture, we highly recommend using a kitchen scale to weigh your flour. This prevents over-measuring, which can lead to dry, dense biscuits.
- Baking Powder & Baking Soda: These are our essential leavening agents. When combined with the acidity of buttermilk, they react to produce carbon dioxide gas, which creates those beautiful air pockets and contributes significantly to the biscuits’ rise and airy texture. Ensure your leavening agents are fresh for optimal lift.
- Sugar: Just a touch of granulated sugar is added not for overt sweetness, but to enhance the overall flavor profile. It helps balance the savory notes, promotes a lovely golden-brown crust during baking, and contributes to a more tender crumb.
- Butter: This is arguably the most critical ingredient for flaky biscuits. You can use either salted or unsalted butter, but the absolute key is that it must be very cold. Cold butter, cut into small pieces, melts slowly in the oven, releasing steam that creates distinct layers and prevents the dough from becoming dense. For best results, cube your butter and even pop it back in the freezer for 10-15 minutes before incorporating it.
- Buttermilk: The star liquid ingredient! Buttermilk provides essential moisture, activates the baking soda, and contributes a subtle tang that enriches the biscuits’ flavor. Its acidity helps break down the gluten in the flour, resulting in a more tender and softer biscuit. Again, ensure your buttermilk is cold to keep the butter from melting prematurely.
- Heavy Cream: This is used purely for brushing the tops of the biscuits just before they enter the oven. The heavy cream encourages a deep golden-brown crust and adds a hint of richness and gloss to the finished product.
- Salt: A fundamental flavor enhancer, salt brings out the best in all the other ingredients, ensuring your biscuits aren’t bland.
Easy Buttermilk Substitution for When You’re in a Pinch
Don’t have buttermilk on hand? No problem! You can easily create a workable substitute with ingredients you likely already have in your fridge. While it won’t be as thick and creamy as genuine buttermilk, it will provide the necessary acidity to activate your leavening agents and still yield delicious results.
To make your homemade buttermilk substitute, simply combine 1 cup of 2% milk with 1 tablespoon of either freshly squeezed lemon juice or distilled white vinegar. Give the mixture a gentle stir and let it sit at room temperature for 5 to 10 minutes. You’ll know it’s ready when it has slightly thickened and you observe small, curdled pieces throughout the milk. Once activated, use this mixture exactly as directed in the recipe method for cold buttermilk.
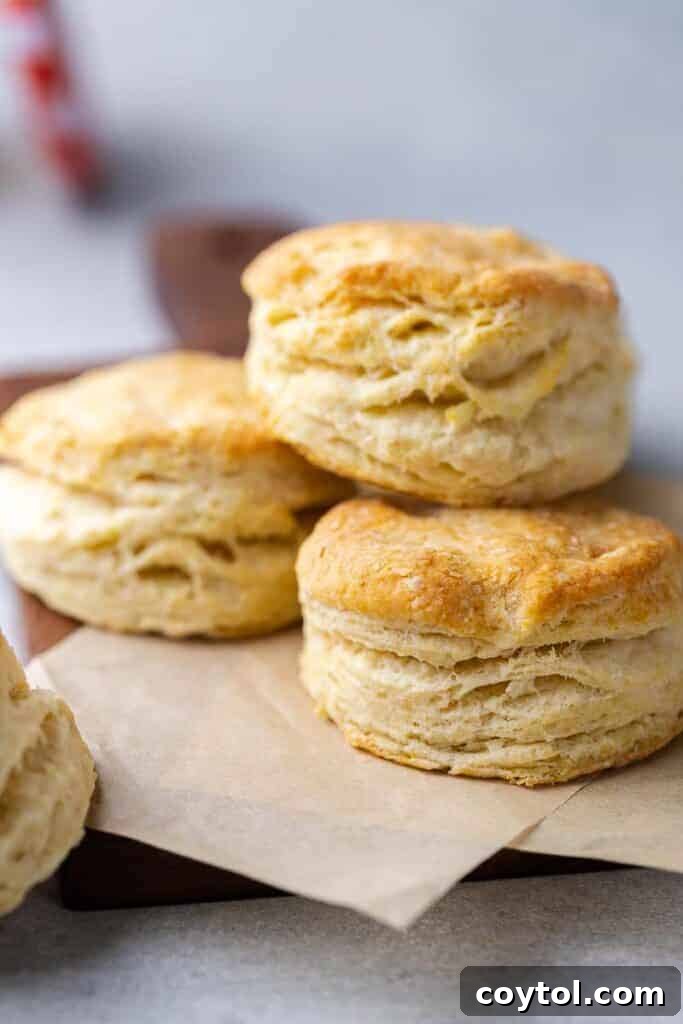
How to Make Perfect Small-Batch Biscuits for Two
Creating these easy, flaky biscuits at home is a straightforward process that yields incredibly rewarding results. Follow these detailed steps to ensure perfectly golden and tender biscuits every time. Remember to consult the full recipe card below for precise measurements and detailed timings!
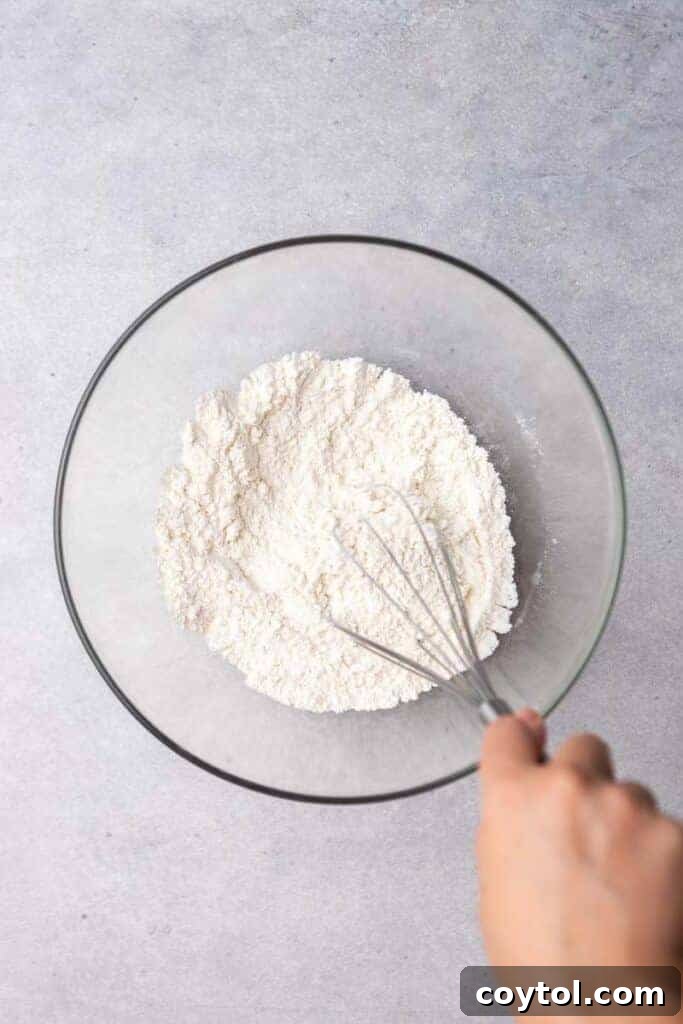
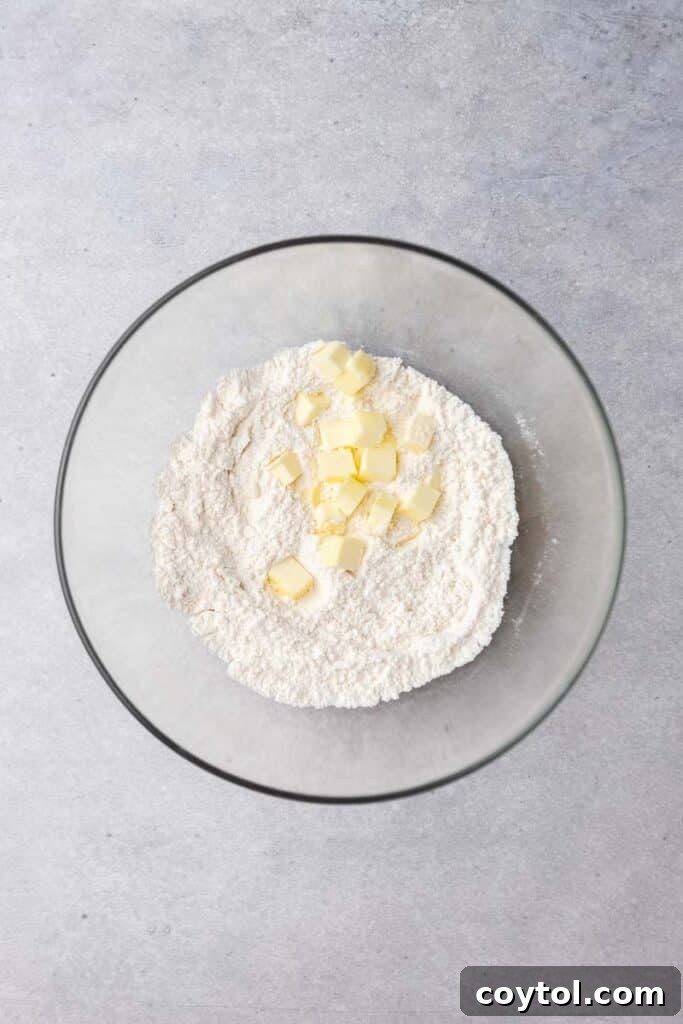
- Prepare Your Dry Ingredients: In a large mixing bowl, combine the all-purpose flour, baking powder, baking soda, sugar, and salt. Use a whisk to thoroughly blend these ingredients, ensuring even distribution of the leavening agents and flavorings. This initial step is crucial for consistent rise and texture.
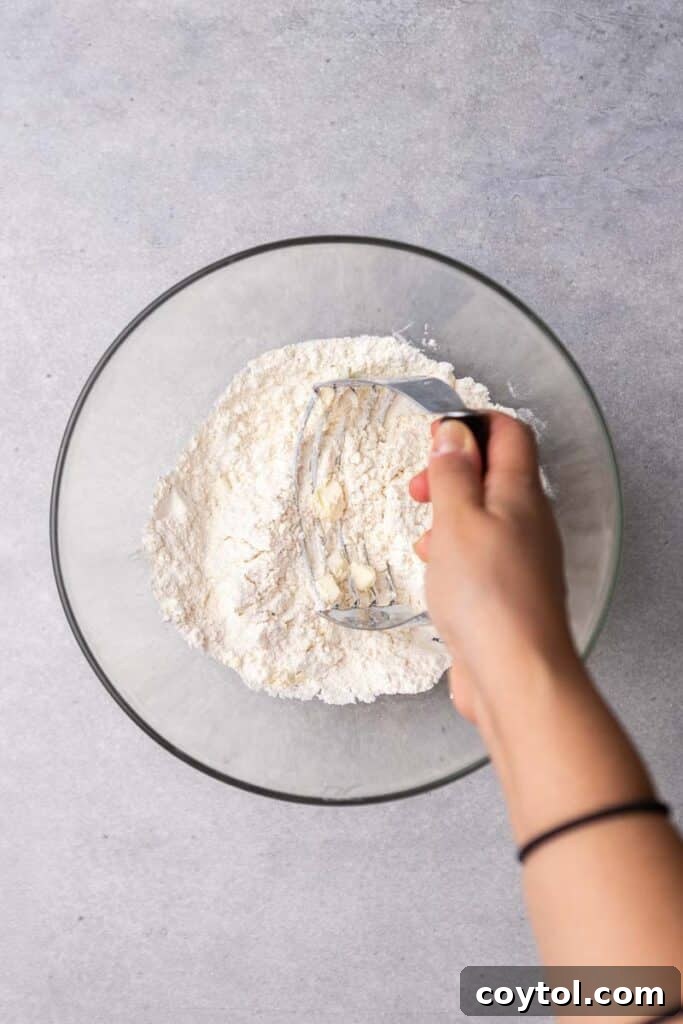
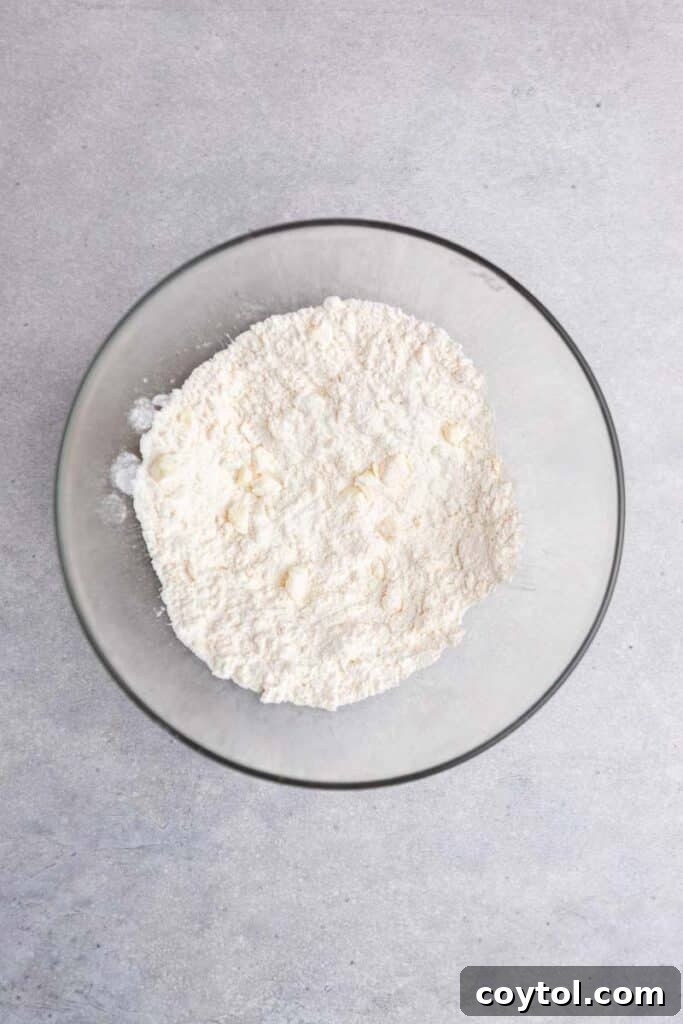
- Incorporate the Cold Butter: Add the very cold, cubed butter to your dry mixture. Using a pastry cutter, two forks, or even your fingertips (working quickly to prevent the butter from warming), cut the butter into the flour until the mixture resembles coarse crumbs with some pea-sized pieces of butter remaining. These butter pieces are essential for creating flaky layers.
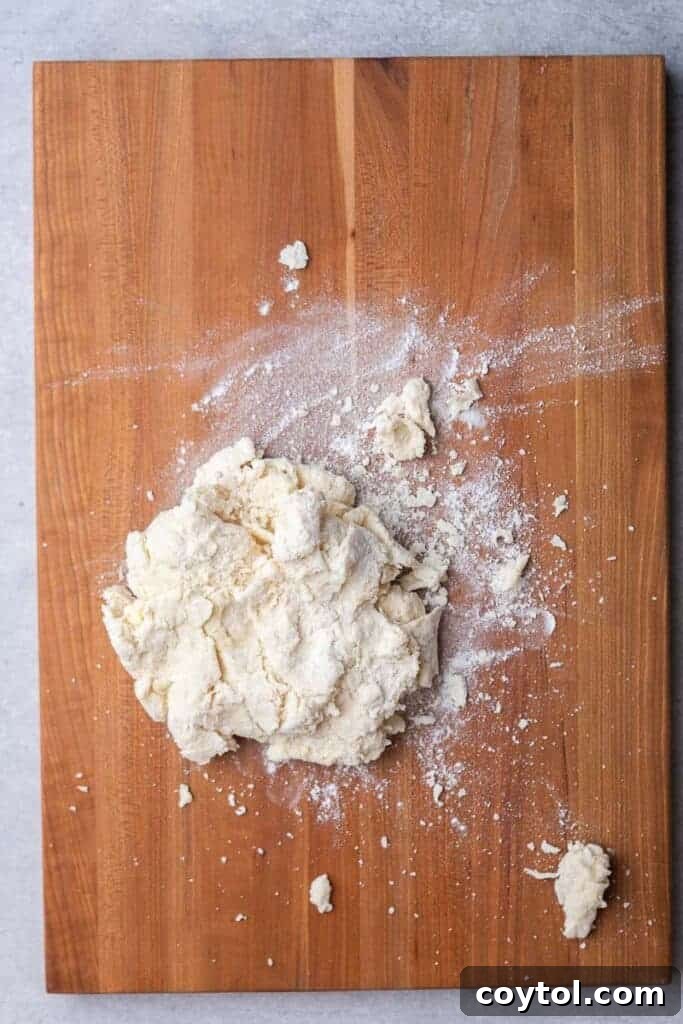
- Stir in the Cold Buttermilk: Gradually pour in the cold buttermilk (or your homemade substitute). Using a rubber spatula, gently stir the mixture just until a shaggy dough begins to form. Be careful not to overmix at this stage; overworking the dough develops gluten too much, which can lead to tough biscuits. It’s okay if there are still some dry spots.
- Lightly Knead and Bring Together: Turn the shaggy dough out onto a lightly floured surface. Gently knead it 2-4 times, just enough to bring the dough together into a cohesive mass. The goal here is minimal handling to keep the butter cold and prevent overworking. You should still see visible flecks of butter throughout the dough.
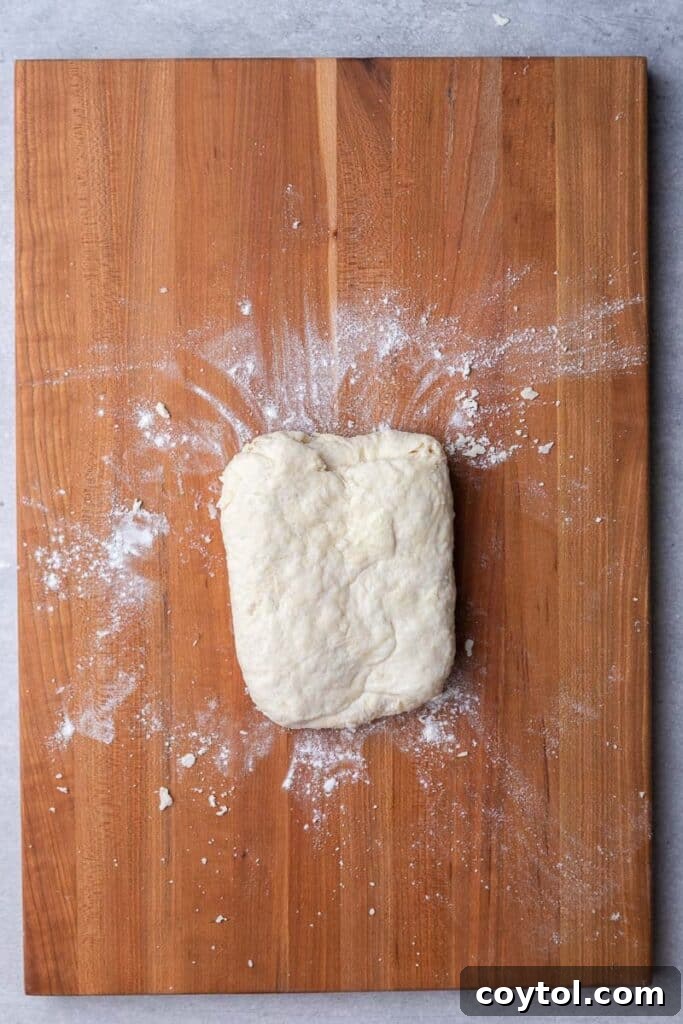
- Laminate the Dough for Flakiness: This step is key for those sought-after flaky layers. Gently pat the dough into a rough rectangle. Fold the left side of the rectangle over to meet the right side, then gently pat it down. Next, fold the top of the rectangle over the bottom, patting it down again. Repeat this folding process two more times. This layering technique traps the butter, which will create steam and distinct flaky layers during baking.
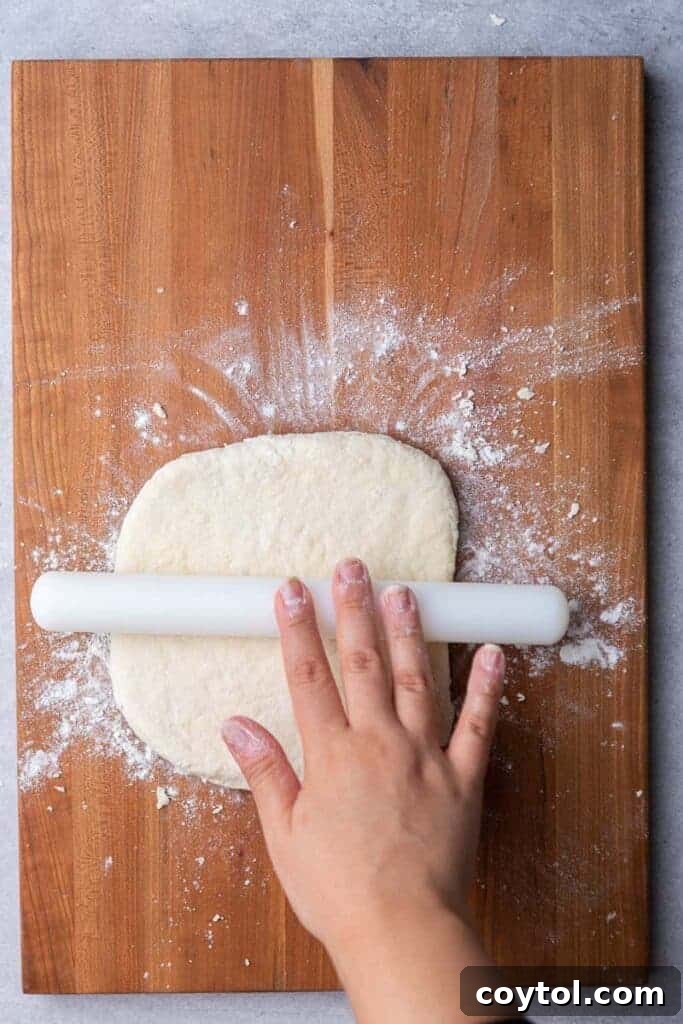
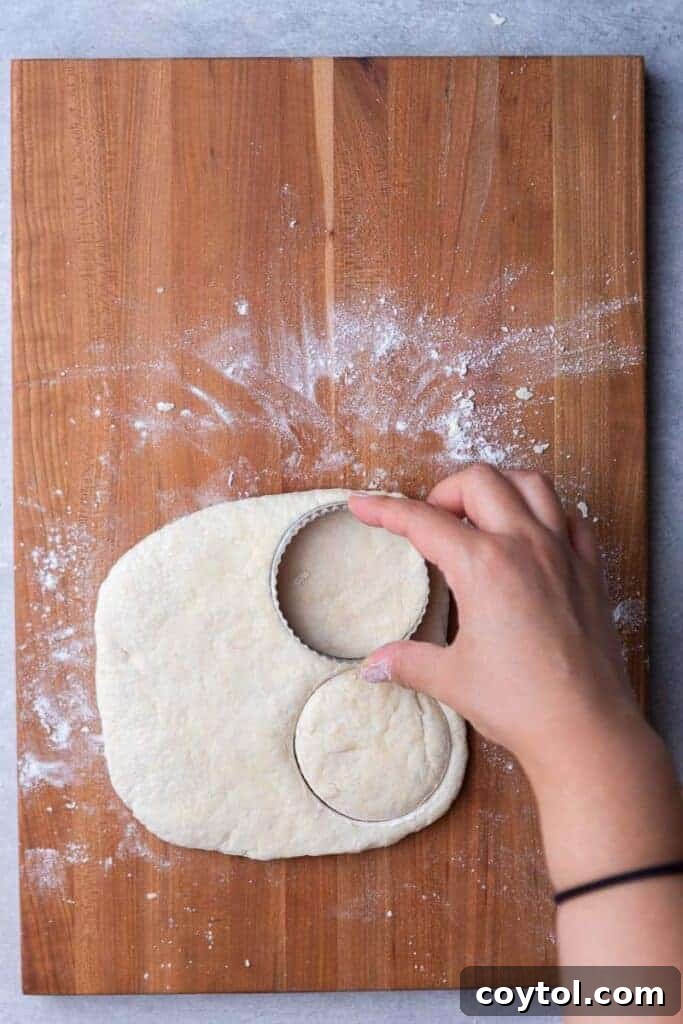
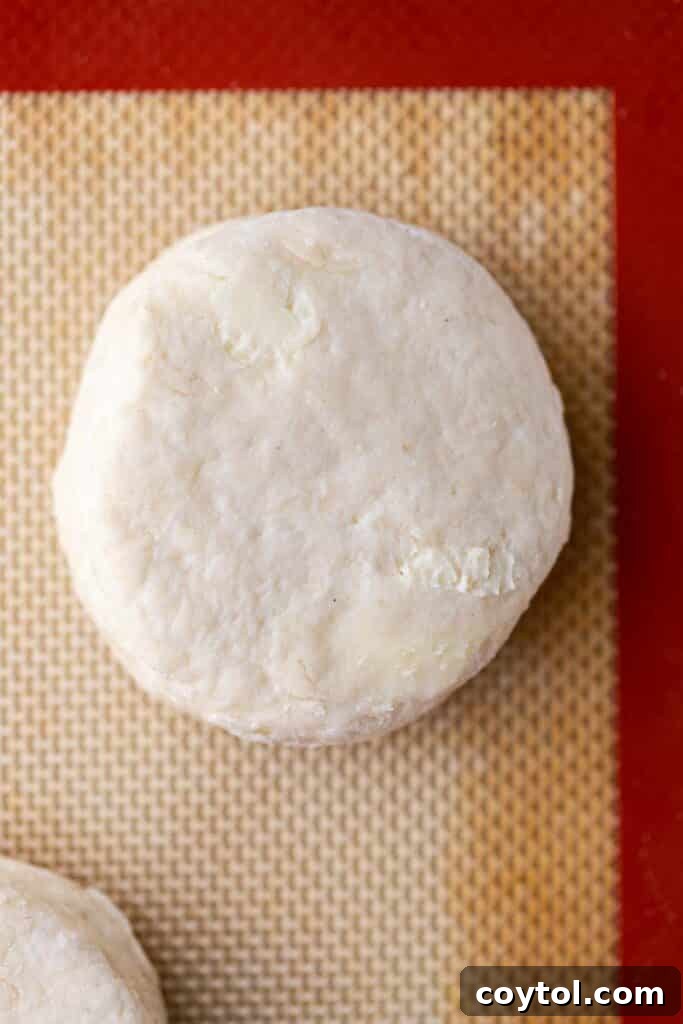
- Shape and Cut Your Biscuits: After the folding, gently pat or roll the dough into a rectangle about one inch in thickness. Lightly flour a 2.5-inch biscuit cutter or cookie cutter. Press the cutter straight down into the dough, without twisting, to cut out four biscuits. Twisting can seal the edges of the biscuits, inhibiting their rise and flakiness. Gently wiggle the cutter to release the biscuit.
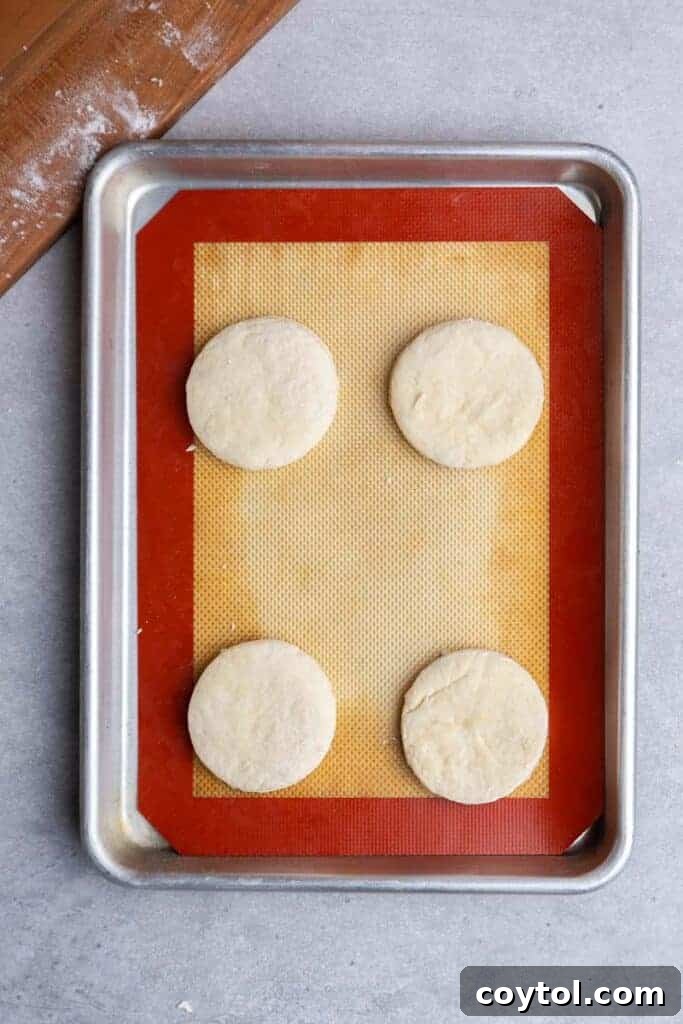
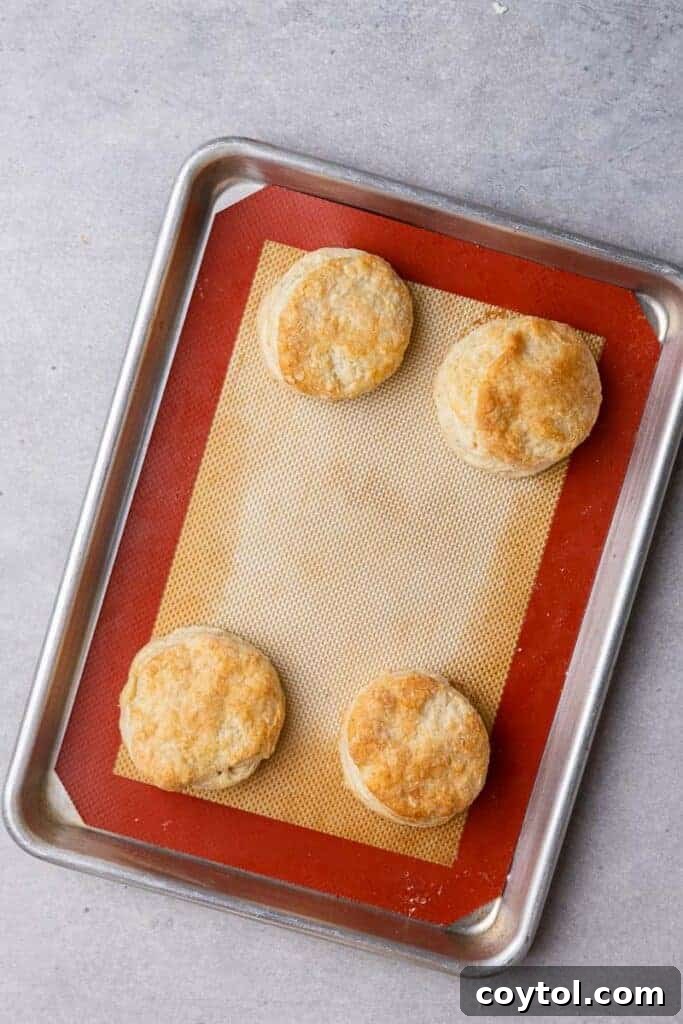
- Bake to Golden Perfection: Place the cut biscuits onto a prepared baking sheet lined with parchment paper. Using a pastry brush, gently brush the tops of each biscuit with heavy cream. This helps them achieve a beautiful golden crust. Bake in a preheated oven (typically 425°F/220°C) for approximately 13 minutes, or until they are puffed up and golden brown on top.
- Cool and Enjoy: Once baked, remove the biscuits from the oven and allow them to cool on the baking sheet for a few minutes until they are cool enough to handle. Serve warm and enjoy these incredibly tender, flaky delights!
Troubleshooting: How to Achieve Perfect Biscuits Every Time
Even with a simple recipe, baking can sometimes present little challenges. Here’s how to address common issues and ensure your biscuits turn out perfectly:
- Dough too sticky? If your dough feels overly sticky and difficult to handle, lightly flour your hands and your work surface. Add flour gradually and minimally, just enough to make the dough manageable. Resist the urge to add too much flour directly into the dough, as this can lead to dry and tough biscuits.
- Dough too dry or crumbly? Should your dough seem excessively dry and crumbly, refusing to come together, add a teaspoon of cold buttermilk (or regular milk if that’s all you have) at a time. Mix gently until the dough just barely forms a cohesive mass. Avoid adding too much liquid at once.
- Biscuits not flaky? Flakiness is a hallmark of a great biscuit. If yours aren’t as flaky as desired, the primary culprit is usually warm butter or overworked dough. Ensure your butter is very cold and remains so throughout the mixing process. You can even freeze your cubed butter for 10-15 minutes before adding it to the flour. Additionally, mix and knead the dough as little as possible to keep those distinct butter pockets intact.
- Biscuits didn’t rise enough? A common reason for flat biscuits is expired baking powder or baking soda. Always check the freshness of your leavening agents. Overmixing can also flatten biscuits by developing too much gluten and not allowing the chemical reactions to work effectively.
Expert Tips for the Best Small-Batch Biscuits Ever
Achieving bakery-quality biscuits at home is easier than you think, especially with these insider tips:
- Embrace Very Cold Ingredients: This is perhaps the most crucial tip for superior biscuits. Using extremely cold butter and buttermilk is essential. Cold butter creates steam pockets as it melts in the hot oven, which pushes the dough upwards and separates it into glorious, flaky layers. Warm butter will simply melt into the flour, resulting in dense, cake-like biscuits.
- Do Not Overwork the Dough: Gentle handling is key. Overworking the dough develops gluten excessively, leading to tough, chewy biscuits instead of tender, flaky ones. You want to see those beautiful, visible pieces of cold butter in the dough; these are what create the coveted flakiness. Mix just until the ingredients are combined and the dough barely comes together.
- Flour Your Biscuit Cutter Liberally: Before cutting each biscuit, dip your biscuit cutter into a little bit of flour. This simple step prevents the dough from sticking to the cutter, ensuring clean, precise cuts and easy release without distorting the shape or structure of your biscuits.
- Press Down, Don’t Twist the Cutter: When cutting your biscuits, press the cutter straight down into the dough with a firm, decisive motion. Absolutely avoid twisting the cutter. Twisting seals the edges of the dough, preventing the biscuits from rising as high and hindering the formation of those lovely, distinct layers. Lift the cutter straight up to remove the biscuit.
- Give Them Space: Arrange your biscuits on the baking sheet so they are just barely touching, or very close together. This encourages them to rise taller rather than spreading outwards, as the sides support each other during baking.
- Don’t Skimp on Preheat Time: Ensure your oven is fully preheated to the specified temperature before placing the biscuits inside. A hot oven is critical for the initial burst of heat that activates the leavening and helps the butter create steam quickly, resulting in maximum rise and flakiness.
Frequently Asked Questions (FAQ) About Buttermilk Biscuits
Why didn’t my biscuits rise?
Several factors can contribute to biscuits that don’t rise as expected:
- Expired Leavening Agents: The most common reason. Baking powder and baking soda lose their potency over time. Always check their expiration dates and ensure they are fresh for the best rise.
- Overmixing the Dough: Excessive mixing develops gluten, making the biscuits dense and preventing them from achieving their light, airy texture. Mix just until the dough comes together.
- Warm Butter: If your butter wasn’t cold enough, it might have melted into the flour prematurely instead of creating steam pockets that lift the layers.
- Twisting the Biscuit Cutter: As mentioned in our tips, twisting the cutter can seal the edges, hindering upward expansion.
Can I freeze these biscuits?
Yes, absolutely! Freezing biscuits is a fantastic way to prepare them ahead of time for a quick treat. To freeze, place the unbaked biscuits on a baking sheet and freeze until they are completely solid. Once frozen, transfer them to an airtight freezer bag or container. When you’re ready to bake, place them directly from frozen onto a prepared baking sheet, adding an extra 2-3 minutes to the standard baking time to ensure they cook through.
Can I double this recipe to make more biscuits?
Yes, this recipe is easily scalable! To make more biscuits, simply double all the ingredient quantities and follow the same instructions. The baking time will generally remain the same, but it’s always a good idea to keep a close eye on them, as oven temperatures can vary. Ensure your baking sheet isn’t overcrowded for even cooking.
Why is buttermilk used in biscuits?
Buttermilk plays a vital role in biscuit making for a few key reasons. Its acidity reacts with the baking soda (and sometimes baking powder) to create carbon dioxide gas, which is responsible for the biscuits’ rise and airy texture. Beyond leavening, buttermilk also adds moisture and a subtle tanginess that enhances the flavor profile. The acidity helps to tenderize the gluten in the flour, resulting in a remarkably softer, more tender biscuit crumb compared to those made with regular milk.
However, if you find yourself without buttermilk, you can easily make a substitute at home. Just combine 2% milk with an acidic agent like lemon juice or distilled white vinegar (see the “Buttermilk Substitution” section above for detailed instructions).
How to store freshly baked biscuits?
For optimal freshness, store your baked biscuits in an airtight container at room temperature for up to 2-3 days. If you need to keep them longer, they can be stored in the refrigerator for up to 5 days. Though, we highly doubt they’ll last that long once you taste how delicious they are!
What’s the best way to reheat these buttermilk biscuits?
There are a couple of great ways to reheat your biscuits to bring them back to their warm, tender glory:
- Microwave: For a quick and soft reheat, microwave individual biscuits for 10-15 seconds on full power, or until warmed through. Be careful not to over-microwave, as they can become tough.
- Oven: For a crisper exterior and more even warmth, reheat biscuits in a preheated oven at 300°F (150°C) for about 5-7 minutes. This method helps restore some of their initial crispness.
What are the best ways to eat these biscuits?
These versatile biscuits are delicious on their own, but they truly shine with accompaniments. Here are some fantastic serving suggestions:
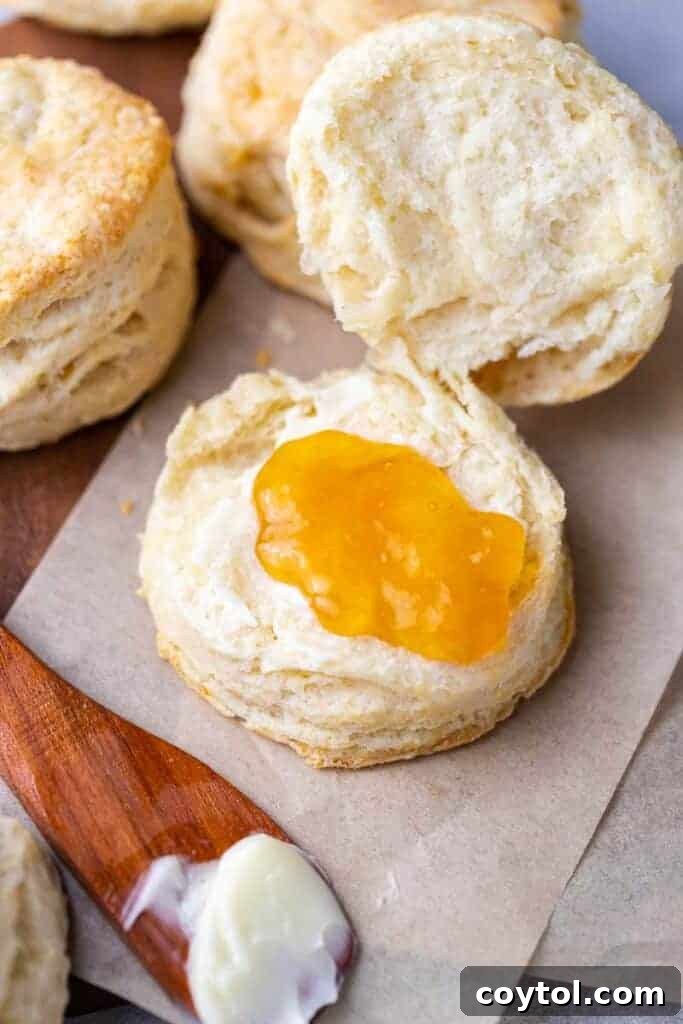
- Classic Breakfast: Serve them warm with your favorite fruit jam, marmalade, or a drizzle of golden honey. Honey works beautifully as a natural sweetener, adding just the right touch of sweetness without overwhelming the rich, buttery, and slightly salty biscuit flavor.
- Savory Pairings: For a hearty meal, serve alongside creamy sausage gravy for a classic Southern breakfast, or use them to soak up the delicious juices from stews, chilis, or roasted meats. They’re also excellent with a dollop of pimento cheese for a unique savory snack.
- Creative Sandwiches: Split them open and create mini breakfast sandwiches with scrambled eggs, cheese, and bacon, or use them for small, savory sliders with pulled pork or chicken salad.
- Dessert Twist: Don’t limit them to savory! Try them with a spoonful of chocolate spread, fresh berries and whipped cream, or a warm fruit compote for a delightful dessert.
We’re always eager to hear about new and creative ways to enjoy these biscuits! If you discover a unique combination that works wonderfully, please share it in the comments below.
Small Batch Buttermilk Biscuits for Two: The Recipe

Small Batch Buttermilk Biscuits for Two
Print Recipe
Ingredients
- 1 & 1/4 cup all-purpose flour
- 1/2 tsp baking powder
- 1/4 tsp baking soda
- 1/4 tsp salt
- 1 tsp sugar
- 3 tbsp butter cold & cubed
- 1/2 cup buttermilk cold
- Heavy cream for brushing the biscuits
Instructions
-
Preheat your oven to 425°F (220°C). Line a baking sheet with parchment paper and set it aside.
-
In a large bowl, whisk together all the dry ingredients: all-purpose flour, baking powder, baking soda, salt, and sugar. Ensure they are well combined.
-
Add the cold, cubed butter to the dry mixture. Using a pastry cutter or two forks, cut the butter into the flour until the mixture resembles coarse crumbs with some pea-sized chunks of butter remaining.
-
Pour in the cold buttermilk (or substitute). Using a rubber spatula, gently stir the mixture until a shaggy dough forms. Do not overwork the dough; it should look just combined, with some dry bits still visible.
-
Turn the dough out onto a lightly floured surface. Gently knead it 2-4 times, just enough to bring it together into a cohesive mass. This minimal handling prevents overworking and keeps the butter cold. You should still see flecks of butter.
-
Now, create those flaky layers. Gently pat the dough into a rectangle. Fold the left side of the rectangle over the right side, then gently pat it down. Next, fold the top of the rectangle over the bottom, patting it down again.
-
Repeat the folding process two more times. After the final fold, shape the dough back into a rectangle and flatten it with a pastry roller to about an inch in thickness.
-
Flour a 2.5-inch cookie or biscuit cutter. Press the cutter straight down into the dough (do not twist!) to cut out 4 biscuits. Gently wiggle the cutter to release the biscuit.
-
Place the cut biscuits on the prepared baking sheet. Using a pastry brush, lightly brush the tops of each biscuit with heavy cream. Bake for 13 minutes, or until the tops are golden brown and puffed.
-
Remove the biscuits from the oven and let them cool on the baking sheet for a few minutes until they are warm enough to handle. Serve immediately and enjoy!
Notes
Storage: Store leftover baked biscuits in an airtight container at room temperature for up to two days. For longer freshness, refrigerate them for up to five days.
Freezing Unbaked Biscuits: For future enjoyment, freeze individual unbaked biscuits by placing them on a baking sheet until solid. Once firm, transfer them to a zip-top freezer bag. Bake straight from frozen, adding an extra two to three minutes to the baking time.
Reheating: To bring your biscuits back to life, warm them in a 300°F (150°C) oven for five to seven minutes. For a softer texture, a quick microwave of 15-20 seconds per biscuit will do the trick.
Nutrition Information
Nutrition information is automatically calculated, so should only be used as an approximation.
Loved This Small-Batch Biscuit Recipe? Pin It for Later!
If these flaky, buttery, and utterly delicious small-batch biscuits have won your heart, don’t forget to save this recipe! Pin it to your favorite Pinterest board so you can easily find it whenever a craving for fresh, homemade biscuits strikes. Share the joy of baking perfect biscuits for two with your friends and family!