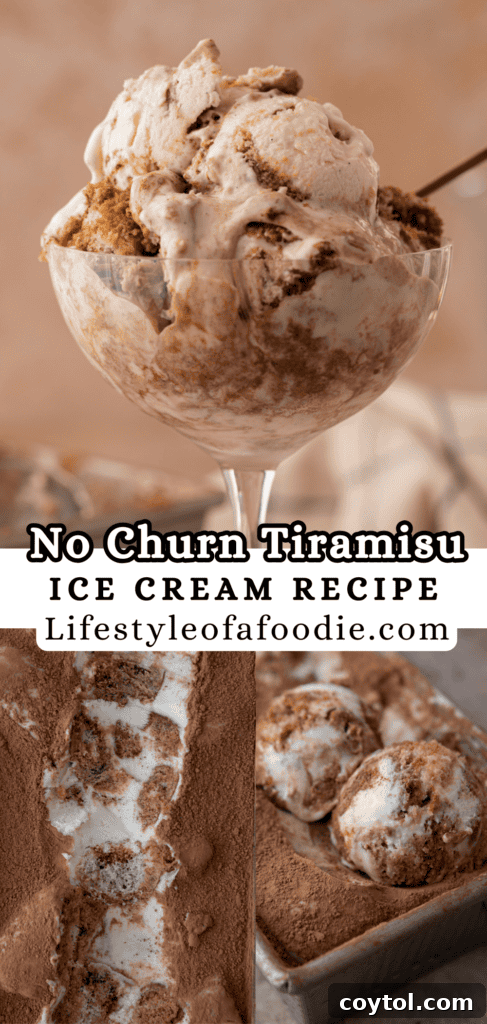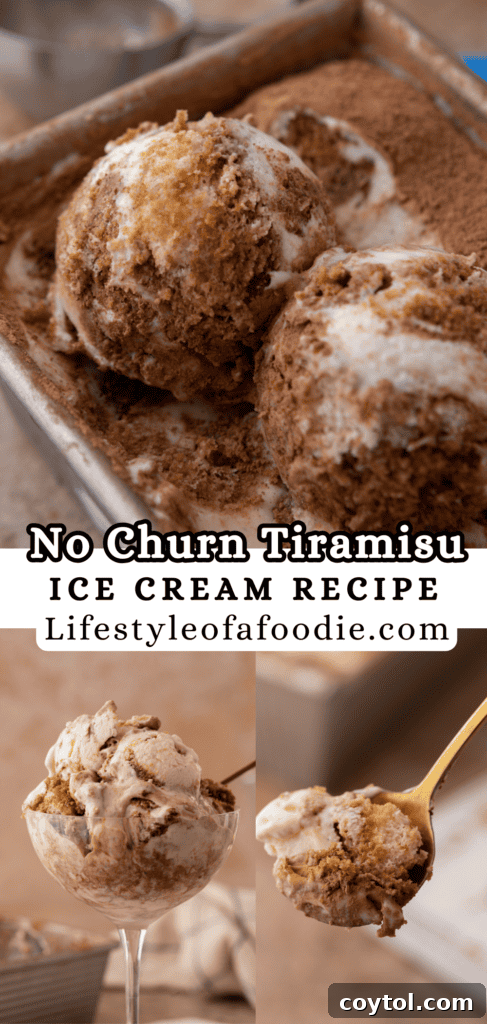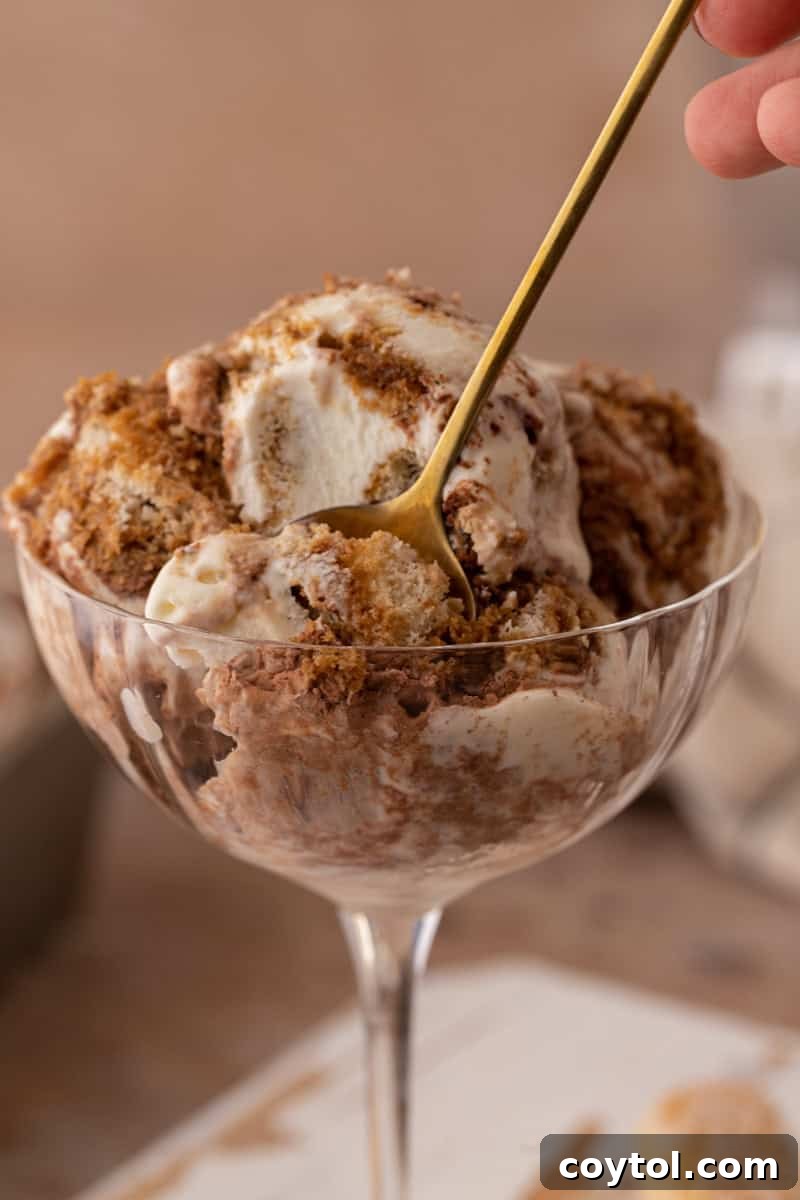
Indulge in Creamy Bliss: The Ultimate No-Churn Tiramisu Ice Cream Recipe
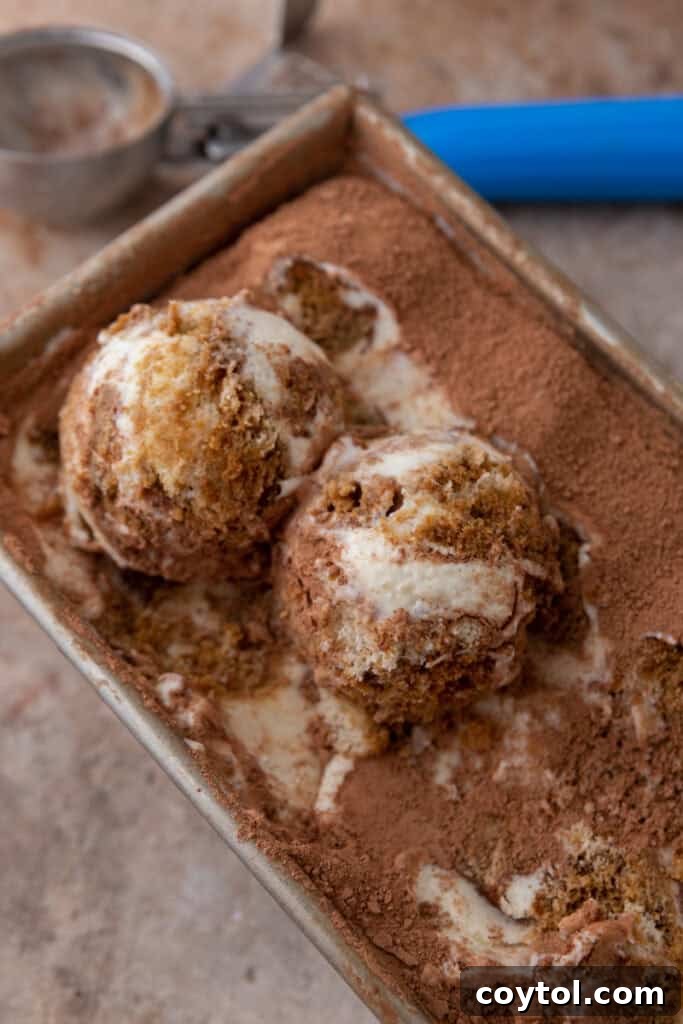
If you’re a true connoisseur of coffee and dessert, prepare to fall in love with our incredible No-Churn Tiramisu Ice Cream recipe. This delightful creation combines the iconic flavors of the classic Italian dessert with the refreshing coolness of homemade ice cream, all without the need for an ice cream maker! Imagine velvety mascarpone ice cream swirled with espresso-soaked ladyfingers and a delicate dusting of cocoa – it’s a dream come true for any sweet tooth.

Whether you’re hosting a sophisticated dinner party or simply craving a unique treat to beat the summer heat, this easy tiramisu ice cream is your perfect solution. It’s a fantastic twist on traditional tiramisu, offering all the complex flavors you love in a wonderfully chilled format. The harmonious layers of rich vanilla-infused cream, smooth mascarpone cheese, dark cocoa powder, and tender espresso-soaked biscuits create an unforgettable culinary experience that will transport your taste buds straight to Italy.
Are you a fan of effortless homemade ice cream? You’re in the right place! Explore some of our other fantastic recipes, such as our Ninja Creami Protein Ice Cream, the decadent Chocolate No-Churn Ice Cream with Brownies, or our popular Ninja Creami Vanilla Ice Cream for more frozen dessert inspiration.
Essential Ingredients for Your No-Churn Tiramisu Ice Cream
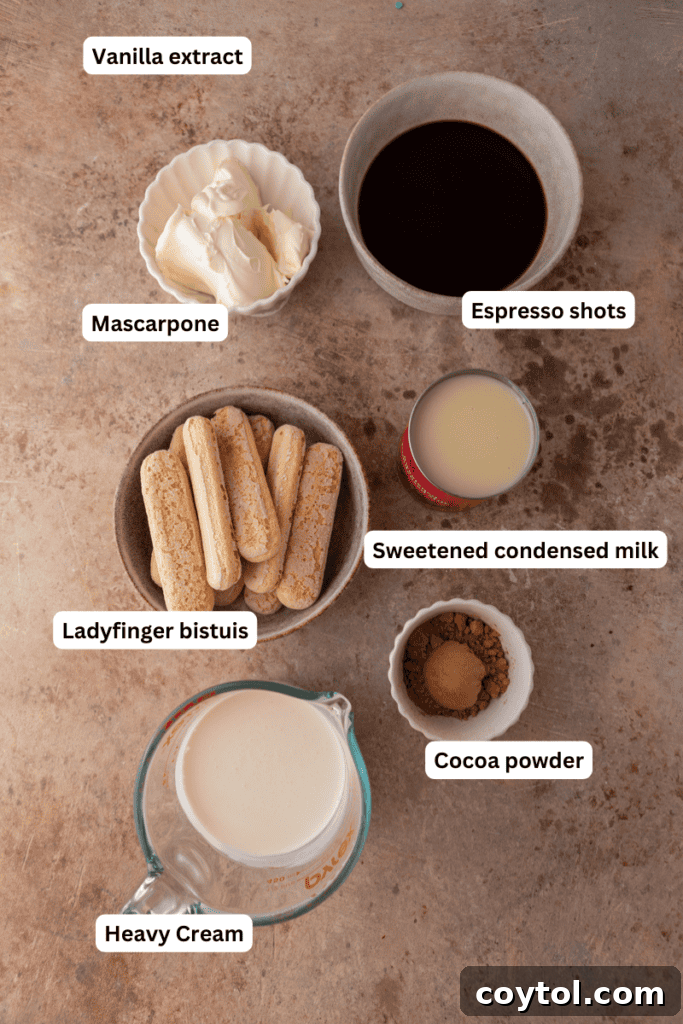
Crafting this incredible homemade tiramisu ice cream requires just a handful of simple, high-quality ingredients. Each component plays a crucial role in building the signature flavor and creamy texture of this delightful dessert. Below is a detailed list of what you’ll need. For precise measurements, please refer to the comprehensive recipe card at the bottom of this page.
- Heavy Whipping Cream: This is the foundation of our no-churn ice cream, providing the essential volume and airy texture when whipped. Ensure it is very cold for best results, as this will help it whip up quickly and hold stiff peaks.
- Mascarpone Cheese: The star ingredient that gives tiramisu its distinct rich and tangy creaminess. It’s vital for your mascarpone to be softened to room temperature before mixing. This ensures a smooth, lump-free base, so remember to take it out of the fridge about 30 minutes to an hour before you begin.
- Sweetened Condensed Milk: This magical ingredient is the secret to any successful no-churn ice cream. It provides both the sweetness and the incredibly smooth, creamy consistency without the need for an ice cream machine. It prevents ice crystals from forming, resulting in a perfectly scoopable frozen treat.
- Vanilla Extract: A touch of high-quality vanilla extract enhances all the other flavors in the ice cream, particularly complementing the robust coffee and rich cocoa. For an extra layer of gourmet flavor and visual appeal, consider using vanilla bean paste.
- Cocoa Powder: Used for dusting, this adds a beautiful bitter-sweet contrast and an authentic tiramisu finish. You’ll need two separate amounts – one for layering within the ice cream and another for the final flourish – so prepare two small bowls for ease of use. Unsweetened natural cocoa powder works best for that classic deep chocolate flavor.
- Fresh Espresso: The heart of the tiramisu flavor! Strong, freshly brewed espresso, cooled to room temperature, is essential for soaking the ladyfingers. If an espresso machine isn’t available, you can easily use strong instant coffee dissolved in a small amount of hot water, then cooled.
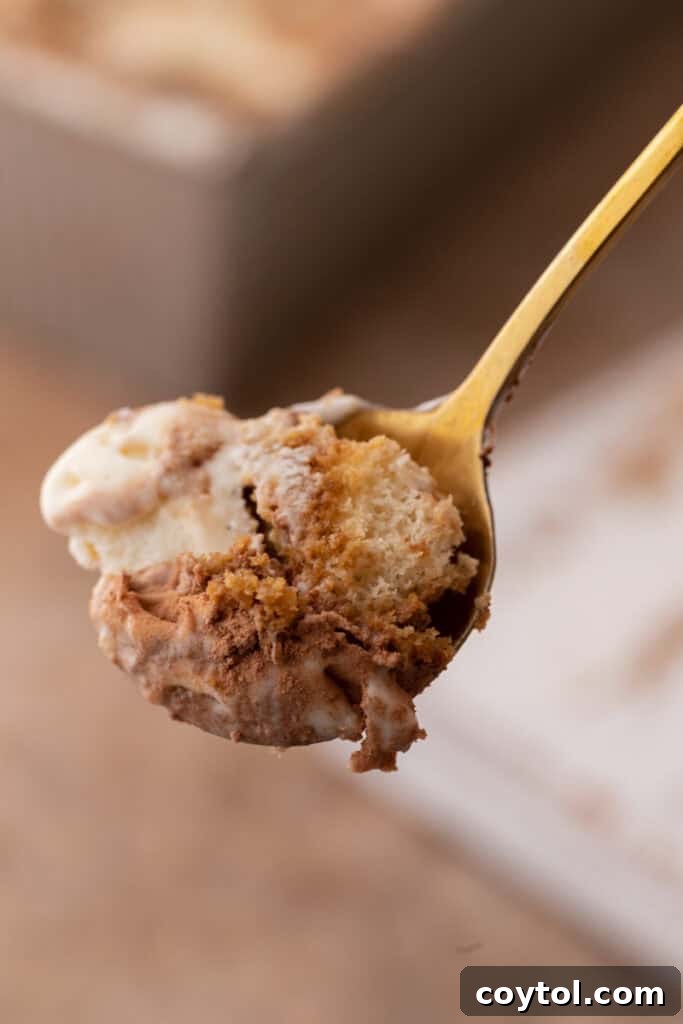
- Ladyfinger Cookies: These delicate, sponge-like cookies are traditionally used in tiramisu. They absorb the espresso beautifully, providing texture and an authentic taste. Break them into smaller, bite-sized pieces for easier distribution throughout the ice cream.
Step-by-Step Guide: How to Craft This No-Churn Tiramisu Ice Cream
Making this delightful coffee ice cream is surprisingly simple and requires no specialized equipment, making it perfect for novice and experienced home cooks alike. Follow these detailed instructions, and remember to check the recipe card at the end of this post for the full ingredient list and step-by-step guidance!
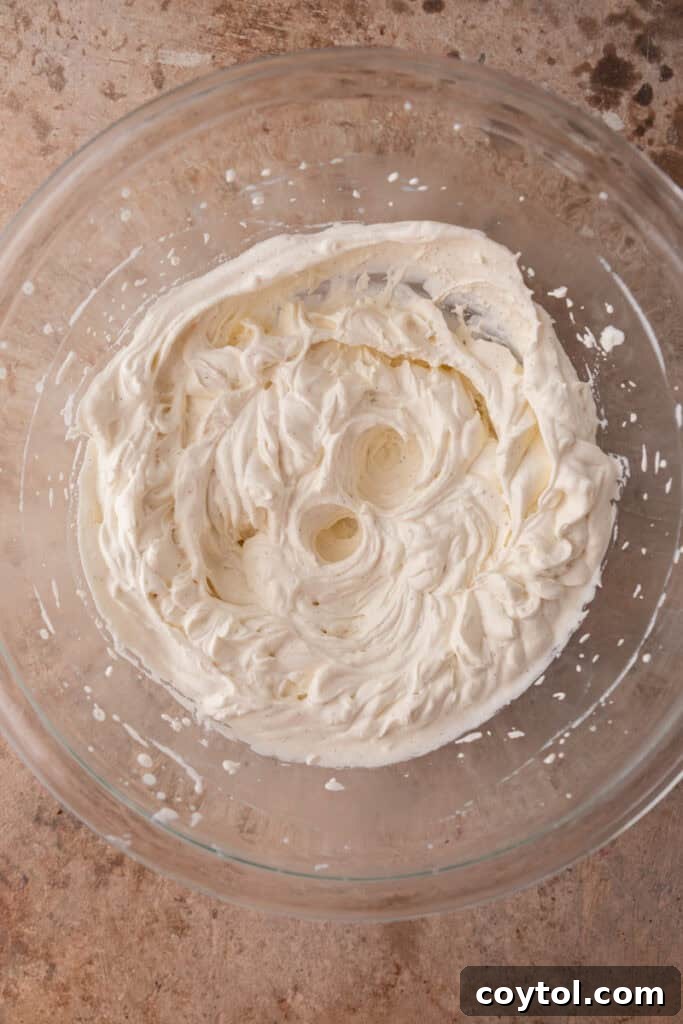
- Prepare the Whipped Cream: In a large, chilled mixing bowl, pour the very cold heavy whipping cream. Using either a hand mixer or a stand mixer fitted with a whisk attachment, whip the cream on medium-high speed. Continue whipping until firm, stiff peaks form. Be careful not to overmix, as this can turn the cream grainy. The whipped cream provides the light, airy structure of your no-churn ice cream.
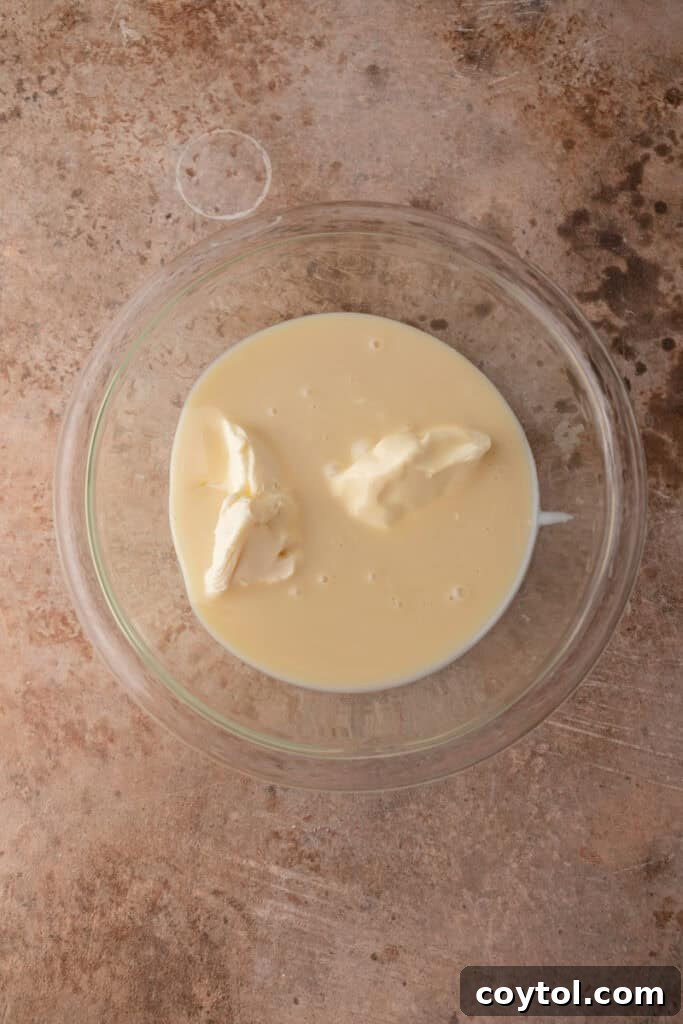
- Create the Mascarpone Base: In a separate, medium-sized mixing bowl, combine the softened mascarpone cheese, sweetened condensed milk, and vanilla extract. Whisk these ingredients together thoroughly until the mixture is completely smooth, creamy, and free of any lumps. This smooth base is crucial for the luxurious texture of your ice cream.
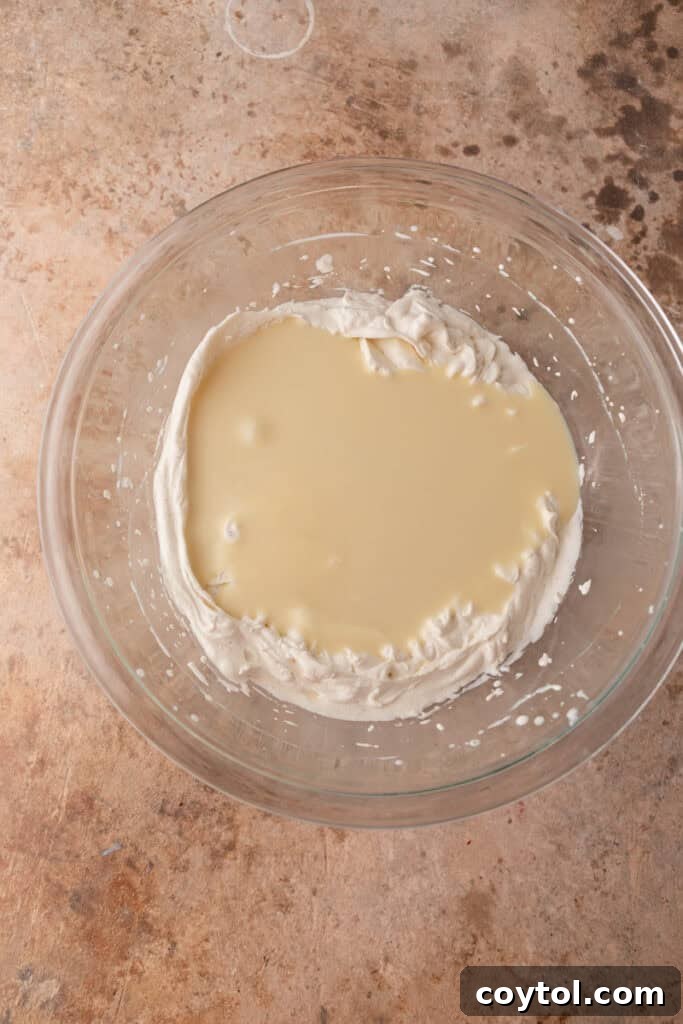
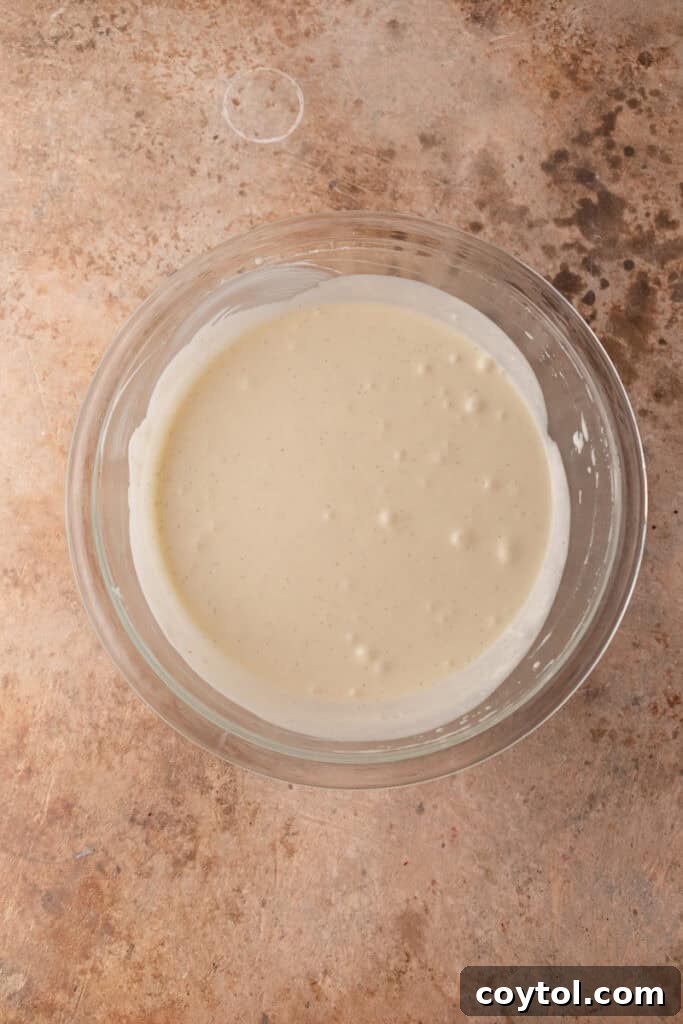
- Gently Combine the Mixtures: Carefully pour the mascarpone and sweetened condensed milk mixture into the bowl with the whipped heavy cream. Using a spatula, gently fold the two mixtures together. Use a light hand and fold just until everything is combined and no streaks remain. Overmixing here will deflate the whipped cream, leading to a less airy ice cream.
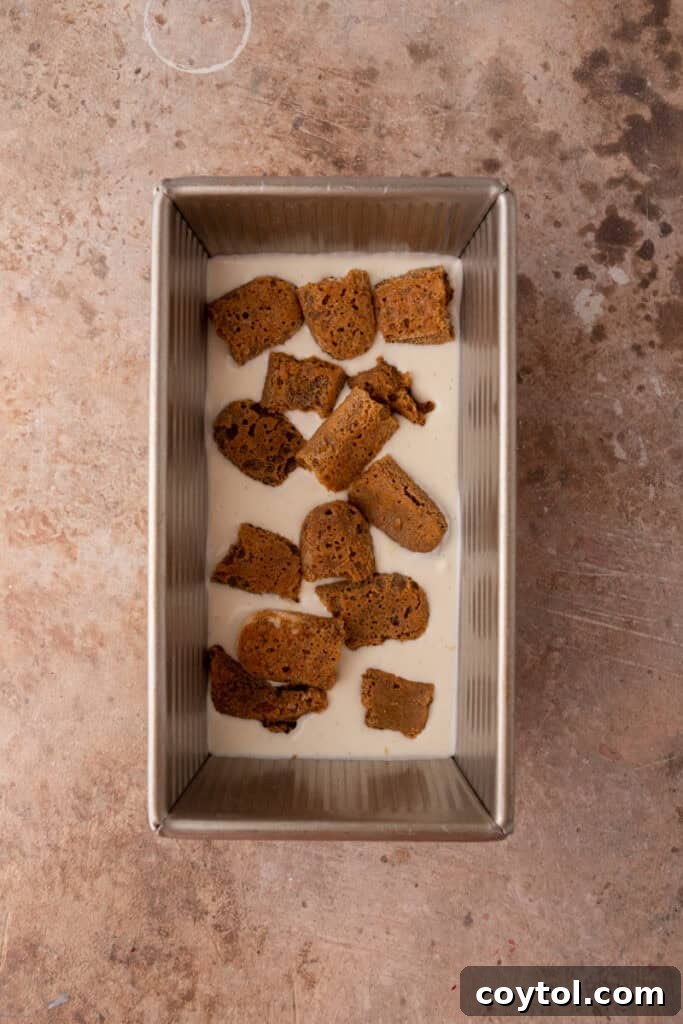
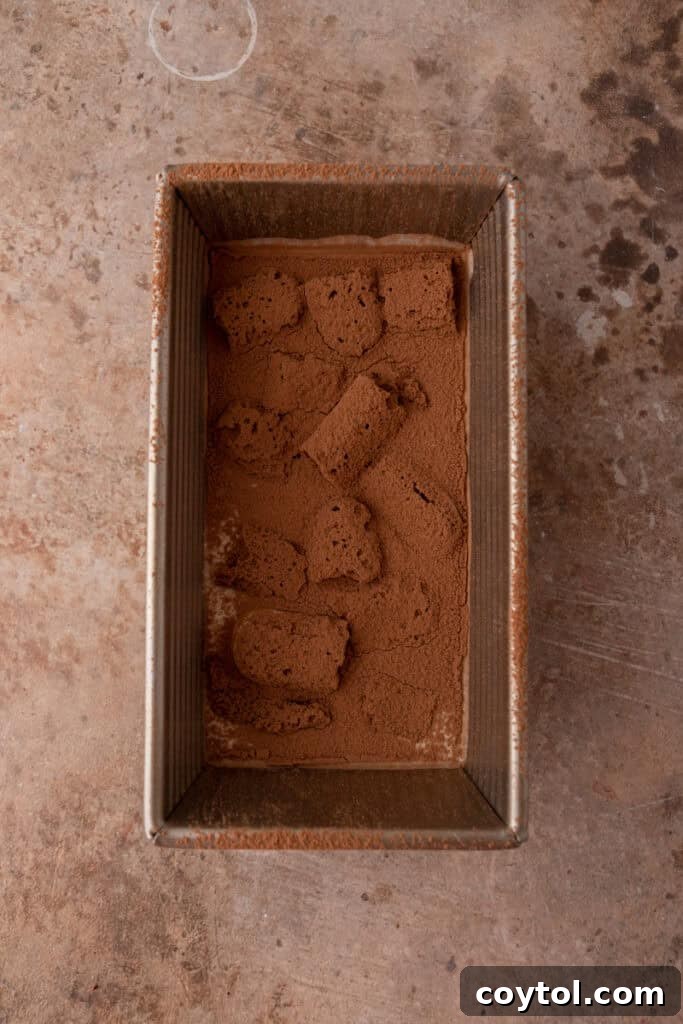
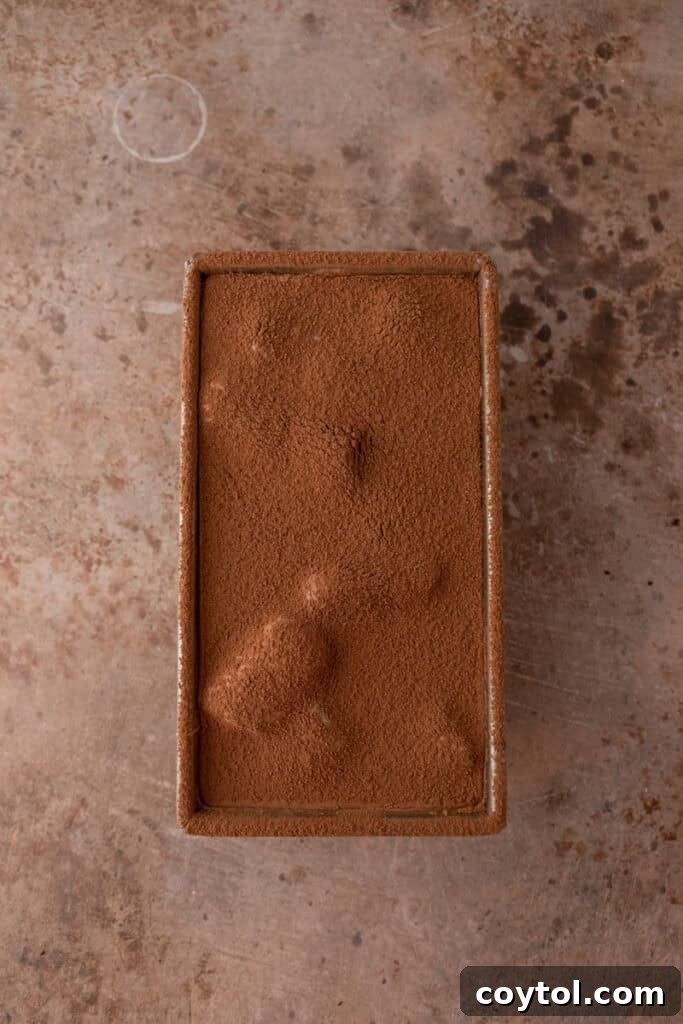
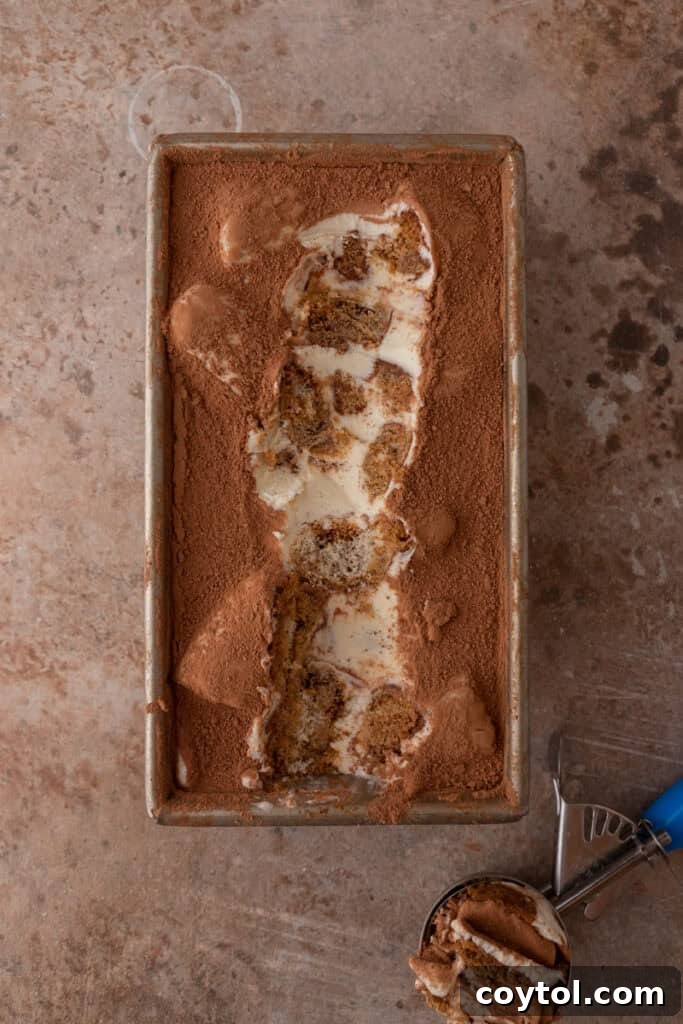
- Assemble the Layers: Take your 9×5 inch loaf pan or any freezer-safe container. Pour approximately one-third of the creamy ice cream base into the bottom of the pan, spreading it evenly. Next, take your broken ladyfinger pieces and lightly dip each piece into the cooled espresso. Be quick with this step; ladyfingers soak up liquid rapidly, and you don’t want them to become mushy. Arrange half of the espresso-soaked ladyfingers over the ice cream layer, then dust generously with cocoa powder. Repeat this layering process: another third of the ice cream mixture, followed by the remaining espresso-soaked ladyfingers, and another dusting of cocoa powder. Finish by spreading the final third of the ice cream mixture on top, ensuring it covers all the ladyfingers. For an extra touch of tiramisu aesthetic, dust the very top with an additional layer of cocoa powder before freezing.
- Freeze to Perfection: Cover the loaf pan or container tightly with plastic wrap, ensuring the wrap directly touches the surface of the ice cream mixture to prevent ice crystals from forming. Place the covered container in the freezer for a minimum of 6 hours, or ideally, overnight, to allow the ice cream to firm up completely and achieve the perfect scoopable consistency.
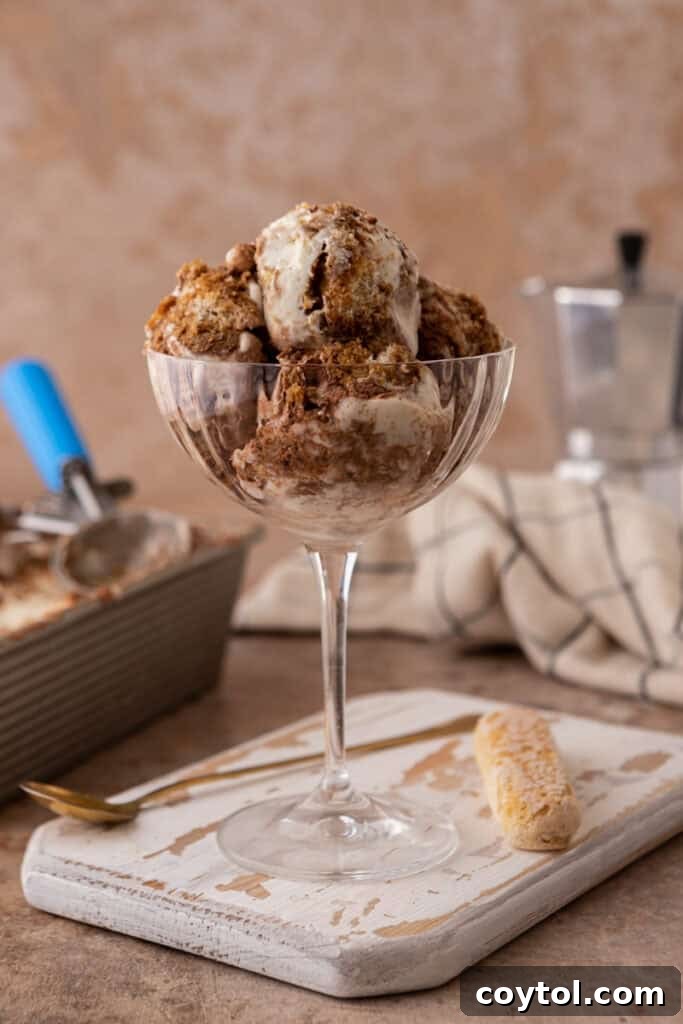
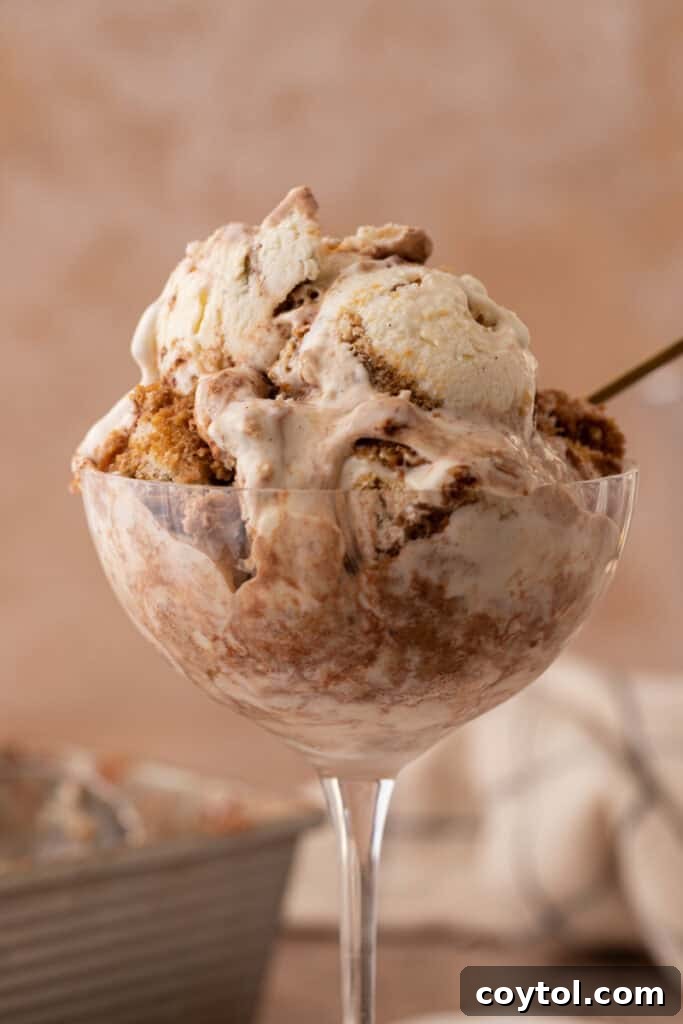
- Serve and Savor: When you’re ready to enjoy your homemade no-churn tiramisu ice cream, remove it from the freezer and let it soften slightly for a few minutes at room temperature. This will make it easier to scoop. Serve generous scoops into bowls or glasses, perhaps with an extra sprinkle of cocoa powder or chocolate shavings for garnish. Enjoy the cool, rich, and utterly delicious taste of tiramisu in a refreshingly new way!
Why You Absolutely Need to Make This No-Churn Tiramisu Ice Cream!
There are countless reasons why this easy tiramisu ice cream should be your next dessert project. Beyond its irresistible flavor, it offers incredible convenience and a delightful experience for everyone involved:
- Effortless and Accessible Ingredients: Say goodbye to specialty store hunts! This recipe calls for a minimal list of readily available ingredients that you can easily find at any local grocery store. No obscure components or complicated preparations – just straightforward deliciousness.
- No Special Equipment Required: The “no-churn” in its name means exactly that! You won’t need an expensive ice cream maker, an ice cream machine, or any other fancy gadgets. A hand mixer or a stand mixer for whipping cream is helpful, but even strong arms and a whisk can get the job done. This makes homemade ice cream accessible to everyone, regardless of kitchen appliance inventory.
- A Creative Spin on a Beloved Classic: This recipe offers a fun, refreshing, and utterly delicious twist on the classic Italian tiramisu. It maintains the rich, complex flavors of coffee, cocoa, and mascarpone but transforms them into a cool, creamy frozen treat. It’s perfect for those who adore tiramisu but are looking for something lighter and more seasonal.
- Superior Homemade Satisfaction: There’s an unparalleled joy in creating a gourmet dessert from scratch in your own kitchen. Not only is it often more budget-friendly than store-bought options, but the fresh flavors and customizable nature of homemade ice cream simply can’t be matched. Plus, it’s a wonderfully engaging activity to share with kids, friends, or family, creating delicious memories together.
Frequently Asked Questions – FAQ
How do I store leftover no-churn tiramisu ice cream?
To keep your homemade tiramisu ice cream fresh and prevent freezer burn, store any leftovers in an airtight container in the freezer. For the best results and to minimize ice crystal formation, place a piece of plastic wrap directly on the surface of the ice cream before sealing the container with its lid. This barrier prevents air from reaching the ice cream, maintaining its creamy texture for up to two weeks.
Can I add alcohol to this recipe?
Absolutely! Adding a touch of liqueur can enhance the authentic tiramisu experience. Traditional Tiramisu often includes coffee liqueur like Kahlúa, rum, Marsala wine, or even brandy. You can incorporate a tablespoon or two of your preferred spirit into the cooled coffee mixture before soaking the ladyfingers. This will infuse the ice cream with an extra layer of warmth and complexity, making it a delightful adult treat. Adjust the amount to your taste preference.
What type of coffee should I use?
For the most authentic and robust tiramisu flavor, using freshly brewed, strong espresso is highly recommended. The concentrated flavor of espresso provides that quintessential coffee kick. If you don’t have an espresso machine, don’t worry! You can easily substitute it with strong-brewed coffee. To achieve “strong-brewed” coffee, simply use more coffee grounds than usual with less water when brewing. Allow it to cool completely before using.
Can I make this no-churn tiramisu ice cream recipe dairy-free?
Yes, with a few substitutions, you can adapt this recipe to be dairy-free. You would need to replace the mascarpone cheese with a suitable dairy-free cream cheese alternative (ensure it’s full-fat for creaminess). For the heavy cream, coconut cream (the thick cream from canned full-fat coconut milk, chilled overnight and skimmed off the top) is an excellent substitute for whipping. Additionally, ensure that your ladyfingers and sweetened condensed milk are also dairy-free. While the final texture and flavor might have a subtle coconut hint and differ slightly from the original, it will still be a delicious frozen treat!
What can I use if I don’t have mascarpone cheese?
If mascarpone cheese is unavailable, a popular substitute is a mixture of cream cheese and heavy cream. To achieve a similar texture and richness, combine equal parts of softened full-fat cream cheese and cold heavy cream. Whip them together until smooth and creamy. The flavor will be slightly tangier than mascarpone, but it will still provide a wonderful, rich base for your tiramisu ice cream. Another option, though less ideal, could be full-fat ricotta cheese blended smooth with a touch of heavy cream.
The Best No-Churn Tiramisu Ice Cream Recipe
This recipe is perfect for anyone who craves the rich flavors of tiramisu but wants a cool, refreshing summer treat. It’s a no-churn ice cream, so no ice cream maker is needed!
Recipe Details
- Prep time: 15 minutes
- Total time: 15 minutes (plus freezing)
- Servings: 8 servings

Ingredients
- For the Ice Cream Base:
- 1 & 2/3 cups cold heavy whipping cream
- 6 ounces mascarpone cheese, softened to room temperature
- 14 oz sweetened condensed milk
- ½ teaspoon vanilla extract or 1 teaspoon vanilla bean paste
- For the Tiramisu Layers:
- 1/3 cup fresh espresso, cooled (or instant coffee dissolved in water)
- 8 ladyfingers, broken into pieces
- 3 tablespoons cocoa powder, for dusting
Instructions
- In a large bowl, use a hand mixer or stand mixer with a whisk attachment to whip the cold heavy whipping cream until stiff peaks form. Set aside.
- In a separate bowl, whisk together the softened mascarpone cheese, sweetened condensed milk, and vanilla extract until the mixture is smooth and creamy.
- Gently pour the sweetened condensed milk and mascarpone mixture into the whipped cream. Fold in gently with a spatula until everything is just combined. Avoid overmixing.
- Prepare a 9×5 inch loaf pan or a similar freezer-safe container. Pour about one-third of the whipped cream mixture into the bottom, spreading it evenly.
- Dip half of the broken ladyfinger pieces very lightly into the cooled espresso. Arrange these espresso-soaked ladyfingers over the first ice cream layer. Dust generously with cocoa powder.
- Repeat the layering: add another third of the whipped cream mixture, followed by the remaining espresso-soaked ladyfingers, and dust again with cocoa powder.
- Top everything off with the rest of the whipped cream mixture, spreading it smoothly. For a beautiful finish, sprinkle an extra dusting of cocoa powder on the top surface.
- Cover the container tightly with plastic wrap, ensuring the wrap touches the surface of the ice cream to prevent ice crystals. Freeze for at least 6 hours, or preferably overnight, for a firm texture.
- When ready to serve, remove the ice cream from the freezer and let it soften slightly for a few minutes. Scoop and enjoy the delightful taste of tiramisu in a cool, refreshing way!
Notes
- For an even stronger coffee flavor, always opt for espresso over regular brewed coffee.
- If ladyfingers are difficult to find, you can substitute them with crushed shortbread cookies, vanilla wafers, or even graham crackers for a different but equally delicious texture.
- To make this dessert boozier and truly authentic, add a splash (1-2 tablespoons) of rum, Kahlúa, or amaretto to the coffee mixture before soaking the ladyfingers.
- Feel free to get creative with your toppings! A sprinkle of chocolate shavings, a drizzle of chocolate syrup, or chopped toasted nuts can add extra flavor and texture dimensions.
Nutrition Information (Approximate per serving)
Calories: 469 | Carbohydrates: 37g | Protein: 8g | Fat: 33g | Saturated Fat: 21g | Polyunsaturated Fat: 1g | Monounsaturated Fat: 6g | Cholesterol: 118mg | Sodium: 105mg | Potassium: 272mg | Fiber: 1g | Sugar: 29g | Vitamin A: 1220IU | Vitamin C: 2mg | Calcium: 211mg | Iron: 1mg
Nutrition information is automatically calculated and should only be used as an approximation.
Did you enjoy this recipe? Leave a comment below and share your thoughts!

Loved This No-Churn Tiramisu Ice Cream Recipe? Pin It for Later!
Don’t let this incredible dessert disappear from your radar! If you enjoyed making and tasting this delightful no-churn tiramisu ice cream, be sure to save it for future cravings. Pin it to your favorite dessert boards on Pinterest so you can easily find it whenever you need a quick, delicious, and impressive treat. Share the love with your friends and family too!