
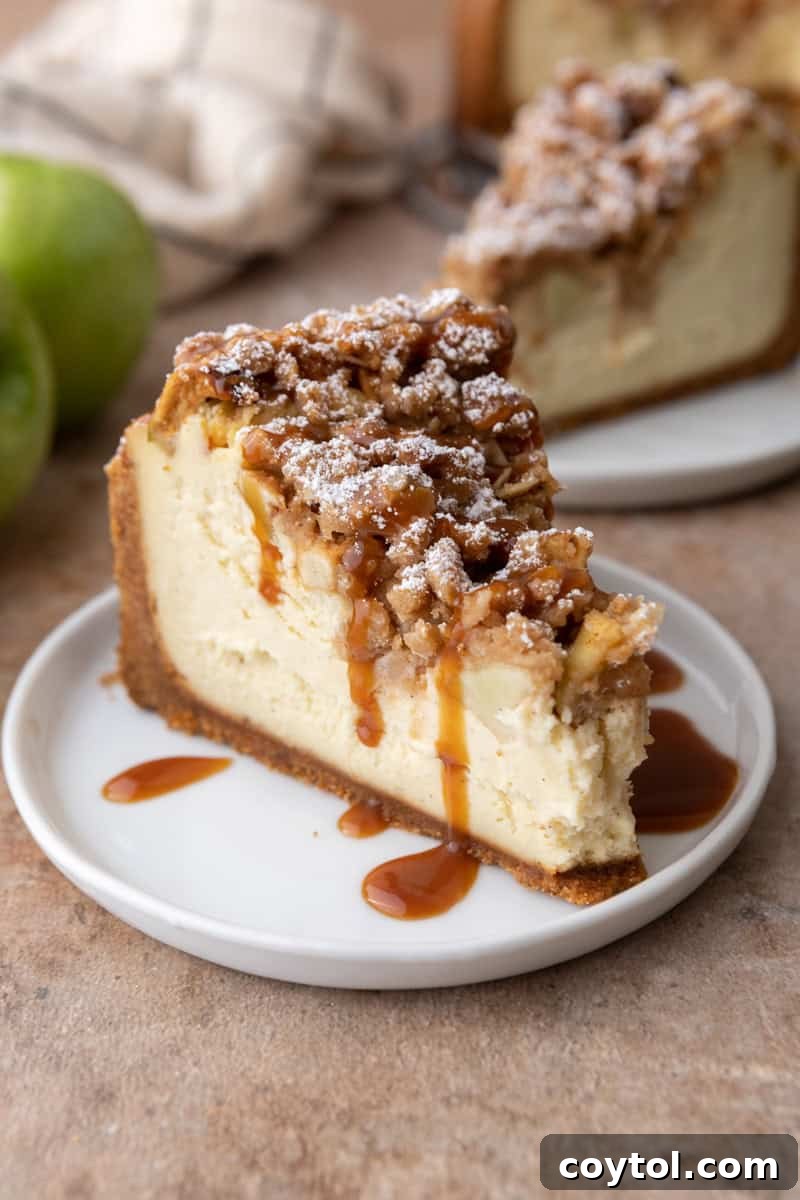
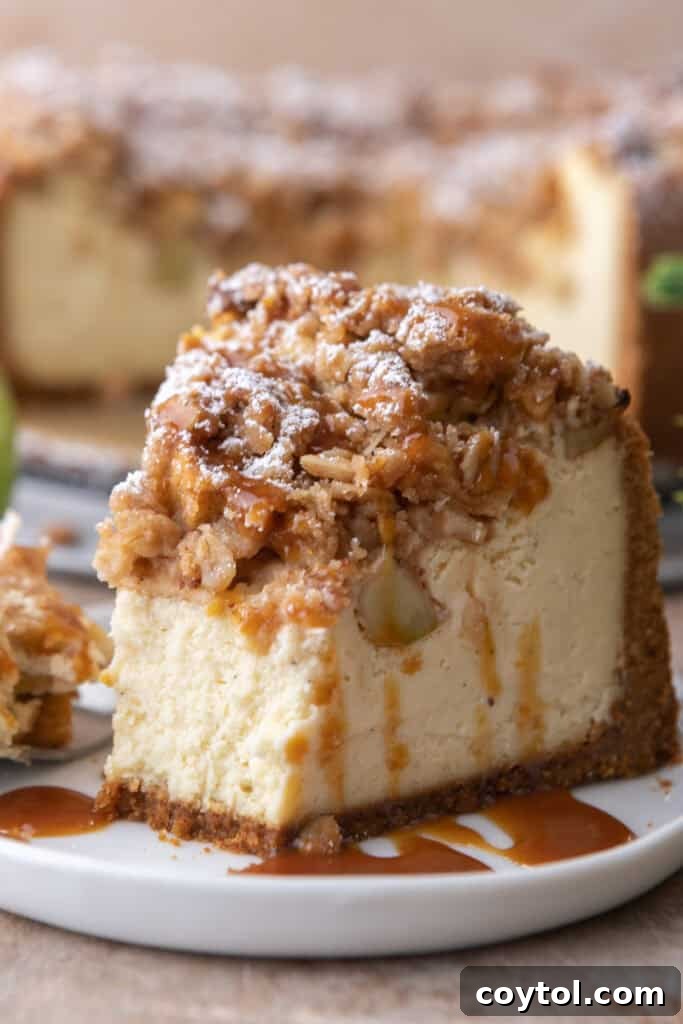
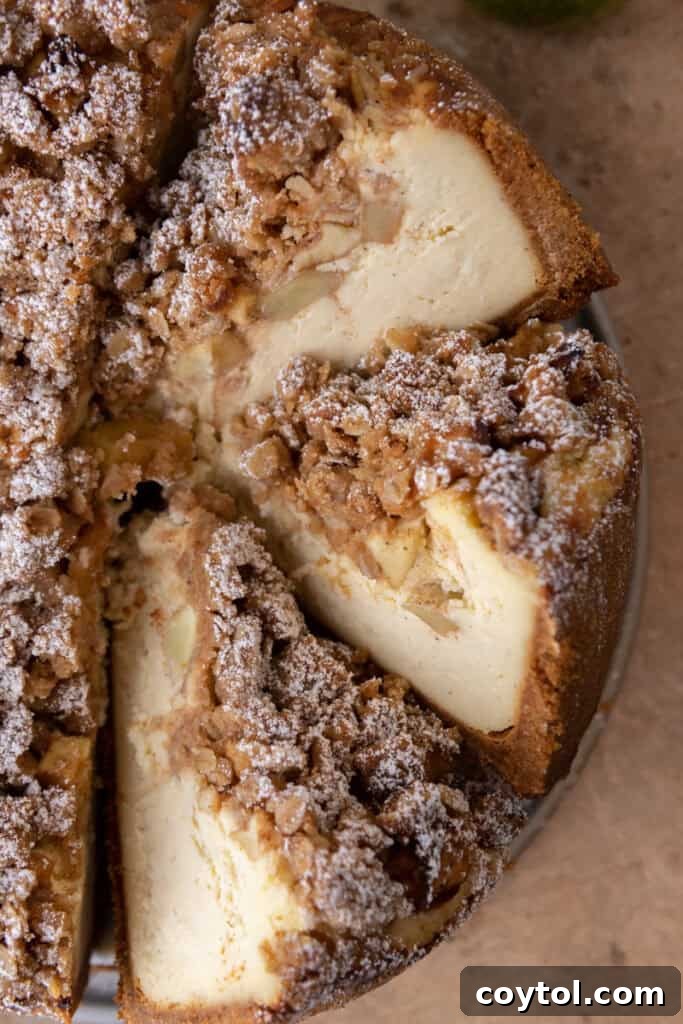
This **Apple Crisp Cheesecake Recipe** is the perfect marriage of a lusciously smooth, rich cheesecake and the comforting, spiced flavors of a classic fall dessert. Imagine a firm yet buttery graham cracker crust supporting a velvety, creamy cheesecake filling, all generously crowned with a crisp, cinnamon-spiced apple topping. It’s more than just a dessert; it’s an experience that promises to impress and delight anyone who takes a bite. Get ready to bake a true showstopper!
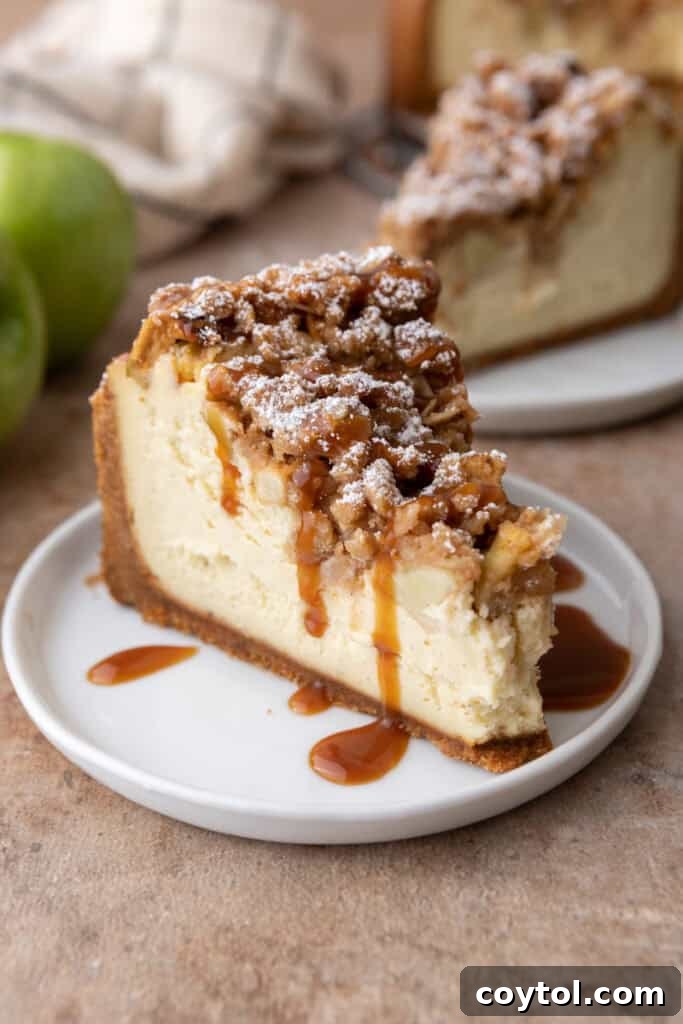
After the immense success of our popular apple cheesecake bars with streusel crisp, we knew we had to deliver a more traditional, grand version for those truly special occasions. This **Apple Crisp Cheesecake** is specifically designed to be that authentic, memorable dessert that truly wows your guests and becomes the centerpiece of any festive celebration. Its layered complexity of flavors and textures makes it an unforgettable treat.
Whether you’re planning for festive holiday gatherings, cozy autumn parties, or simply craving an extraordinary comforting treat, this cheesecake is your ultimate answer. Its stunning, handcrafted appearance makes it an ideal option for any dinner party, yet it’s surprisingly straightforward to prepare, even ahead of time. The harmonious blend of tart, tender apples, luxuriously creamy cheesecake, and a delightful crunchy streusel topping creates an irresistible symphony of tastes and sensations, making it the perfect sweet indulgence for those crisp, chilly evenings when only something truly special will do.
If you’re an avid apple enthusiast like us, be sure to explore more of our beloved apple-inspired recipes to keep the deliciousness going. Try our satisfying Dutch Apple Pie Bars Recipe, these comforting Apple Cinnamon Oatmeal Cookies, or our simple yet delightful Cinnamon Baked Apples Recipe for more apple-infused goodness.
Why You’ll Adore Baking This Apple Crisp Cheesecake Recipe
This isn’t just another cheesecake recipe; it’s a culinary experience designed to impress and satisfy. Here are compelling reasons why this **Apple Crisp Cheesecake** will become your new go-to fall and holiday dessert:
- A Flawless Fusion of Flavors: This dessert brilliantly combines the best elements of two beloved classics: the rich, tangy creaminess of a New York-style cheesecake and the warm, spiced fruitiness of a homemade apple crisp. Every bite offers a delightful journey through layers of flavor and texture that are truly unforgettable.
- Effortlessly Elegant for Any Occasion: Despite its elaborate and impressive appearance, this **apple crisp cheesecake** is surprisingly approachable to make. It’s the ultimate showstopper for holiday feasts, autumn celebrations, dinner parties, or any time you want to elevate your dessert game without the usual stress. Its beauty makes it a conversation starter.
- Simple, Accessible Ingredients: You won’t need to hunt for exotic or hard-to-find items. This recipe relies on readily available, common ingredients found at any standard grocery store, making it a convenient and practical choice for any home baker.
- Perfect for Make-Ahead Preparation: This **apple crisp cheesecake recipe** is an ideal make-ahead dessert. Preparing it at least a day in advance not only saves valuable time on the day of your event but also allows the complex flavors to deepen and meld beautifully. The chilling process is crucial for optimal texture and taste, resulting in an even more delicious treat that’s ready when you are.
- A Guaranteed Crowd-Pleaser: From the pickiest eaters to the most seasoned dessert connoisseurs, everyone at your dinner table will fall head over heels for this unique and harmonious combination. It’s guaranteed to receive rave reviews, compliments, and eager requests for the recipe, making you the star baker of any gathering!
- Comforting & Cozy Vibes: The warm cinnamon and nutmeg, combined with tender apples and creamy cheesecake, evoke a sense of ultimate comfort and coziness. It’s the quintessential dessert to enjoy during crisp autumn evenings or festive winter holidays.
Essential Ingredients for Your Homemade Apple Crisp Cheesecake
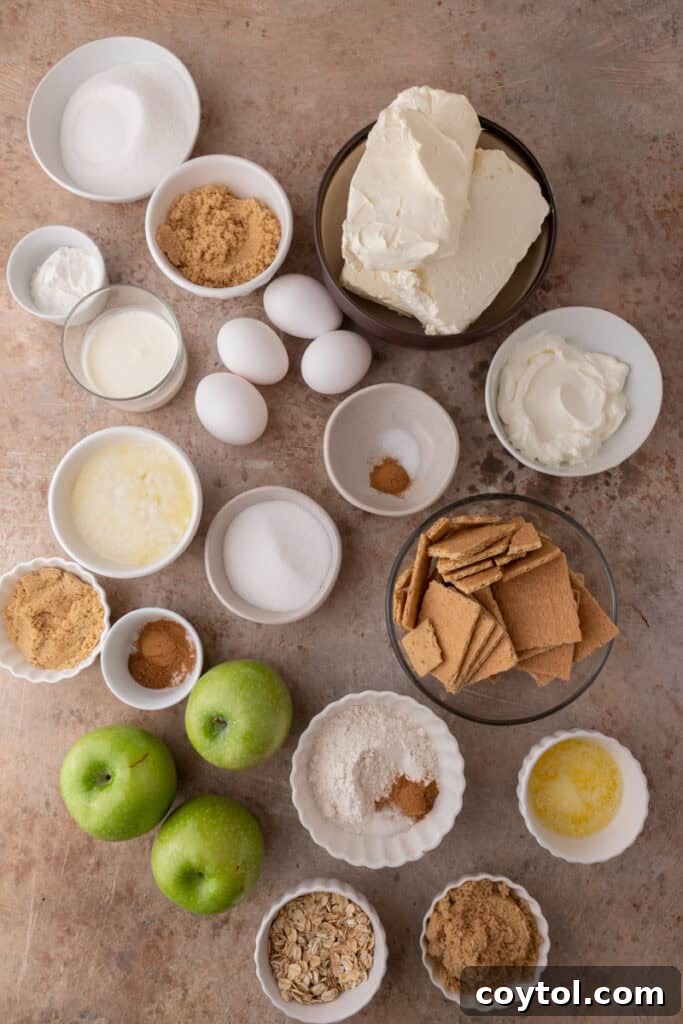
Crafting this incredible dessert requires a few distinct components, each playing a vital role in its overall perfection and layered texture. Below is a detailed breakdown of what you’ll need for each section of this **apple crisp cheesecake**. For precise measurements and a comprehensive guide, please refer to the recipe card at the very end of this article.
For the Irresistible Oat Streusel Topping:
- Old-fashioned Rolled Oats: These provide the streusel with its signature hearty, chewy texture, adding a delightful rustic contrast to the smooth cheesecake below.
- All-purpose Flour: This provides the base structure for our streusel, ensuring it holds together beautifully and achieves that classic crumbly, golden-brown finish when baked.
- Light Brown Sugar: Infuses the topping with a deep, caramelized sweetness and a subtle hint of molasses, complementing the apples perfectly and adding to the cozy fall flavor.
- Salt: A crucial pinch of salt enhances all the flavors, balancing the sweetness and making the warm spices truly shine, bringing depth to the topping.
- Ground Cinnamon: This warm, aromatic spice is absolutely essential for that cozy fall flavor profile, creating an inviting aroma and taste that pairs wonderfully with apples.
- Unsalted Butter (Melted): The binding agent that brings the dry streusel ingredients together. It creates a rich, crispy texture as the streusel bakes to a beautiful golden perfection.
For the Perfectly Crunchy Graham Cracker Crust:
- Graham Cracker Crumbs: The classic and indispensable base of almost any cheesecake, providing a firm, crunchy foundation that’s both sweet and subtly spiced, ready to hold the creamy filling.
- Granulated Sugar: Sweetens the crust and assists in creating a slight caramelization during baking, adding an extra layer of flavor and a pleasing crispness.
- Ground Cinnamon: Adds a warm, inviting hint of spice that beautifully complements both the apple filling and the rich cheesecake filling, tying all the flavors together.
- Salt: Essential for balancing the sweetness of the sugar and intensifying the rich, buttery flavors of the graham cracker crust.
- Unsalted Butter (Melted): This binds the graham cracker crumbs together, creating a sturdy, rich, and flavorful crust that sets beautifully and firmly once baked.
For the Silky-Smooth Cheesecake Filling:
- Cream Cheese: The undeniable star of the show! It’s vital to use full-fat cream cheese, and ensure it’s softened to room temperature before mixing for that signature rich, tangy, and impossibly smooth cheesecake texture.
- Granulated Sugar: Provides the primary sweetness to the filling, contributing to its creamy and delicate consistency without overpowering other flavors.
- Brown Sugar: Adds a layer of complex, mellow sweetness with subtle molasses notes, which enhances the warmth of the fall spices and deepens the cheesecake’s flavor profile.
- Large Eggs: Crucial for structure, binding the filling as it bakes while maintaining that desired creamy, tender, and melt-in-your-mouth interior. Ensure they are also at room temperature.
- Sour Cream: Introduces a delightful tanginess that perfectly cuts through the richness of the cream cheese, balancing the sweetness and adding to the cheesecake’s luxurious, velvety texture.
- Heavy Cream: Essential for an extra boost of richness and a truly velvety, smooth mouthfeel, making the cheesecake utterly decadent and utterly melt-in-your-mouth.
- Vanilla Bean Paste: Delivers an intense, fragrant vanilla flavor with beautiful, visible specks of vanilla seeds, elevating both the aesthetic and taste of the cheesecake. (If unavailable, 1 tablespoon of high-quality vanilla extract can be used as a substitute).
- Cornstarch: A secret ingredient that helps stabilize and subtly thicken the filling, ensuring a smooth, crack-free cheesecake without making it overly dense. It contributes to that perfect creamy consistency.
For the Tender, Spiced Apple Filling:
- Apples: The heart of the “crisp” element! We recommend a blend of Granny Smith (for its delightful tartness and firm texture) and Honeycrisp (for its sweetness and crisp bite). However, feel free to use your favorite firm apple varieties such as Fuji, Gala, or Golden Delicious. Ensure they are peeled, cored, and thinly sliced for even cooking.
- Granulated Sugar: A touch of sweetness to balance the natural tartness of the apples, ensuring a perfectly harmonious flavor in every bite.
- Brown Sugar: Provides a deeper, caramel-like sweetness that truly brings out the best in the apples as they soften and cook, adding complexity.
- Lemon Juice: A vital ingredient that brightens the apple flavors, helps prevent the apples from browning prematurely, and adds a subtle zesty tang to complement the sweetness.
- Ground Cinnamon: The quintessential spice for apples, infusing the filling with warm, comforting aromatics and that classic apple pie flavor.
- Ground Nutmeg: Adds a delicate, earthy warmth and a hint of exotic spice, deepening the apple flavor profile for a truly cozy, inviting feel.
Choosing the Right Cheesecake Pan: Our Top Recommendation
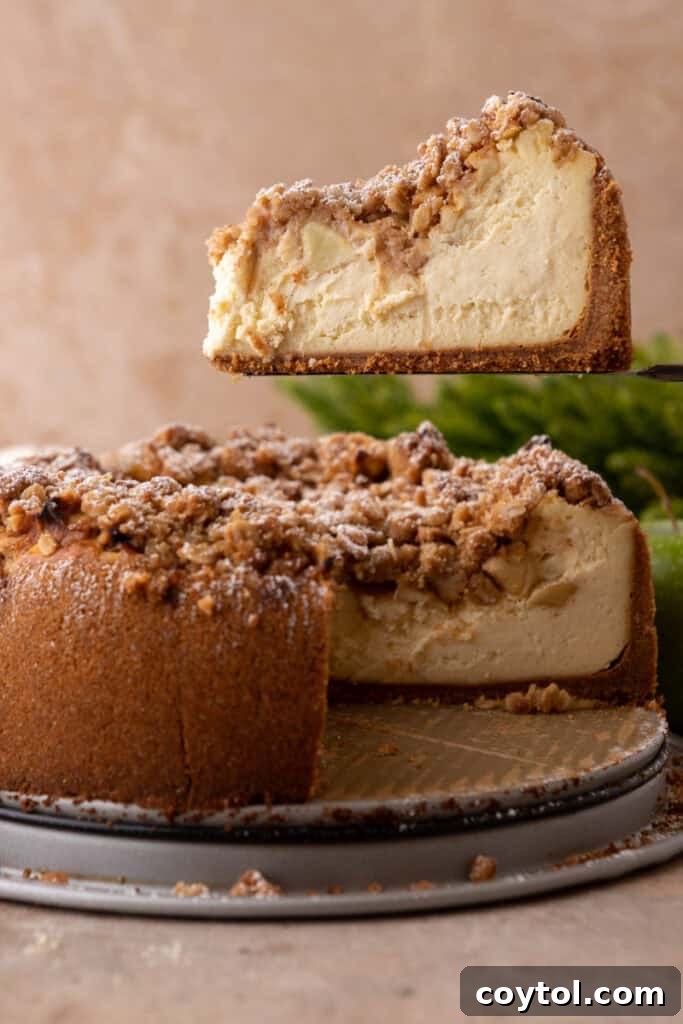
For a cheesecake as grand and luxurious as this **apple crisp cheesecake masterpiece**, using the right pan is absolutely crucial for success. We highly recommend using a USA Pan 9-inch cheesecake pan. Its superior heavy-duty construction ensures even baking and promotes consistent heat distribution, which is key for a perfectly cooked cheesecake. Most importantly, this particular pan is renowned for being leak-proof – a common and frustrating concern when baking cheesecakes in a water bath, as it prevents any water from seeping into your delicious crust. Furthermore, its generous height is perfectly suited to accommodate the impressive layers of crust, creamy filling, and abundant apple streusel topping in this specific recipe. Investing in a good quality springform pan will make your **homemade cheesecake** baking experience much smoother, more enjoyable, and significantly more successful.
Step-by-Step Guide: How to Craft Your Ultimate Apple Crisp Cheesecake
Creating this stunning **apple cinnamon cheesecake** is a rewarding process, and following these detailed steps will ensure a perfect, professional-looking result every time. Remember to consult the full recipe card at the bottom of this post for all precise ingredient measurements and timings for each stage.
1. Prepare the Golden Oat Streusel Topping:
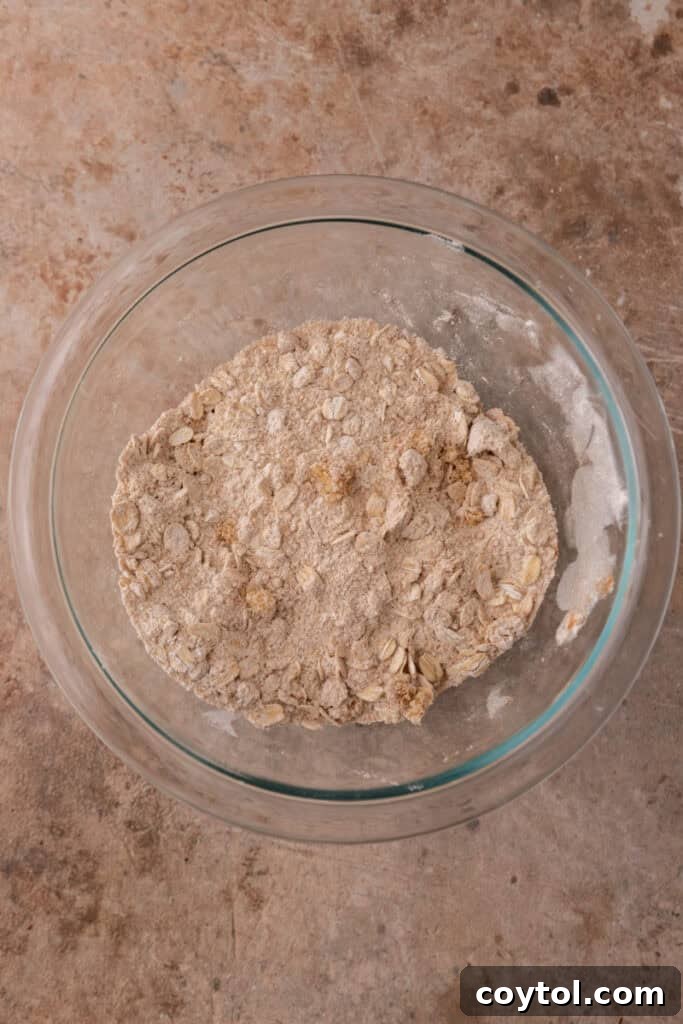
- In a small mixing bowl, combine the all-purpose flour, old-fashioned rolled oats, light brown sugar, salt, and ground cinnamon. Use a whisk or fork to thoroughly mix these dry ingredients, ensuring they are evenly distributed.
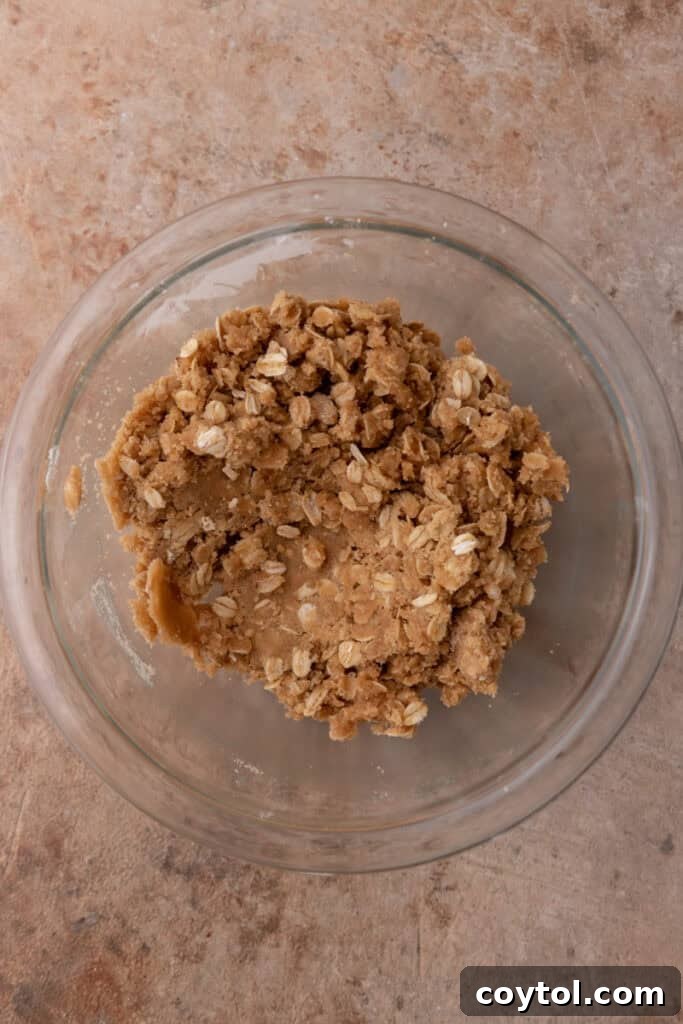
- Pour the measured melted unsalted butter into the dry streusel mixture. Stir with a fork or your fingertips until the mixture comes together and resembles a crumbly cookie dough. Be careful not to overmix; you want distinct crumbles, not a smooth paste.
- Cover the bowl and place the prepared streusel topping in the refrigerator to chill while you proceed with the remaining components of the cheesecake. Chilling the streusel helps it maintain its delightful crumbly texture and prevents it from melting too quickly during the cheesecake’s baking process.
2. Craft the Perfect Graham Cracker Crust:
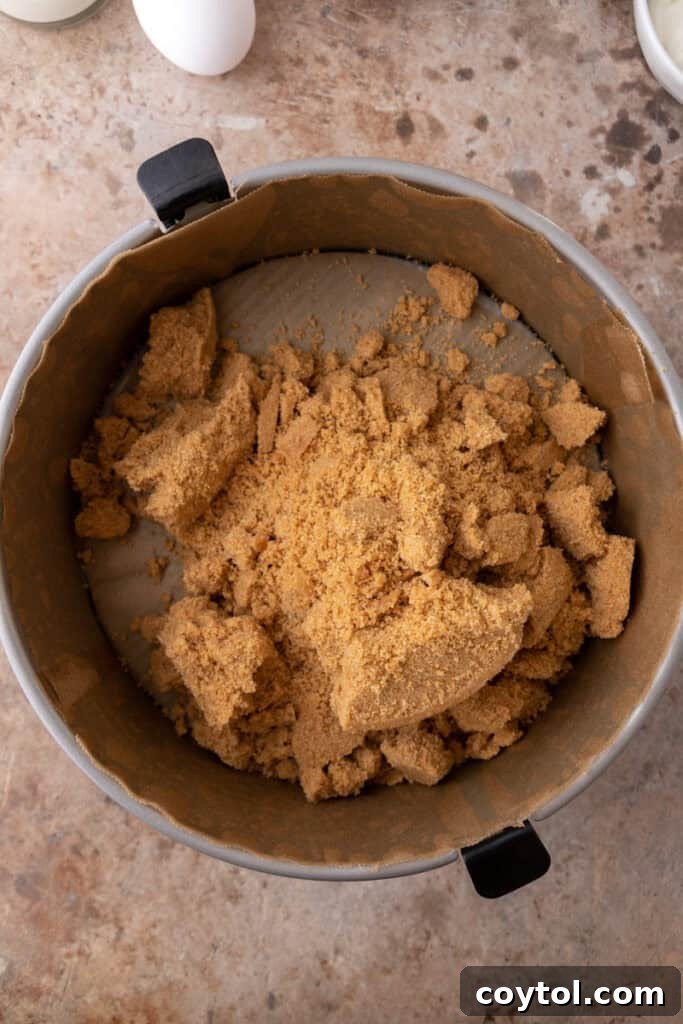
- Preheat your oven to 325°F (160°C). Prepare your 9-inch springform pan by carefully wrapping the bottom and sides with three layers of heavy-duty aluminum foil. This step is absolutely crucial for preventing any water from entering the pan during the water bath baking process, which can lead to a soggy crust. Ensure the foil is tightly sealed all around. For added protection and easier release, you can also line the bottom of the pan with a parchment paper circle.
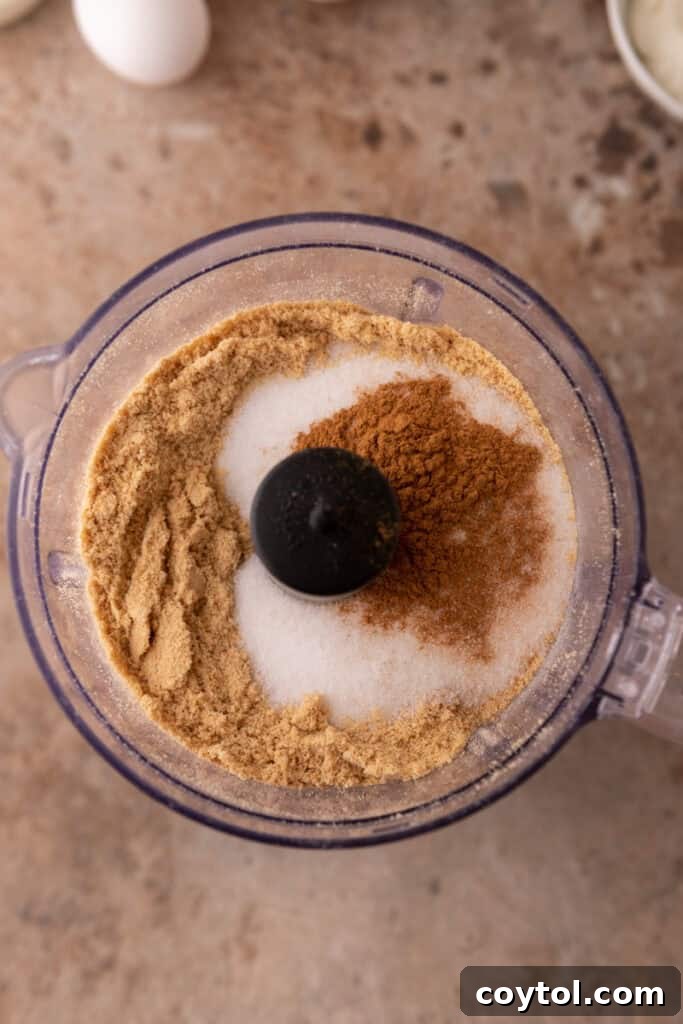
- In a medium-sized bowl, combine the graham cracker crumbs, granulated sugar, ground cinnamon, and salt. Stir these dry ingredients together thoroughly to ensure they are evenly mixed.
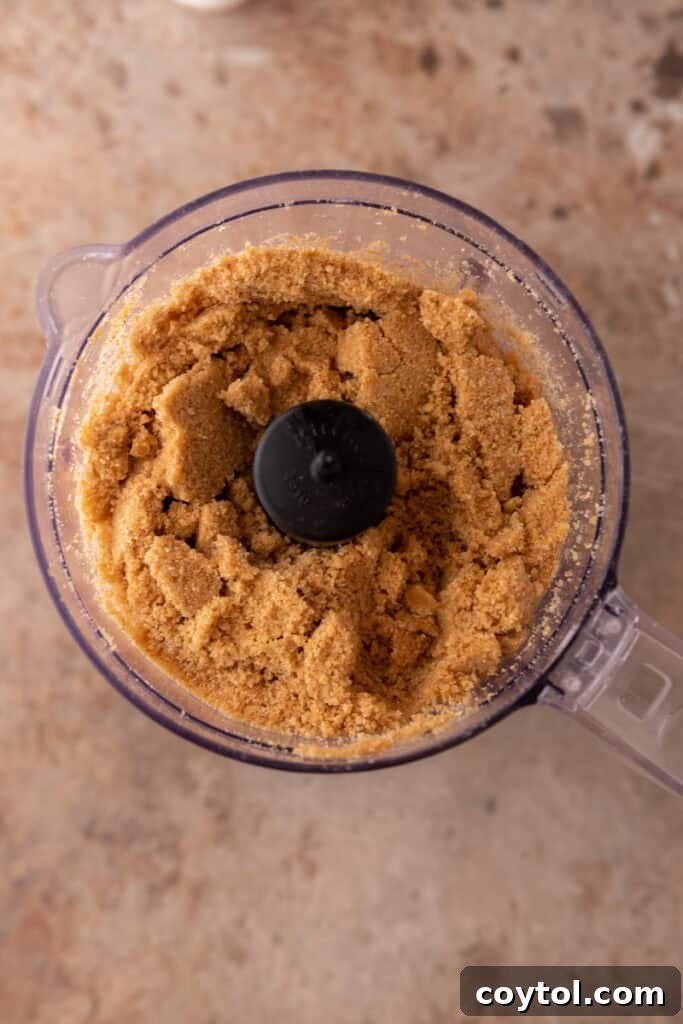
- Pour in the measured melted unsalted butter. Mix thoroughly with a fork or spatula until all the crumbs are uniformly moistened. The mixture should resemble wet sand and should hold together when pressed firmly.
- Transfer the crumb mixture to the prepared springform pan. Using the back of a spoon or the bottom of a flat-bottomed glass, firmly press the crumbs into an even layer across the bottom and slightly up the sides of the pan. Compacting the crust well ensures it will be sturdy and won’t crumble apart when sliced.
- Bake the crust in the preheated oven for 10 minutes, just until it’s slightly golden and appears solidified. This brief bake helps it hold its shape. Once baked, remove it from the oven and allow it to cool completely on a wire rack while you prepare the fillings.
3. Prepare the Aromatic Apple Filling:
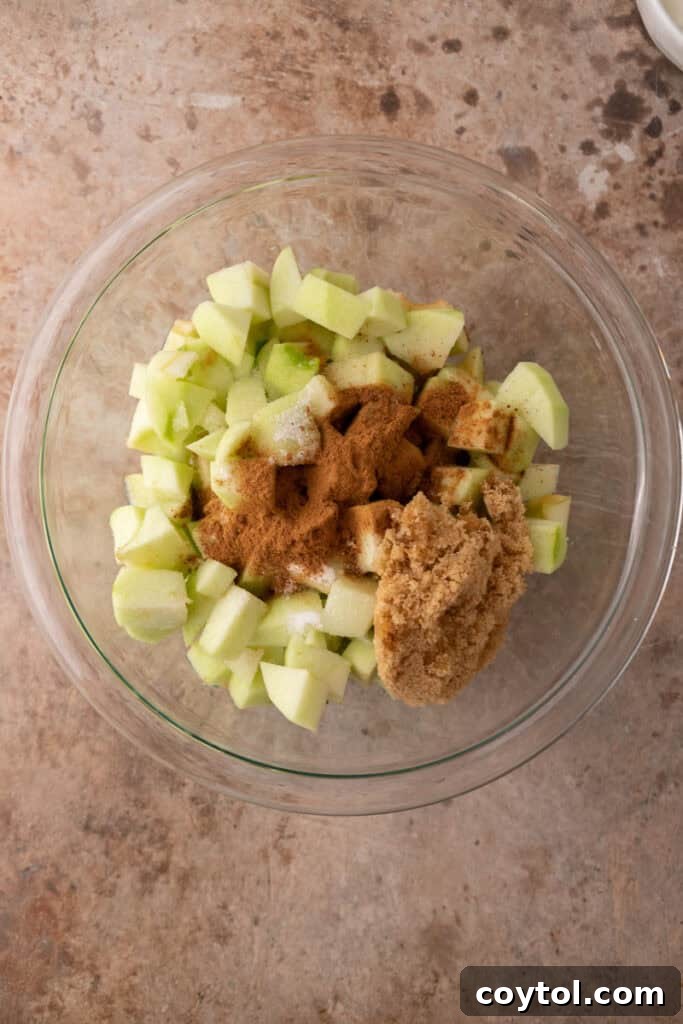
- In a medium bowl, combine the thinly sliced apples with both granulated sugar and brown sugar, fresh lemon juice, ground cinnamon, and ground nutmeg. Toss gently but thoroughly until all the apple slices are uniformly coated with the fragrant spice mixture.
- Set the apple mixture aside to macerate. The lemon juice will help prevent the apples from browning, and the sugars will begin to draw out some of the apple’s natural juices, creating a delicious base for the topping. If a significant amount of liquid accumulates, try to drain some of it before adding the apples to the cheesecake to prevent a soggy topping.
4. Create the Velvety Cheesecake Filling:
- In a large stand mixer bowl, fitted with a paddle attachment, beat the softened full-fat cream cheese and granulated sugar together on medium speed until the mixture is completely smooth, light, and creamy. This usually takes about 2-3 minutes. Ensure there are absolutely no lumps remaining. (A powerful handheld electric mixer can also be used effectively for this step).
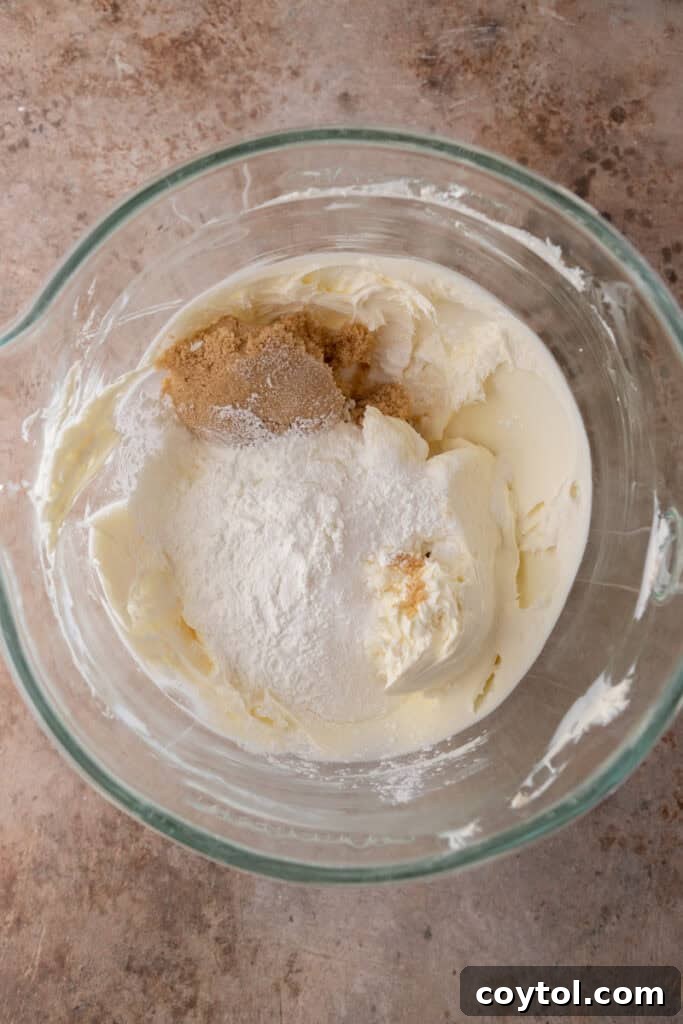
- Add the brown sugar and cornstarch to the cream cheese mixture. Continue beating on low speed only until these ingredients are just combined. Be careful not to overmix at this stage, as incorporating too much air can negatively affect the cheesecake’s final texture.
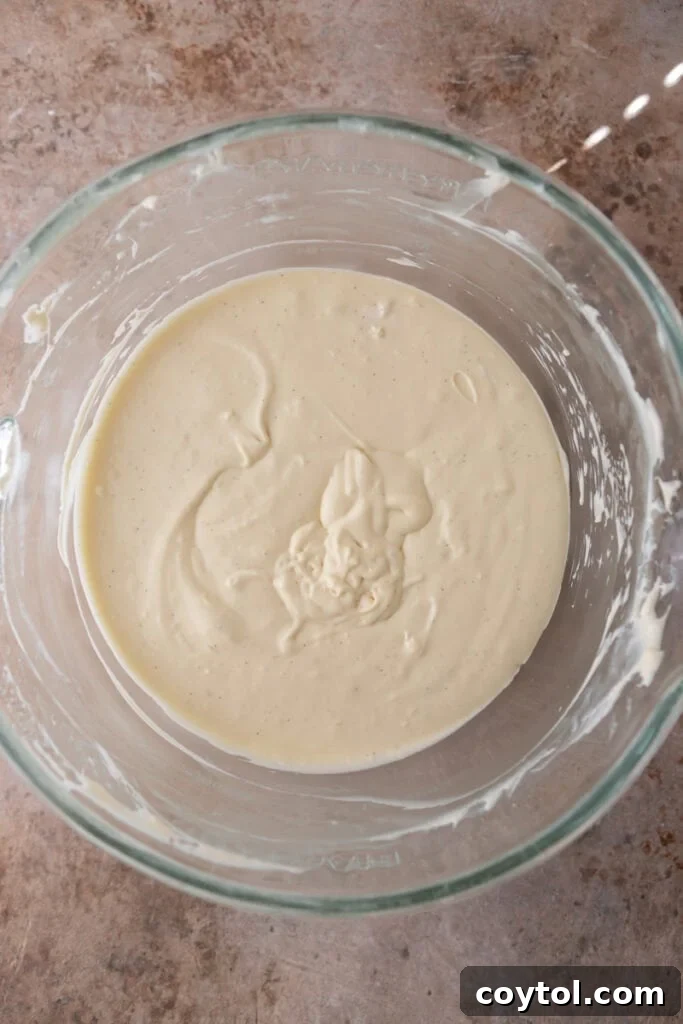
- Next, incorporate the sour cream, heavy cream, and vanilla bean paste (or vanilla extract). Beat on low speed until the mixture is fully blended and achieves a silky, uniform consistency. Stop the mixer frequently to scrape down the sides of the bowl with a rubber spatula, ensuring all ingredients are thoroughly mixed and no unmixed pockets remain.
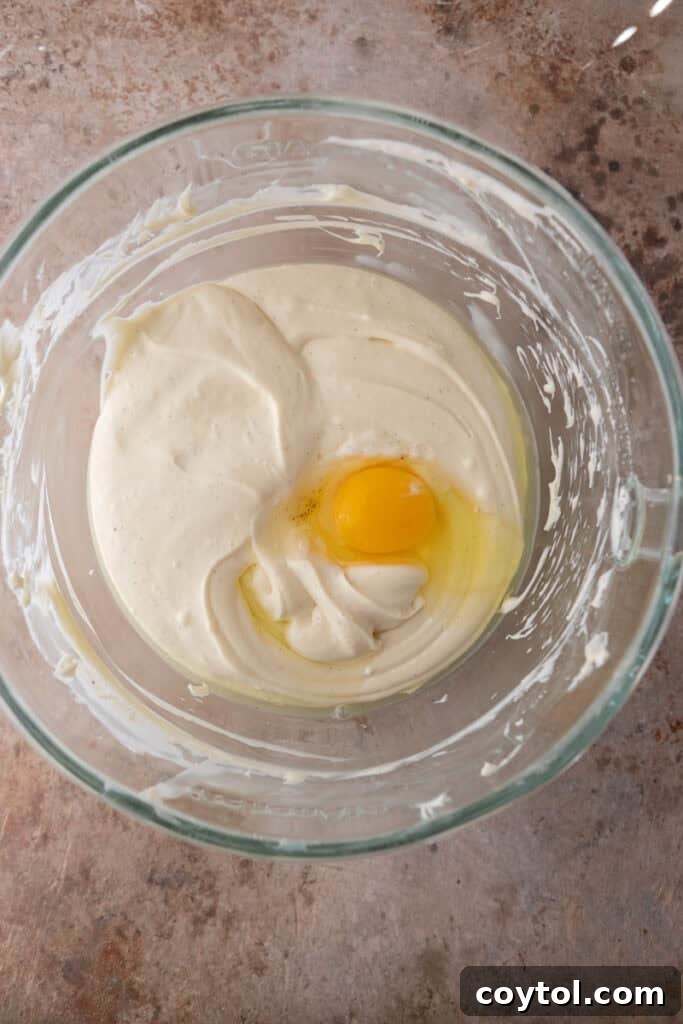
- Finally, add the large eggs one at a time. Mix on the lowest speed possible, incorporating each egg only until it is just fully blended into the batter before adding the next. This step is crucial: overmixing after adding the eggs can introduce too much air, which can cause the **apple crisp cheesecake** to puff up excessively in the oven and then crack unsightly during the cooling process.
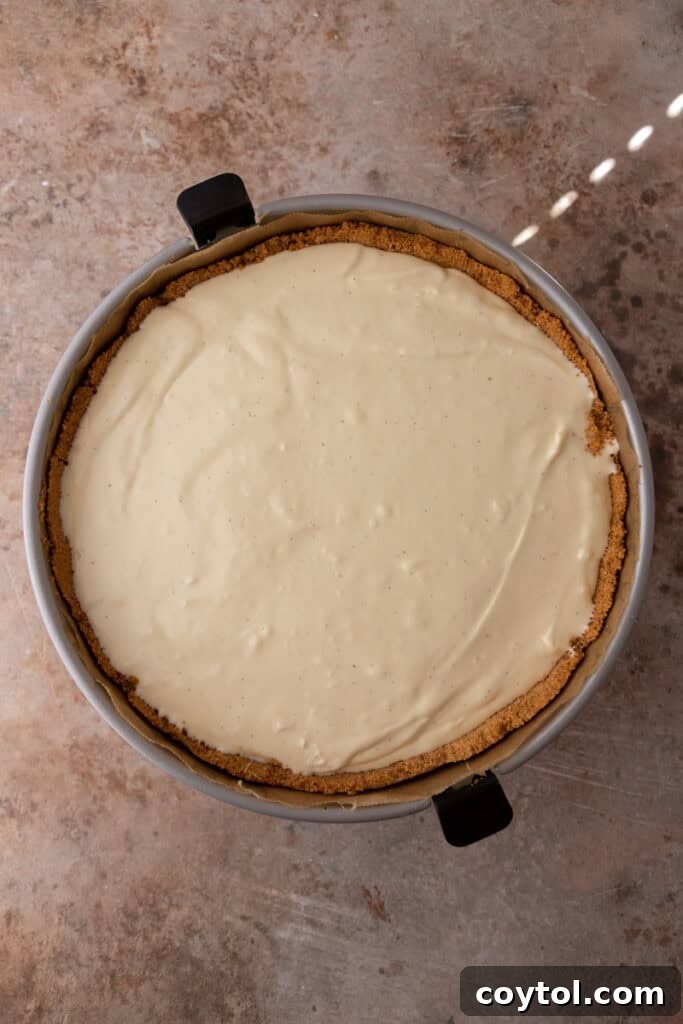
- Pour the prepared cheesecake batter evenly into your cooled graham cracker crust, spreading the top gently with a rubber spatula to ensure a smooth, even surface.
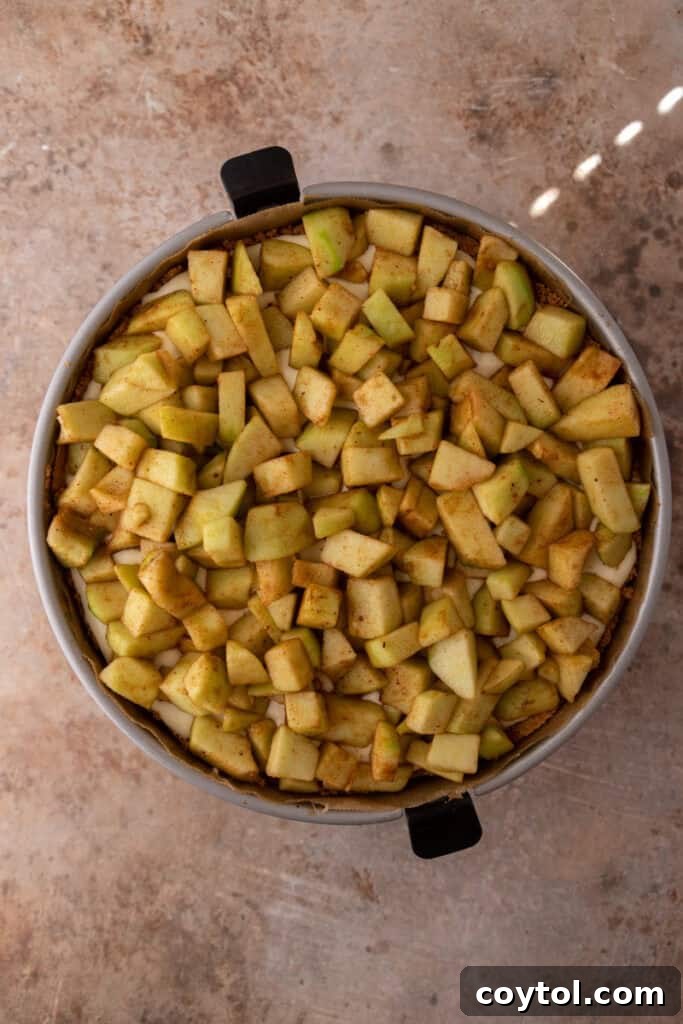
- Arrange the spiced apple slices in an even, decorative layer over the top of the cheesecake filling. As mentioned before, if the apple mixture has released a significant amount of juice, leave the excess liquid behind in the bowl to prevent the cheesecake from becoming watery.
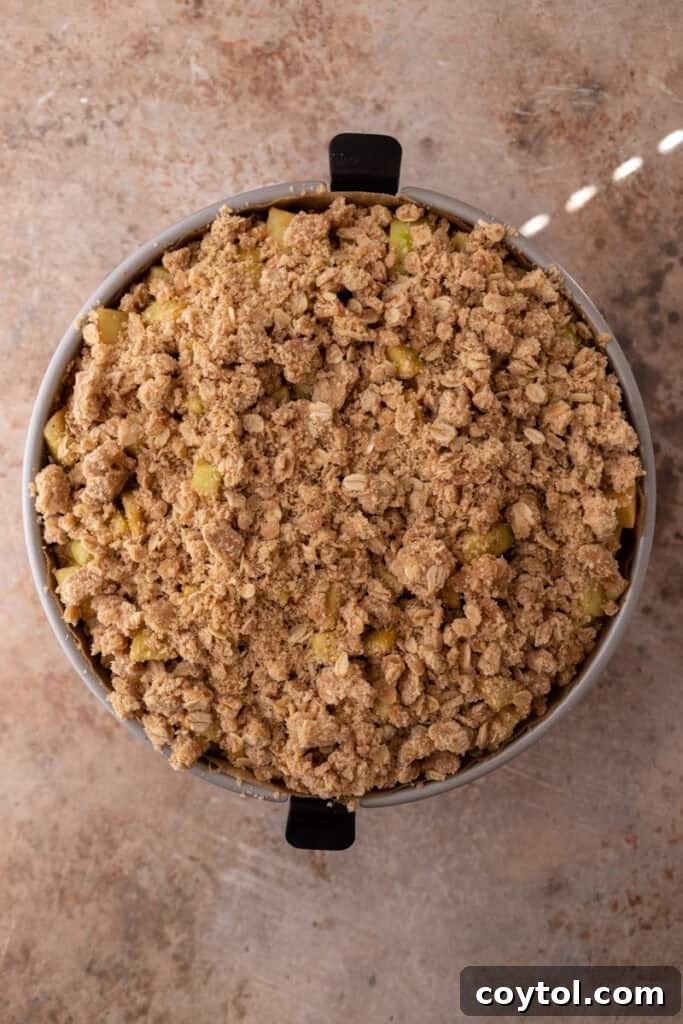
- Generously sprinkle the chilled oat streusel topping uniformly over the layer of cinnamon apples. Distribute it evenly for a perfect crunchy bite in every single slice.
5. Bake and Chill Your Masterpiece:
- Carefully place the foil-wrapped springform pan inside a larger roasting pan. Then, gently fill the roasting pan with about 1 inch of freshly boiled water, creating what is known as a water bath (or bain-marie). This water bath is crucial because it provides a moist, even heat environment, which helps the cheesecake bake gently and evenly, preventing cracks and ensuring an incredibly creamy, smooth texture.
- Carefully transfer the roasting pan with the cheesecake to your preheated 325°F (160°C) oven. Bake for approximately 60-80 minutes. The cheesecake is perfectly done when the edges appear set and slightly firm, but the very center still has a slight, delicate jiggle when you gently shake the pan. It’s vital to resist the urge to overbake, as this is a common cause of cracks and can result in a dry texture.
- Once baked, turn off the oven completely and crack the oven door open slightly (about 3-4 inches). Allow the cheesecake to cool gradually inside the oven for at least 1 hour. This slow cooling process is absolutely crucial for preventing sudden temperature changes that can lead to unsightly cracks on the surface of your cheesecake.
- After the initial oven cooling period, remove the cheesecake from the oven and carefully lift it out of the water bath. Gently unwrap the aluminum foil from around the springform pan. Let the cheesecake cool completely on a wire rack at room temperature.
- Once completely cool to the touch, transfer the **apple crisp cheesecake** to the refrigerator and chill for a minimum of 4 hours, or ideally overnight. This extended chilling period is essential for the cheesecake to fully set, firm up, allow its rich flavors to deepen and meld beautifully, and achieve its perfect creamy texture for clean slicing.
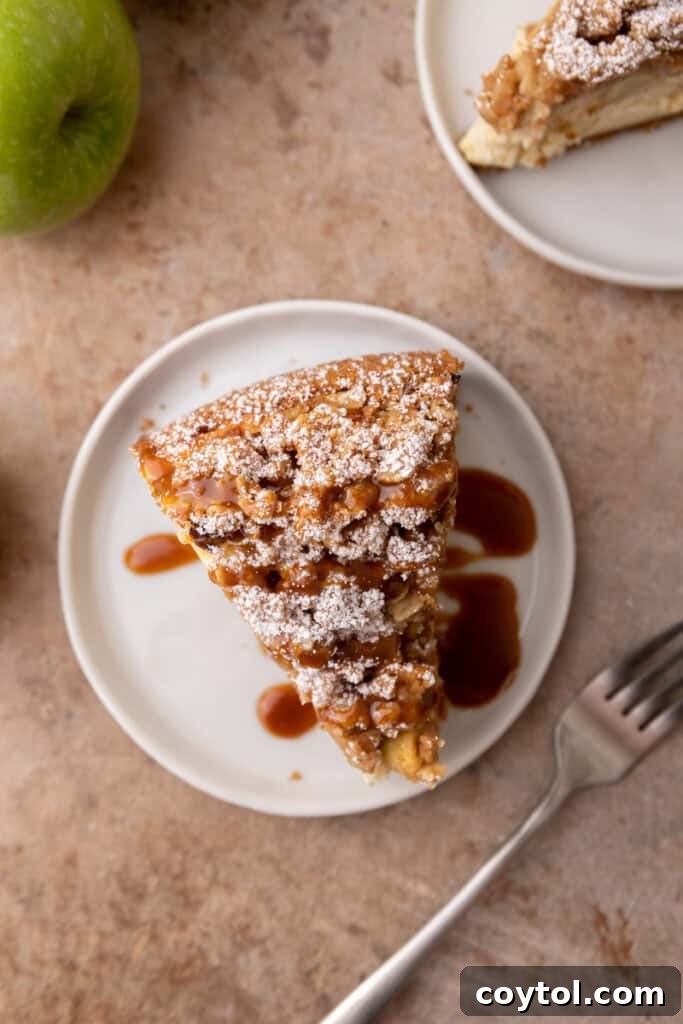
- When you are ready to serve, carefully run a thin knife around the edge of the pan before releasing the springform sides. For perfect, clean portions, slice the **apple crisp cheesecake** with a warm, clean knife (dipping it in hot water between slices helps). For an extra touch of indulgence, drizzle each slice with warm caramel sauce or dollop with fresh whipped cream. Enjoy every delightful and impressive bite!
Expert Tips for a Flawless Apple Crisp Cheesecake Every Time
Achieving a bakery-quality **apple crisp cheesecake** at home is easier than you think with these expert tips:
- Room Temperature Ingredients are Key: This cannot be stressed enough! Ensure your cream cheese, eggs, and sour cream are all at true room temperature. This is absolutely vital for a smooth, lump-free batter that emulsifies properly, preventing cracks and ensuring a perfectly creamy texture. Cold ingredients will result in a lumpy batter.
- Don’t Overmix the Batter: While you want a smooth cream cheese base, be very cautious after adding the eggs. Mix only until just combined. Overmixing incorporates too much air into the batter, which can cause the cheesecake to puff up significantly in the oven and then tragically crack as it cools. Gentle mixing is the secret to a smooth, unblemished surface.
- Master the Water Bath (Bain-Marie): The water bath is your secret weapon against cheesecake cracks and dryness. It provides a moist, even heat environment in the oven, allowing the cheesecake to bake gently and slowly, resulting in an incredibly creamy, custardy texture. Ensure your springform pan is meticulously wrapped in several layers of heavy-duty foil to prevent any water seepage into your crust.
- Cool Slowly and Patiently: Resist the urge to pull the cheesecake from the oven immediately after baking. The gradual cooling process, first inside a cracked-open oven and then slowly at room temperature, is crucial for preventing sudden temperature shock, which is a primary culprit for cracks. Patience here truly pays off.
- Chill Thoroughly is Non-Negotiable: A minimum of 4 hours of refrigeration, or ideally overnight, is absolutely mandatory for this **homemade cheesecake**. This extended chilling period allows the cheesecake to fully set, firm up to the perfect slicing consistency, and, importantly, allows all the complex flavors to meld and deepen beautifully. It also ensures clean, elegant slices.
- Choose the Right Apples: While personal preference plays a role, a mix of tart apples (like Granny Smith) and sweeter, firm apples (like Honeycrisp or Fuji) offers the best flavor balance and texture for the topping. Thin, uniform slices ensure they soften perfectly and cook evenly during baking.
- Prevent a Soggy Topping: After tossing your apple slices with sugar and spices, they may release some liquid. If a significant amount of juice accumulates in the bowl, try to drain some of that excess liquid before layering the apples onto the cheesecake. This simple step helps prevent the streusel and cheesecake layers from becoming soggy.
Frequently Asked Questions (FAQ) About Apple Crisp Cheesecake
How do I turn graham crackers into fine crumbs for the crust?
The most efficient and best way to achieve fine, uniform graham cracker crumbs for your crust is by using a food processor. Simply break the graham crackers into smaller pieces and pulse them in the food processor until they reach a fine, sand-like consistency. If you don’t have a food processor, no problem! You can place the graham crackers into a sturdy, sealed ziplock bag, remove any excess air, and then gently tap and crush them with a rolling pin or the bottom of a heavy pan on a stable kitchen countertop. Aim for as fine and consistent a crumb as possible for the best crust texture.
What’s the best way to store leftover Apple Crisp Cheesecake?
Proper storage is key to enjoying your delicious **apple crisp cheesecake** for longer. For short-term storage, simply place individual slices or the entire remaining cheesecake (covered tightly with plastic wrap or in its springform pan) into an airtight container. Store it in the refrigerator, where it should remain fresh and delicious for at least 3 to 4 days. For longer storage, such as for a month or two, we recommend individually wrapping each slice tightly in plastic wrap, then placing them in an airtight container or a freezer-safe bag. This double-layer protection is excellent for preventing freezer burn and preserving the cheesecake’s quality. When you’re ready to enjoy a frozen slice, simply thaw it slowly in the refrigerator overnight. The flavors and texture will remain wonderfully preserved, making it perfect for a future treat!
Can I use a different type of apple for the topping?
Yes, absolutely! While our **apple crisp cheesecake recipe** specifically suggests using a combination of Granny Smith and Honeycrisp apples for their excellent balance of tartness, sweetness, and firm texture that holds up well to baking, you certainly have flexibility. Other great apple varieties that perform well in baking and would be suitable for this recipe include Golden Delicious, Fuji, Gala, or Pink Lady. Just be aware that using sweeter apples might make the overall topping slightly sweeter, and softer apple varieties might become a bit mushier during baking. The key is to choose a firm apple that you enjoy and that you know holds its shape well when cooked.
Can I prepare this Apple Crisp Cheesecake in advance?
Absolutely, yes! In fact, we highly recommend making this **apple crisp cheesecake** at least one day ahead of time. This advance preparation provides ample time for the cheesecake to chill thoroughly and fully set, which is absolutely crucial for achieving its best possible texture and for making clean, effortless slices. Furthermore, allowing the cheesecake to rest overnight in the refrigerator allows all the rich and complex flavors to meld and deepen, resulting in an even more delicious and harmonious dessert. Simply cover it loosely with plastic wrap once fully cooled, refrigerate it overnight, and it will be perfectly ready to serve when needed, making your event planning much smoother.
How do I know when my cheesecake is perfectly baked?
The key to a perfectly baked **homemade cheesecake** is to look for distinct signs. The cheesecake is done when the edges appear set and firm, but the very center still has a slight, delicate jiggle (like firm Jell-O) when you gently shake the pan. Don’t worry, the residual heat will continue to cook the center as it cools, firming it up completely. It’s crucial not to bake the cheesecake until it’s completely firm all the way through, as this will result in an overbaked, dry, and potentially cracked texture. The good news is that even if your cheesecake does develop minor cracks, don’t fret! The delicious layers of spiced apple and crunchy streusel topping will beautifully conceal any imperfections, ensuring your **apple crisp cheesecake** still looks and tastes absolutely fantastic.
The Ultimate 9-Inch Apple Crisp Cheesecake Recipe
Irresistible Apple Crisp Cheesecake (9-Inch)
This remarkable Apple Crisp Cheesecake masterfully blends the rich creaminess of a New York-style cheesecake with the comforting, spiced fruitiness of a classic apple crisp. It’s the quintessential dessert for autumn gatherings, holiday celebrations, or any moment you crave a truly cozy and impressive sweet treat!
25 mins
1 hr 30 mins
1 hr 55 mins
12 servings
Print Recipe
Equipment
- 9-inch Cheesecake Pan
- Large Roasting Pan (for water bath)
- Stand Mixer (with paddle attachment) or Handheld Electric Mixer
- Large Mixing Bowls
- Rubber Spatula
- Measuring Cups and Spoons
- Wire Rack
Ingredients
For the Oat Streusel Topping:
- 1/3 cup old-fashioned rolled oats
- 1/3 cup all-purpose flour
- 1/4 cup light brown sugar
- 1/4 teaspoon salt
- 1/2 tsp ground cinnamon
- 3 tbsp unsalted butter, melted
For the Graham Cracker Crust:
- 2 cups graham cracker crumbs (about 2 sleeves)
- 1/3 cup granulated sugar
- 1/2 tsp ground cinnamon
- 1/4 teaspoon salt
- 1/2 cup unsalted butter, melted
For the Cheesecake Filling:
- 32 oz cream cheese (4 packages), softened to room temperature
- 3/4 cup granulated sugar
- 1/3 cup brown sugar
- 3 large eggs, at room temperature
- 1/3 cup sour cream, at room temperature
- 1/4 cup heavy cream
- 1 tbsp vanilla bean paste (or 1 tbsp vanilla extract)
- 2 tbsp cornstarch
For the Apple Filling:
- 3 large apples (Granny Smith or Honeycrisp recommended), peeled, cored, and thinly sliced
- 2 tsp granulated sugar
- 1 & 1/2 tbsp brown sugar
- 2 tsp lemon juice
- 1 tsp ground cinnamon
- 1/4 tsp ground nutmeg
Instructions
Make the Oat Streusel Topping:
- In a small bowl, combine the flour, oats, light brown sugar, salt, and ground cinnamon.
- Add the melted butter and mix with a fork until the mixture forms a crumbly, cookie dough-like consistency.
- Place the streusel in the fridge to chill while you prepare the other components.
Prepare the Graham Cracker Crust:
- Preheat your oven to 325°F (160°C). Wrap the bottom and sides of your 9-inch springform pan securely with three layers of heavy-duty aluminum foil to prevent leaks during the water bath.
- In a medium bowl, combine the graham cracker crumbs, granulated sugar, ground cinnamon, and salt. Stir in the melted butter until the crumbs are well-moistened.
- Press the crumb mixture firmly and evenly into the bottom and slightly up the sides of the prepared springform pan.
- Bake for 10 minutes, then remove from oven and let cool completely on a wire rack.
Prepare the Apple Filling:
- In a medium bowl, toss the thinly sliced apples with granulated sugar, brown sugar, lemon juice, ground cinnamon, and ground nutmeg until all slices are well-coated. Set aside.
Make the Cheesecake Filling:
- In a large stand mixer bowl, beat the softened cream cheese and granulated sugar together on medium speed until completely smooth and creamy (about 2-3 minutes). Scrape down the bowl.
- Add the brown sugar and cornstarch, mixing on low speed until just combined.
- Mix in the sour cream, heavy cream, and vanilla bean paste (or vanilla extract) until fully blended and silky smooth. Scrape the bowl as needed.
- Add the eggs one at a time, mixing on the lowest speed only until each is just incorporated. Do not overmix.
- Pour the cheesecake batter into the cooled graham cracker crust, smoothing the top with a rubber spatula.
- Arrange the spiced apple slices evenly over the cheesecake filling. If the apples have released excess juice, leave it behind.
- Sprinkle the chilled oat streusel topping uniformly over the layer of apples.
Bake and Chill the Cheesecake:
- Place the foil-wrapped springform pan into a large roasting pan. Carefully add about 1 inch of boiling water to the roasting pan, creating a water bath.
- Bake in the preheated oven for 60-80 minutes, or until the edges are set and the center still has a slight jiggle.
- Turn off the oven, crack the door open (about 3-4 inches), and let the cheesecake cool inside the oven for 1 hour. This slow cooling prevents cracking.
- Remove the cheesecake from the oven and water bath. Unwrap the foil and let it cool completely on a wire rack at room temperature.
- Once fully cooled, transfer the cheesecake to the refrigerator and chill for at least 4 hours, or preferably overnight, to allow it to set completely and for flavors to develop.
- When ready to serve, carefully remove the cheesecake from the springform pan. Slice with a warm, clean knife and enjoy. Optional: Drizzle with caramel sauce or serve with whipped cream.
Nutrition Information (Approximate per serving)
Calories: 613 | Carbohydrates: 52g | Protein: 8g | Fat: 42g | Saturated Fat: 24g | Polyunsaturated Fat: 2g | Monounsaturated Fat: 11g | Trans Fat: 0.4g | Cholesterol: 155mg | Sodium: 451mg | Potassium: 187mg | Fiber: 1g | Sugar: 38g | Vitamin A: 1512IU | Vitamin C: 0.4mg | Calcium: 119mg | Iron: 1mg
Nutrition information is automatically calculated and should be used as an approximation.
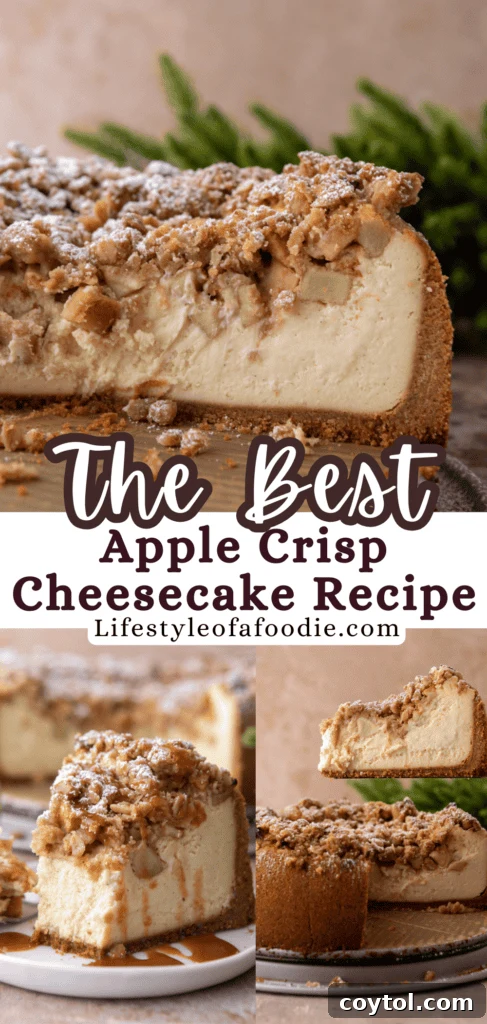
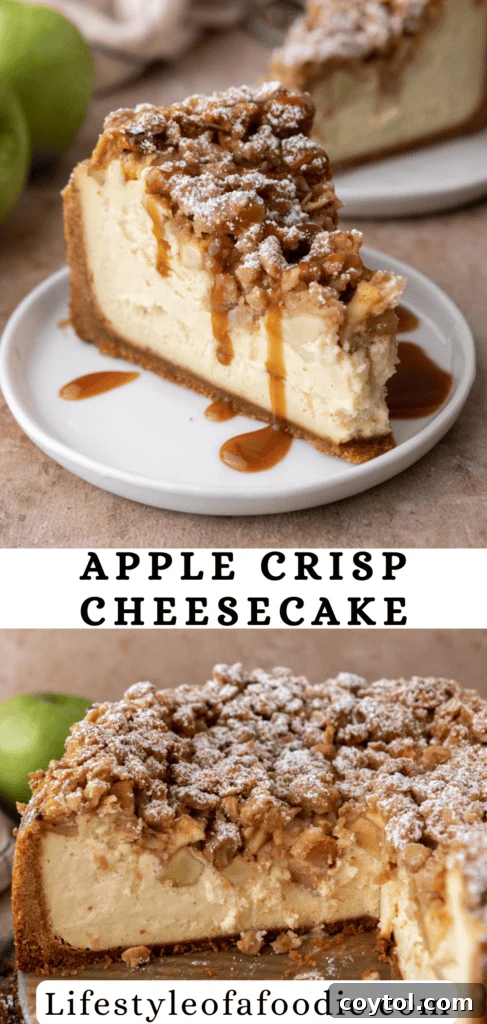
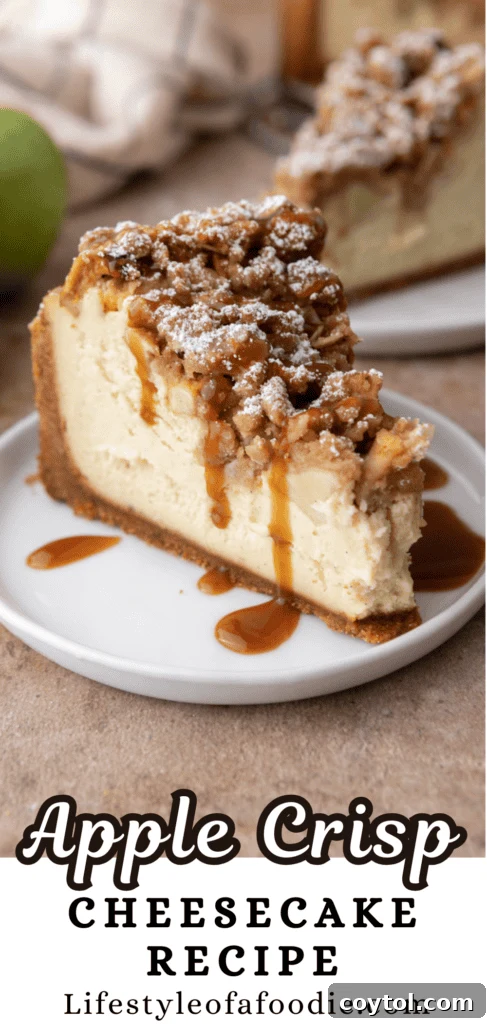
Loved this Apple Crisp Cheesecake Recipe? Don’t Forget to Pin it for Later!
If this amazing **Apple Crisp Cheesecake Recipe** has captured your heart (and stomach!), make sure to save it for future baking adventures. Pin these beautiful images to your favorite dessert boards on Pinterest so you can easily find this perfect **fall dessert** or **holiday dessert** whenever inspiration strikes!
Final Thoughts on Your Homemade Apple Crisp Cheesecake Masterpiece
We truly hope this comprehensive guide inspires you to create your very own **Apple Crisp Cheesecake**. This delightful dessert truly embodies the essence of comforting fall and holiday flavors, blending classic textures with a touch of homemade elegance. Whether you’re baking it for a special holiday meal, a cozy gathering, or simply to treat yourself and your loved ones, the irresistible combination of its rich, creamy texture, warmly spiced apple topping, and delightful crunchy streusel is sure to make it an instant favorite and a culinary triumph. Don’t be intimidated by the various layers; each step contributes to a truly spectacular and rewarding outcome. Happy baking, and enjoy every glorious slice of your **homemade apple crisp cheesecake**!